
The Latest Recipes
Here are the most recent recipes I've shared. Hot off the presses!
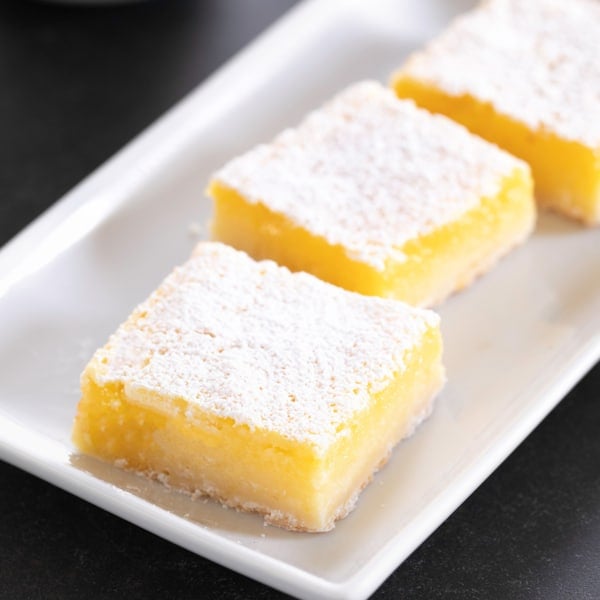
Bars and Brownies
Gluten Free Lemon Bars
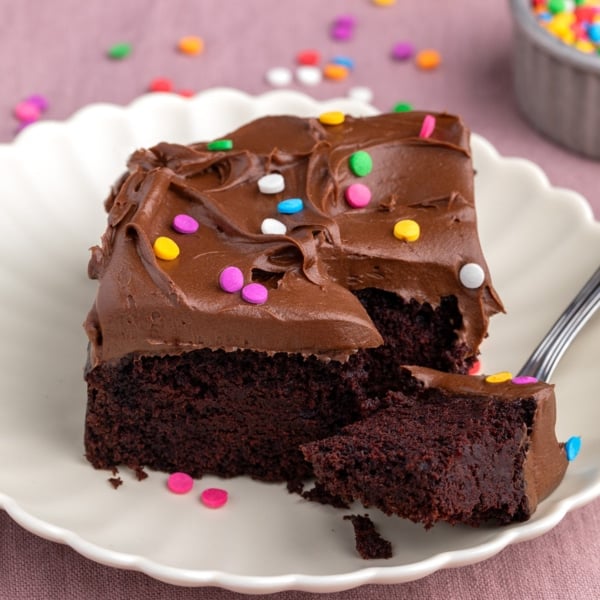
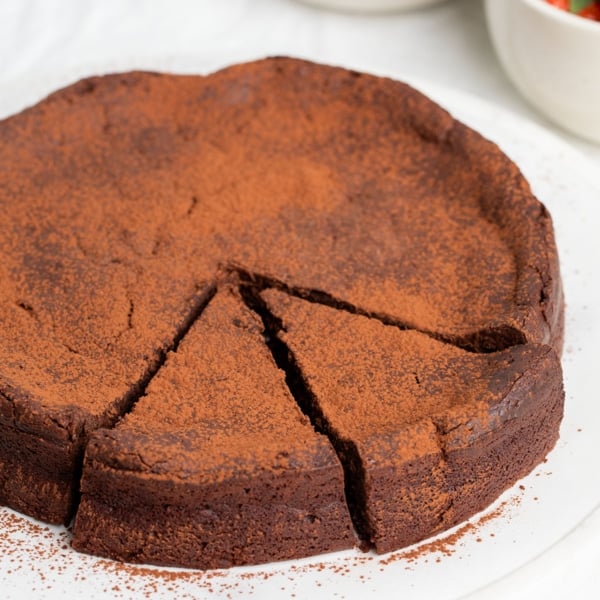
Cakes and Cupcakes
Gluten Free Dairy Free Chocolate Cake
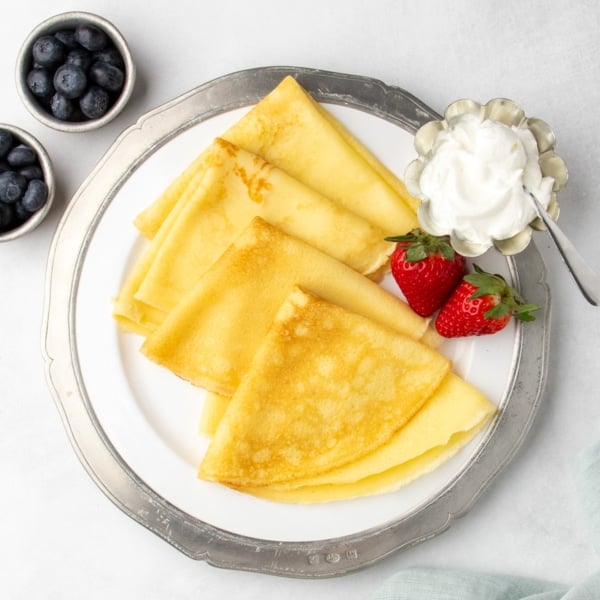
Pancakes & Waffles
Gluten Free Crepes
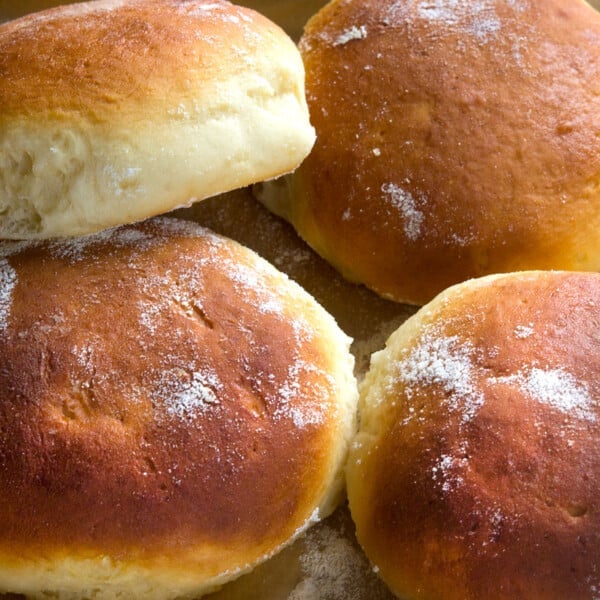
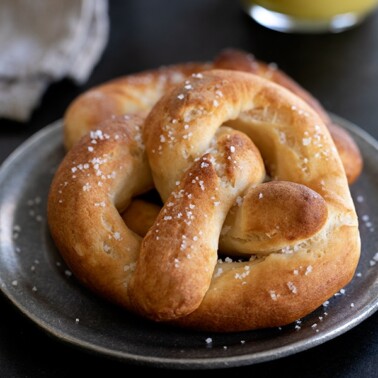
Shaped Breads
Gluten Free Hawaiian Rolls
Spring Favorites
Celebrate the season with these light, bright favorites made with fresh strawberries, blueberries, and lemons!
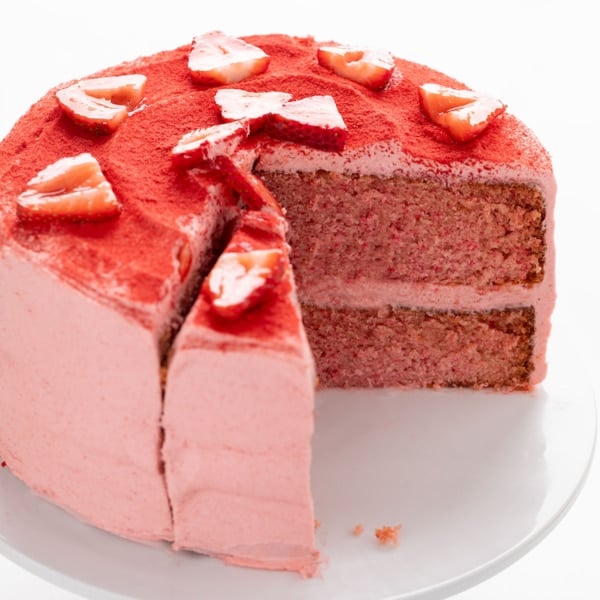
Cakes and Cupcakes
Moist Gluten Free Strawberry Cake (from scratch)
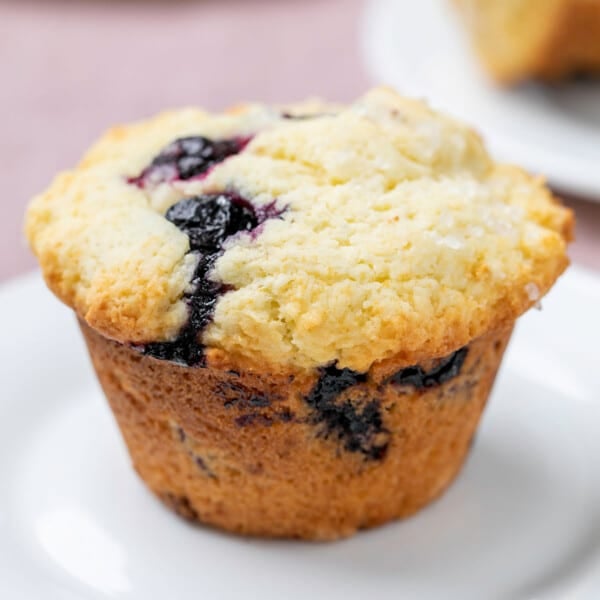
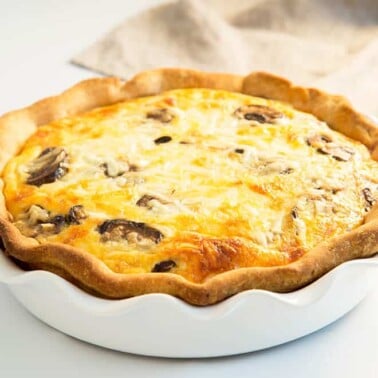
Breakfast & Brunch
Gluten Free Blueberry Muffins
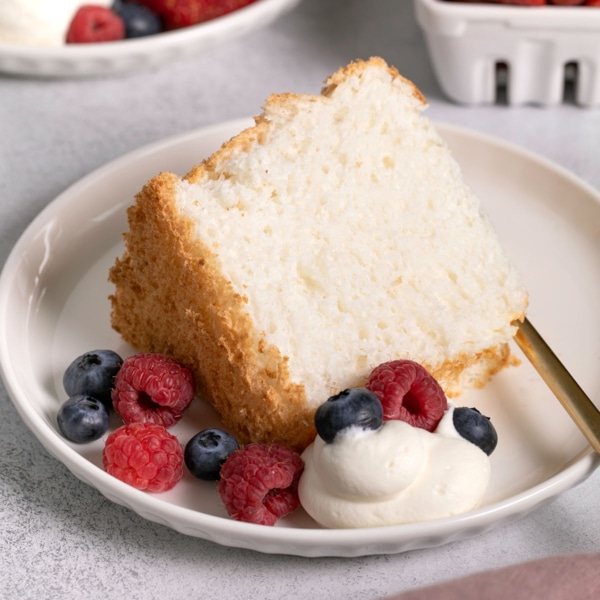
Cakes and Cupcakes
Gluten-Free Angel Food Cake
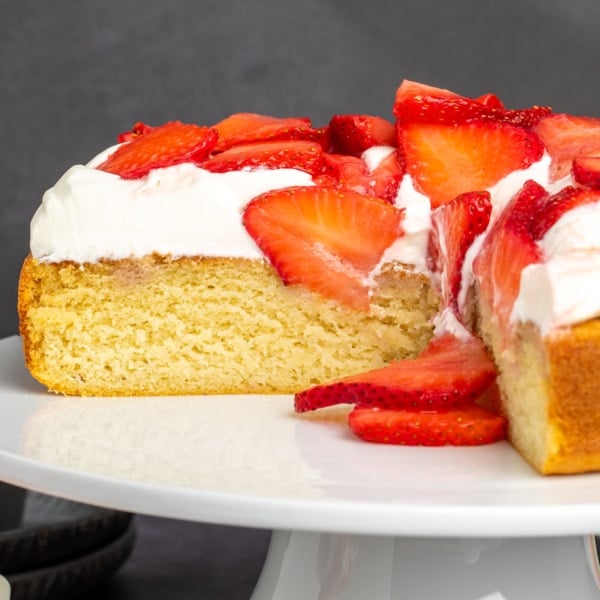
Cakes and Cupcakes
Gluten Free Strawberry Shortcake Cake
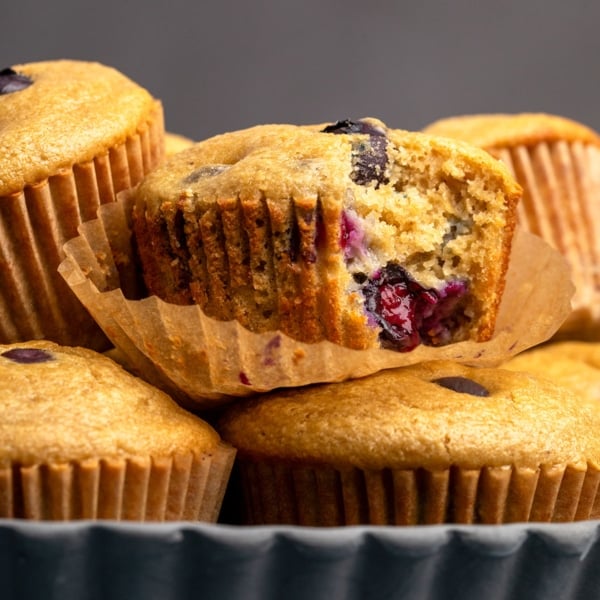
Muffins and Quick Breads
Healthy Blueberry Muffins
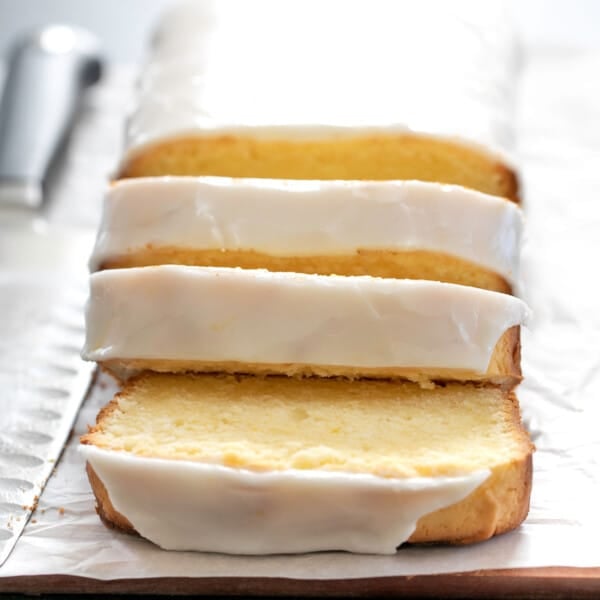
Cakes and Cupcakes
Iced Gluten Free Lemon Pound Cake
Tried & Tested Bread Recipes
In every shape, texture, and style, there's no end to how we can make authentic-tasting gluten free bread!
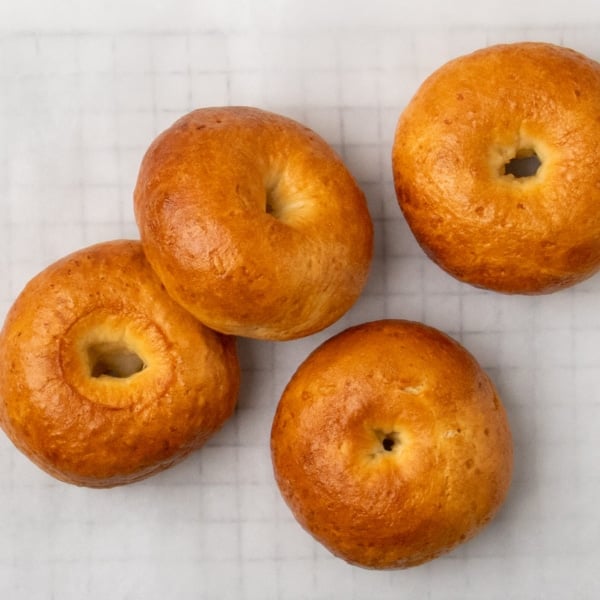
Shaped Breads
Authentic Gluten Free Bagels
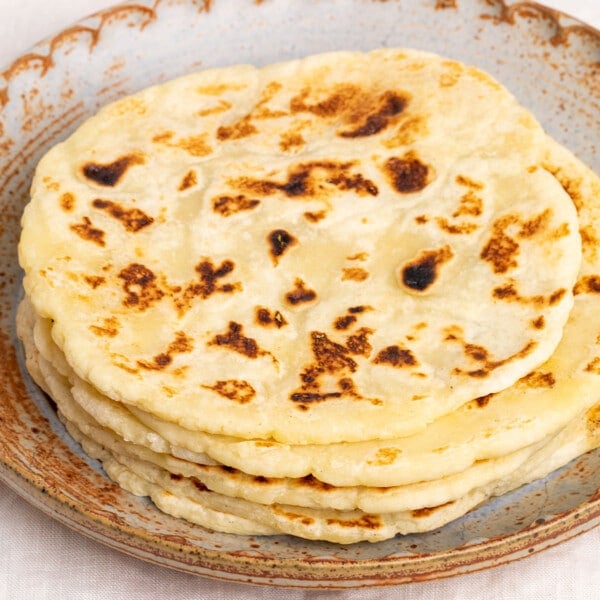
Flatbread and Tortillas
Soft Gluten Free Flatbread
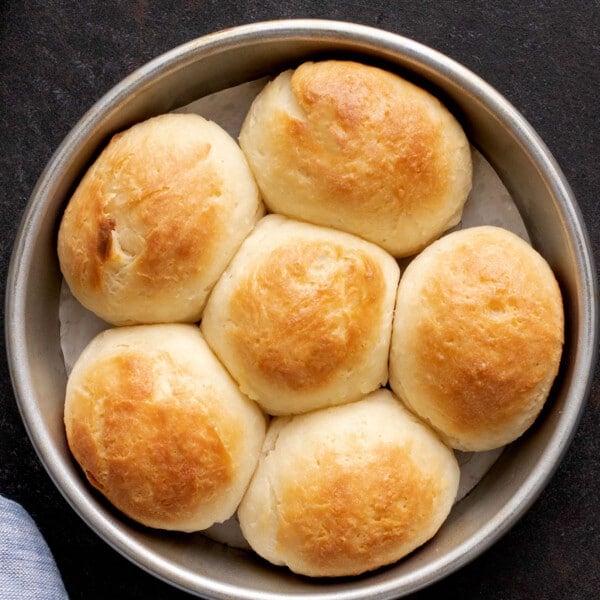
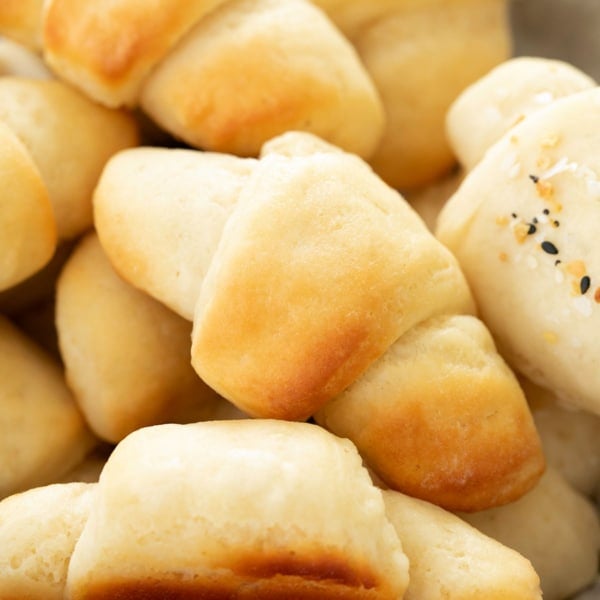
Shaped Breads
Gluten Free Dinner Rolls
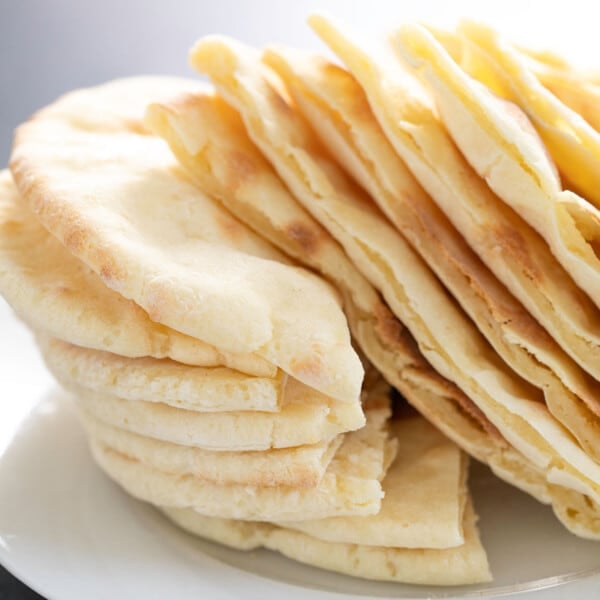
Shaped Breads
Gluten Free Pita Bread (Quick & Easy)
Shaped Breads
Gluten Free Crescent Rolls
What everyone's making
These 12 gluten free recipes are getting tons of love right now. If you’re looking for something new, this is a great place to start.
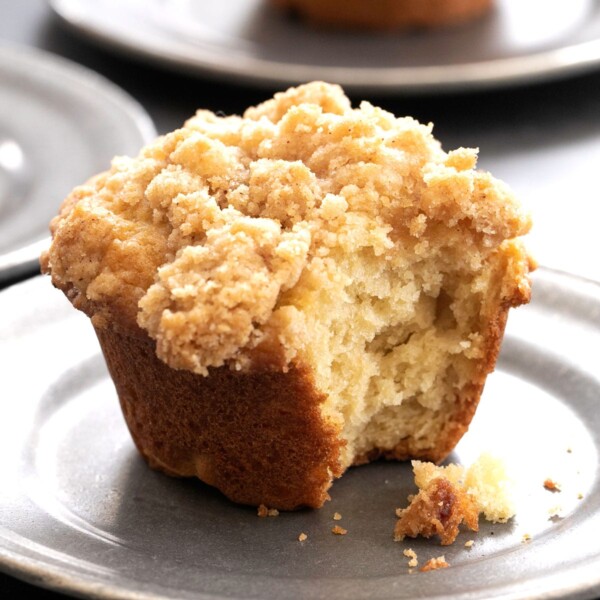
Muffins and Quick Breads
Easy Gluten Free Muffins
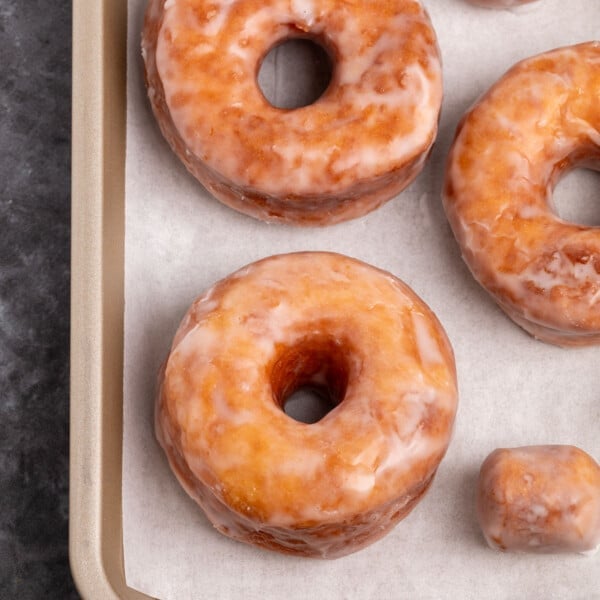
Shaped Breads
Gluten Free Donuts
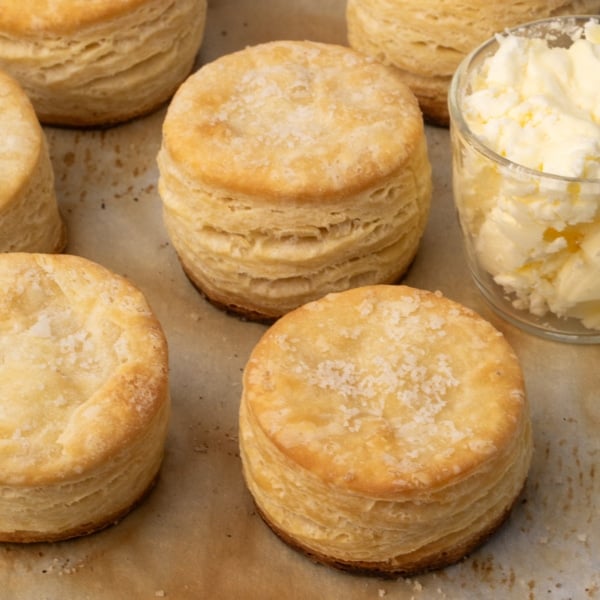
Pastries
Gluten Free Biscuits Recipe
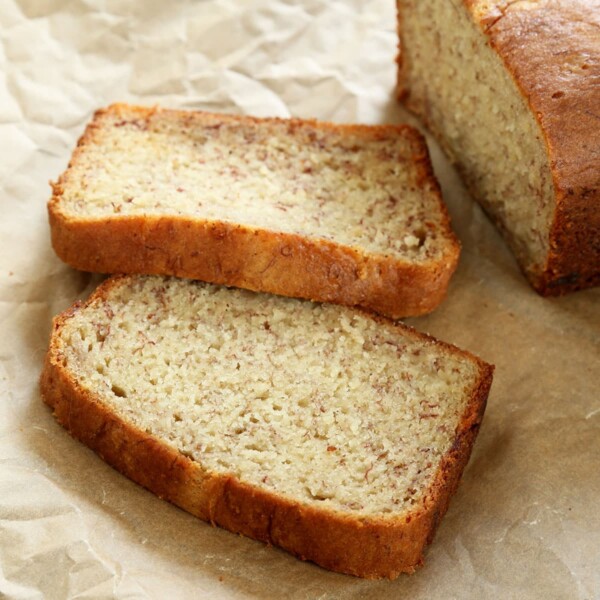
Muffins and Quick Breads
Gluten Free Banana Bread (Super Moist)

Shaped Breads
Gluten Free English Muffins
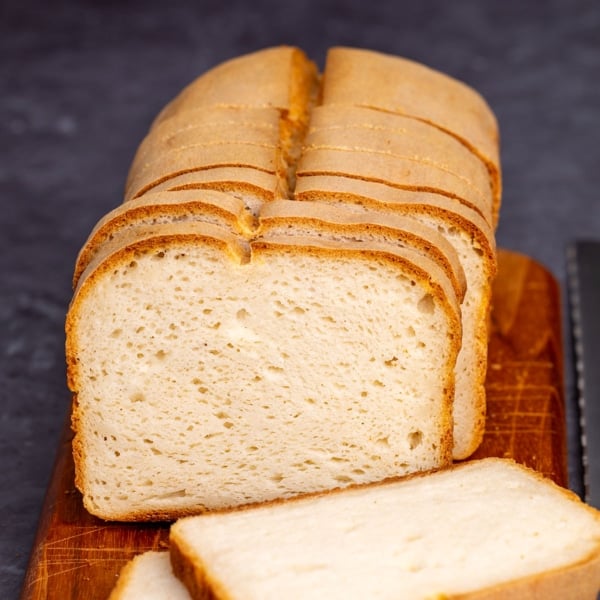
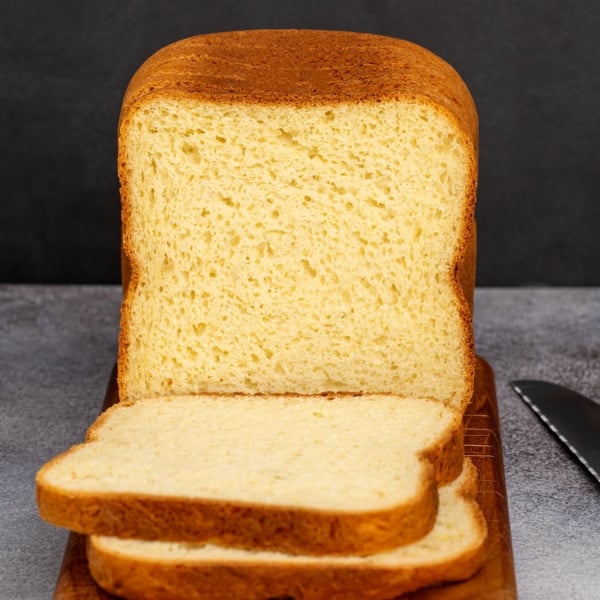
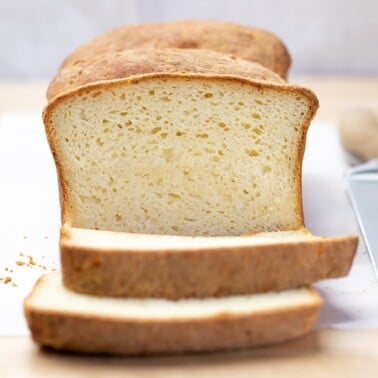
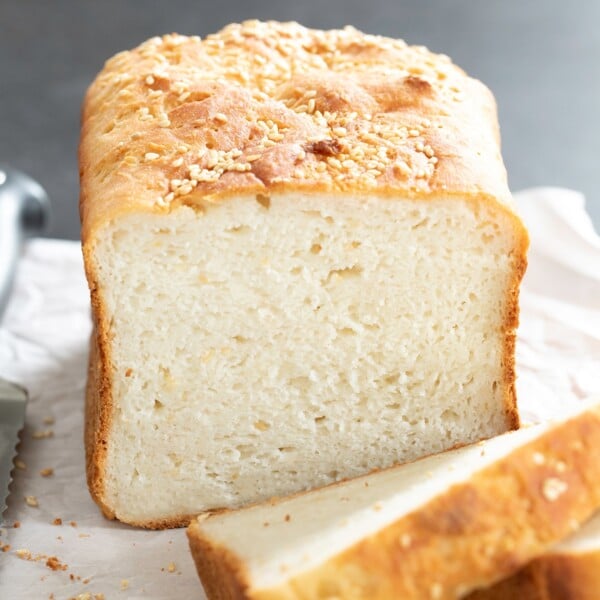
Loaf bread
Gluten Free Sourdough Bread
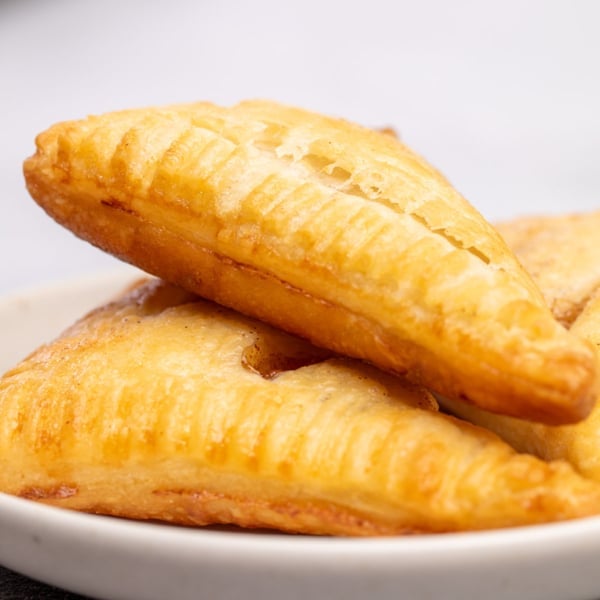
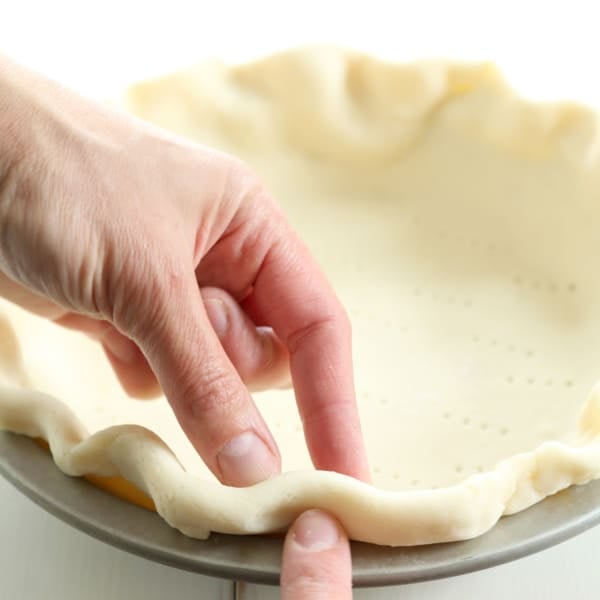
Pastries
Gluten Free Puff Pastry
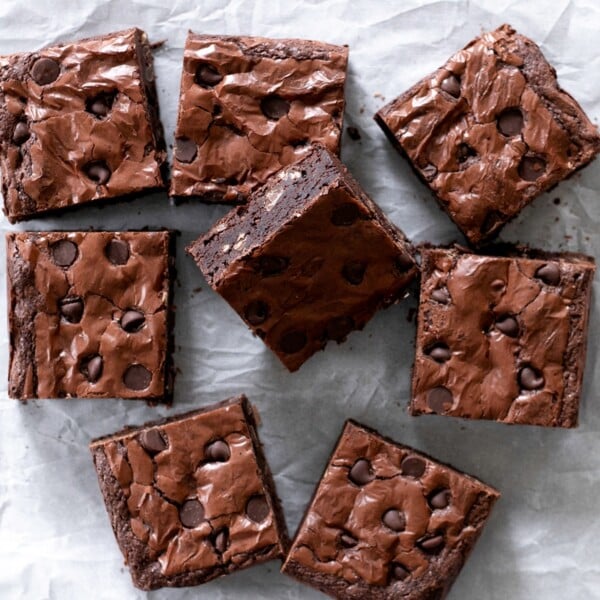
Bars and Brownies
Chewy Gluten Free Brownies
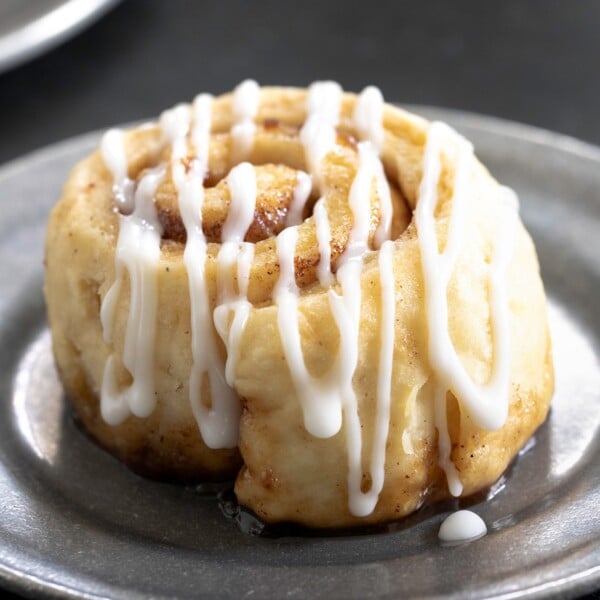
Shaped Breads
Gluten Free Cinnamon Rolls
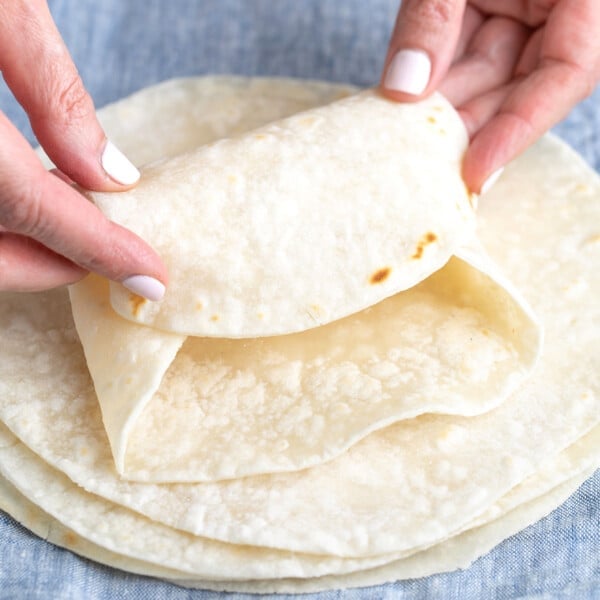
Flatbread and Tortillas
Gluten Free Tortillas
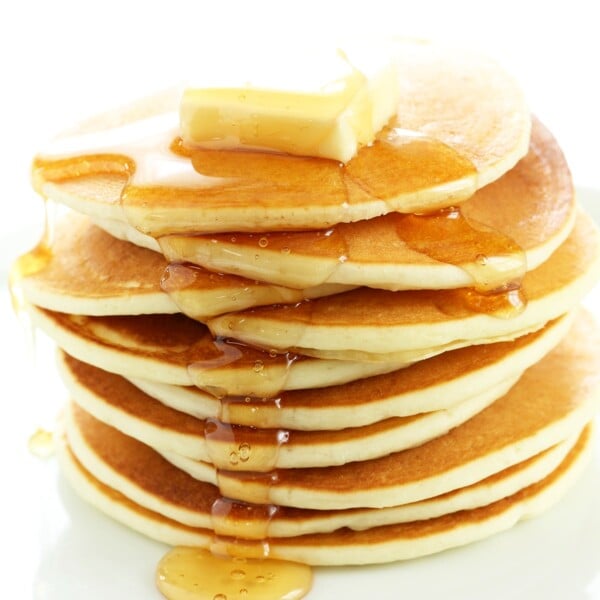
Pancakes & Waffles
Gluten Free Pancakes Recipe
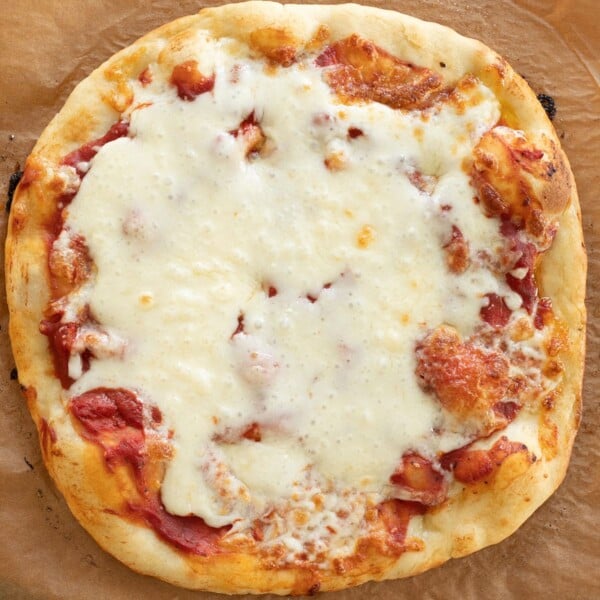
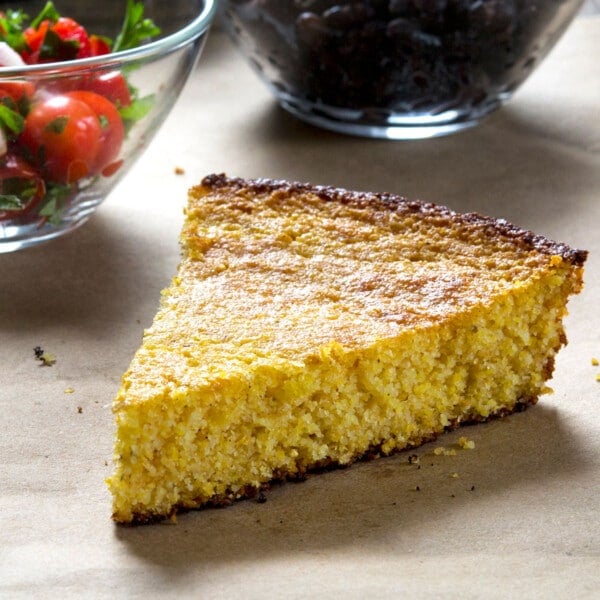
Let’s Get Baking—Pick a Category
This is your go-to destination for the most reliable GF-only recipes. All the comfort foods you thought you'd never have again are here. Come look around!

Welcome! I’m Nicole
I’m Nicole Hunn, and welcome to Gluten Free on a Shoestring, where we make gluten free food enjoyable and affordable! Here, you’ll find 800 gluten free recipes that are free and rigorously tested to give you excellent results the very first time. I started this blog in 2009, and since then, I’ve written 5 cookbooks and have been featured in Sirius/XM Radio, Better Homes & Gardens, Parents magazine, HuffPost and more.
Nicole’s Most Popular Gluten Free Recipes
My all-time greatest hits that you never get tired of.
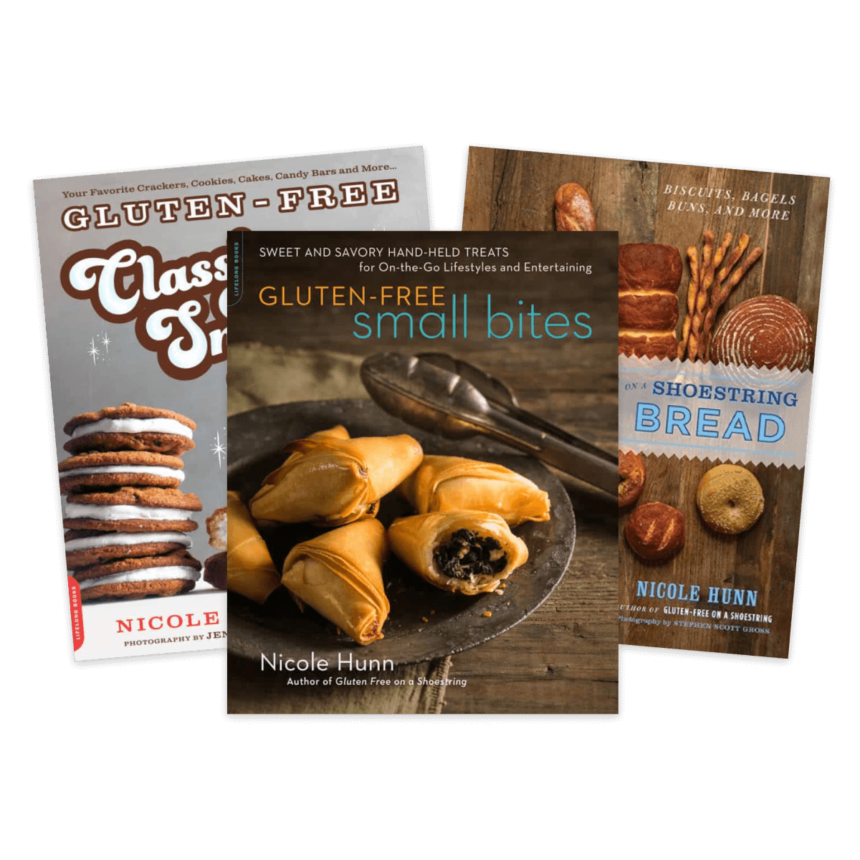
Shop my bestselling gluten free cookbooks! Order Now
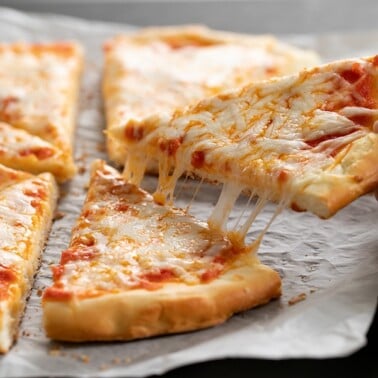
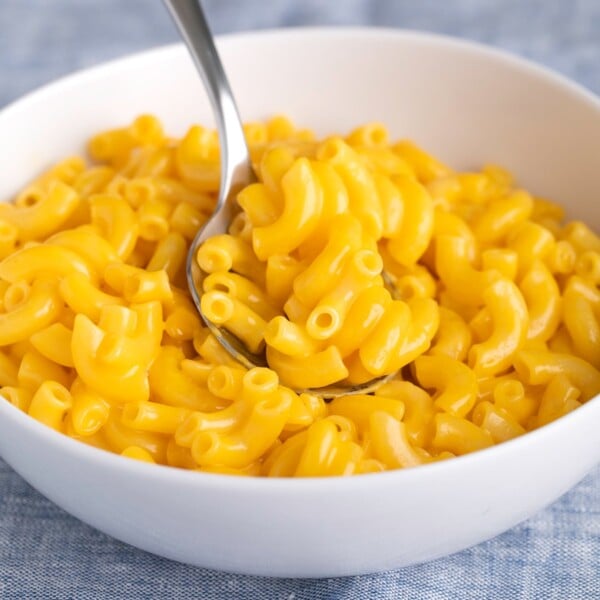
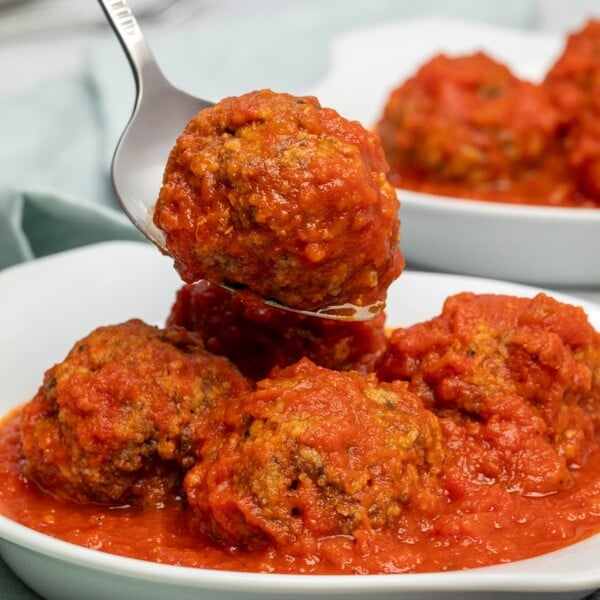
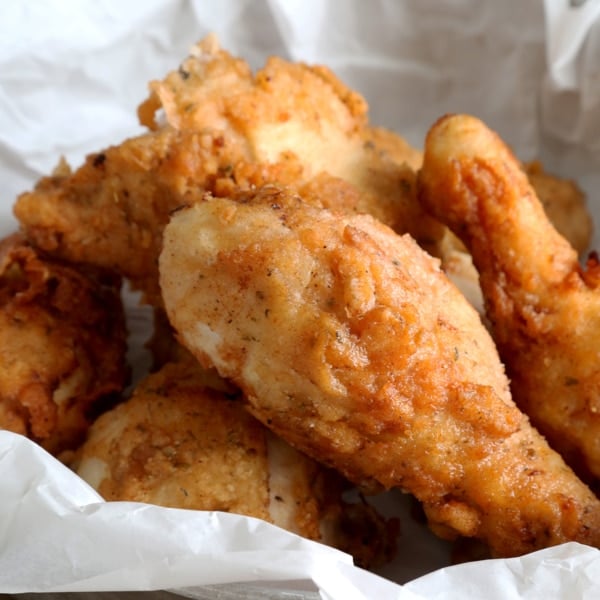
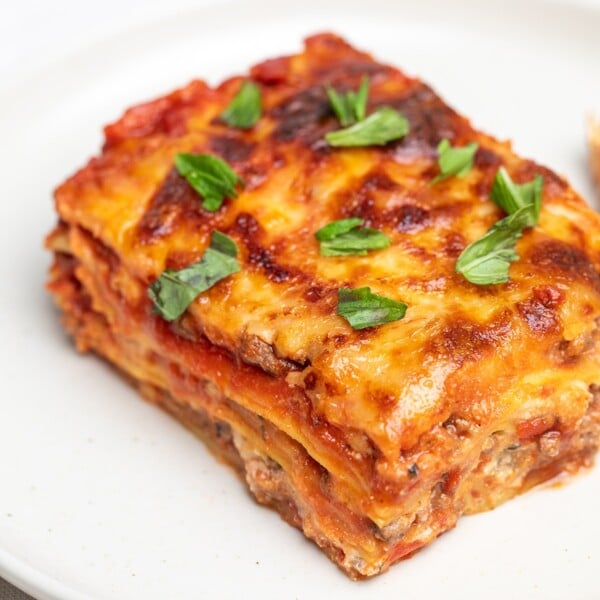
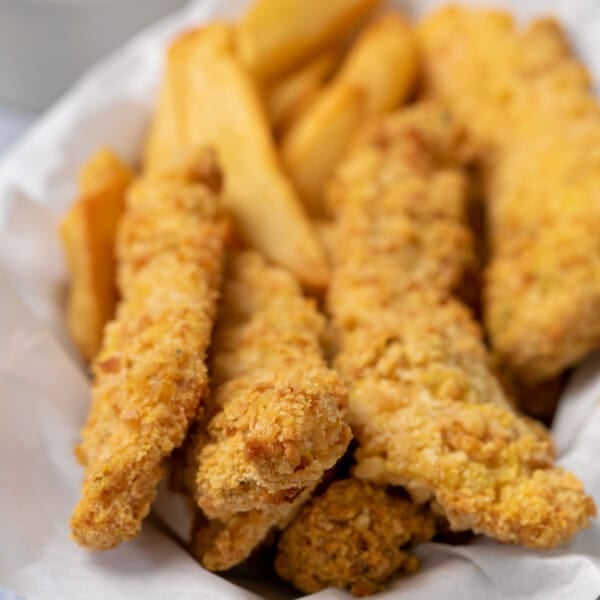
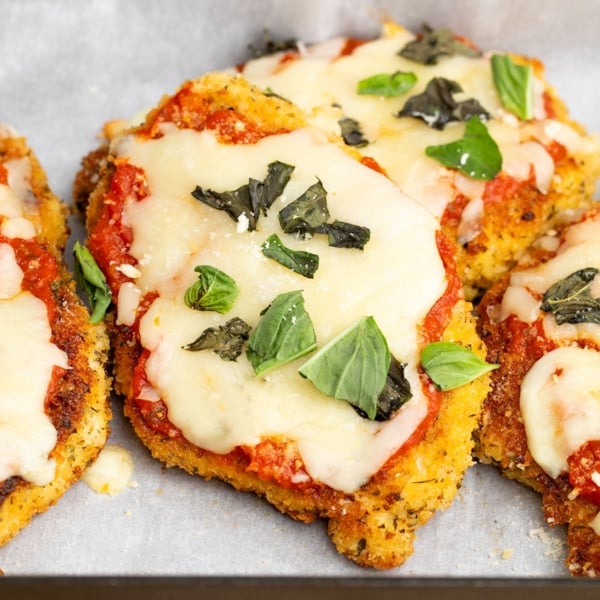
Dinner Ideas
What's for dinner tonight? Whether you have a few minutes or a few hours, there's something here your family will love!
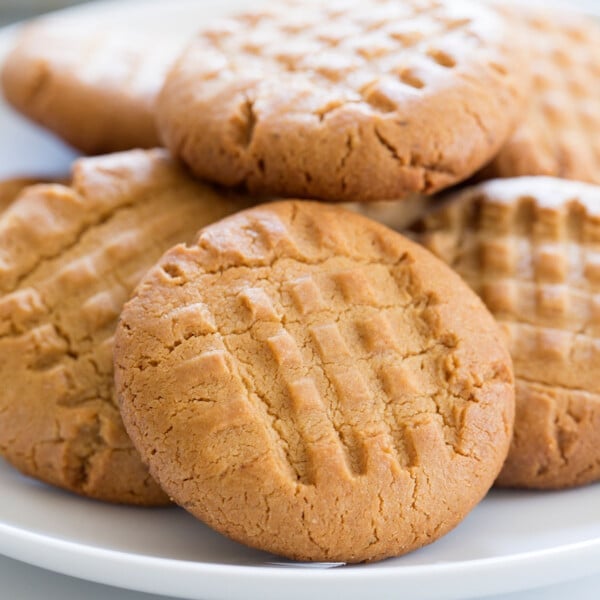
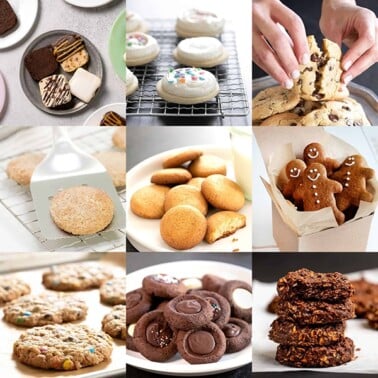
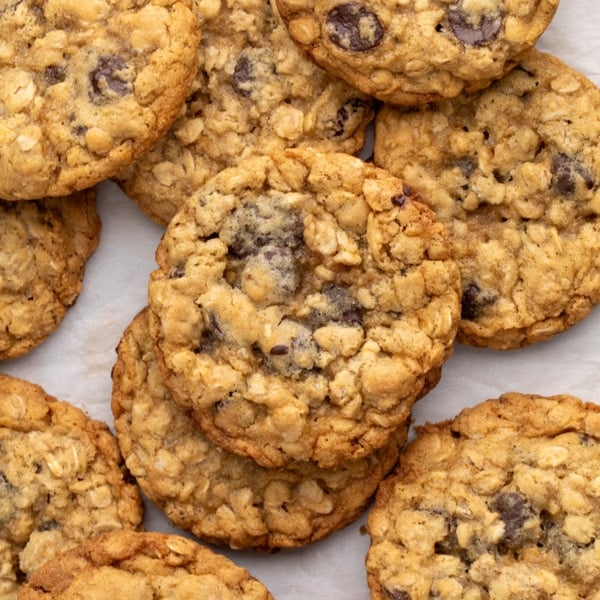
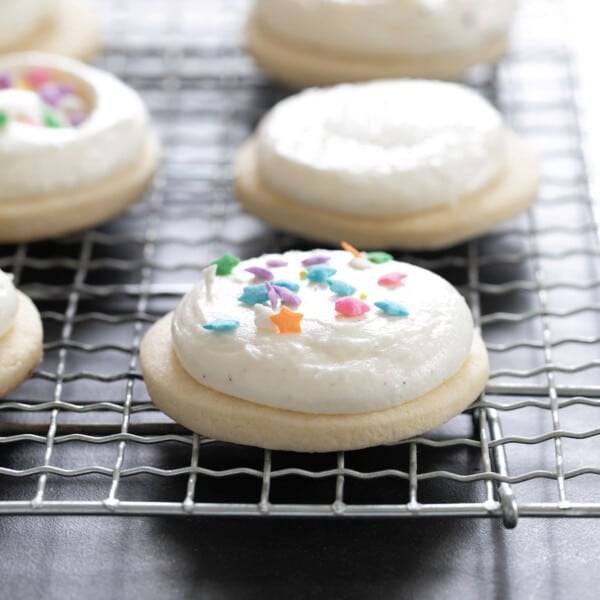
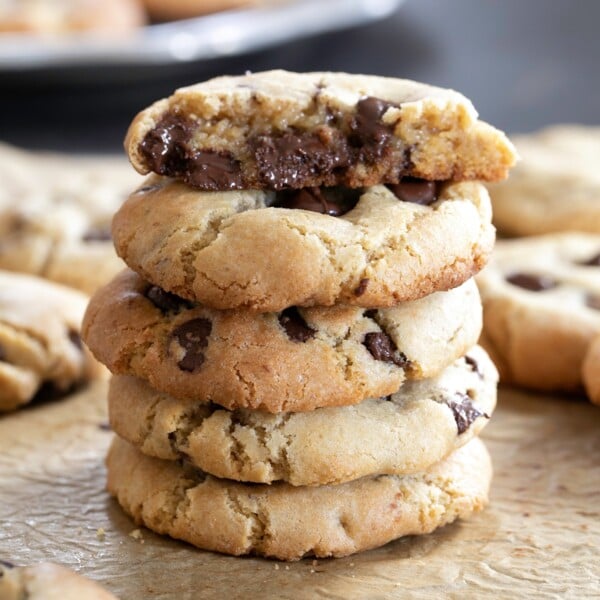
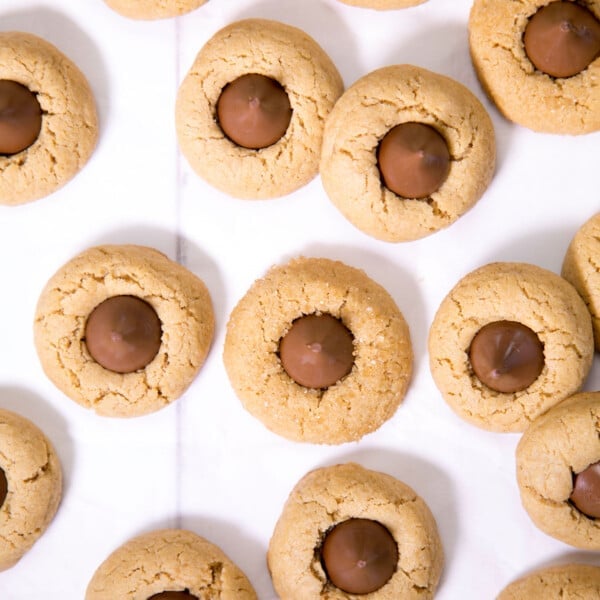
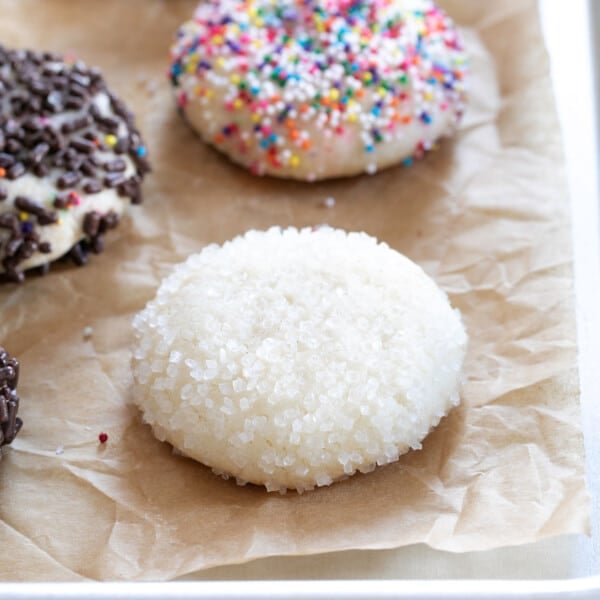
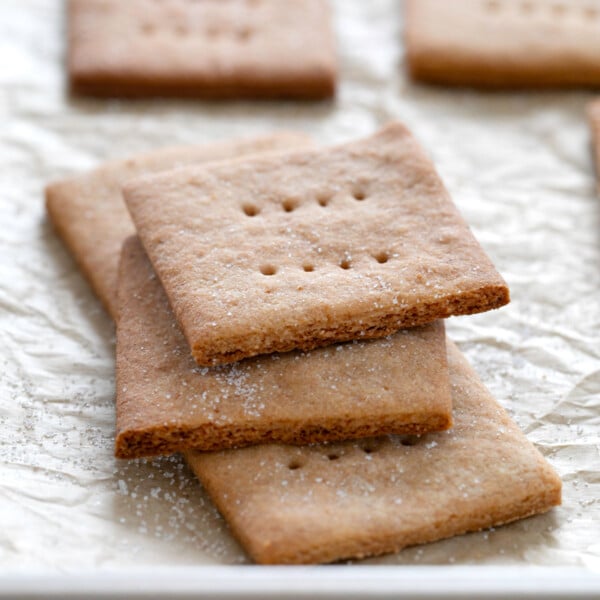
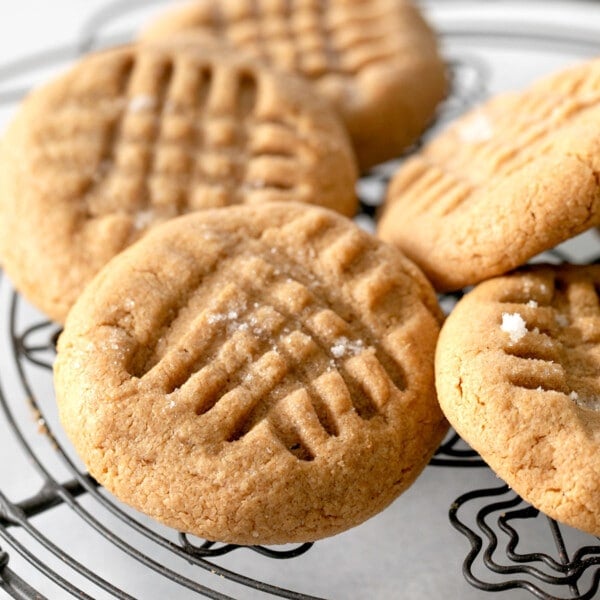
Reader Favorite Cookie Recipes
Cookies are my love language. Here are the gluten free cookie recipes that you and I love the most…
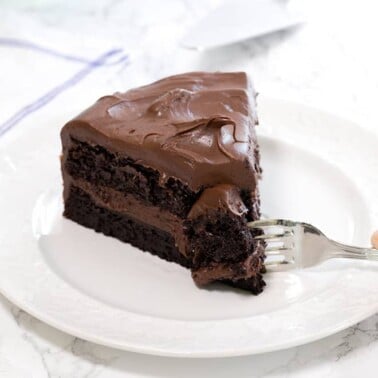
Delicious Cakes
All the classic cakes with all the right textures and taste, we've got a recipe for everyone's favorite!
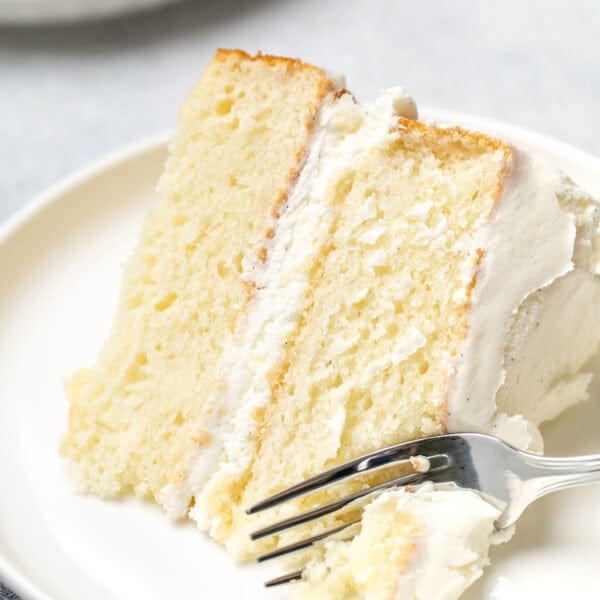
Cakes and Cupcakes
The Very Best Gluten Free Vanilla Cake Recipe

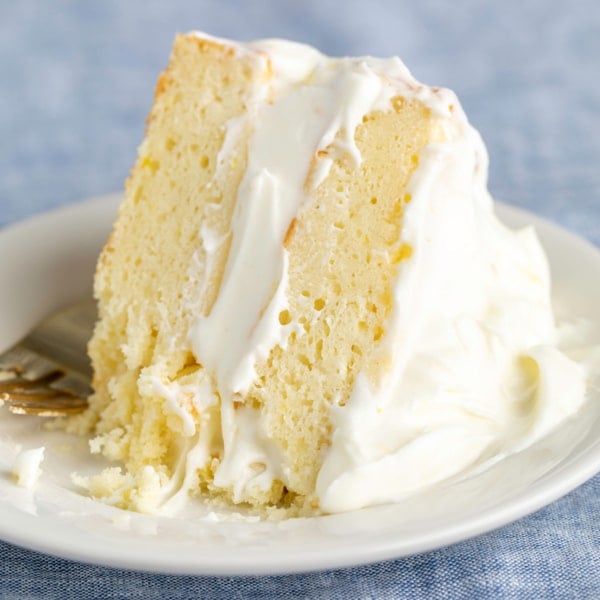
Cakes and Cupcakes
Classic Gluten Free Pound Cake | Basic Recipe and More
Cakes and Cupcakes
Gluten Free Lemon Cake
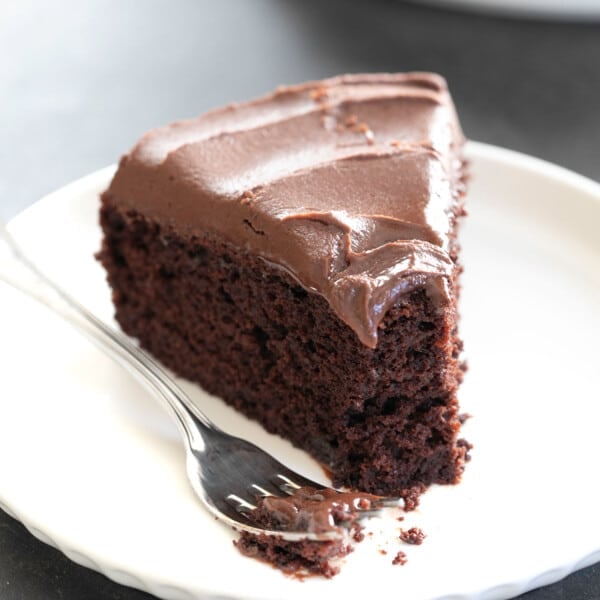
Cakes and Cupcakes
The Gluten Free Chocolate Cake Everyone Loves
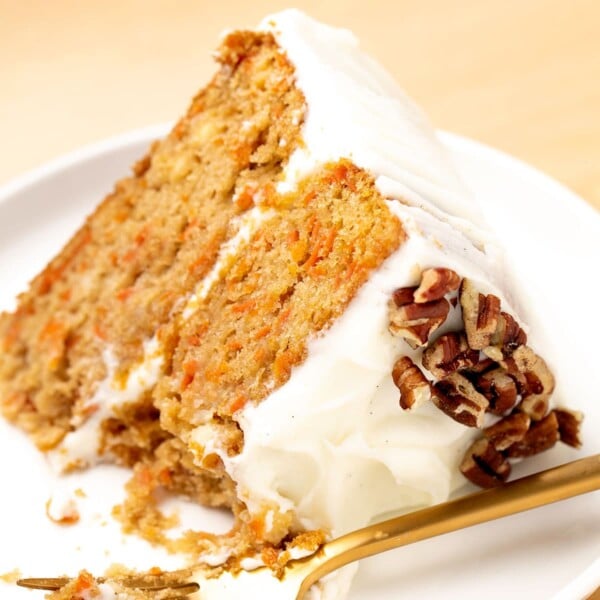
Cakes and Cupcakes
Gluten Free Carrot Cake

Flourless Baking
Just starting out baking gluten free? You don't need any flour at all to make these favorite cookies, cakes and muffins!
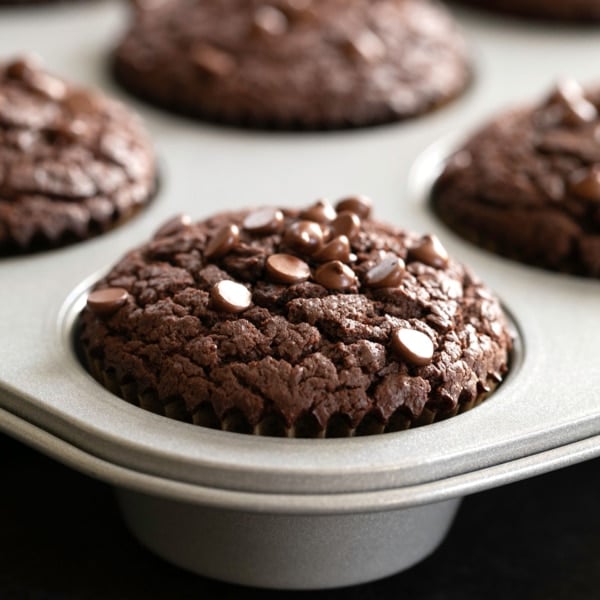
Breakfast & Brunch
Flourless Chocolate Muffins | With Peanut Butter
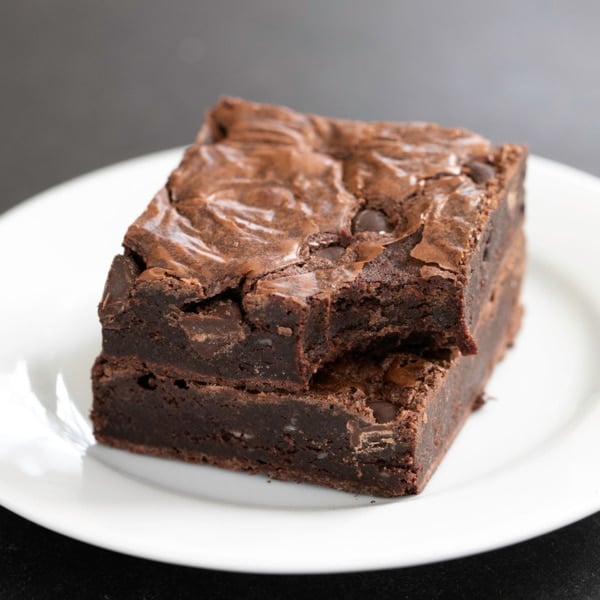
Flourless Baking
Fudgy Flourless Brownies
Cakes and Cupcakes


