

This post may contain affiliate links. Please read our disclosure policy.
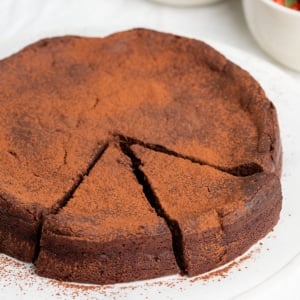
This rich, restaurant-style flourless chocolate cake is easy to make at home—no special ingredients or equipment required.
I’ve made it so many times I know it by heart. It looks fancy, but it’s actually a perfect starter recipe—especially if you’re baking for a gluten free guest.

my take
What makes this cake special
- Surprisingly easy: Just a few ingredients and two simple steps—make the base, fold in whipped egg whites. Once you’ve done it once, you’ll remember it forever.
- Naturally gluten free: No flour blend to source, and no specialty products. Perfect for a GF dinner guest or beginner baker.
- Intensely chocolatey: Rich, dense, and aromatic—you’ll smell the chocolate before you taste it.
- Easy to dress up: Serve plain, or top with ganache, whipped cream, or fresh berries.
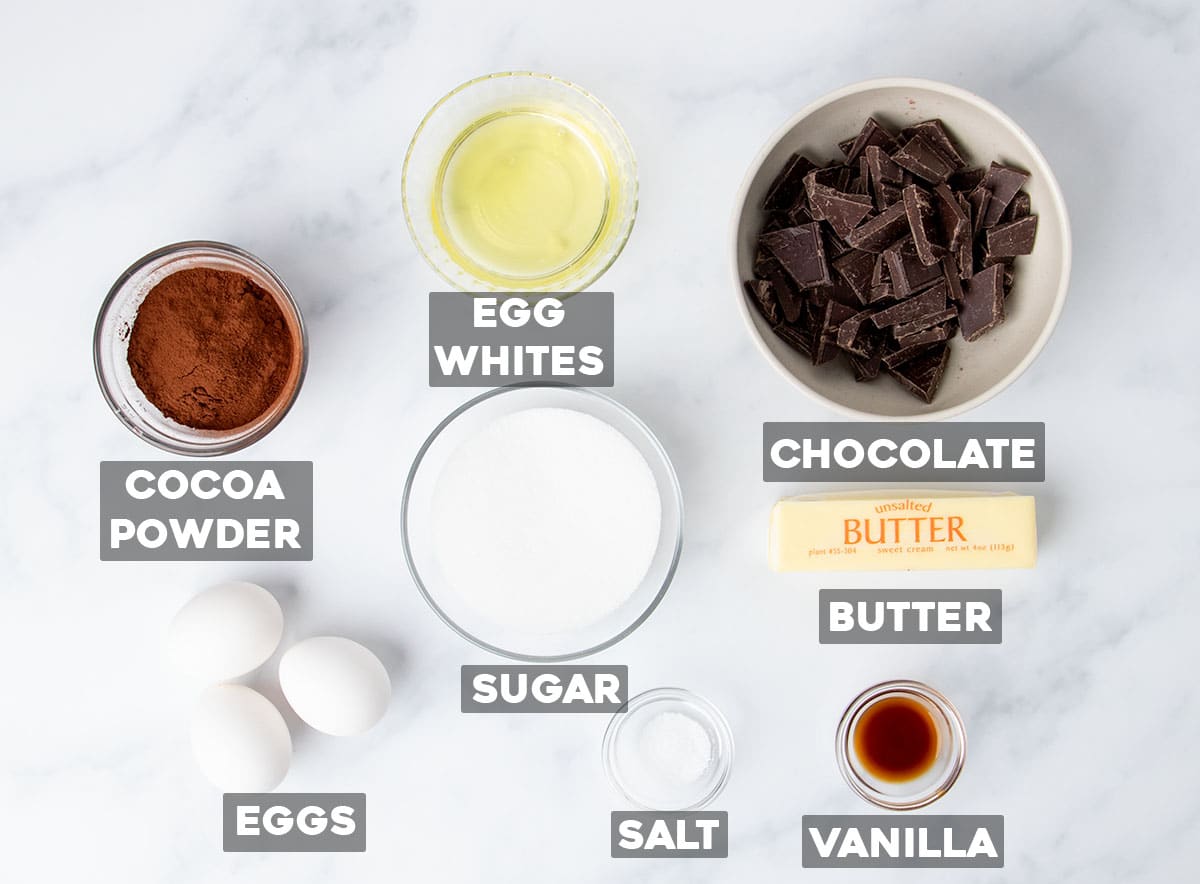
Key ingredients
There are just a handful of ingredients in this simple flourless chocolate cake:
- Chocolate: Use chopped chocolate you love to eat, not chocolate chips (they contain wax and won’t melt smoothly).
- Butter: Adds richness, moisture, and helps prevent the cake from becoming too dense.
- Eggs: You’ll need 3 whole eggs and 2 extra whites. The yolks add richness, and the whipped whites create structure and lightness.
- Sugar: Balances the richness and sweetness of the chocolate, and adds tenderness.
- Cocoa powder: Dutch-processed gives deeper flavor, but natural works too—just add 1/8 tsp baking soda to offset acidity.
- Vanilla extract: Rounds out the chocolate flavor and adds depth.

How to make a flourless chocolate cake
Follow along with my directions below to see how to make flourless chocolate cake in your own kitchen.
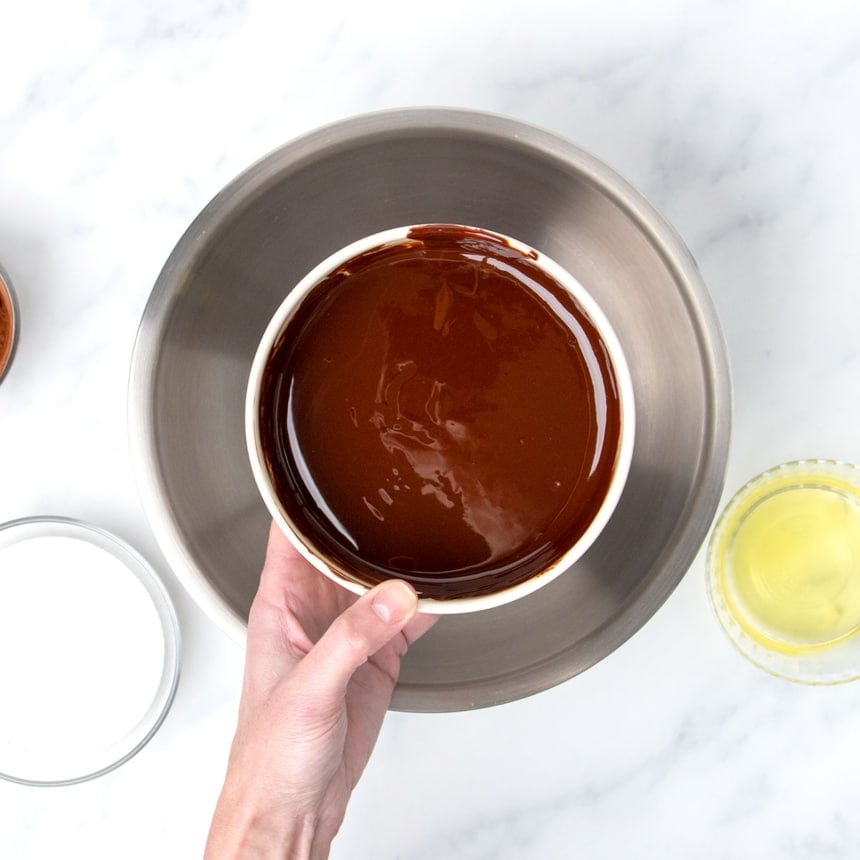
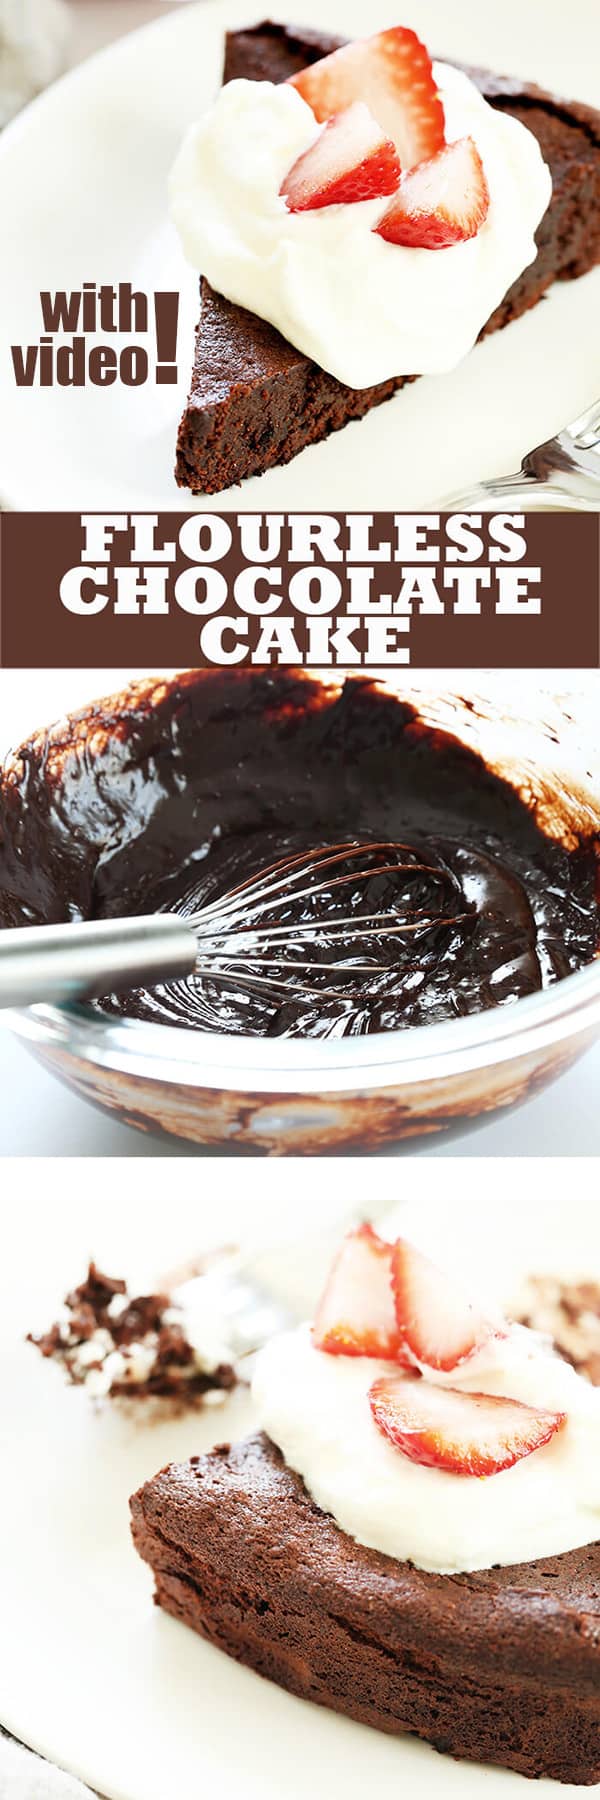
Melt the chocolate and butter, then set aside to cool.
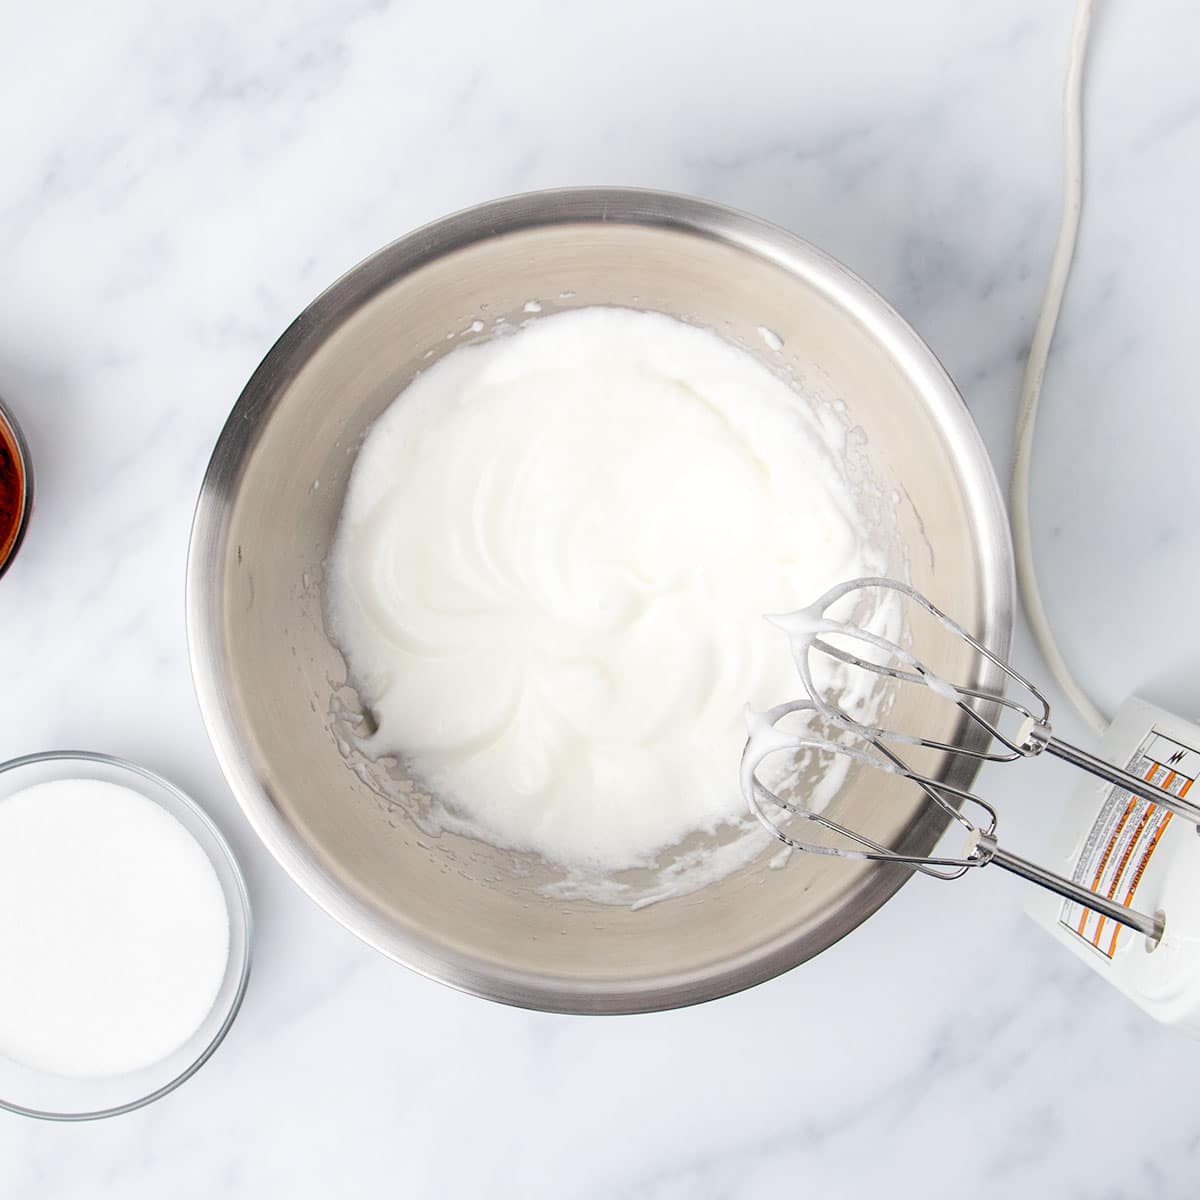
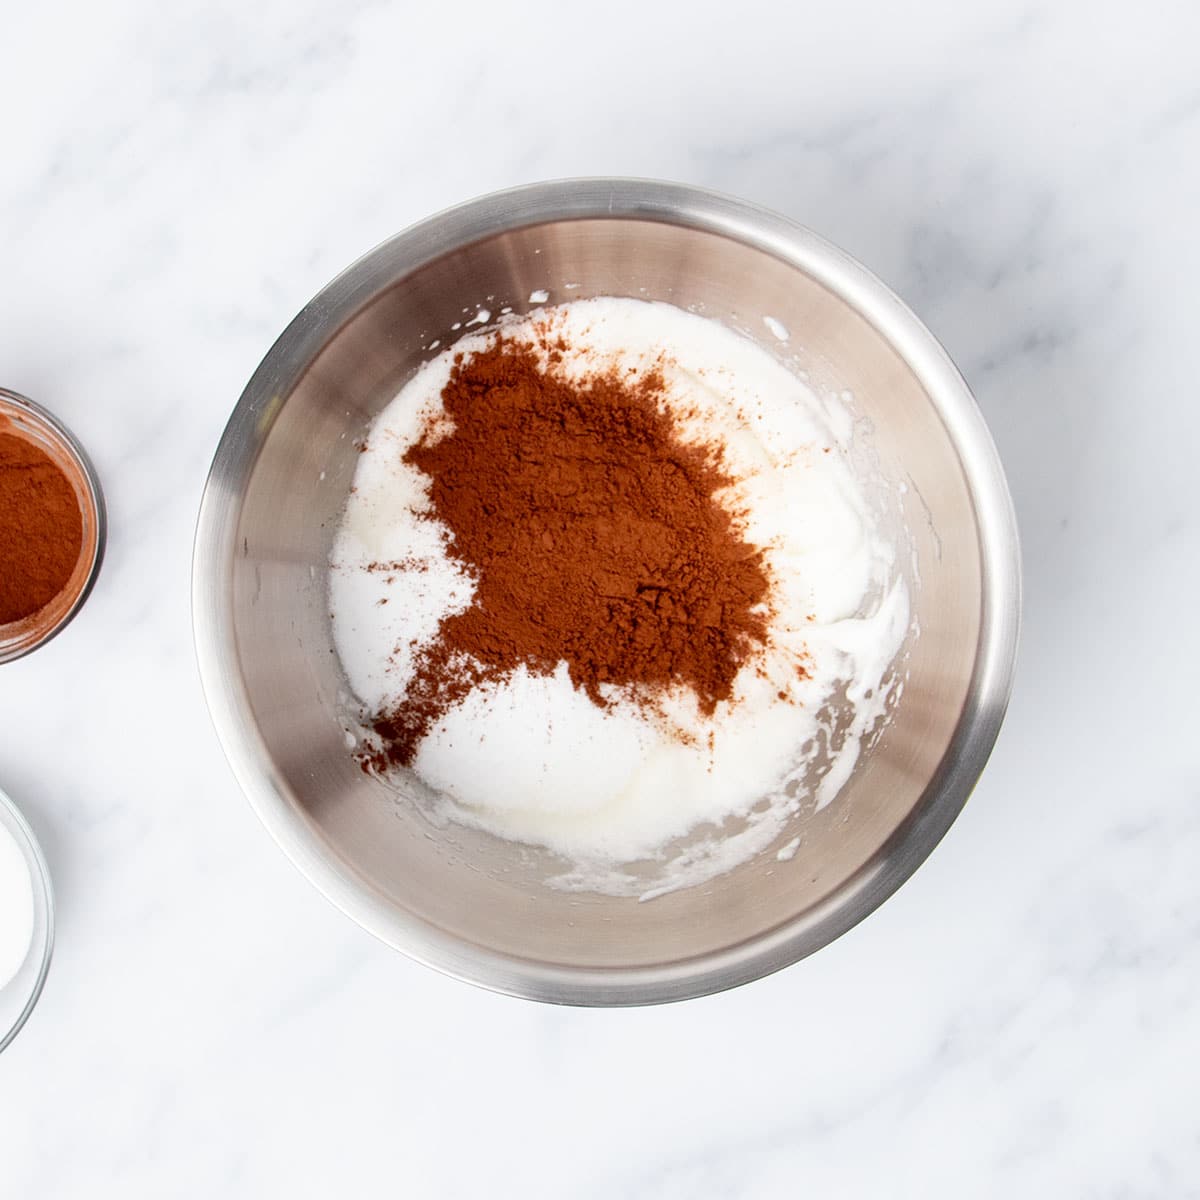
Whip the egg whites until soft peaks form, then beat in half the sugar and cocoa powder.

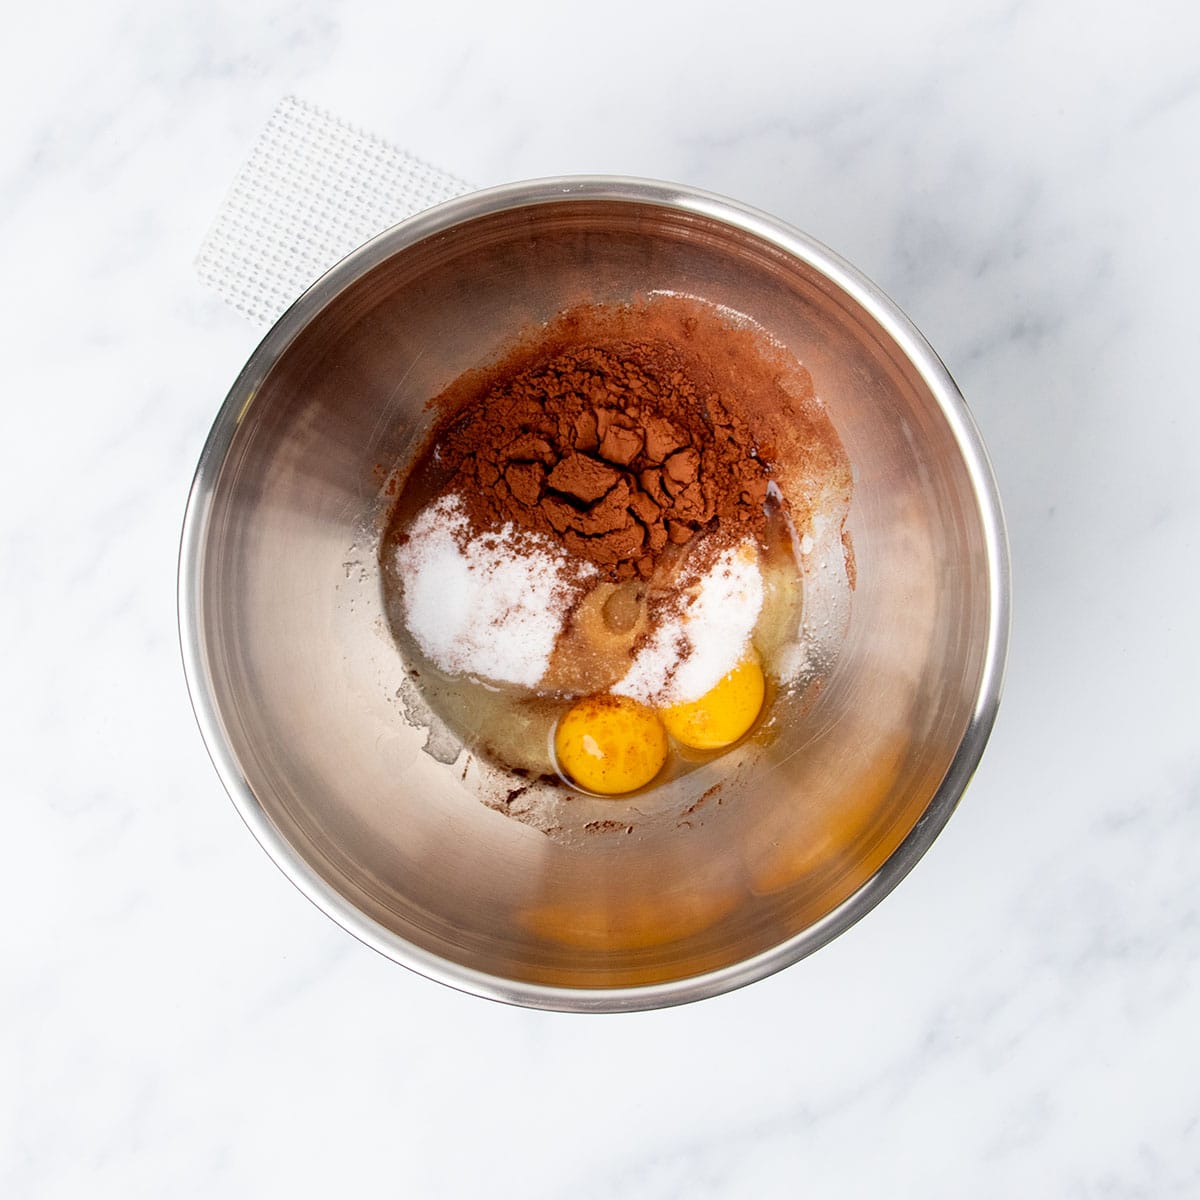
In another bowl, whisk the whole eggs with the rest of the sugar, cocoa powder, vanilla, and salt.
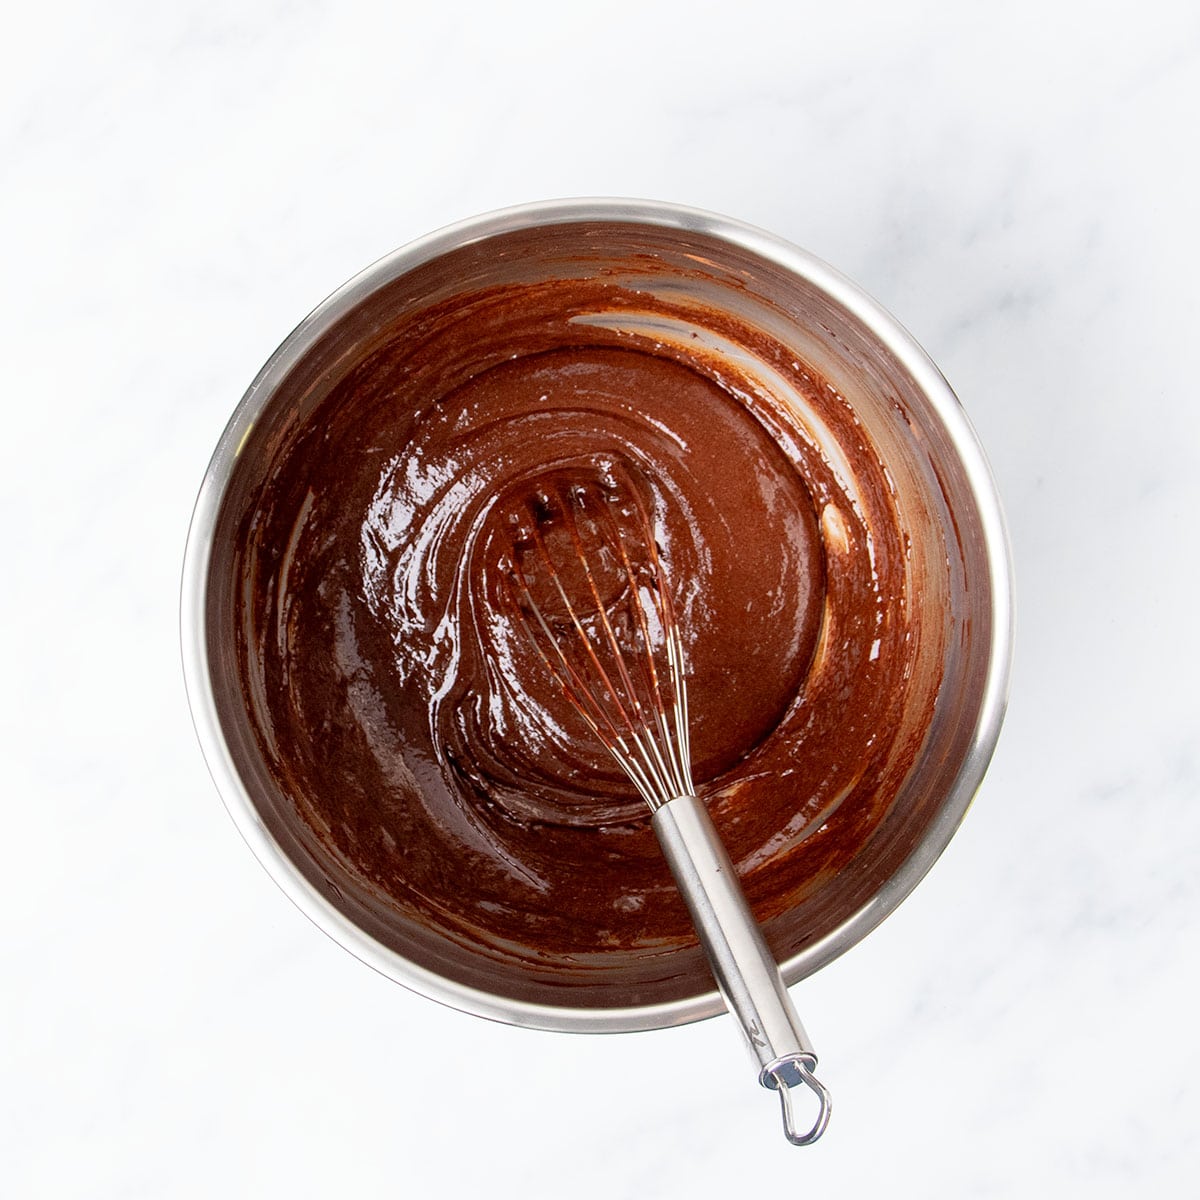
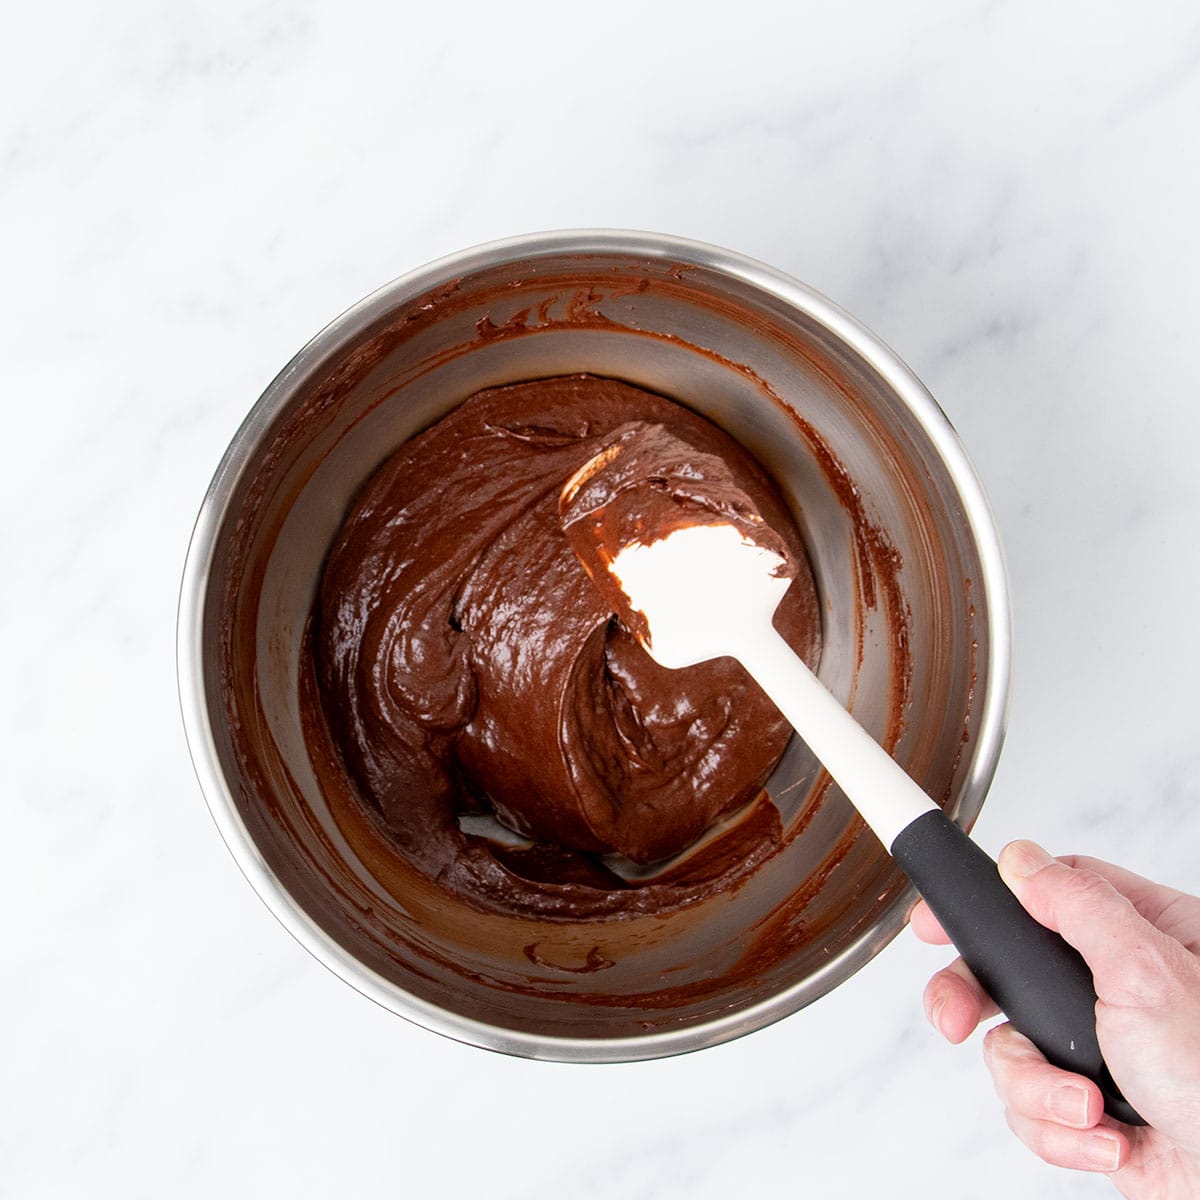
Add the melted chocolate mixture, then gently fold in the whipped egg whites just until no white streaks remain.
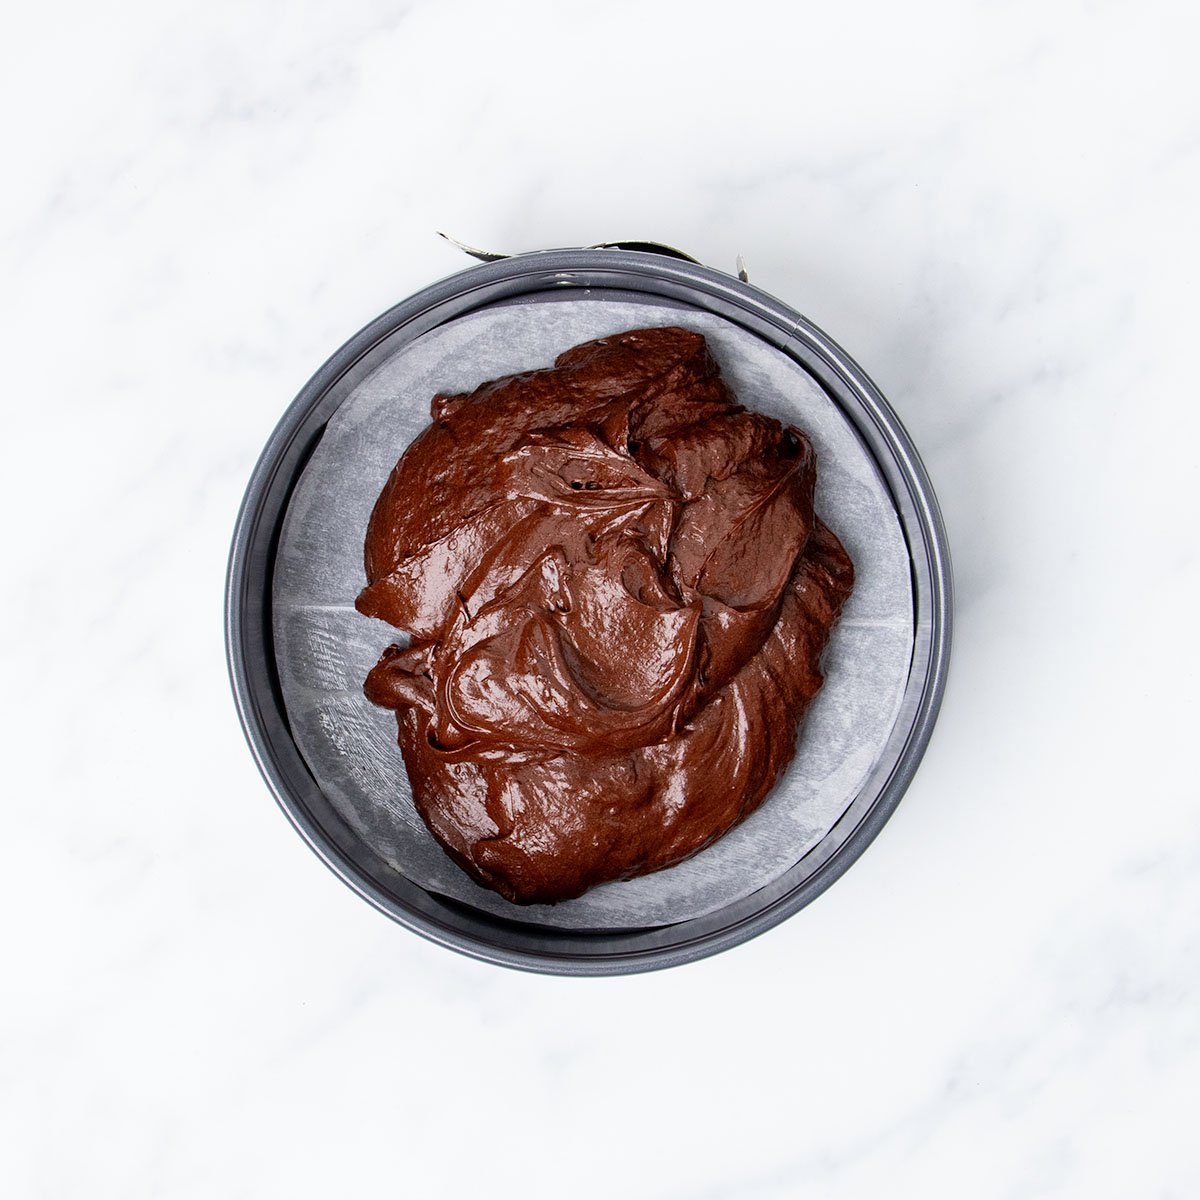
Pour the thick batter into a lined springform pan, and smooth the top with a spatula.
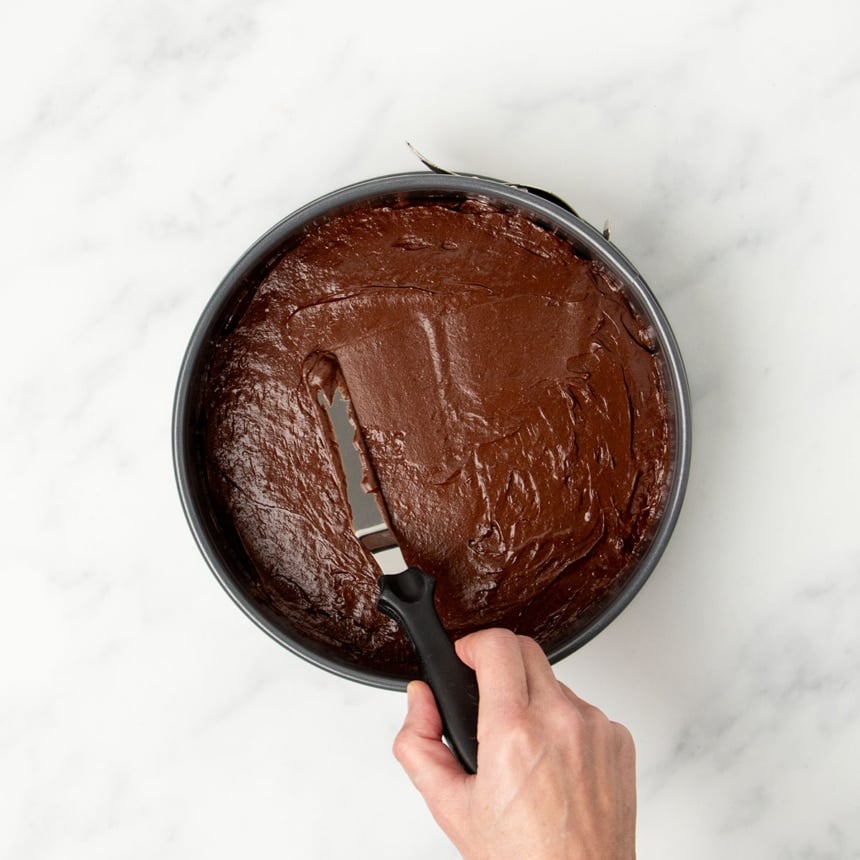
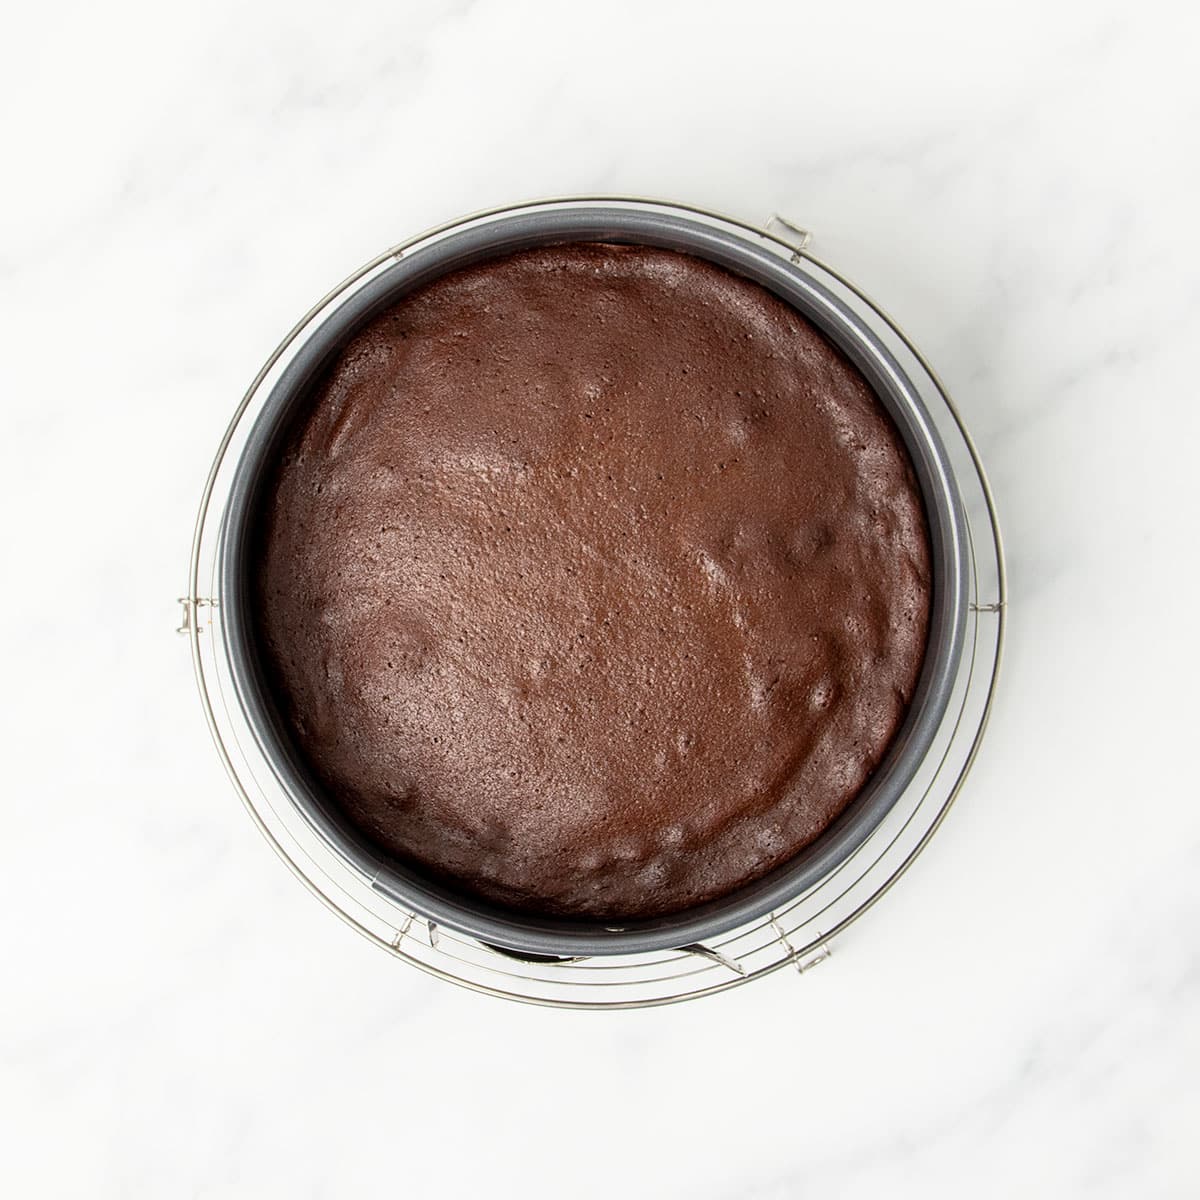
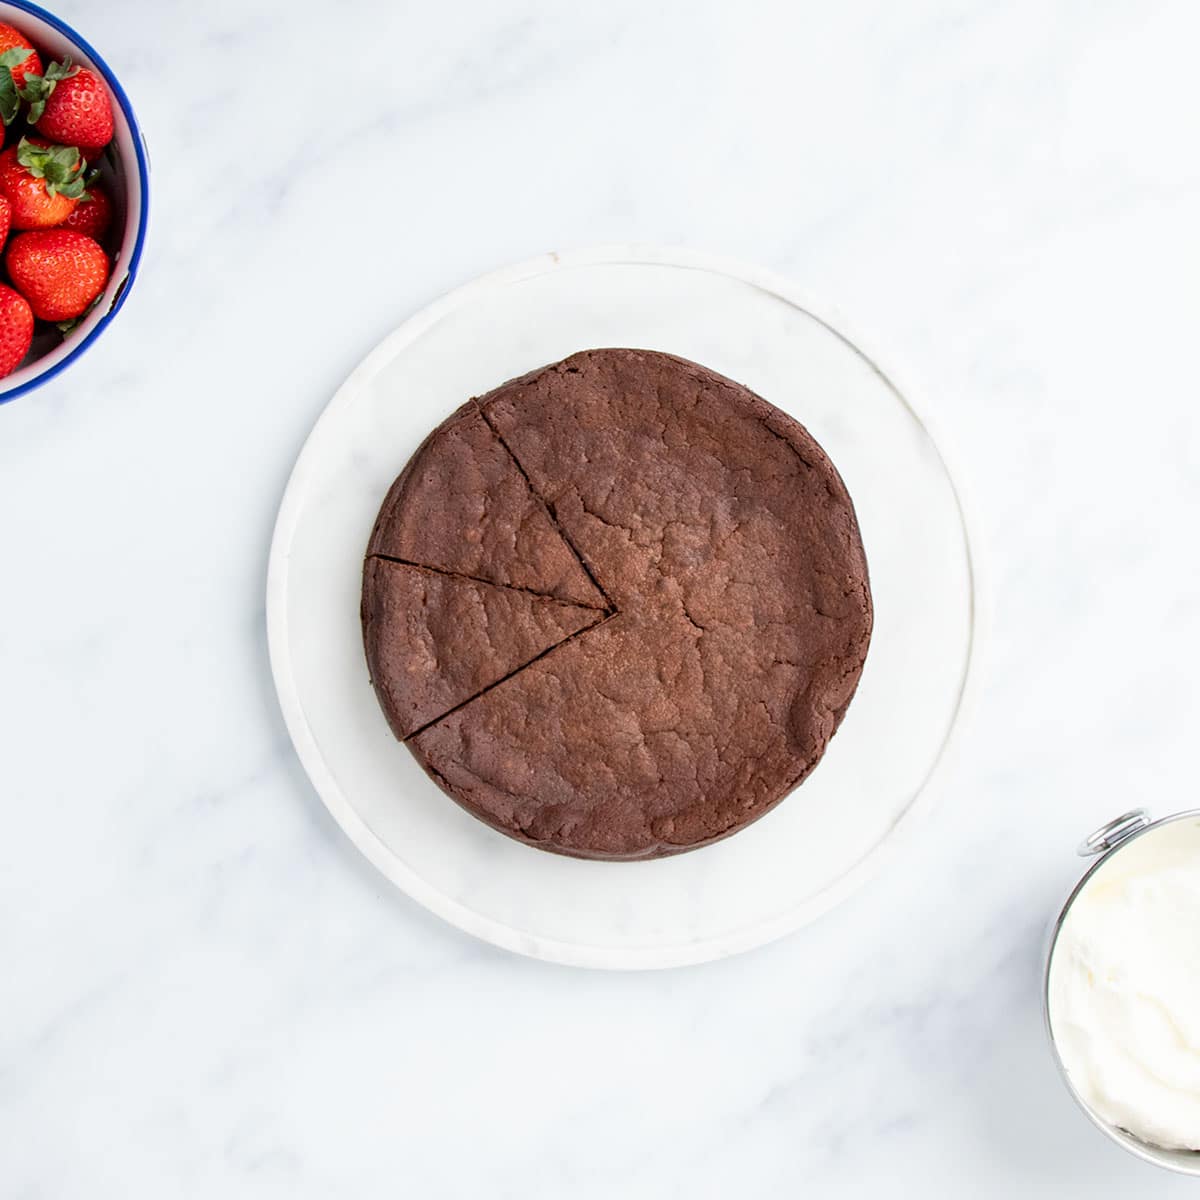
Bake at 350°F until just set in the center, and cool completely in the pan. Chill for at least 1 hour before slicing with a warm knife.
substitutions
Ingredient substitutions
Dairy free
Use dairy free dark chocolate, and swap the butter for a block-style vegan butter like Melt or Miyoko’s brand. Avoid the kind that comes in a tub—it’s mostly oil and won’t bake well.
Egg free
You may be able to replace the 2 egg whites with aquafaba (the liquid from canned chickpeas), whipped to soft peaks.
For the whole eggs, you can try 1 “chia egg” (1 tablespoon ground chia seeds mixed with 1 tablespoon lukewarm water until it gels) each. Or try replacing the 3 egg yolks with 3 tablespoons of unsalted butter at room temperature + 75 grams added aquafaba.
My Pro Tips
Expert tips
Choose good chocolate
This cake is all about the chocolate—so use one you love to eat. Avoid chocolate chips, which contain stabilizers that keep them from melting smoothly.
Don’t want to whip egg whites?
You can skip that step: just beat all the eggs and sugar together until pale yellow and doubled in volume, then whisk in the cocoa, melted butter, and chocolate. The result will be denser, but deliciously fudgy.
Expect the rise (and fall)
It’s normal for this cake to puff up in the oven, then settle as it cools. If it rises a lot and falls dramatically, it may have been overmixed—but it’ll still taste great.
Use a light-colored pan
A light-colored springform pan bakes more evenly and reduces the risk of burning. If yours is dark, start checking for doneness at 20 minutes.
For clean slices
Chill the cake thoroughly, then use a sharp knife warmed under hot water. Wipe it clean between cuts, just like with our gluten free cheesecake.
If you like making cake, try my gluten free dairy free chocolate cake recipe.
Recommended tools
- 8-inch or 9-inch round springform pan – A light-colored, nonstick pan bakes most evenly and prevents burning. An 8-inch pan makes for a thicker, more beautiful cake.
- Parchment paper – Cut a round to fit the bottom of your pan. It makes unmolding much easier.
- Double boiler or microwave-safe bowl – For gently melting the chocolate and butter.
- Hand or stand mixer with whisk attachment – To whip egg whites to soft peaks.
- Fine mesh sieve – Optional, but useful for sifting cocoa powder.
- Silicone spatula – Helps fold the egg whites into the batter without deflating them.
Flourless Chocolate Cake Recipe (GF)
Tell Google you trust GFOAS!
Equipment
- Handheld mixer or stand mixer
- 8-inch or 9-inch round springform pan light in color is best
Ingredients
- 6 ounces dark chocolate, chopped
- 8 tablespoons (112 g) unsalted butter, chopped (plus more for greasing)
- 2 (50 g) egg whites
- 3 (150 g (weighed out of shell)) eggs, at room temperature
- ¾ cup (150 g) granulated sugar
- ½ cup (40 g) unsweetened cocoa powder, sifted (Dutch-processed is best)
- 1 teaspoon pure vanilla extract
- ½ teaspoon kosher salt
For decorating (optional)
- Cocoa powder, for dusting
- Whipped cream
- Fresh berries, raspberries and strawberries look and taste best
Instructions
- Preheat your oven to 350°F. Butter an 8-inch or 9-inch round springform pan (See Recipe Notes), line just the bottom with a round of unbleached parchment paper, then butter the paper. Set the pan aside.
Melt the chocolate & butter.
- In a double boiler or a medium-sized microwave safe bowl, melt the chocolate and 8 tablespoons butter until both are melted and smooth.
- If you are using the microwave method, microwave in 30-second increments at 70% power, stirring in between intervals, taking care not to burn the chocolate. Set the mixture aside to cool briefly.
Beat the egg whites.
- In a large bowl with a handheld mixer, or a stand mixer fitted with the whisk attachment, beat the 2 egg whites on medium-high speed until soft peaks form. (For a slightly fluffier cake, separate one of the 3 whole eggs and add one more white here.)
- Add about half of the sugar and about half of the cocoa powder to this mixture, and beat on medium speed until well-combined and glossy. Go slowly at first, because cocoa powder resists combining.
- Adding cocoa powder to the egg whites makes it easier to incorporate them into the rest of the mixture later without deflating the whites.
Assemble the batter.
- In a separate large bowl, whisk the 3 whole eggs (or 2 whole eggs and remaining egg yolk), remaining sugar, remaining cocoa powder, vanilla and salt until well-combined.
- Add the melted chocolate and butter mixture, whisking constantly, until fully combined. Continue to whisk until the mixture is smooth and glossy.
- Fold the egg white and cocoa powder/sugar mixture into the batter carefully but completely. The mixture will be thickly pourable.
- Pour the batter into the prepared pan, and smooth the top carefully using a small offset spatula or knife. Tap the pan gently on the counter to break any very large air bubbles.
Bake the cake.
- Place the pan in the center of the preheated oven. Bake for about 25 minutes (closer to 30 minutes for an 8-inch cake), or until the cake is just set in the center.
- If you are using a dark-colored springform pan, begin checking at 20 minutes to ensure that the cake doesn’t burn. Remove the pan from the oven and place the cake on a wire rack, still in the pan, to cool completely. It should take about an hour to cool in the pan fully.
- Place the cooled cake in the refrigerator, still in the pan, and chill for 1 hour (or longer) before unmolding it from the springform pan.
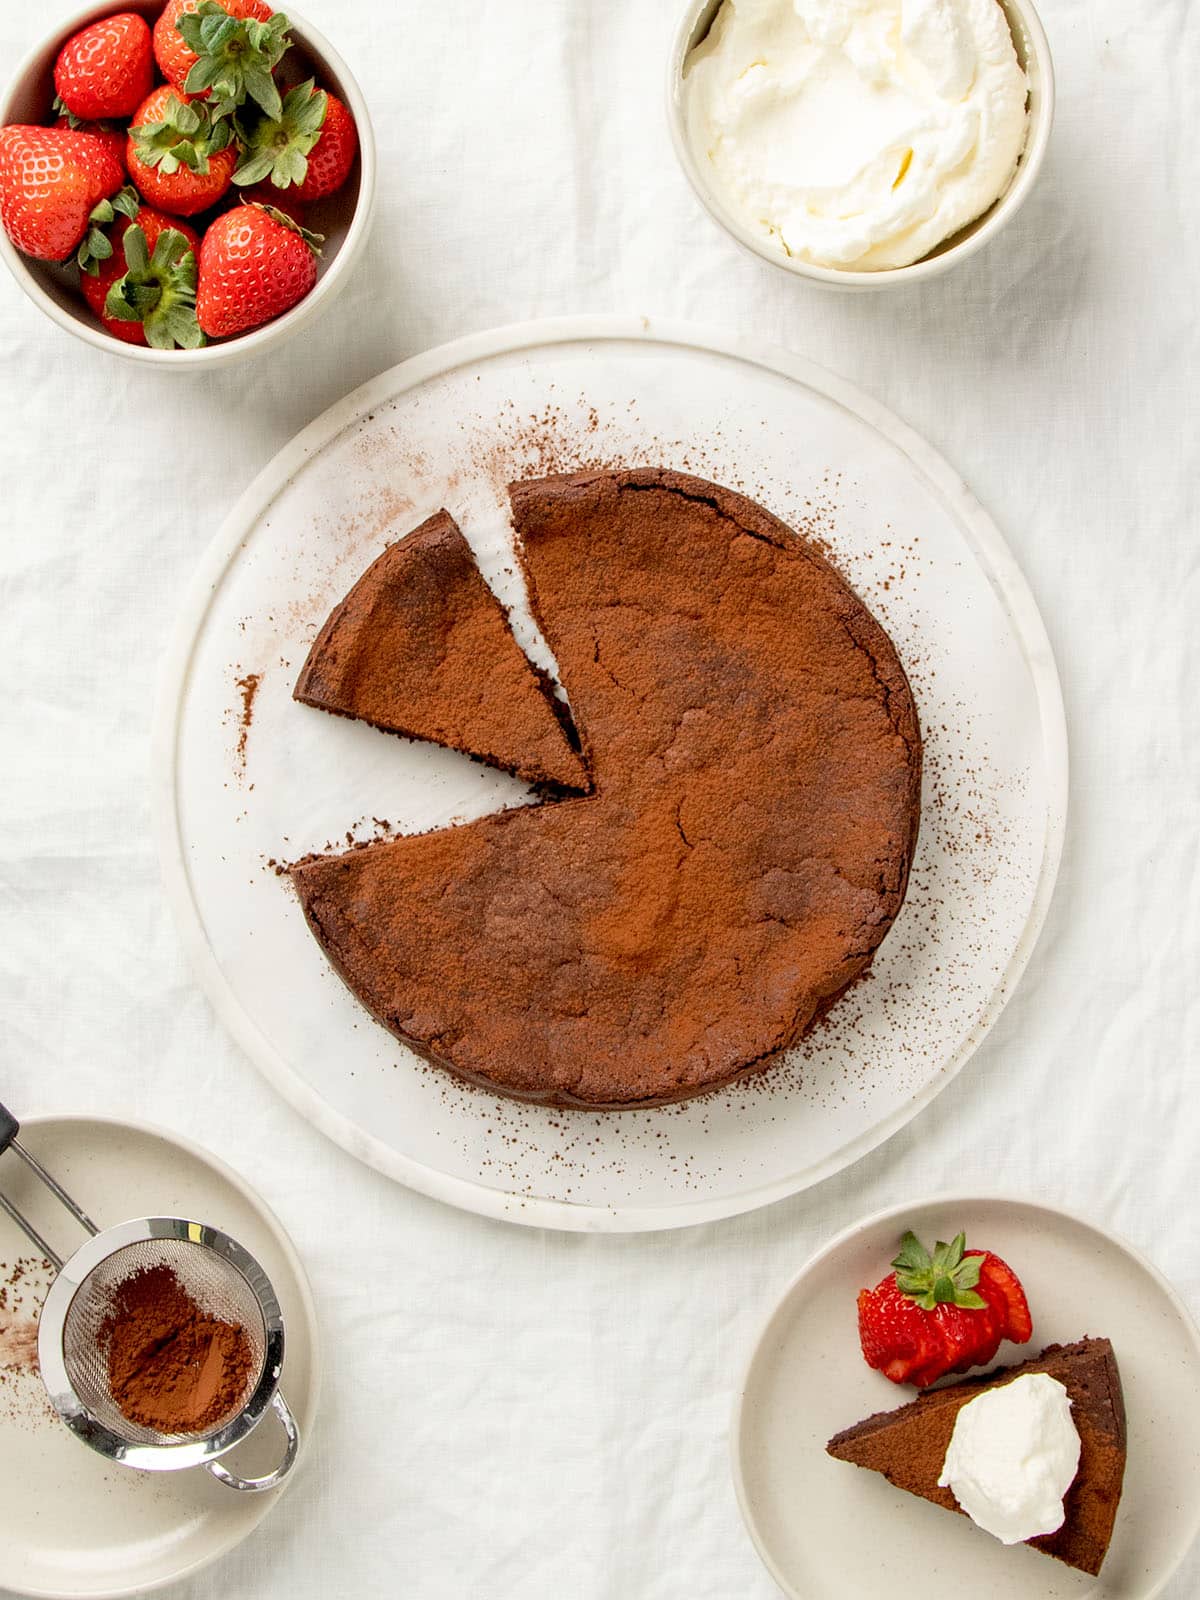
- Slice with a sharp, wet knife and serve with optional cocoa powder, berries and cream.
Video
Notes
Nutrition
Nutrition information is automatically calculated, so should only be used as an approximation.
make ahead/leftovers
Storage instructions
Make ahead:
Once the cake has chilled and set, remove the springform ring and wrap it tightly in plastic wrap or Press’n Seal. It keeps well in the refrigerator for up to 1 week. Serve cold or at room temperature.
Freezing:
Wrap individual slices or the whole cake tightly and freeze for up to 2 months. Defrost overnight in the refrigerator, or let it come to room temperature before serving.
FAQs
Yes—it’s much denser and fudgier than a typical gluten free chocolate cake with flour. More like a rich, truffle-like dessert than a classic crumb cake.
Don’t overbake! The cake is done when the center is just set and no longer shiny. Overbaking will dry it out.
Some sinking is normal—this cake is a bit like a soufflé. But if it puffed up a lot and collapsed dramatically, you may have overmixed the batter.
Yes—just add 1/8 teaspoon baking soda to offset the acidity if you use natural (not Dutch-processed) cocoa powder.
Yes! You can make the cake up to 3 days ahead. Chill it uncovered until set, then cover tightly and store in the fridge.
Serving suggestions
This cake is rich and elegant on its own, but here are a few simple toppings to make it extra special:
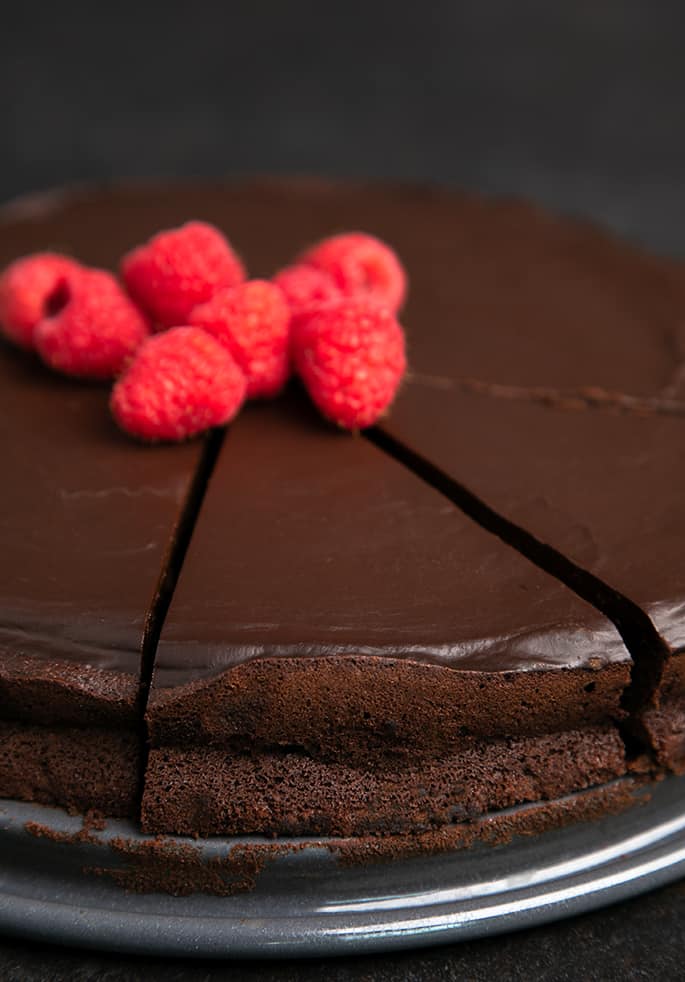
Chocolate Ganache Topping:
Heat 2/3 cup heavy whipping cream until simmering, and pour over 8 oz chopped dark chocolate in a heat-safe dish. Let sit until beginning the melt, then stir until smooth. Pour over the cooled cake and refrigerate until set.
Other ideas:
- Whipped cream with berries and chocolate shavings
- A dusting of cocoa powder with fresh strawberries
- Powdered sugar and a mix of raspberries and blueberries
- A scoop of vanilla ice cream











Replacing the chocolate for liquified chocolate baking powder was not the desired effect. Do you have a recipe using only unsweetened baking chocolate? Should the baking chocolate be sifted?
That would require an entirely different recipe, Linda. You can’t replace the chocolate in a flourless chocolate cake.
I have a question about the egg whites section, I beat the egg whites to add air, the add half the Coco and half the sugar then beat it again, this beats all the air I put in in the previous step when I had soft peaks. what am I not understanding?
What you’re missing, Peter, is that it doesn’t beat all of air out of the mixture, and if you don’t beat the egg whites into soft peaks on their own, they’ll never whip since any added fat like there is in the cocoa powder will prevent the whites from aerating at all.
I loved this recipe! I used enjoy life chocolate dark chips and sticks of vegan butter with great results! I also used the chocolate chips to sprinkle in the batter so there would be little chunks of chocolate in the baked cake. I made ganache with the enjoy life chocolate chips and vegan whipping cream and that turned out great too! I served the cake with some cocowhip and raspberries.
Hello, I wish you would mention how to determine when this cake is done. It’s very different from a traditional cake. I had to go to another content creator’s website to figure it out.
Hi, Lacey, I’m sorry you didn’t find my doneness instructions (“Bake for about 25 minutes (closer to 30 minutes for an 8-inch cake), or until the cake is just set in the center”) to be sufficient! A toothpick will not come out clean, so there really aren’t more specific doneness instructions than “just set in the center” that I believe won’t confuse more than instruct.
Hi your photo looks like you have a ganache on top? Is that true? Would u recommend to add or not? If yes do u have a recipe?
It is true, Clarisa! Please see the text of the post under the subheading “Chocolate ganache topping” under the “Serving suggestions” heading for exactly how to make and use the chocolate ganache. Enjoy!
Can I use melted chocolate chips?
I would recommend against that, I’m afraid, Francine. Chocolate chips have added ingredients to help them hold their shape, so they don’t melt as smoothly and aren’t as rich, either.
How should leftovers be stored? Refrigerated?
Hi, Amy, please see the text of the post under the heading “Storage instructions”