

This post may contain affiliate links. Please read our disclosure policy.
I’ve been asked for years to share a gluten free bread recipe that actually works in a bread maker. If you’re looking for a traditional loaf baked in the oven instead, try my classic gluten free bread recipe.
But if you’ve got a bread machine, this one delivers reliable results with simple ingredients, clear steps, and even a dairy free option.
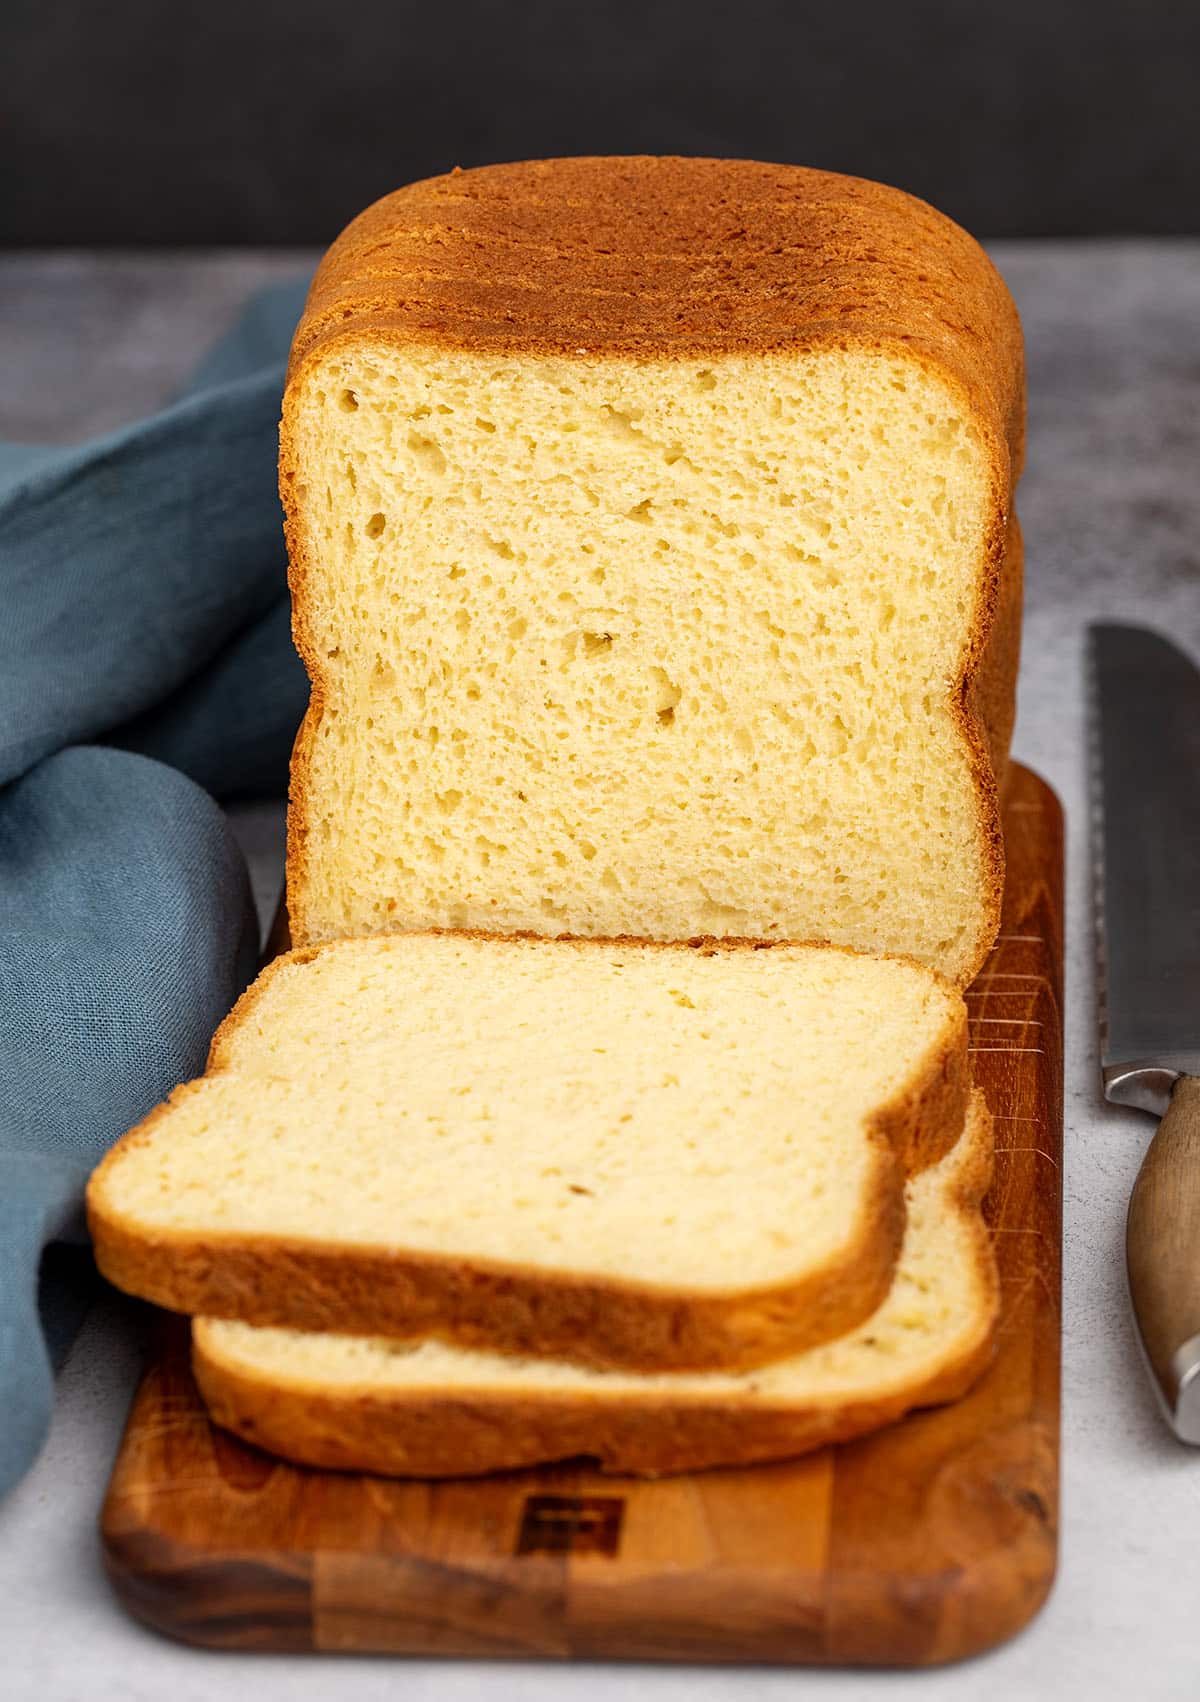
Why this recipe works in a bread machine
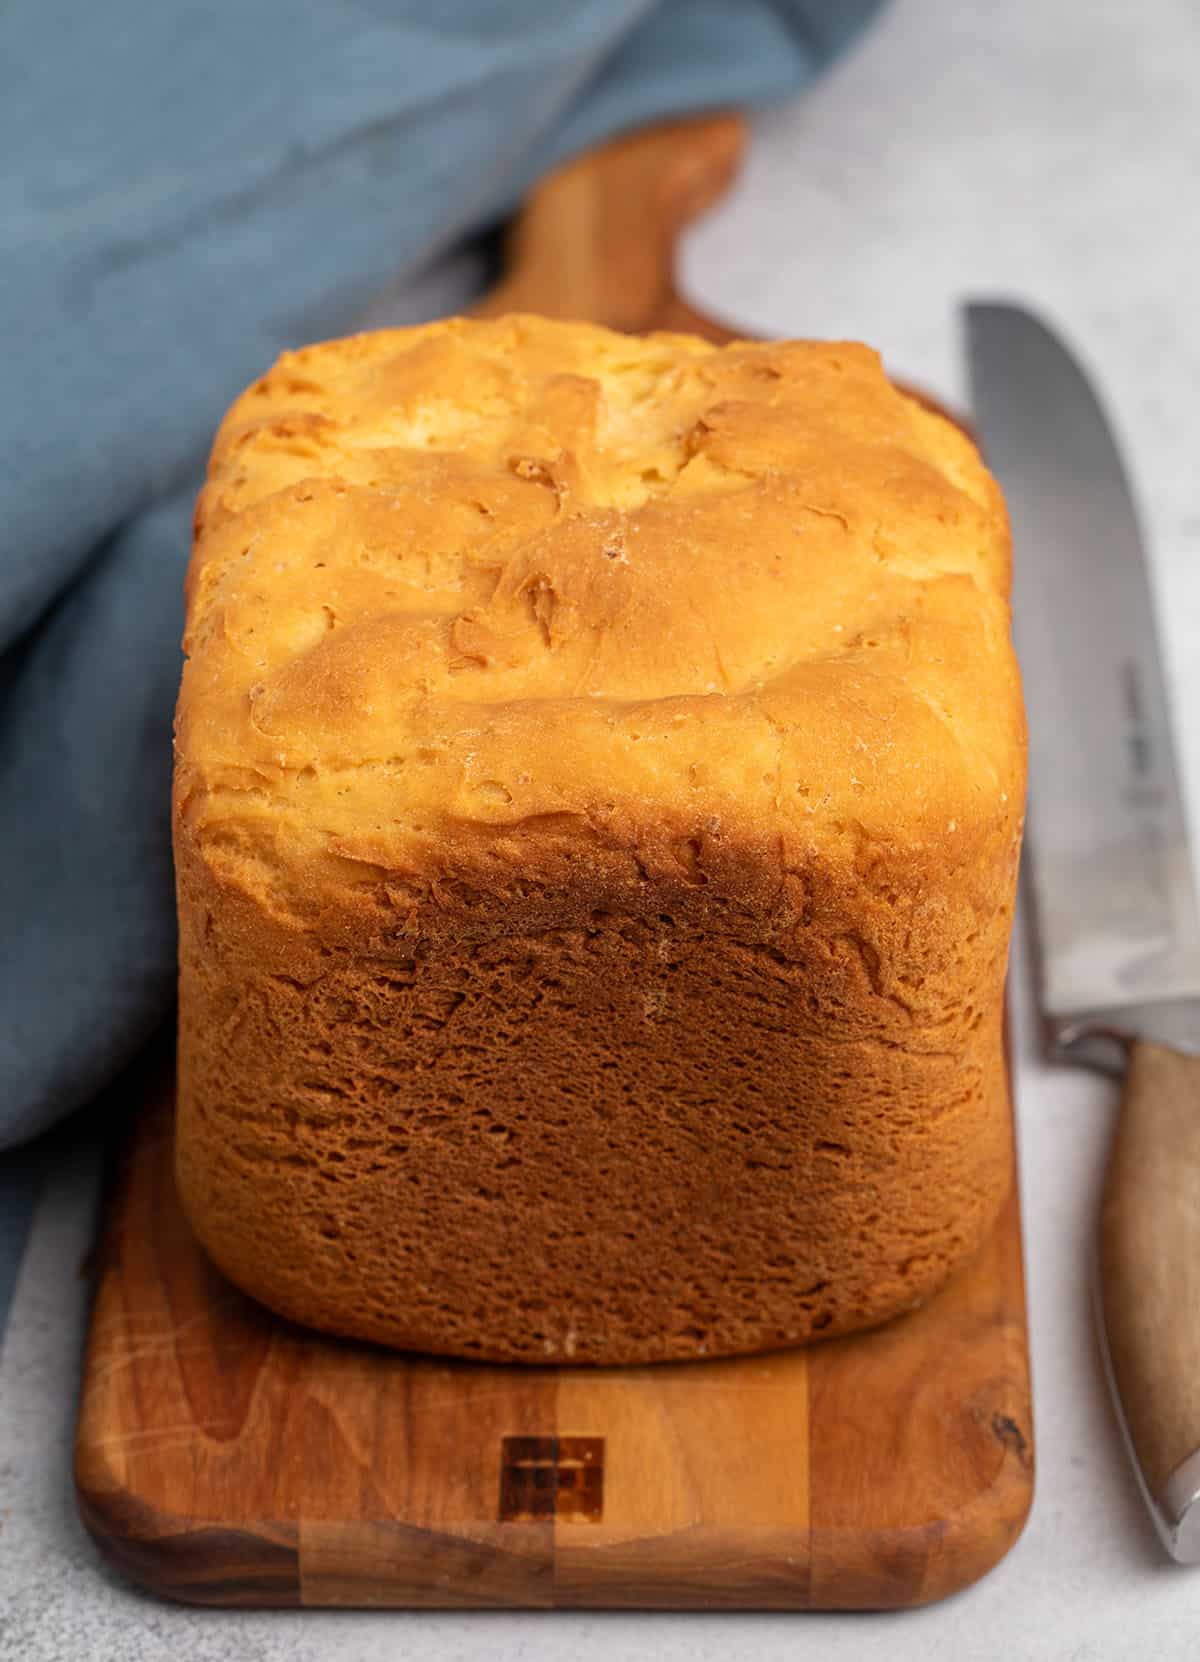
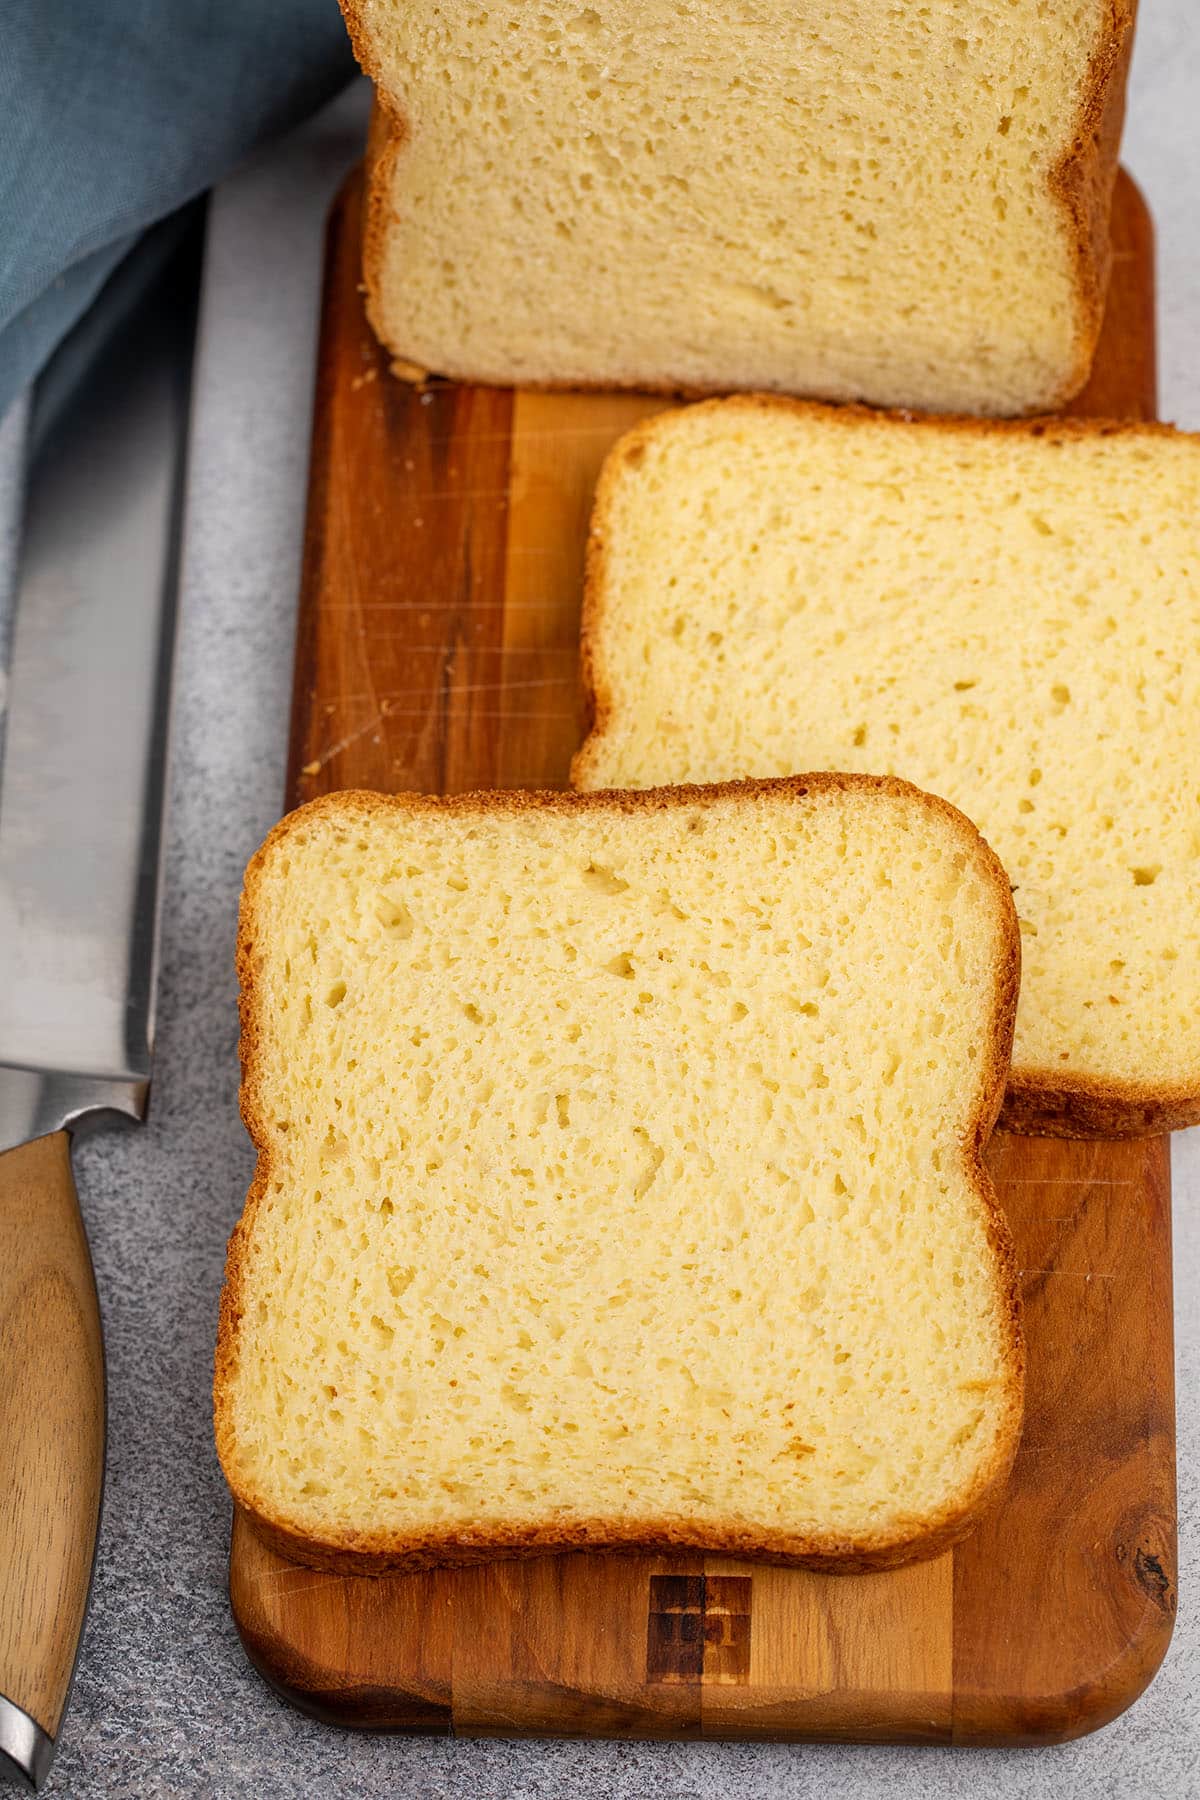
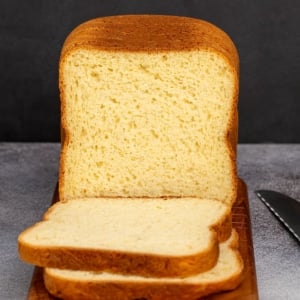
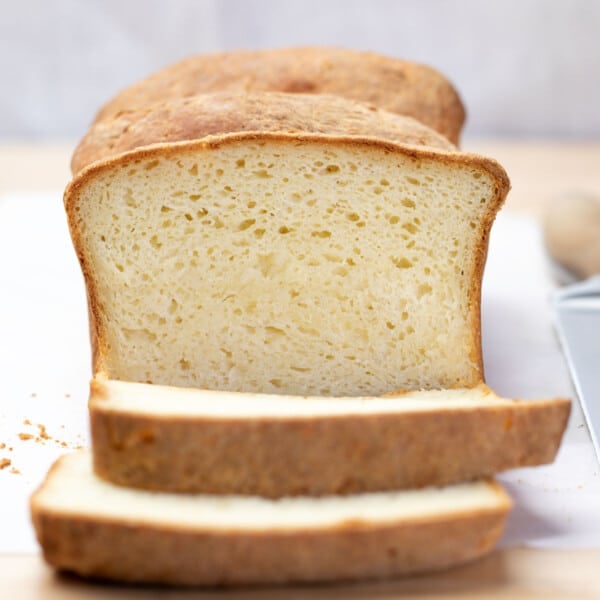
This loaf has a soft, open crumb and a golden brown crust that isn’t too hard or chewy. It has the tender texture and deep, buttery flavor of the best homemade bread.
The dough is designed for the way a bread machine works. It’s soft enough for the paddle to mix thoroughly, but not so wet that the loaf rises high only to collapse as it cools.
You can even use almost any modern bread maker, not just a specialized, super-expensive model, as long as you can specify proper mixing, a single rise, and longer bake time. That makes it much more reliable than trying to force a regular gluten free bread recipe into a bread machine.
Recipe ingredients
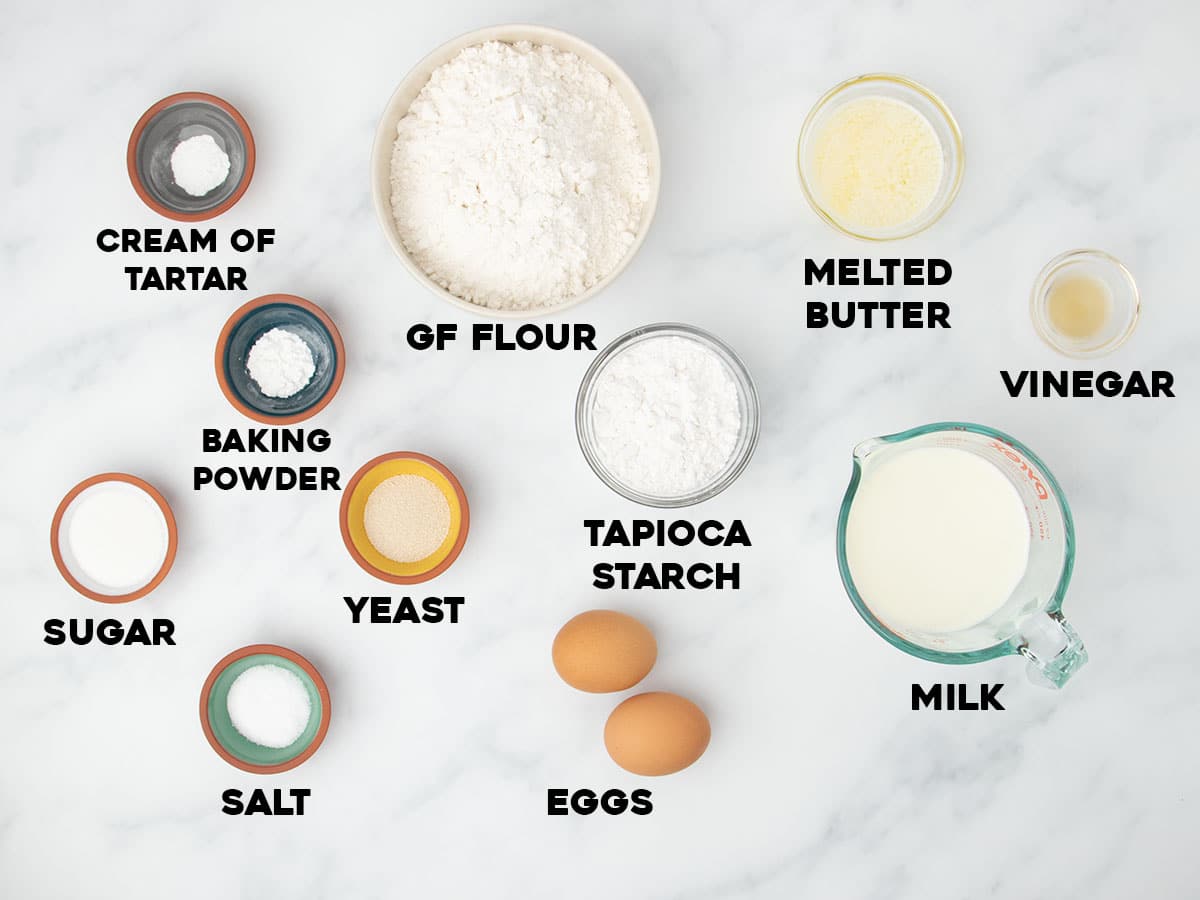
To make this gluten free bread recipe work in your bread machine, you’ll need a few extra ingredients that improve rise, structure, and flavor. Here’s what each one does and why it matters:
- Gluten free flour blend: Any high quality, rice flour-based all purpose gluten free flour blend should work fine, as long as it’s meant to be used for yeast bread (unlike KAF Measure for Measure). I love Better Batter’s original gluten free blend and Nicole’s Best multipurpose with the added xanthan gum the recipe instructs. If you must use Bob’s Red Mill 1-to-1 gluten free, you’ll need to add another 1 1/2 teaspoons xanthan gum, and results won’t be ideal.
- Tapioca starch: Adds more stretch and flexibility to the bread. Add this even though your all purpose blend already contains some.
- Cream of tartar & vinegar: Both add some acidity to the bread to help it rise.
- Baking powder: Adds some instant rise to the bread and acts as insurance in case your bread machine’s preset rising time of 1 hour isn’t quite enough.
- Sugar: Feeds the yeast, adds a bit of tenderness to the crumb.
- Salt: Controls the activity of the yeast, and adds flavor.
- Yeast: Provides most of the rise and even some flavor without a first rise.
- Milk: Adds moisture, brings the dough together, and adds richness.
- Eggs: Help with rise and structure that holds even after the loaf cools. The yolks also add extra richness and flavor.
- Butter: Adds moisture, buttery flavor, and tenderness from the added fat.
How to make this gluten free bread recipe in a bread machine
Making gluten free bread in a bread machine is as easy as layering the ingredients, setting your machine, and letting it do the work. Just follow these steps to get a consistent, bakery-style loaf every time.
Combine wet ingredients
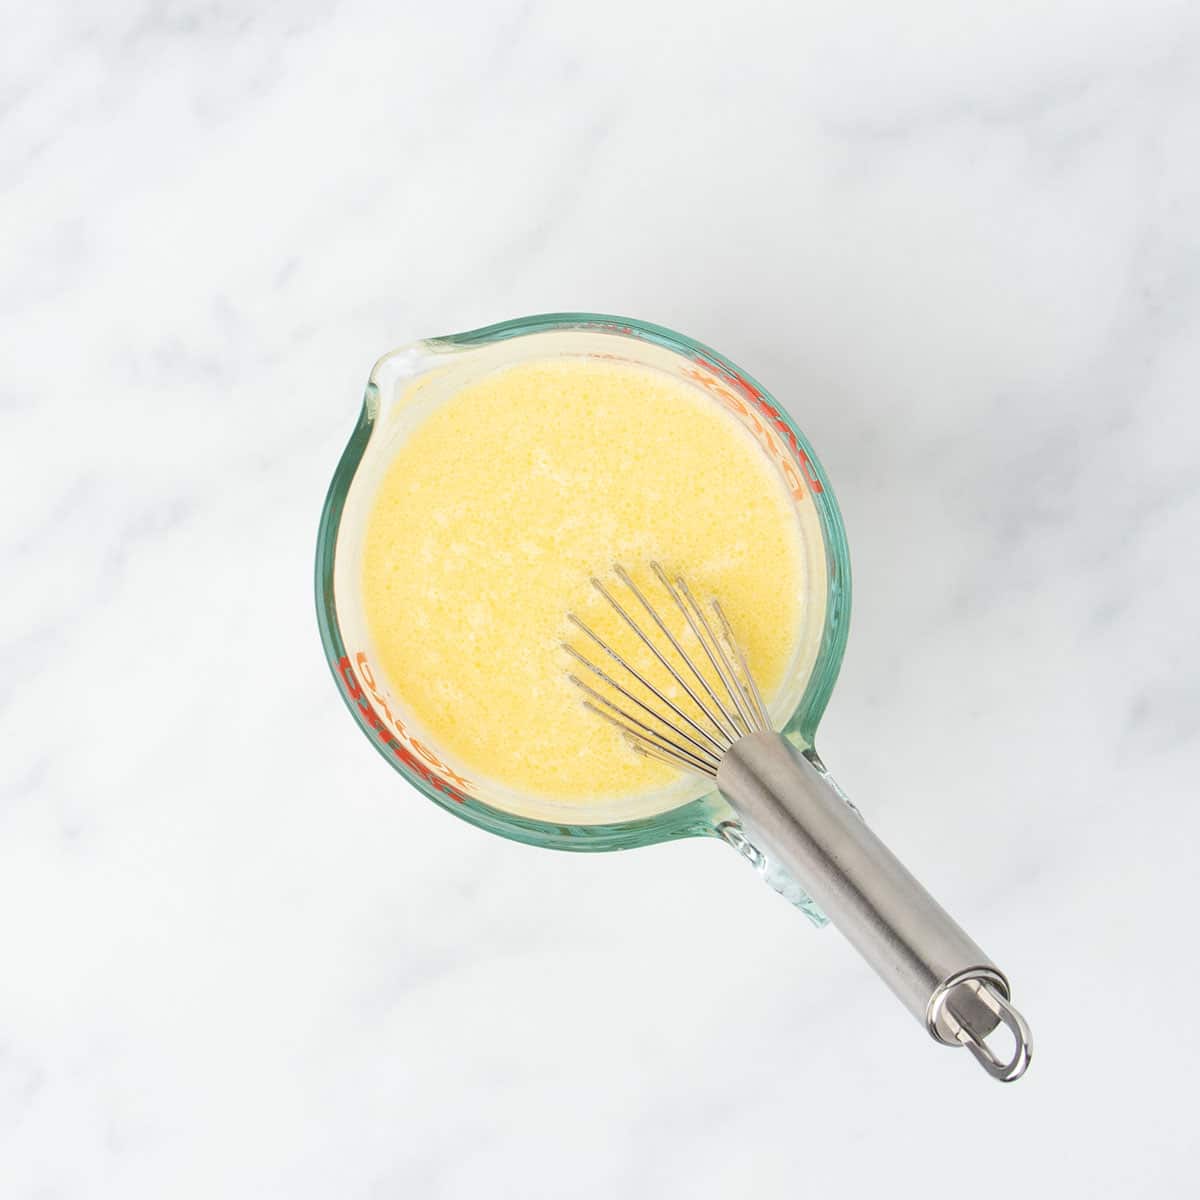
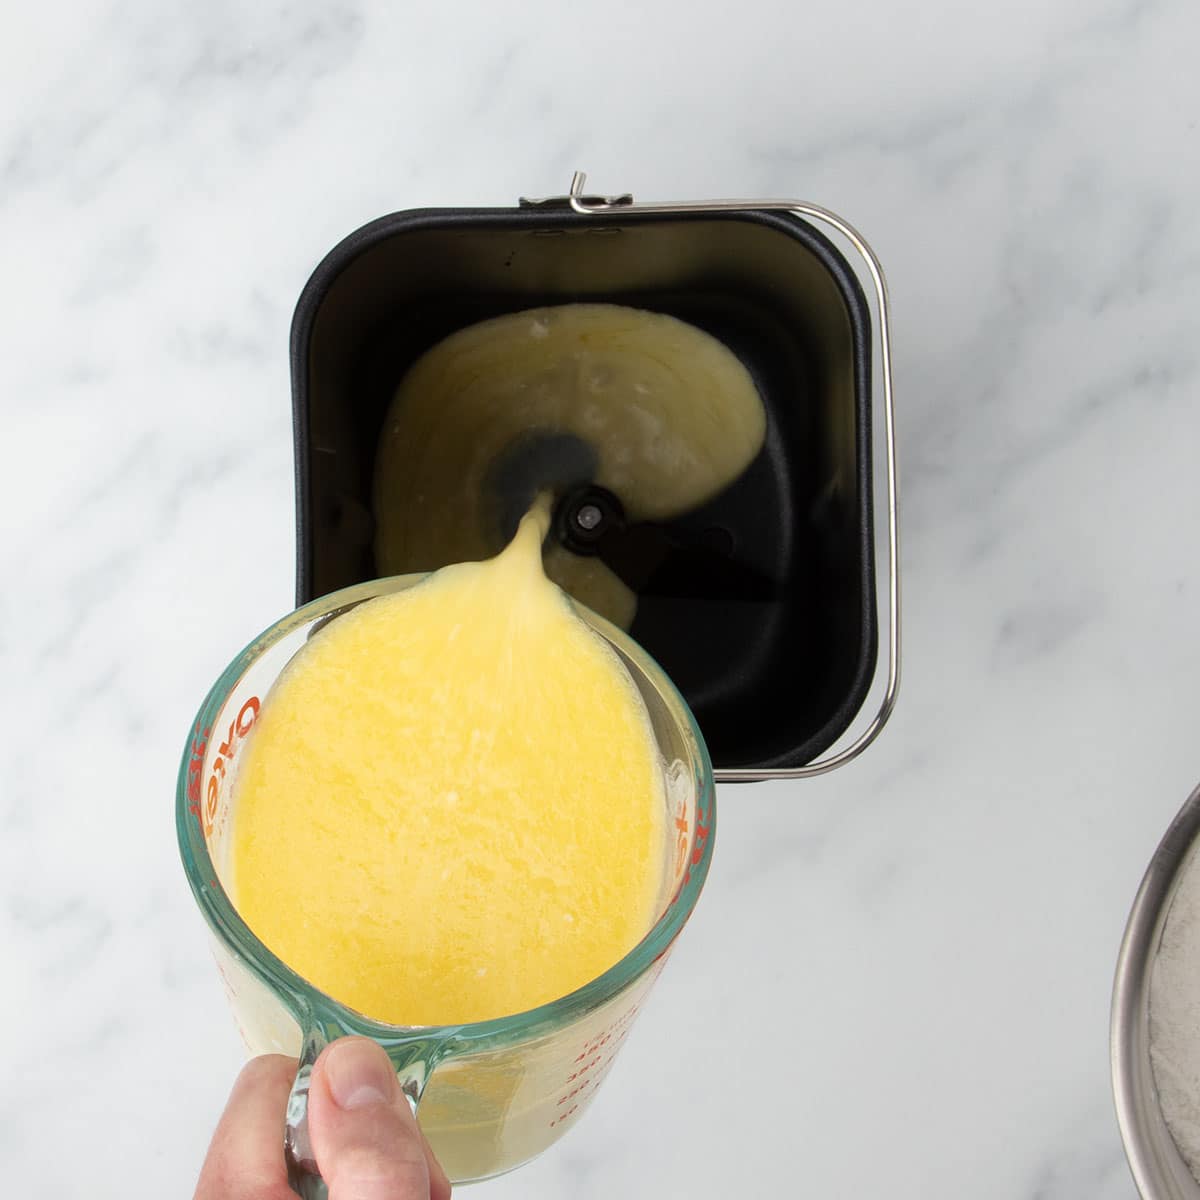
Begin by whisking the wet ingredients (warm milk, melted butter, apple cider vinegar, and eggs) in a large liquid measuring cup. We want to pour them all in to the bread maker at the same time, and get the combining started early for a smooth raw dough.
Combine most dry ingredients (not yeast)
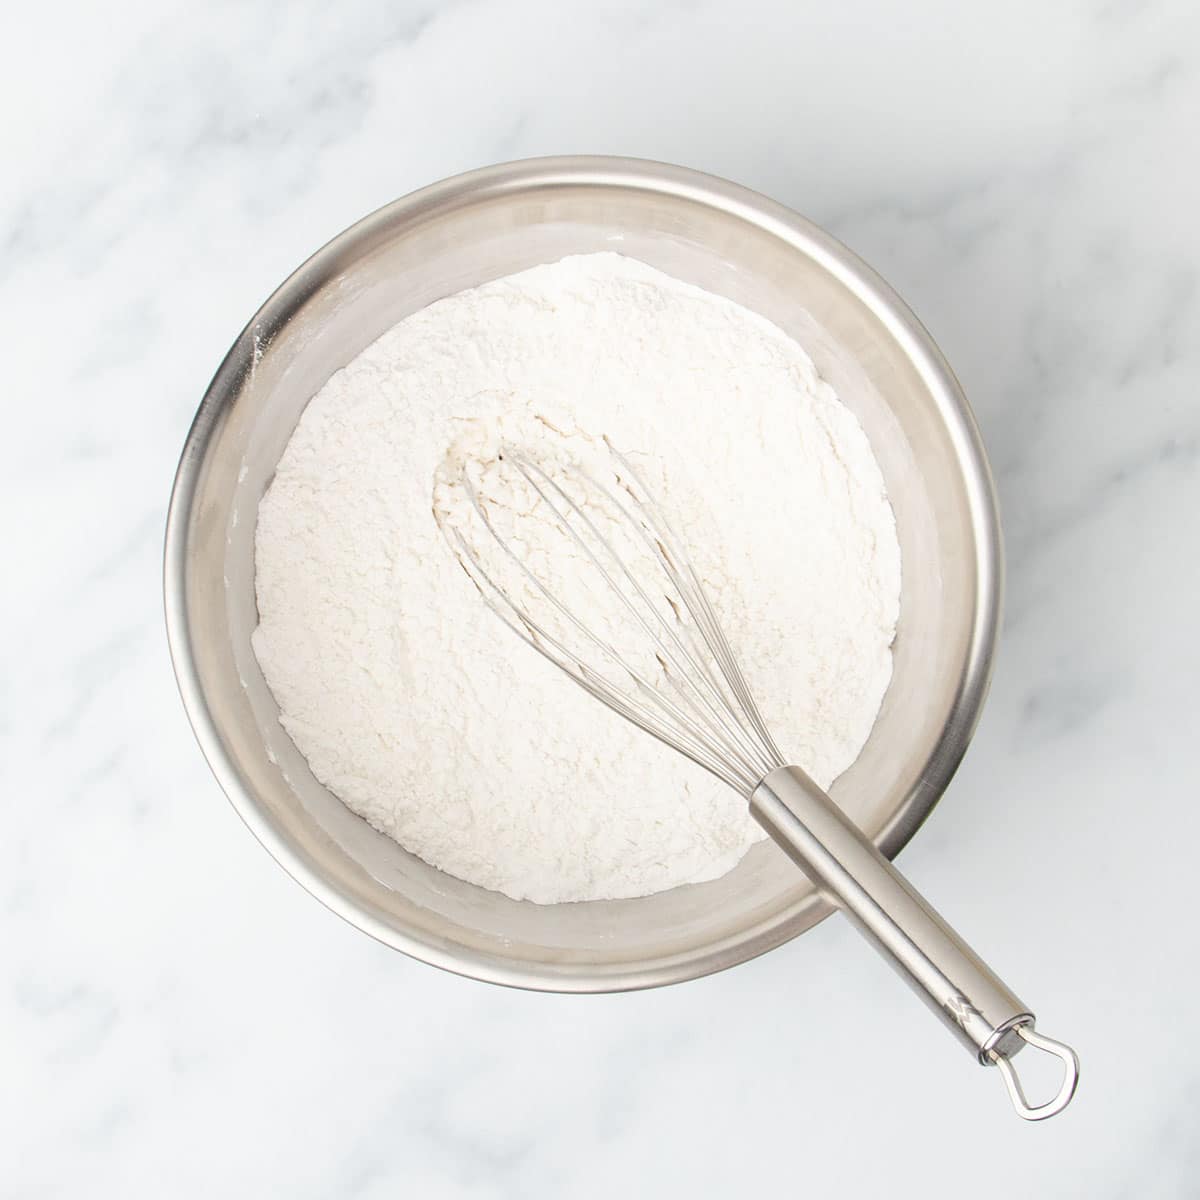
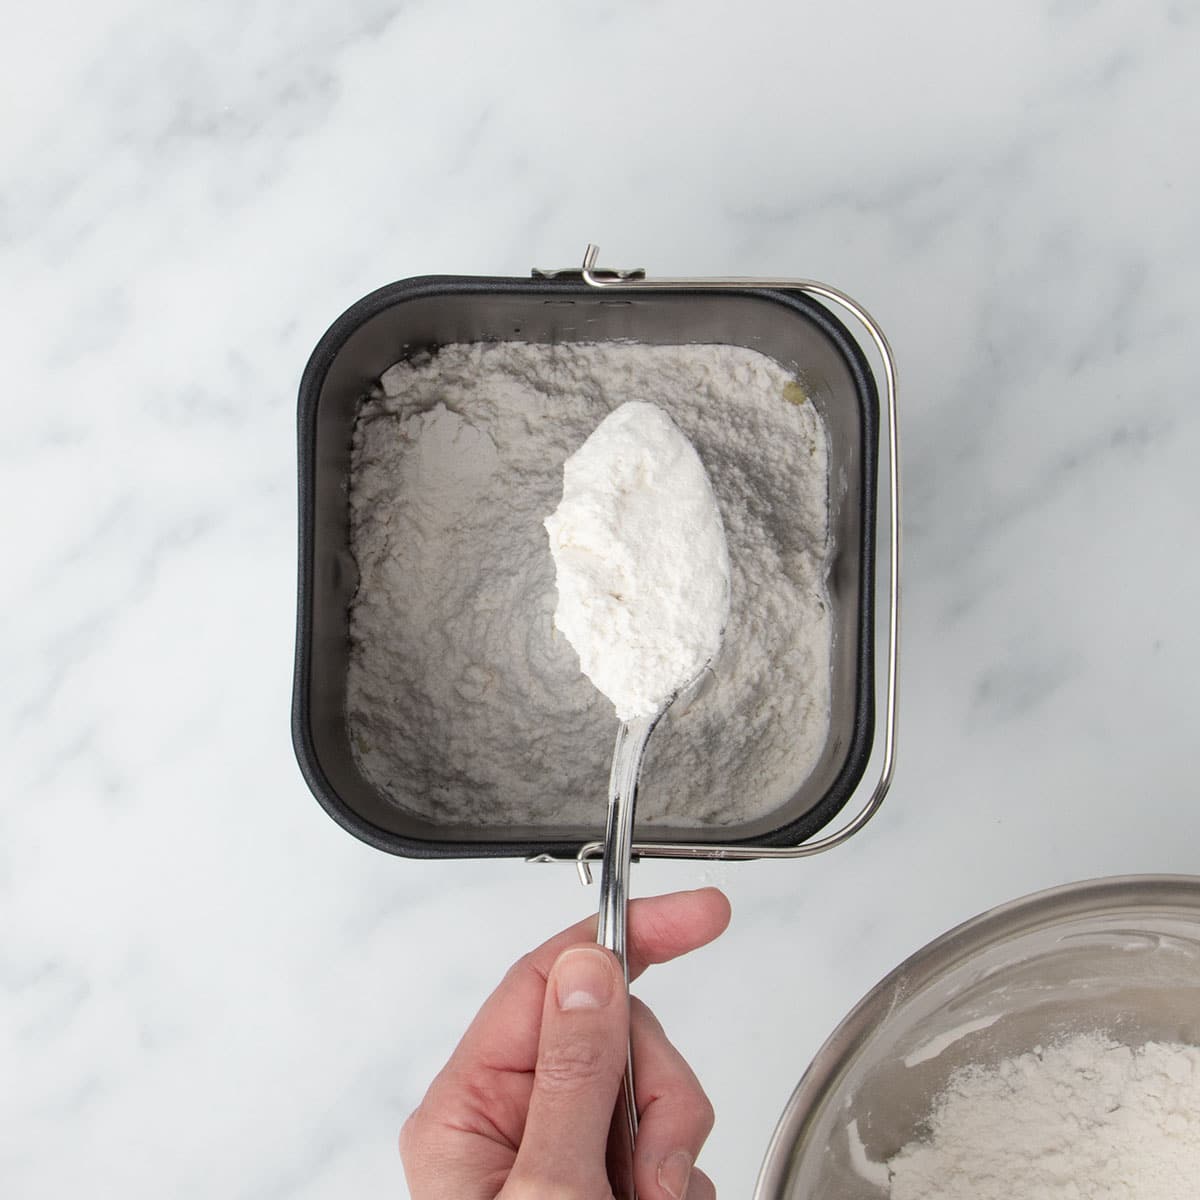
In a separate bowl, whisk together the dry ingredients, except for the yeast: gluten free flour blend with xanthan gum, tapioca starch, cream of tartar, baking powder, sugar, and salt. This helps create a smooth, uniform dough and keeps the salt separate from the yeast so it doesn’t inhibit the yeast too early.
Place wet and dry in the machine
Pour the wet mixture into the loaf pan of your bread machine. Then carefully spoon the dry mixture on top in a flat, even layer, but do not mix yet because we aren’t ready to start the machine.
Add the yeast
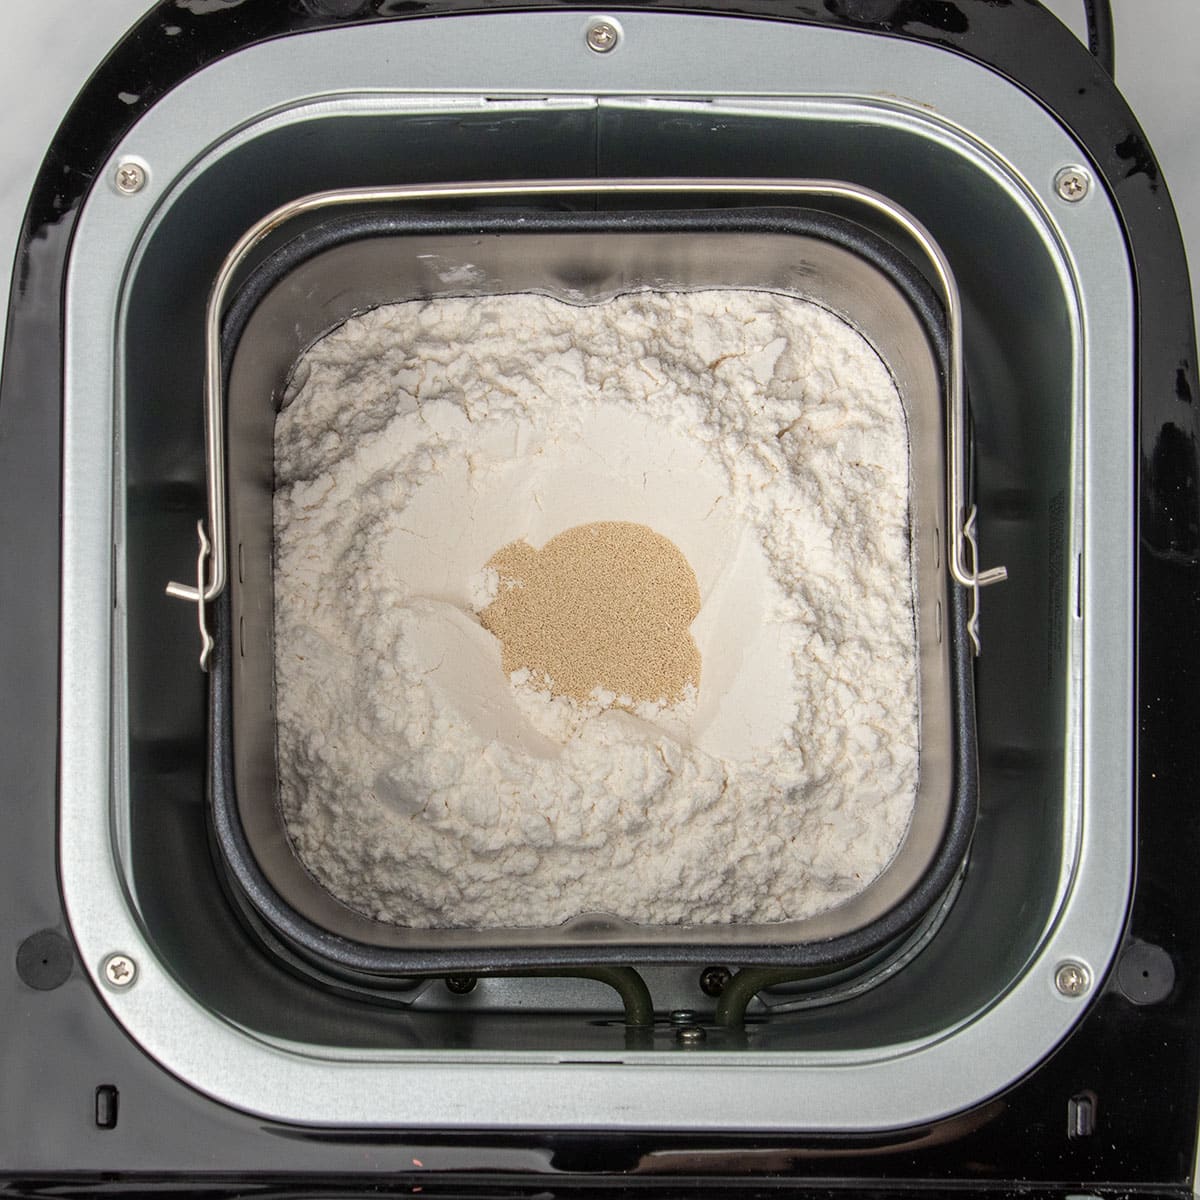
Use a clean finger to make a shallow well in the dry ingredients. Pour the yeast into the well, making sure it doesn’t touch the liquid below, which will begin to activate it. Insert the pan into the bread machine.
Program the bread machine manually
Select the “homemade” setting on your bread machine, if available, and program it for a 1.5-pound loaf with:
– 20 minutes of mixing or kneading (enough to create a smooth dough)
– 1 rise of 1 hour (in an optimal closed environment, this will create a perfect rise)
– 1.5 hours baking time (enough for a slow and steady rise)
– Dark crust setting (if available, to ensure even browning, which is harder with gluten free bread)
If you can’t program manually
If your machine doesn’t allow manual settings, use the “gluten free,” “rapid rise,” “basic,” or “1 rise” cycle instead. The most important feature is that there is only 1 rise, since gluten free bread doesn’t have enough elasticity to support 2 rises in a bread machine.
Start the machine
Close the lid and start the machine, and the mixing will begin automatically. Let the paddle work without disturbing it at first.
Incorporate all dry bits
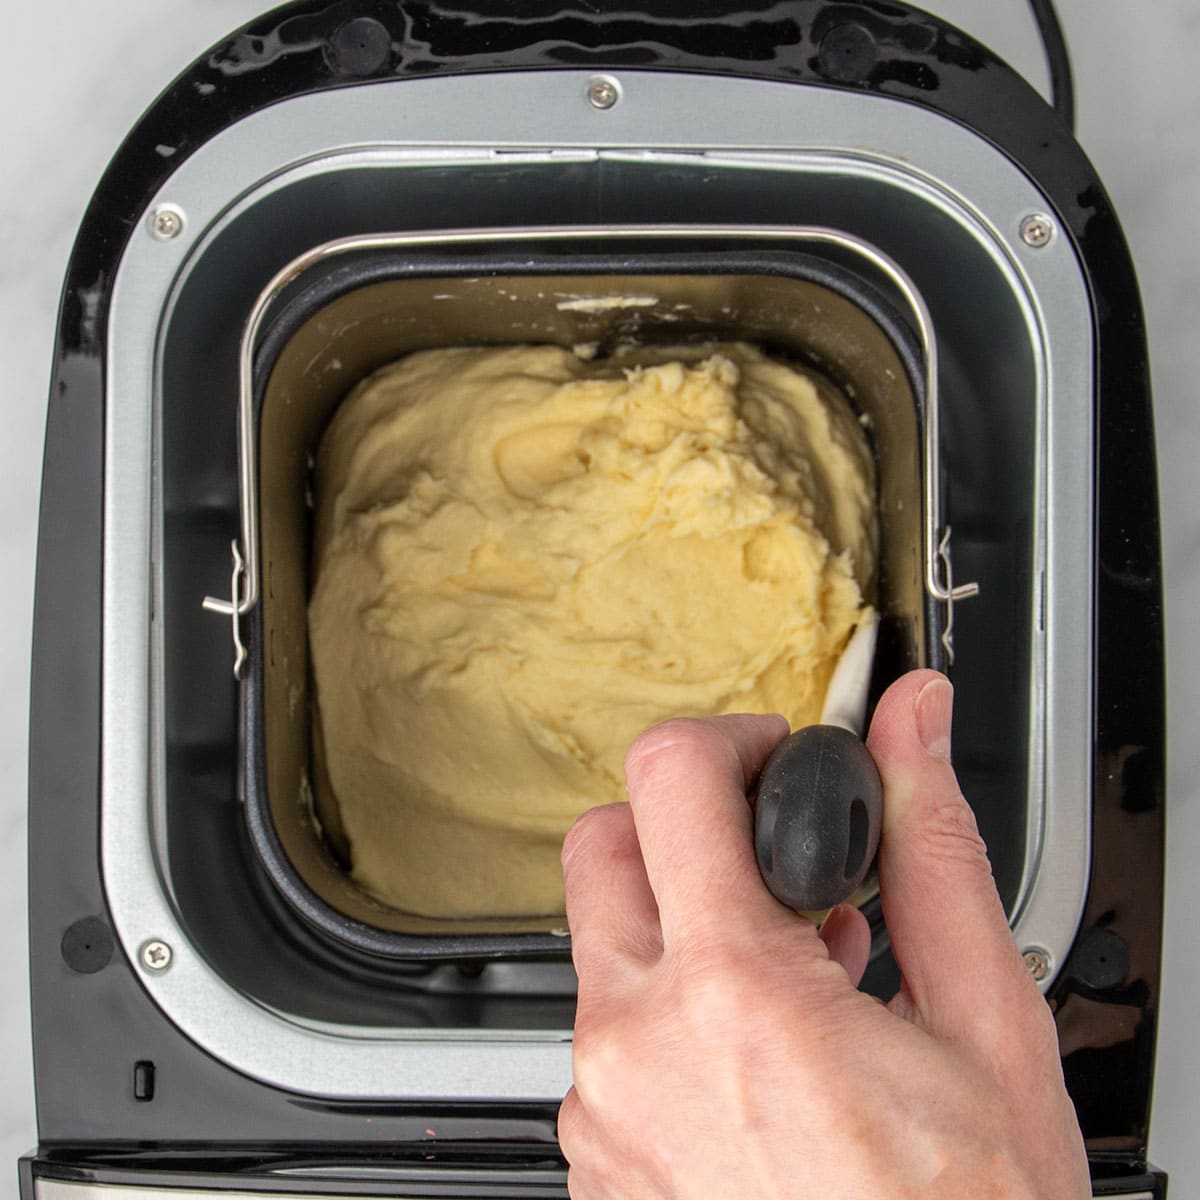
When the mixing cycle finishes, use a silicone spatula to scrape down the sides of the pan and incorporate any dry spots so the balance of ingredients is as intended. Smooth the top of the dough for a pretty loaf, then close the lid and allow the machine to complete the rise and bake cycle.
Bake fully
Let the loaf bake for at least 1 hour, or until it reaches an internal temperature of 205°F on an instant-read thermometer. If your machine browns the top, continue baking until it’s golden all over and firm to the touch.
Let cool completely
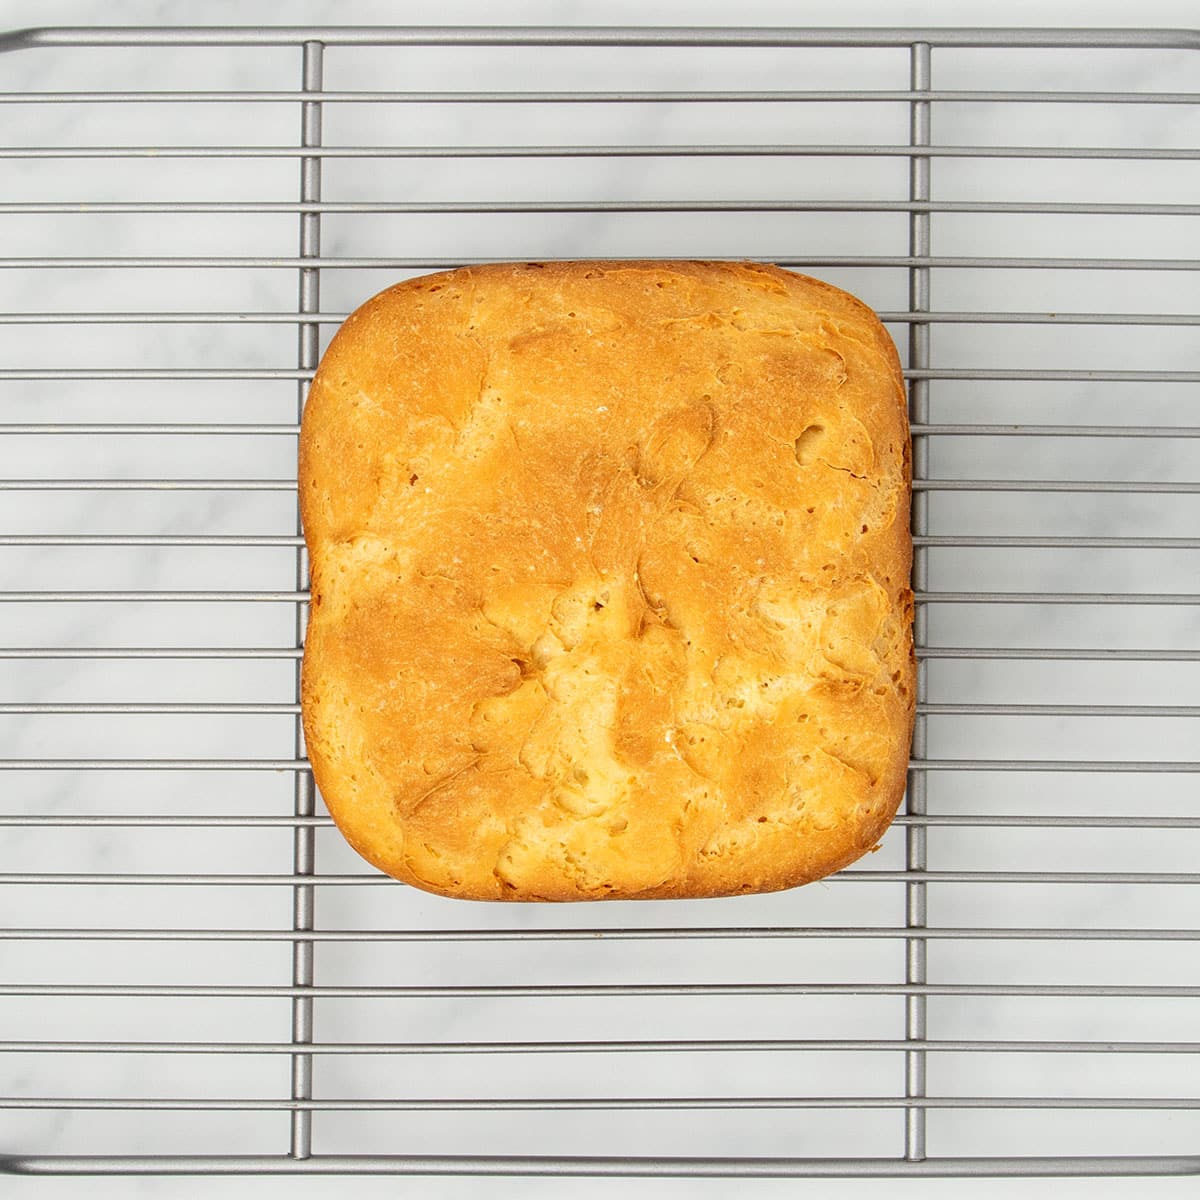
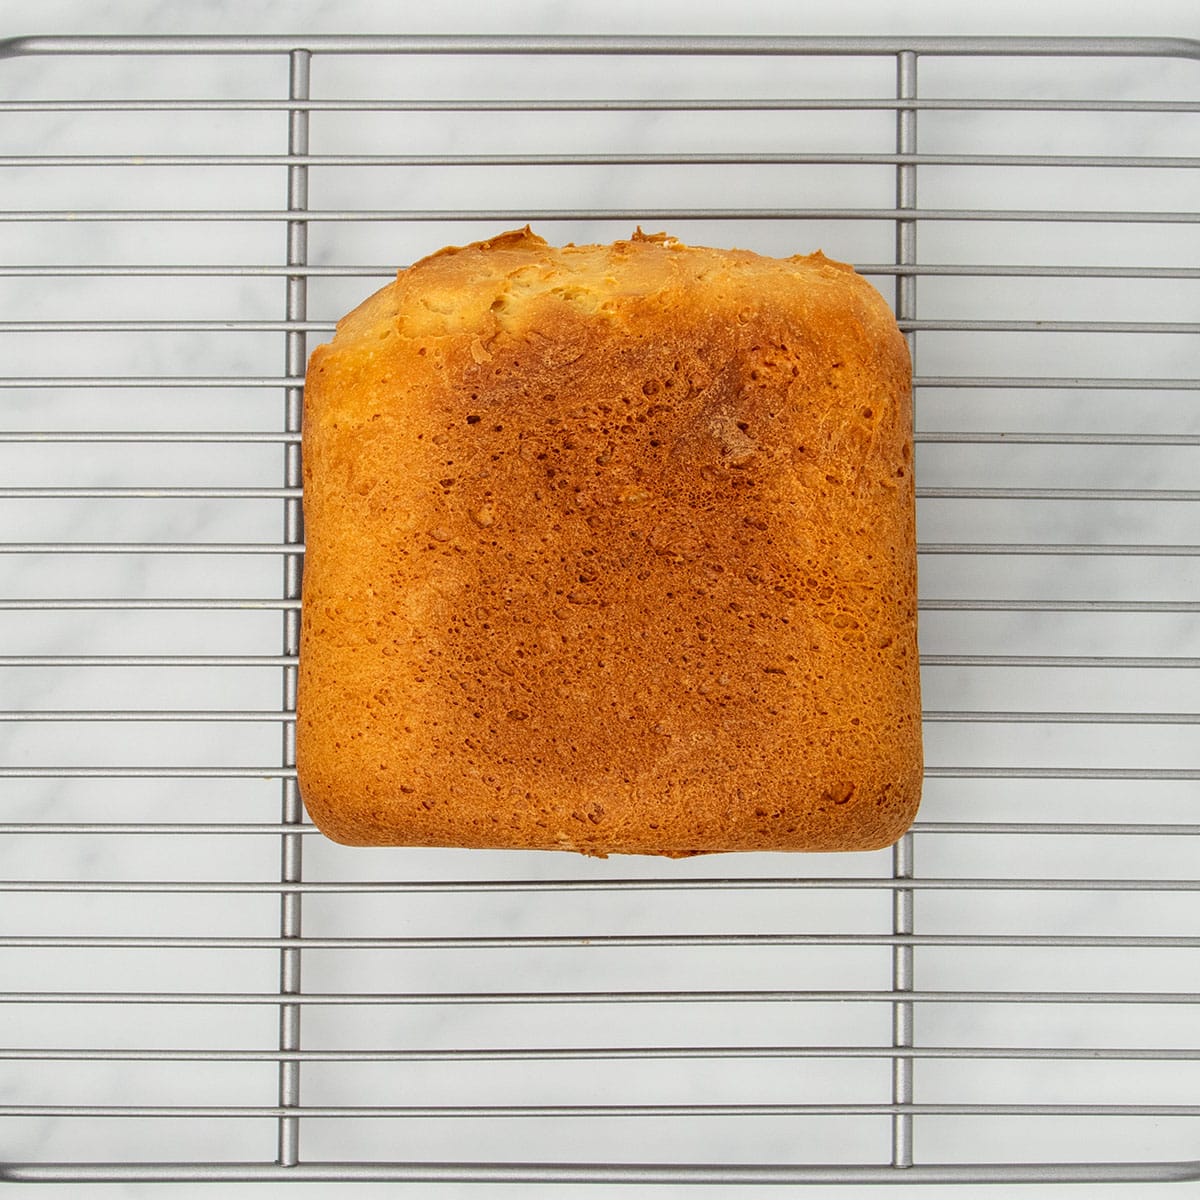
As soon as baking is complete, remove the loaf pan and turn the bread out onto a wire rack. Carefully remove the paddle if it’s stuck inside. Let the bread cool for at least 1 hour (ideally 2) before slicing, to allow the crumb to fully set as the starches reconfigure. If you slice too quickly, the bread may appear gummy.
Expert tips
Choose your cycle carefully
If your bread machine has a “homemade” or custom setting, use it—it gives you control over the knead, rise, and bake times. Otherwise, choose a preset with one kneading cycle and one rise, like “gluten free,” “rapid rise,” “basic,” or “one rise.” Skip any setting that includes a second rise or punch-down, which won’t work well with gluten free dough.
Start with room temp ingredients
Bread machines can’t adjust rise time for cold dough. If your milk, eggs, or butter are too cold, the yeast won’t activate properly and your loaf may not rise enough. Use ingredients at the temperature listed in the recipe—no shortcuts here.
Get a golden top crust (no matter what)
Set your machine to the darkest crust setting, if available. If the top doesn’t brown well, finish the loaf in a 400°F oven for 10 minutes after baking. A golden, firm top means the crumb inside is fully baked.
Cool completely before slicing
Wait at least 1 hour (ideally 2) before slicing your loaf. Cutting too soon especially into gluten free bread leads to gummy slices and releases steam that can dry the bread out.
Ingredient substitutions
If you need to avoid additional allergens other than gluten, here are some suggestions for how to make this bread anyway:
Dairy free
Use unsweetened almond milk or another smooth, unflavored nondairy milk (avoid gritty options like oat milk). Replace butter with vegan butter from a block for best flavor. You can use 35 grams (2½ tablespoons) neutral oil, but the bread will be less rich.
Egg free
Try two flax or chia eggs (1 tbsp ground seed + 3 tbsp water per egg). Bob’s Red Mill Egg Replacer or refrigerated JustEgg may also work, but results may vary.
Tapioca starch
Even if your flour blend includes tapioca, you still need the extra here for structure and flexibility. If needed, replace it with more flour blend by weight or superfine glutinous white rice flour—but tapioca starch gives the best texture.
Yeast
There’s no substitute for yeast, but you can use active dry yeast instead of instant if you use more and proof it first because it has a thicker coating on the outside. Use 10 grams total, mix it into the milk mixture, and let it sit until bubbly before continuing.
Storage instructions
Yeast bread is always best the day it’s made. If you wrap the cooled loaf tightly in plastic wrap, unsliced, it will still be great the next day.
For longer storage, place it in a freezer safe zip top bag, sliced or unsliced, squeeze out as much air as possible and freeze for up to 3 months.
Defrost by the slice in a toaster oven or microwave. To refresh any slightly stale slices, sprinkle lightly with lukewarm water and place in a 300°F toaster oven for 5 to 10 minutes or until warm.
Thinking of using your oven?
This recipe was made just for bread machines. ⚙️
If you’d rather bake your bread in a regular oven, you’ll love the loaf you’ll make with my classic gluten free bread recipe!
Gluten Free Bread Machine Recipe
Tell Google you trust GFOAS!
Equipment
- Bread machine with "homemade" adjustable setting or at least a "gluten free" setting (See Recipe Notes)
Ingredients
- 1 ½ cups (12 fluid ounces) whole milk, warm (about 95°F)
- 3 tablespoons (42 g) unsalted butter, melted and cooled
- 1 teaspoon apple cider vinegar
- 2 (100 g (weighed out of shell)) eggs, at room temperature
- 2 ⅝ cups (368 g) all purpose gluten free flour blend, (See Recipe Notes)
- 3 teaspoons xanthan gum omit, if your blend already contains it
- ½ cup (72 g) tapioca starch/flour
- ¼ teaspoon cream of tartar
- ½ teaspoon baking powder
- 2 tablespoons (24 g) granulated sugar
- 2 teaspoons (12 g) kosher salt
- 2 ½ teaspoons (8 g) instant yeast, (See Recipe Notes)
Instructions
- Remove the loaf pan from your bread machine and attach the mixing paddle. Set the pan aside.
- In a large liquid measuring cup or mixing bowl, whisk together the warm milk, melted butter, vinegar, and eggs until fully combined.
- In a separate bowl, whisk together the gluten free flour blend, xanthan gum, tapioca starch, cream of tartar, baking powder, sugar, and salt.
- Pour the wet ingredients into the loaf pan. Carefully spoon the dry mixture on top in an even layer—do not mix. Use a clean finger to make a small well in the center and add the yeast to the well.
- Plug in and set up your bread machine for use.
- If your machine has a “homemade” or custom setting, set it for:• 1.5 pound loaf setting• 20 minutes of mixing/keading (1 cycle only)• 1 hour rise (one rise only)• 1.5 hours baking• Dark crust (if available)Otherwise, choose a “gluten free,” “basic,” or “one rise” cycle.
- Place the bread pan securely in the machine and close the lid. Press the start button.
- Listen for when the mixing/keading cycle is done or nearly done, and use a silicone spatula to scrape down the sides of the pan to mix in any loose flour.
- Wet the spatula, and smooth the top of the raw dough into an even layer.
- Close the lid and allow the bread to rise fully and bake for 1 hour.
- Open the lid and use an instant read thermometer to check the internal temperature at the center of the loaf. It should read at least 205°F.
- If your machine browns the top, let it bake until the top is browned and feels firm on top (another 15 to 20 minutes).
- When baking is complete, check that the internal temperature reaches 205°F. If the top isn’t fully browned, remove the bread from the pan and bake in a 400°F oven for 10 more minutes.
- Let the bread cool on a wire rack for at least 1 hour (ideally 2) before slicing.
Notes
- Better Batter Original Blend – Works beautifully
- Nicole’s Best Blend – Be sure to add 3 tsp xanthan gum
- King Arthur GF Bread Flour – Works, but loaf may be denser
- Caputo Fioreglut – Loaf may be shorter and pale
- KAF Measure for Measure – Not suitable for yeast recipes
- Cup4Cup – Formula changed and I no longer recommend it.
- Bob’s Red Mill 1-to-1 – I can usually use it somewhat effectively in yeast bread by adding an extra 1 1/2 teaspoons xanthan gum to the dry ingredients, but it’s not a recommended blend here
Nutrition
Nutrition information is automatically calculated, so should only be used as an approximation.
Gluten Free Bread Machine FAQs
You can, but I don’t recommend it. I tested this bread machine recipe with 2 tablespoons (42g) of honey and found the flavor overpowering. If you still want to try, reduce the milk by 1 tablespoon to keep the dough balanced.
If your gluten free flour blend doesn’t already contain xanthan gum, you can try using 20 grams of blond psyllium husk instead. Expect a slightly different texture.
Yes, King Arthur’s Gluten Free Bread Flour works here, but expect a slightly shorter loaf with a tighter crumb. You may need to increase the liquid by about 10%. Don’t use my homemade gluten free bread flour blend, as it’s not suitable for this bread machine recipe.
Usually, yes, but it depends on your model. Check your manual or look up instructions online. For example, with the KitchenArm bread maker, you have to unplug the machine and wait at least 15 minutes before you can reset it.
Yes, just scale the recipe down by one-third (from 8 to 5 slices). Use about 67 grams of egg total (1 extra-large egg or a portion of two beaten eggs).
No, this recipe was developed specifically for bread machines. For a traditional oven-baked loaf, use my classic gluten free bread recipe, instead.
I’ve used the KitchenArm 29-in-1 SMART Bread Machine and recommend it for its “homemade” setting, general effectiveness, and reasonable price. Look for a machine that lets you control the knead, rise, and bake times. I have a Zojirushi brand bread machine, but it’s very expensive and you have to make at least a 2 pound loaf because the pan is very large. If you have that machine and want to use it, increase the yield in the recipe card from 8 slices to 12 slices to fill out the loaf. You’ll need to brown the top in the oven as described above.










Now that I have a bread machine that lets me program in the cycles myself, it works perfectly. Thanks so much for taking the time and effort to perfect this recipe.
You’re so welcome, Gail! It really does help to have a machine that allows you that level of control.