
This post may contain affiliate links. Please read our disclosure policy.
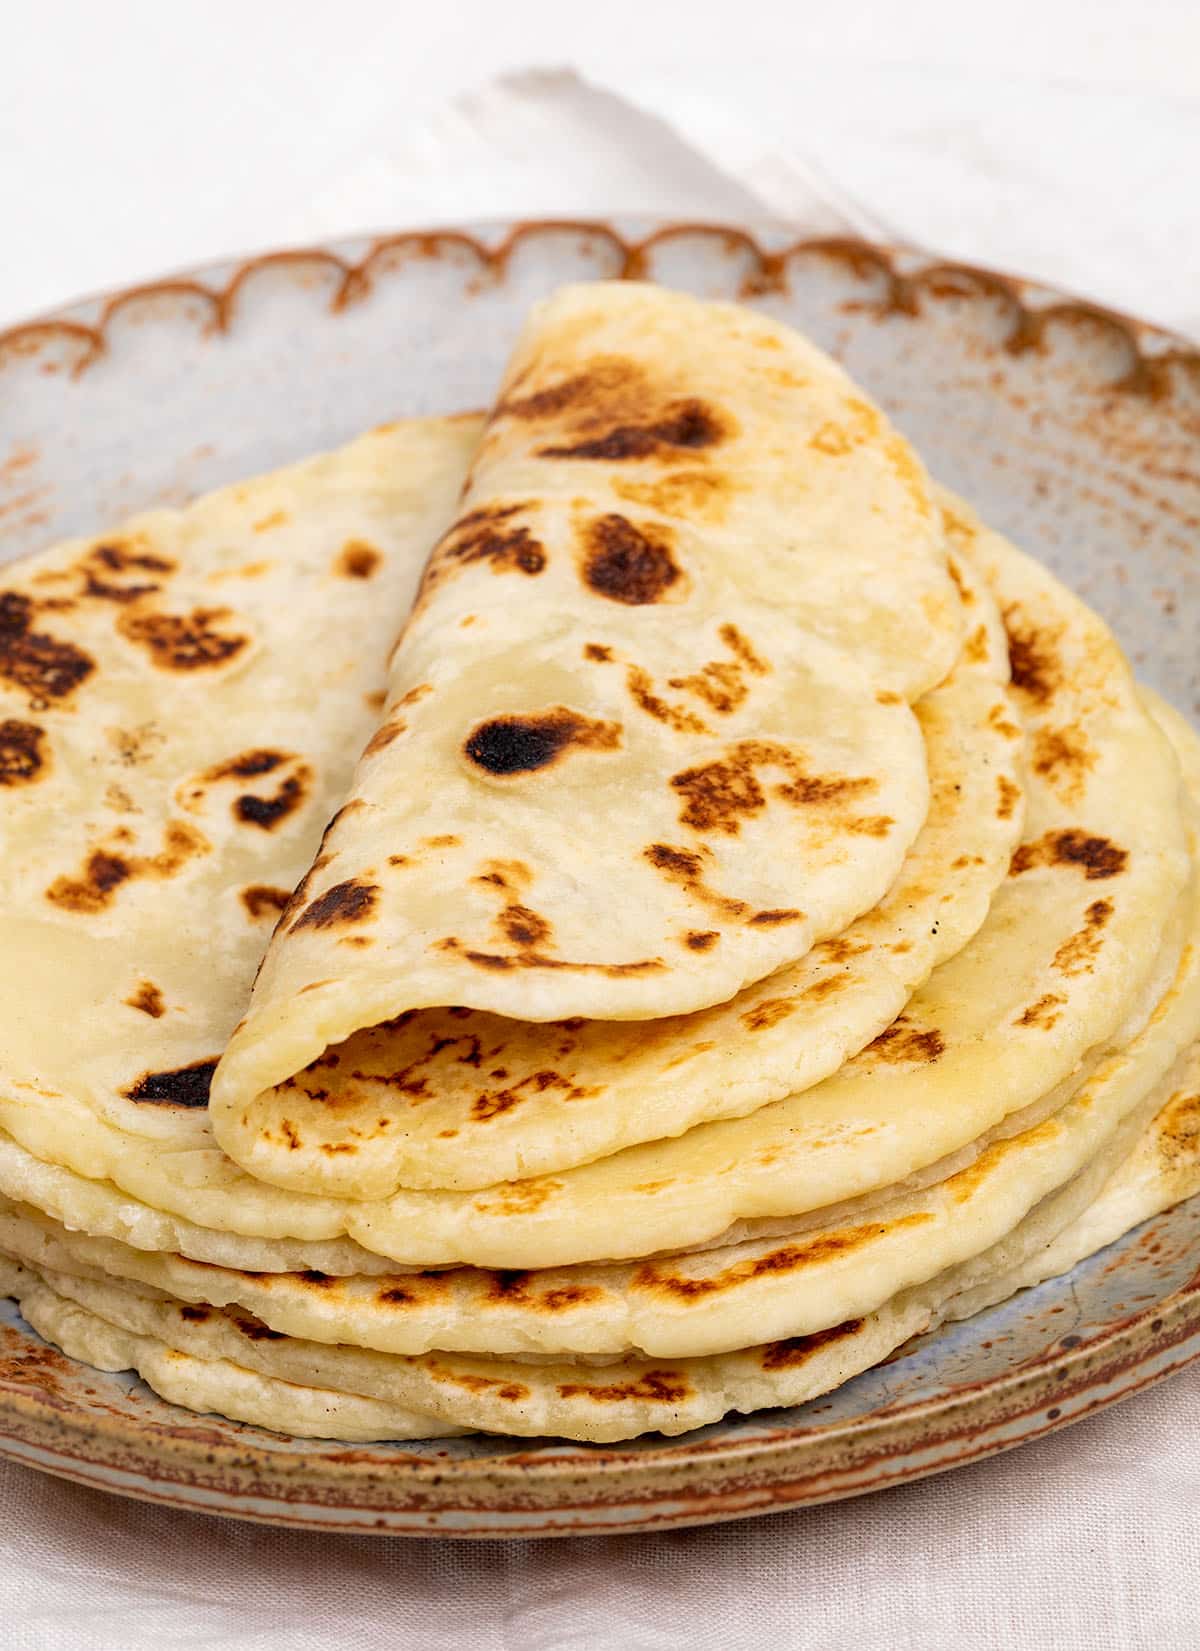
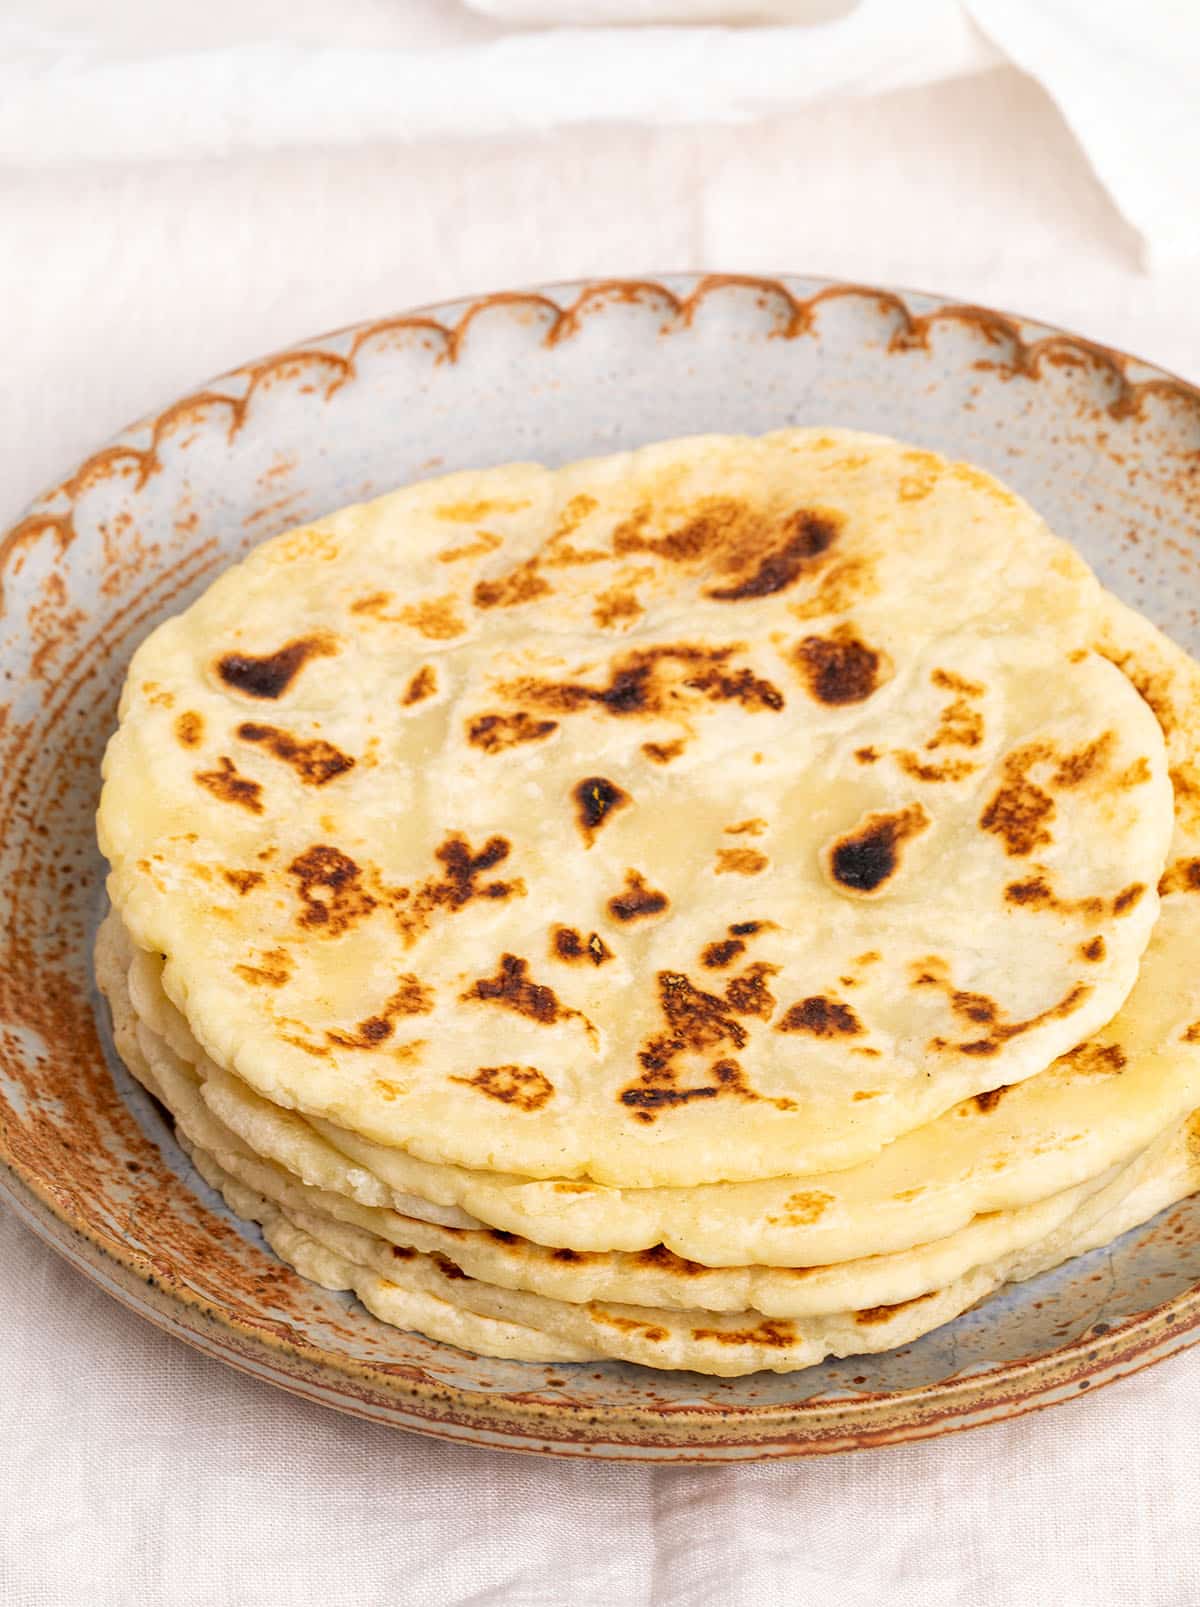
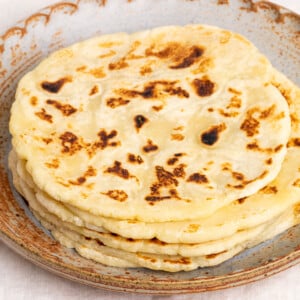
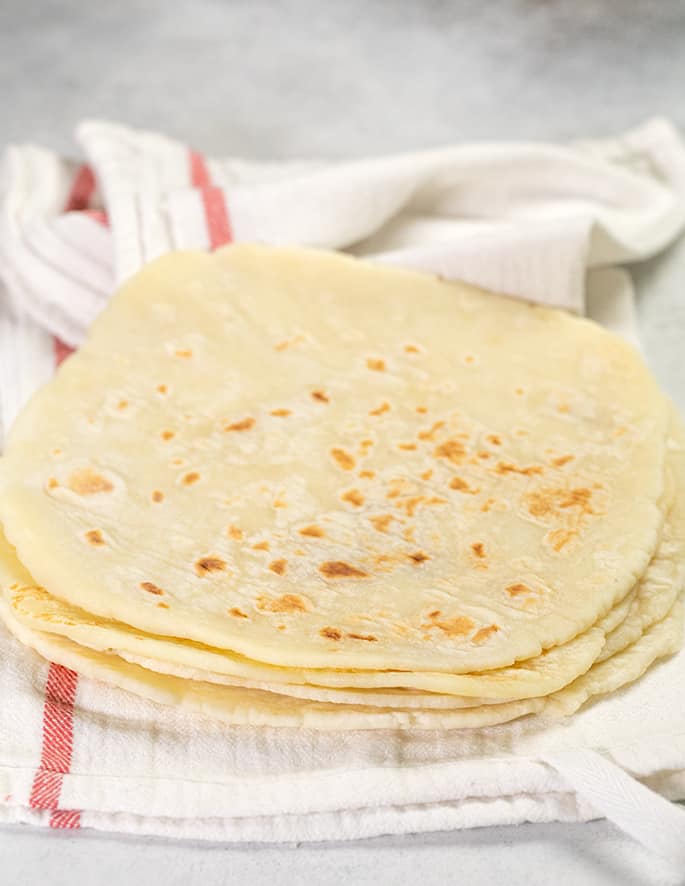
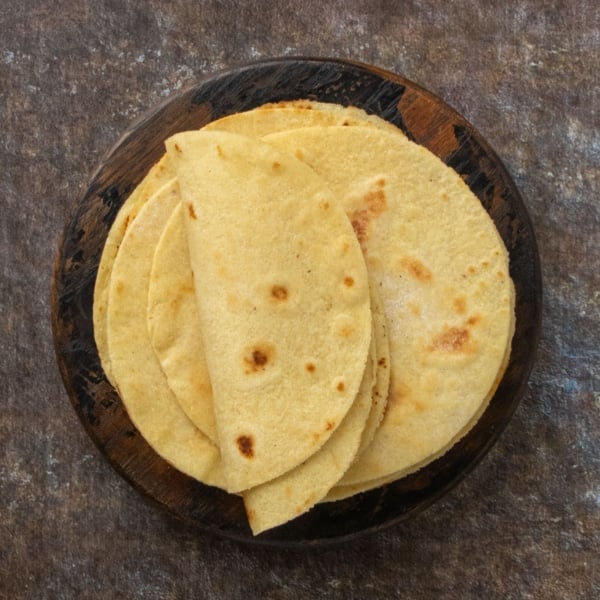
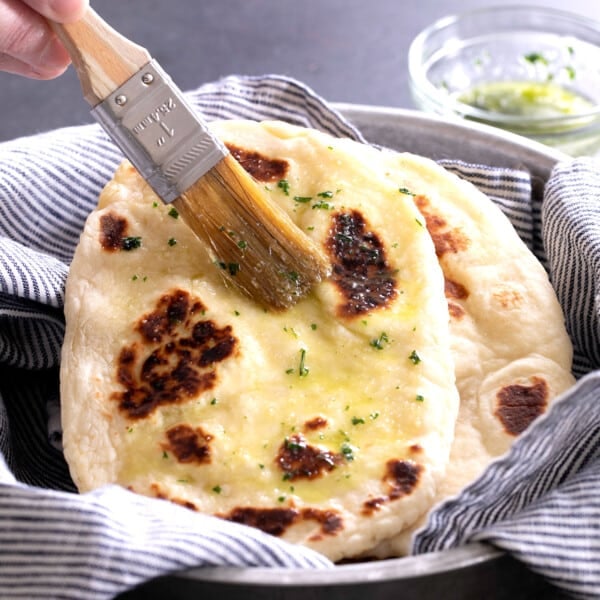
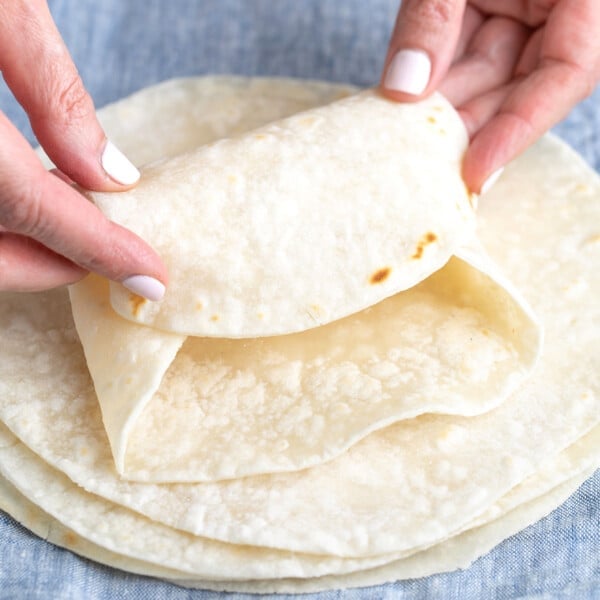
This soft gluten free flatbread bends, folds, and wraps without cracking. It’s quick enough for a weeknight, made without yeast, and perfect anywhere you’d use pita, naan, tortillas, or sandwich bread.
Make the dough now and cook it right away, or portion and chill it for later. Either way, you can have warm, fresh flatbread in minutes, any night of the week.
“These are AMAZING! They are going to be a regular part of the rotation for sure. They were super easy to make and came out so well. Thank you thank you thank you! Even gluten-eaters loved them, and we all know that’s the truest test!”
Why this recipe works
Most gluten free flatbread is either too stiff or too fragile to wrap around and contain any fillings. This one is soft, flexible, and chewy enough for gyros, burritos, sandwiches, or quick mini pizzas.
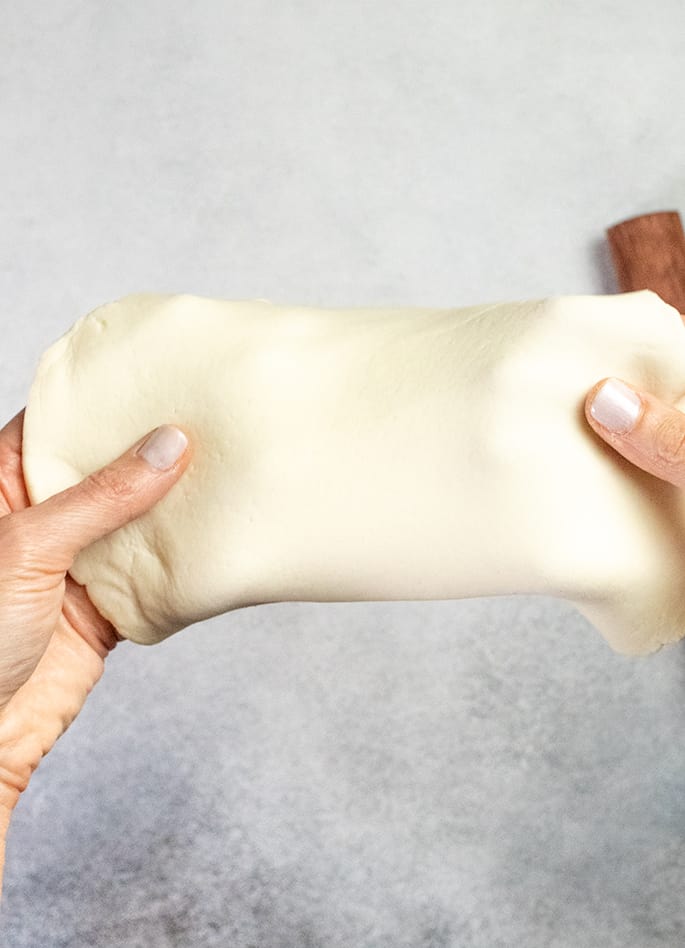
The ingredient balance is what makes the texture work. A good all purpose gluten free flour blend gives the dough structure, and added tapioca starch provides much-needed stretch and chew.
The method and ingredients are simple, but the details matter. Letting the dough rest helps the flour absorb moisture for easy handling, and rolling the cooked flatbread while it’s still warm helps it stay flexible as it cools.
Recipe ingredients
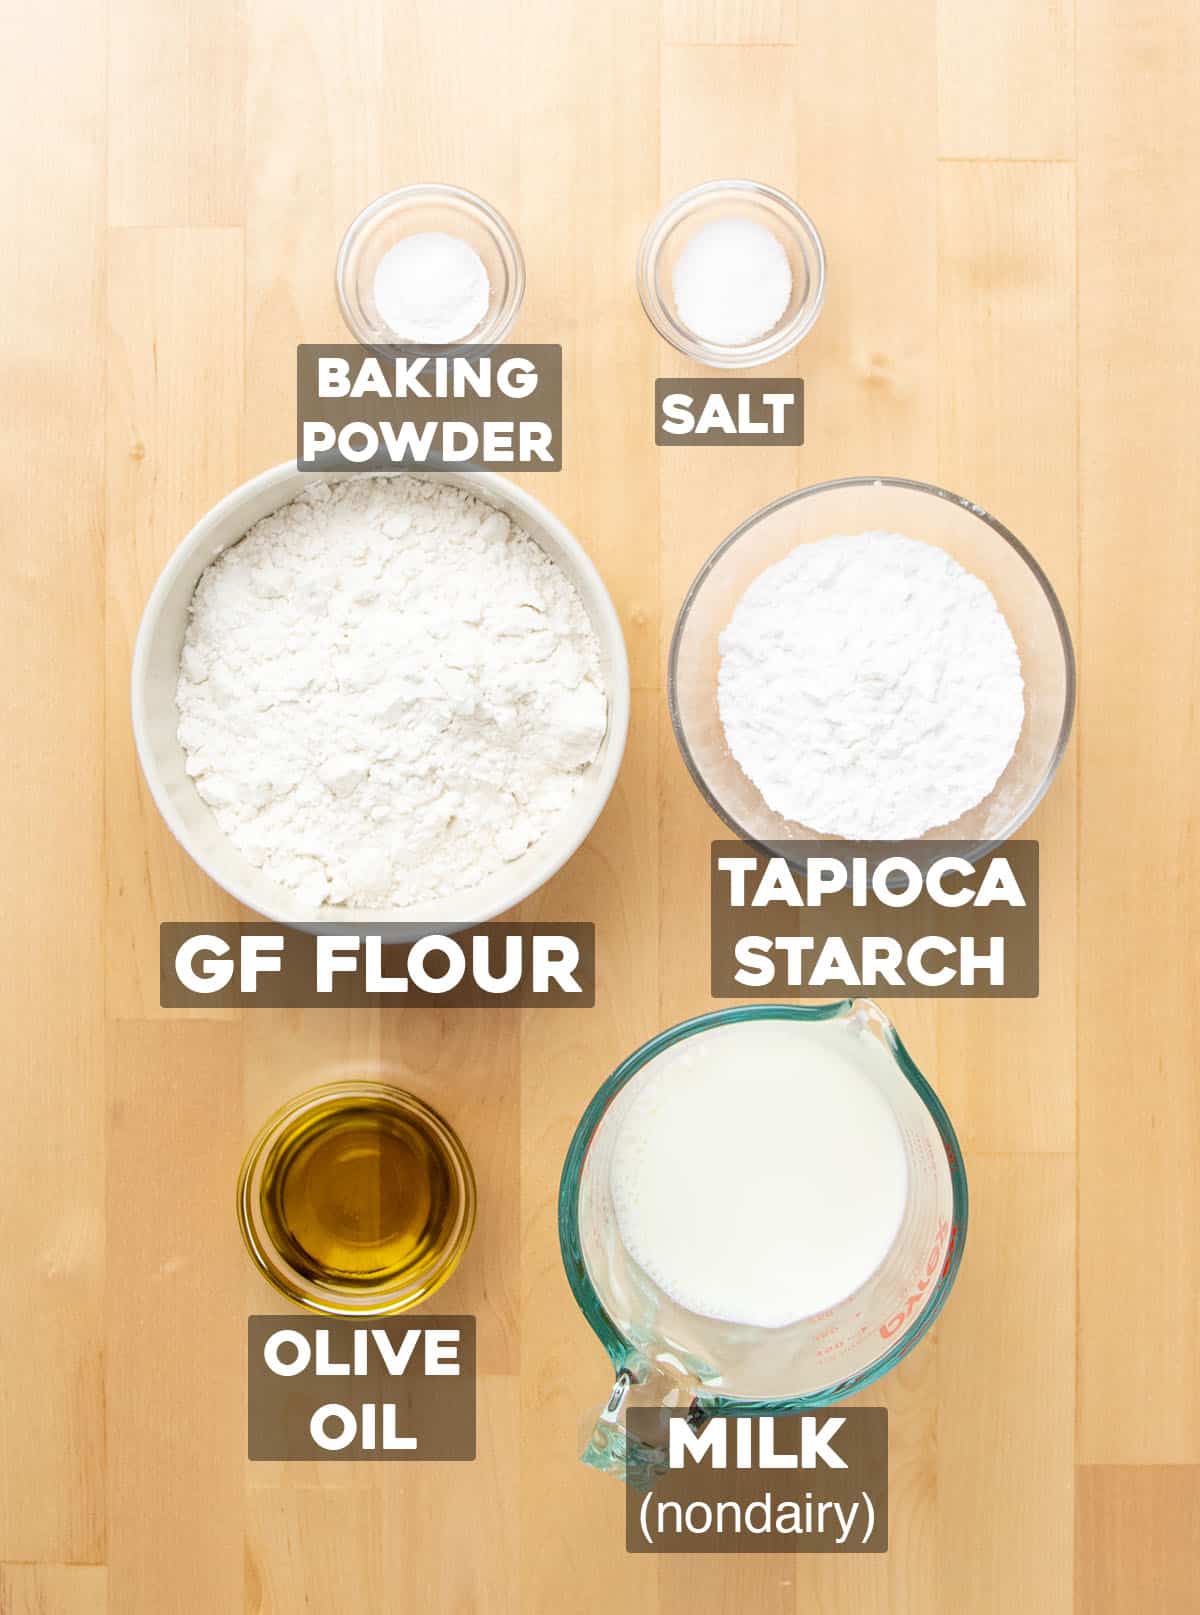
Here's what you need to make this recipe, including some information about what purpose each ingredient serves in a successful result:
- Gluten free flour blend: The base of this recipe is a high quality all purpose gluten free flour blend, which provides the basic structure and mouth feel, so be sure your blend doesn't use a gritty rice flour. I highly recommend Better Batter's original blend and Nicole's Best with xanthan gum as directed. Bob's Red Mill gluten free 1-to-1 should also work.
- Tapioca starch/flour: Even though all my recommended blends contain some, adding more helps create more stretch and pliability.
- Baking powder: Adds rise and those bubbles that form on the bread for beautiful brown spots.
- Salt: Brightens the flavor of the bread.
- Olive oil: Adds flavor, richness, and tenderness.
- Milk: Brings the dry ingredients together into a pliable dough. Use unsweetened nondairy milk for vegan flatbread. Avoid nonfat milk, whether dairy or not, for best texture and flavor since fat adds richness.
How to make gluten free flatbread
I've doubled the recipe to make 4 flatbreads for these photos, since it's easier to view the ingredients well in larger amounts. To do the same, just change the yield in the recipe card from 2 to 4.
Make the raw dough
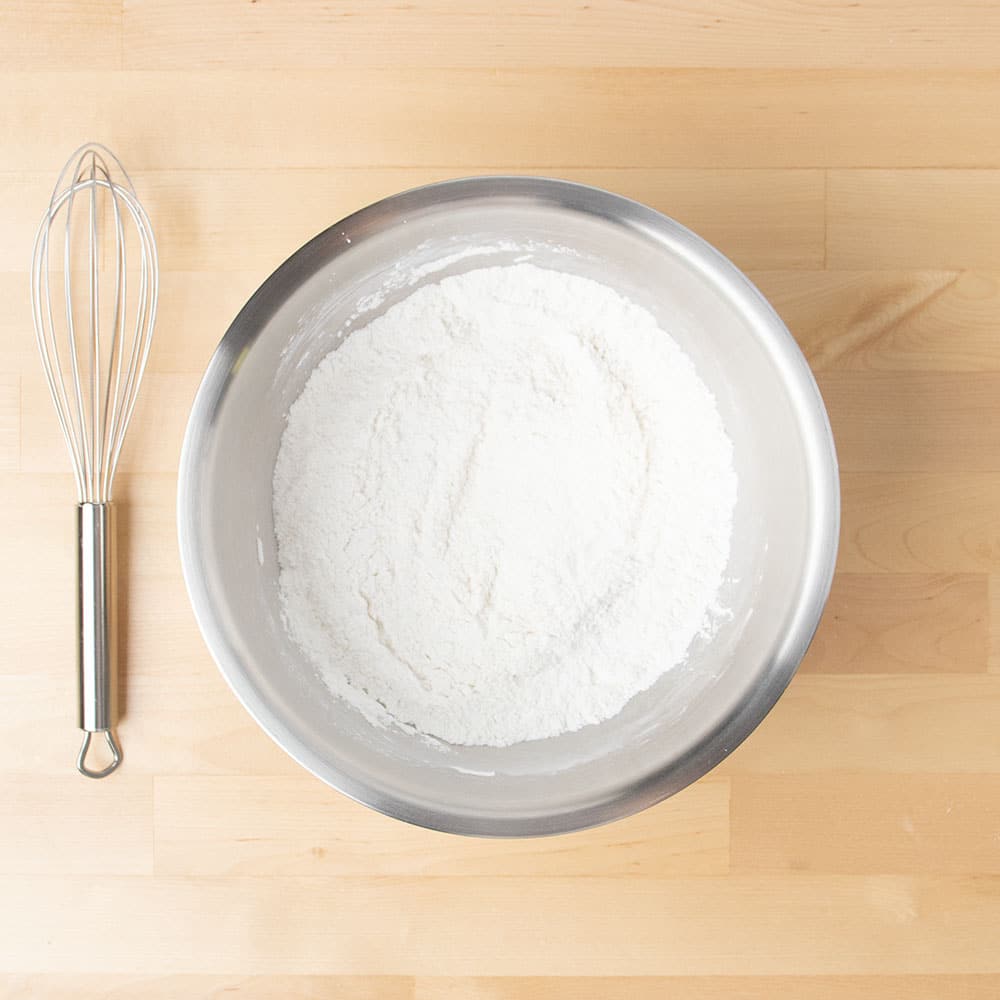
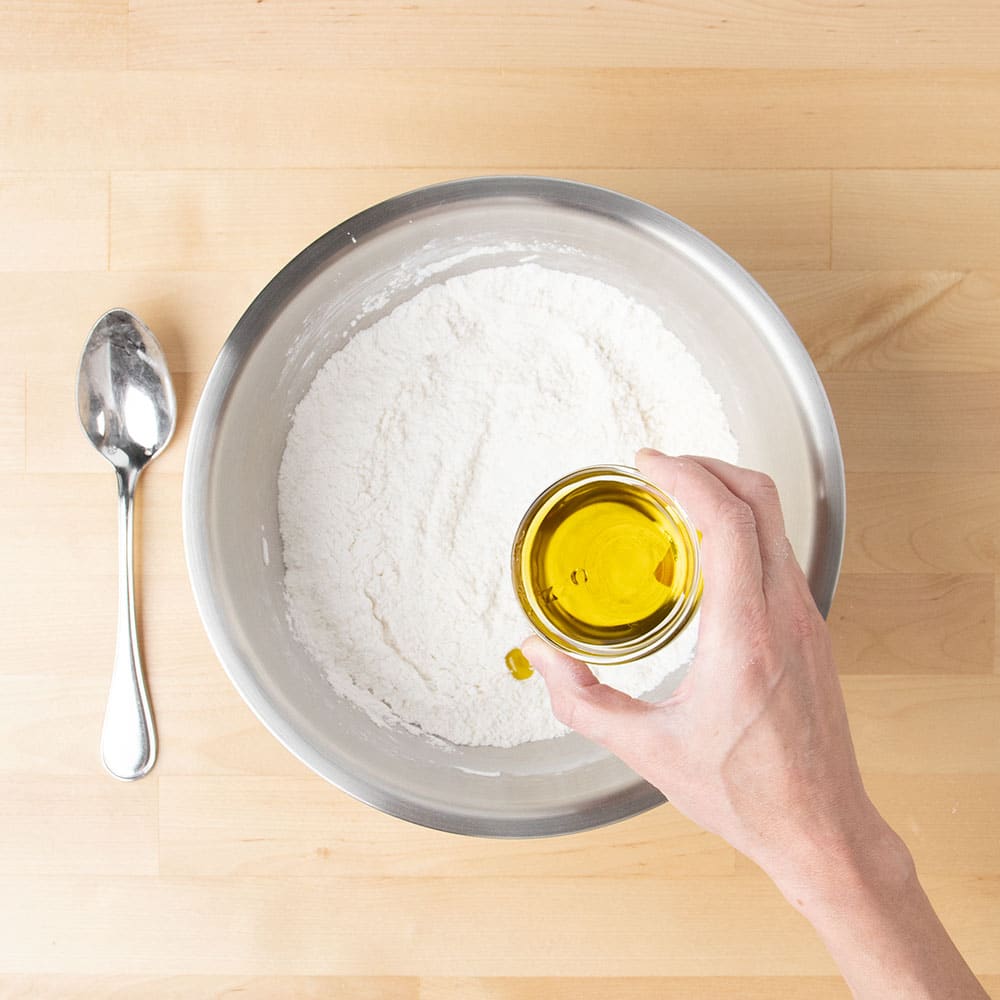
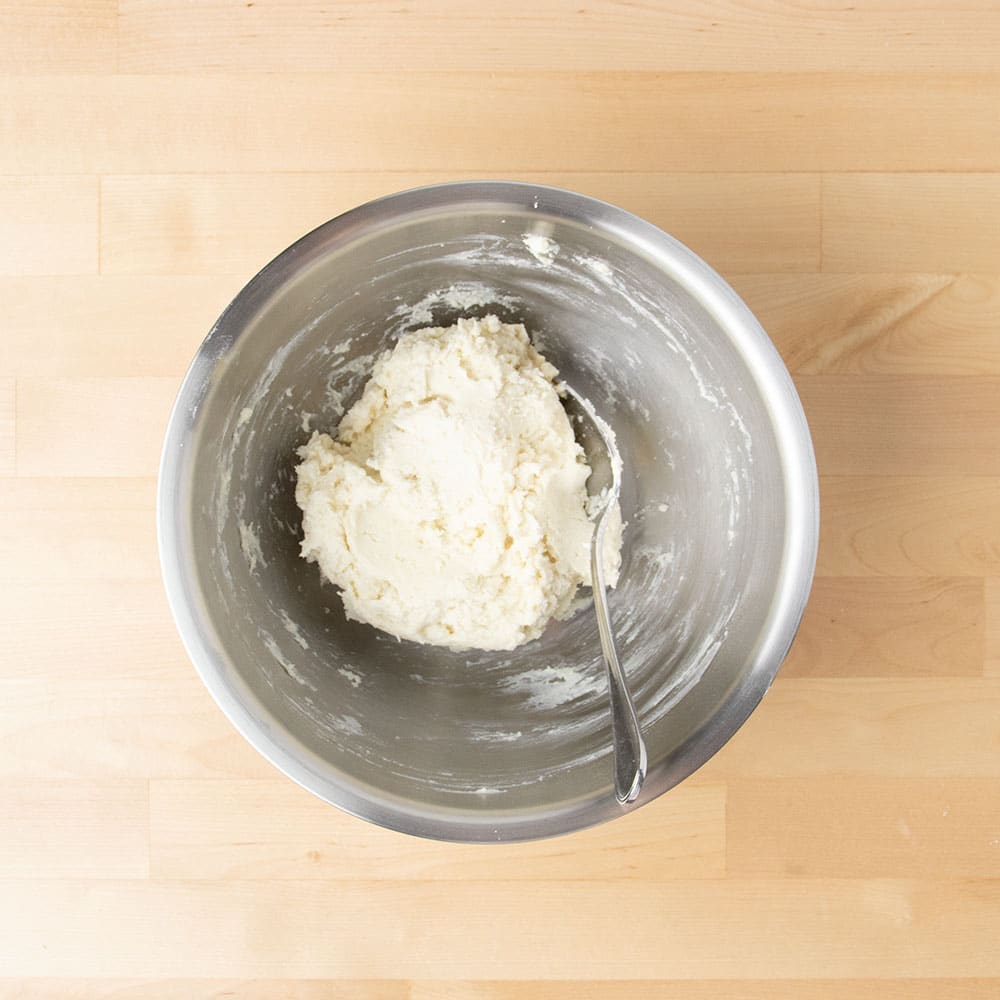
Whisk together the dry ingredients (flour blend, tapioca starch, baking powder, salt) in a large mixing bowl to avoid any clumps of individual ingredients. Create a well in the middle of the dry ingredients to make combining easier, then pour in the wet (olive oil and milk). Mix together to form a cohesive dough.
Rest the dough
Let the dough sit briefly to let the flours absorb the moisture. This will make it easier to handle the raw dough without adding much extra flour to avoid stickiness, which can make the flatbread dry and stiff.

Divide the dough
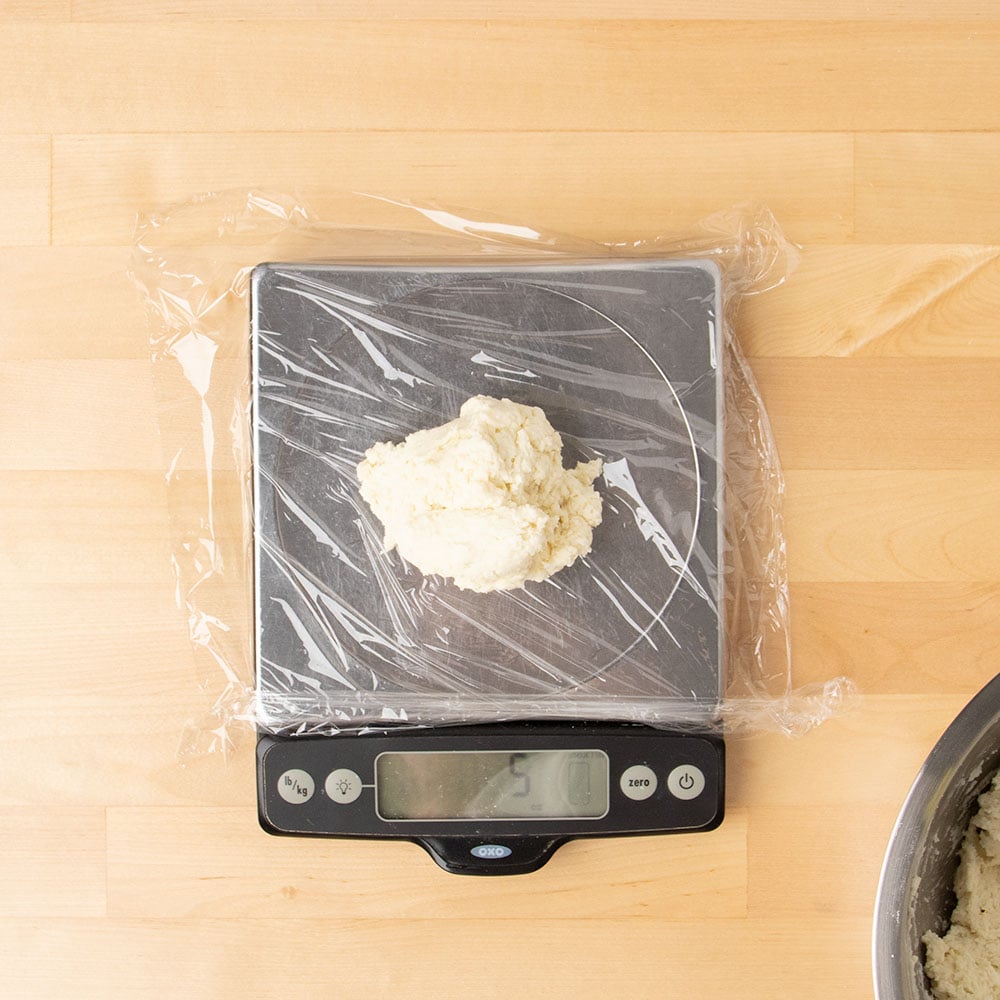
Separate the dough into equal pieces, each about 5 ounces. Weighing on a scale makes precise portions easy.
Chill each portion
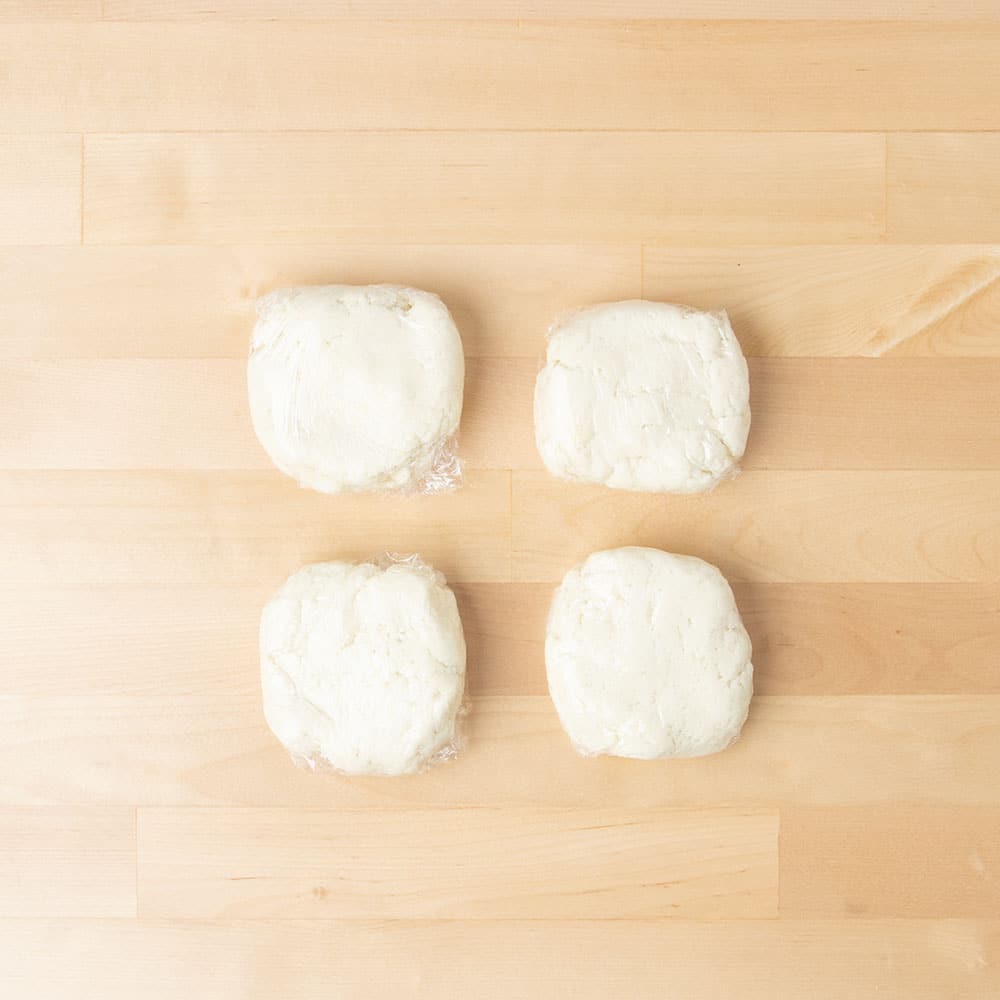
Wrap each portion of dough tightly in plastic wrap so it doesn't dry out when you refrigerate it for 30 minutes to make it easier to handle since the fat in the dough becomes firmer.
Shape the flatbread
Lightly flour the dough, roll it into a rough round, then gather it into a ball and roll again into an 8-inch circle. This is the best way to work the dough a bit so it rolls out smoothly without having to add too much extra flour.


Cook the first side
Grease your skillet very lightly so the bread doesn't fry but also doesn't stick. Heat the skillet, then place the shaped raw flatbread on it, and cook for 1 minute, no more. You'll come back to this side once it has a sealed surface.
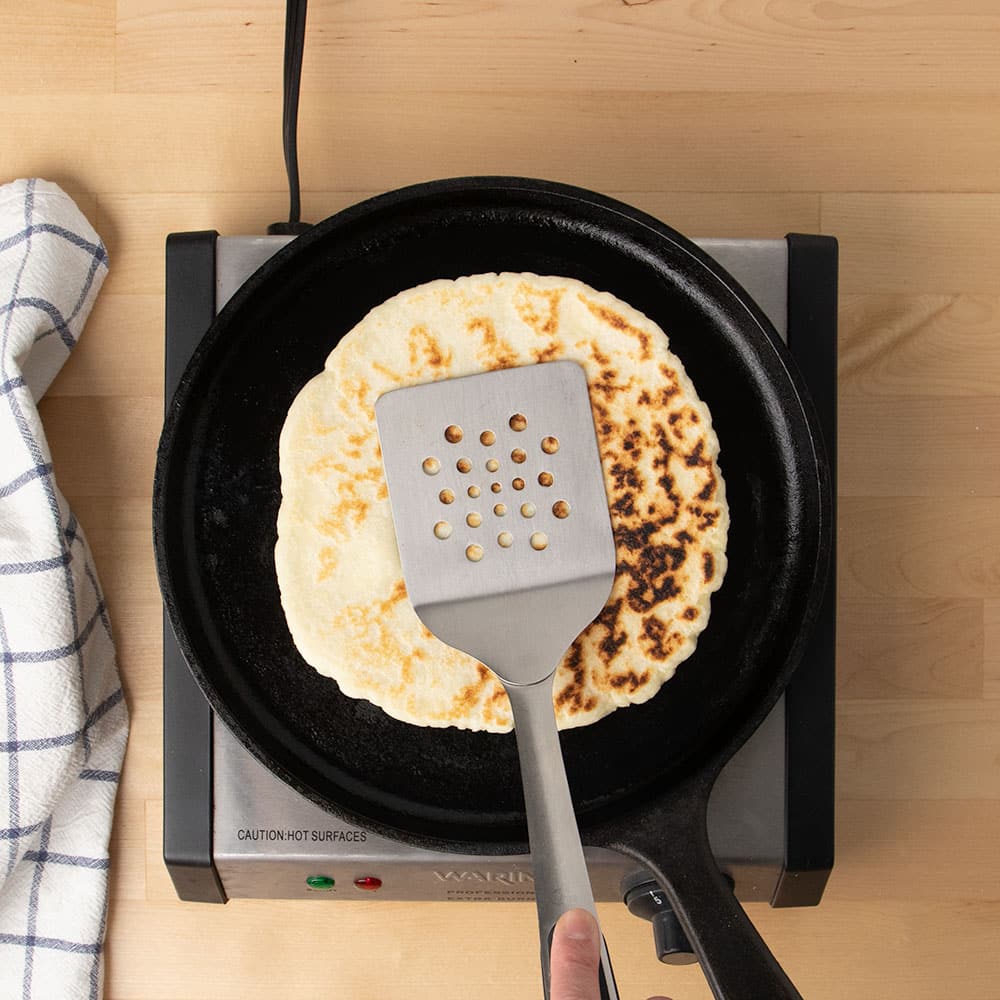
Cook the second side
Flip, and cook on the second side, pressing down on the bread with a large, flat spatula to make sure it makes good contact with the skillet and creates some golden brown spots.
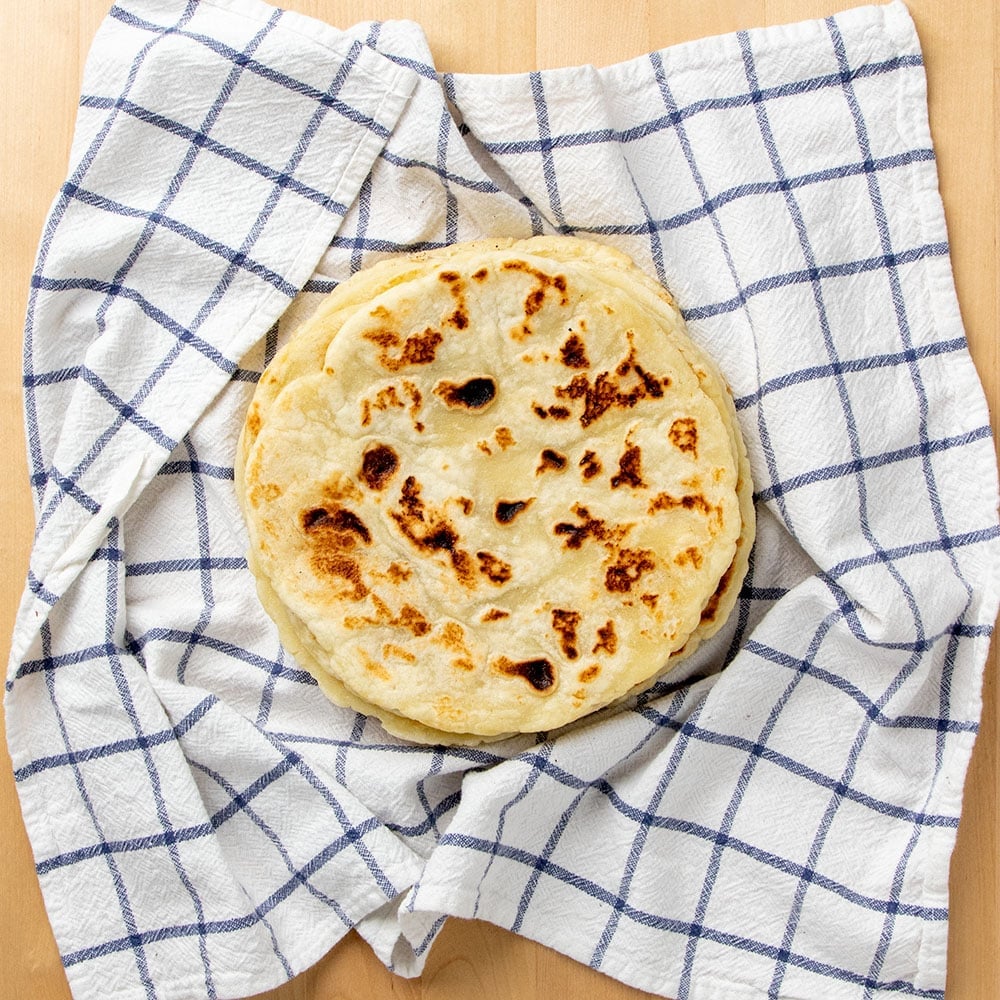
Cook the first side again
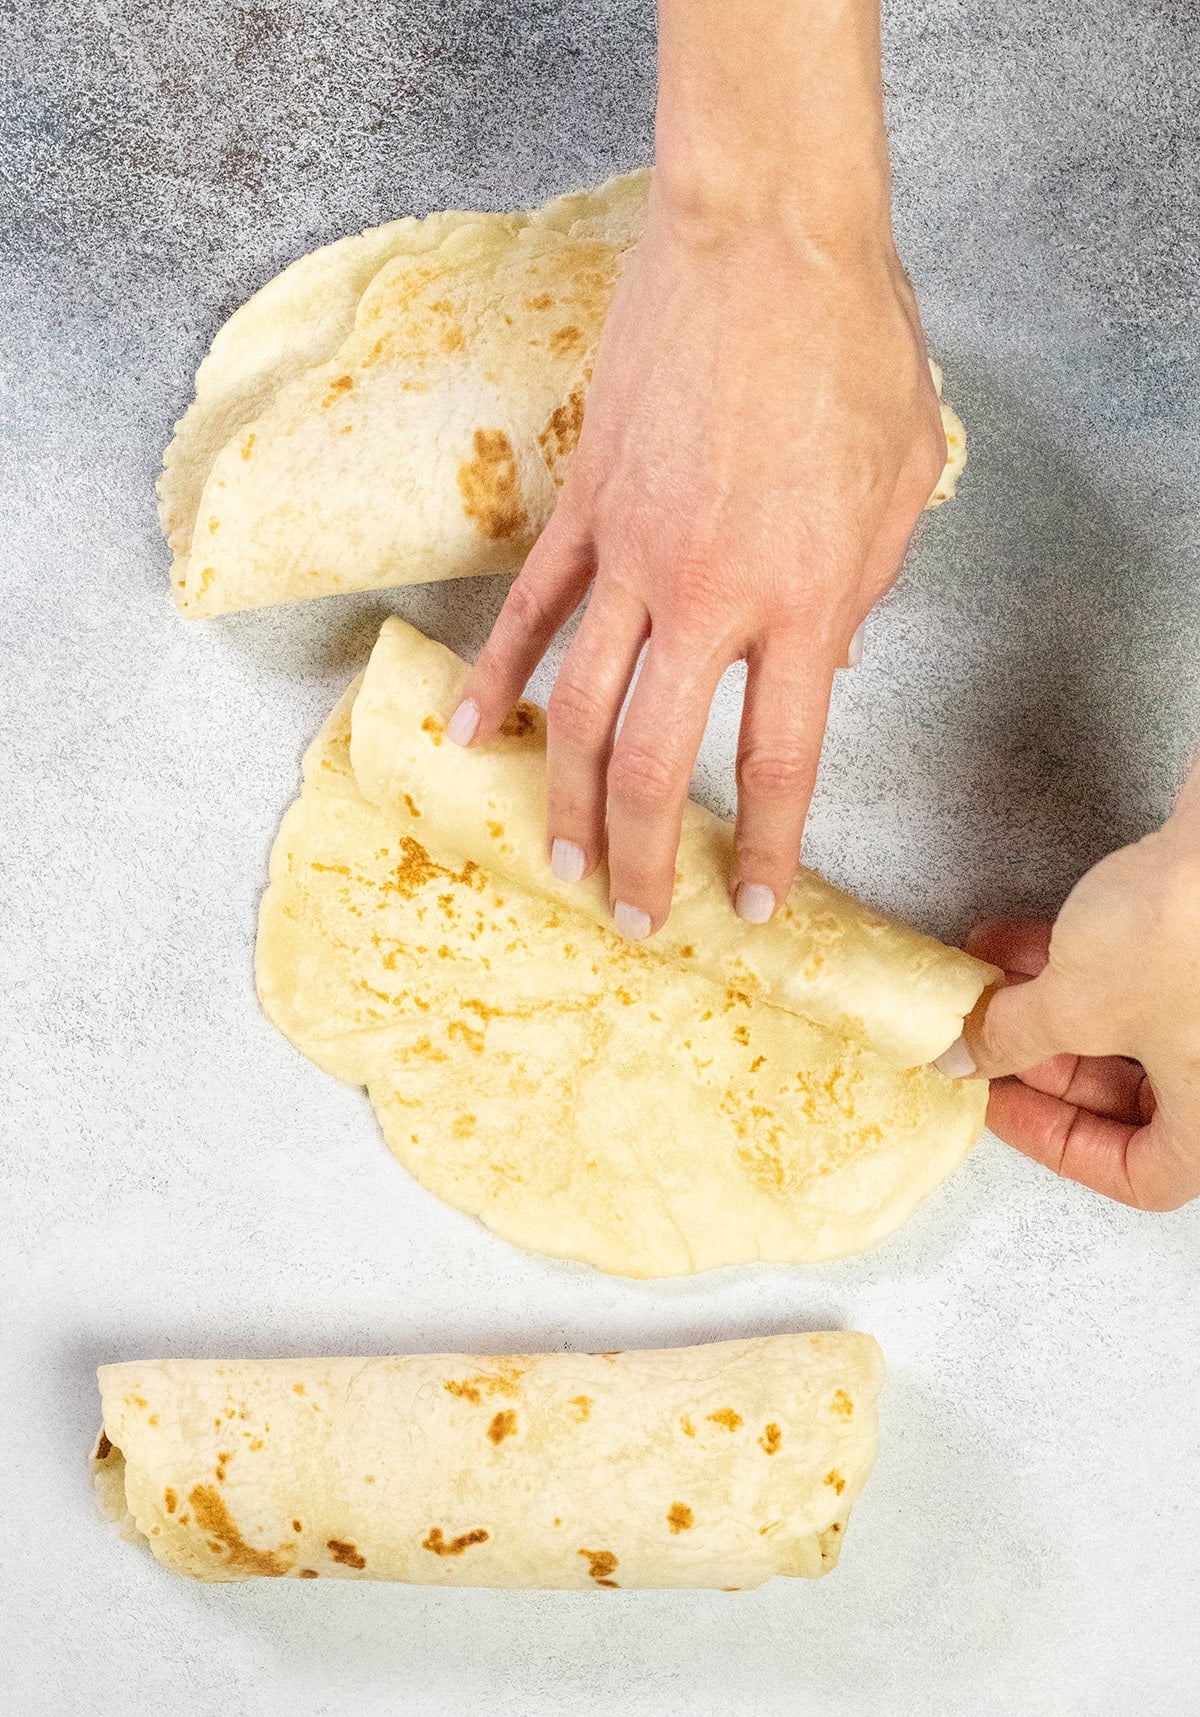
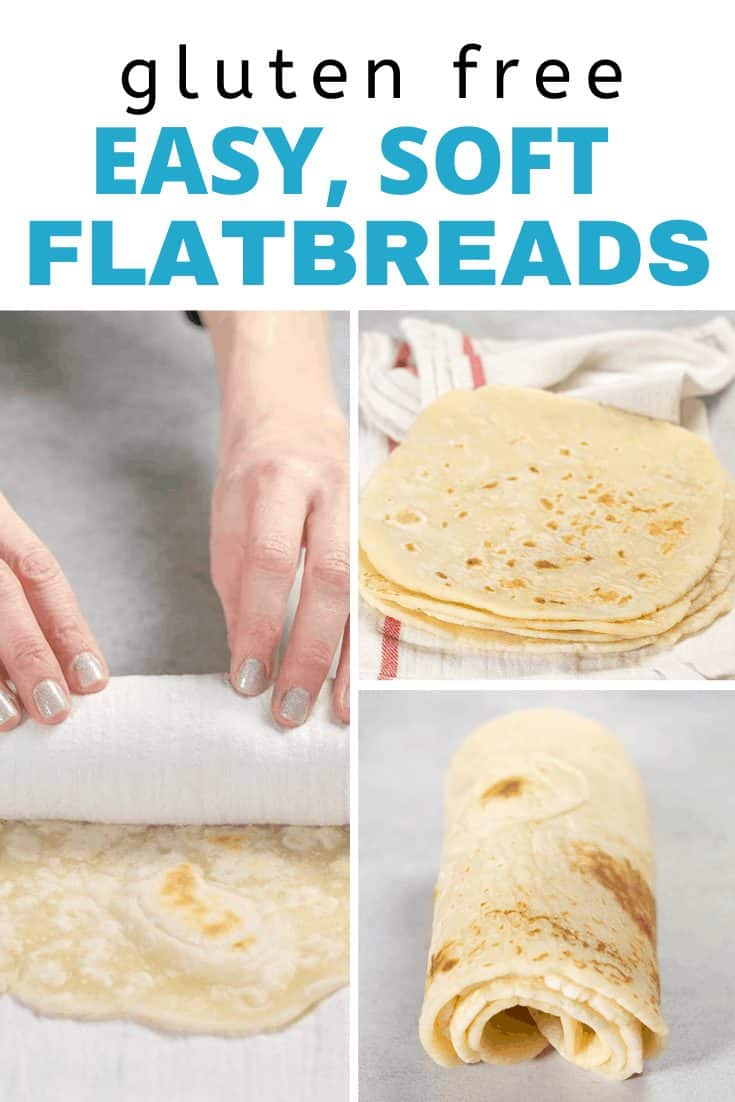
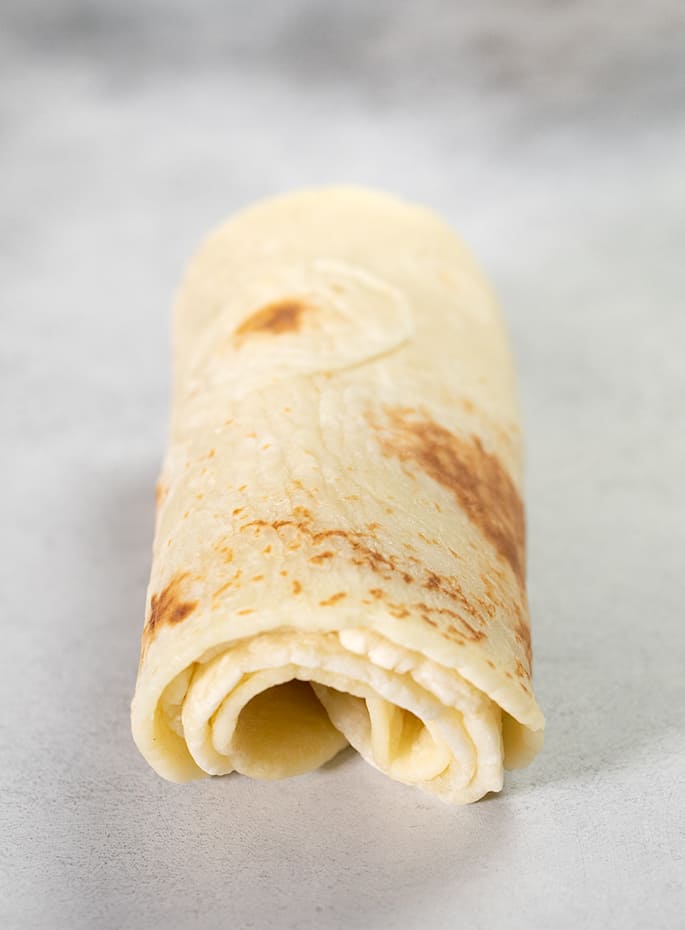
Flip again and cook until the surface looks dry and no longer glistens. Wrap the cooked flatbread in a tea towel to keep it warm, rolling it around the towel if you intend to roll it around a filling. This helps it create a memory so it rolls easily even when it's no longer warm.


Expert tips
Cook in stages
Make only as many flatbreads as you intend to sit down and eat the same day. The raw dough stores really well in the refrigerator, but the cooked bread does tend to get stiff when chilled.
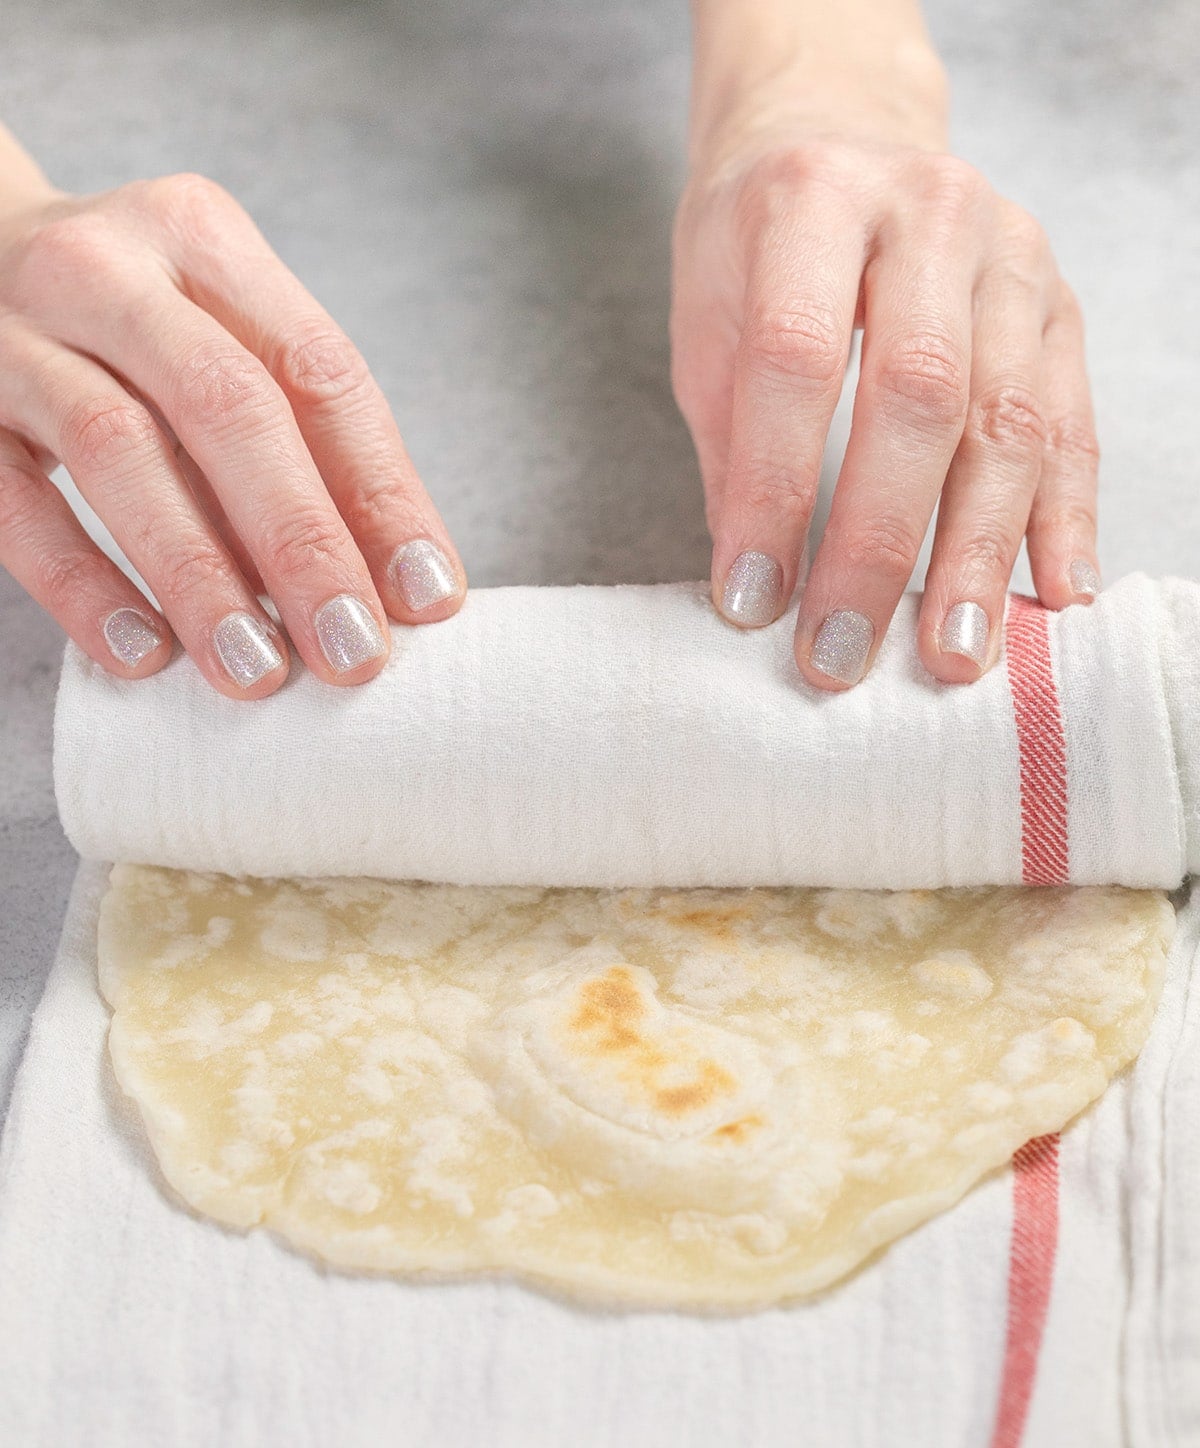
Roll when warm
Rolling flatbread while it’s still warm helps it stay flexible when cooled. It’s just like rolling a yule log or Swiss roll, warm dough remembers its shape.
Test your skillet first
Your skillet should be hot enough to sear quickly, but not burn. Test it by cooking a small dough piece first. A cast iron skillet works best for that golden, blistered finish.
Ingredient substitutions
The only common allergen in this recipe is dairy, and even that’s easily replaced. This flatbread is naturally egg-free.
Dairy free
Use any plain, unsweetened plant-based milk instead of dairy. I like almond milk best for flavor and texture.
Water works in place of milk, though the flatbread will be slightly less tender. It’s still soft, just not quite as rich as recipes that use yogurt, like our gluten free naan.
Tapioca starch/flour
Tapioca starch makes the dough pliable and helps create that chewy texture. In a pinch, you can try superfine glutinous (sweet) white rice flour as a substitute, though results may vary.
Storage instructions
Wrap cooked flatbreads tightly in plastic wrap or Press’n Seal. They stay fresh at room temperature for a whole day, and even up to 2 days.
To refresh, lightly sprinkle with lukewarm water and either microwave for 20 seconds or warm in a hot skillet for 10 seconds.
For longer storage, freeze flatbreads in freezer-safe wrap for up to 3 months. Thaw at room temp or in the microwave before refreshing.
You can also refrigerate the raw dough, portioned and wrapped, for up to 5 days. Don’t refrigerate the cooked bread, as it becomes stiff and dry.
Gluten Free Flatbread Recipe
Ingredients
- ¾ cup (105 g) all purpose gluten free flour blend, (See Recipe Notes), plus more for sprinkling
- ½ teaspoon xanthan gum, omit if your blend already contains it
- 5 tablespoons (38 g) tapioca starch/flour, (See Recipe Notes)
- ¾ teaspoon kosher salt
- ½ teaspoon baking powder
- 1 tablespoon (14 g) extra virgin olive oil
- ½ cup (4 fluid ounces) plain unsweetened plant-based (for vegan) milk, or cow’s milk, chilled
- Neutral oil for the skillet, like grapeseed, canola, or vegetable
Instructions
Make the dough
- In a large bowl, place the flour, xanthan gum, tapioca starch/flour, salt, and baking powder, and whisk to combine well.
- Add the oil and milk, and mix to combine. The mixture will seem very wet at first, but the flour will begin to absorb the liquid quickly and the dough will become stiffer.
- If the dough doesn’t come together, knead it briefly with clean hands until smooth.
- Ideally, divide the dough into 5 ounce portions (as written, the dough makes 2 portions), wrap each tightly in plastic wrap, and chill for 30 minutes and up to 3 days. You can also work with the dough immediately, if you don’t have time to chill it.
Shape and cook the bread
- Heat a cast iron skillet that’s at least 10-inches in diameter, or a heavy-bottom nonstick skillet, over medium heat. Place a flat, wide spatula and a tea towel on the counter next to the skillet.
- If you’ve chilled the dough in portions, unwrap and work with one piece at a time. If the dough hasn’t been divided, divide it in two equal halves, each weighing about 5 ounces.
- Turn each piece of dough out onto a very lightly floured flat surface, and sprinkle lightly with extra flour. Cover the remaining dough loosely with a cloth to keep it from drying out.
- Sprinkle the dough lightly with more flour and begin to roll it into a round, sprinkling lightly with more flour as necessary to prevent sticking. The edges will be jagged and a bit rough.
- Gather the dough together and repeat the process at least once more, until the dough is smoother. Roll the dough into an approximately 8-inch round, turning and flouring lightly as necessary. The edges should be less rough, but this is rustic flatbread.
- Brush about 1 teaspoon of neutral oil on the hot skillet. Pick up the prepared raw piece of flatbread and place it flat in the center of the skillet, taking care not to bend any of the edges.
- Allow it to cook for about 1 minute without disturbing it, or until the edges begin to lift. Slide the spatula underneath the flatbread, ensuring that there are no spots that are sticking.
- Flip the flatbread over and allow it to cook for another minute, pressing it firmly back onto the skillet with the spatula to prevent it from puffing up. You can also take a toothpick and prick any bubbles to deflate them.
- Continue to cook the flatbread, flipping it frequently, until it is set on both sides and doesn’t glisten anywhere. It should take 2 to 3 minutes total.
- Remove the flatbread from the skillet, place it in the center of the tea towel, and fold the edges of the towel over on it to enclose it and keep it warm.
- Repeat with the second piece of dough, adding more oil to the skillet if needed.
To roll the flatbread
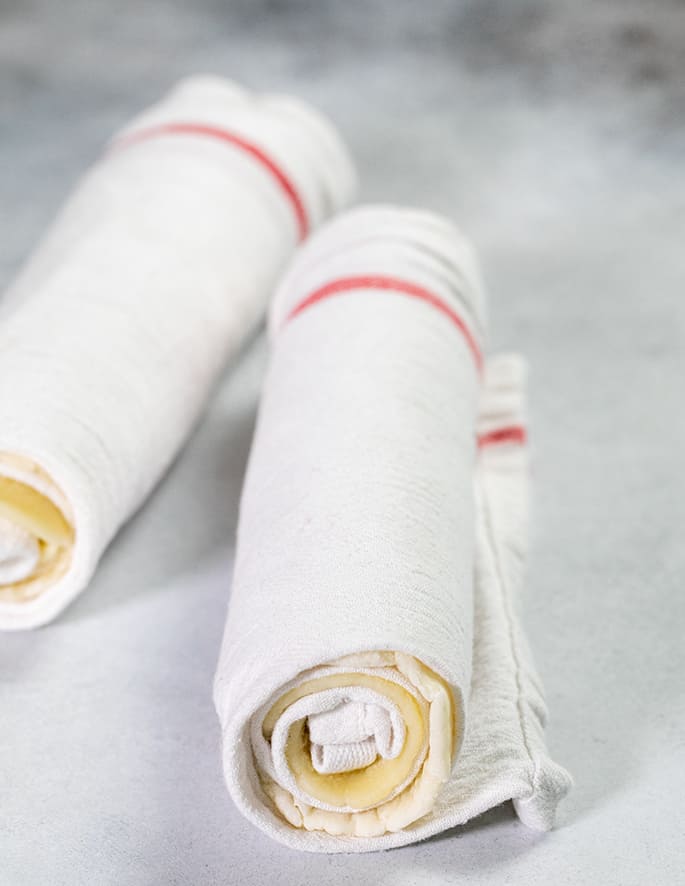
- If you'd like to roll them in a coil while they are still very warm, open the tea towel and remove both pieces of bread. Place one about 4 inches from one short end of the towel, fold the edge over the bread, and roll the bread tightly in the towel.
- Place the second flatbread on the unrolled portion of the towel, and repeat the process, rolling until the two flatbreads are tightly wrapped in the towel. Allow them to cool for at least 5 minutes wrapped in the towel before unwrapping and serving.
Video
Notes
Nutrition
Nutrition information is automatically calculated, so should only be used as an approximation.
FAQs
If the dough is too wet, add tapioca starch 1 teaspoon at a time until it’s no longer sticky.
If it’s too dry, add milk 1 teaspoon at a time, just until it comes together.
No—tapioca starch is essential here, even if it’s already in your blend. It improves dough texture, makes rolling easier, and adds chew.
Possibly! The dough is stable enough to grill if your grates are very clean and well-oiled. Try one flatbread as a test.


This recipe worked out perfectly! Saving this to use again and again.
So glad to hear it, Jeanette. Thank you so much for sharing your experience!
This is my favorite go to recipe for a quick meal. I keep the leftover pieces in the fridge so I can fry up a fresh flatbread any time.
So glad you love the flatbread, Helen. And that’s what I do!
I doubled the recipe and wrapped the portions individually so that I could use them over a couple of days for individual meals. Very easy to roll out and fry in a pan. Miles better than anything store bought. So far I’ve eaten them burrito style — they are flexible, sturdy, and delicious! I’m looking forward to trying something pizza-ish. I’ll keep this recipe in my rotation for sure. Thank you!
So glad to hear it, Heather! I’m so glad you’re describing your experience with just how versatile they are. Thank you for sharing that!
Best gluten free flat bread I have ever had!! To be honest, I was skeptical at first since there wasn’t a picture of the crumb showing the inside of the bread, but this was the only recipe I found that didn’t require a trip to the store. The texture is crisp on the outside, but airy and chewy on the inside, exactly like glutenous bread. I used the bread to dip in olive oil and balsamic vinegar, which was heavenly. I used King Arthur 1:1 and omitted the xantham gum.
Easy to follow directions. The bread turned out great. My daughter didn’t think it was gluten free. That’s a win in my book.
Fooling the gluten eaters is the #1 goal! Love to hear it. Thank you so much for sharing that, MaryJo!
Gluten eater here, fully converted.
I was looking for a recipe for my GF partner. She wanted grilled cheese and I didn’t have any GF bread left in the freezer. I did however have tapioca flour and regular gluten free blend though!
Weighed out my ingredients, whipped out my perfectly seasoned cast iron, and proceeded to make magic. They were perfect. Not even the slightest bit grainy. Perfect texture. Fantastic taste. This will be in regular rotation for sandwich bread, naan, pizza, or pita bread! Yes!
So glad you loved the flatbread, NG! As you discovered, this is a perfect last-minute recipe. Thanks for sharing your experience.