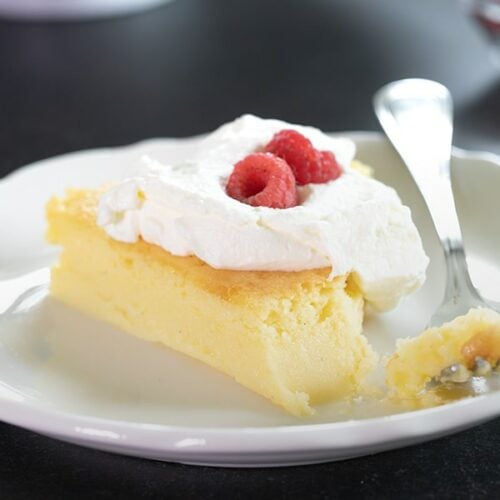
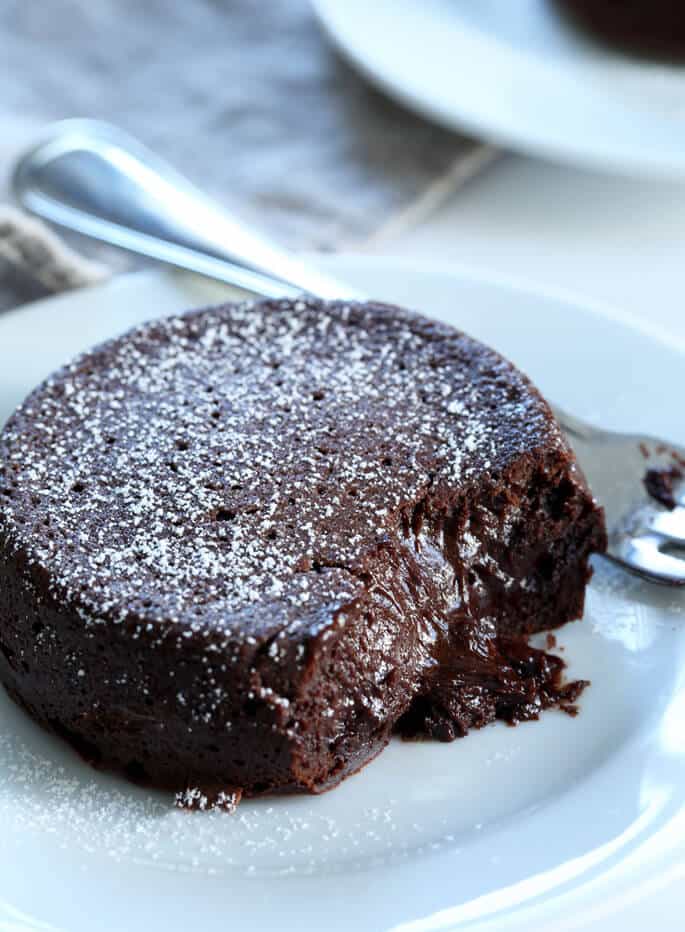
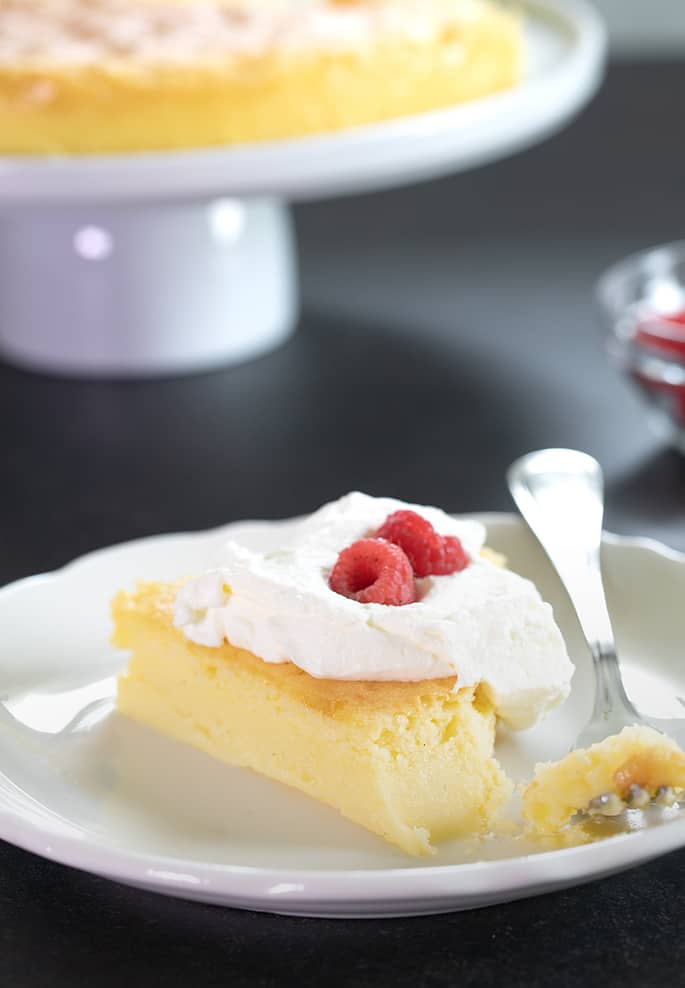
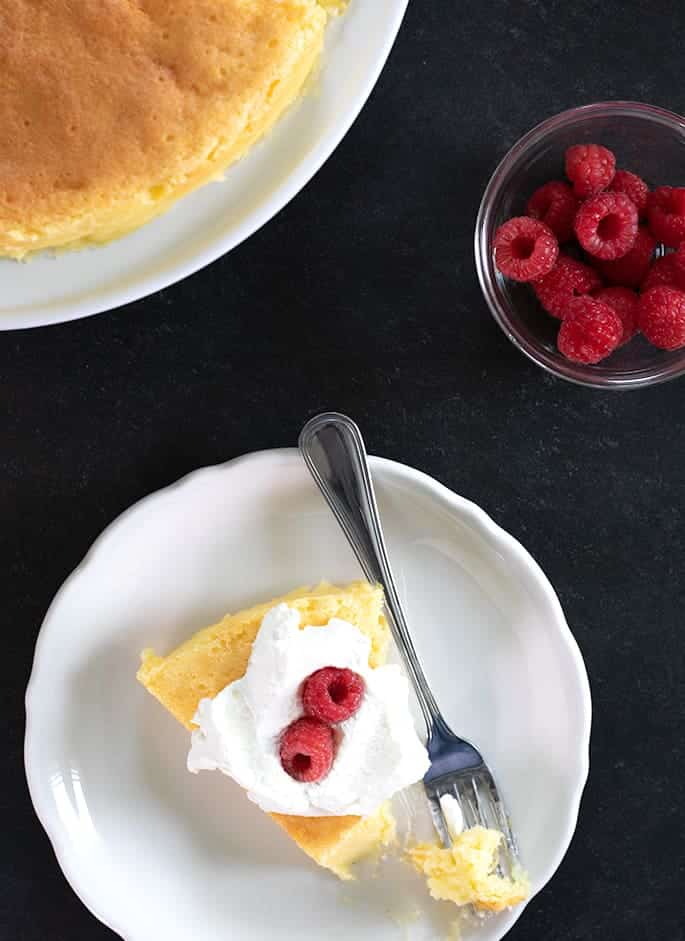
This flourless white chocolate cake is the perfect blond version of the most decadent, easiest dessert you can imagine. And it's even naturally gluten free!
Why I love this flourless white chocolate cake
I find that white chocolate can be sort of a divider, rather than a uniter. The creamy texture is mostly universal, but the flavor tends to be love-it-or-hate-it. Maybe it's the richness or the fact that many commercial white chocolates tend to be rather waxy and overly sweet?
I'm not really a white chocolate lover or a white chocolate hater. I'll eat and enjoy nearly anything, and I find that the way a dessert or food is prepared and the quality of the ingredients can make all the difference. This flourless white chocolate cake, of course, is prepared in just the right way, with just the right ingredients.
How to prepare a flourless chocolate cake
Flourless chocolate cake is traditionally made by melting chocolate and butter, mixing them with granulated sugar and egg yolks and, then folding in whipped egg whites. Sometimes, for a bit more chocolate flavor, the egg whites are beaten with unsweetened cocoa powder.
White chocolate is unique, though, so it tends to behave differently than dark or even milk chocolate in baking. I've tried baking a white flourless chocolate cake by replacing only the dark chocolate with white chocolate in my classic flourless chocolate cake recipe. It was a total flop.
Baking a white chocolate cake using the same sort of ingredients as a dark chocolate flourless cake, I couldn't get the cake to bake properly without burning on the bottom. It didn't matter whether I separated the eggs and whipped the egg whites or not. Everything turned around when I added cream cheese to the mix, though.
White versus dark flourless chocolate cake
Since there's no flour to stabilize a flourless cake as it bakes, often flourless baking recipes contain a nut butter or something like black beans or cooked quinoa. A traditional flourless chocolate cake has little more than chocolate, butter, sugar, and eggs. Ditto with fudgy flourless brownies.
In making a white chocolate cake recipe, I found it even more difficult to make a batter that was fluffy enough to bake into a cake, not a pudding. Adding cream cheese to the batter made all the difference.
This cake is not a cheesecake. I had originally planned to make a dark chocolate flourless cake and just swirl in some cheesecake batter. I do think that would taste amazing. But I was dying to see whether or not I could make a white version of a flourless chocolate cake.
Since there's also a tremendous amount of variation from one white chocolate brand to another, I do have to recommend using the best quality white chocolate you can. In this recipe, I used Ghirardelli's white chocolate baking bar, which I find to be of consistently good quality.
(If you're gluten free, though, please be sure to check the packaging. I understand that there have been times in the past when Ghirardelli's white chocolate baking bar has stated that it may contain wheat.)

Do you need to use a water bath?
A water bath, or “bain marie” is simply a method for baking a cake in a larger pan with hot water that rises about halfway up the sides of the pan with the cake batter in it. It provides moist heat that otherwise isn't possible in a traditional oven. It also maintains a more even, consistent temperature to the cake during baking.
I don't really care for baking anything at all in a springform pan. Add in the trouble of a water bath, and I'm even more annoyed. Happily, although this recipe requires the springform pan, the water bath is entirely optional.
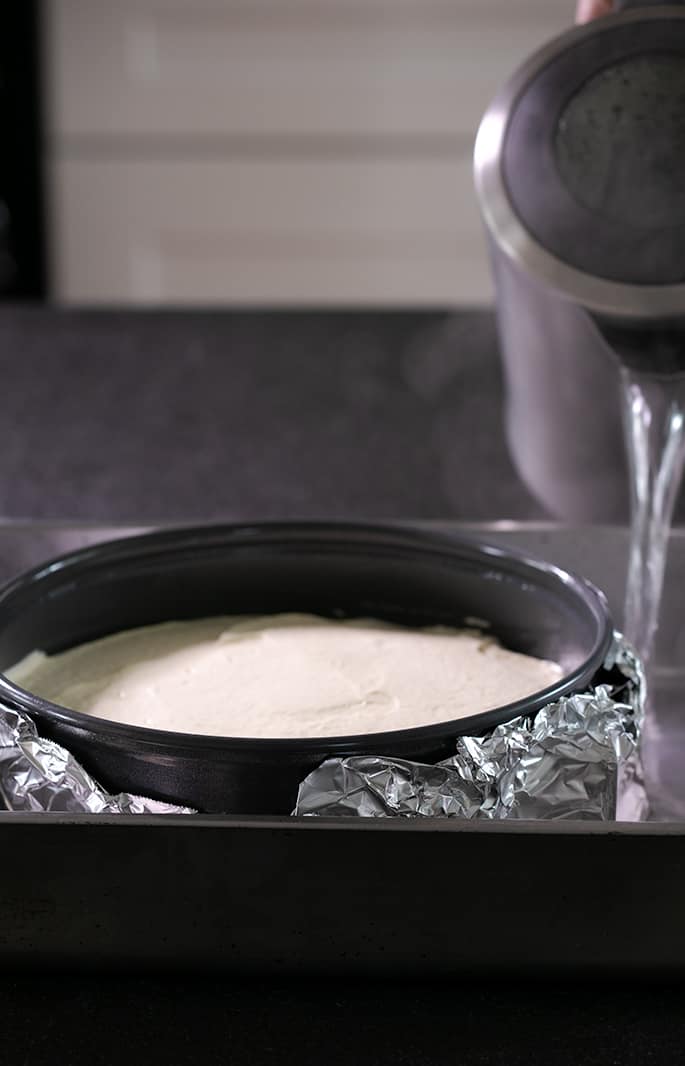
When I baked this cake with a water bath, I found that the cake rose and baked more evenly (no higher, browner “crust” around the edges). The texture was creamier, too.
When I baked the cake without a water bath, I did place a shallow pan of simmering water on the bottom rack of the hot oven during baking. That helps the cake bake more evenly and in a nice, moist environment. But it doesn't slow the baking like submerging the pan in an actual water bath does. I found that the cake didn't rise as evenly, but the texture was more cake-like.
Ingredients and substitutions
If you have other dietary restrictions beyond being gluten free, I'm afraid I don't have very good news for you about this recipe. But here's all the explanation I've got:
Dairy-free: You simply can't successfully make this recipe dairy-free, at least not by making the usual substitutions. I have tried and tried (and tried!), and there just isn't any proper dairy-free substitute for cream cheese. Some of them are able to nail the texture, but none of them has the proper taste.
The closest sub is probably Tofutti, but even that just doesn't cut it for me. Personally, I'd rather have something else entirely than a near-miss. The butter should be able to be replaced with Melt, my favorite vegan butter replacement, but eliminate the salt in the ingredient list as it's already plenty salty.
Dairy-free white chocolate that actually tastes good can be hard to find commercially prepared. But I do have a recipe for vegan white chocolate that I think would work just fine.
Egg-free: There are 4 whole eggs in this recipe, and they do some serious heavy lifting. For that reason, I know of absolutely no egg substitutes that would work.
Flourless White Chocolate Cake
Equipment
- Springform pan
- Stand mixer with paddle attachment or handheld mixer
Ingredients
- 8 ounces white chocolate chopped
- 8 ounces cream cheese at room temperature
- 8 tablespoons (112 g) (112 g) unsalted butter at room temperature
- ½ cup (100 g) (100 g) granulated sugar
- ¼ teaspoon kosher salt
- 2 teaspoons pure vanilla extract (with vanilla seeds if possible)
- 4 (200 g (weighed out of shell)) eggs (200 g weighed out of shell) at room temperature, beaten
Instructions
- Preheat your oven to 325°F.
- Grease a 9-inch springform pan with nonstick cooking spray. Line the bottom of the pan with a 9-inch round of parchment paper. If using a water bath, cover the bottom and sides of the pan tightly with heavy-duty aluminum foil. Set the pan aside.
- In a small, heat-safe bowl, place the chopped white chocolate.
- Melt either in the microwave (90 seconds at 50% power, and then for 30 seconds at a time at 50% power, stirring in between until melted and smooth) or over a double boiler (position the bowl over barely simmering water and stir occasionally until melted and smooth).
- Set the melted chocolate aside to cool while you prepare the other ingredients.
- In the bowl of a stand mixer fitted with the whisk attachment or a large bowl with a handheld mixer, place the cream cheese, butter, sugar, salt, and vanilla.
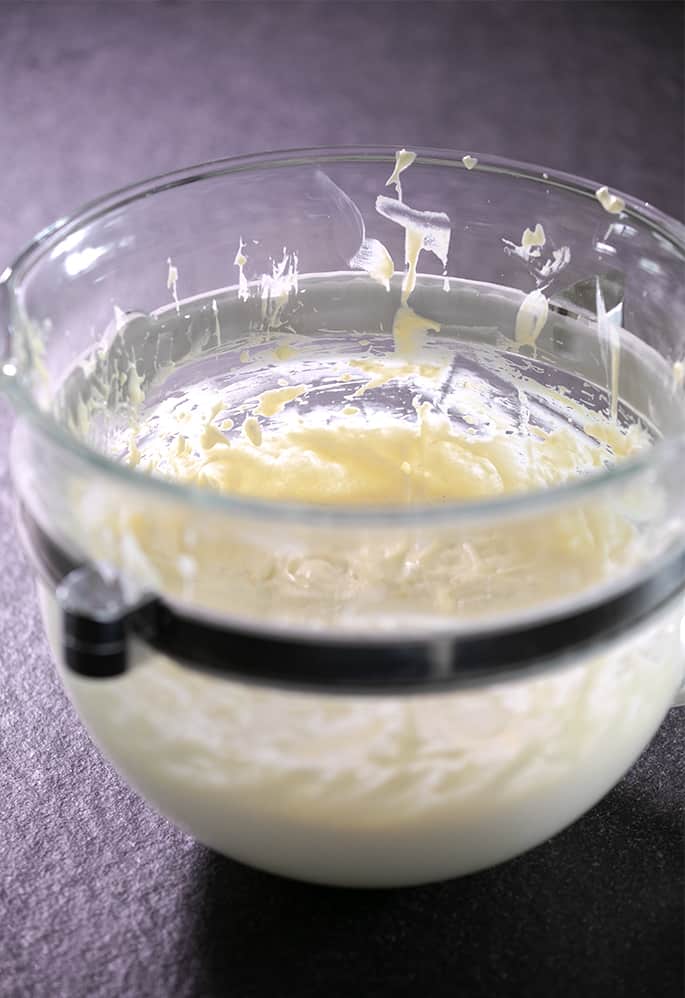
- Whip on medium speed and then on high speed until light and fluffy (about 5 minutes).
- Lower the speed of the mixer to medium-low, and add the eggs one at a time. Increase the mixer speed to medium-high and continue to whip until well-combined (about 2 minutes).
- Reduce the speed again to medium-low, and drizzle in the melted white chocolate. Increase the speed to high and continue to whip for at least 5 minutes or until the mixture is smooth, but fluffy. The whisk should leave a visible trail in the batter.
- Transfer the batter to the prepared springform pan and smooth into an even layer with an offset spatula.
- If using a water bath, place the pan in the center of a large roasting tin and place the pans in the center of the preheated oven.
- Pour hot water into the roasting pan while the pan is already in the oven (it’s much easier to move a pan around that doesn’t have hot water in it!) until the water reaches about halfway up the sides of the springform pan.
- Bake until the top is lightly golden brown and the cake doesn’t jiggle more than very slightly when moved from side to side. That will take about 45 minutes if you’re using a water bath, and about 5 to 10 minutes less without a water bath.
- Turn off the oven and prop the door open slightly. Allow the cake to cool in the oven for at least 15 minutes and up to an hour.
- Remove the cake from the oven, allow it to cool in the pan to room temperature, and then place in the refrigerator for at least an hour, or up to 3 days.
- Run a knife around the edge of the pan to ensure that the edges aren’t sticking before unmolding the chilled cake.
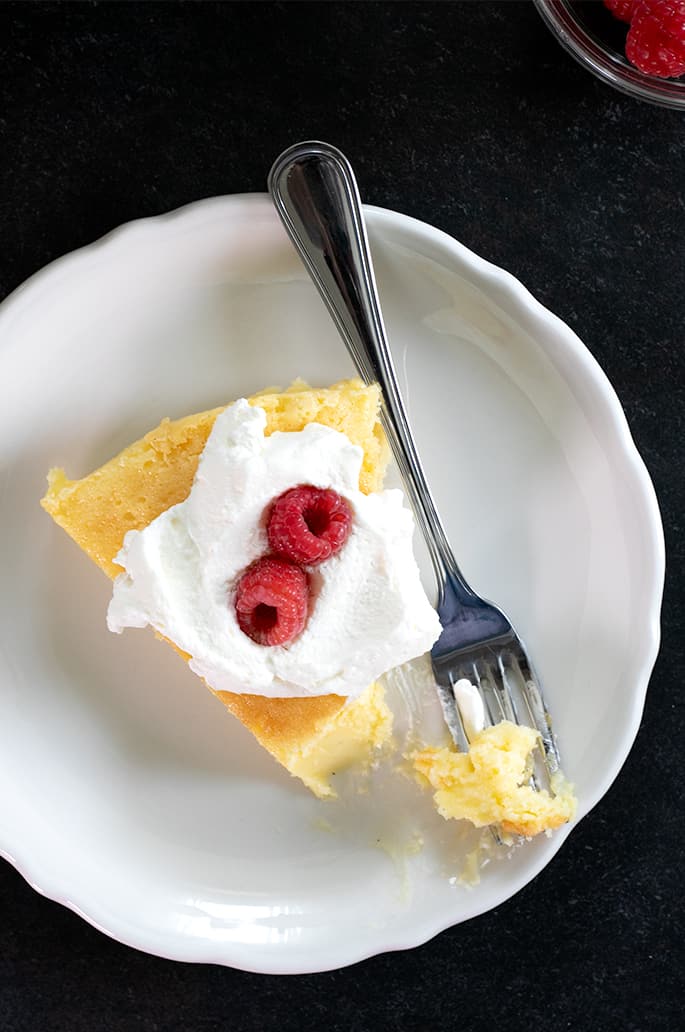
- Rinse a large knife under hot water, then dry it off before making each cut in the cake. The knife should glide right through the cake. Garnish with whipped cream and berries, and serve chilled.
