
This post may contain affiliate links. Please read our disclosure policy.
Make a gluten free graham cracker crust and suddenly, no-bake pies, cheesecakes, and freezer desserts are all on the table. With so many great store-bought GF graham crackers available now, it’s easier than ever to get it right.
Prefer homemade? I've got shortcuts for making gluten free graham crackers that taste just like Nabisco—quickly and easily.
Nicole's Notes
Why I love this crust
It’s crisp and buttery, with just the right hint of molasses and honey. It holds its shape without being tough, and it’s so easy to make: just stir together graham cracker crumbs, sugar, and butter. Fill it and bake—or blind bake for no-bake fillings.
Pro Tip: Make sure your crumbs feel soft in your fingers before mixing, and press the crust in gently—packing it down too hard makes it tough.
what's in it
Recipe Ingredients
This gluten free graham cracker crust only needs 3 ingredients:
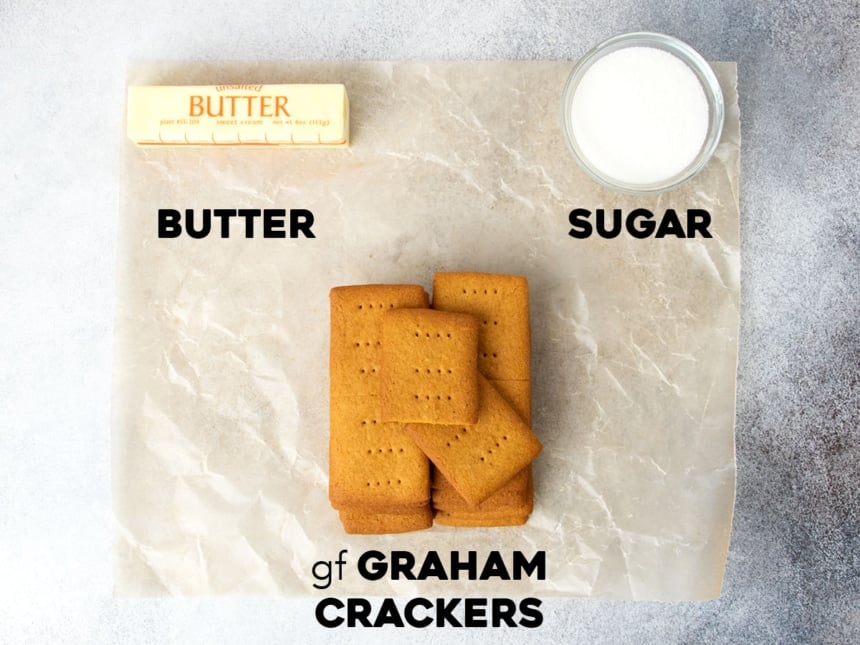
Gluten free graham crackers – Most of the flavor comes from these, so choose a brand you like. Pamela’s is my favorite store-bought, but nothing beats homemade.
Granulated sugar – Adds just enough sweetness and helps bind the crust—especially if you're baking it.
Butter – For moisture, richness, and holding everything together.
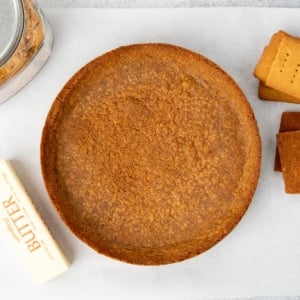
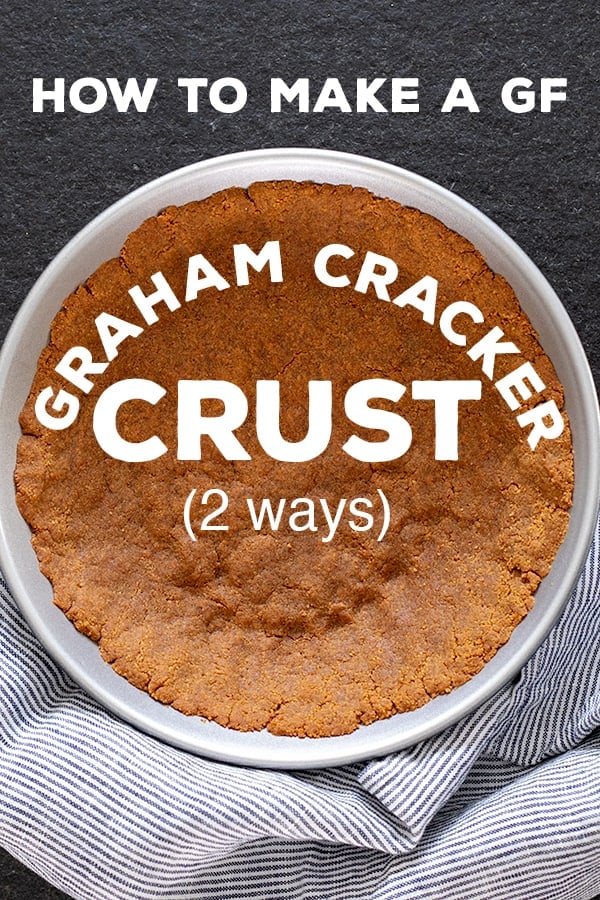
How to make a gluten free graham cracker crust
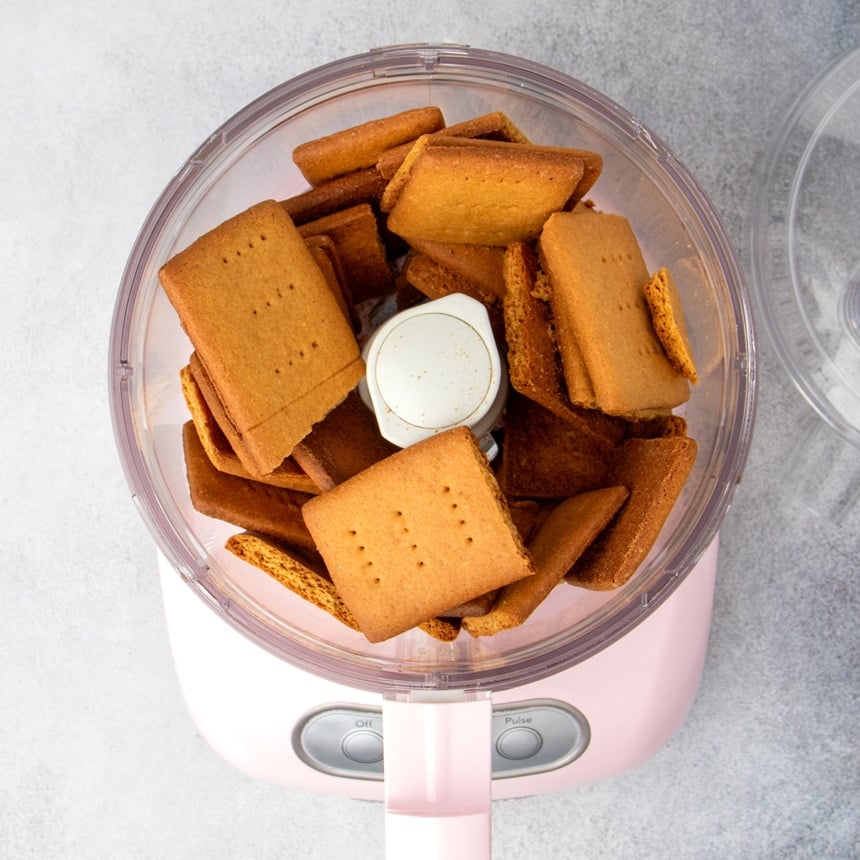
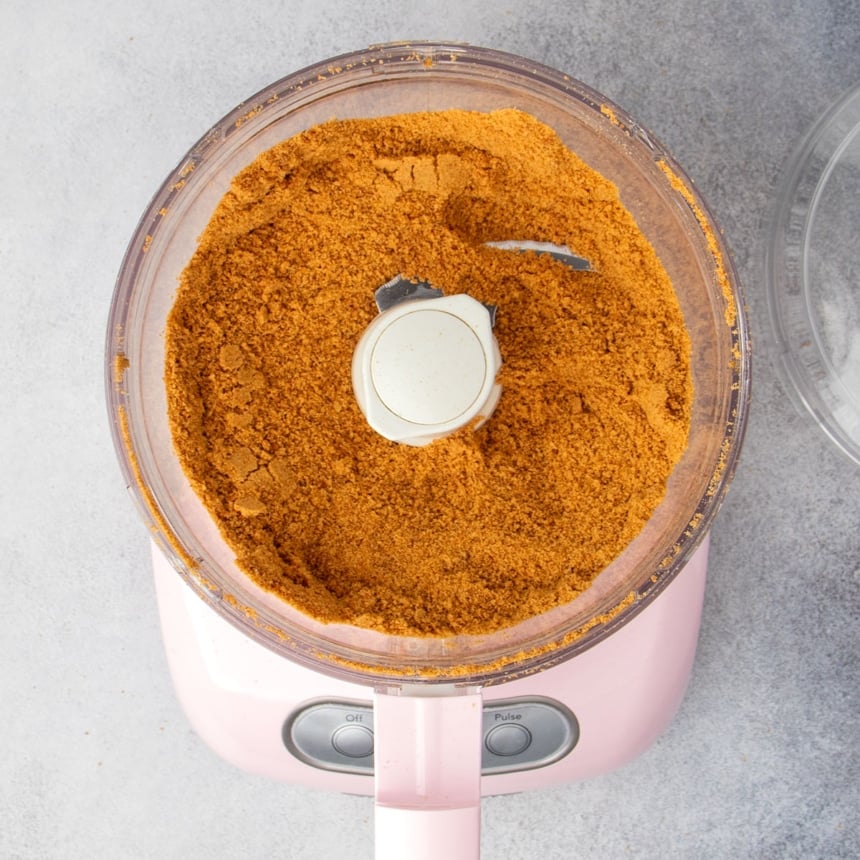
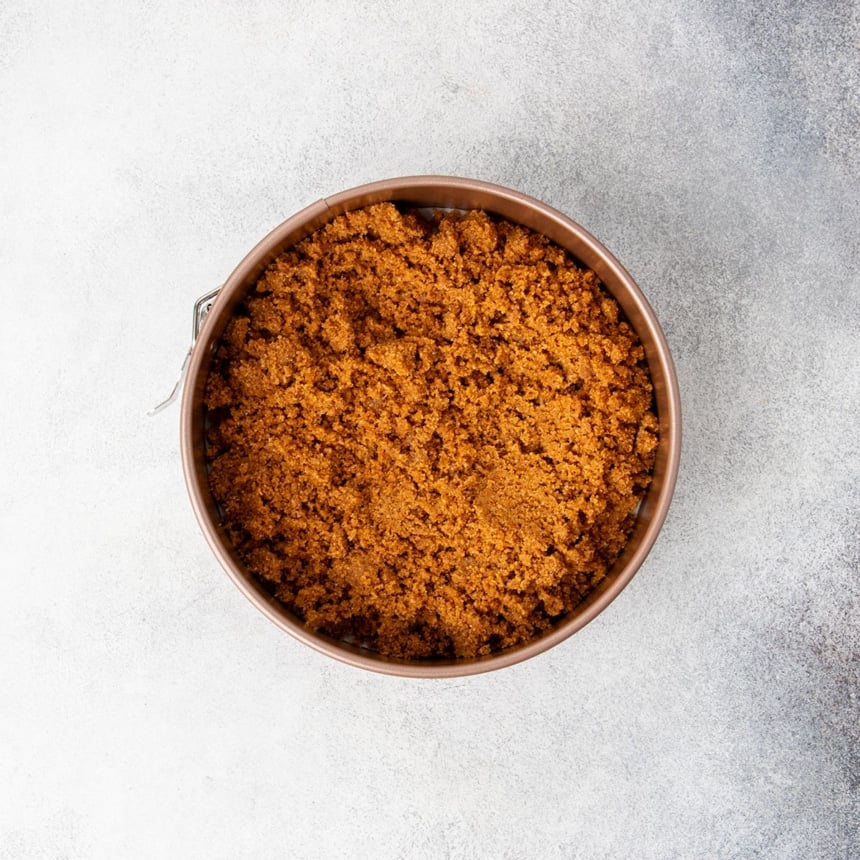
Start with 8 ounces of gluten free graham crackers. Break them into chunks and pulse in a food processor or blender until you have soft, uniform crumbs—they should feel like soft sand in your hands.
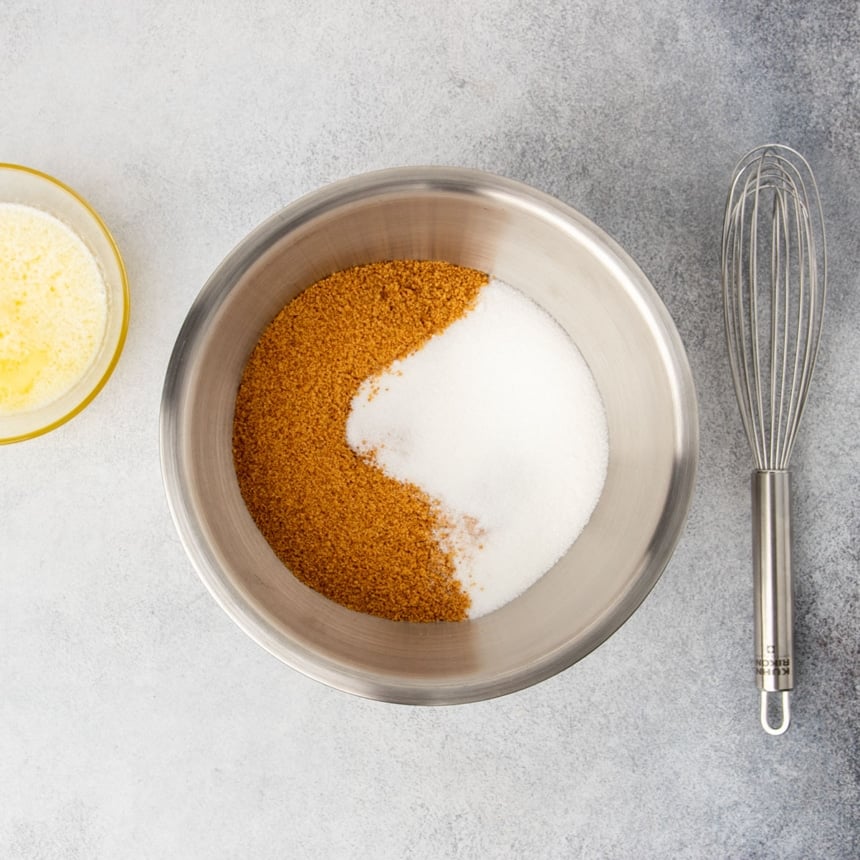
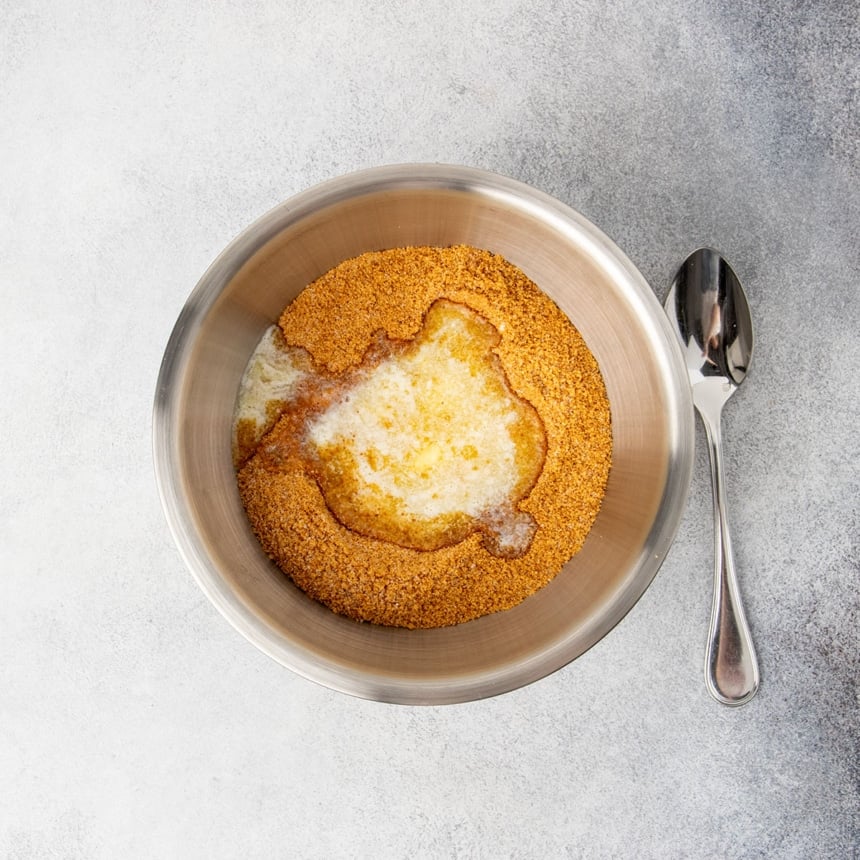
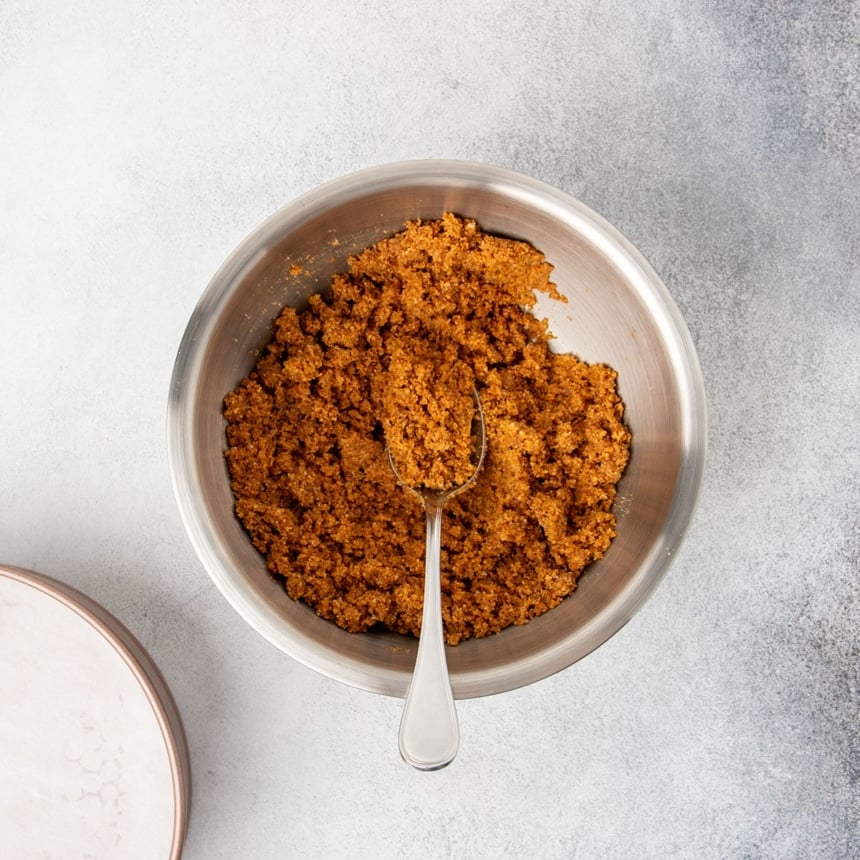
Transfer to a mixing bowl, whisk in the sugar, then stir in the melted and cooled butter until the mixture forms moist clumps.
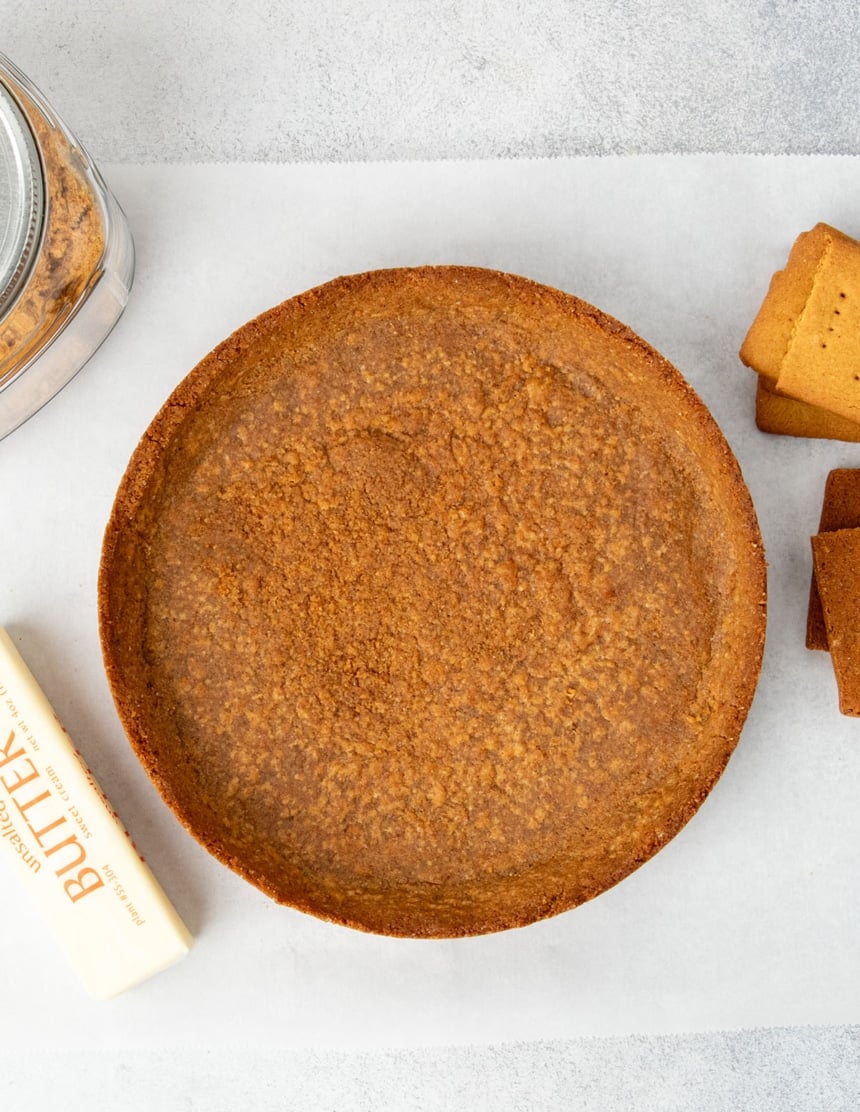
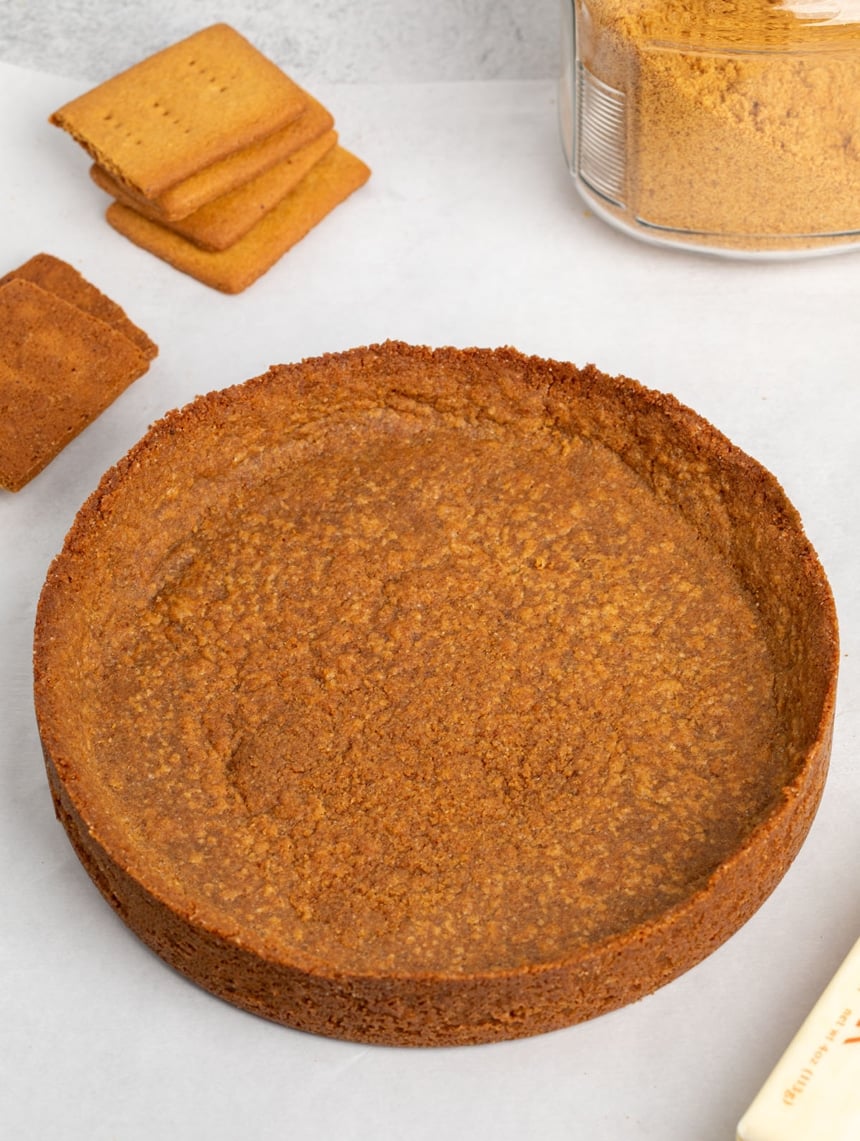
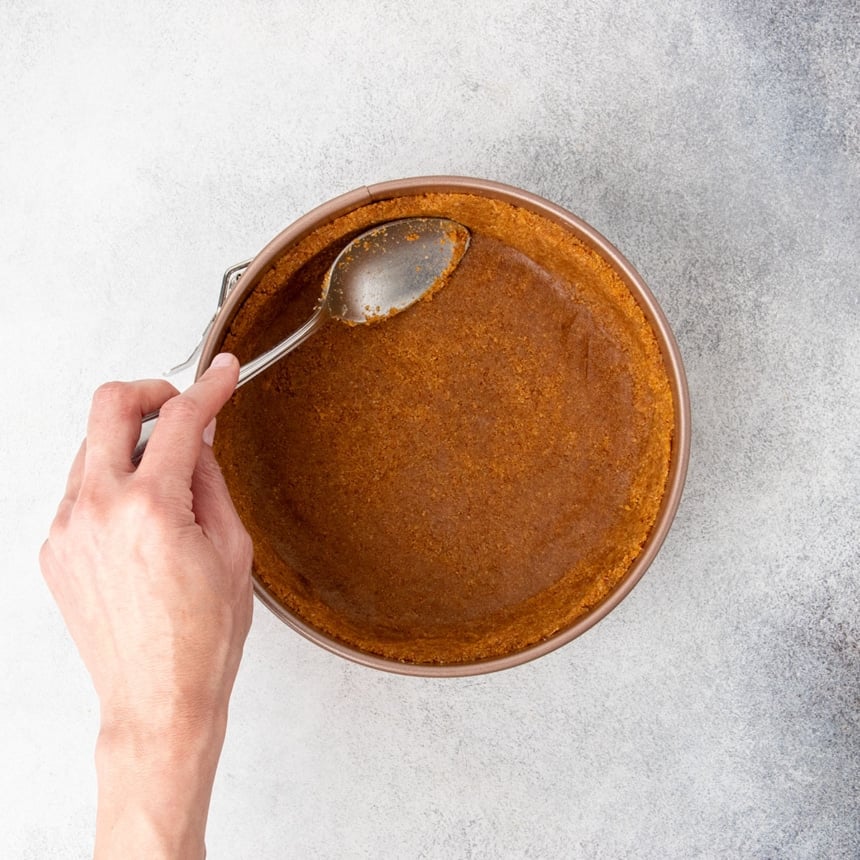
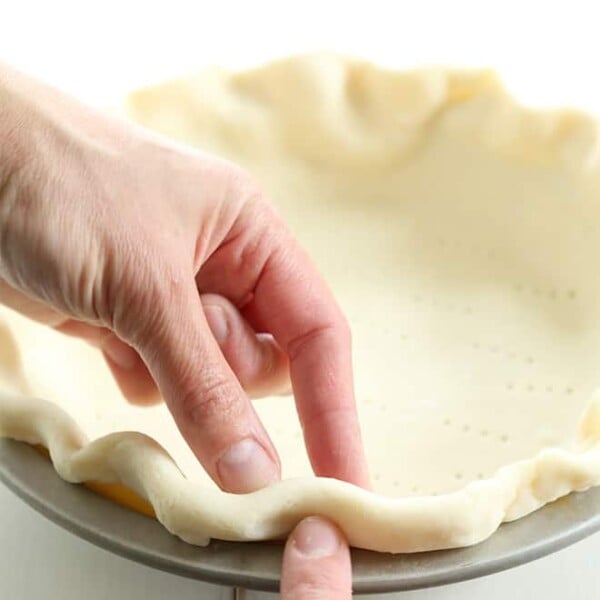
Press the mixture gently into a prepared springform or tart pan—just the bottom and halfway up the sides for a springform, or all the way up for a tart pan. Use the back of a spoon to smooth it out, but don’t press too firmly or the crust can turn hard.
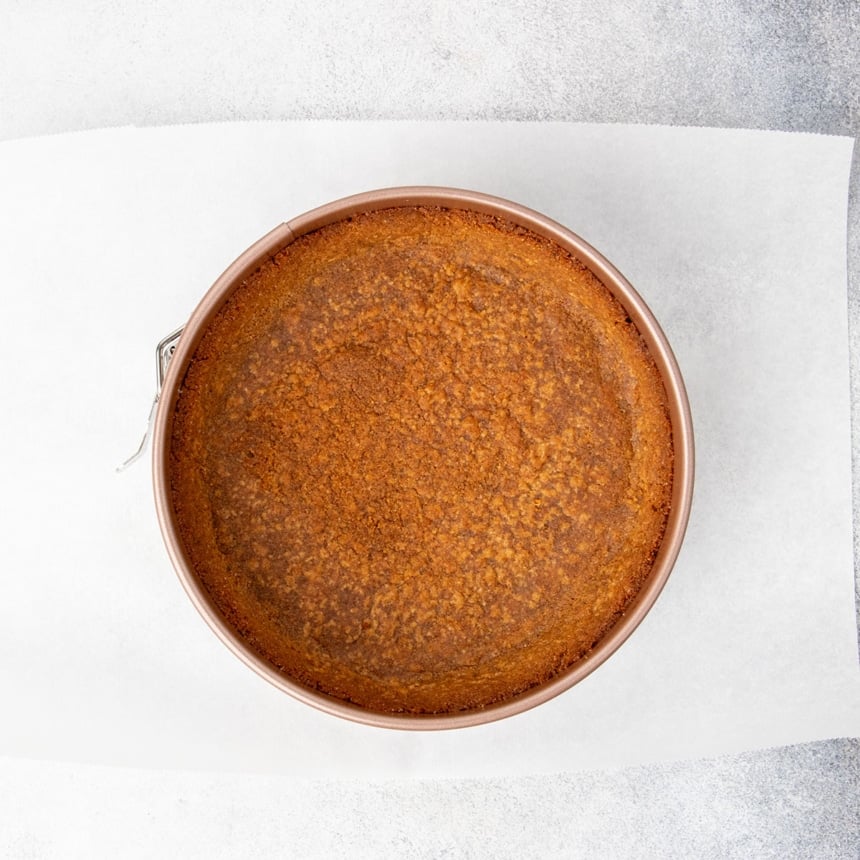
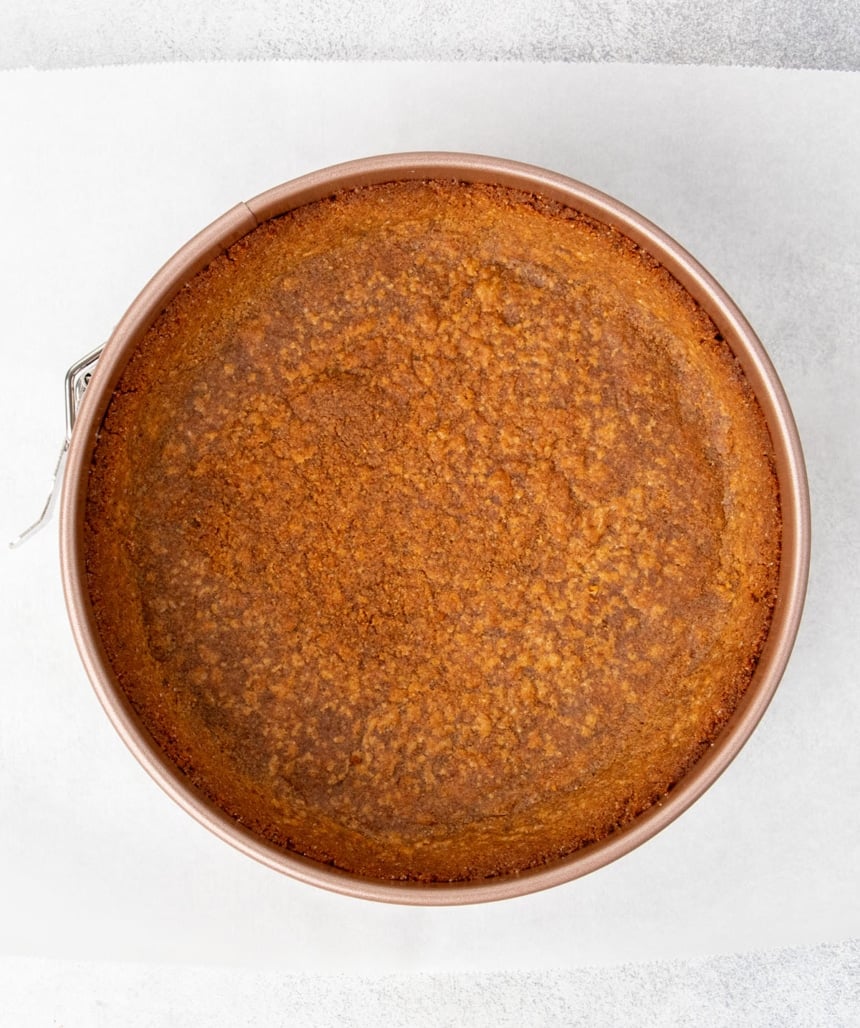
For a no-bake filling, bake the crust at 350°F for 12 minutes, until the center looks matte rather than shiny. Let it cool completely in the pan.
My Pro Tip
Pro tips for the perfect crust
Use graham crackers you like
The crust will taste mostly like the crackers—so pick a brand you love, or use homemade. I like Pamela’s and Schar best. If yours are super crumbly, mix in 1 tablespoon of gluten free flour to help it bind better.
Easy shortcut for homemade crackers
Using my recipe for homemade gluten free graham crackers? Add 3 extra tablespoons of gluten free flour to the dough. Roll it thinner than usual—about 1/8 inch—and bake it as one uncut sheet. Once cooled, grind into crumbs.
No food processor? No problem.
Place the crackers in a ziptop bag and tap gently with a rolling pin, meat mallet, or cast iron skillet until they’re crushed. Just don’t hit too hard or the bag may tear.
Go easy when pressing the crust
Make a gentle slope between the base and sides, and press just enough to form a smooth layer—overpacking makes it hard.
Catch butter drips with foil
Place a sheet of aluminum foil on the oven rack below your pan to catch any butter that leaks out while baking.
Ingredient swaps
Here's all I know about how to make this recipe friendly for people who have additional dietary restrictions.
To make it dairy free
Choose dairy free graham crackers (like Schar or Kinnikinnick), and use a block-style vegan butter—Melt or Miyoko’s work well.
To skip the added sugar
If you're making a no-bake pie, you can leave out the extra sugar in the crust. It helps bind the crust when baking, but isn't needed if you're just chilling the shell.
Gluten Free Graham Cracker Crust Recipe
Equipment
- Blender or food processor (See Recipe Notes)
- Springform pan or tart pan
Ingredients
- 8 ounces (225 g) gluten free graham crackers, (See Recipe Notes)
- ⅓ cup (67 g) granulated sugar, optional (See Recipe Notes)
- 8 tablespoons (112 g) unsalted butter, melted and cooled
Instructions
Prep your pan
- Lightly grease an 8- or 9-inch springform or 11-inch tart pan. Line the bottom with a round of parchment paper. If baking the crust, preheat the oven to 350°F and place a foil-lined baking sheet on the rack below.
Make the crumbs
- Break the graham crackers into pieces and pulse in a food processor or blender until you have soft, sandy crumbs.
Mix the crust
- In a medium bowl, whisk the crumbs with the sugar (if using), then stir in the melted butter until the mixture forms moist clumps.
Press the crust
- Pour the mixture into your pan and gently press it across the bottom and up the sides. Don’t pack it in too tightly—just enough to form a smooth, even layer
Bake (if needed)
- If your filling is no-bake, bake the crust for 12 minutes, until the center looks matte.
- If the crust has developed bubbles, you can pop them carefully with a toothpick but they will settle down as the crust cools.
- Let cool completely before filling. If your filling is baked, skip this step and chill the crust while you prepare the filling.
Notes
Nutrition
Nutrition information is automatically calculated, so should only be used as an approximation.
make ahead/leftovers
Storage instructions
You can make the graham cracker crumbs up to 3 weeks ahead and store them at room temperature in a sealed glass container. For longer storage, freeze the crumbs in an airtight container.
After baking, let the crust cool completely, then remove it from the pan, wrap it tightly, and freeze for up to 3 months.
For an unbaked crust, freeze it directly in the pan, well-wrapped. Defrost either version at room temperature before using.
FAQs
A springform or tart pan with a removable bottom makes it easiest to slice and serve. An 11-inch tart pan will yield a thinner crust than an 8- or 9-inch springform.
No! Use any crisp gluten free cookie—like gluten free vanilla wafers, gluten free gingersnaps, or gluten free shortbread. You can also try gluten free Oreos (without the filling) for a chocolate twist.
Yes! es! For best results, use a muffin tin with removable bottoms or line the cups with foil or parchment “slings” to help lift them out cleanly.
Double the recipe for a thicker crust, or increase by 1.5x for a slightly thinner base.
Usually not. If your pie recipe says to parbake, bake this crust at 350°F for 5 minutes on a foil-lined rack before filling.
Recipes that use this crust
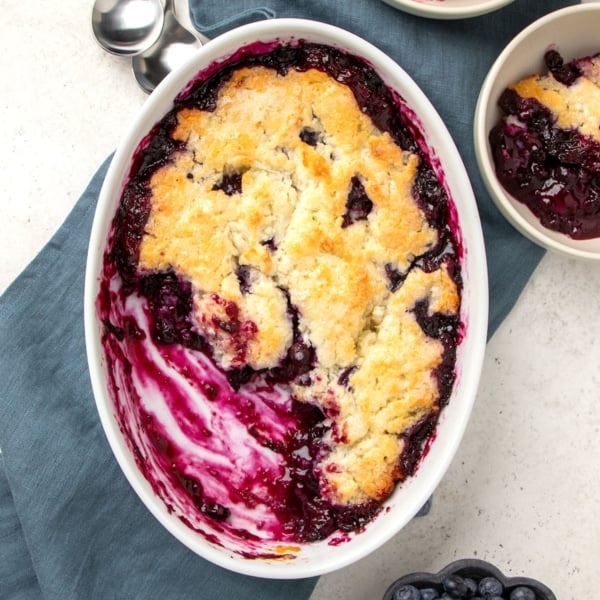
- Classic gluten free cheesecake: Skip the sugar and blind bake—just press and fill, then bake it all together.
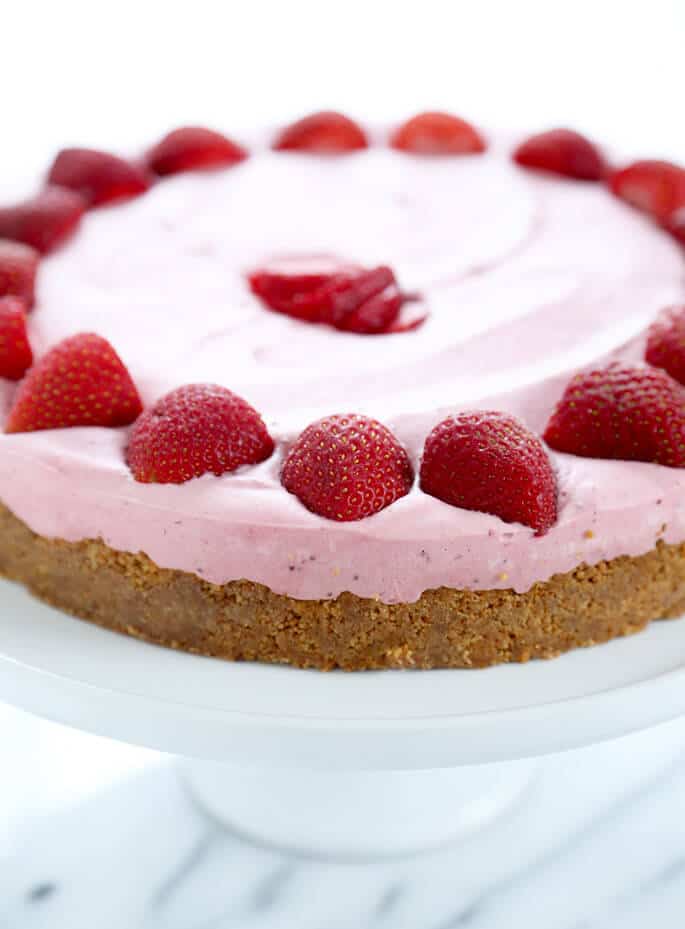
- No bake strawberry cheesecake A chilled filling made with strawberries, cream cheese, whipped cream, and just a touch of gelatin.
- Try the plain no bake cheesecake with gelatin.
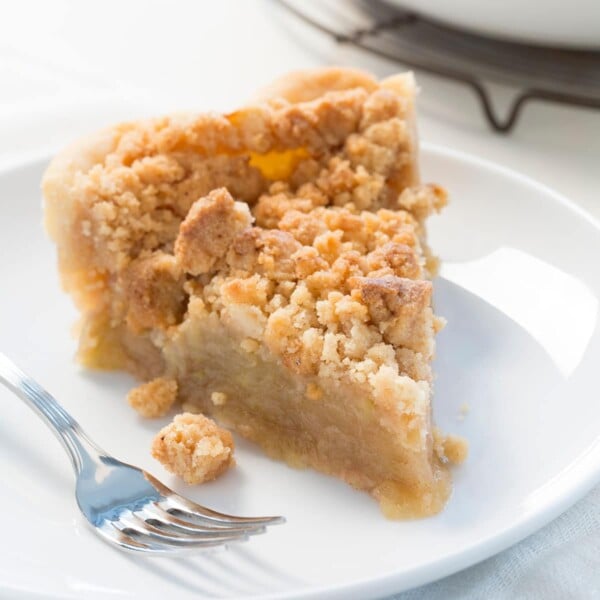
- Gluten free chocolate pudding pie: I use chocolate cookies for this one, but graham crackers—or gluten free chocolate graham crackers—work beautifully too.
💬 Have questions? Drop them in the comments below—I’m always happy to help.
📌 Want direct access to me? Learn about my Ad-Free Membership!
⭐️ And don’t forget to rate the recipe if you try it!


“I used my homemade gluten free graham crackers”. Where is the recipe? I have looked everywhere for it. I didn’t buy the gluten free graham crackers since I assumed that the recipe was on your website. Where is it? I am bringing a cheesecake for a card party on Wed.
Judy, the link to the gluten free graham crackers recipe is associated with the ingredient itself, right before the sentence you quoted. When you see text in a different color, underlined text or something bold text, try clicking it since it’s usually a hyperlink. In this recipe, it also has an arrow next to it. It’s also linked in the text of the post. Here’s another link to the gluten free graham crackers for your convenience. You can also always place the keywords in the search function on the blog.
If I am making bars with a graham cracker crust, should I use the recipe for the baked crust and pre-bake it before topping with the other ingredients (sweetened condensed milk, coconut, chocolate chips, and M&Ms) and baking again with the ingredients on top? Or, should I use the recipe for the baked crust, but add the toppings without pre-baking the crust, and then bake it?
Good question, Sherry! It really depends upon the recipe that you’re using for the topping/filling. You should select the crust based upon the criteria in this blog post As far as how to prepare it, I’d say follow the instructions in the recipe you’re using. If the recipe you’re using doesn’t call for baking the filling and you want to use the baked crust in this recipe, bake it and then fill.
Leigh, thank both of you for sharing this idea to grind the graham crackers right away. I have that same problem with hubby eating my ingredients.
That’s so funny, Dream a Sue! Maybe because my kitchen is my workspace, or because he works long hours, but my husband doesn’t steal things from the kitchen (at least that I know of). My children on the other hand… There are 3 of them, though, so it’s super hard to figure out who is responsible for what. I try to keep small treats like Hershey’s kisses around, though, to make them less likely to steal the homemade stuff before I’m done with it…
Why didn’t I ever think to grind the graham crackers right away? Even when I hide them, hubby always finds and eats them! Thanks for the great recipes and the tip!
Hahaha good point, Leigh!