This post may contain affiliate links. Please read our disclosure policy.
A basic recipe for gluten free pizza dough is one of the single most important staples to have in your kitchen. It's super simple to make, freezes well, and defrosts easily.
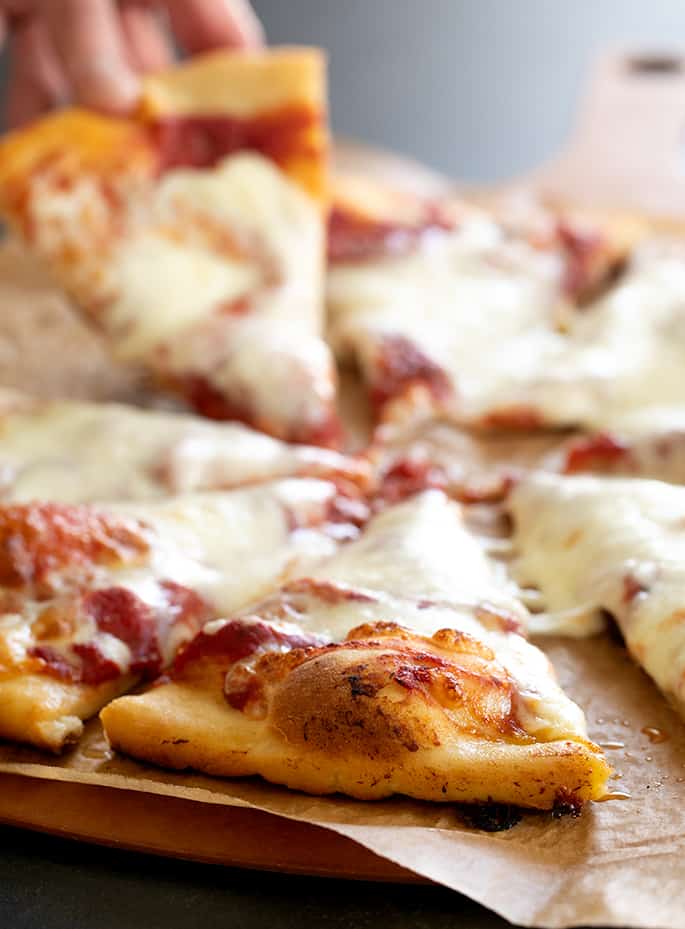
Table of Contents
- Gluten free pizza night = a night off!
- Why is this the best basic gluten free pizza?
- What gf flours are in gluten free pizza crust?
- Tips for making the best simple gluten free pizza crust recipe
- Can I make this gluten free pizza dough ahead of time?
- Ingredients and substitution suggestions for this recipe
- Gluten free pizza recipes
- FAQs
- How to make the best gluten free pizza dough, step by step
- Basic Gluten Free Pizza Dough Recipe
Gluten free pizza night = a night off!
It's so easy to make this basic gluten free pizza crust that the day you make it for dinner, it'll feel like a night off. I promise. I first started Friday night pizza nights in my house when my oldest child started full-day kindergarten.
All my daughter could talk about was that they served pizza in the school cafeteria every single Friday. The kids lined up forever to buy it—and you know it most likely wasn't very good. But they got it every Friday!
By the end of the week, I'm usually worn out from a week of work and the last thing I want to do fuss with a multi-step meal. Gluten free pizza is about all I can manage!
Why is this the best basic gluten free pizza?
For so many years, this was my tried and true pizza crust recipe—until I wrote Gluten Free on a Shoestring Bakes Bread. When I wrote that book, I thought I had turned the page from recipes like this basic crust forever.
This recipe, and others like my gluten free sandwich bread and Japanese milk bread use only an all purpose gluten free flour blend instead of the “bread flour” blend with whey protein isolate in it from the book.
If you're curious about the newer pizza recipes, the Thick Crust Gluten Free Pizza from the book is reprinted right here on the blog. You can find out how to make our gluten free bread flour on the flour blends page. If you'd like to use an entirely different flour instead, you'd need a separate recipe entirely, like or Caputo Fioreglut pizza recipe.
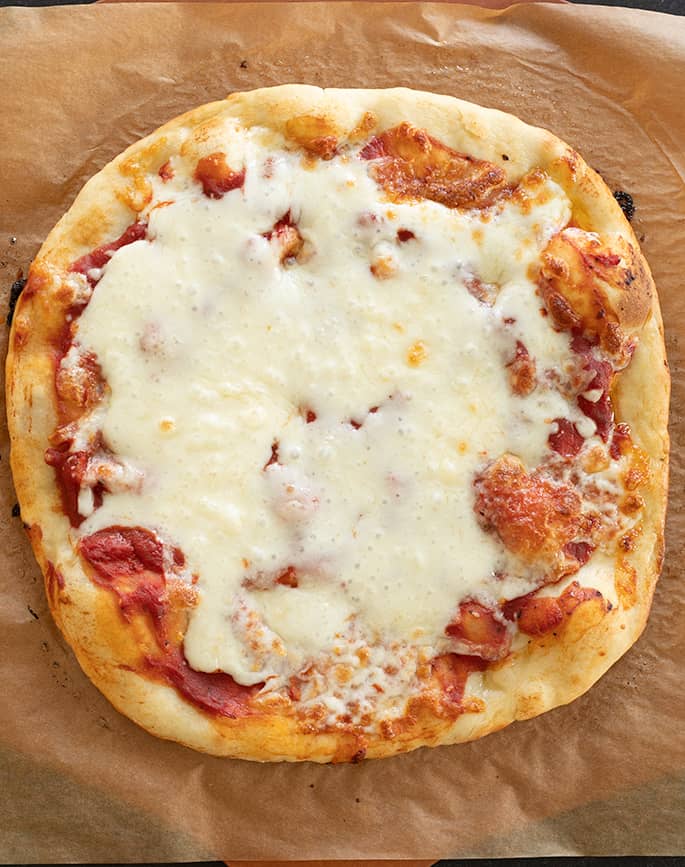
But this recipe has slowly worked its way back into our regular Friday night rotation, and I'm finding that in some ways my family and I actually prefer it to the newer recipes. Let me explain…
What gf flours are in gluten free pizza crust?
In the recipe as written, there really are very few gluten free pizza crust ingredients—and you don't need our gluten free bread flour blend, which is made with some specialized ingredients. But it's worth a quick discussion of that flour, to help you understand the difference between this recipe and our other gluten free pizza dough recipe.
What's in gluten free bread flour?
The gluten free bread flour blend from Gluten Free on a Shoestring Bakes Bread is a combination of an all purpose gluten free flour blend like Better Batter, whey protein isolate plus Expandex modified tapioca starch (affiliate link).
Whey protein isolate is simply a milk protein powder that is nearly 100% protein and is often used for bodybuilding and low carb recipes these days. I've found that it behaves a lot like gluten in baking.
However, whey protein isolate tends to make raw dough very soft. Together with Expandex modified tapioca starch, it allows for the creation of gluten free bread recipes that look, feel and taste more like conventional yeast bread.
The gluten free bread flour and the recipes in GFOAS Bakes Bread is so important to me and valuable to readers. But I understand that its reach is limited.
If you can purchase whey protein isolate and Expandex, and tolerate dairy you can and should use the gluten free bread flour. There is no perfect nondairy substitute for whey protein isolate.
Whey protein isolate in gluten free bread flour
The whey protein is essential to the gluten free bread flour since milk protein (casein) is the protein that behaves most like wheat gluten in baking applications. Chemically, they're very similar.
But that means that I can't provide viable suggestions for a dairy-free version of those recipes. Baking with whey protein does cause the dough to relax quite a bit.
Expandex modified tapioca starch is amazing when you're trying to create the “chew” of conventional, gluten-containing bread. The combination of whey protein isolate and Expandex, plus our all purpose gluten free flour, creates gluten free bread flour.
In the bread book, I recommend a few dairy-free substitutes for whey protein isolate (pea protein isolate and rice protein isolate). None of them is a perfect substitute. Plus, each requires that you use 150% of the liquid the original recipe calls for, which nearly defeats the purpose of using protein powder.
Modified tapioca starch in gluten free bread flour
Expandex, a chemically (not genetically) modified tapioca starch, has only one substitute: Ultratex 3. It's another version of a similar modified tapioca starch that appears to be 3 times as strong as Expandex.
In this basic gluten free pizza recipe, I've discovered that I really like replacing some of the flour blend with a bit of Expandex. Expandex makes the dough easier to handle when raw and chewier when baked.
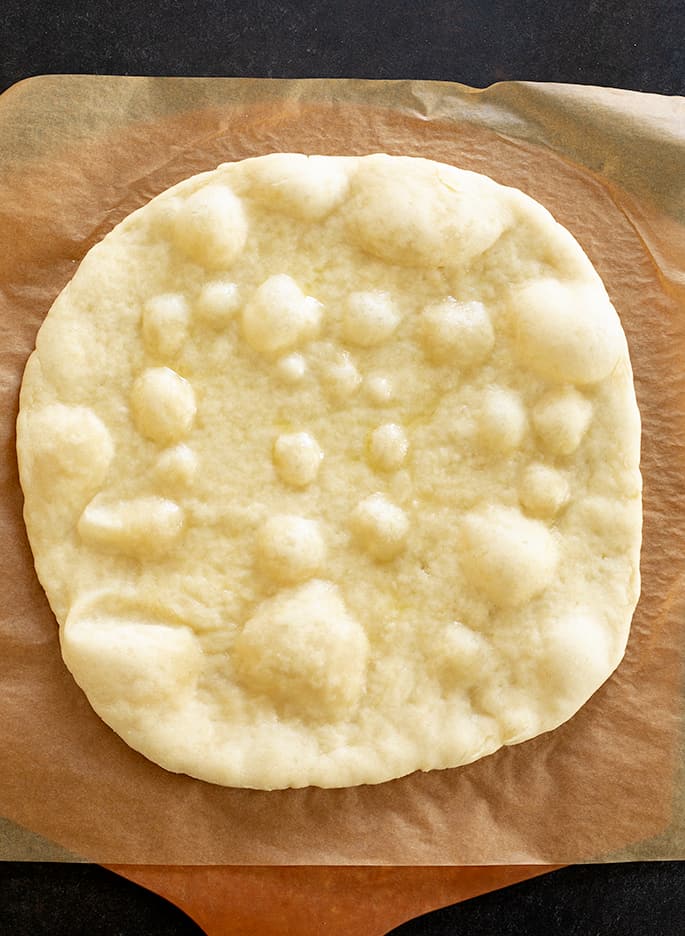
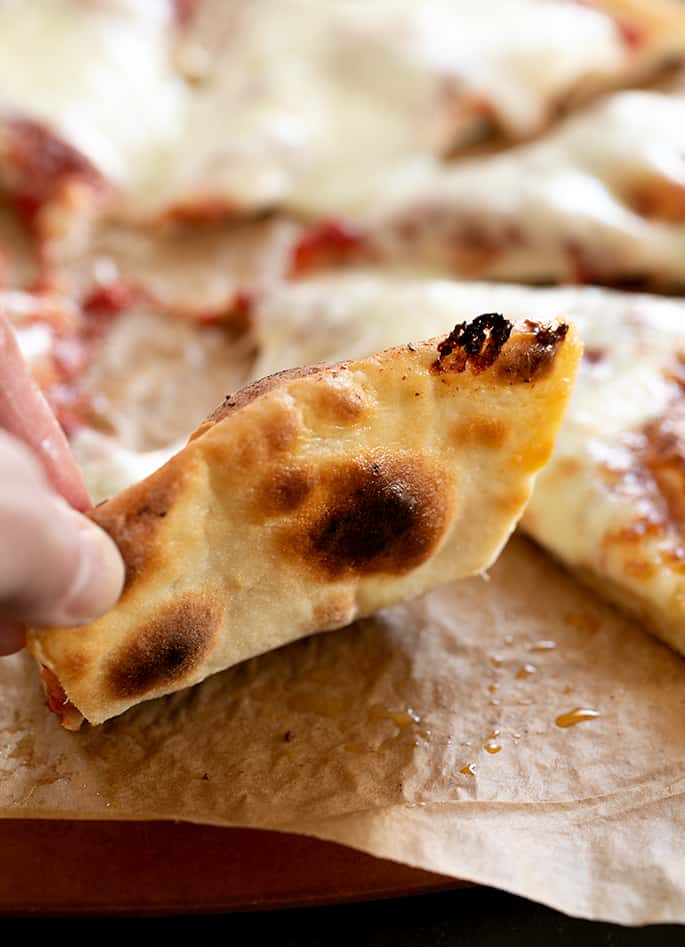
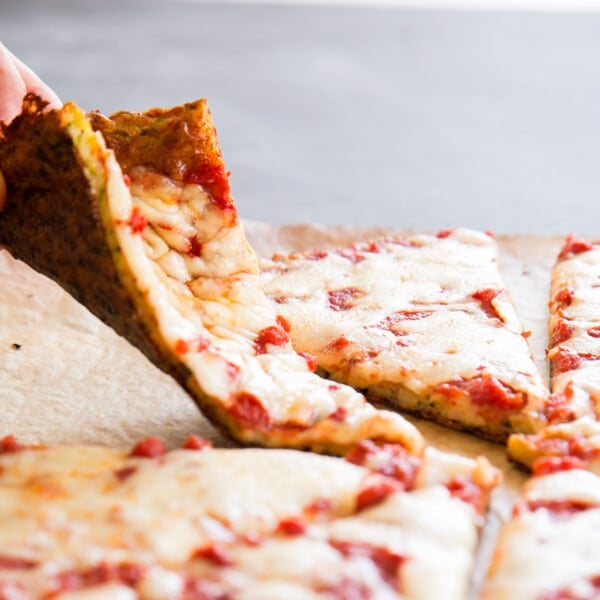
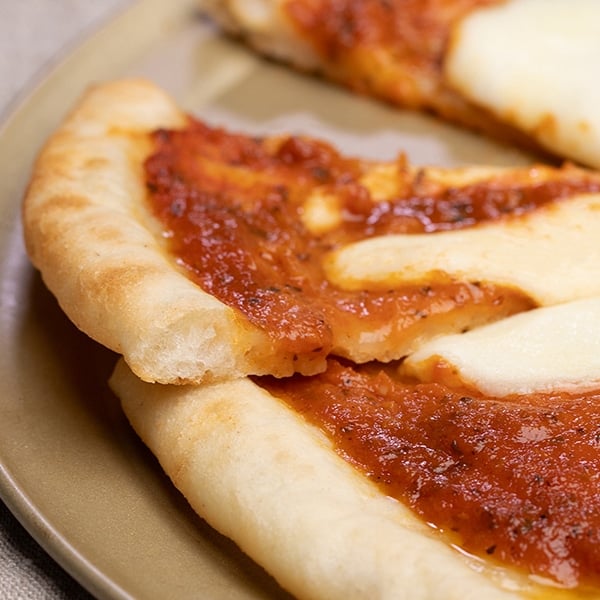
Expandex it even helps you get those blisters in the parbaked crust that you see in these photos. Plus, the leftover slices actually taste great right out of the refrigerator, like leftover pizza properly should!
If you'd like to use Ultratex 3 in place of Expandex, try using 12 grams of Ultratex 3 (instead of 36 grams of Expandex). Then, increase the all purpose gluten free flour by 24 grams to make up the difference.
Since Ultratex seems to be more available outside the U.S. than Expandex, I've located a few online resources for Ultratex 3 in various countries. For details, please see our GF Resources page.
Tips for making the best simple gluten free pizza crust recipe
Measuring gluten free flour
Always measure individual gluten free flours and blends by weight, not by volume. There's unavoidable human error in measuring by volume, and dry measuring cups simply aren't standardized. Measuring by weight on a simple, $15 digital scale (Escali is a good, inexpensive brand) means that we're all on the same page.
Let your gf pizza dough rest
After you've made your raw gluten free pizza dough, let it rest in the refrigerator. That allows the flours to absorb the moisture of the water, leaving the dough still hydrated, but making it much less sticky.
Working with sticky gluten free pizza dough
If your gf pizza dough is still a bit sticky because you can't afford the time to let it rest more, or it's not cold enough, sprinkle it very lightly with more all purpose gluten free flour, and handle it with a light touch. You can also lightly oil your hands.
Can I make this gluten free pizza dough ahead of time?
Yes! One of my favorite things about pizza night is the ease of it. I never recommend freezing raw yeast dough, since it can kill the yeast if the temperature drops too low.
But there are two ways to make this dough ahead of time—and make your life so easy:
Make the raw gluten free pizza dough up to 3 days ahead of time
The whole recipe for the pizza dough can be made up to 3 days ahead of time and stored in a tightly-sealed container in the refrigerator. It's best to work with the dough cold, so you'll shape it right out of the refrigerator.
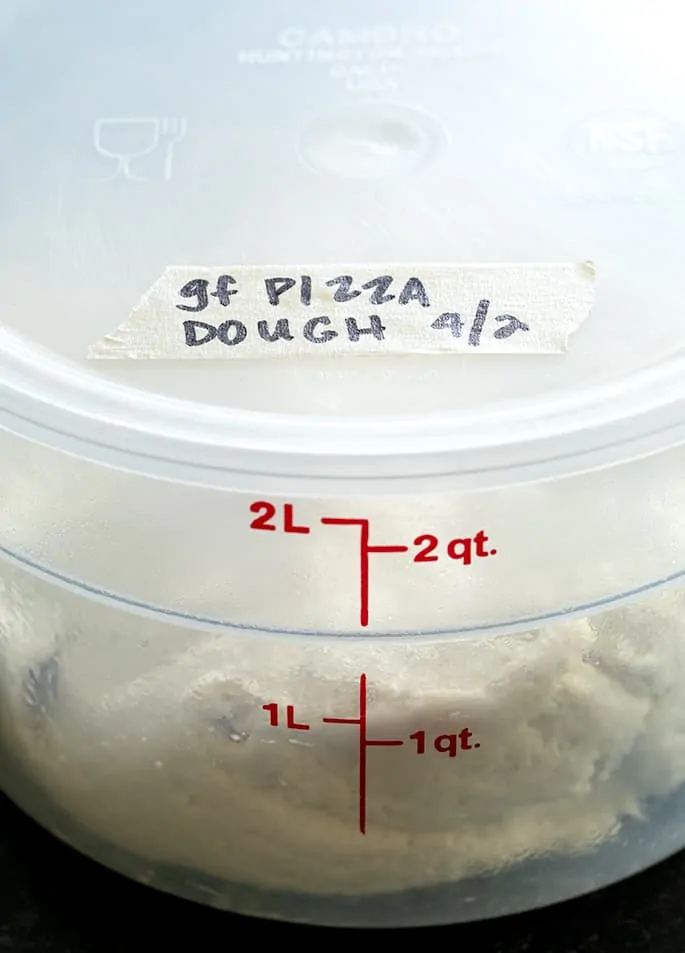
Be careful not to allow the dough to dry out in the refrigerator, as it will do if your container is not well-sealed. I always use 2 liter plastic Cambro buckets for storing dough, since the seal is perfect. If your dough dries out, it won't rise.
Freeze the parbaked gluten free pizza crust
If you'd prefer to have a half-baked crust on hand, dinner can be as easy as a premade, packaged frozen pizza crust. Just follow the recipe instructions through step 3 below. Since this recipe makes 2 gluten free pizza crusts, it's easy to make one for tonight, and one for another day.
After the crust has been parbaked for about 7 minutes in a 400°F oven, allow it to cool completely. Once the crust has cooled completely, wrap it very tightly. I like Glad Press n Seal freezer for this sort of thing.
Place the parbaked gluten free pizza crusts in the freezer for up to a month. Even better than Press n Seal is a food sealer that removes all trapped air from the container, since trapped air is what causes freezer burn.
Ingredients and substitution suggestions for this recipe
This recipe is naturally egg-free, which isn't something you can often say about most gluten free bread recipes, which tend to rely upon eggs for structure.
How to make gluten free dairy free pizza dough
The crust recipe itself is already dairy-free, so no worries there. For a dairy-free shredded cheese to use as a topping, I really like Daiya brand.
Using Expandex modified tapioca starch for chewier gluten free pizza dough
For a complete discussion of how Expandex adds value to this recipe, please scroll up a bit. If you don't have or don't want to use Expandex, you can use 2¾ cups all purpose gluten free flour and make up the remaining ¼ cup of flour with regular tapioca starch/flour.
Tapioca starch will help a bit to make the recipe chewier, although not as much as if you used Expandex. There is no need to add more water to your dough if you aren't using modified tapioca starch.
If you'd like to see some ways you can use gf pizza dough, check out my gluten free pizza dough web story.
Gluten free pizza recipes
The gluten free crust of this pizza can be used for so many different appetizers and other gf recipes. Here are a few of my favorite ways to use gf pizza crust that aren't just, well, a round pizza pie:
- Gluten free pizza pinwheels (made easily in a muffin tin)
- Gluten free calzones (uses a slightly different crust recipe for a slightly different purpose)
- Gluten free pizza rolls, with tomato sauce for dipping!
FAQs
Yes! Place an overturned rimmed baking sheet in the oven to allow as much air circulation as possible. Or try a perforated pizza crisper.
Yes! You can freeze the parbaked (half-baked) gluten free pizza crust recipe by completing the shaping and first bake of the crust for 5 to 7 minutes at 400°F. I don't ever recommend freezing raw gluten free yeast dough, as the yeast can die at extreme temperatures.
If you have a large enough toaster oven that has a round cutout in the back allowing you to bake rounds, you can try cranking up the heat and baking this gluten free pizza crust recipe in a toaster oven.
A good-quality extra virgin olive oil really helps give this pizza dough really nice flavor. You can replace it with a neutral oil, like grapeseed, but you'll miss the richness of the olive oil.
No, almond flour can never be used as an all purpose gluten free flour blend, so you can't use it to make this particular gf pizza dough recipe, which has been developed to be made with a rice-based all purpose blend. But we have an amazing Paleo pizza recipe that is made with blanched almond flour and tapioca starch/flour. Use that!
Yes! Make the most amazing gluten free breadsticks with this very gf pizza crust recipe.
If you've added too much gluten free flour blend by not measuring by weight, used a different flour blend that isn't good quality, or (believe it or not) overmeasured the oil you pizza crust can appear crumbly.
If it's dry and crumbly, try adding more water by the teaspoon until it's smooth. If it's dry and oily, try sprinkling it with just as much extra all purpose gf flour as necessary.
If your gf pizza crust is soggy, ask yourself if you baked it first, before adding toppings, if your oven was hot enough, and if you created enough space around the crust when it was baking to allow the hot air of the oven to circulate. You may just not have baked it long enough!
Try replacing 1/4 cup (35 grams by weight) of the all purpose gluten free flour blend in this recipe (I highly recommend you use Better Batter's classic blend for that) with 35 grams tapioca starch/flour. I find that this minor substitute also makes the raw dough easier to handle.
Yes! This is my favorite gluten free tomato sauce recipe. But Rao's tomato marinara sauce is also great, as is the fresh pizza sauce from Trader Joe's. :)
How to make the best gluten free pizza dough, step by step
Basic Gluten Free Pizza Dough

Equipment
- Stand mixer with paddle attachment or Food processor with steel blade
- Pizza stone (recommended)
Ingredients
- 3 cups (420 g) all purpose gluten free flour blend, (I used Better Batter), plus more for sprinkling (See Recipe Notes)
- 1 ½ teaspoons xanthan gum, omit if your blend already contains it
- 1 tablespoon (9 g) instant yeast
- 1 ½ teaspoons (6 g) granulated sugar
- 1 ½ teaspoons (9 g) kosher salt
- 1 ⅛ cups (9 ounces) warm water, (about 95°F) (See Recipe Notes)
- 4.5 tablespoons (63 g) extra-virgin olive oil, (plus more for brushing)
- Your favorite pizza toppings
Instructions
Make the pizza dough.
- In the bowl of your stand mixer fitted with the paddle attachment or your food processor fitted with the metal blade, place the flour, xanthan gum, (optional Expandex), yeast, and sugar, and whisk to combine with a separate, handheld whisk. Add the salt, and whisk again to combine well.
- Add the water and olive oil, and mix on medium speed in your stand mixer or pulse in your food processor until the dough begins to come together.
- Turn the mixer to high speed or your food processor on and process until the dough is no longer a ball but has begun to appear whipped (about 3 minutes).
- Transfer the dough to an oiled container with a tight-fitting lid or a greased bowl, spray lightly with cooking oil spray, and cover tightly.
- Place in a warm, draft-free area to rise until it’s about 150% of its original volume (about an hour), or refrigerate the dough for up to 3 days.
- When you’re ready to make the pizza, place a pizza stone or overturned rimmed baking sheet in the oven and preheat it to 400°F.
- If you’ve refrigerated the dough, work with it straight from the refrigerator. If you haven’t, place the tightly sealed dough in the refrigerator to chill for at least 15 minutes before working with it, as it’s easiest to work with when it’s chilled.
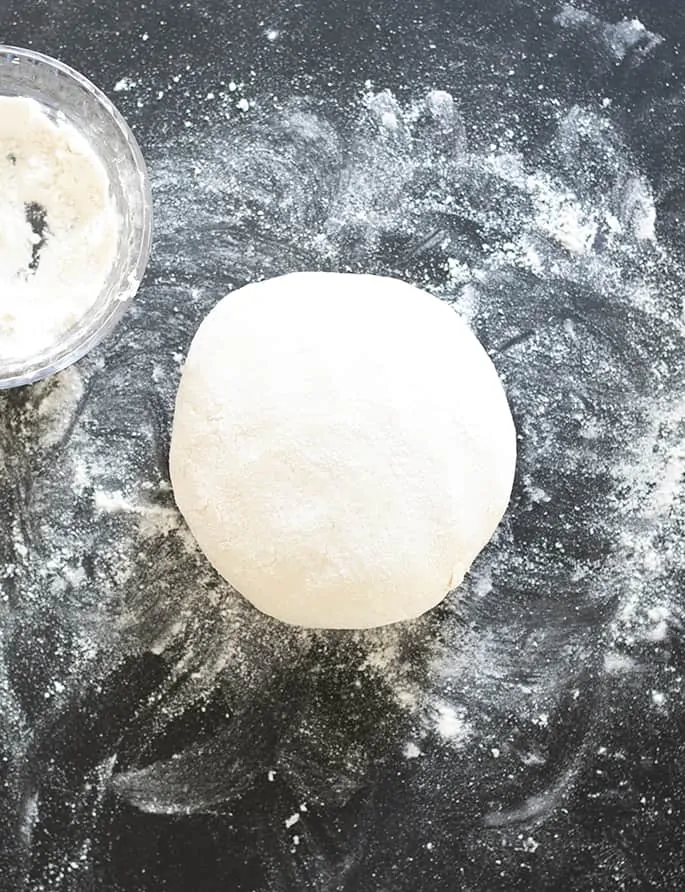
- To make pizza, place the dough on a lightly floured surface and sprinkle the top lightly with a bit more flour. Knead the dough a bit until it’s smoother, then divide it into two equal portions. Cover the unused portion, so it doesn’t dry out.
- Roll the other half on the floured surface with a rolling pin, moving the dough frequently to prevent sticking. Sprinkle very lightly with additional flour as necessary.
- Create a smooth edge around the perimeter of the dough by pressing the edges with one hand toward the palm of your other.
Bake the pizza.
- Transfer the dough to a large piece of unbleached parchment paper and brush the top of the dough generously with olive oil. Using a pizza peel or other flat surface like a cutting board, transfer the dough to the pizza peel or baking sheet in the preheated oven and bake it plain for 5 to 7 minutes, or until the crust has begun to crisp on the underside.
- Remove the crust from the oven using a pizza peel or large spatula. At this point, the parbaked crust can be cooled completed, wrapped tightly and frozen for at least one month. Simply defrost at room temperature, and then continue with the recipe as written.
- To continue preparing the dough, add your favorite toppings to the parbaked crust, and return the pizza to the hot oven until any cheese is melted and the edges have browned and puffed (another 5 to 7 minutes).
- Remove the pizza from the oven using a pizza peel or large spatula, and allow it to set for 5 minutes before slicing and serving.
Video
Notes
Instead of 3 cups (420 g) all purpose gluten free flour, use 2 3/4 cups (385 g) all purpose gluten free flour and add 1/4 cup (36 g) Expandex modified tapioca starch and increase the water by 1 1/2 ounces to 10 1/2 ounces (1 1/4 cups + 1 tablespoon) water. This recipe was originally published on the blog in 2009 (!). After edits in 2020, all but one of the photos are new; the video and most of the text are new; the recipe was scaled up a bit and the Expandex option was added, but it was otherwise unchanged. Edits in 2022 added more text and resources, but recipe remains unchanged.
Nutritional information. Nutrition information is an estimate, per pizza, without any toppings. It is created using an online nutritional calculator provided as a courtesy, and should not be relied upon.
Nutrition
Nutrition information is automatically calculated, so should only be used as an approximation.




If you refridgerate the dough right after making it, then when you are ready to make it, do you still need to follow the steps to have the dough rise before baking it? or do you just let it rise if you are going to bake it right away? Thanks for the clarification!
Hi, Julie, if you’ve refrigerated the dough in a tightly-sealed container, that’s your rising time and there’s no need for any more. That cold rise is slower, but just as effective in developing flavor, which is the only reason for the rise outside the oven.
Hello! I want to make your pizza dough recipe so badly, but am wondering if I could use Arrowroot instead of the Xanthan gum? (I did read where you said you can replace with guar gum, but I’m unable to use that.) I plan to replace the potato starch for arrowroot…could I just add extra arrowroot to replace the xanthan gum as well?
I am also unsure if I will tolerate the pectin. Any replacements for that? Or could I leave it out?
Thanks so much and I look forward to hearing from you!
No, I’m afraid you definitely can’t use arrowroot in place of xanthan gum. That isn’t an appropriate gum substitute. The only success I’ve had in replacing xanthan gum in baking is with konjac powder like in my biscuits without xanthan gum, but I haven’t tested that in other recipes and I’m really not sure it will work, especially in a yeast bread recipe like this one. You can’t leave out powdered pectin, no. You can’t make the mock Better Batter blend without pectin, but you may be able to make my mock Cup4Cup recipe. Please see the all purpose gluten free flour blends page for full information on blends.
Hi, I don’t have a stand whisk! Is there any way I could still make this recipe?
I’m afraid you can’t get the smooth dough that this recipe makes without a stand mixer fitted with the paddle attachment, Lauren. You can try using a large 7- or 8-cup food processor and pulsing it, but you run the risk of heating the dough.
Can I freeze this gluten free dough for later use
Please see the text of the post under the heading “Can I make this gluten free pizza dough ahead of time?” There’s full freezing instructions there!
Best pizza dough recipe ever! Easy to work with and tastes great.
This recipe is amazing! Thank you so much, Nicole! I appreciate all of your hard work :)
I’m so happy to hear that, Natalie. Thank you so much for the kind words!
Hi Nicole,
I can’t buy expandex in Australia and have previously use Ultratex 3. Recently I was only able to buy Ultratex 4.
Do you suggest I use 25% of your expandex volume as you did 33% for ultratex 3?
I realise you may not have tested it but would appreciate your thoughts.
Kind regards
I have tested higher strengths of Ultratex, and the difference does not appear to be proportionate. I’m really sorry, but I eventually just ended up recommending against using it since I can’t seem to suss out the difference through trial and error.
Absolutely amazing and delicious pizza dough recipe. Have made this twice now and both times have turned out perfect. Thank you for this recipe.
You’re so welcome, Julie! Thanks for sharing your experience.
Unable to print. Would love it if you would go back to the way it was before. So easy. I’ve cleared cash, rebooted my browser 0 no go. Switched to a different browser and same thing.
You are welcome to browse any recipe on the site without signing up for “Grow,” but if you’d like to print a recipe, you’ll have to sign up. Grow is a service that allows you to save your favorites on my blog and on any other blog that runs the same service, and it allows my advertising management company to serve you more relevant advertisements, not more advertisements. You won’t receive any more emails, as you’re already on my email list. And if you’re not seeing any ads on my site, it’s because you’re using an ad blocker, which means that I don’t get paid for my hard work.
I’m afraid there’s no way for me to customize the window that asks you to sign up for Grow to print, so I can’t explain up front that you won’t receive any additional emails from me or anyone else if you sign up.
If you don’t want to add your email to Grow, you are welcome to browse the website, but you won’t be able to print my recipes which I provide to you free of charge. Thanks for your understanding.
I can’t know where you deviated from the recipe as written since you didn’t provide any details, so here are the questions I always recommend you ask yourself when a recipe doesn’t turn out as expected:
Everyone says that they “followed the recipe to a T” but it’s rarely the case, in ways you just don’t realize are important, but are.
Here are some considerations and questions to ask yourself as you attempt to figure out where you deviated from the recipe as written:
Did you make ingredient substitutions, particularly the gf flour blend? They are not all created equal at all. Please see the AP GF flour blends page on the blog, which is linked in every recipe that calls for one.
Did you measure by weight, not volume? You can’t measure properly by volume, especially dry ingredients like flour, as human error is unavoidable.
With respect to yeast bread, did you allow the dough to rise long enough, and was your dough covered properly? Overproofing is a function of rising too much, not too long. It can take a long time for yeast bread to rise properly in a cool, dry environment, especially.
Since you didn’t get a rise or browning, my guess is your flour blend and/or measuring too much flour/not enough liquid, but again, only you know the details.