
This post may contain affiliate links. Please read our disclosure policy.
Gluten free bread is expensive, and so are gluten free breadcrumbs! When your bread gets old, save money by making it into breadcrumbs instead of tossing it. It freezes so well, and a little goes a long way.
I'm not too proud to admit it. In testing bread recipes, sometimes things don't exactly turn out as planned. Okay, they often don't turn out as planned. But it's rarely so bad that I have to just toss the whole thing in the trash (although that does happen).
Usually, when I make bread that's just okay, I make bread crumbs. It's like the lemons and lemonade thing, but with bread.
If you enjoy making this recipe, try out my gluten free banana bread recipe or my gluten free pita bread.
How to make gluten free bread crumbs
To make your own breadcrumbs at home, all you do is tear up the bread, place it in the food processor and pulse until you have the size crumb you like. Then, add some salt and dried seasonings if you like, and toast it in the oven.
Stir the crumbs around the baking sheet, then toast again until very lightly golden brown. That's it!

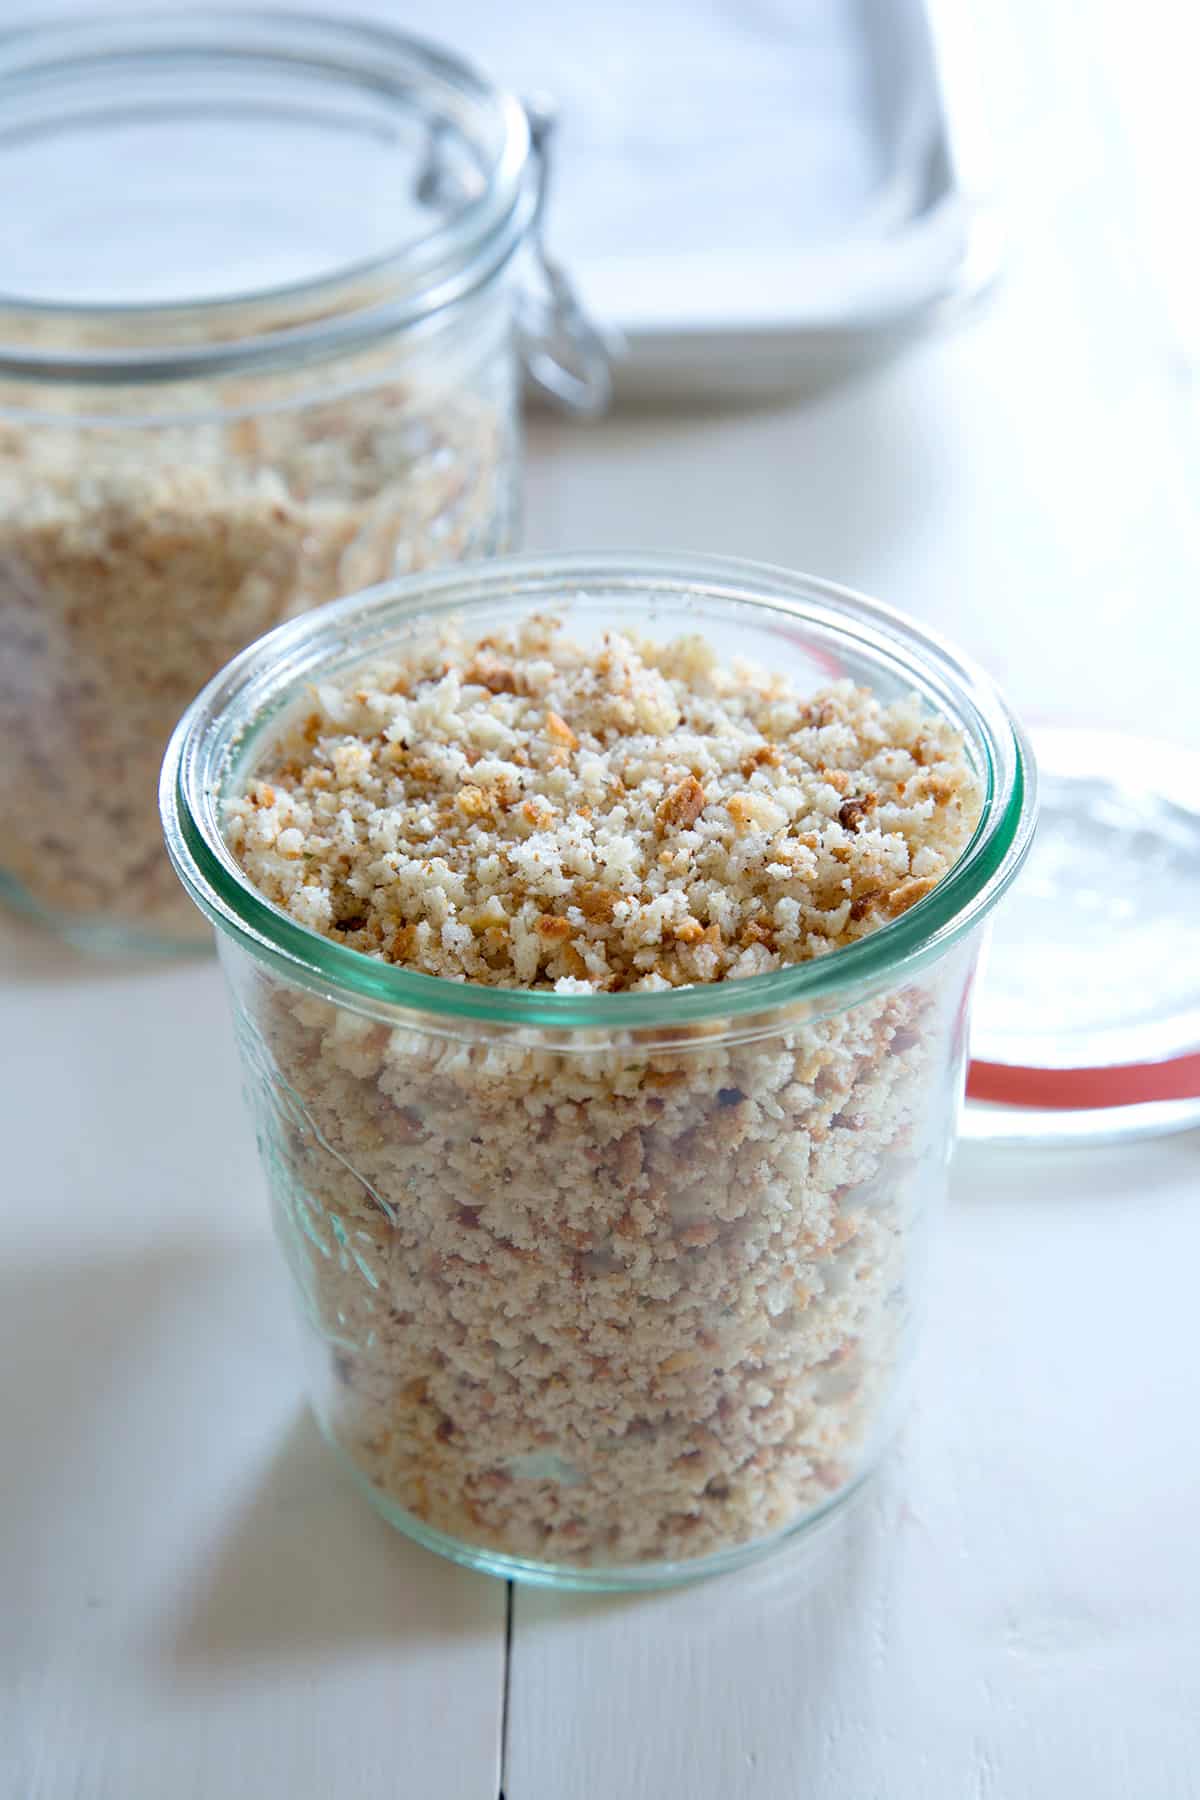
How to store homemade breadcrumbs
Store the bread crumbs in a freezer-safe container in the refrigerator or the freezer, and you'll never ever be tempted to spend nearly $6.00 for 12 measly ounces of prepared bread crumbs. How do they get away with that?
If you plan to store them at room temperature, be sure to place them in a glass jar. That's how they'll keep their toasted texture.
The recipe is obviously quite loose, as it's more a concept than a true formula. I'm just here to speak for the old, forgotten gluten free bread in the bottom of your freezer.

How to use gluten free bread crumbs
I prefer to make the larger, Panko-style crumbs, and I don't like to add any spices to them. That way, they are neutral in flavor, and I can flavor them any way I like. If I need a finer crumb, which I rarely do, I can always pulse them briefly in a food processor, too.
I use these breadcrumbs every week in my cooking. Here are the recipes I use the bread crumbs in most:
- gluten free chicken tenders
- gluten free slow cooker meatballs
- gluten free sesame chicken
- gluten free orange chicken
- gluten free green bean casserole
- gluten free chicken meatballs
- gluten free Swedish meatballs
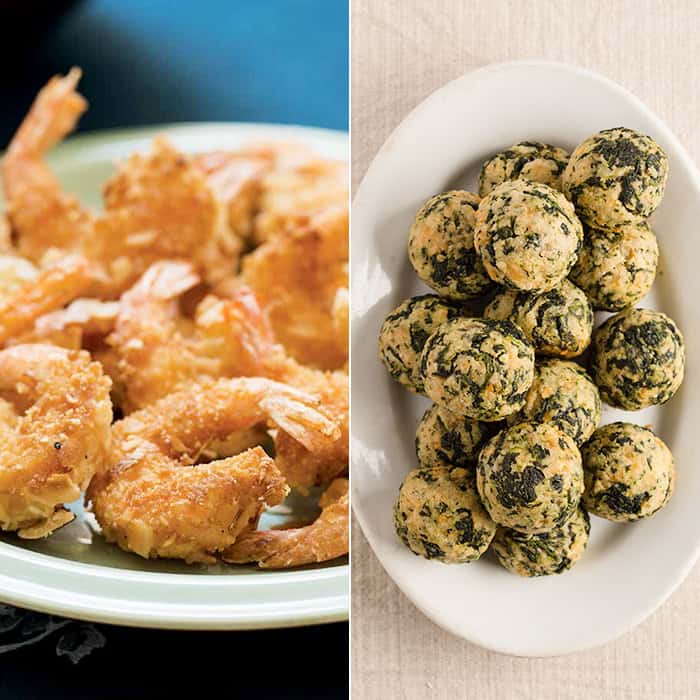
I use the coarse kind of breadcrumbs liberally in Gluten Free Small Bites for everything from spinach balls to coconut shrimp. The gluten free coconut shrimp in the photo below are on page 42, and the spinach balls on page 76 of the cookbook.
FAQs
No! Bread crumbs are made from toasted bread ground into crumbs. Unless it's specifically gluten free bread, it's made with wheat flour, so the resulting bread crumbs contain wheat.
Was the bread you used to make the bread crumbs stale? Once the bread is stale, the crumbs will taste stale. Did you store the breadcrumbs in plastic for more than a day or so? Plastic tends to make crunchy things stale.
These bread crumbs are made from gluten free, so they're the perfect substitute for gluten containing bread crumbs in any conventional recipes you have that you are used to making with conventional bread crumbs. In some cases, you can use gluten free oats in place of bread crumbs, too, like in my recipe for gluten free meatloaf.
Yes! There are a number of brands of packaged gluten free bread crumbs that you can buy. I like Ian's brand gluten free Panko style bread crumbs. Schar also makes a nice gluten free bread crumb. Even Cento brand, which I love for canned tomatoes of all kinds, makes gluten free bread crumbs now. I will sometimes buy Aleia brand gluten free breadcrumbs, but I find that the crumbs tend to be pretty hard and even stale.
No, Progresso brand bread crumbs are made with wheat flour, so they aren't gluten free.
4C brand does make a gluten free variety of their famous bread crumbs. If you're on a gluten free diet, be careful to buy only the package labeled clearly as “gluten free.”
If your bread is moist, it is more likely to clump in the processor. You can try letting it dry out a bit at room temperature for a couple hours before trying again, or just be sure not to process it so much that it becomes a paste, and then just break up the clumps and spread them out carefully to toast in the oven.
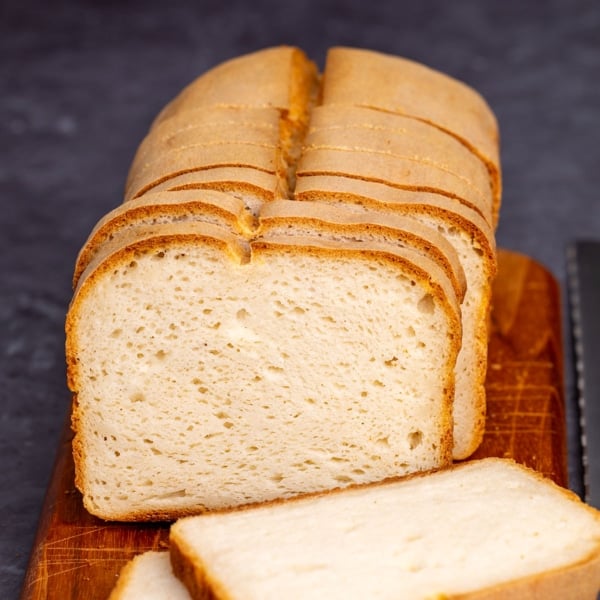
Yes! You can use homemade fresh gluten free bread to make breadcrumbs. I usually use the ends of store-bought bread instead of my best homemade gluten free bread, but it's easiest to process slightly stale bread in the food processor. So don't use your best loaf!
Gluten Free Breadcrumbs Recipe

Equipment
- food processor
Ingredients
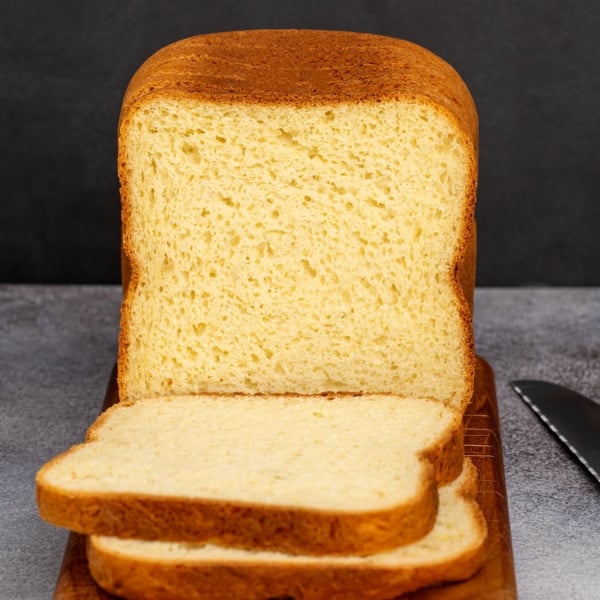
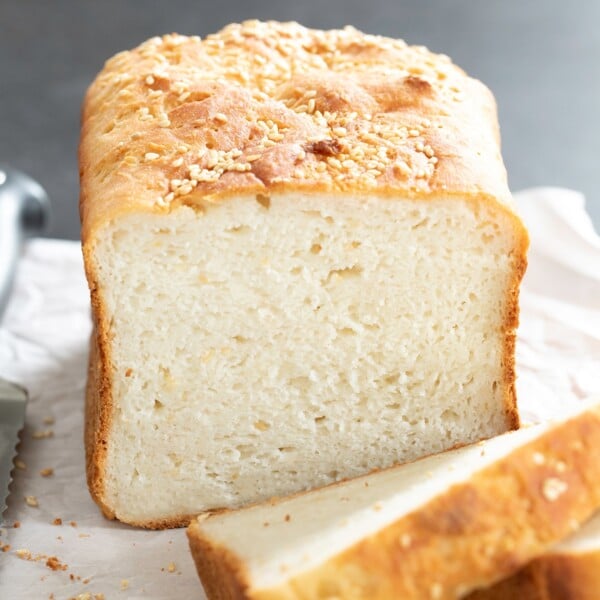
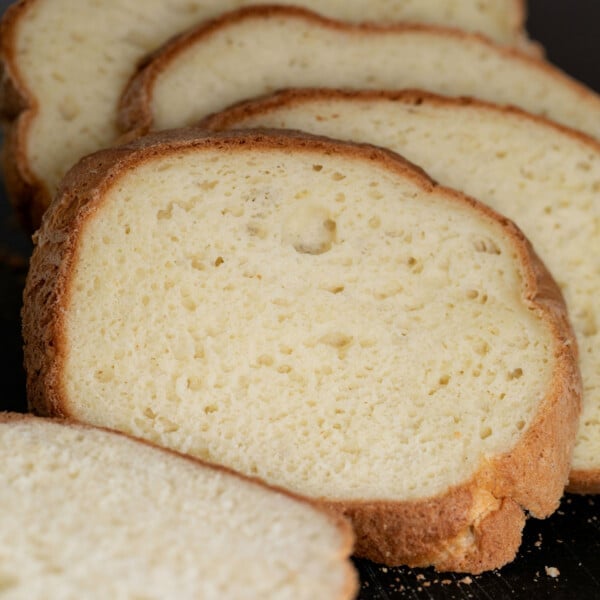
- 4 to 5 slices gluten free bread, any kind
- ½ teaspoon kosher salt (optional)
- Dried seasonings, such as oregano and parsley, to taste (optional)
Instructions
- Preheat your oven to 325°F. Line a large rimmed baking sheet with aluminum foil and set it aside.
- Break up the slices of bread into chunks and place in the bowl of a standard 7-cup food processor fitted with the steel blade.
- Cover the food processor and pulse until coarse crumbs form.
- Open the lid and add the optional salt and seasonings.
- Close the lid and pulse again until combined, or until the crumbs reach the desired consistency (I prefer coarser Panko-style crumbs, but you may like to grind them fine).
- Transfer the bread crumbs to the prepared baking sheet and place in the center of the preheated oven.
- Bake for about 8 minutes.
- Remove the baking sheet from the oven and stir the crumbs to redistribute them.
- Return the baking sheet to the oven and bake until lightly golden brown all over, about another 7 minutes.
- Remove the baking sheet from the oven again allow to cool completely on the baking sheet (about 10 minutes).
- Once cool, transfer the breadcrumbs to a glass jar for storing at room temperature, or a freezer-safe container for longer storage.
- Crumbs can be used directly from the refrigerator or freezer, without defrosting, and will stay fresh for months in the freezer.
Video
Notes
Nutrition information is automatically calculated, so should only be used as an approximation.


Is it possible to use frozen gluten free bread like Canyon Bakehouse, Against the Grain baguette, or Udi’s to make gf panko bread crumbs? Would these breads be too moist after thawing to put through a food processor? Thanks in advance for your reply
Hi, Mary Ann, yes, as I state in the recipe and post, you can use any gluten free bread to make bread crumbs. Unless you overstuff your food processor and/or overprocess the bread, it shouldn’t matter that the bread is moist after thawing. In addition, you reduce the moisture by baking the crumbs after processing. If you’re concerned, you can let the separate the slices as the bread thaws and let it sit at room temperature to dry out a bit before processing.
These are great, and so easy! You’re saving me money! Thanks!
sweet! no more overpriced bread crumbs for me and i do like the zippy video!
Got bread pieces? BREAD PUDDING!
When I learned this year I needed to be gluten free I was so happy to discover why I had been sick for 25 yrs yet I thought it meant no more bread for me bc so much I tried was YUCK. I love bread. Six yrs ago my wedding cake was a divine pecan bread pudding with a whiskey sauce, yeah, I know, I’m southern.
Thank you Nicole for a wonderful website, lots of tested info and great recipes. Making food yummy, not just good is fun and nourishes my soul. You truly are a pioneer. What you do has opened my eyes and gave light to my world. Again, thank you.