This post may contain affiliate links. Please read our disclosure policy.
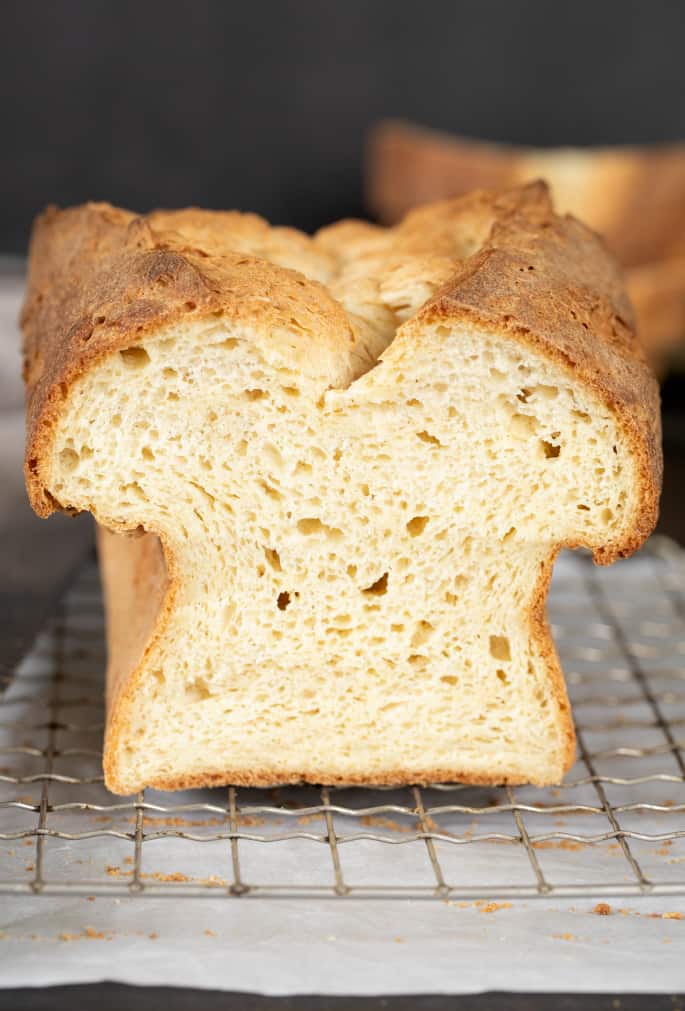
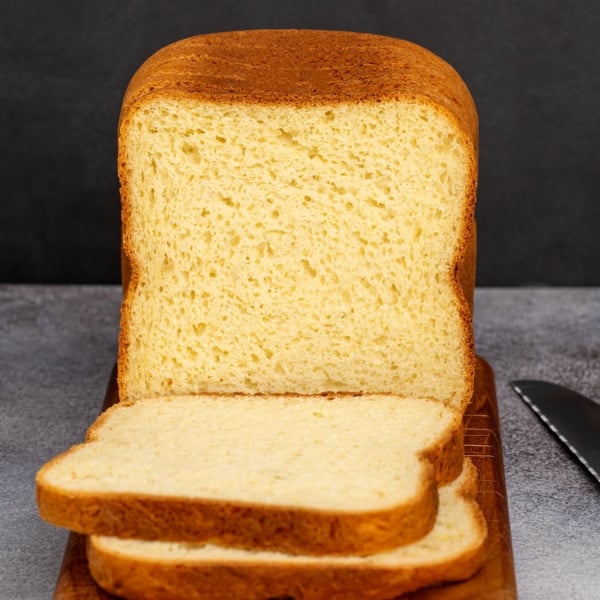
After going gluten free, this gluten free rice free bread, known as Tom's Gluten Free Sandwich Bread, was my first successful loaf of bread ever. It's as easy as can be, super adaptable, and will always hold a place in my heart.
my take
Nicole's Recipe Notes
I first published this recipe for Tom's gluten free sandwich bread in August 2009, only a few months after I started this blog. Looking back on it, I can see that it breaks every single rule I have come to embrace over the years about baking gluten free.
As originally written, it calls for bean flour, makes a very wet batter that has something of a tendency to overproof, and it isn't even my recipe! But all the same, it was a true beacon to me in those early years, when there was little to hope for in gluten free baking.
I've left all of the original comments on this post from beginning in August 2009. There were no photos of the bread (literally, not one), and the instructions were not very descriptive. But it was gluten free and dairy free, it called for ingredients we could all find one way or another, and it worked. Readers loved it as I did (and do).
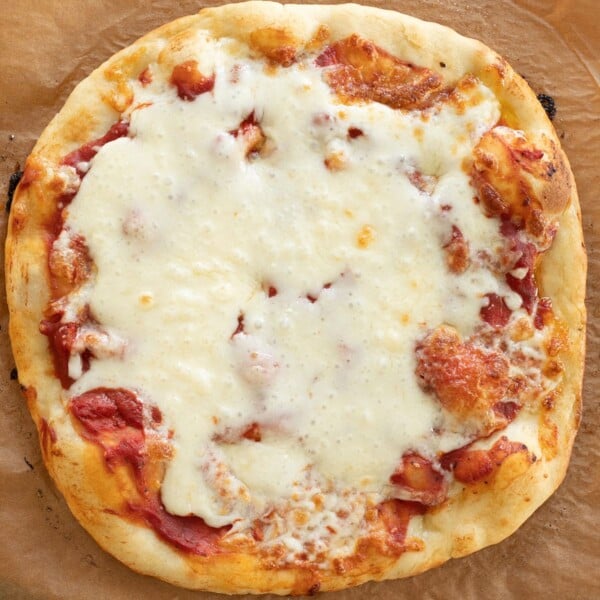
I made this bread dough into every single possible form (a loaf of bread! a weepy roll! a fluffy pizza dough!) and it truly felt heaven sent way back in 2005. But it is most decidedly not mine.
Tom's Celiac Light Bread
This recipe was created by a man named Tom Van Deman, and he provided it, selflessly, to everyone who asked without asking for recognition or attribution. For a time, it was sold as a mix called Tom's Celiac Light Bread.
I first got the recipe from Tom in either 2004 or 2005 when I was part of an early celiac message board. At the time I had been ordering expensive, spongy bread from Canada that looked good but tasted bad. I was desperate.
Back then, there was essentially no good gluten free bread for sale that was any good—or affordable. Today, thankfully, we have lots of packaged gluten free bread options. But fresh is always better.
I could not believe that Tom's recipe worked even when my measurements seemed a tiny bit off. I used it for my kids' school lunches and for French toast. I practically used it for a pillow at night and had sweet, sweet dreams.
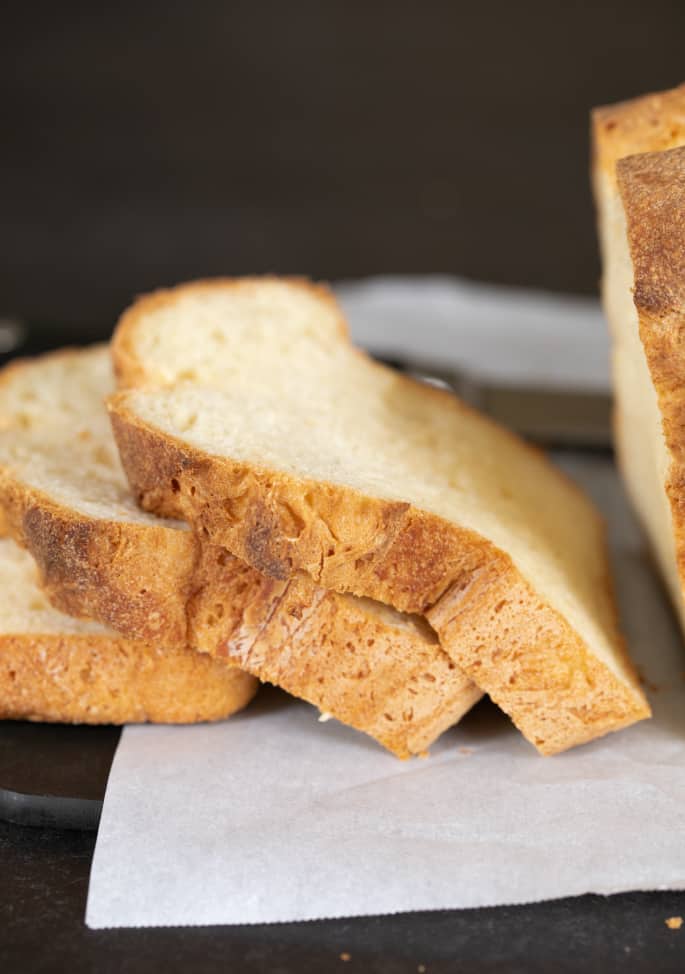
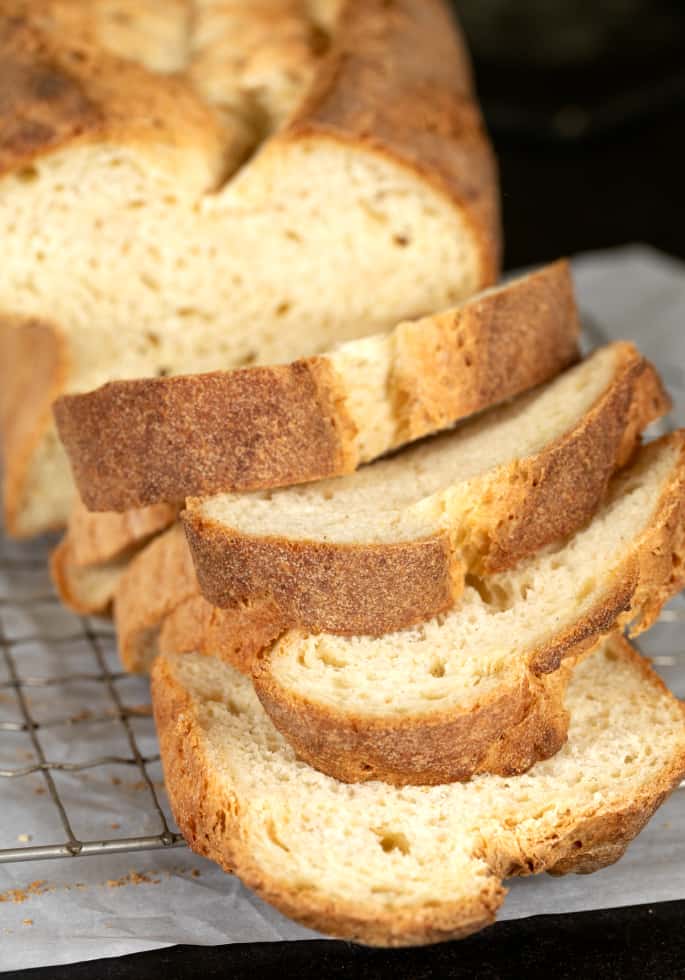
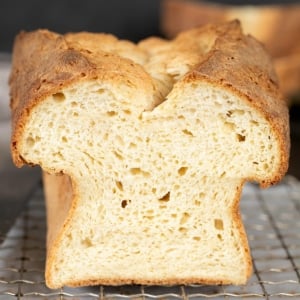
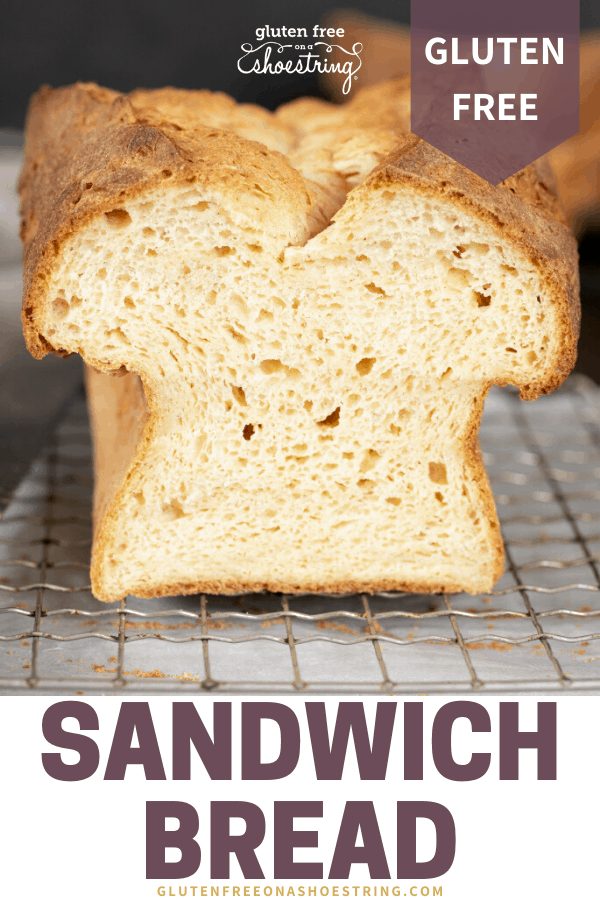
Tom's Bread is actually quite easy to make, freezes beautifully, and can be sliced as thin as you like. When it's freshly made, you don't need to toast it.
It is also naturally dairy free, and magically doesn't call for any rice flour—even though rice flour is at the heart of every well-performing all purpose gluten free flour blend I've ever tried.
Storage instructions
If you don't plan to eat it all in a day or two, slice the whole loaf, then freeze it in a freezer-safe package. To defrost, just toast a couple slices and it'll come back to life.
How to make this versatile rice free bread recipe
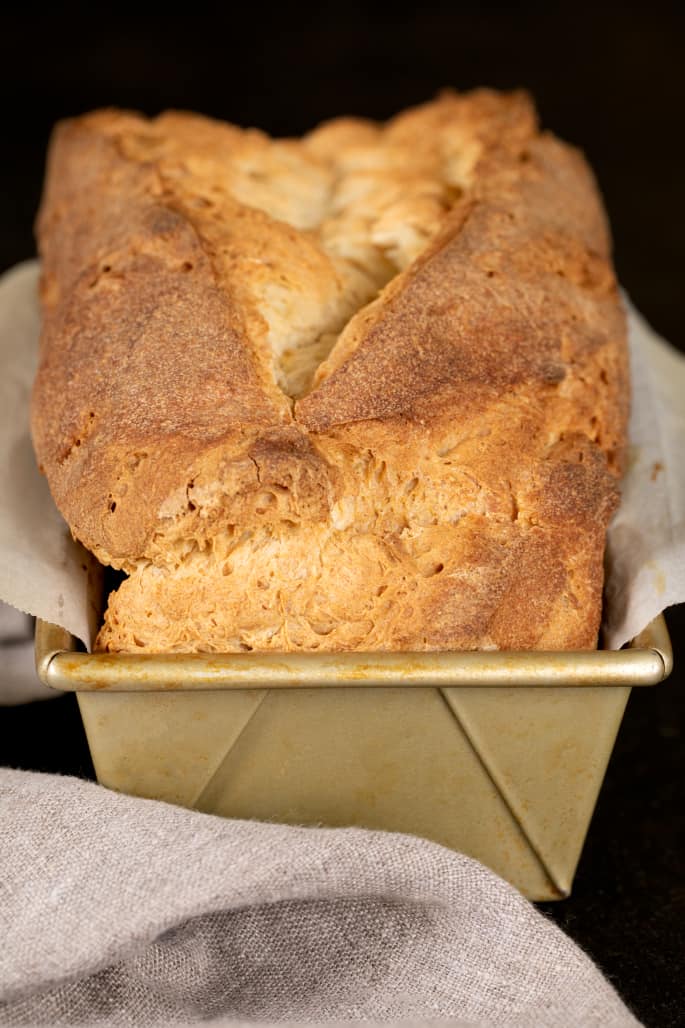
This recipe is a batter bread recipe much like our best gluten free bread recipe. But it's more old school than that recipe, as it doesn't call for a blend, but rather specific individual gluten free flours—and it doesn't call for any rice flour of any kind.
All you really need to do to make this bread is combine all the dry ingredients except for the yeast, and whisk them together. Then, add the yeast and whisk to combine (this keeps the yeast and salt from clumping together). Add the wet ingredients, and beat really well.
The dough isn't just a batter. It's a very wet batter. I remember that I used to “roll” it out and shape it into a rectangle in a sheet pan to make something resembling gluten free pizza. But it's so soft that I simply can't picture how I did it successfully. I think I used a ton of garbanzo bean flour to “shape” it.
A very forgiving gf bread recipe
For many years, to ensure reliable results in baking, I've measured nearly every ingredient by weight—including water, for which 1 fluid ounce (a volume measurement) equals 1 weighted ounce. I do measure the ingredients in this recipe by weight, but I made it successfully for so long without weighing a single thing. So clearly it's not essential!
You do need to include all of the ingredients as listed, or at least an acceptable substitute as outlined in the “Ingredients and Substitutions” section below. You do need to beat the batter/dough well, allow it to rise fully (but hopefully not too much), and slice it in the center, so it doesn't explode in a million different directions as it rises.
But there really aren't any secrets you need to know to be successful. When I began making this recipe again recently, after years of developing more gluten-like gluten free bread recipes, I was tempted to make dramatic changes to make it “better.”
I wanted to try replacing the oil with melted butter, for more flavor. I was dying to reduce the water a bit so it didn't rise quite as high.
I wanted to tinker with the balance of dry ingredients. But this isn't the place for that. This recipe is what it is, and it rescued me and my family in more ways than one.
Thank you, Tom Van Deman. You always said that this recipe came to you fully formed, from divine inspiration. It's hard to believe it happened any other way.
Ingredient substitutions
This recipe is naturally gluten free and dairy free, as it was originally written. I have made a few changes to the recipe method, but they're slight and unimportant.
Flours
This revolutionary recipe is unique among gluten free baking recipes since it's not made with any rice flour. Typically, when a reader asks about baking gluten free without rice flour I steer them toward my Paleo recipes, which are entirely grain free. But this recipe is also rice-free, and also quite adaptable.
The original recipe is made with garbanzo bean flour, or chickpea flour, which was a staple of my earliest gluten free baking—even though I really didn't like the taste or the smell. But garbanzo bean flour worked in gluten free baking, and I was grateful to be able to bake literally anything that worked.
These days, more than a decade later, I just won't bake much of anything else with garbanzo bean flour. Raw and baking, it just smells awful to me. It's less pungent once baked, but still, I refuse.
Luckily, this recipe has proven to be quite versatile. In place of garbanzo bean flour, I use an equal amount (by weight) of sweet white sorghum flour. I think navy bean flour, which happily lacks the taste and smell of a typical bean flour, would work well, too.
I have not replaced the cornstarch or the tapioca starch/flour. I like baking with both of those starches, and never saw a reason to eliminate them.
If you need to try replacing tapioca starch, I recommend trying arrowroot. If you'd like to eliminate the cornstarch, try potato starch. If you're only replacing the cornstarch, try replacing that, instead, with arrowroot.
Egg-free
This recipe relies heavily upon eggs, calling for 3 whole eggs. They provide rise and structure. I'm afraid I don't recommend making this bread egg-free. If you need to be egg-free, my newer bread recipes made with gluten free bread flour are what I'd recommend trying. You could also try our recipe for gluten free sourdough bread, which is naturally egg-free.
Neutral oil
The recipe calls for a “neutral oil,” which just refers to something neutral in taste and aroma. Grapeseed, peanut, canola, vegetable, and avocado oils all work just fine.
I don't like to specify which type of oil since they really are interchangeable. Plus, so many readers seem to think that canola and vegetable oils will be responsible for the demise of civilization.
Gluten Free Rice Free Bread Recipe
Equipment
- Stand mixer fitted with the paddle attachment
Ingredients
- 1 ⅛ cup (105 g) garbanzo bean flour, or 3/4 cup (105 g) sweet white sorghum flour
- 1 cup (144 g) cornstarch
- 1 heaping cup (129 g) tapioca starch/flour
- 3 ½ teaspoons xanthan gum
- 1 ½ teaspoons kosher salt
- 3 tablespoons (41 g) packed light brown sugar
- ¼ teaspoon cream of tartar
- 1 ¾ teaspoons instant yeast, (or 2 1/4 teaspoons active dry yeast)
- 3 (150 g (weighed out of shell)) eggs, at room temperature
- 1 ⅛ cups (9 fluid ounces) hot (not boiling) water
- 3 tablespoons (42 g) neutral oil, (like canola, vegetable, grapeseed, peanut or avocado oil)
- Cooking oil spray
Instructions
- Grease and line a standard 9-inch by 5-inch loaf pan, and set it aside.
- In the bowl of a stand mixer fitted with the paddle attachment or a large bowl with a handheld mixer, place the garbanzo bean or sweet white sorghum flour, cornstarch, tapioca starch/flour, xanthan gum, salt, brown sugar, and cream of tartar, and whisk to combine well.
- Add the yeast, and whisk again to combine.
- Add the eggs, water, and oil, and beat on medium speed until well-combined and smooth.
- Turn the mixer speed up to high and continue to beat for 1 minute more. The mixture will be very soft and much thinner than even a typical gluten free batter bread dough.
- Transfer the mixture to the prepared pan and, using a moistened spatula, spread it into an even layer in the pan.
- Spray the top of the dough with cooking oil spray, then cover the pan with plastic wrap.
- Set the pan in a warm, draft-free location and allow it to rise until the dough has nearly doubled in size. This will take less time in a warm, moist environment, and more time in a cool, dry environment.
- Once the dough begins to rise unevenly (you’ll begin to see shallow craters on top), it’s risen fully. Do not overproof.
- Near the end of the rise, preheat your oven to 375°F.
- Remove the plastic wrap and, using a moistened sharp knife, slice the top about 1/4-inch deep from one short end to the other horizontally.
- Place the pan in the preheated oven with plenty of head room to rise.
- Bake for 35 to 40 minutes, or until the loaf sounds hollow when tapped with a spoon. The internal temperature will be about 200°F.
- Turn the loaf out onto a wire rack and cool completely before slicing.
Video
Notes
Nutrition
Nutrition information is automatically calculated, so should only be used as an approximation.



We loved this bread. Really great texture and taste, easy to make. The only problem was that the bread really sunk in the sides when it was cooling and so it shrank horizontally – it made for some very narrow slices. Do you have any advice for fixing that?
Hi, Noelle, when yeast bread shrinks as it cools, it’s usually for one of a few reasons: it wasn’t baked all the way through usually because the oven was too hot, so the structure isn’t there to support the full rise, the measurements were off (did you measure by weight?), or ingredient substitutions were made so the balance is off.
Have you ever modified the recipe, I.e. using butter or other flours? I like it the way it is was just curious .
I recommend reading through the whole post for suggestions on substitutions of different flours, Susan. That’s all the experimenting I’ve done!
I’m making this for a friend who can’t have rice or yeast. Does it have a bean flavor and is there a replacement I can use for the yeast?
I’m afraid you can’t make this recipe without yeast, Tricia. You’d need a yeast-free recipe, and I have one but it uses a rice-based flour blend.
I’d love to try this in my Zo bread maker … can I
Hi, Diane, I’ve never tried this recipe in a bread machine, so I can’t promise results. I assume you meant to say you’re using a Zojirushi bread maker? That’s the only bread maker that I can recommend, and it requires a very soft raw bread dough so this recipe might work. If you decide to try it, be sure to only allow one rise and no “punching down” cycle and to bake long enough for the internal temperature to be at least 200°F.