This post may contain affiliate links. Please read our disclosure policy.
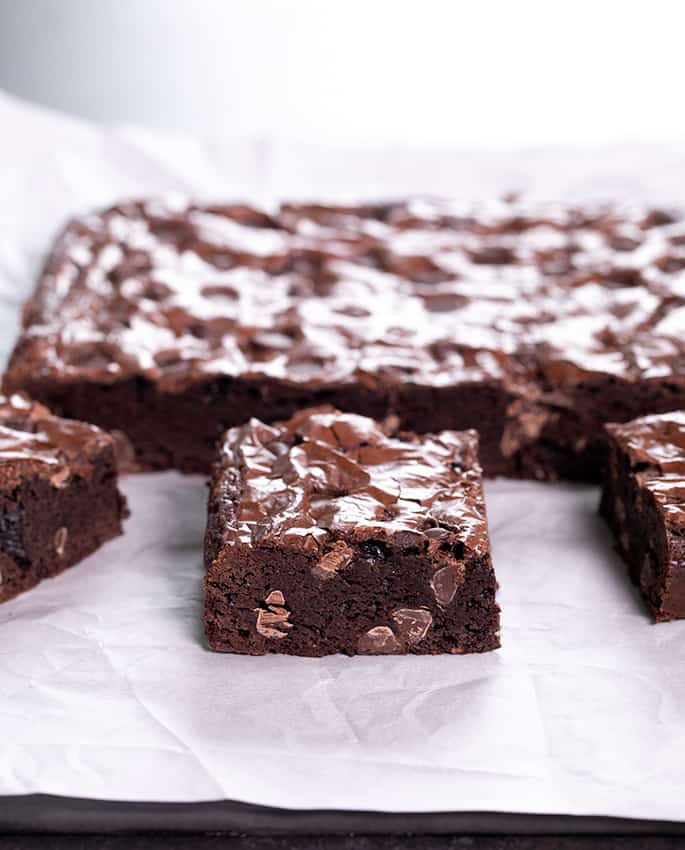
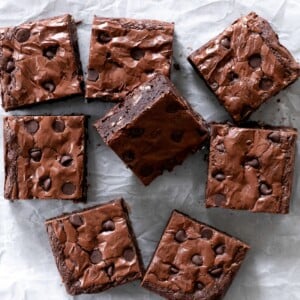
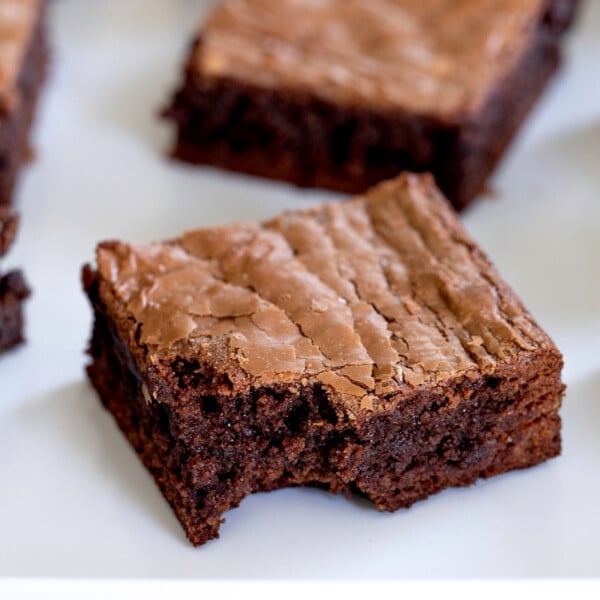
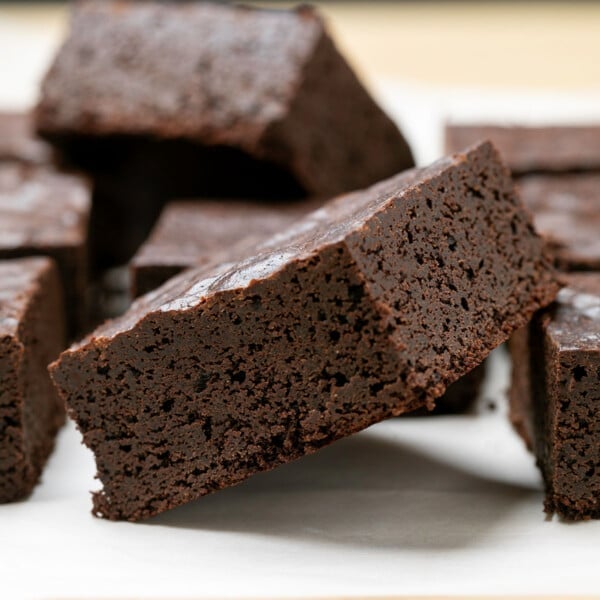
These fudgy gluten free brownies have tons of rich chocolate flavor, a delicate crinkly top, and an irresistibly chewy texture. The secret is melting the butter and sugar first.
With a full cup of cocoa powder in a single batch, they're the brownie equivalent of a little black dress. And they'll make you forget all about the store-bought box mix!
“These are AMAZING! I was diagnosed celiac 5 years ago and have usually just used gluten free boxed brownies… never again!”
My take
Nicole's Recipe Notes
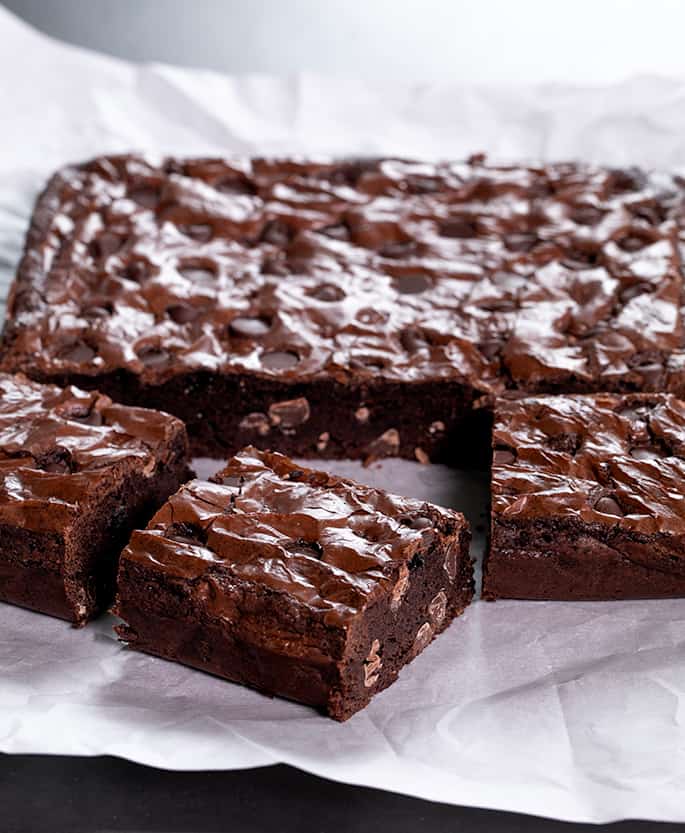
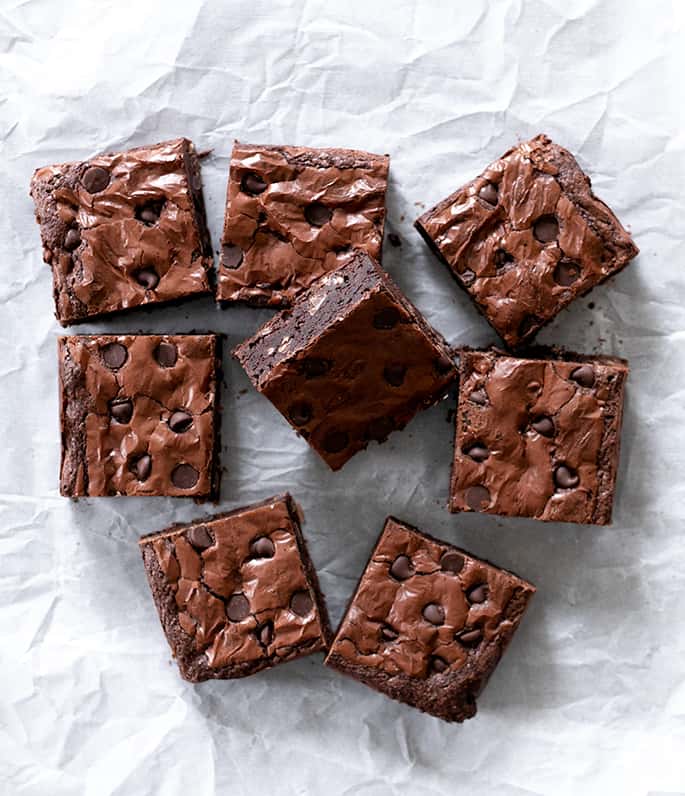
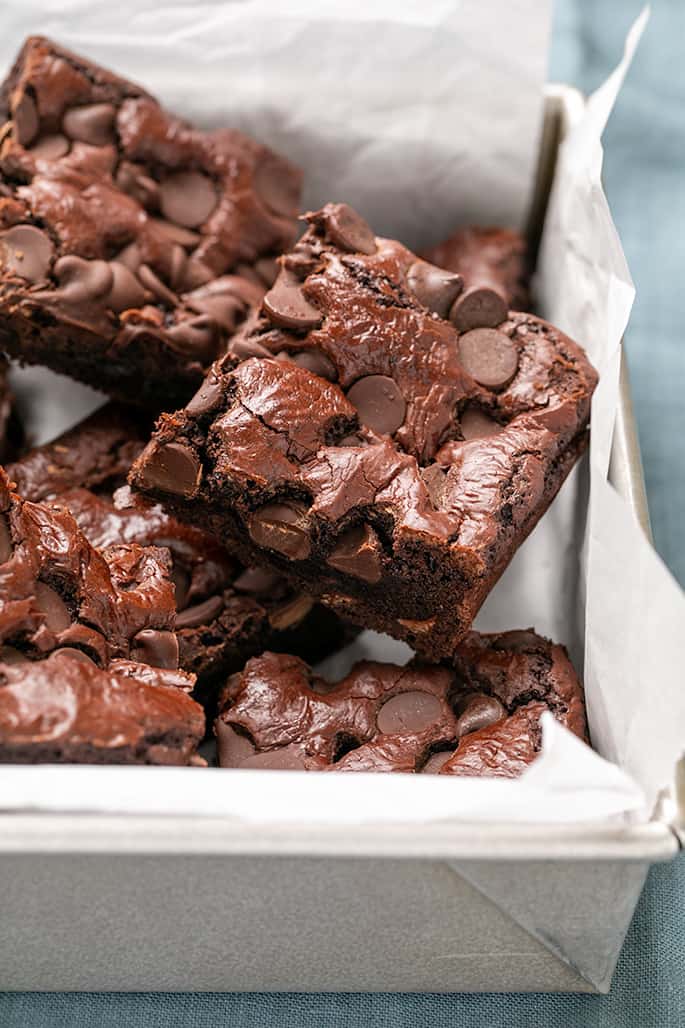
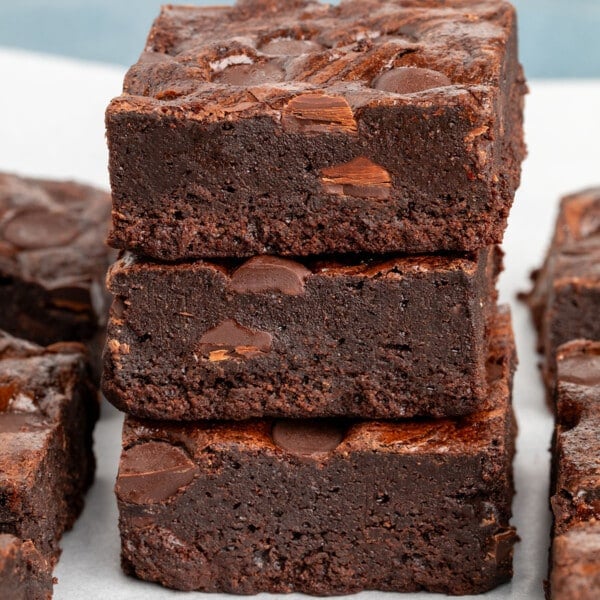
- Texture: the beloved crackly top gives way to a dense and chewy center. They're just fudgy enough but have some bite, not like a piece of marshmallow cream fudge.
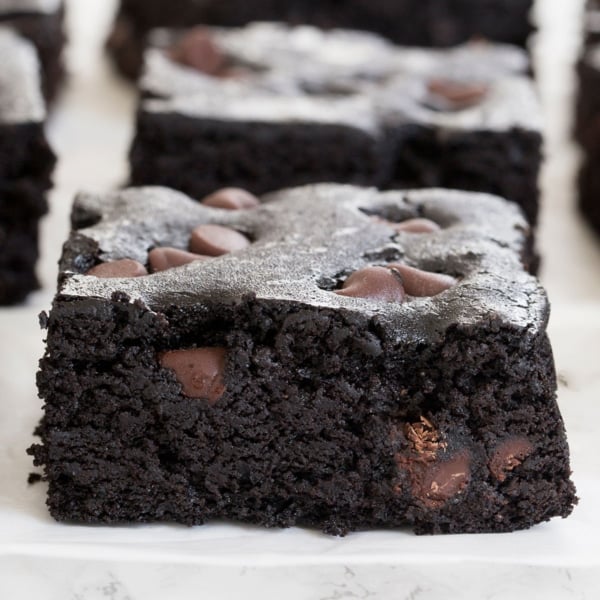
- Flavor: rich and chocolatey, but not overwhelming. One full cup of cocoa powder mixes with melted butter and sugar for a perfect alternative to melted chocolate in the batter.
- Plenty of chocolate: there are 5 ounces of chocolate chips mixed into the batter, plus extra chips on top.
- Versatile: Change the flavors around by using a different flavor chocolate chips, chopped nuts, or even mini marshmallows.
How to make gluten free brownies
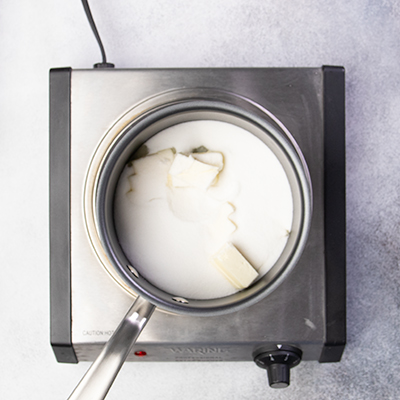
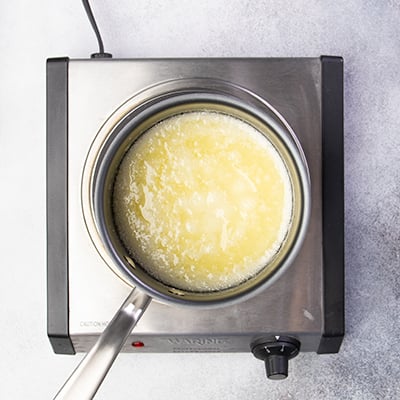
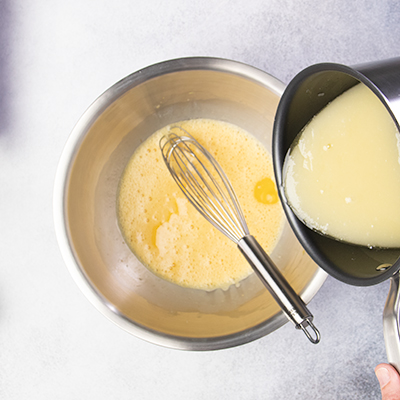
Melt butter and sugar until simmering, then let the mixture cool. In a large bowl, whisk together 2 eggs and vanilla; add the melted butter and sugar.
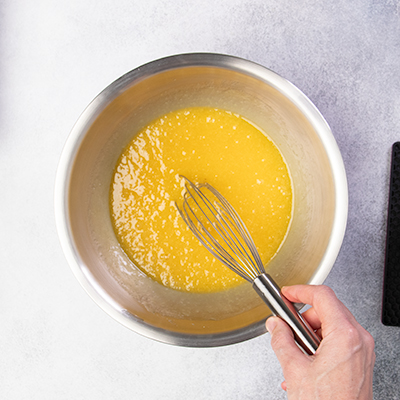
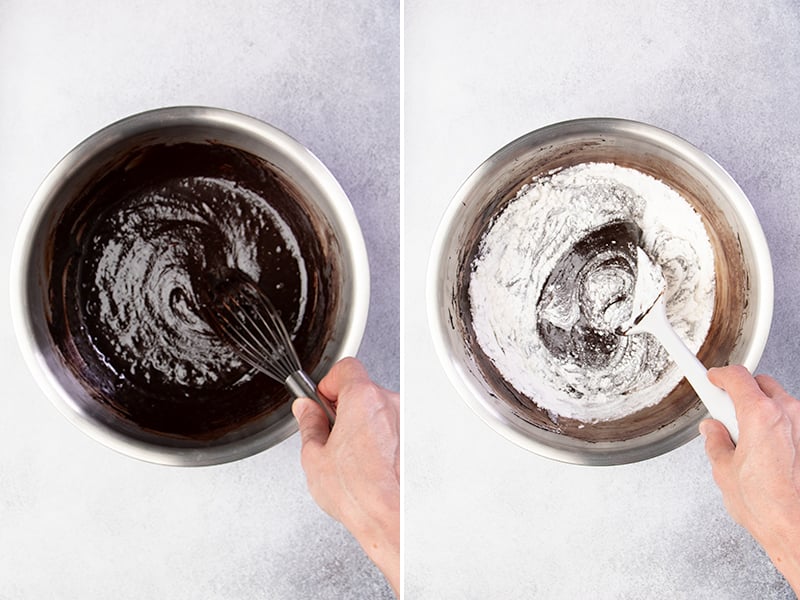
Add rich cocoa powder to the egg and butter mixture, and whisk it in well. Add gluten free flour (with xanthan gum), cornstarch, baking soda, and salt, and mix until just combined.
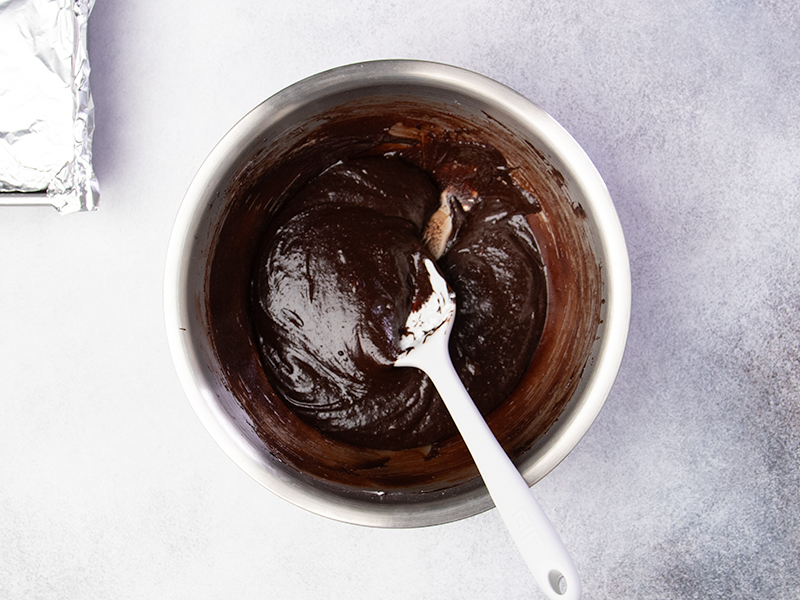
Add chips, transfer to the pan
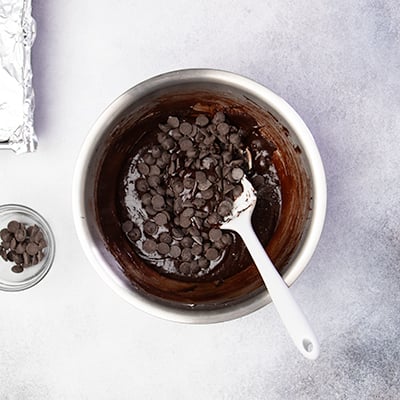
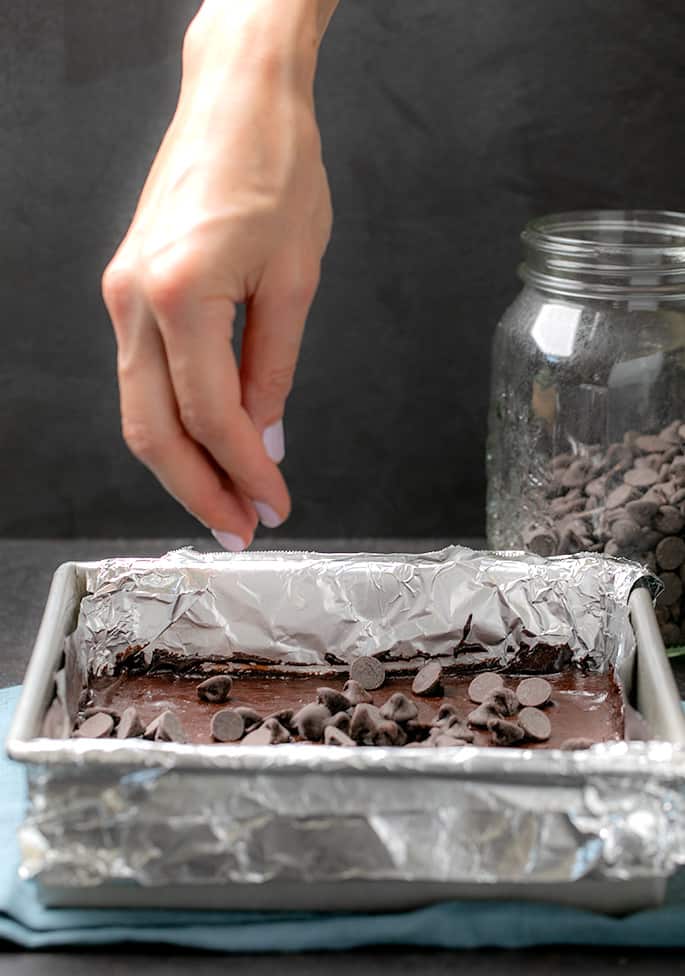
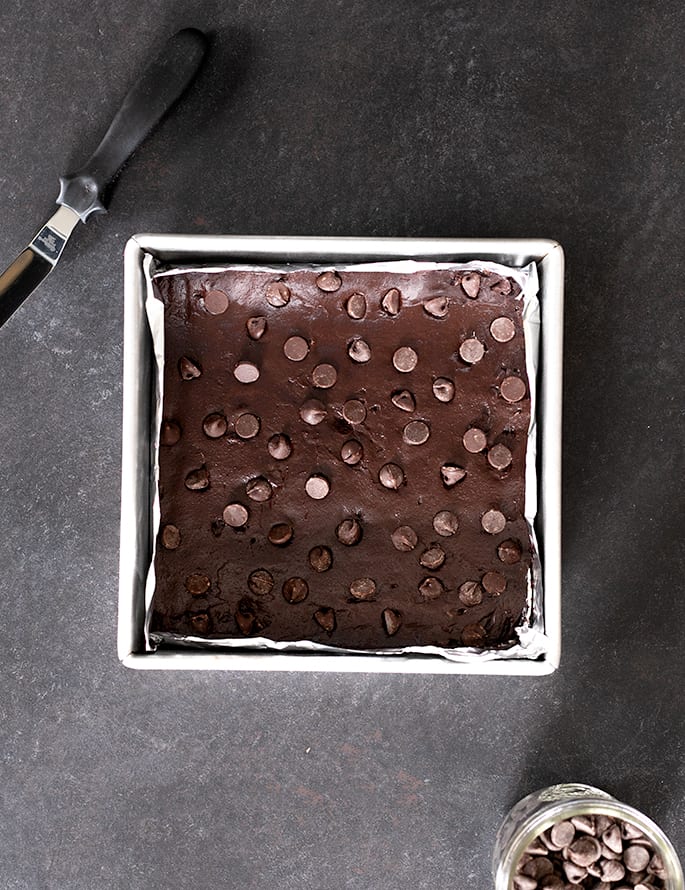
Mix in some chocolate chips, and transfer to a prepared square metal pan. Spread into an even layer, & sprinkle some more chips on top.
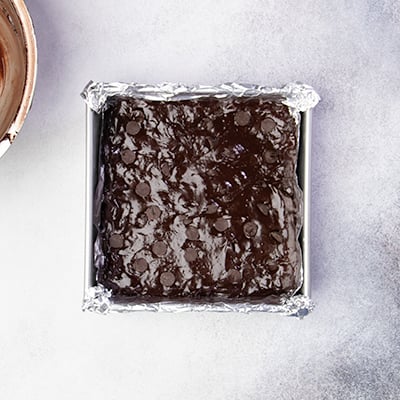
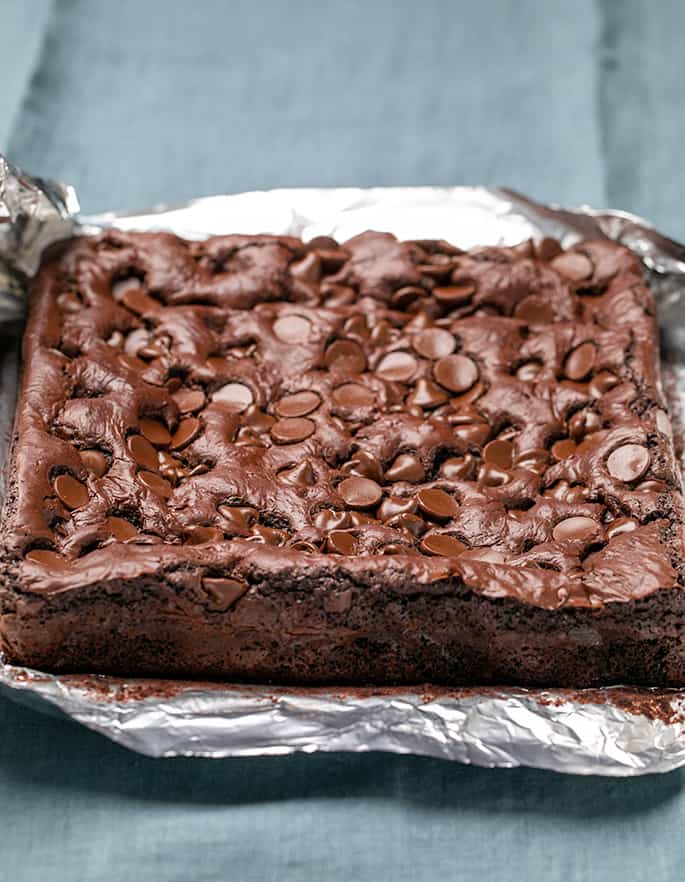
Bake the pan of brownies at only 325°F for about 30 minutes. Bake until the center doesn't look wet, then let cool completely. Chill first for clean slices!
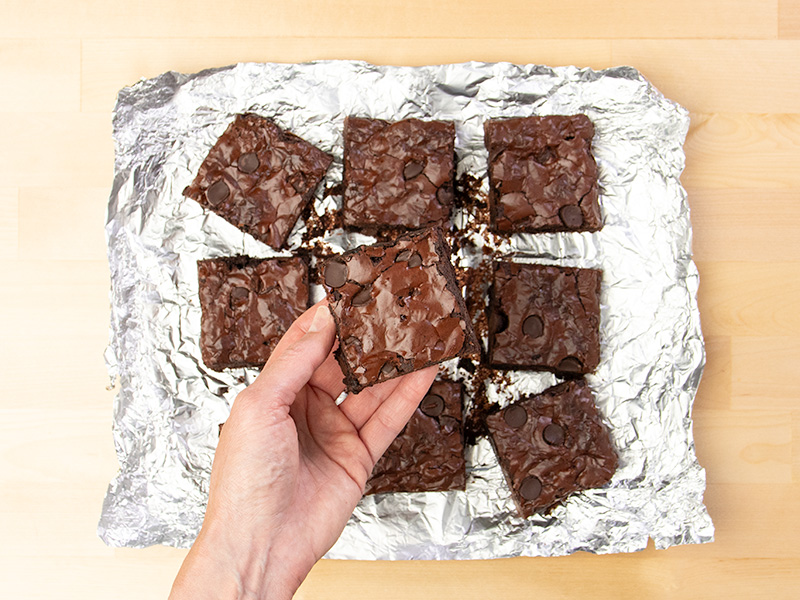
My Pro Tip
Expert Tips
Don't skip steps
This method begins with melting the butter with the sugar, to dissolve the sugar granules. That way, they combine so much better with the rest of the brownie batter and mixes properly with the egg whites from the beaten eggs to create that crinkly top.
The next essential step is to beat the eggs well. Otherwise, the brownies aren't as chewy—and no crackly top.
Choose a light-colored aluminum pan
A light-colored cast aluminum pan heats evenly across the whole pan and doesn't attract too much heat like a dark-colored pan. A glass, stone, or cast iron pan will heat slowly but retain much more heat, and can cause the edges to burn before the center is set.
Line even a nonstick pan
Line your pan with nonstick aluminum foil, parchment paper, or regular aluminum foil sprayed with cooking oil spray will prevent them from sticking to even the corners and to make it easy to lift them out of the pan.
Watch your bake time
When you take them out of the oven, the center should be just about set, and they'll firm up more as they cool. Overbaking will likely burn the edges and bottom center but it can be hard to tell since the brownies are so dark in color.
substitutions
Ingredient Substitutions
Dairy free
To replace the butter, I recommend a vegan butter in bar form like Melt or Miyoko's Creamery brand. If you can't find vegan butter, try using half Earth Balance buttery sticks and half Spectrum nonhydrogenated shortening.
Be sure you're also using dairy-free semi-sweet chocolate chips.
Egg free
Try two “chia eggs” or even “flax eggs,” since that may add some unpleasant flavor but the chocolate should cover it.
Corn-free
If you can't have cornstarch, try arrowroot or potato starch.
Gluten Free Brownie Recipe
Equipment
- Handheld or stand mixer fitted with the paddle attachment
Ingredients
- 9 tablespoons (126 g) unsalted butter, chopped
- 1 ¼ cups (250 g) granulated sugar
- 2 (100 g (weighed out of shell)) eggs, at room temperature
- 1 teaspoon pure vanilla extract
- 1 cup (80 g) unsweetened cocoa powder, natural or Dutch-processed
- ⅓ cup (47 g) all purpose gluten free flour blend, (See Recipe Notes)
- ⅛ teaspoon xanthan gum, omit if your blend already contains it
- 2 tablespoons (18 g) cornstarch
- ⅛ teaspoon baking soda
- ¼ teaspoon kosher salt
- 5 ounces semi-sweet chocolate chips
Instructions
- Preheat your oven to 325°F. Line an 8-inch square cast aluminum baking pan with parchment paper or nonstick aluminum foil (or line with regular aluminum foil and spray with nonstick cooking spray). Set the pan aside.
- In a small saucepan, place the butter and sugar, and place over medium heat, whisking occasionally, until melted and simmering.
- Remove the saucepan from the heat and set it aside to cool until no longer hot to the touch.
- Alternatively, cool the butter and sugar mixture down a bit by placing the bottom of the saucepan in a bowl of cool water. Make sure the butter does not solidify.
- In a large bowl, place the eggs and vanilla, and whisk until well-beaten and combined.
- Add the melted and cooled butter and sugar to the bowl slowly, whisking constantly. Add the cocoa powder and whisk until the cocoa powder has been absorbed.
- Using a handheld mixer, beat until very well-combined.
- Add the flour blend, xanthan gum, cornstarch, baking soda, and salt, and mix with a silicone spatula or spoon until just combined.
- Add about 4 ounces of the chocolate chips and mix until just evenly distributed throughout the batter. The batter will be thick and sticky.
- Transfer the brownie batter to the prepared pan and, using an offset or silicone spatula, spread into an even layer. It helps to moisten the tool you are using to smooth the top a bit to prevent it from sticking.
- Scatter the remaining chocolate chips evenly over the top of the brownie batter and bang the pan firmly on the countertop to help the chips adhere.
- Place the pan in the center of the preheated oven. Bake just until the brownies no longer appear wet in the center, about 30 minutes. The toothpick test is not reliable here, since the toothpick will come out wet even when they're done baking.
- The center may dome during baking, but the brownies will settle as they cool.
- Remove the pan from the oven and allow the brownies to cool in the pan at room temperature until the pan is no longer hot to the touch.
- For clean lines when you slice the brownies, place the brownies, still in the pan, in the refrigerator to chill for about an hour before slicing them.
- When you're ready to slice the brownies, remove them from the pan and peel away the foil. Slice the brownies into 9 equal squares.
- Serve the brownies immediately, or wrap tightly and freeze for longer storage. These freeze incredibly well.
Video
Notes
Nutrition
Nutrition information is automatically calculated, so should only be used as an approximation.
make ahead/leftovers
Storage instructions
These brownies will stay fresh at room temperature uncovered for hours, wrapped tightly for about 2 days, and in the refrigerator for about a week.
For longer storage, wrap tightly in freezer-safe wrap, and freeze for up to 2 months. Let defrost at room temperature.
alternatives
Variations
Replace the chips
Instead of some or all of the semi-sweet chocolate chips in the recipe, try using white chocolate, dark chocolate, milk chocolate, chopped semi-soft nuts like walnuts or pecans. Any mix-in that's similar in size and moisture content will provide a unique flavor combination and turn out great.
Add a swirl on top
Before baking the pan of brownies, add up to 2 ounces of marshmallow creme or a few tablespoons of softened no-stir peanut butter in a few dollops. Swirl with a butter knife, and bake. It shouldn't change the baking time, but will affect the crackly top. Not a big problem!
Add some flavor
Try replacing the vanilla extract with another flavor extract, like almond extract, peppermint extract (and swap some of the chocolate chips for mint chips!). Add some coffee flavor by adding a coffee extract and/or adding about 1 heaping tablespoon of espresso powder to the dry ingredients.
Frost your brownies
For an extra decadent brownie, allow the brownies to cool completely. Before slicing, add a layer of whipped chocolate ganache like we use in our gluten free chocolate cupcakes to the top.
FAQs
Yes! Just whisk as vigorously as possible by hand. You'll know that the mixture is beaten enough when it begins to lighten in color.
Yes, you can use a 9-inch square pan instead of an 8-inch square pan. The brownies will be done about 5 minutes sooner, though.
Yes, but you should divide the batter, as doubled, and bake it in 2 square pans. If you try to bake brownies that are this thick in a 9-inch x 13-inch pan, the center may burn before the brownie batter bakes all the way to the edges. Place both baking pans in the oven at the same time, and rotate them about halfway through baking.
I prefer to line the pan with nonstick aluminum foil, or regular foil sprayed with nonstick cooking oil. Parchment paper also works, but can shift, so try clipping it to the sides of the pan with heat-safe clips.
No, this recipe won't work with almond flour, but our almond flour brownies do. For brownies without flour at all, try our naturally gluten free black bean brownies with beans as a base, or our classic fudgy flourless brownies with melted chocolate as a base.
No, that won't work here either. Try our oat flour brownies.




Hey Nichole! Thanks for the recipe! These brownies are wonderful! Only one question: the recipe calls for one whole cup of cocoa powder, if I added less to make it a little less chocolatey, would the recipe still work?
No, you can’t reduce the cocoa powder and have the recipe still work, Anne. It doesn’t just add flavor, but is part of the chemical reaction in the oven!
Hi Nicole, first of all thanks for the wonderful recipes they do very well in the family and friends (who eat gluten).
A question though, in this recipe (but also some recipes for muffins, coffee cake or breakfast cake) there’s to much sugar for my taste. If I want to make it less sweet, is the best way to do that by adding flour or by diminishing the liquid?
I love to hear so that I can test without to much spoil 😏
I’m afraid you’d need a different recipe to reduce the sugar, Connie. Sugar is not only a sweetener, but a tenderizer. My recipes don’t have more sugar than is typical for a conventional version of each recipe. There’s no rule for how to reduce sugar in any recipe. Sorry!
Wonderful!
I’ve always struggled with making brownies. I just about gave up when we had to go GF. This recipe came out exactly how a brownie should be. Thank you for helping me make perfect brownies!
So glad you loved them, Marjorie. And I have to say, I agree. The brownie gold standard!
Made these for a barbecue this weekend. They were absolutely amazing! Perfect texture a little chewy with a little flaky top. And the sweetness was just perfect. Thank you so much for this great recipe!
A little chewy with the flaky top is exactly what makes these brownies my favorite, Tina. So glad you enjoyed them!
Hi, My son is allergic to corn, can you make a suggestion for a substitute for the cornstarch? Thanks!
Hi, Amanda, please see the section of the post titled: “About the corn in these gf brownies”
Thank you Nicole, l had a feeling that would be the case. I will stick to your recipe.
With appreciation
Julie
Hello Nicole, thank you – for ALL that you give. Can l use xylitol as a sugar substitute, or another unrefined sugar here?
Thank you
Julie
Australia
Hi, Julie, I’m afraid I don’t recommend using a sugar alternative here, since it’s quite drying and the sugar is such a major component of the brownies. Unrefined sugars are a different thing altogether, and they’re really just sugar, too. You might try using coconut palm sugar, but definitely be sure to melt it completely first. It is also flavorful, and will compete with the chocolate flavor.
The best brownies ever
Hello there!
If I am using earth balance butter sticks is it absolutely necessary to use shortening??
If you’re replacing the butter in this recipe, you’re changing the chemistry so your results with already be different. The only way I can recommend coming as close as possible to recreating the texture without dairy is to use vegan butter. In the absence of that, half Earth Balance and half shortening will come as close as possible to vegan butter, my best recommendation for replacing butter. The further you get from butter, the more your results will vary. Only you can decide how important the best results are to you. It will still taste great if you use all Earth Balance but the texture will vary—by how much you’ll have to find out!
I have made these twice and I’m making them a third time today. I absolutely love the flavor and chew of these brownies. We’re not gluten free but after having some good gluten free brownies at a friend’s house, I decided to make some of my own. I think these are better than the friend’s! Even my chef friend loved them.
That’s really great to hear, Schmax! Thank you for letting me know. :)