This post may contain affiliate links. Please read our disclosure policy.
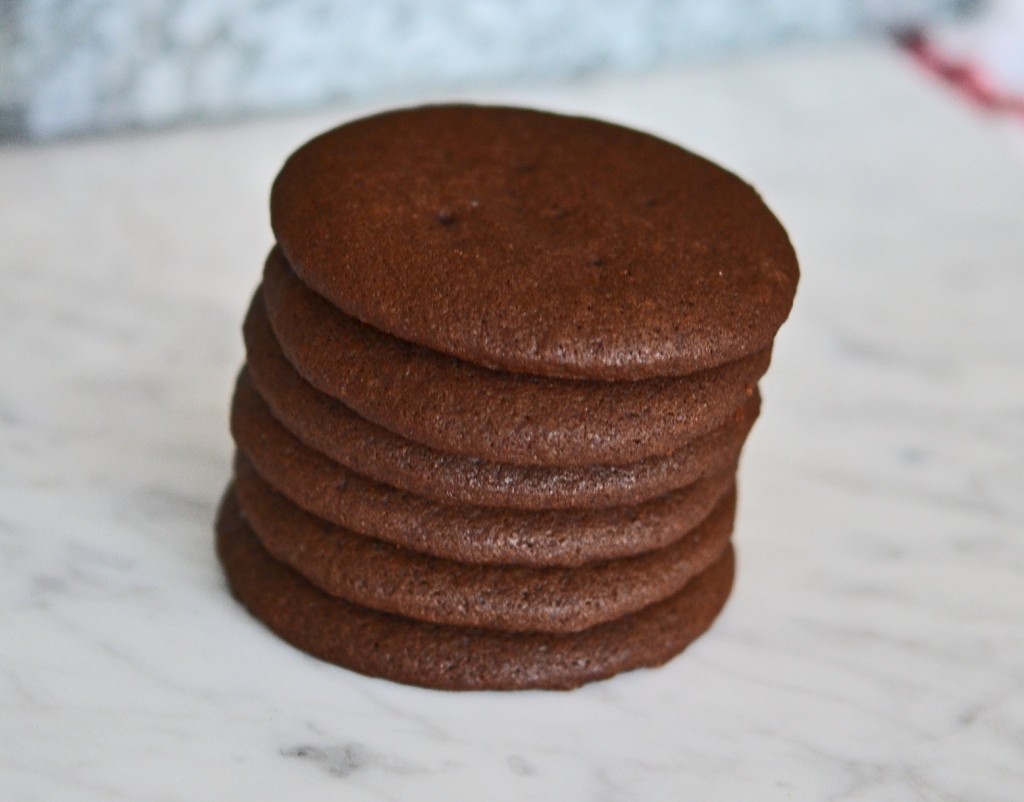
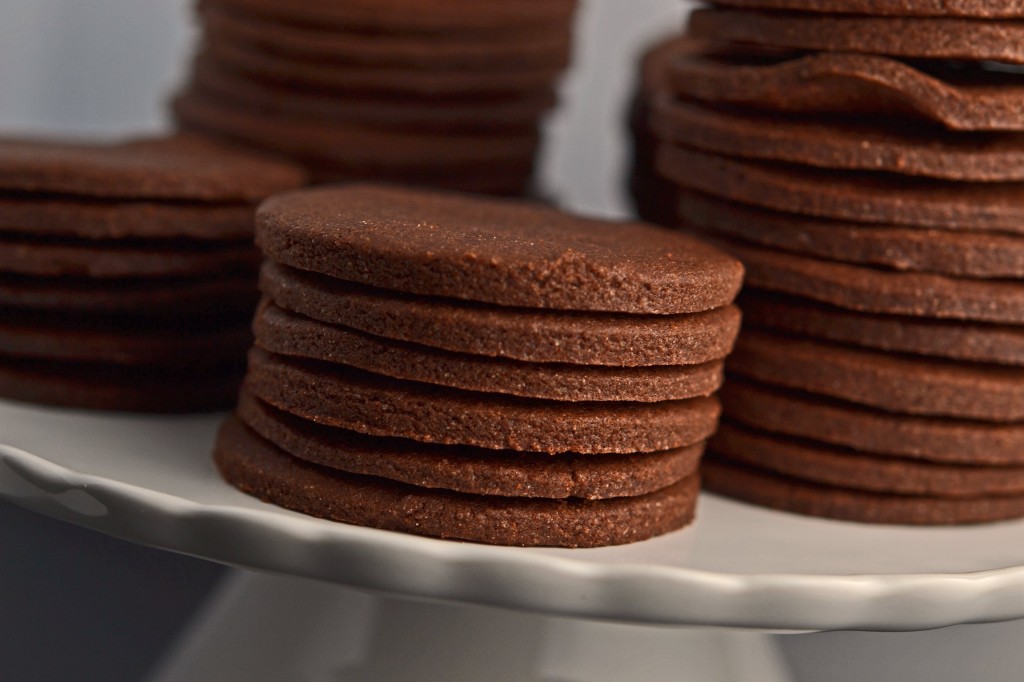
These thin and crispy gluten free chocolate wafer cookies are rich and chocolatey and perfect for making all sorts of no-bake warm weather treats, from icebox cakes to cookie crusts. Stock up for summer!
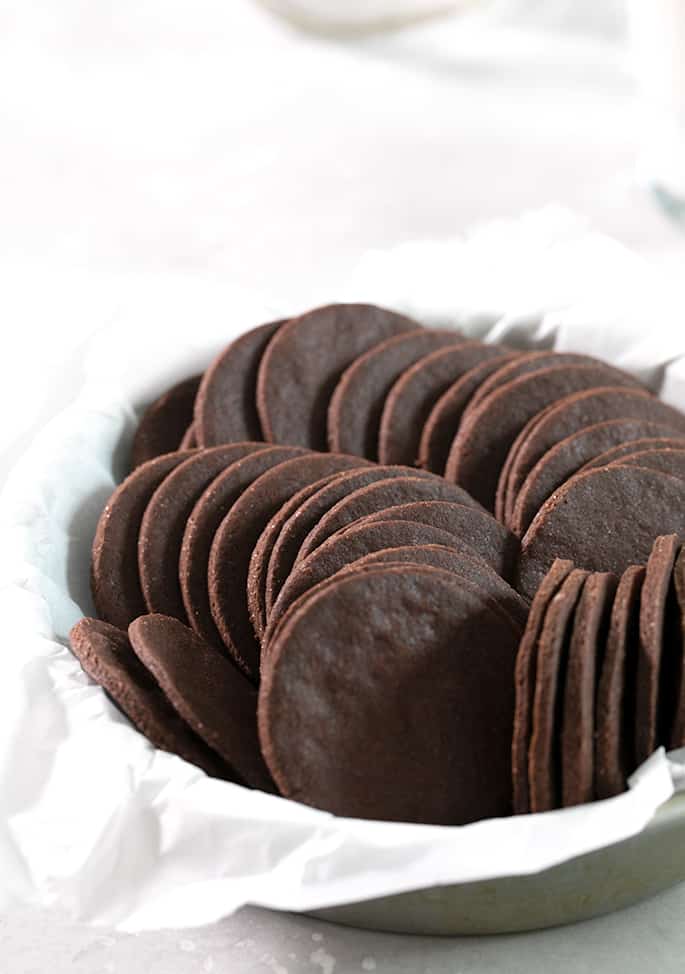
What makes this recipe for gluten free chocolate wafer cookies special
Remember those Nabisco chocolate wafer cookies that come in those narrow packages? These crispy, crunchy chocolate cookies are just like those, but of course, they're gluten free. And they are perfect for doing some very important things, especially in the summertime.
When you see blunt edges on cutout cookies, that means that they really haven't spread or risen much during baking. They have a way different texture than soft & chewy chocolate cookies, which are more cakey. Those give when you bite into them, which makes them perfect for an ice cream sandwich.
These crunchy cookies make excellent cookie crumbs when crushed. Plus, they're lovely for icebox cakes of all kinds. I know that you can't really call something “no bake” when you had to bake cookies first to make it. But hear me out!
I've searched high and low, and I simply can't find any simple Nabisco-style gluten free chocolate wafer cookies for sale. You can find packaged GF graham crackers (even though my homemade gluten free graham crackers are better), and even crispy chocolate chip cookies.
But the simple, noble chocolate wafer must be baked. But they keep for weeks on the kitchen counter when stored in a sealed glass container, or for months in the freezer.

Tips for rolling and cutting out cookie dough
Drop cookies are portioned with a spoon or ice cream scoop and dropped onto a baking sheet. They're a great place to start out baking.
Cut-out cookies like these chocolate wafer cookies are formed by rolling out the dough with a rolling pin and then using a cookie cutter or knife to cut out shapes for baking. I know that some of you consider that process a “page turner” in a cookbook. You see that the dough has to be rolled out, and you're on to the next page.
But rolling out cookie dough before cutting it into shapes has so many benefits! And I promise it's super easy, especially if you know my tips and tricks.
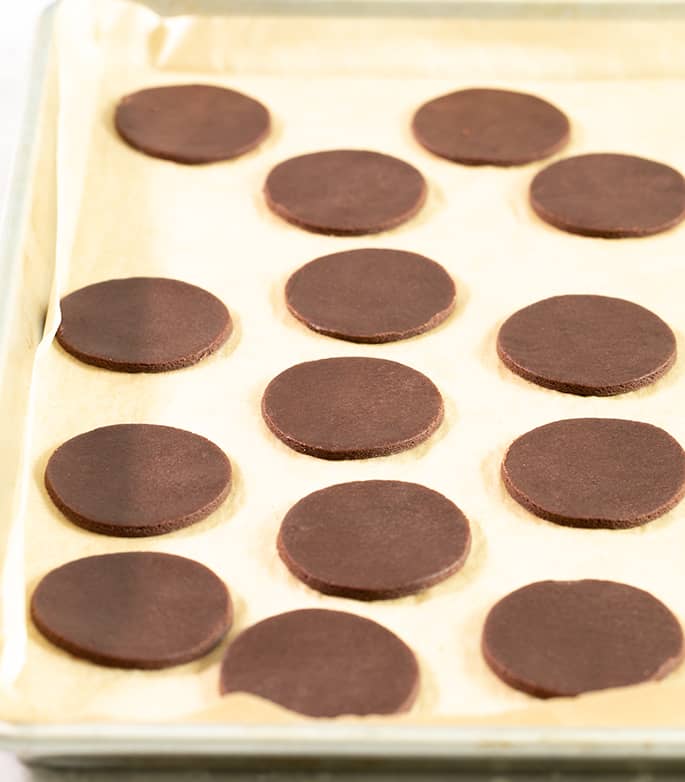
Tip #1. Feel the dough with your hands. Rolling the dough into an even layer tends to be the most intimidating part. The secret is in how it feels, much more than how it looks.
Your eyes can't really compare the thickness of the cookie dough from one spot to another. But your hands passed over the top of the dough will know in an instant if one spot is too thick, another too thin.
Tip #2. Use the right paper. If the instructions in a recipe tell you to roll out the dough between two pieces of unbleached parchment paper (like they do in this recipe!), definitely do it!
Bleached parchment paper is thick and stiff, so it's not very flexible. Plastic wrap is guaranteed to wrinkle, which will leave a million little wrinkles in your rolled-out dough. Unbleached parchment paper, the brown kind, is absolutely perfect for this task!

Tip #3. Use a light touch. If you find that you're rolling lots of creases and wrinkles into the dough, apply less pressure with the rolling pin and pass over those spots again. It's rolling pin. Not a pressing pin.
Tip #4. Chill it. If the dough seems to difficult to cut cleanly, place it, still in the parchment paper, on a cutting board and chill it in the refrigerator or freezer for a few minutes. It'll firm up enough to cut.
Tip #5. Peel away. After cutting out your shapes, peel the surrounding dough away from the shapes, and then peel the paper away from under each cut-out shape. It keeps the cut-out from stretching or breaking during the transfer.

I plan to no-bake with these cookies all summer long, and I'd hate for you to be left out! Watch the how-to video, read the tips, and then get your ingredients ready.
Speaking of ingredients, let's talk about what to do if you have other dietary concerns beyond just gluten free…
Ingredients and substitutions
Dairy-free: Good news! I've successfully made these cookies dairy free, and they were absolutely just as good in taste and texture as the original recipe. My favorite substitute for unsalted butter is Melt brand VeganButter. Be sure it's at room temperature before you use it in the recipe.
If you can't find Melt brand, I'd try using half nonhydrogenated vegetable shortening (I really like Spectrum brand) and half Earth Balance buttery sticks. If you use all Earth Balance, the cookies will not hold their shape, as Earth Balance has a ton of moisture. And all shortening will probably make for cookies that are too dry.
Egg-free: There's only one egg in this recipe, so it's a pretty good candidate for making it with a “chia egg,” which is just 1 tablespoon of ground white chia seeds mixed with 1 tablespoon lukewarm water and allowed to gel. I haven't tried it, though, so you'll have to experiment!
Cocoa powder: Since these are chocolate wafer cookies, you can't make them without cocoa powder. But if you don't have Dutch-processed cocoa powder, you can use natural cocoa powder. Just add 1/8 teaspoon baking soda to the dry ingredients and whisk it in.
Sugar: I haven't tried this recipe with a granulated sugar substitute, but I recommend either Swerve brand granulated sweetener or Lankato monkfruit granulated sweetener. You will likely have to add a bit more water by the half teaspoonful to get the dough to come together, as those sweeteners tend to be drying.
Gluten Free Chocolate Wafer Cookies
Ingredients
- 1 ¾ cups (245 g) all purpose gluten free flour blend, (I used Better Batter; please click thru for full info on appropriate blends)
- ¾ teaspoon xanthan gum, (omit if your blend already contains it)
- ½ cup (40 g) unsweetened Dutch-processed cocoa powder
- ¾ cup (150 g) granulated sugar
- ¼ teaspoon kosher salt
- 8 tablespoons (112 g) unsalted butter, at room temperature
- 1 (50 g (weighed out of shell)) egg, at room temperature, beaten
- 1 ½ teaspoons pure vanilla extract
Instructions
- Preheat your oven to 325°F. Line rimmed baking sheets with unbleached parchment paper and set them aside.
- In a large bowl, place the flour, xanthan gum, cocoa powder, sugar and salt, and whisk to combine well.
- Add the butter, egg and vanilla, and mix until the ingredients are mostly combined.
- With clean hands, knead the dough until smooth. If necessary to bring all of the dough together, add 1 teaspoonful of lukewarm water and knead it in.
- Divide the dough into two equal parts, and roll each out between two sheets of unbleached parchment paper until the dough is 1/8 inch thick (the thickness of a nickel), no thinner.
- Pull back the top sheet of parchment paper on one piece of dough.
- With a round 2 1/4-inch cookie cutter, cut out rounds as close to one another as possible. Remove the surrounding dough, and set it aside.
- Transfer the rounds to the prepared baking sheets, and place them about 1/2-inch apart (they will not spread during baking).
- Gather the scraps, roll them out again, and cut more rounds.
- Repeat with the second piece of dough.
- Place the baking sheets, one at a time, in the center of the preheated oven and bake, rotating once during baking, for 8 minutes or until the cookies spring back when pressed lightly in the center.
- Remove the baking sheet from the oven, and allow to cool on the baking sheet until firm.
- Transfer to a wire rack to cool completely.
Video
Nutrition information is automatically calculated, so should only be used as an approximation.


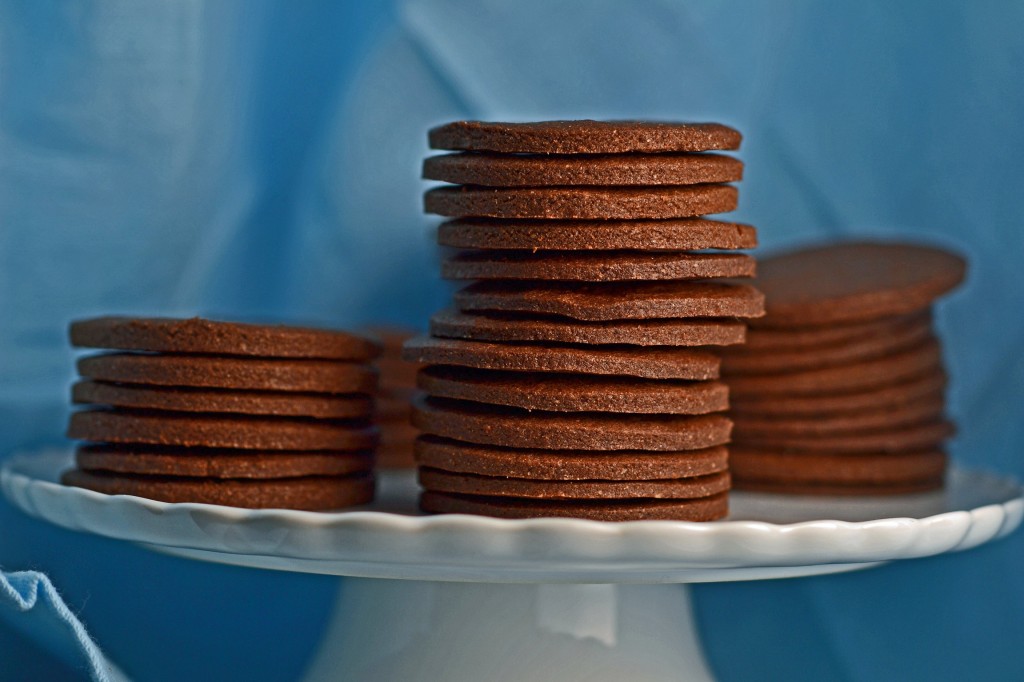


It came out awesome! My daughter’s celiac and my son-in-law’s diabetic so I used Sugarless Sugar with your receipe. I cheated at the bottom of the dessert, I started baking when I got home from work and knew I had to double the receipe but was afraid to try it. So, I made two separate batches. I got tired after the first batch, so on the second, I rolled out the dough and baked it as is. I’m going to layer it and finish with the cut-out cookies on top. I know it’ going to be a hit for Father’s Day. Thanks, Nicole
That’s great to know that the cookies turned out well with your sugar substitute, Linda!
This is so cool & I love the comments. I will try as is, but I’d love to know if you have a recipe for this using coconut flour??? I’m learning that flour requires more liquid, so I wonder if it’s useable here? Or maybe I’ll need to just make a thin, baked version …?!? I can see a gazillion applications for this thin little cookie ? What do you suggest? Thanks in advance for any suggestions❣️
? Sunny
Hi, Sunny,
I’m afraid you can’t use coconut flour in any recipe that wasn’t designed for it. This recipe simply won’t work with coconut flour. It’s very unique. Sorry!
This has made my day!! My favourite recipe when I was a child was a “chocolate log”. Basically the nabiaco cookies glued together horizontally with whipped cream, then covered with even more whipped cream and refrigerated until the cookies become soft. I can have it again!! Thank you!!
You sure can have it again, Rebekah!!