This post may contain affiliate links. Please read our disclosure policy.
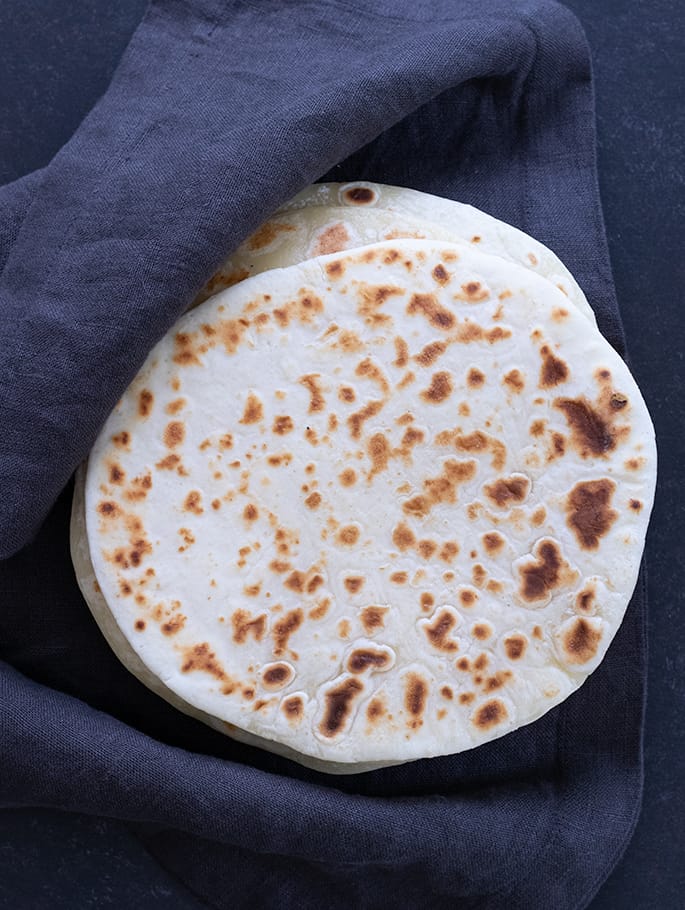
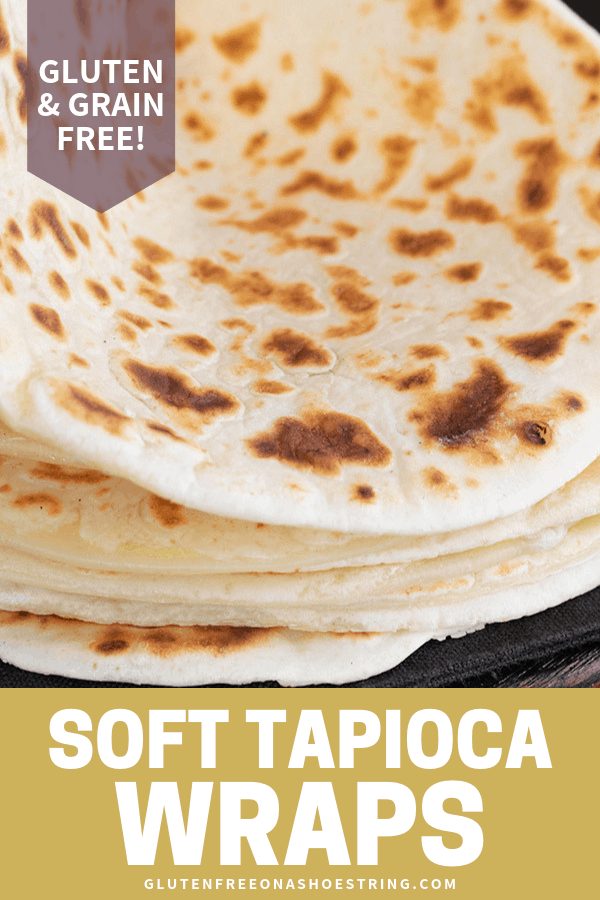
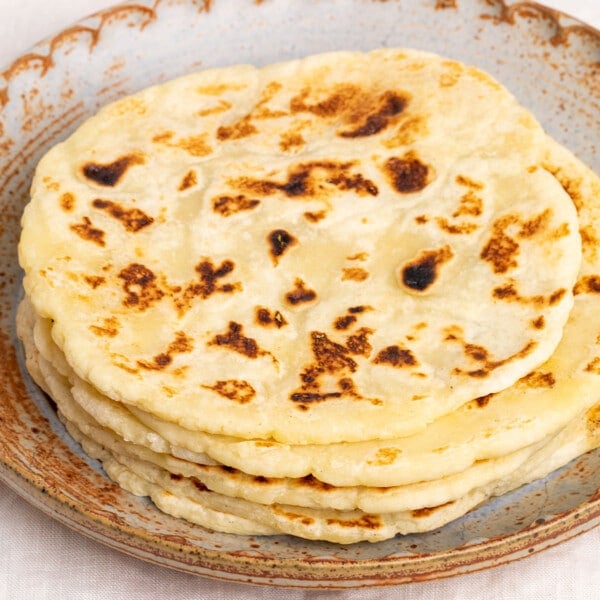
These easy, cheesy grain free soft tapioca wraps are made with simple gluten free pantry ingredients—plus they stay flexible even when they’re cold and freeze beautifully.
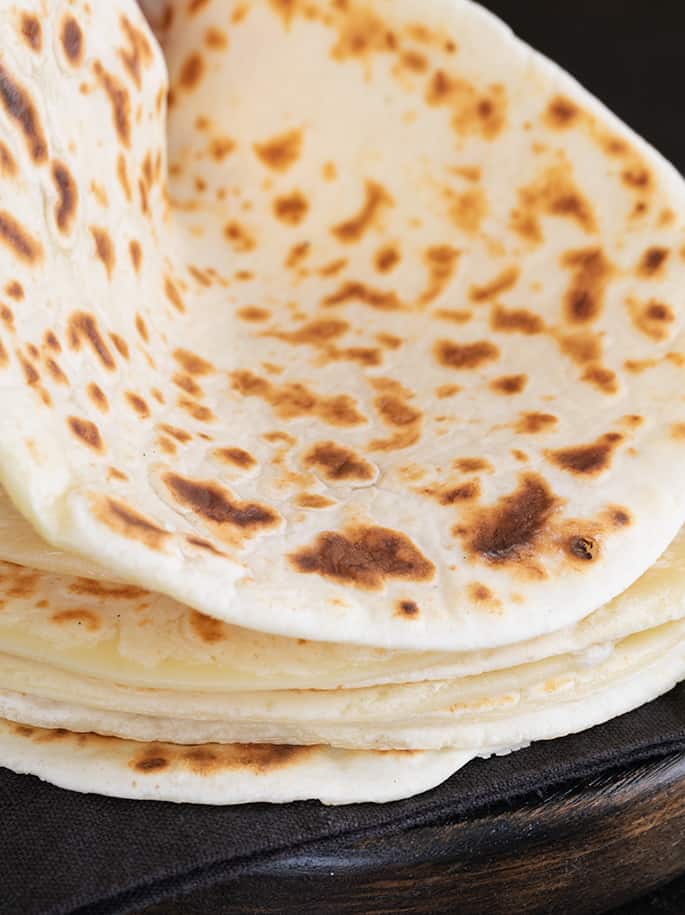
What makes these soft gluten free wraps so special
Wherever they go, these soft gluten free wraps made from tapioca flour in the style of Brazilian cheese bread are the star of the show. They're soft and flexible, and are simply. not. going. to. break.
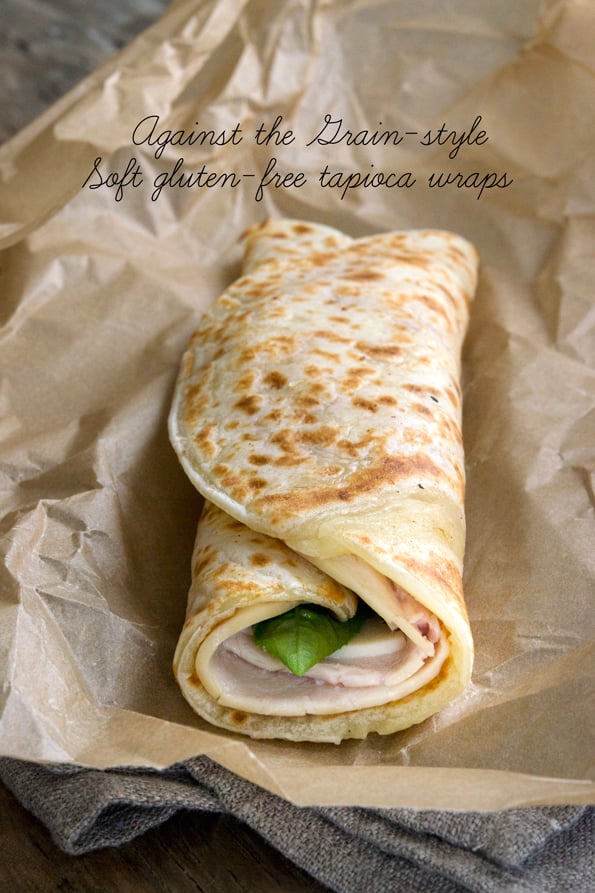
For lunch, I like to fill them with turkey and basil, with a nice spread of hummus. For dinner, we love them with coleslaw and chicken fingers. They're also perfect with hummus spread on one side, then wrapped around julienne vegetables.
The wraps can be made long ahead of time, and so can the dough if you want to roll them out and make them fresh. To make the dough ahead of time, just wrap it tightly in plastic wrap when raw.
Then, store it in the refrigerator for a week, or in the freezer for even longer. The dough rolls out simply and easily, too. These really are a shining star of gluten free flatbreads.
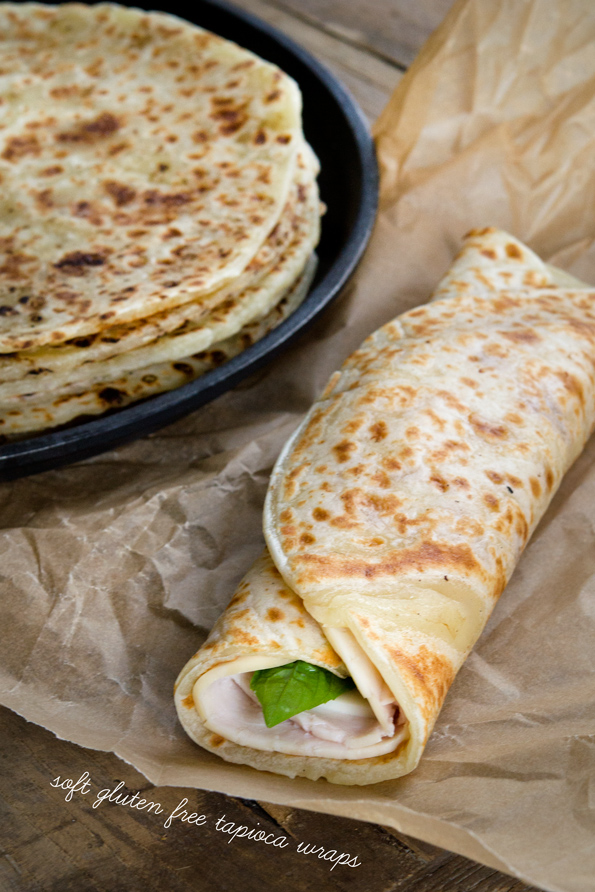
How to make these grain free wraps
Unlike most gluten free recipes made with an all purpose gluten free flour blend, they're made with only one flour, tapioca starch. The recipe is a riff on our recipe for Against the Grain-style rolls, which itself is a variation of Brazilian cheese bread.
When I first started making this recipe (and the rolls), the method I used was the traditional Brazilian cheese bread method of bringing milk to a simmer before adding tapioca flour, egg, and cheese. Then, process everything until smooth in a food processor.
Since I have made these recipes so many times over the years, I started simplifying the recipe to see if it still worked, and was thrilled when I saw that it did.
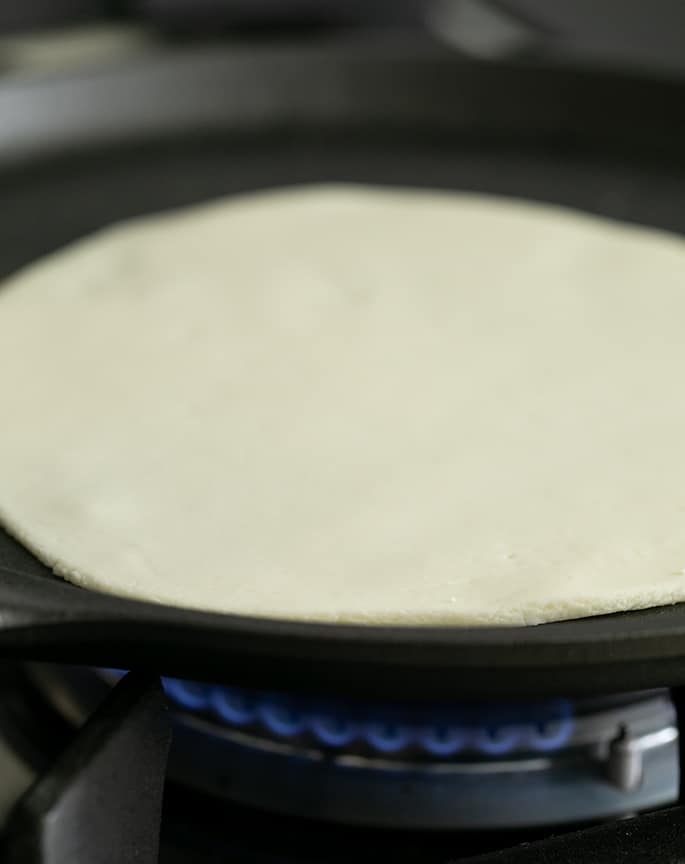
A new, simpler method for making soft gluten free tapioca wraps
Now, to make these wraps, I just load up the food processor with the grated cheeses, egg, salt, oil, and tapioca starch/flour, and add about 1/4 cup of the milk. Process until it begins to combine, and stream in about another 1/4 cup of milk.
Stop right when the dough is smooth. Not only does this method make everything simpler and easier, but it allows you to modify the amount of moisture based upon the type of cheese you use.
If you use pre-shredded cheeses, which I recommend, they're a bit drier and you'll need a bit more moisture. If you use freshly grated cheeses, you'll need a bit less.
What if I make the tapioca wrap dough too dry? Too wet?
If you add a bit more milk than you should, you can simply wrap the dough tightly in plastic wrap and chill it in the refrigerator until it's firmer. Working with the dough when it's cold, you'll find it much easier to handle.
If you add way too much milk, you may want to simply double the other ingredients (cheeses, oil, egg, tapioca starch/flour) and process while adding more milk very, very slowly. That's the only way to rescue dough that has had way too much liquid added.
You'll know that your dough is too dry if it crumbles at all when you try to knead it. If it breaks off in shards, it probably also needs some more moisture. Just add it slowly through the open shoot of your food processor and allow it to process fully.
Soft gluten free tapioca wraps: Ingredients and substitutions
Can you make these gluten free tapioca wraps dairy free?
I'm afraid these are just not a good candidate for making dairy free. They rely upon 9 ounces of cheese total in 10 wraps.
I've tried making our Against the Grain rolls recipe, which is very similar, with homemade Miyoko’s Kitchen recipe cheese and with many packed dairy-free shredded cheeses. All failed miserably.
About the cheese in these tapioca wraps
This recipe works best with pre-grated low moisture mozzarella cheese. It contains anti-caking ingredients, often starch, that prevent the dough from becoming too sticky and not holding its shape during shaping and baking.
Gluten free egg free soft tapioca wraps
There is only one egg in this recipe, and I am cautiously optimistic that you could replace it with a “chia egg” (1 tablespoon ground white chia seeds + 1 tablespoon lukewarm water, mixed and allowed to gel)—especially since these wraps don't have to rise.
About the tapioca starch/flour
There simply is no proper substitution for tapioca starch (which is also called tapioca flour). The quality of this ingredient varies a ton.
I can only recommend buying tapioca starch from nuts.com, Authentic Foods, or Vitacost.com. Bob’s Red Mill tapioca starch/flour is of very inconsistent quality and I recommend against it.
I also recommend against using tapioca flour from the bulk bins in the Asian food stores, as the product is frequently contaminated with gluten-containing ingredients and of inferior quality. For full information on this amazingly versatile ingredient, please see our post about the best tapioca flour recipes.
Soft gluten free tapioca wraps recipe
Grain Free Soft Tapioca Wraps
Equipment
- food processor
Ingredients
- 7 ounces low-moisture part-skim mozzarella cheese, grated (pre-grated cheese works best)
- 2 ounces Parmigiano-Reggiano cheese, grated (pre-grated cheese works best)
- 1 (50 g (weighed out of shell)) egg, at room temperature
- ¼ teaspoon kosher salt
- 3 tablespoons (42 g) canola oil
- 2 ½ cups (300 g) tapioca starch/flour, plus more for sprinkling (See Recipe Notes)
- 4 fluid ounces milk, (up to 2 fluid ounces more)
Instructions
- Add all ingredients except milk to food processor in the order listed, then add about 1/4 cup milk.
- Process the mixture with chute open for about 2 minutes. Add more milk very slowly until the mixture just comes together.
- There is a range of milk that you will need, depending on ingredient and environmental factors. You will use no less than a total of 1/2 cup (4 ounces) milk, and no more than 6 ounces. If you’ve used freshly grated cheeses, you’ll need less milk. Process for at least another minute.
- The dough will be quite thick, but should not be dry. Scrape the dough out of the food processor onto a flat surface, and divide it into 2 equal parts. You should be able to knead it with your hands.
- Wrap each piece of dough separately in plastic wrap and chill it until firmer, at least 30 minutes. Wrapped tightly, this dough can be chilled for up to 5 days.
- Once the dough has chilled, heat a 10-inch cast iron skillet over medium heat (or a nonstick skillet over low heat).
- Working with 1 piece of dough at a time, place it on a flat surface lightly sprinkled with tapioca flour. Sprinkle the dough lightly with more tapioca flour.
- With a sharp knife or bench scraper, divide the dough into 4 equal pieces, about 3 ounces each.
- Knead and roll each piece into a round, and then roll into a circle about 7-inches in diameter. Move the dough often, sprinkling it with tapioca flour when necessary to prevent it from sticking.
- For a perfect circle, cut out a 6-inch round using a metal cake cutter or the lid of a metal pot approximately the same size in diameter. Roll the dough out a bit thinner, into about a 7-inch circle.
- Carefully place the first circle of dough onto the hot skillet and allow it to cook until the underside is cooked, and the wrap can be lifted easily with a wide spatula (about 45 seconds).
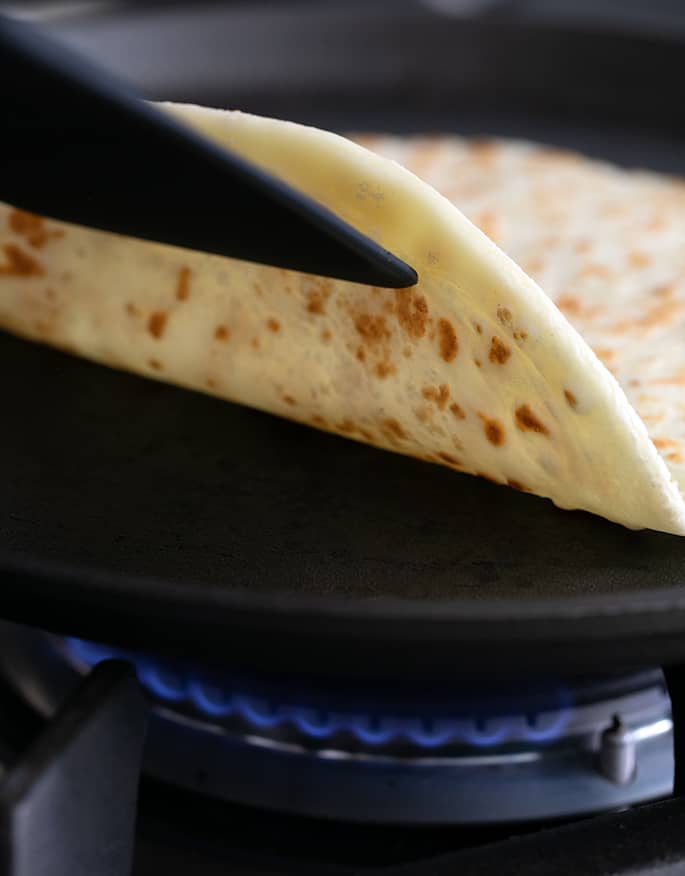
- Flip the wrap over and press down evenly with the spatula to sear the other side. Cook until the underside is set (about another 30 seconds).
- Remove the wrap from the skillet and cover with a moist tea towel. Repeat with the remaining 3 pieces of dough, and then with the other half of of the original dough.
- Gather and reroll all scraps, and you should be able to get one more full wrap out of the recipe, for a total of 9 in a single recipe.
- Serve the wraps immediately, or wrap them tightly in plastic wrap and store in the refrigerator for up to 1 week (or in the freezer, wrapped in a freezer-safe container, for longer).
- When you are ready to use a previously refrigerated wrap, warm in a hot cast iron skillet for a few second until the wrap has become pliable again (about 30 seconds).
Video
Notes
Nutrition information is automatically calculated, so should only be used as an approximation.




Can you use a tortilla press and is there anything I would need to do to keep it from sticking if it could be used?
Hi, Sherry, please see my post about fresh corn tortillas for how I like to use a tortilla press and keep dough from sticking to it.
ANY info on calorie content?
I’m afraid I don’t have the manpower to provide nutrition information for all of my recipes. Feel free to plug the ingredients into an online nutrition calculator. That’s all I would do anyway! :)