

This post may contain affiliate links. Please read our disclosure policy.
How to make a gluten free sourdough starter from scratch, step by step. Make it for love of the taste or for lack of commercial yeast. Get started today!
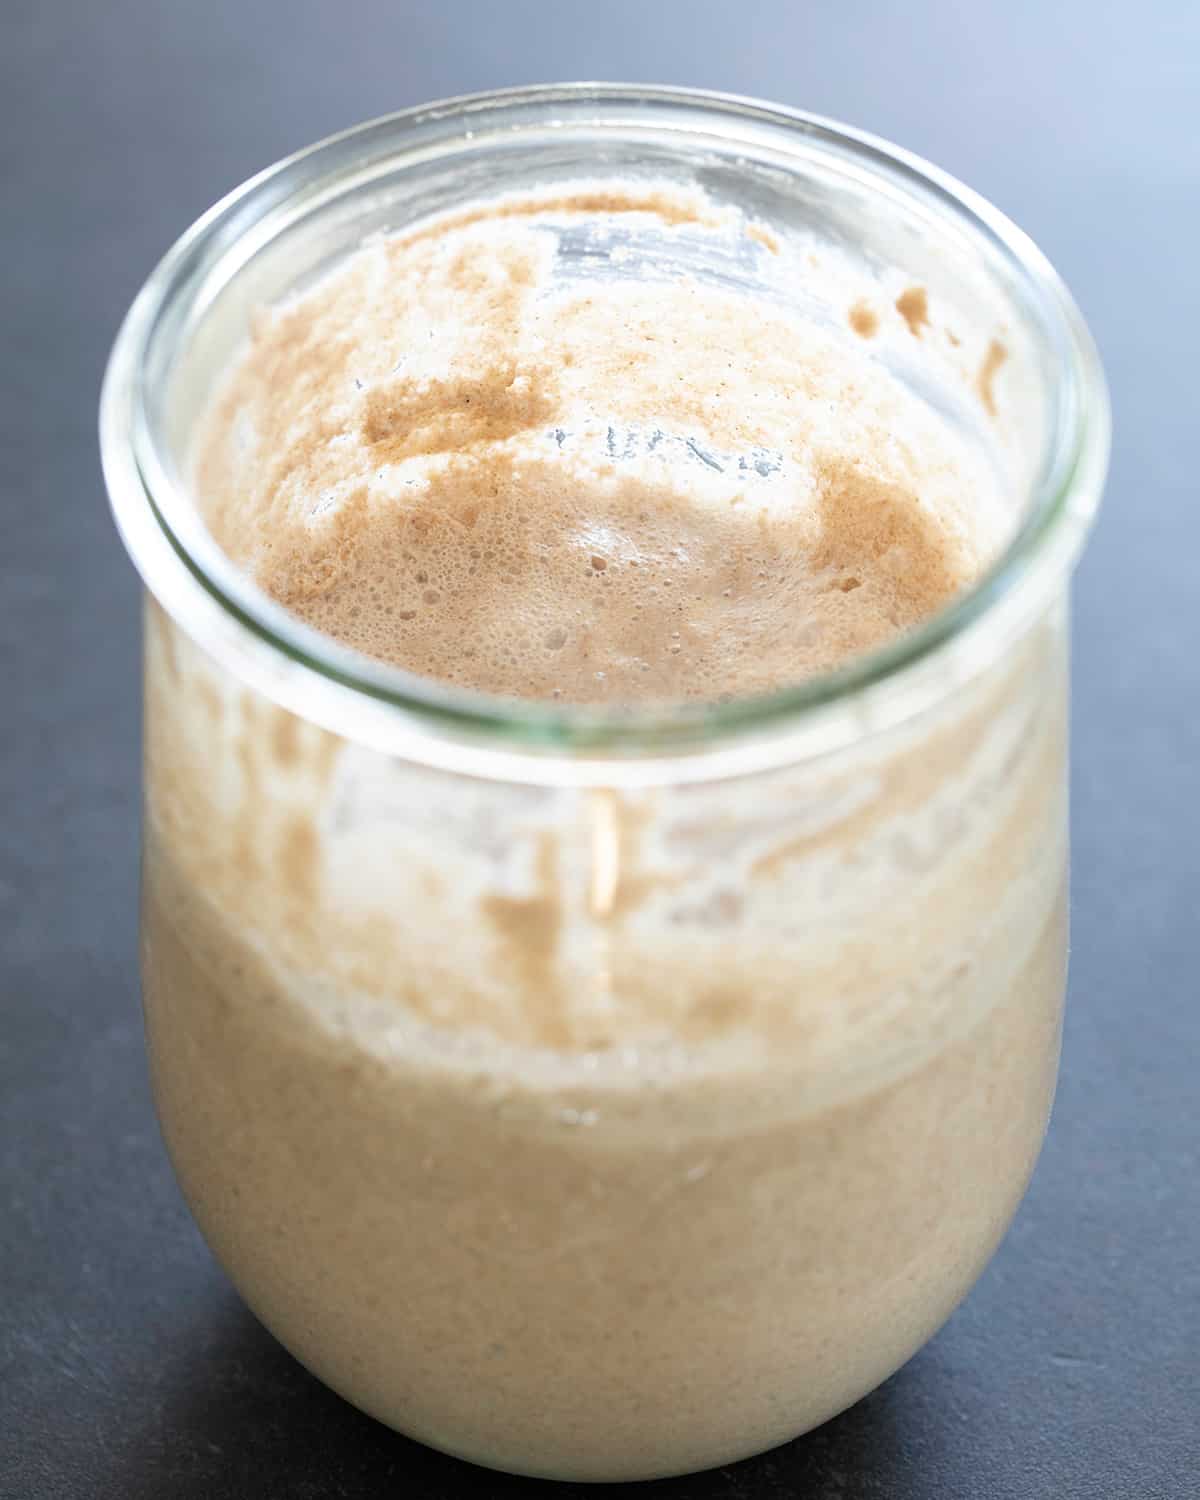
What is a wild yeast starter for?
A pure “wild yeast” sourdough starter is used as a rising agent and flavor enhancer when you don’t have or can’t use commercial yeast.
Commercial yeast, like the instant yeast granules that we use in our gluten free bread recipe and many other gluten free bread recipes, is a single, isolated strain of yeast. A sourdough starter is a mixture of flour and water that has captured the naturally occurring yeast in the flour and in the environment.
Once it’s “active,” the starter can be used to create sourdough breads of all kinds. It does take time to cultivate, though, to allow the fermentation process to mature, so it’s not a quick fix. At first, you must take action every 24 hours. Even after it’s active, it must be maintained by being refreshed regularly to guard against its becoming inactive, or over-active and spoiled.
Ingredients & equipment
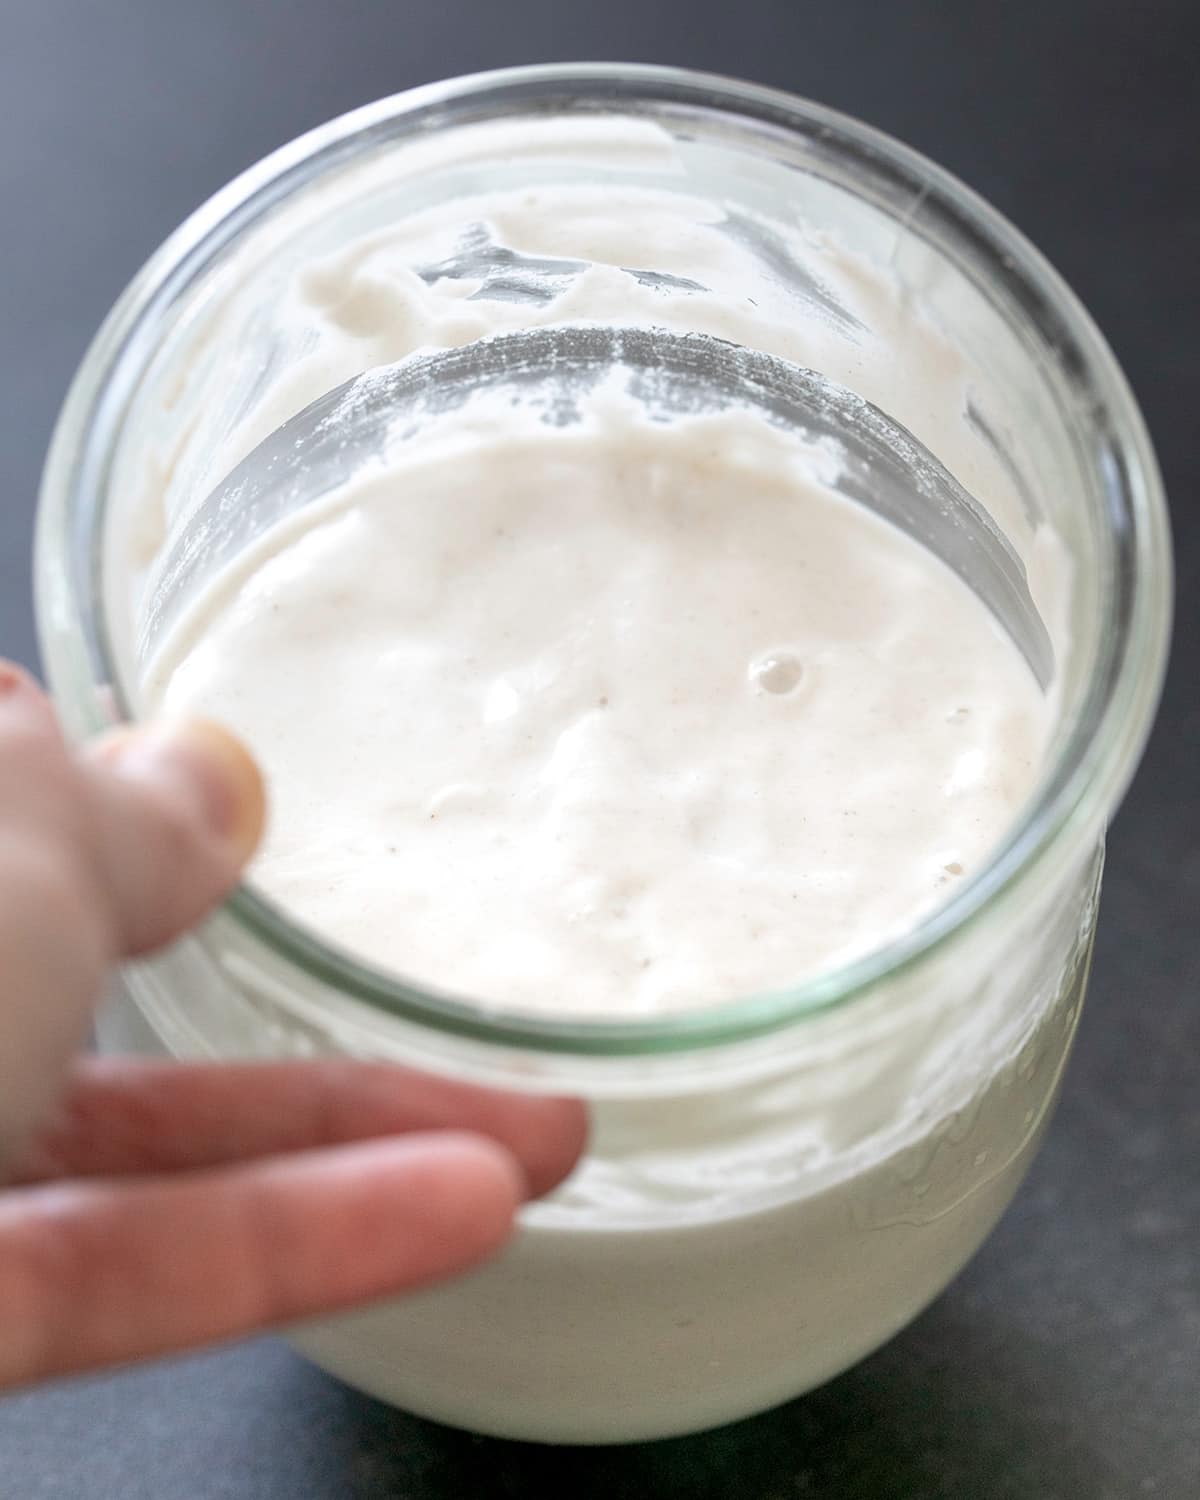
Here’s what you’ll need to make a sourdough starter from scratch:
Gluten free flours
I have always found it easiest to begin a sourdough starter using a combination of sweet white sorghum flour and teff flour, and following it up once it’s active with a very simple blend that doesn’t contain any binders, like our gum-free gluten free flour blend. I have also successfully begun a starter using other gluten free whole grains like brown rice flour and buckwheat flour.
Water
You will need to use bottled distilled or spring water, or at least water filtered to remove chlorine (with a Brita filter, for example). Unfiltered tap water contains chlorine which will kill yeast. Make sure that all of your tools that were washed with tap water are dried completely.
Container and spoon
You will also need a nonreactive container like a clean glass mason jar and a nonreactive mixing spoon or spatula. The most common utensils used are made of wood and silicone, but stainless steel is also nonreactive, so metal spoons are safe to use. Avoid mixing in or with anything made from aluminum which is reactive and can kill the yeast, which is naturally acidic.
How to make a gluten free sourdough starter
For full instructions including ingredient amounts, scroll to the recipe card below. Here’s an overview of how to make a starter to help you visualize the process before you begin with the details:
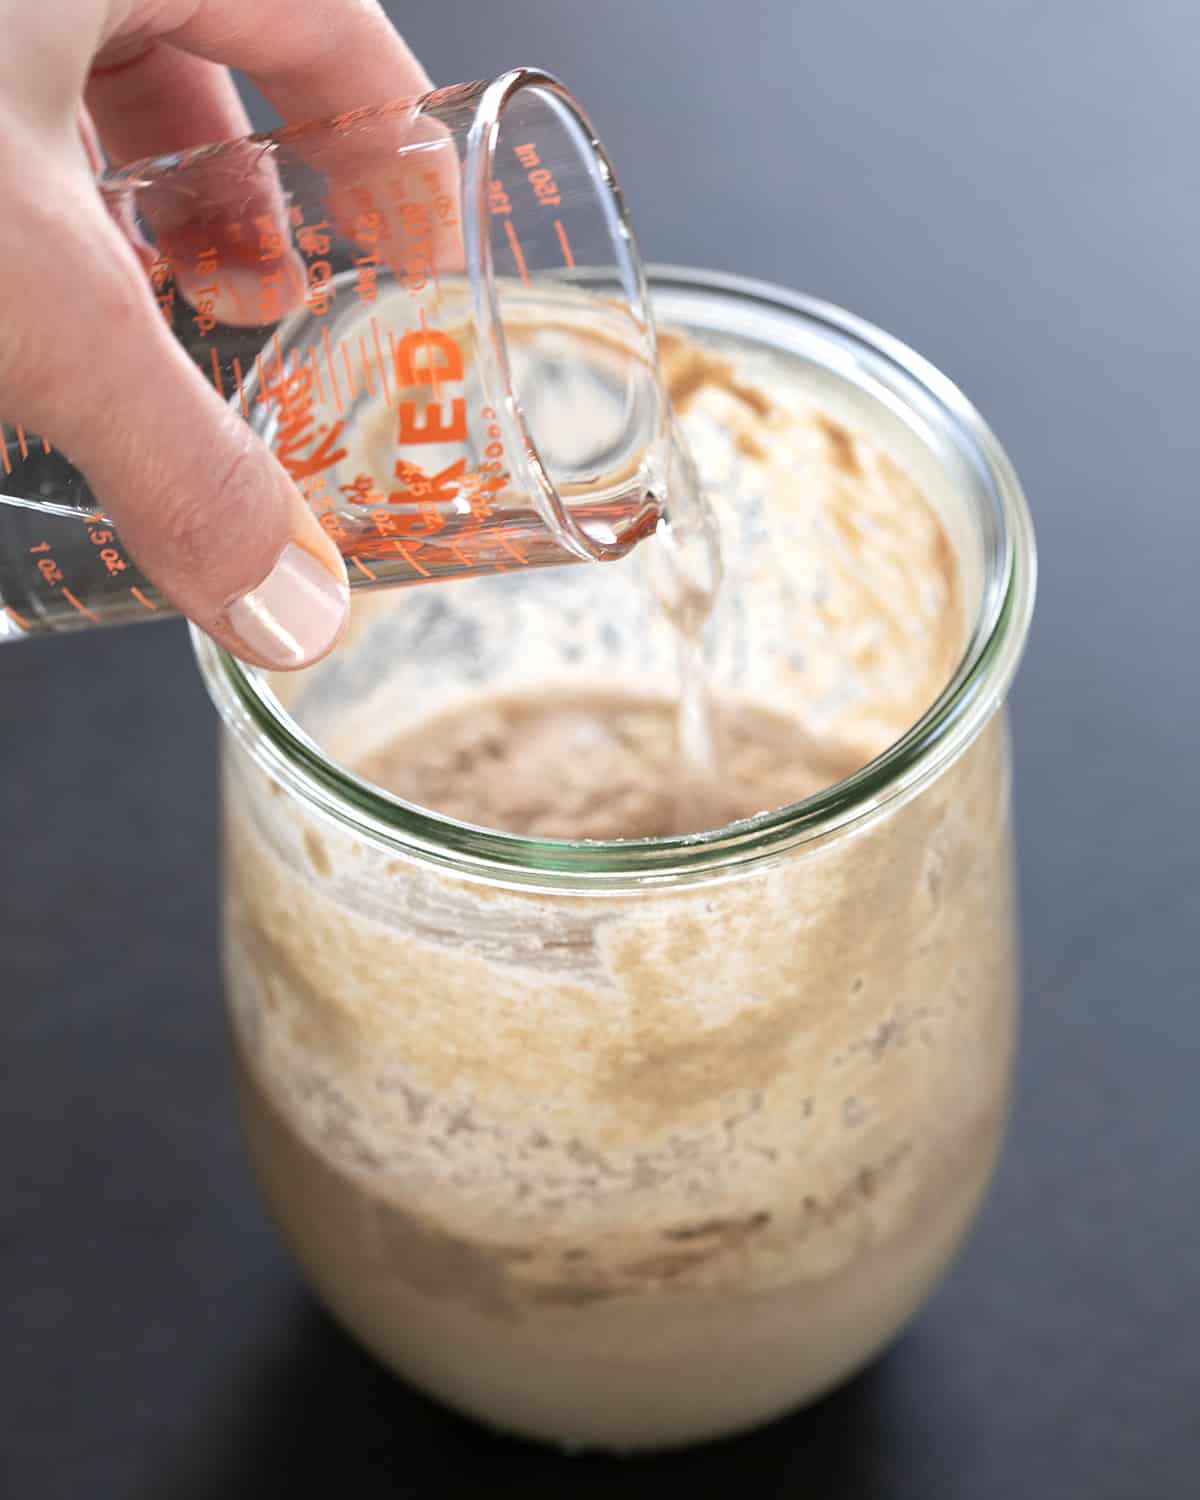
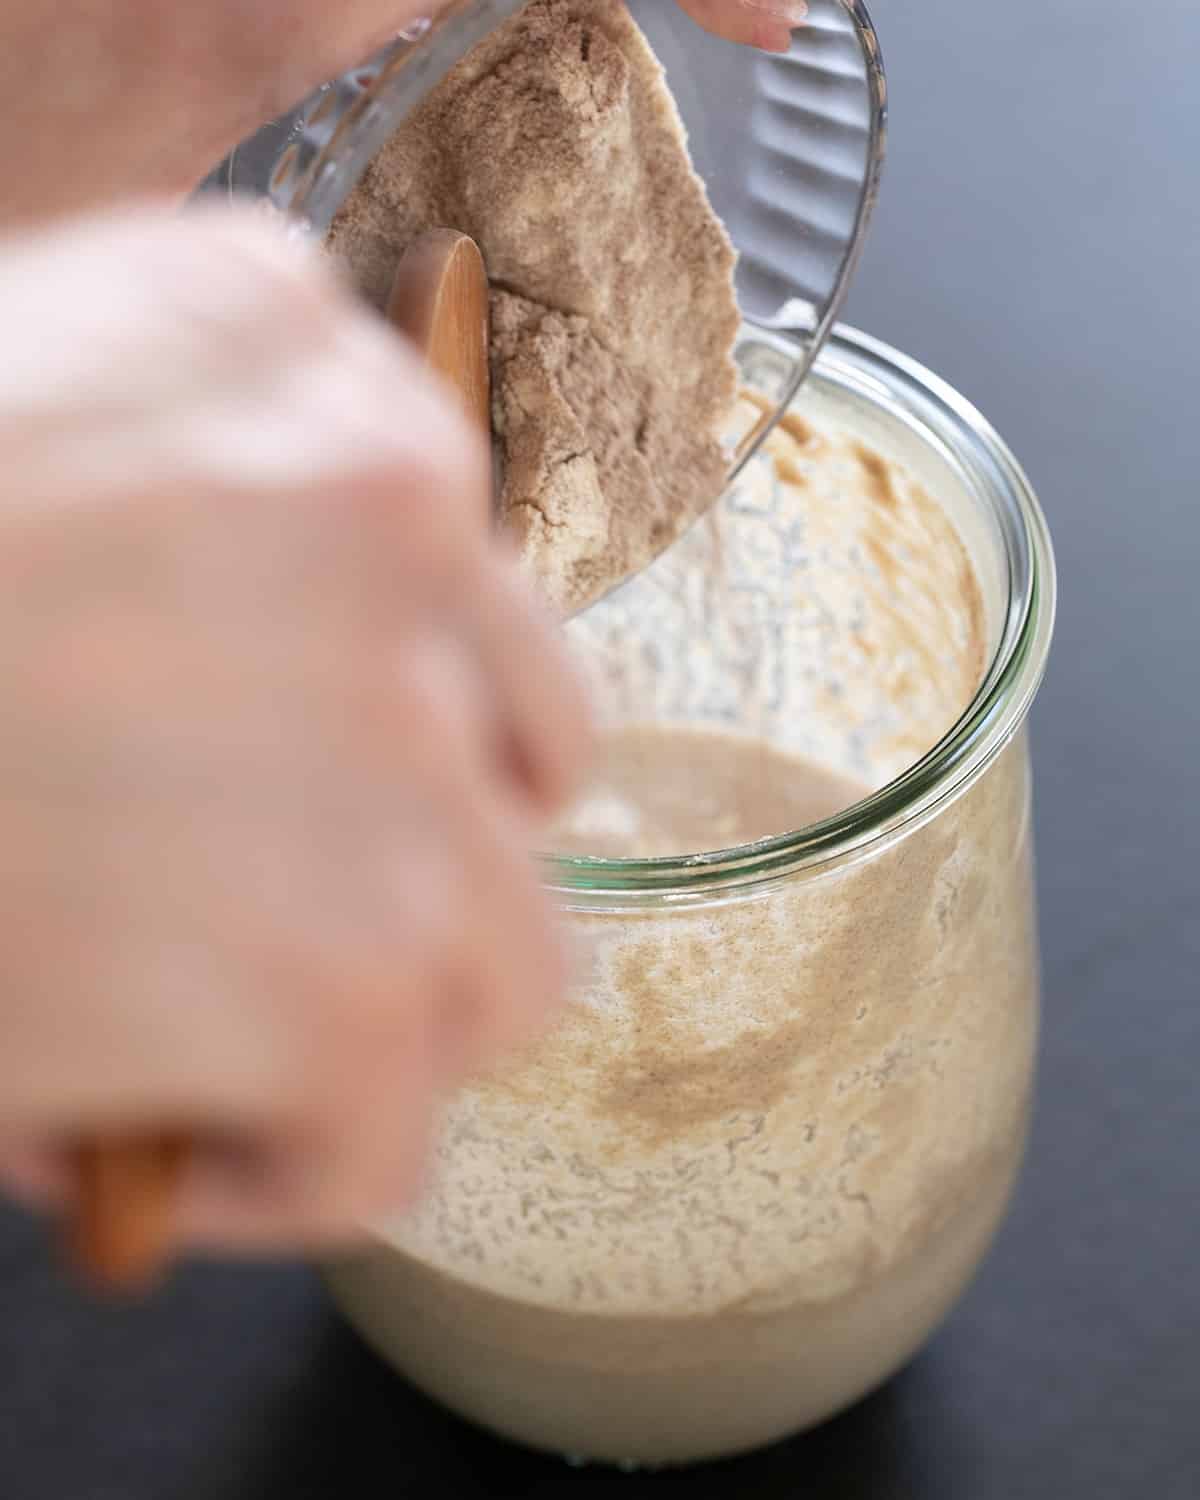
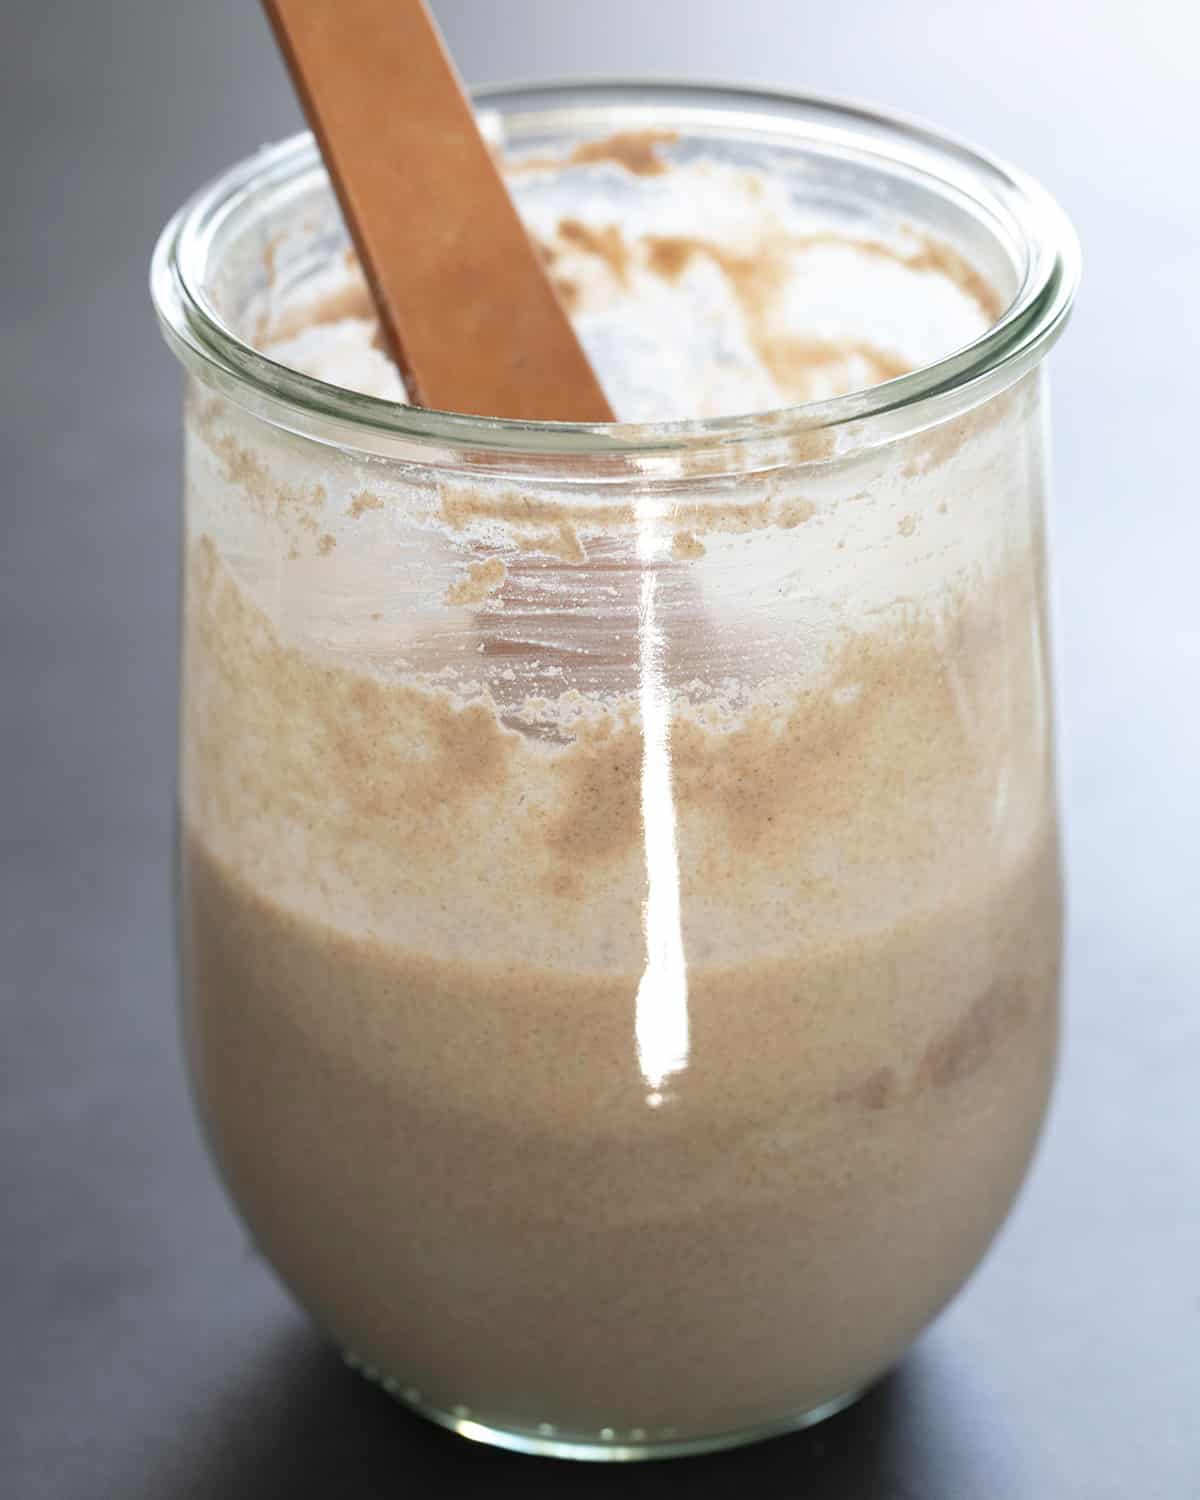
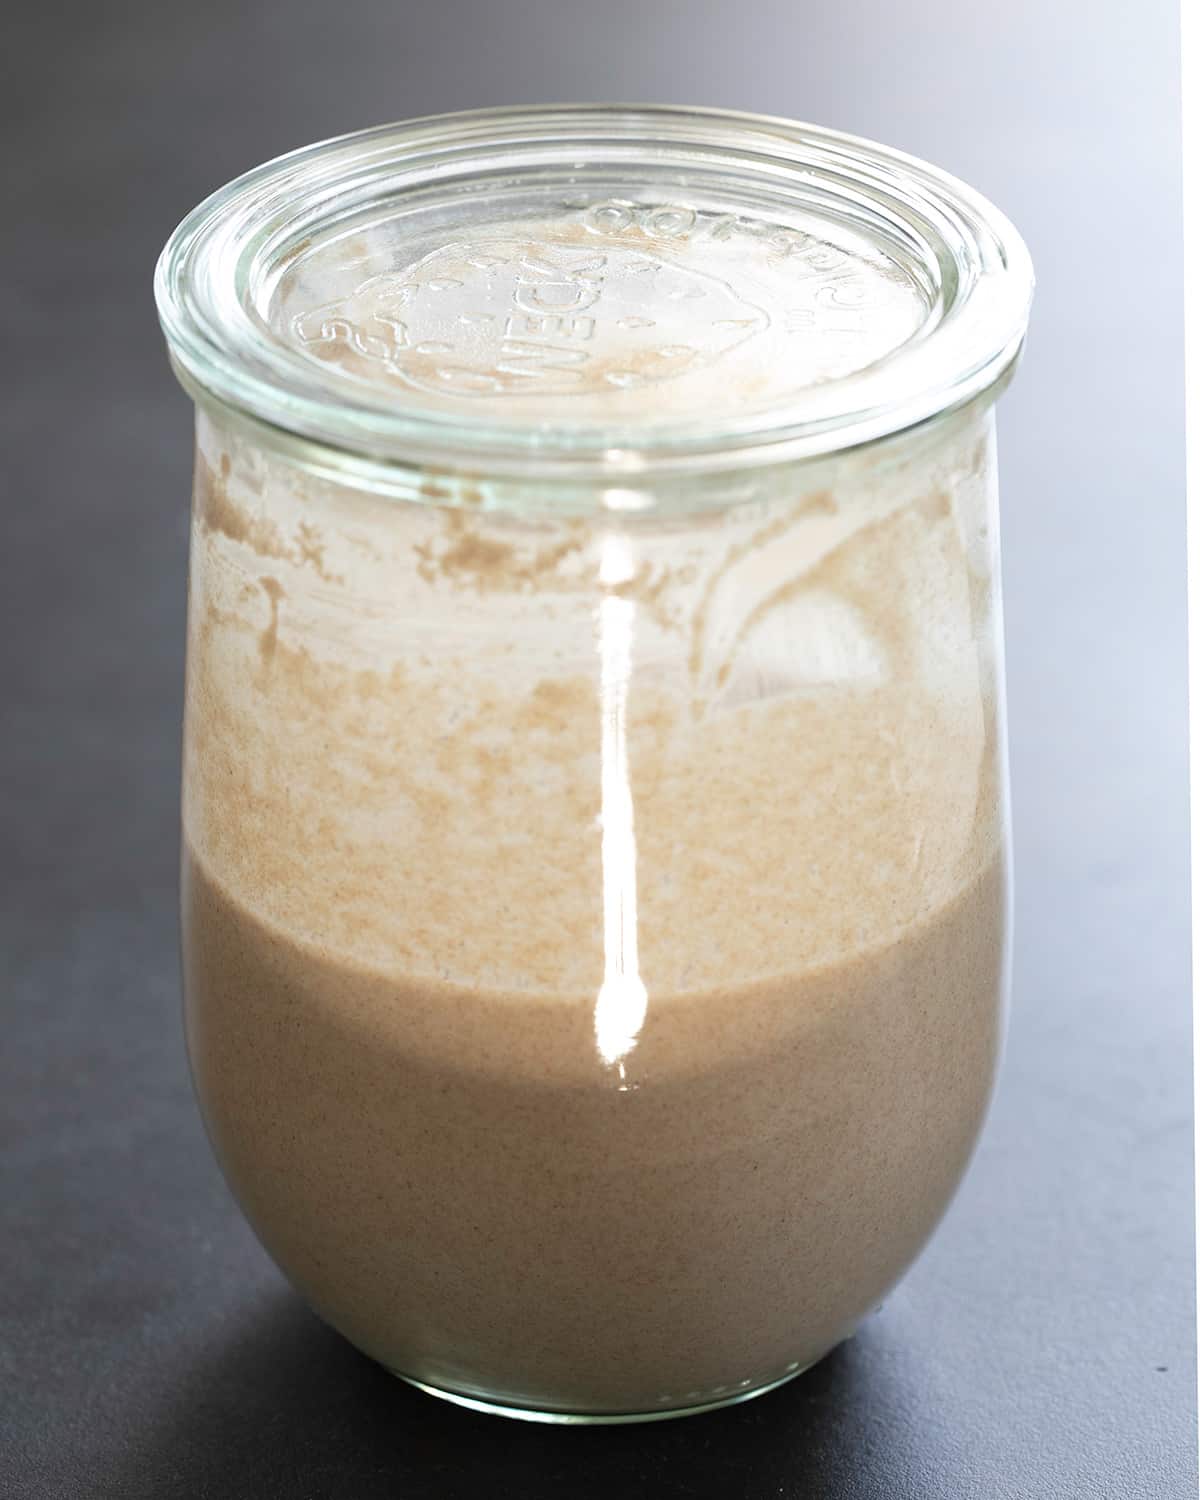
Creating the starter (Days 1-2, 3-7)
Days 1-2 (building)
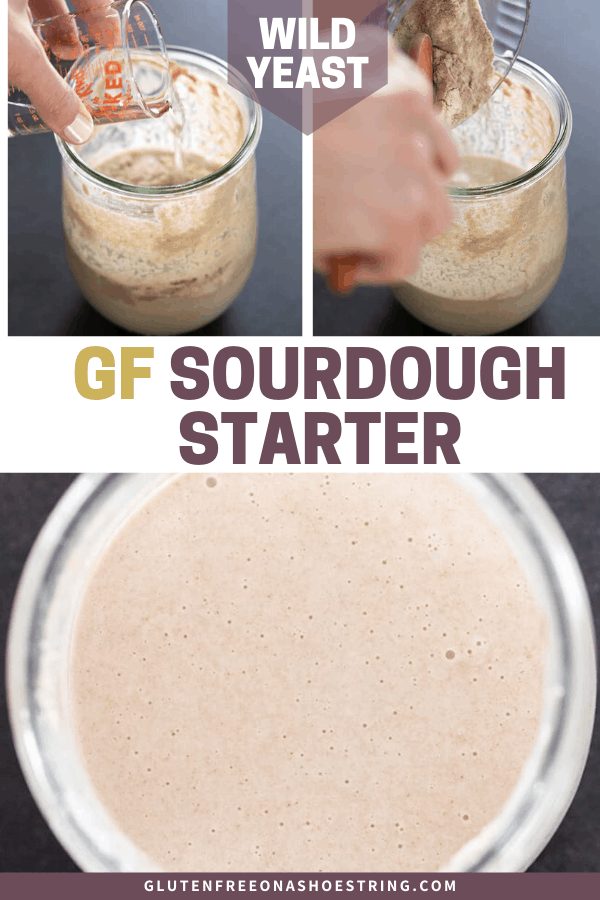
It’s easiest to keep track of the process when you start it in the morning. For the first 2 days, morning and night, mix 1/2 cup whole grain gluten free flour with 1/2 cup bottled or filtered water to combine. Cover loosely in a 1 liter nonreactive jar to allow some air in, and allow to sit at room temperature for 8 to 12 hours after each addition.
At the end of the end of Day 2, you’ll have about 2 cups of flour and 2 cups of water.
Days 3-7 (building without discarding or discard and feed)
Beginning on the morning of day 3, if there aren’t any bubbles in the mixture that break when you tap the open container on the counter, continue to build by mixing in flour and water as on Days 1 and 2 and allowing the mixture to sit, loosely covered, at room temperature. Do not discard anything.
On any morning or evening, if there are bubbles and even a faint sour odor, discard any clear liquid on top plus about 1/3 of the volume of the whole starter, then feed by mixing in 1/2 cup refined gluten free flour blend (without binders) and 1/2 cup water.
After 1 day of discarding and feeding, and once it’s doubled in size at least once, your starter is “active” and ready to bake with. You can also store it, tightly sealed, in your refrigerator for up to 1 week before refreshing it to keep it active.
Feeding/refreshing an active/mature starter
Once your starter is active, you will need to feed it about 12 hours before you plan to use it or at least once a week. To feed it, pour off any hooch and about 1/3 of the volume of the starter, then mix in 1/2 cup refined gluten free flour blend (without binders) and 1/2 cup water. If you’d like to maintain a smaller starter, you can always feed it less flour and water, as long as it’s in the same proportion.
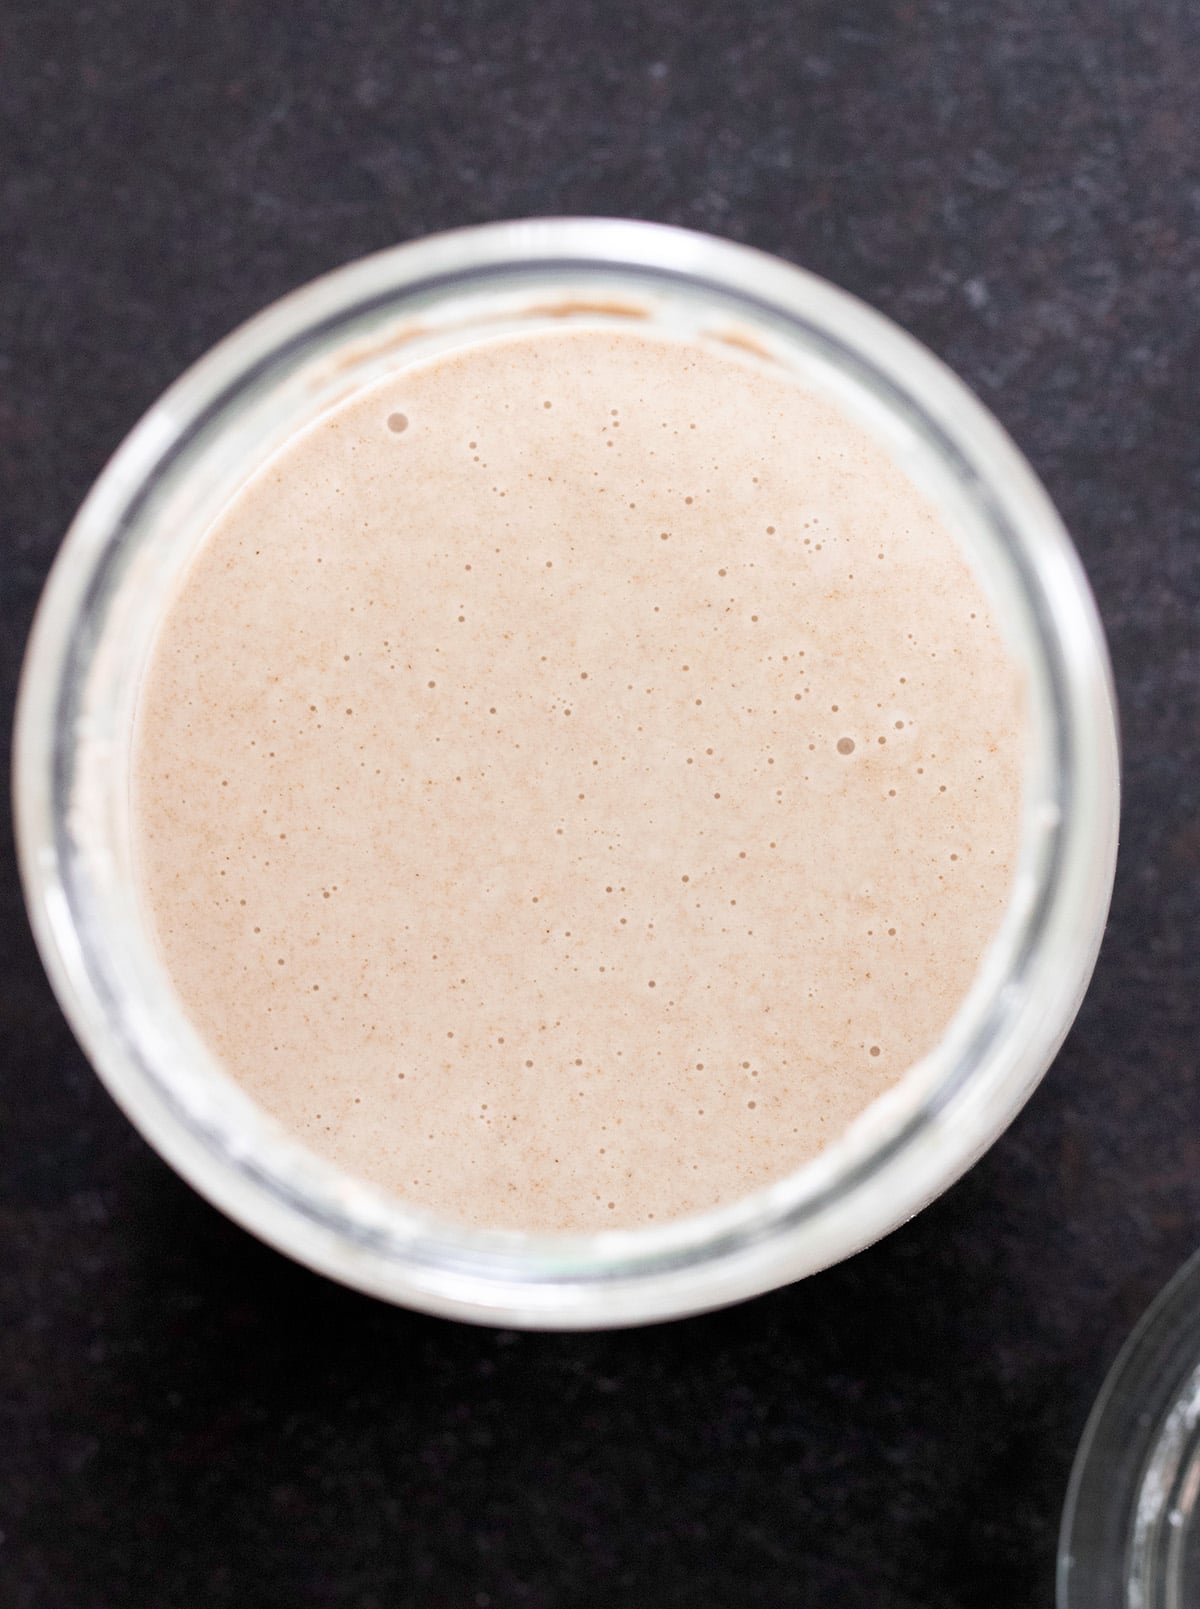
Troubleshooting the starter process
Here are some of the problems you may encounter when you’re attempting to create a wild yeast gluten free sourdough starter from scratch, and how you might resolve them:
No activity
If you’re following the instructions in the recipe card below and there’s no activity in your starter, you may want to try increasing the temperature a bit or adding some commercial yeast. The ideal temperature is 78°F for growing beneficial wild yeast and not encouraging the growth of competing bacteria.
You can try lining a heating pad with multiple layers of towels and keeping it on low. Be careful, though, because all yeast will start to die around 120°F, and your starter becomes acidic above about 85°F.
If you do have a bit of commercial yeast on hand, you can add a few grams to the mixture to give your starter a boost. Over time, the commercial yeast will be replaced by wild yeast.
No doubling
The doubling sometimes happens so quickly and can be so fragile with this type of simple wild yeast gluten free starter that I couldn’t even manage to get a photo of it as doubled.
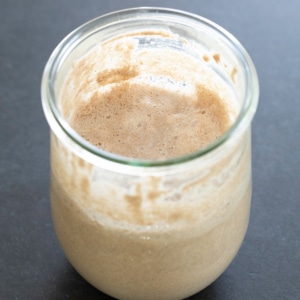
If you assume it must have doubled because it’s so active, try noticing whether there is any residue on the jar above the top of mixture that looks like it could have been left from a risen starter level. You can see in the photo above that there’s a “rise line” that is above a cleaner section of the jar.
It also might be worth proceeding with a small-yield recipe. It depends upon whether or not you’re willing to risk wasting some ingredients. You can also make crackers if the mixture doesn’t rise!
Spoiled starter
Remember, this is essentially a controlled rot of ingredients using available wild yeast. Don’t take chances with your health.
If you see something in your starter at any point that has a color you don’t recognize, or the odor is at all disturbing and different, please discard it and begin again.
Neglected starter
Honestly, it’s probably just fine. Don’t listen to anyone who tells you that you have to feed your starter every single day, or that you have to start over again if you miss a step.
If you suspect that something has gone wrong, start again if you can. You don’t want to throw good money after bad.
Liquid on top
It’s called “hooch” and you can stir it back in, then discard and feed or just feed, depending upon which step of the process you’re completing. I prefer to drain off the liquid because it makes for a more sour starter, and my family doesn’t love that.
Uses
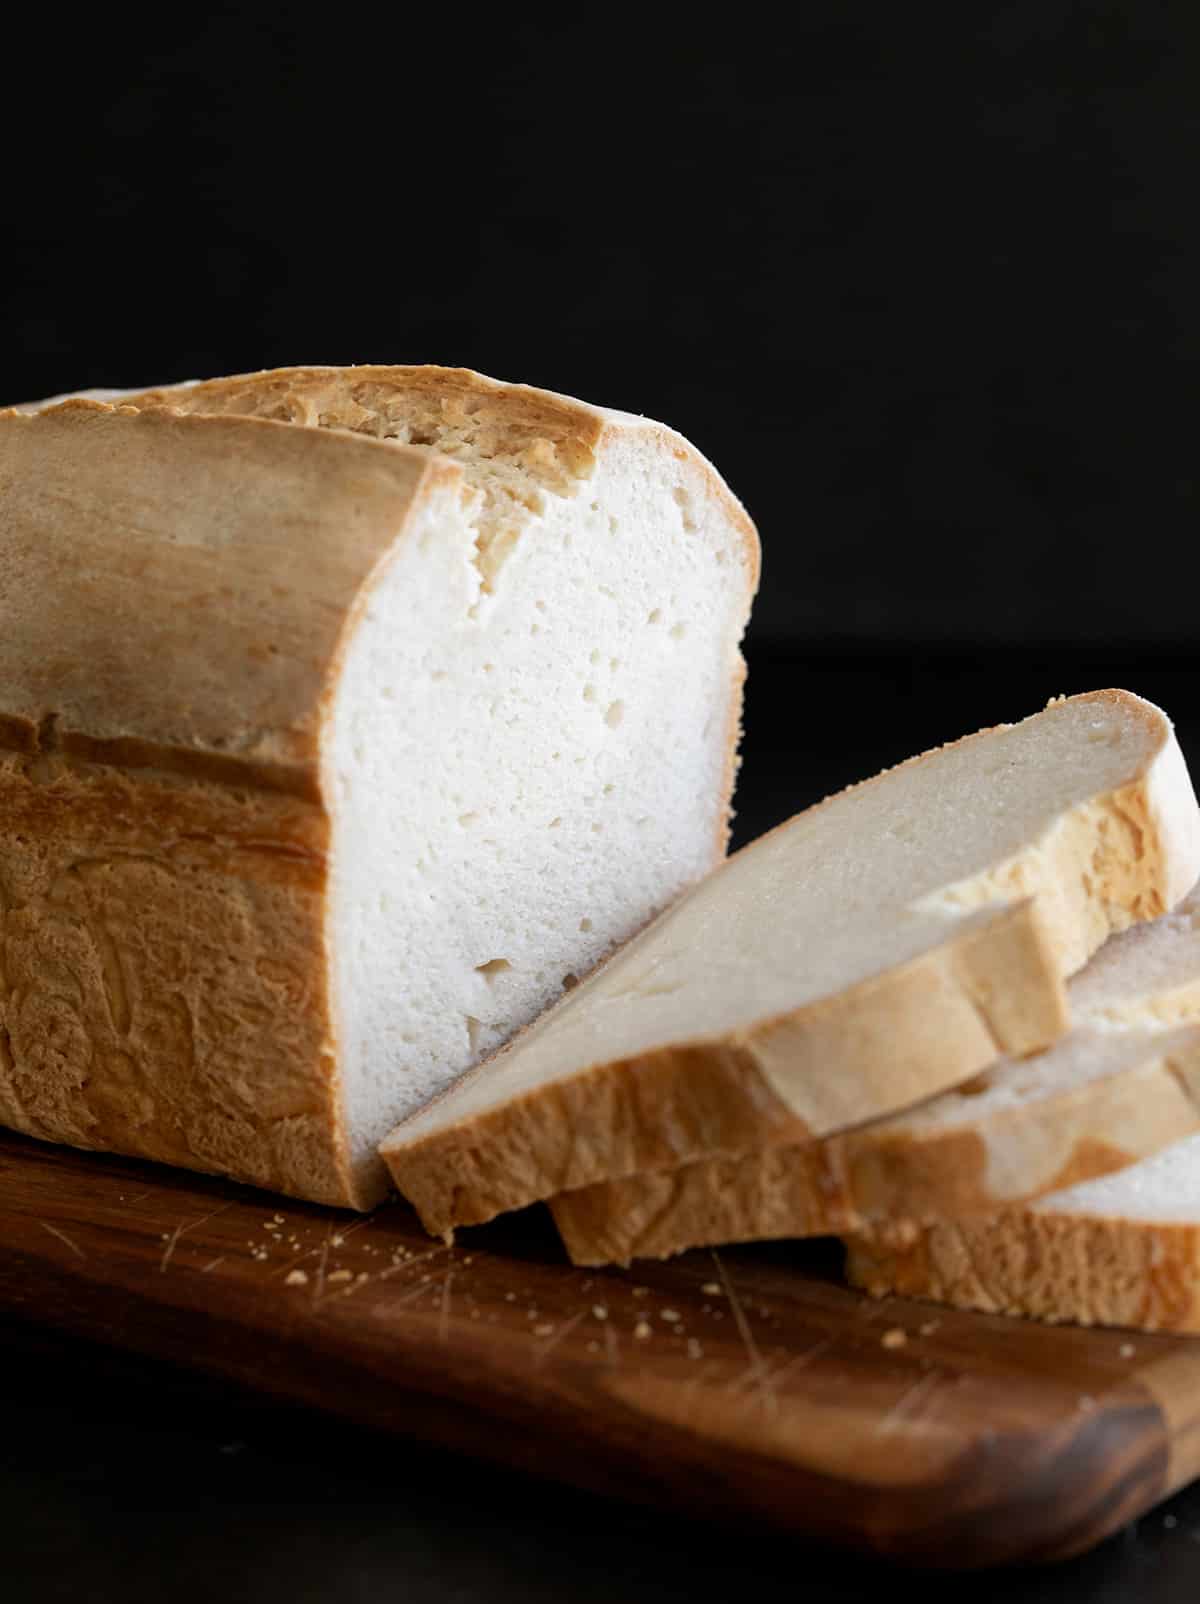
The most common use of a sourdough starter is sourdough bread. Below is a link to our recipe for gluten free sourdough bread, which you will use to make yeast bread without any sort of commercial yeast.
Gluten Free Sourdough Starter Recipe
Tell Google you trust GFOAS!
Equipment
- 1 liter capacity nonreactive jar glass, stainless steel or ceramic (must be nonreactive; avoid aluminum)
- Nonreactive spoon wood, stainless steel, or silicone (must be nonreactive; avoid aluminum)
Ingredients
To Create The Starter: per day, for 5 to 7 days
- 1 cup (120 g) whole grain gluten free flour, (See Recipe Notes)
- 1 cup (8 fluid ounces) bottled spring or distilled water, (or tap water filtered to remove chlorine) at room temperature
To Refresh The Starter: once per week, indefinitely, and before/after using
- ½ cup (70 g) gum-free gluten free flour, (See Recipe Notes)
- ½ cup bottled spring or distilled water, (or tap water filtered to remove chlorine) at room temperature
Instructions
Creating the starter: Morning of Day One: Beginning
- In a 1 liter capacity nonreactive container like a glass or ceramic jar, place 1/2 cup (about 60 grams) whole grain gluten free flour(s) and 1/2 cup (4 fluid ounces) spring or distilled water.
- Using a nonreactive mixing spoon, mix to combine well.
- Cover the container loosely (without an airtight seal), and allow to sit on the counter at room temperature for 8 to 12 hours.
Creating the starter: Evening of Day 1: Building
- Remove the cover of the container, and add another 1/2 cup (about 60 grams) whole grain gluten free flour(s) and 1/2 cup (4 fluid ounces) spring or distilled water.
- Using a nonreactive mixing spoon, mix to combine well.
- Cover the container loosely, and allow to sit on the counter at room temperature for 8 to 12 hours.
Creating the starter: Morning of Day 2: Building
- Remove the cover of the container, and add another 1/2 cup (about 60 grams) whole grain gluten free flour(s) and 1/2 cup (4 fluid ounces) spring or distilled water.
- Using a nonreactive mixing spoon, mix to combine well.
- Cover the container loosely, and allow to sit on the counter at room temperature for 8 to 12 hours.
Creating the starter: Evening of Day 2: Building
- Remove the cover of the container, and add another 1/2 cup (about 60 grams) whole grain gluten free flour(s) and 1/2 cup (4 fluid ounces) spring or distilled water.
- Using a nonreactive mixing spoon, mix to combine well.
- After 4 additions of 1/2 cup flour and 1/2 cup water, the total contents of the starter should be about 2 cups flour and 2 cups water.
- Cover the container loosely, and allow to sit on the counter at room temperature for 8 to 12 hours.
Creating the starter: Morning and Evening of Days 3 through 7 and beyond: Building and/or Discarding/Building
- Remove the cover of the container, and inspect the contents by tapping the jar on the counter to see if bubbles begin to break the surface of the mixture, and smelling it to see if it has any sour odor at all.
- If it does bubble and has an odor, discard any relatively clear liquid that has accumulated on top (called “hooch”) + about 1/3 of the volume.
- Then feed it: Add another 1/2 cup (about 70 grams) gum-free gluten free flour and 1/2 cup (4 fluid ounces) spring or distilled water.
- Using a nonreactive mixing spoon, mix to combine well.
- If it doesn’t bubble and have an odor, do not discard anything, but feed with 1/2 cup whole grain flour and 1/2 cup water as directed above.
- Cover the container loosely, and allow to sit on the counter at room temperature for 8 to 12 hours.
When is it ready to use?
- The starter is ready to use once it has ever doubled in size, and you have been feeding and discarding for at least one whole day.
- The doubling is easily disturbed, though, and typically won’t last for very long. It just has to have occurred to confidently use it in a bread-baking recipe.
- Before using the starter, you should have "fed" or refreshed it within approximately the previous 12 hours.
- After using the properly fed starter, refresh it (see the next step for instructions), allow it to sit loosely covered on the counter for about 12 hours, and then cover with an airtight seal and refrigerate it until it’s ready to be refreshed or used.
Refreshing (feeding) an active/mature starter
- An active starter can be used for baking, then refreshed and stored, covered, in your refrigerator for about a week. After about a week, you should refresh it.
- To refresh your mature starter, remove it from the refrigerator and discard about 1/3 of the volume (including any clear liquid or hooch from the top).
- Add 1/2 cup (70 grams) gum-free gluten free flour and 1/2 cup (4 fluid ounces) spring water or distilled water. Mix with a nonreactive spoon.
- Cover the starter loosely and allow it to sit on the counter for about 12 hours before covering it with an airtight seal and returning it to the refrigerator.
- Repeat the process every week for the life of the starter.
Video
Notes
Nutrition information is automatically calculated, so should only be used as an approximation.
FAQs
A wild yeast sourdough starter, gluten free or otherwise, is a combination of flour and non-chlorinated water that is combined to creative an environment conducive to the growth of the naturally occurring yeast that is all around us and in gluten free flours.
No! If a sourdough starter was made with gluten-containing flours, it contains gluten and should be avoided if you are on a gluten free diet. The wild yeast does not remove the gluten from gluten-containing flours. Please consider the source if anyone tells you otherwise.
“Feeding” a starter is another way of saying “refreshing” a starter. Once a starter is “mature,” meaning that it’s already active and established, it must be fed by removing some of the mature starter and adding more of the “food,” in the form of water and flour, that make the starter most active and ready to use for baking.
As the yeast in your mature starter rests in your refrigerator, it consumes these building blocks. To keep it alive and active, a wild yeast starter must be fed regularly. It also must be fed soon before baking with it, so it’s at its most active.
The best whole grain flours for a gluten free wild yeast starter are: brown rice flour; buckwheat flour, or a combination of sweet white sorghum flour and teff flour.
No, I have a whole chapter of pure sourdough breads in my bread book, GFOAS Bakes Bread. But those recipes are more complex, and use more than just flour and water. They use my gluten free bread flour blend which contains some harder-to-source ingredients. This recipe is for a simple, liquid wild yeast gluten free sourdough starter, and the recipes are not interchangeable.










Hi. Here is my scenario. I used the starter yesterday morning. I fed it and left it out on the counter for the 12hrs and placed it in the fridge. When I want to use it again, are these my steps?
1. Remove from refrigerator.
2. Leave on the counter for a certain amount of time or can I use it right away?
3. Refresh it, leave in the counter for 8-12hrs and the. Place back in the refrigerator? Thank you
When you want to use it again, you repeat the same steps as when you used it the first time, Jenn. If you haven’t fed it in the last 12 hours (which you didn’t, since you said you fed it, left it out on the counter for 12 hours, then refrigerated it again), you’ll need to feed it and let it sit on the counter then use it within 12 hours. I would not use it right after feeding it (give the remaining yeast a chance to begin to feed). How quickly to use after feeding it will depend in part upon how active (mature) your starter is. The more mature it is, the sooner you’ll see that it’s become active at room temperature and can be used.
Where can i find the recipe for the gluten free flour you have to then use on the starter?
Are you asking how you use the starter to make bread, PZ? You’ll need to click over to that recipe, which is linked in this post. Here’s another link, for convenience.
No problem with making and using the starter…just not sour enough..what can i do to make it really sour? Very good texture and moist and chewy..just lacks that really sour taste..it is more like white bread…Thanks for any help.Also it is not crummy like some breads are..I do rub butter over the crust because the bread browns a lot even covered with foil..
Lorraine, how sour a sourdough bread will be depends upon the age and maturity of the starter. It sounds like your starter needs to continue to age.
Hi! My starter is established and I have baked a loaf which turned out great. Afterwards, I have kept the starter in the frig and have fed it twice; however, each time I have fed it I have forgot to remove 1/2 cup. Have I totally messed things up?
You haven’t totally messed things up, Nancy, no. :) You should begin discarding, though. Your starter can’t have too much competition for the new food, and you don’t want it to expand exponentially, either.
My starter is bubbly and smells sour but it definitely hasn’t doubled in size in any given feeding period. What am I doing wrong? It’s been several days now.
I’m afraid there’s absolutely no way for me to know, Blaine. But you mention “several days.” That often isn’t enough time.
My starter is doing very well — doubling in size, smells great (well, stinky great). My question is about the consistency of the starter. When I initially touch it during a feeding time, the starter is full of bubbles and spongy looking. But as I disturb it to retrieve the discard, it turns more liquidy – about the consistency of runny pancake batter. Is this okay?
That’s absolutely okay, Mary Lou. You’re right on track!
I have a starter that I have had for forty plus years. Used it all the time. Wonderful SD biscuits, pancakes gingerbread cake etc.
However as the years passed we found out my daughter is Celiac and I am gluten intolerant. I still have the starter in My fridge. Is it possible to slowly turn it gluten free by slowly but surely feeding it with GF flour instead of regular flower. The feed for this starter is 1/4 c w sugar, 1 cup flour and one cup milk. Mix this and add to the starter.
I really don’t recommend that, Millie. I cannot provide you with anything approaching medical advice, but anything made with conventional gluten-containing flour is not safe for anyone with celiac disease. I would never take that chance for my son, and I don’t recommend you do that either.
is it ok if the original starter flour has gums in it ? (bob’s red mill 1 for 1)
You cannot use Bob’s Red Mill 1 to 1 in my recipes at all, Zoe. Please see the gluten free flour blends page. I know it’s widely available, but it is not a quality, well-balanced blend.
My starter has doubled already and should be ready to use tomorrow (Day 2)! I used teff flour and brown rice flour. I live in Phoenix, so maybe the climate helped. It’s 95 here today! I’m excited to bake my first loaf!
Thank you!
Hi, Jill, Even if your starter is that active that quickly, I don’t recommend baking with it just yet. Continue to discard and feed.
Hi Nicole, I have been baking sourdough bread for a few months now and really like how it turns out. I found you and decided to try this out. I guess I missed the part about discard but fortunately it has worked. I will begin discard from here forward. My question is: When you say the dough should be “tacky” what exactly am I looking for? My dough is somewhat “sticky” but when it rose it got pretty dry looking and cracked on top. Also in baking my first loaf, I followed the instructions to a T but my bread was still “doughy”. Could I have baked longer or at a higher temp? I am trying my second loaf today. Thank you for the information and your time!
As I said above to Patricia, Sandra, you must discard (or at least remove) starter for your yeast to remain active. If you haven’t been discarding, that you could easily ruin your chances of a good rise. I’m afraid I really can’t know where you deviated from the instructions since there are so many variables. Tacky just means it’s not dry to the touch, but isn’t soft, wet, and weepy. It holds together, but isn’t dry. I recommend watching the video for an idea of the texture.