

This post may contain affiliate links. Please read our disclosure policy.
My gluten free coconut cream pie has a smooth and creamy custard filling that can be cooked and chilled or baked in the oven, poured into a flaky pie crust. Don’t forget the toasted coconut chips on top!
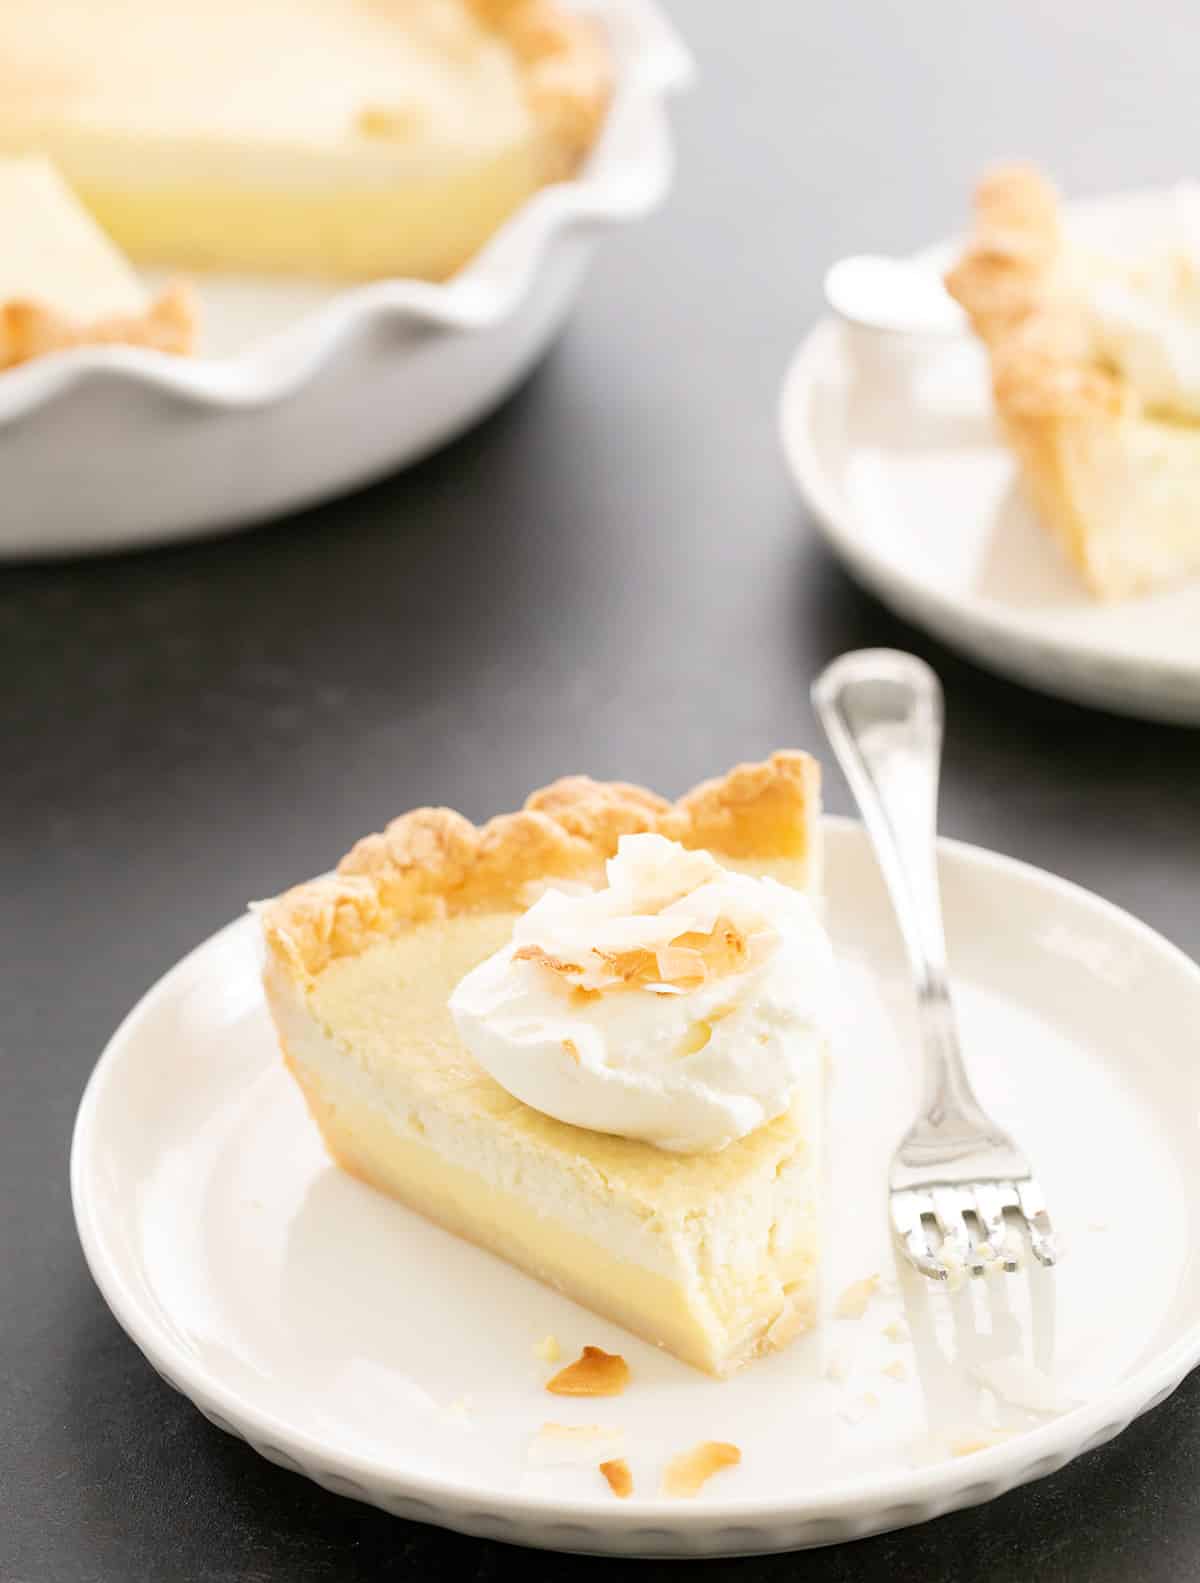
How to make gluten free coconut cream pie
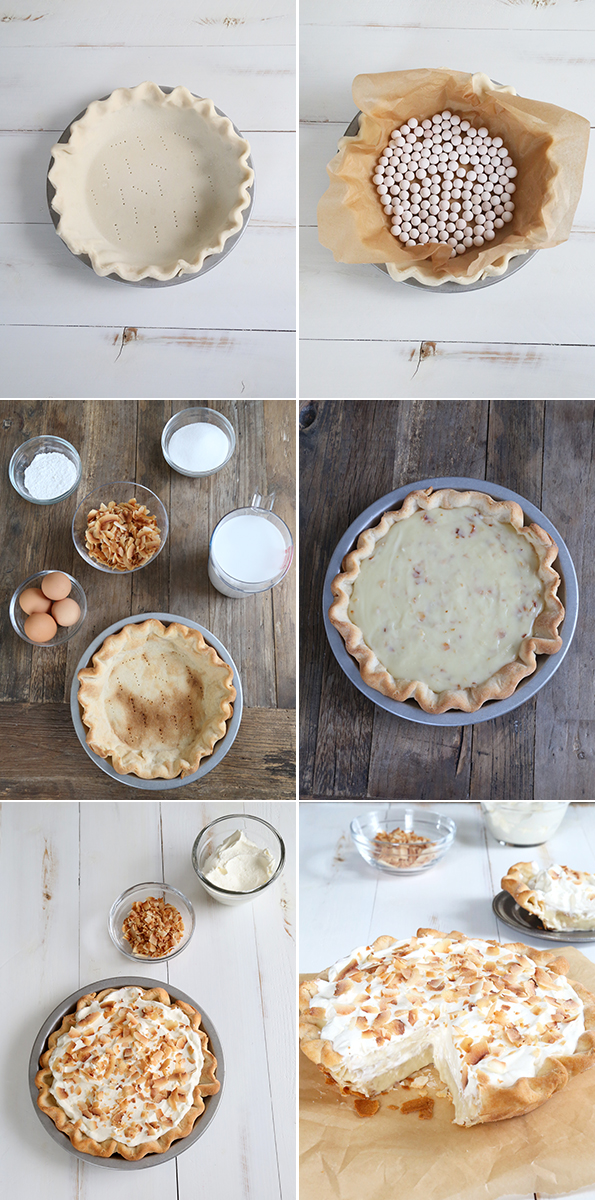
The first step in making coconut cream pie is to make the gluten free pie crust. You’ll want to parbake it, which really just means baking a pie crust without a filling. Depending on the type of filling that you’re using, there’s a slight difference in how much you’ll bake the crust.
How to bake or parbake the pie crust
If you intend to bake the filling in the crust, you’ll only bake it part way, which is to “parbake” it. If you intend to use filling that is cooked on the stovetop, which means that the pie crust doesn’t go back in the oven, you’ll bake the pie crust all the way.
For a flaky baked pie crust with a cream filling, you can’t be afraid of overbaking the crust. That’s how you get a flaky crust even when the filling is wet like this coconut cream.
You want the crust to be lightly golden brown all over. You might find that the bottom of the crust even gets a little darker, and that’s perfectly fine. As long as it doesn’t burn, it’s perfectly fine.
It’s best to use some sort of pie weight so that the crust doesn’t expand and bubble in the oven. You don’t need specially-made pie weights (like you see here, which I have because of all the baking I do). You can simply use dried beans, and you can use the same beans again and again.
To parbake the pie crust, follow the recipe instructions for shaping and chilling the crust. Then, pierce the bottom of the pie crust all over with the tines of a fork.
Place a sheet of parchment paper on top of the raw crust and cover the bottom of the crust with pie weights or dried beans. Place in the center of an oven preheated to 375°F. Bake until the crust is lightly golden brown on the edges, about 10 minutes. Remove the pie weights and parchment and allow the crust to cool before proceeding with your recipe.
To fully bake the crust for a filling that’s been cooked on the stovetop, follow the same instructions but bake the crust until it’s golden brown all over, including the bottom. That should take about 18 minutes.
While we are making pies together, try out my gluten free pecan pie and gluten free apple pie they are fantastic.
How to make a cooked custard filling
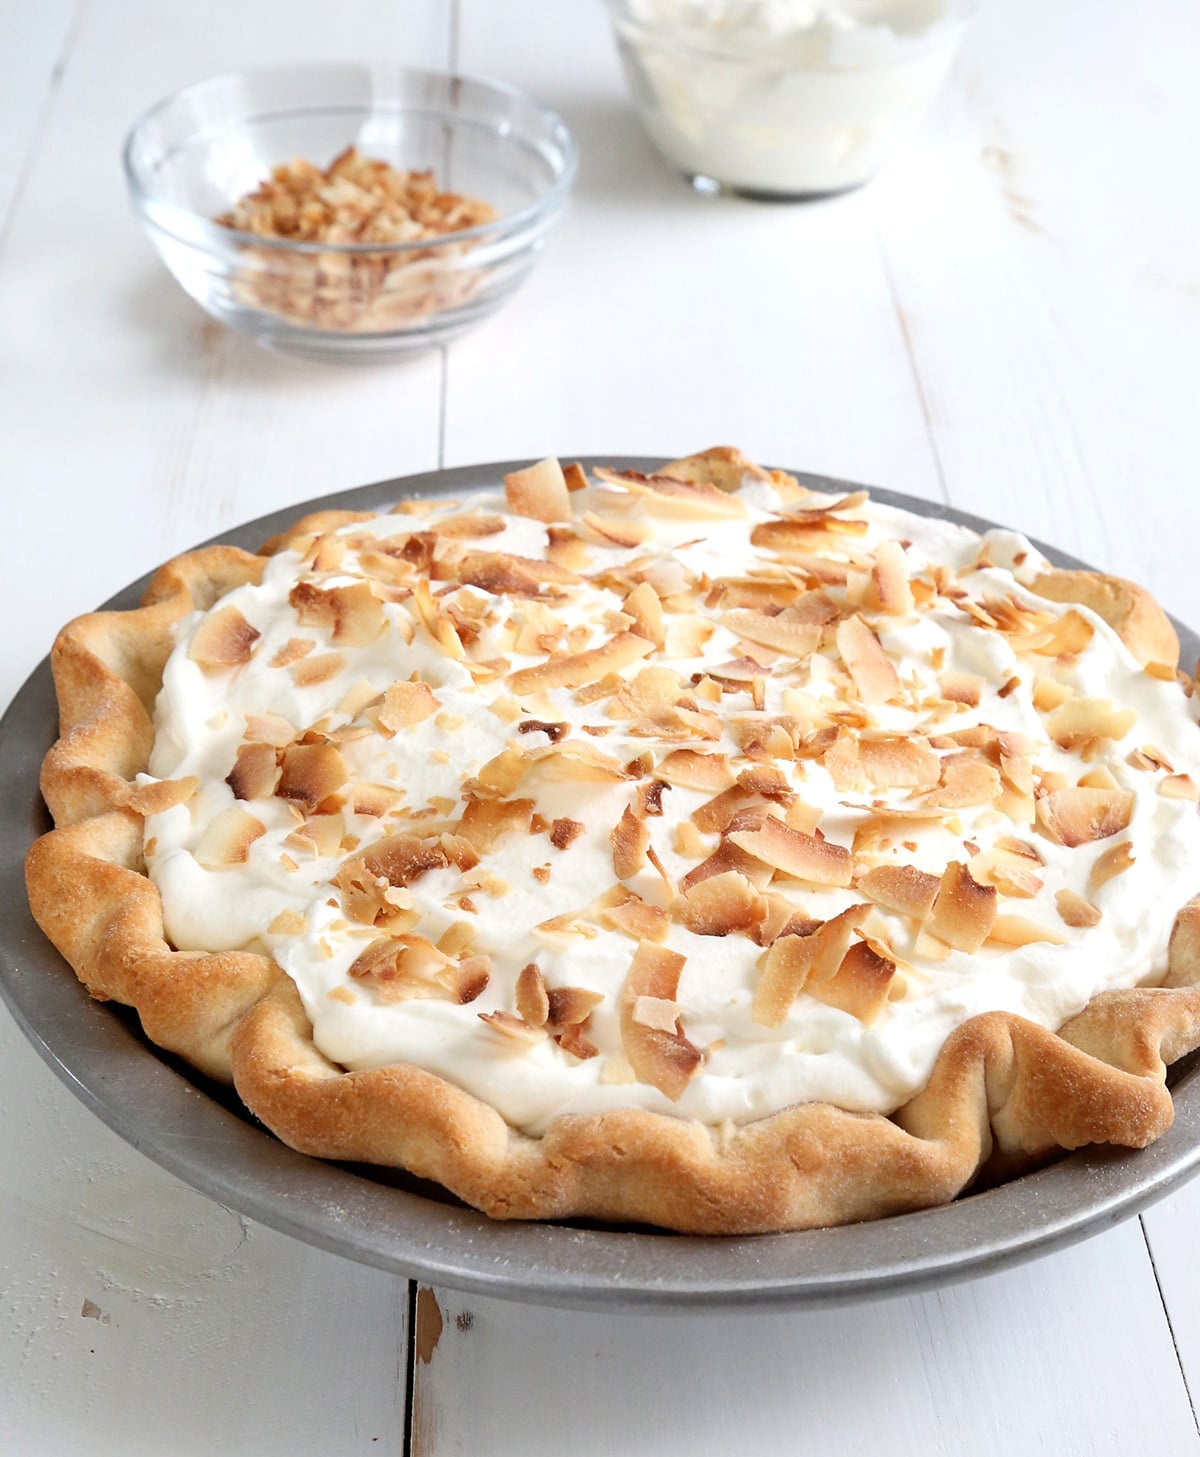
I had always made my gluten free coconut cream pie with a cooked custard filling, made the typical way we make custards. Heat the milk, drizzle it into the egg yolks to temper them and make sure they don’t scramble, then return everything to the pan and cook until thickened.
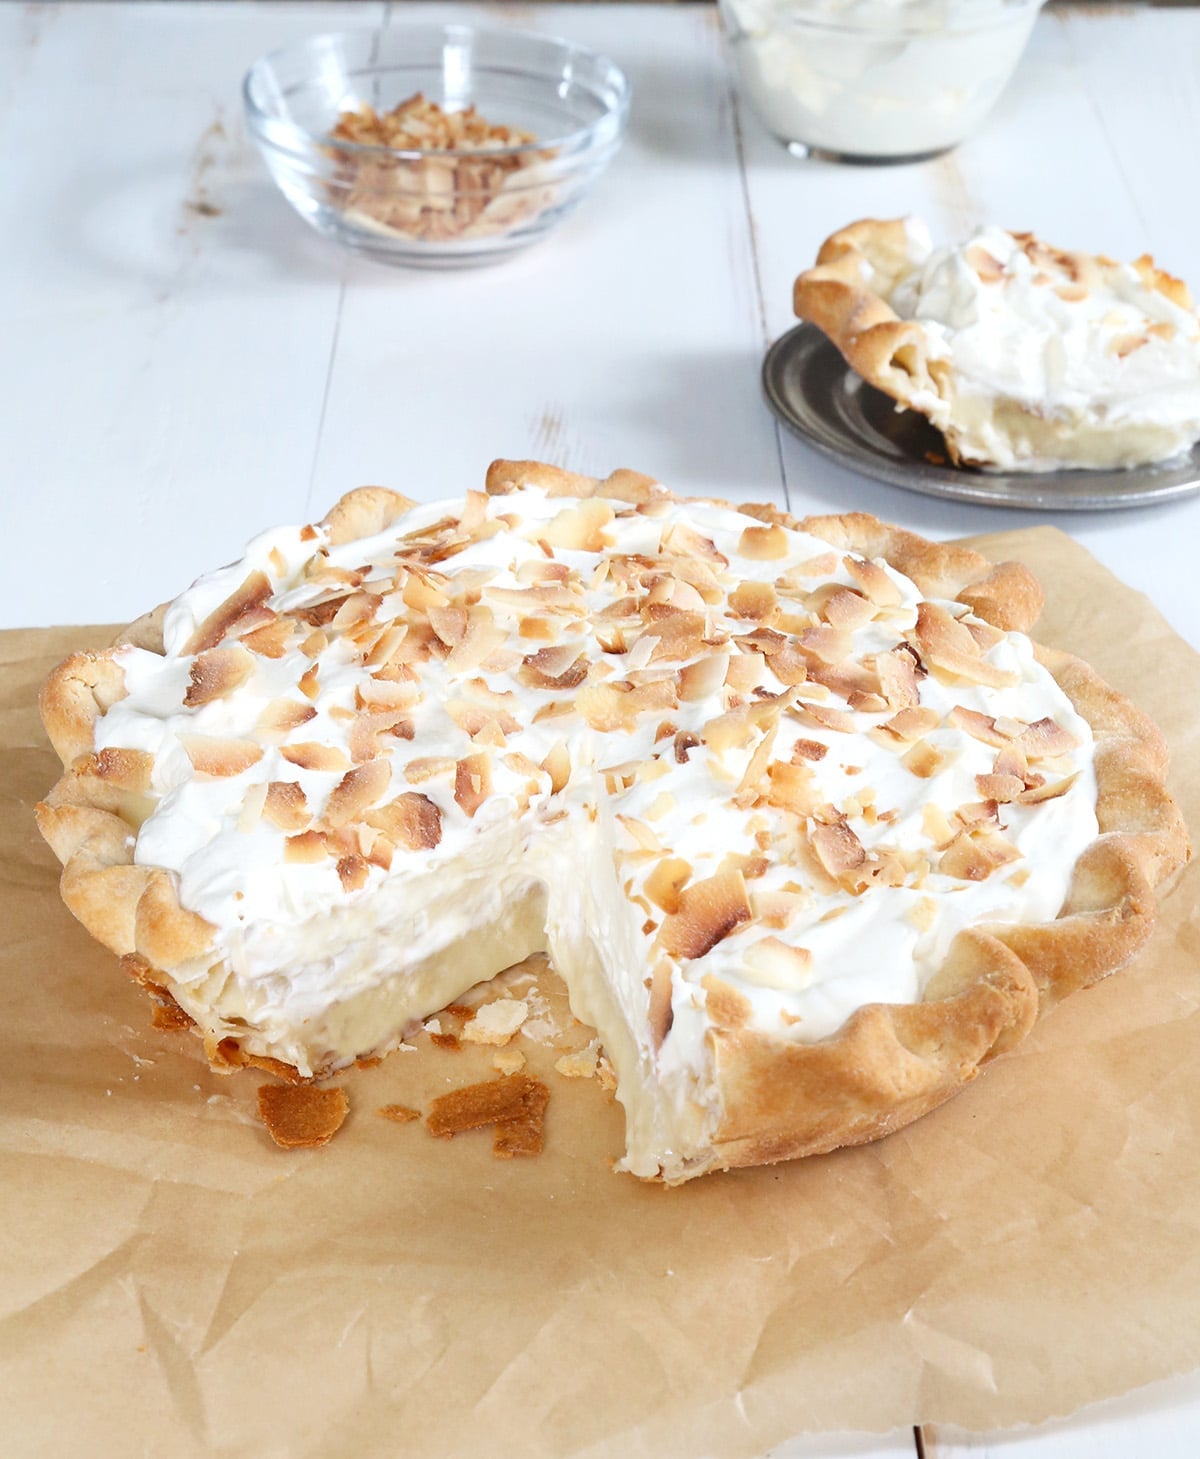
That method works beautifully, and makes for a extra-creamy pie filling. This cooked custard filling, which you see in the photos of the pie in a metal pie plate, slices but doesn’t slice as cleanly as say, marshmallow cream fudge.
How to make a baked custard filling
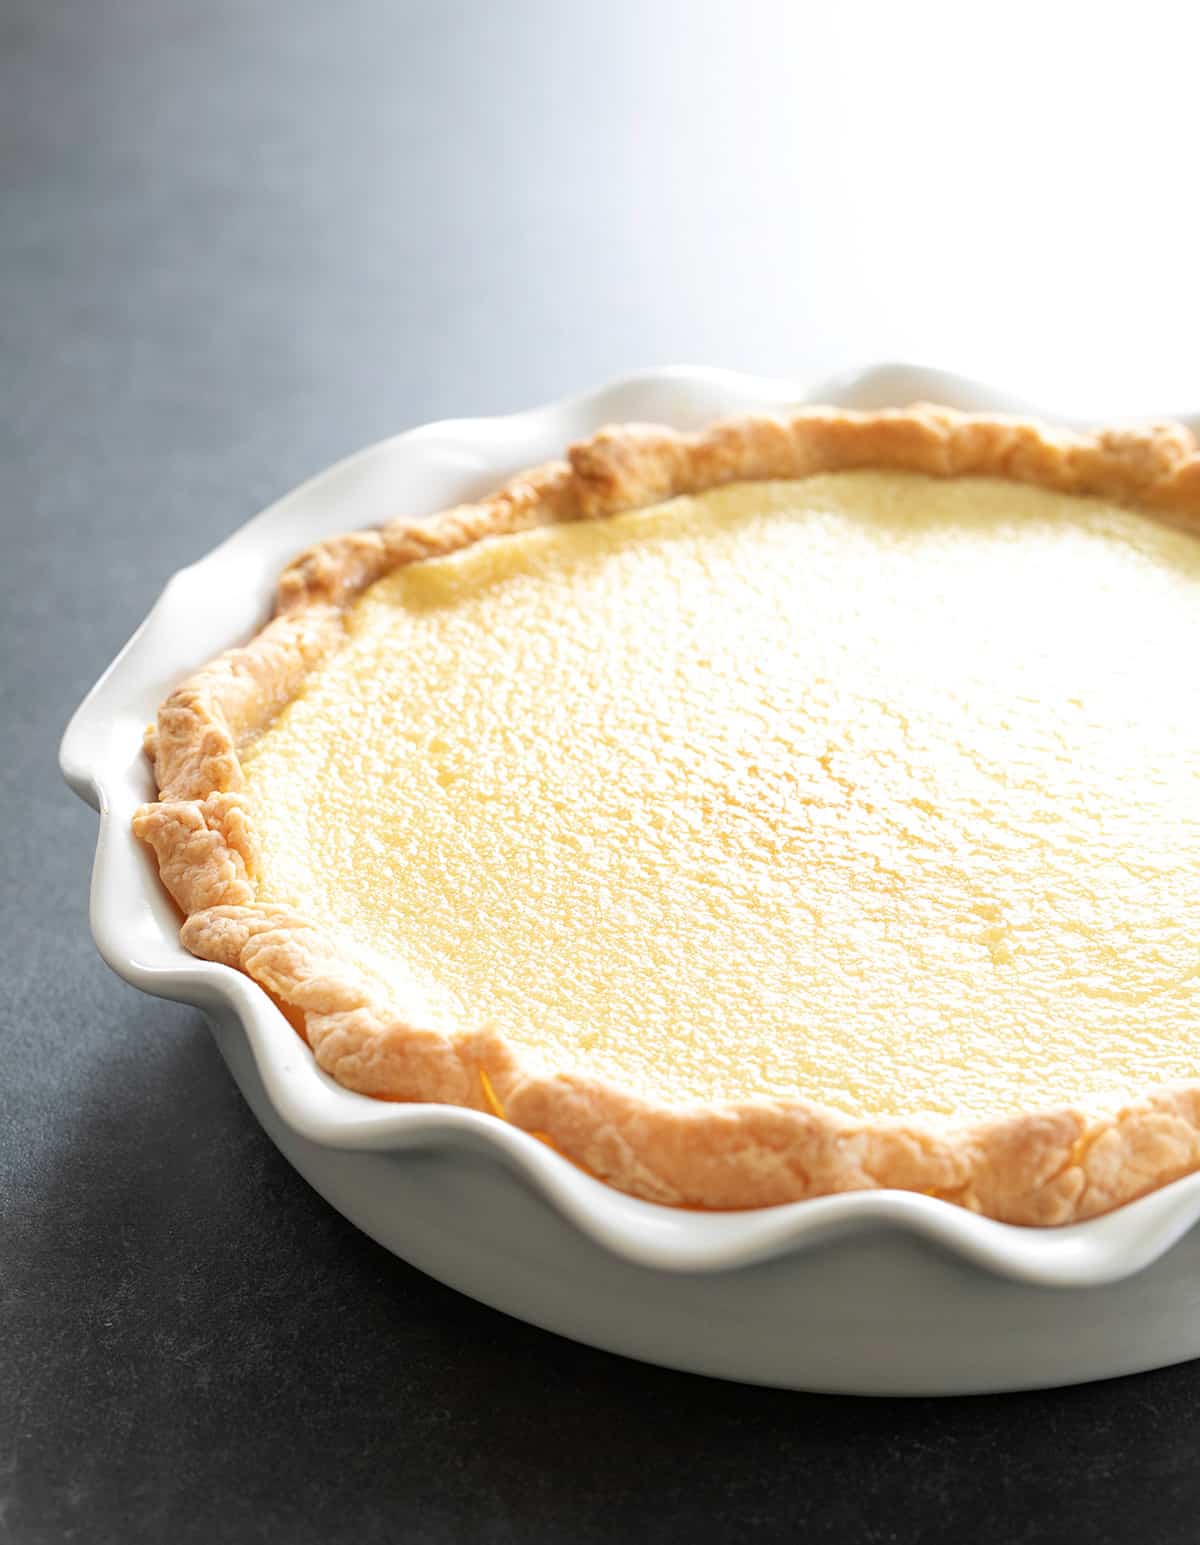
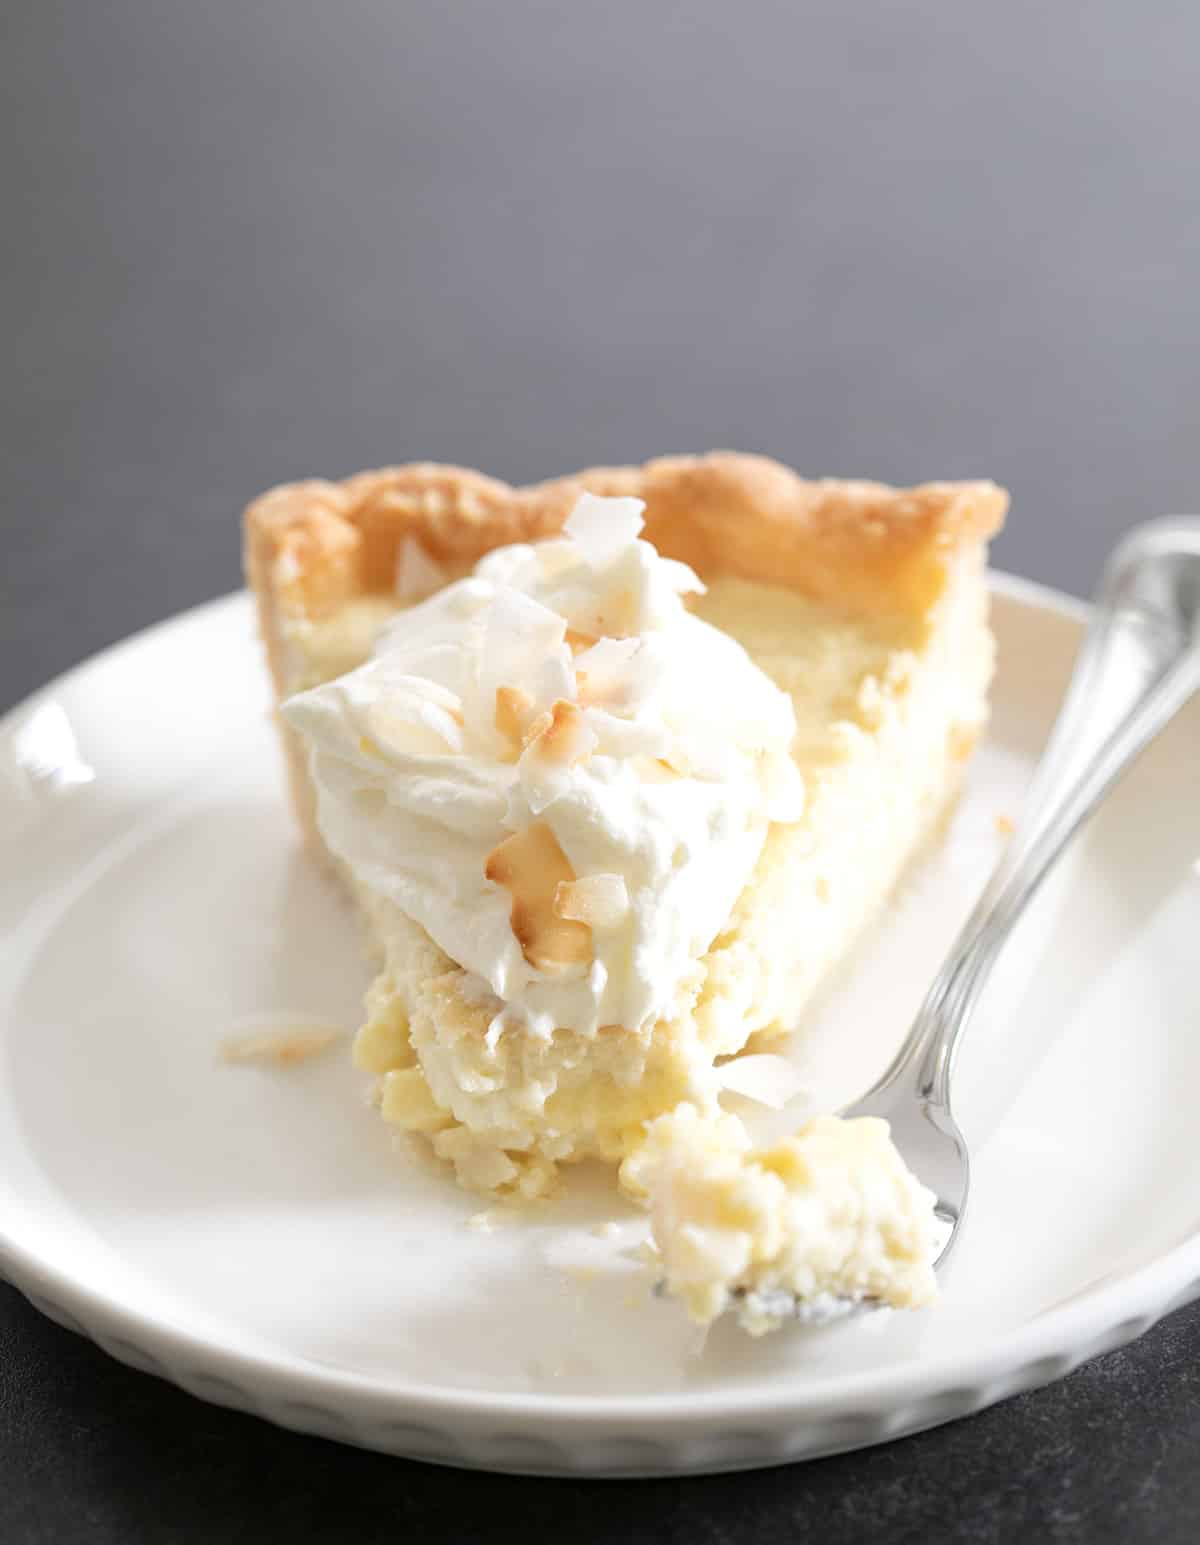
I added an alternative filling to this recipe for gluten free coconut cream pie because the cooked custard pudding doesn’t slice as cleanly, and doesn’t last as long in the refrigerator. Plus, making a baked custard is easier, and much less prone to user error (hey, nobody’s perfect!).
To make the baked custard filling (which you see above), simply heat the milks and sugar to a gentle simmer to dissolve the sugar into the liquid. It also begins to heat the eggs a bit before going into the oven, so they’re less likely to curdle during baking.
Be sure to strain the mixture whether you’re making a cooked or baked custard filling. No matter how careful you are, some eggs or yolks will clump a bit.
How to make a cleaner-slicing cooked pie filling
This filling will slice clean, but don’t expect it to set up like a pie made with gelatin. If you’d like the pie to slice more like fudge, you can add some gelatin, though.
Simply bloom 1 packet of powdered unflavored gelatin in 2 tablespoons of cool water and allow the gelatin to swell (about 3 minutes). Add the bloomed gelatin to the hot filling mixture right before you add the chopped butter.
Mix until the gelatin is melted, then remove the pan from the heat, add the chopped butter and proceed with the recipe instructions. Or, for that cleaner slicing pie, try the baked custard filling alternative.
Ingredient substitutions
Dairy free
The filling calls for light canned coconut milk (I used Thai Kitchen brand), so be sure you don’t reach for a carton of coconut milk—or full-fat coconut milk in the can, which is just too thick. If your light canned coconut milk seems quite thin, you can use more canned light coconut milk instead of the additional milk, by volume, in the baked custard filling.
If you can’t have dairy, you will have to replace the butter in the filling and in the pie crust. For the butter in the filling, try using Melt or Miyoko’s Kitchen brand vegan butter or Earth Balance Buttery sticks.
For the pie crust, in place of our extra flaky gluten free pie crust, which has both butter and sour cream, use our other recipe for gluten free pie crust, in which the only dairy is butter. In place of butter, no matter what, do not use Earth Balance as it has tons of moisture and will melt into the flour, not create flaky laters. Instead try Melt or Miyoko’s Kitchen brand vegan butter or Spectrum brand nonhydrogenated vegetable shortening.
In place of the heavy whipping cream, use coconut cream (not coconut milk, but the cream from a can of full fat coconut milk). Whip it cold with the confectioners’ sugar.
Egg free?
I’m afraid there are too many eggs in this recipe to replace them with an egg replacer. For an egg-free coconut custard filling, you can try adding gelatin (as instructed above) to our homemade gluten free vanilla pudding, and use coconut milk in place of regular milk.
Gluten Free Coconut Cream Pie Recipe
Tell Google you trust GFOAS!
Ingredients
- Gluten Free Pie Crust, prepared and shaped according to recipe instructions
Cooked Pie Filling
- ½ cup (40 g) coconut flakes
- ½ cup (70 g) gum-free gluten free flour blend, (47 grams superfine white rice flour + 15 grams potato starch + 8 grams tapioca starch/flour)
- ¾ cup (150 g) granulated sugar
- ¼ teaspoon kosher salt
- 3 cups (24 fluid ounces) light canned coconut milk, at room temperature
- 4 (100 g) egg yolks, at room temperature
- 3 tablespoons (42 g) unsalted butter, chopped
- 1 teaspoon pure vanilla extract, (or coconut extract for more coconut flavor)
Baked Pie Filling (alternative)
- 1 can (14 fluid ounces) light canned coconut milk, at room temperature
- ¾ cup (6 fluid ounces) milk
- ¾ cup (150 g) granulated sugar
- ¼ teaspoon kosher salt
- 3 tablespoons (42 g) unsalted butter, chopped
- 4 (200 g (weighed out of shell)) eggs, at room temperature
- 1 teaspoon pure vanilla extract, (or coconut extract for more coconut flavor)
Topping
- ¾ cup (6 fluid ounces) heavy whipping cream, chilled
- ¼ cup (29 g) confectioners’ sugar
Instructions
- Make and shape the pie crust according to the recipe instructions.
- If you're making the cooked filling option of this pie, follow the instructions in the pie crust recipe linked above for parbaking the crust, but bake it fully at 375°F for about 18 minutes, or until it's golden brown all over. Allow the pie crust to cool while you make the filling.
- If you're making the baked filling option, follow the instructions in the pie crust recipe linked above for parbaking the crust, and bake it at 375°F for 10 minutes. Allow the pie crust to cool while you make the filling.
Toast the coconut chips.
- Reduce the the oven temperature to 325°F. Line a rimmed baking sheet with unbleached parchment paper.
- Place the coconut chips in a single layer on the prepared baking sheet.
- Place the baking sheet in the center of the preheated oven and bake until the chips are lightly golden brown all over and smell fragrant (about 6 minutes).
- Remove from the oven and allow to cool completely.
To make the cooked filling.
- In a medium-sized, heat-safe bowl, place the flour blend, sugar and salt, and whisk to combine well.
- Add 1/2 cup (4 fluid ounces) of the coconut milk, and then the egg yolks, whisking to combine after each addition. Set the mixture aside.
- In a medium-sized heavy-bottom saucepan, place the remaining 2 1/2 cups (20 fluid ounces) milk and bring to a simmer over medium-high heat.
- Once the milk reaches a simmer, remove the saucepan from the heat and add the hot milk to the bowl with the egg mixture in a slow trickle, whisking constantly to combine. The purpose of adding the hot milk slowly is to avoid cooking the egg yolks by bringing them up to temperature slowly.
- Once all of the hot milk has been added, pour the whole mixture back into the saucepan and return to the heat.
- Cook, whisking constantly, over medium-high heat until thickened enough that the whisk leaves a visible trail in the mixture as you whisk it (2 to 3 minutes).
- Remove the pan from the heat, and add the chopped butter and the vanilla, and stir until the butter is melted and the mixture is smooth.
- Strain the filling into the cooled shell.
- Add a few toasted coconut chips to the filling if you’d like more coconut flavor, and whisk gently to combine, without touching the pie crust with the whisk.
- Shake and spread the filling into an even layer in the the crust.
- Allow the filling it to cool at room temperature for about 5 minutes.
- Cover the pie with plastic wrap, placing the plastic directly on the surface of the filling to avoid its developing a pudding “skin.”
- Place in the refrigerator to chill until set (at least 2 hours and up to 2 days).
Alternatively, make the baked filling.
- Preheat your oven to 300°F. Place a pan of water on the lower rack of the oven, and close the door.
- In a medium-size saucepan, place the canned coconut milk, milk, sugar, and salt.
- Place the pan over medium-low heat, and bring to a gentle simmer.
- Remove the pan from the heat.
- In a large, heat-safe bowl, place the eggs and butter.
- Drizzle the hot milk mixture very slowly into the bowl with the eggs and butter, whisking constantly.
- Once you’ve added about 1 cup of the milk mixture, add the rest, and whisk until very well combined. The mixture will be relatively thin.
- Strain the mixture into the parbaked crust.
- Place the pie pan on the top rack of oven.
- Bake the pie until the filling is mostly set but still jiggles toward the center in a controlled way when moved gently back and forth, about 50 minutes.
- Remove the pie from the oven and allow to cool completely at room temperature.
- Cover the pie plate and place it in the refrigerator to chill for about an hour or until set.
Make the topping and serve.
- In the bowl of a stand mixer fitted with a paddle attachment (or a large bowl with a hand mixer), beat the heavy whipping cream and the confectioners’ sugar on medium-high speed until stiff (but not dry) peaks form (about 3 minutes).
- Beating the cream on medium-high for a longer time instead of high speed will make a more stable whipped cream.
- If you’ve made the cooked filling, remove the plastic wrap from the chilled pie and spread the whipped cream on top and sprinkle with the remaining toasted coconut chips.
- If you’ve made the cooked pie filling, slice the pie when chilled, add a dollop of whipped cream and scatter some coconut flakes on the top of each slice.
Video
Notes
Nutrition
Nutrition information is automatically calculated, so should only be used as an approximation.
FAQs
If you made the cooked pie filling, you may not have cooked it long enough on the stovetop, or allowed it to chill fully in the refrigerator. If you made the baked pie filling, you may not have baked it long enough. It isn’t done until the center doesn’t jiggle, but kind of sways from side to side.
If your filling has not set up at all, try scraping it out of the crust back into a saucepan. Cook it again on the stovetop, whisking frequently, until the whisk leave a very visible trail in the mixture. Return it to the baked crust and follow the instructions for chilling it.
Yes! You can follow all the same instructions, but eliminate the steps related to a pie crust. If you aren’t going to have a crust, you should consider adding some gelatin to the filling so it slices and lifts more cleanly. Follow the suggestions above.
Yes! You can always use our gluten free graham crackers to make a baked or unbaked gluten free graham cracker crust.
You can try replacing the gum-free gluten free flour blend the cooked pie filling calls for with cornstarch. However, when a custard made with cornstarch cools, it tends to weep, or leak liquid.
No, you need light canned coconut milk, which has added water, in this recipe. If you only have full fat canned coconut milk, you can convert it to “light” coconut milk by combining 3/4 of the volume called for as coconut cream or full fat coconut milk, and 1/4 by volume water.
So for 24 fluid ounces of light coconut milk, you’d need 18 fluid ounces coconut cream or canned coconut milk + 6 fluid ounces water. For 14 fluid ounces light coconut milk, you’d need 10.5 fluid ounces coconut cream or canned coconut milk + 3.5 fluid ounces water.
No, coconut milk in a carton has way too much water for you to use it in place of canned light coconut milk.










Unfortunately this tastes mainly like cooked flour to me. I’ll use less flour next time. Between the egg yolks and gelatin it should be set up enough.
There is no gelatin in either of the filling variations, Anna. And it sounds like you undercooked the cooked filling, which would account for your tasting raw flour.
Hi! Does the lite coconut milk need to be unsweetened or sweetened? Also in your video it does not look like the brand Thai Kitchen brand? I appreciate your help ?
Canned coconut milk is always unsweetened, Leah. In the video, I’m using Trader Joe’s brand coconut milk, I believe since that’s what I had at that moment (Thai Kitchen was suddenly hard to find, but then started to reappear). For light coconut milk, it’s not nearly as important what brand you use as when you’re using full fat canned coconut milk that has to be chilled, separated, and whipped.
Thank you so much!! ?
I love cream pie! Could you use 2% milk for the coconut milk? ( In my house, vanilla, chocolate, or coffee would be preferred to coconut.) Thanks for making it possible for me to bake again.
Actually no, Carol. That’s not thick enough. If you’d like a chocolate pie, try our chocolate pudding pie. That might suit your tastes better!
Could I make the pie crust with gf Graham crackers if using the unbaked version. Not fond of pastry, weird I know
Hahaha definitely, Kaye! You actually can still make the baked version, with a baked graham cracker crust. It would be delicious! Great idea.
What would you recommend using in place of potato starch for those who are nightshade sensitive?
Hi, June, you should be able to use cornstarch or arrowroot in its place here.
Nicole, I made this pie crust for my pumpkin pie; used your Better than Cup4Cup flour blend. I omitted the 3/4 xanthan gum from the pie crust recipe above since it is in the flour blend. Then chilled the dough before rolling out and putting in the pie pan. At this point, I wrapped it and froze it for 3 days before thawing and then baking for 10 minutes per your recipe, cooled, then put my pumpkin in and baked 45 minutes at 350 until the pumpkin custard was baked. The crust had great flavor but was extremely hard to cut. It also was not ‘light’ in color as your photo. Where did I go wrong? I would like to “get back on the horse” and make another pie right away but need your guidance. Thank you.
My guess is that you overworked the pie crust, Deborah. You really need a light touch when working with pastry, and you have to use extra flour only very sparingly. If you overflour the crust, and/or if you break up the butter into too-small pieces, you’ll end up with a flat, tough crust. So I think your issue comes down to technique. You really need to follow my instructions really carefully! Try reading through my apple pie in a bag post for more guidance. That should help!
I’m attempting to modify this to be dairy free. Wish me luck. It looks delicious!
Good luck! Please let us know how it turns out!