
This post may contain affiliate links. Please read our disclosure policy.
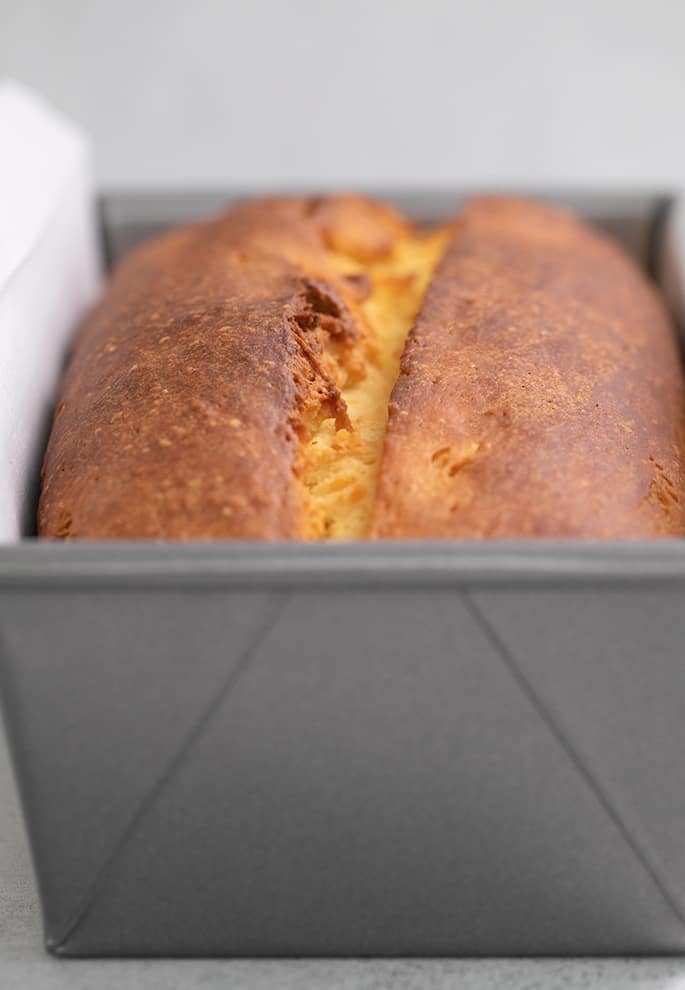
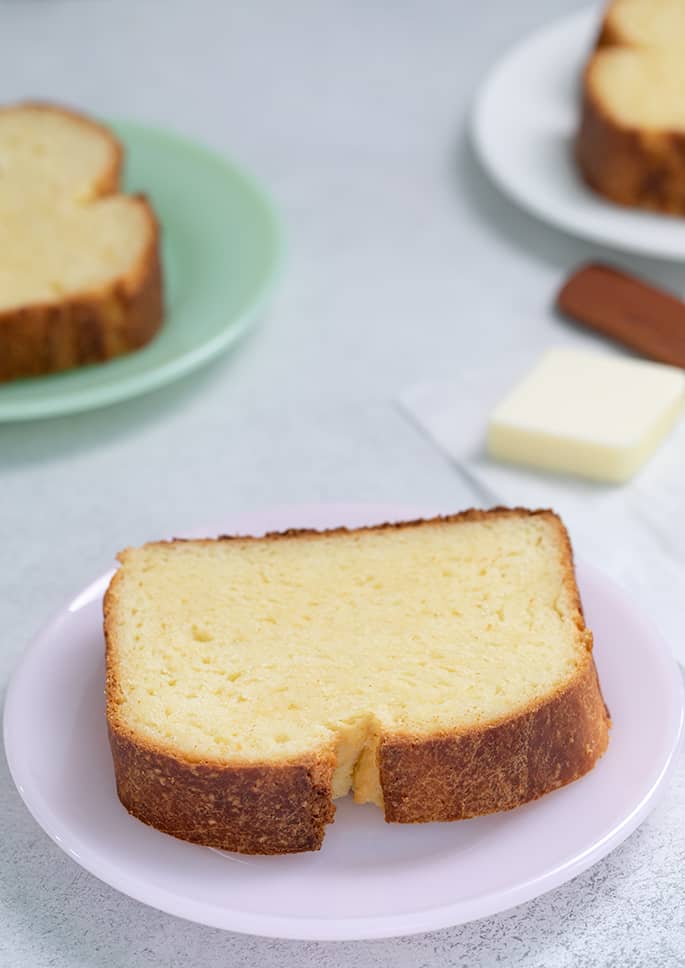
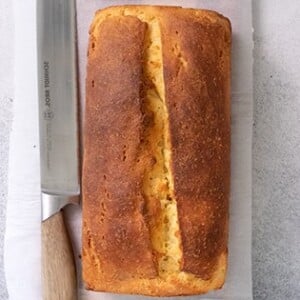
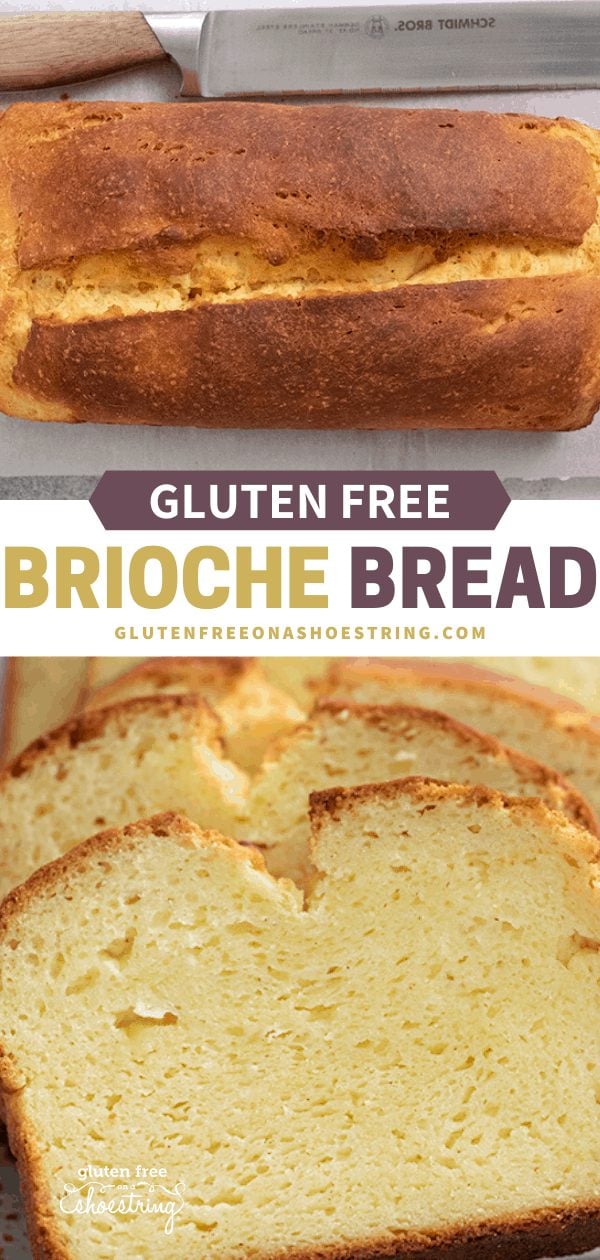
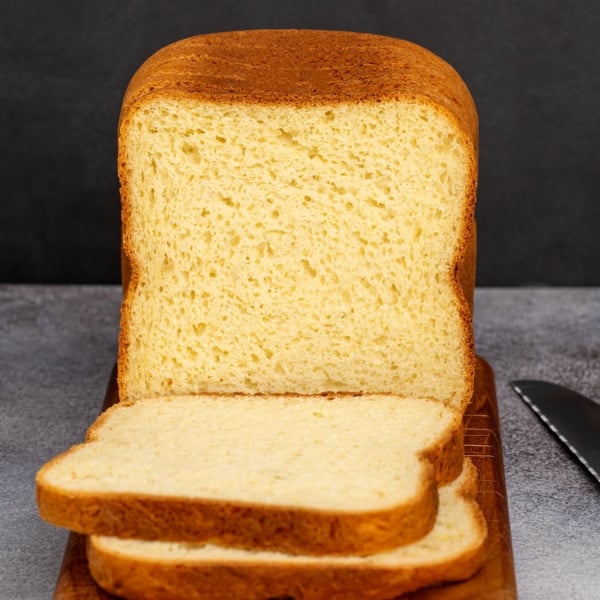
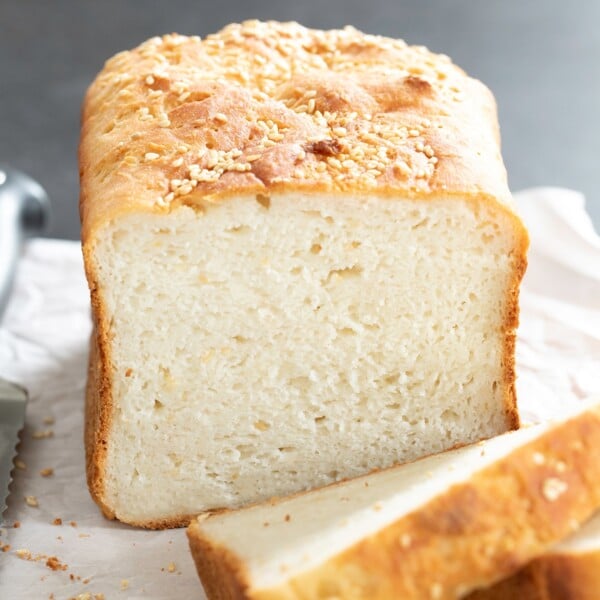
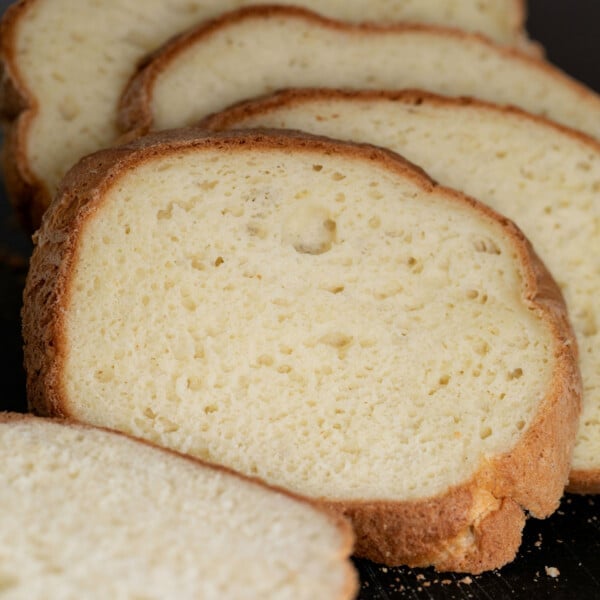
Welcome back to the lightly sweet taste of gluten free brioche bread, rich with eggs and butter, and that golden bakery-style crust and soft yellow crumb inside.

My take
Nicole's Recipe Notes
I consider brioche bread a luxury. One single loaf calls for 5 whole eggs, and 5 ounces of butter, at room temperature.
To me, all those eggs and butter in a fragrant loaf of bread, with a thick but tender crust and a rich flavorful crumb, sounds dreamy. It certainly has its place. And its place is often soaking in more of the same to make French toast!
This bread is not low fat, or low-calorie. It's an indulgence, and I enjoy it more than if I thought of it like an everyday loaf.
I don't count calories, and I don't think of any foods as “bad.” Everything in moderation.

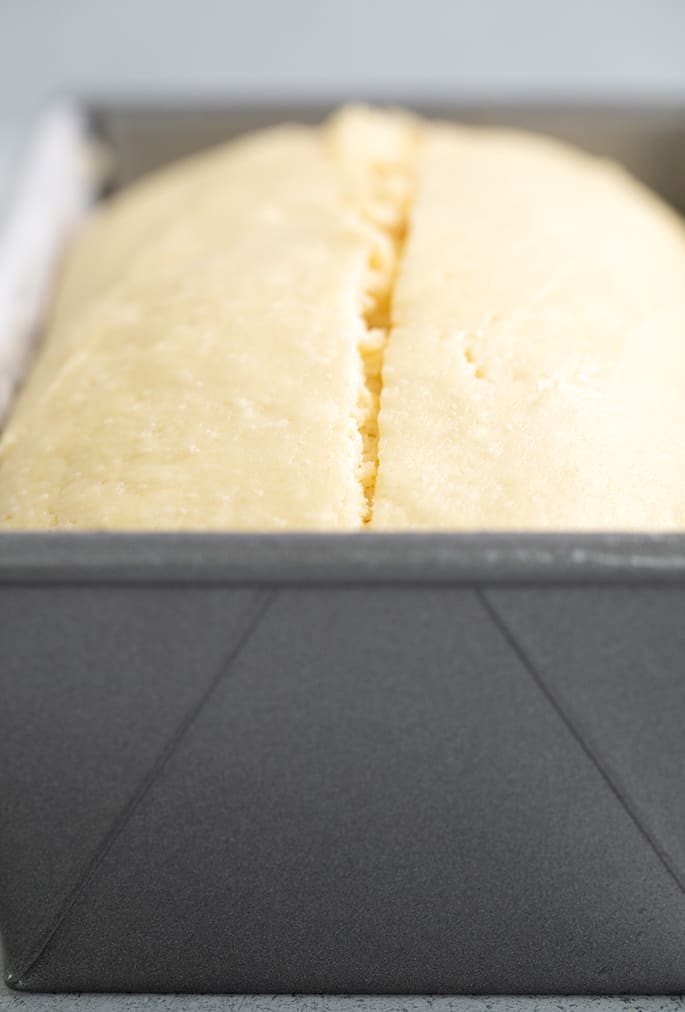
What to expect during the rise of this gf brioche bread
The many eggs in this loaf of bread help it rise, but it does still call for yeast. You'll find that it doesn't call for a ton of yeast, though.
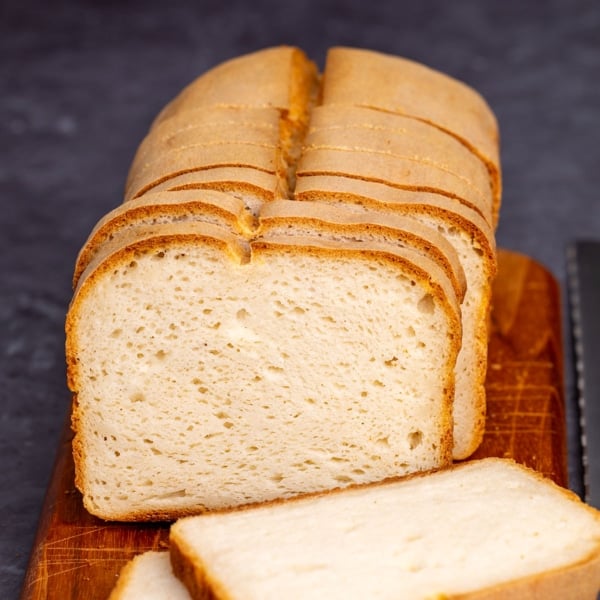
Since brioche has a somewhat tighter crumb than a classic sandwich bread, it's meant to rise very high. It should rise to about 150% of its original volume, but not more. If you are tempted to add more yeast, know that the loaf won't rise higher, but will just have a more jagged top.
Expert tips
Getting your yeast bread to rise
The key to getting your brioche bread to rise is patience. Highly enriched bread with lots of butter and eggs usually rise quite quickly, sometimes in only 40 minutes during the hot, humid days of summer. In winter, it can take nearly 2 hours.
Do not put it in a low oven, or you may kill the yeast before it gets a chance to rise. I do often turn on my oven to about 300°F and place the loaf pan on top of the stove. That bit of gentle ambient heat helps it rise more steadily.
If your yeast bread is still rising, it has begun to overproof when the surface of the dough has begun to rise unevenly, taking on a broken or pockmarked appearance. Just moisten your fingers to smooth out the rough edges, and then bake.
Room temperature ingredients
If your butter is at proper room temperature for mixing (about 68°F), but your eggs are cold, the butter will clump and won't combine fully. You'll have pockets of melting butter leaking out of the bread during baking.
If you have a machine to make the process easy, you can use my gluten free bread recipe for machine.
Ingredient substitutions
Dairy free
If you can't have dairy, I would normally steer you toward a bread recipe that isn't highly enriched with lots (and lots) of butter, like this one. But I think we can do it!
Try replacing the butter with vegan butter. My favorite brands remain Melt and Miyoko's Kitchen. I love them equally.
In place of the milk, try any nondairy milk you like. Just make sure it's unsweetened and unflavored.
Egg free
You can't replace 5 eggs in a single recipe with any sort of egg replacer. Brioche bread is just not egg-free-friendly. You'd need a vegan-style recipe that was developed egg-free.
Instant yeast
This is a recipe for yeast bread, and cannot be made without commercial yeast. It also cannot be made with gluten free sourdough starter, which requires a gluten free sourdough bread recipe developed specifically for it.
I always bake yeast bread with instant yeast, since it doesn't have to be dissolved in liquid, and you need less of it. Instant yeast is also called rapid-rise and breadmaker yeast. It's all the same.
If you don't have instant yeast and would like to use active dry yeast instead, you'll need to increase the amount by 25%. I've done the calculations for you in the Recipe Notes below.
Gluten Free Brioche Bread
Ingredients
- 2 ½ cups (350 g) all purpose gluten free flour blend , (I used Better Batter; you must use one of my recommended blends so please click thru for full info)
- 1 ¾ teaspoons xanthan gum, omit if your blend already contains it
- ½ cup (100 g) granulated sugar
- 1 ½ teaspoons (5 g) instant yeast (See Recipe Notes)
- 1 teaspoon cream of tartar
- ¾ teaspoon (5 g) kosher salt
- ½ teaspoon apple cider vinegar
- 5 (250 g (weighed out of shell)) eggs, at room temperature
- ½ cup (4 fluid ounces) warm milk, about 95°F
- 10 tablespoons (140 g) unsalted butter, at room temperature, roughly chopped
Instructions
- Grease and line a standard 9-inch x 5-inch loaf pan and set it aside.
- In the bowl of a stand mixer fitted with the paddle attachment (See Recipe Notes), place the flour, xanthan gum, sugar, yeast, and cream of tartar, and whisk to combine well.
- Add the salt, and whisk again to combine. Add the vinegar, eggs, milk, and butter.
- Place the bowl in the stand mixer and beat on medium-low speed for about 30 seconds. Increase the speed to medium-high, and beat for at least 2 minutes. Scrape down the sides of the bowl, and beat on high speed for another 2 minutes.
- Transfer the dough to the prepared loaf pan, pressing the dough firmly into the corners. Using a moistened spatula, smooth the top.
- Cover the pan with lightly greased plastic wrap, and place the pan in a warm, draft-free location until the dough has reached the top edge of the loaf pan. This can take an hour, or it can take much longer, depending upon the rising environment. In cool, dry weather, it may take significantly longer.
- Overproofing is not a function of time, but of rise. When the surface of the dough begins to take on an uneven, pockmarked appearance, it has begun to overproof.
- When the dough has reached the end of its rise, preheat the oven to 375°F. Remove the plastic wrap, score the loaf down the horizontal center using a lame or sharp knife at a 45° angle, cutting about 1/4 inch deep.
- Place the loaf in the center of the preheated oven, and bake for 25 minutes. Rotate the pan 180° in the oven and bake for another 20 minutes.
- For a less browned crust, remove the loaf pan from the oven and transfer the bread to a large piece of aluminum foil. Wrap the bread completely in the foil and continue to bake for another 5 to 10 minutes, or until the inside of the loaf has reached at least 190°F.
- Remove from the oven, unwrap the loaf, and allow the loaf to cool on a wire rack. For a softer crust, keep the loaf wrapped for at least 20 minutes when it first comes out of the oven, and then unwrap to cool until no longer hot to the touch. Slice and serve.
- For a deeper golden brown crust, remove the loaf pan from the oven, transfer the bread to a baking sheet and then return it to the oven. Continue to bake for another 5 to 10 minutes, or until the inside of the loaf has reached at least 190°F. Remove from the oven and transfer the loaf to a wire rack to cool until no longer hot to the touch. Slice and serve.
Video
Notes
Nutrition
Nutrition information is automatically calculated, so should only be used as an approximation.


Any tips for adding chocolate batons? I had some gf brioche rolls with chocolate at Kirari West recently that I’m obsessed with. I saw your comment that this needs a loaf pan for structure, so I’m wondering if I could somehow add the chocolate to the loaf?
I’m afraid I don’t know whether or not that would work, Hope, and it would require some trial and error. Sorry I can’t help more, but that’s unfortunately how recipe development goes!
I made this recently with King Arthur GF bread flour, and it was delicious. It made very good French toast, but obviously it’s still more delicate than regular brioche. Thank you!
So glad Michele, so glad you loved the recipe and so glad that KAF’s gluten free bread flour worked well. I really like that blend!
Is there a reason there’s no approximate nutritional analysis for this? Your other bread recipes have it. My wife is diabetic so for us it’s a world of carb counting to determine insulin dose.
I’ve added the nutrition information, Brian. I’m glad you referred to it as “approximate” nutritional values, since I do get nervous whenever someone doesn’t seem to understand it’s not exact!
Is there a way to make this recipe into rolls??
I’m afraid I don’t recommend that, Meggie. This recipe requires the structure of a loaf pan to work.
Can this be frozen? Either before baking or after baking/cooling?
I’m afraid I never recommend freezing raw yeast bread dough, since the yeast sometimes dies and/or the dough dries out, so the bread never rises. The baked and cooled bread can be wrapped tightly and frozen though, yes.
After the bake do you have to wait a certain length of time before removing the loaf from the pan?
Hi, Stuart, in the instructions, you’re either transferring the loaf to wrap it in a piece of aluminum foil to finish baking, or transferring it to a baking sheet, both out of the pan. It will then cool on a wire rack.
This was SOOO good! So spongy and so delicious/sweet. I used Bob’s red mill gluten free wonderful homemade breakfast mix without the yeast provided (used 1 packet of instant yeast instead). I used the whole bag of the bread mix instead of the amount directed here in the recipe because the dough was too sticky. Took longer than 2 hours to rise like you warned, even in a warm space, but it came out amazing. I recommend covering the top with aluminum foil once browned in the oven. This happened quickly, within 10 minutes. It will burn if you do not do this. I will be making french toast sticks with this, so excited. My family already ate half of the loaf so I’ll have to be making more.