

This post may contain affiliate links. Please read our disclosure policy.
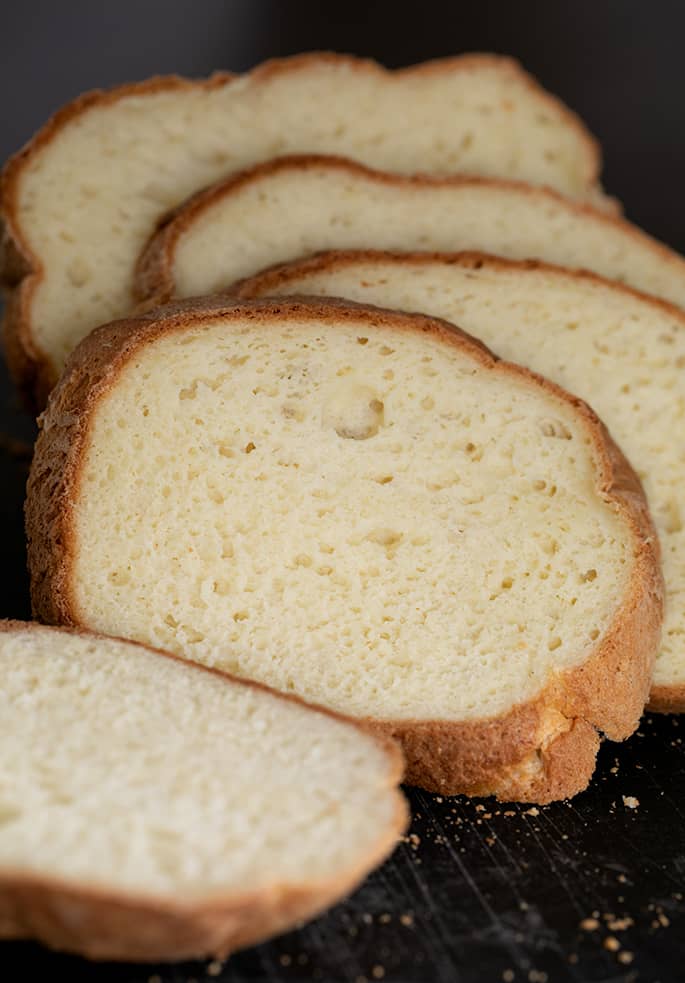
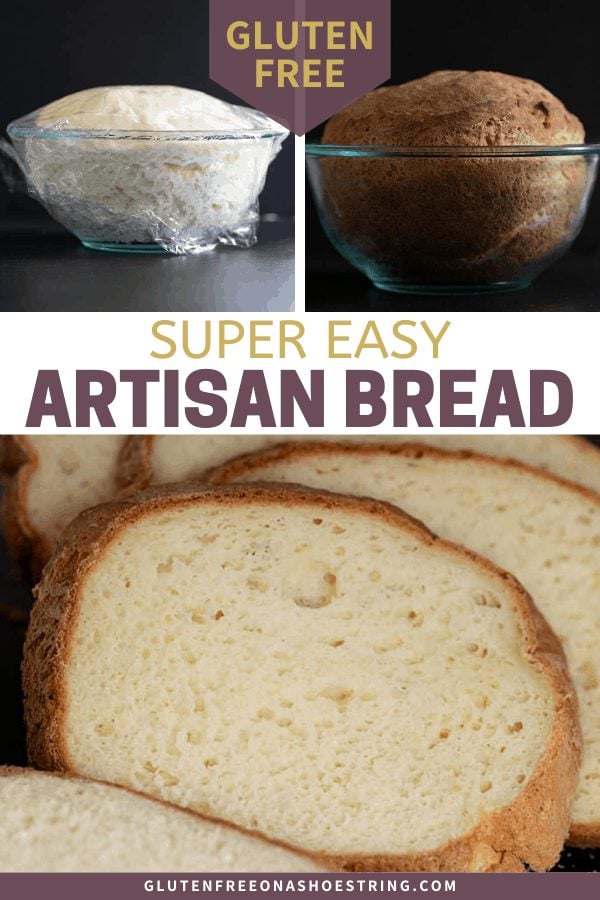
This easy gluten free artisan bread has an open crumb, a crisp crust, and comes together in one bowl—no stand mixer required.
It rises and bakes quickly, making just enough for a family dinner table. It’s the kind of bread that makes a gluten free meal feel like a night out.
My take
How this bread gets a crisp crust and soft center
This loaf is made with just flour, yeast, sugar, salt, milk, and eggs—no stand mixer needed. It’s easier than my classic gluten free sandwich bread and less involved than my gluten free sourdough.
Think of it as an everyday boule: crusty on the outside, soft and airy inside because of the wet dough that rises high, fast. Perfect for tearing, dipping, sandwiching—or turning into homemade bread crumbs.
It bakes in a small glass bowl, then gets flipped near the end for a crisp, golden crust all the way around.

what’s in it
Recipe ingredients
- Gluten free flour blend – Use a high-quality all purpose blend that includes xanthan gum. It should support a good rise and create a tender crumb.
- Tapioca starch/flour – Adds stretch and height. Even though your flour blend probably includes some, this extra amount makes a big difference.
- Yeast – Instant yeast is easiest. If using active dry, increase the amount slightly (7.5–8g) and activate it in some of the milk first.
- Sugar – Just a bit to feed the yeast and help it rise.
- Baking soda – Promotes browning in the oven.
- Salt – Enhances flavor. I use kosher salt because it’s harder to overmeasure than fine salt.
- Milk – Warm milk activates the yeast and adds richness.
- Egg – Binds the dough, improves rise, and adds color and flavor.
How to make gluten free artisan bread
1. Grease your bowl or pan.
Use a 1 to 1½ quart oven-safe glass bowl for the classic round shape. If you’re using something else, check the FAQs for tips.
2. Mix the dough.
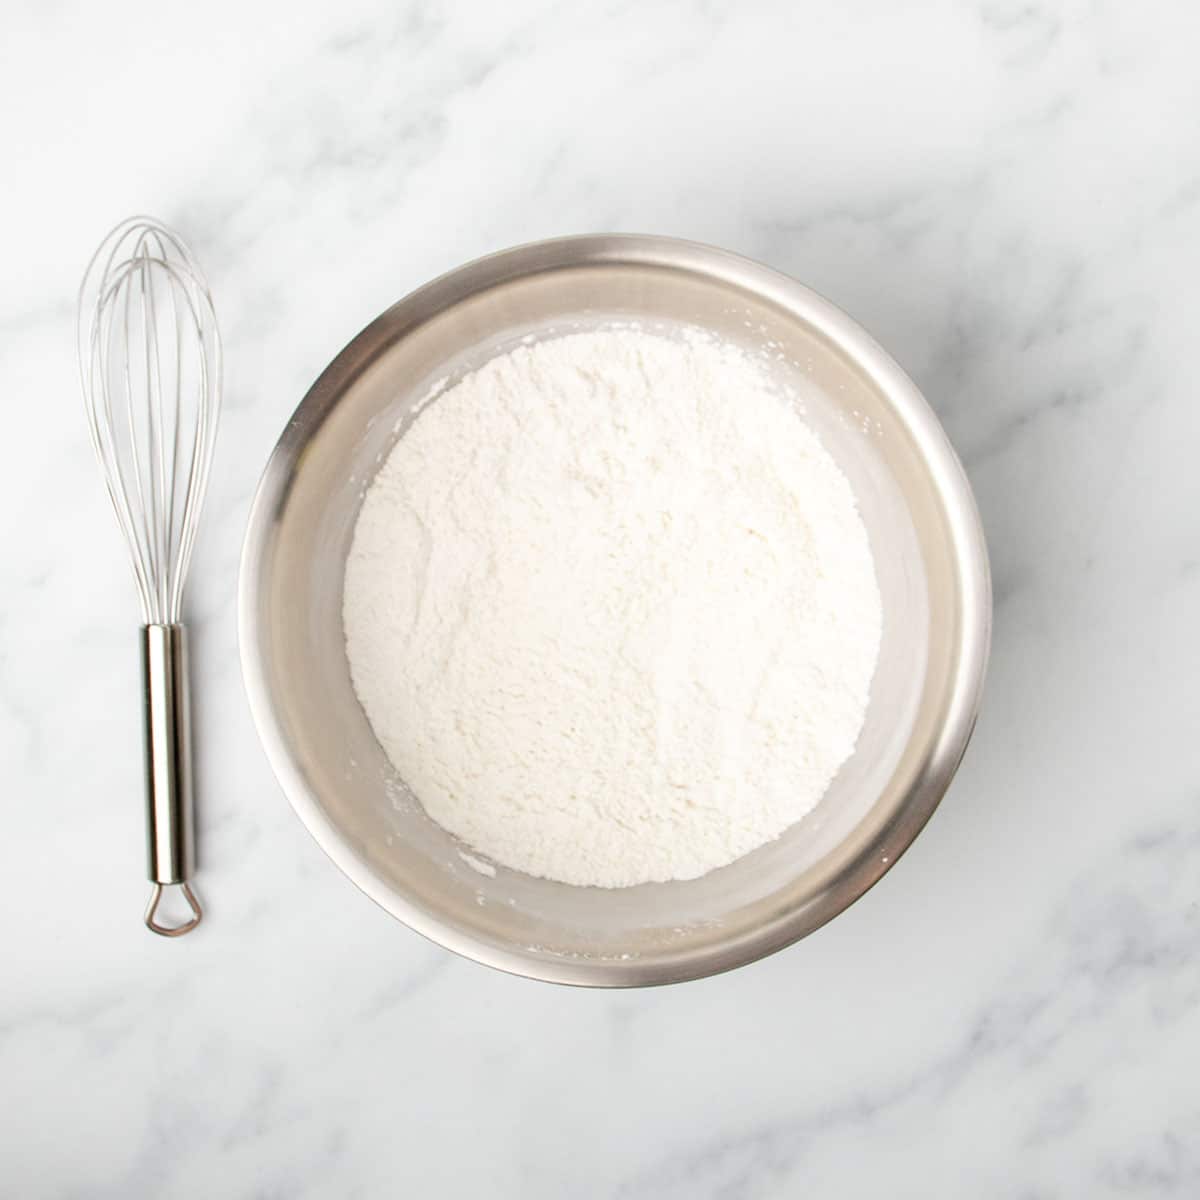
In a large bowl, whisk together the flour blend, tapioca starch, sugar, yeast, baking soda, and salt. Add the warm milk, beaten egg, and oil, and mix vigorously until a sticky, pale dough forms.



3. Let it rise.
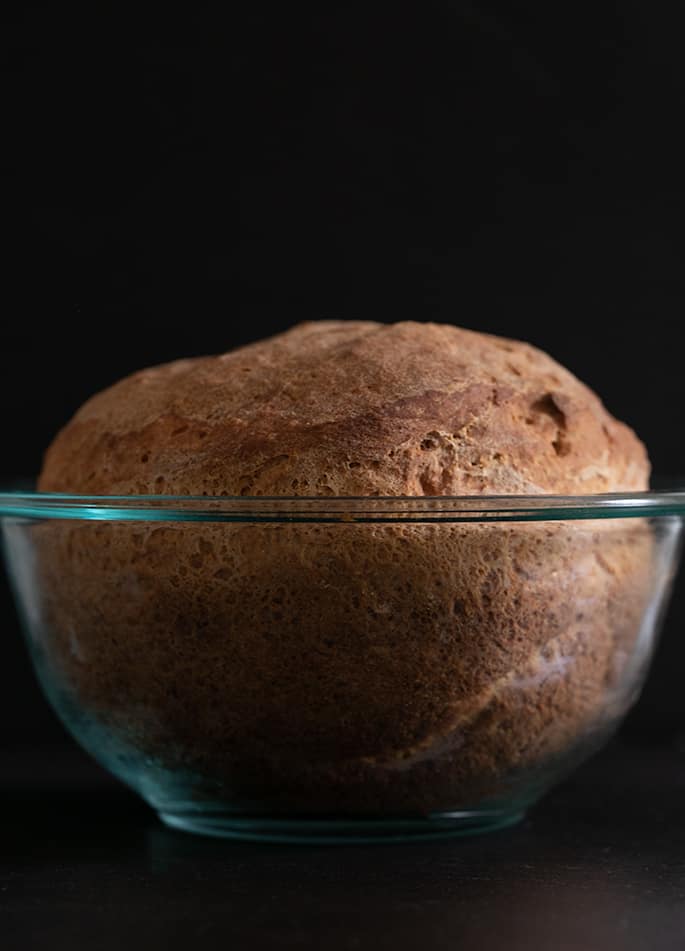
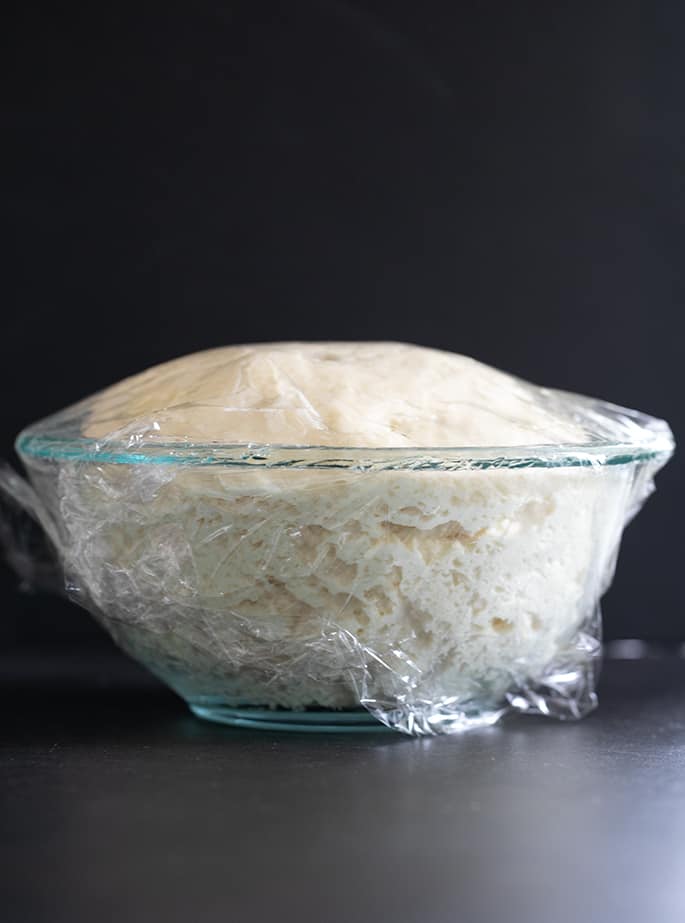
Transfer the dough to the prepared bowl. Smooth the top with wet or oiled hands. Cover lightly with greased plastic wrap and let rise until it’s about 1.5 times its original size—taller, not quite doubled.


4. Bake in two stages.
Bake at 375°F for 30 minutes. Then carefully flip the loaf in the bowl (bottom side up) and return it to the oven. Bake for another 15 minutes, until evenly golden and the internal temperature reaches about 195°F.


5. Cool before slicing.
Turn the bread out onto a wire rack and let it cool completely before slicing—cutting too soon can compress the crumb.
My Pro Tip
Expert tips
No mixer required.
This is one of the few yeast bread recipes on the blog that you can mix entirely by hand—just a bowl, whisk, and spoon.
Expect a wet dough.
It should look sticky and feel loose. Resist the urge to add more flour or your loaf will turn out dense and heavy.
Let it cool fully before slicing.
The bread finishes baking from residual heat as it cools. Cutting too soon compresses the crumb and ruins that airy texture.
Use a serrated knife.
Even cooled bread can squish if you press too hard. Saw gently with a serrated knife instead.
Try a Dutch oven.
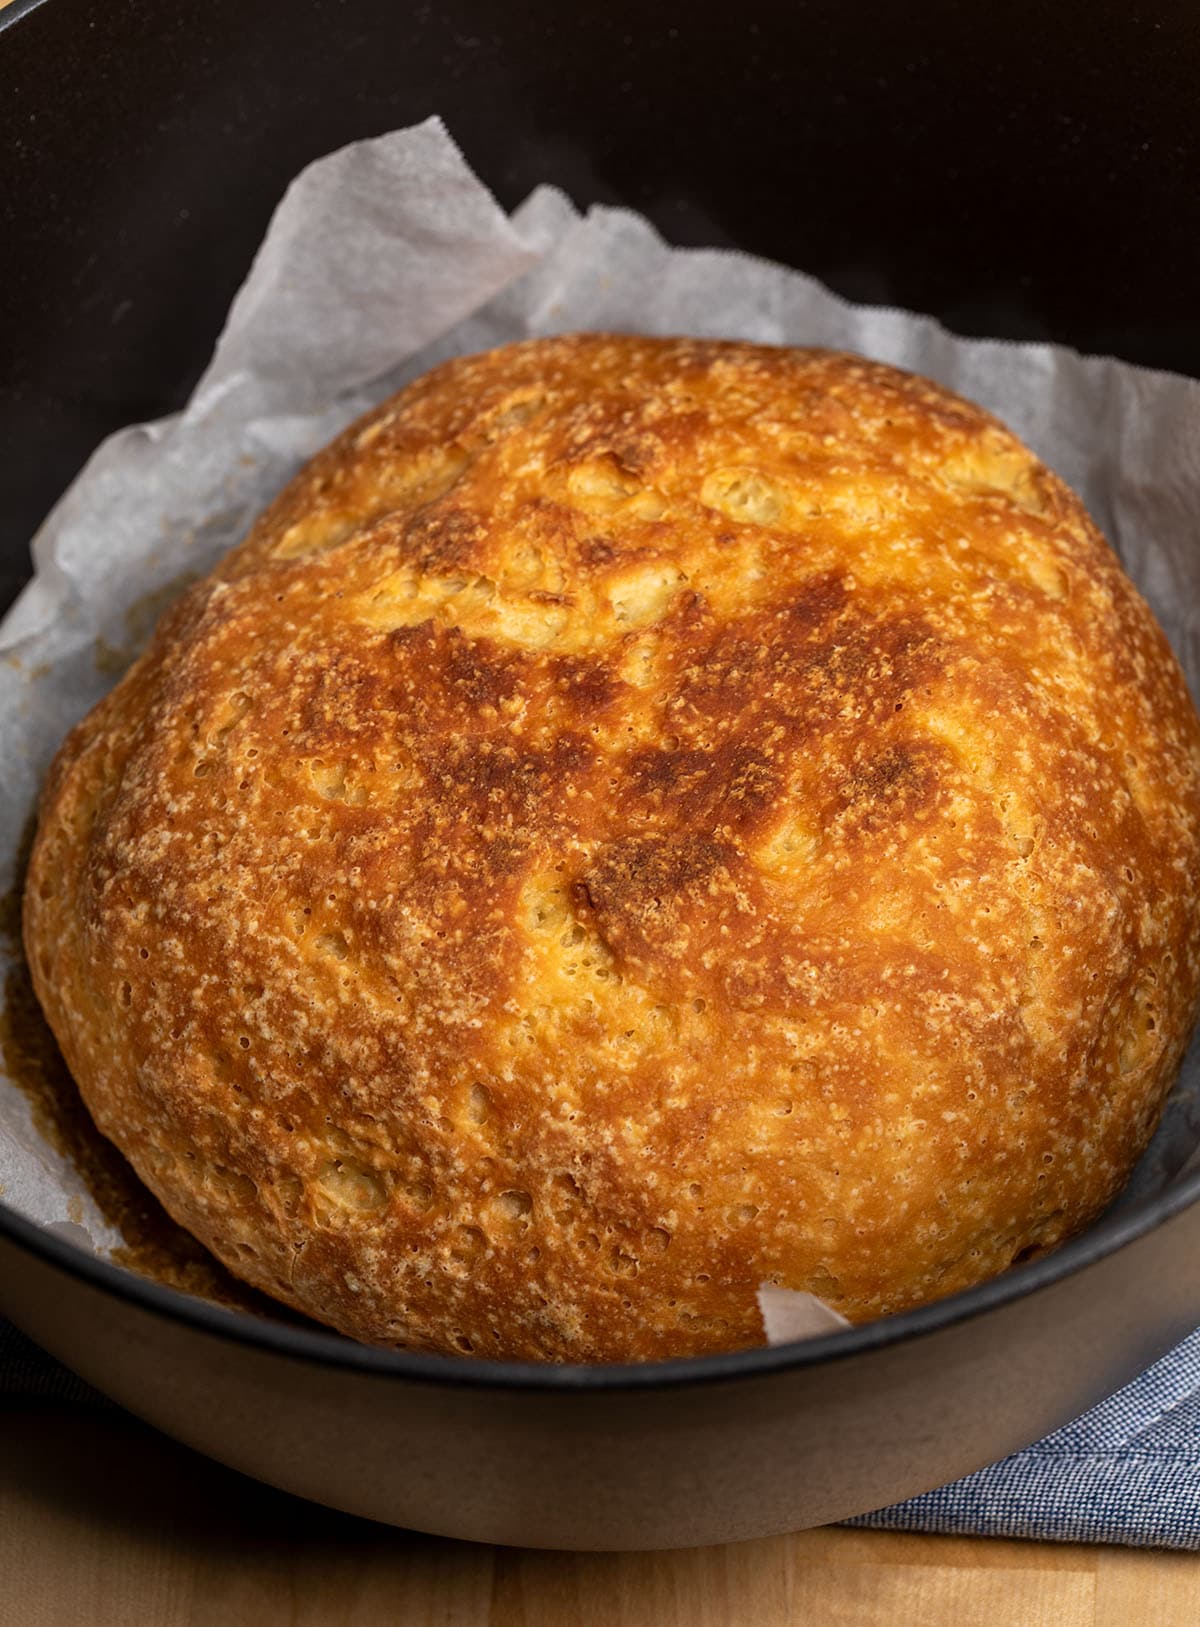
For a round loaf with a slightly different texture, you can bake this bread in a 3- or 5-quart Dutch oven. For the larger size, increase the recipe yield from 10 to 15 slices. Shape the dough on parchment into a round about as tall as it is wide, let it rise as usual, and bake uncovered at 375°F. Start checking at 40 minutes for a 3-quart, 55–60 minutes for a 5-quart.
substitutions
Ingredient substitutions
To make it dairy free:
Use unsweetened, unflavored plant-based milk like almond milk. Avoid canned coconut milk or oat milk—they’re too low in moisture.
To make it egg free:
Swap the egg for a “chia egg” (1 tablespoon ground white chia + 1 tablespoon warm water, mixed and gelled). Two egg whites (50 g) also work, but result in a slightly denser loaf, so aquafaba as an egg white replacement should work similarly.
If you don’t have tapioca starch:
You can substitute more all purpose gluten free flour. The bread will rise a bit less and have a tighter crumb, but it still works.
If using active dry yeast:
Increase the amount from 6 g to about 7.5 g (just use a little more than 7 grams). Be sure to activate it in some of the warm milk until foamy before mixing.
If you need to avoid yeast:
Try my yeast free gluten free bread. It’s a different style but a good alternative.
If you need to skip added tapioca starch:
It may be tempting to leave it out if your flour blend already includes it, but don’t. This recipe depends on the extra tapioca for stretch and rise. Without it, your loaf won’t be as tall or airy.

Gluten Free Artisan Bread Recipe
Tell Google you trust GFOAS!
Ingredients
- 1 ⅝ cups (227 g) all purpose gluten free flour blend, (See Recipe Notes)
- 1 ⅝ teaspoons xanthan gum, omit if your blend already contains it
- ⅜ cup (54 g) tapioca starch/flour
- 2 teaspoons (8 g) granulated sugar
- 2 teaspoons (6 g) instant yeast
- ¼ teaspoon baking soda
- 1 teaspoon (6 g) kosher salt
- 1 cup (8 fluid ounces) warm milk, (about 95°F)
- 1 (50 g (weighed out of shell)) egg, at room temperature, beaten
- 1 tablespoon (14 g) extra virgin olive oil
Instructions
- Grease a 1 or 1 1/2 quart glass oven safe bowl and set it aside. If you don’t have a glass bowl, you can use a small round pan or cast iron skillet with high sides. If using an aluminum pan that isn’t dark in color, raise the oven temperature to 400°F (as written and described below, the oven temperature is 375°F).
- In a large bowl, place the flour, xanthan gum, tapioca starch/flour, sugar, and yeast, and baking soda, and whisk to combine well. Add the salt, and whisk again to combine well.
- Create a well in the center of the dry ingredients and add the milk, egg, and oil, and mix vigorously. The bread dough/batter should come together and lighten a bit in color as you mix.
- Transfer the dough/batter to the prepared baking bowl, skillet, or pan, and smooth the top with clean, wet hands or a moistened spatula. Do not compress the dough at all.
- If you aren't using a bowl or pan with high sides, using a light touch and wet or oiled fingers, try to shape the dough so that it's about as tall as it is wide, to mimic the shape in the photos of the dough in the bowl. Your dough will definitely spread more during baking, though, and may take less time to bake.
- Cover the dough completely with an oiled piece of plastic wrap. Be careful not to compress the dough, but cover the bowl securely.
- Place it in a warm, moist place to rise for about 45 minutes, or until the dough has increased to about 150% of its original size. In cool, dry weather, the dough may take longer to rise; in warm, moist weather, it may take less time to rise.
- When the dough is nearing the end of its rise, preheat your oven to 375°F.
- After the dough has risen, remove the plastic wrap. Place the bowl in the center of the preheated oven and bake for 30 minutes, or until the bread is lightly golden brown all around.
- Remove the bread from the oven and rotate the loaf in the bowl, so it’s upside down. Return the bread to the oven and bake until the crust has darkened slightly all around, and the bread sounds hollow when thumped anywhere, on the bottom or top, about another 15 minutes.
- The internal temperature of the bread should reach about 195°F on an instant-read thermometer.
- Turn the bread out onto a wire rack to cool completely before slicing and serving.
Video
Notes
Nutrition
Nutrition information is automatically calculated, so should only be used as an approximation.
make ahead/leftovers
How to store and refresh this bread
Room temperature:
Store your loaf in an airtight container at room temp for up to 2 days. A zip-top bag or plastic storage box works well.
To refresh a dried loaf:
Run the whole loaf quickly under lukewarm tap water, then bake at 300°F for 10 to 12 minutes. For individual slices, drizzle with water and toast.
Freezer storage:
Let the loaf cool completely, then freeze in a zip-top bag with as much air removed as possible. It will keep well for up to 3 months.
To defrost:
Leave the bread on the counter overnight. Refresh as above before serving, if needed.
Troubleshooting & FAQs
Most often, it’s from adding too much flour or using too little liquid. Make sure the dough looks wet and sticky—that’s what gives you a light crumb. Using the wrong flour blend or skipping xanthan gum can also lead to dense bread.
Yeast dough needs time and the right conditions. Make sure your yeast is active, your milk is warm (but not hot), and your kitchen isn’t too cold or dry. Be patient—it may take longer than 45 minutes.
Use a small round pan or cast iron skillet with high sides. Try to shape the dough so it’s as tall as it is wide. If your pan is aluminum and light in color, raise the oven temp to 400°F for a better crust.
Maybe! This dough is wet enough to work in some machines. If yours makes a larger loaf, scale up the recipe yield to 15 or 20 slices. Make sure it only uses one rise cycle. You can also use my gluten free bread recipe for a bread machine for the perfect loaf in a bread maker.
You can try it, but the dough will spread. Bake at 400°F to help the crust form quickly. Shape the dough into a round on parchment and bake uncovered.
What to serve with this bread
This crusty loaf is perfect for dipping, dunking, and tearing into pieces at the table. Here are a few ways to turn it into a full meal:
- Gluten Free Meatballs – Slice, toast, and rub with garlic for easy homemade gluten free garlic bread.
- Creamy Gluten Free Broccoli Cheddar Soup – Nothing soaks up soup like a warm hunk of this bread.
- Gluten Free Cream of Mushroom Soup – Classic comfort food pairing










This is so good. I normally never eat gluten free bread without toasting it. Here is the exception. Mine was a little dense but not doughy. It didn’t raise as much as I expected and I will definitely make it again. I think my mistake was that my milk cooled down before I incorporated it. Great directions….thank you
If your milk was cooled down, that wouldn’t prevent it from rising, only make it rise more slowly. So next time just let it rise for longer and you should get a higher rise. It sounds like it was great overall, though, and I’m so glad you enjoyed the bread, Lynn. Thank you for sharing your experience!
Would Bob’s zred Mill 1:1 flour be a good substitute in Canada
I’m afraid I recommend against that flour blend, Sheila. It is unbalanced, inconsistent in quality, and has gritty rice flour. I have successfully tested this recipe using King Arthur Flour’s gluten free bread flour blend and Caputo’s Fioreglut, if you have either of those available to you. For more information on how to build your own blend, please see the all purpose gluten free flour blends page.
A reviewer only a few days later than your question, said Anita’s All Purpose Gluten Free flour, which is available here on the west coast of Canada, is much nicer than KA or Red Mill. It contains oat flour and makes a really good loaf. If it’s hard to find in your area, Amazon.ca sells it
If my flour blend already has tapioca starch in it, do I need to add the additional amount to it?
Hi, Melissa, yes, I discuss that in the post, that all good all purpose gluten free flour blends have some tapioca starch in them already. You still add it as a separate ingredient in this recipe.
Yes! Saw that too late. Thank you for taking the time to respond :)
No problem, Melissa. I hope you enjoy the bread!
never mind! you totally addressed this in the post :)
Hi Nicole, I can’t get this blend in Canada. Can I use one of your other blends, like mock better batter to make this loaf?
Absolutely, you can always use mock Better Batter anywhere one of my recipes calls for an all purpose gluten free flour blend!
Hi, I’m just wondering, did you measure your flour using the spooning method or dipping?
And is the dough more battery then dough?
I always measure by weight, not volume, Marcy. Please read the text of the post and watch the how-to video for full information on what to expect.
Have you tried this recipe with the new Better Batter Artisan blend yet? It’s gum free (as I assume you know since you use this brand of flour!), so I was wondering if I still add gum in as this recipe says to do, or if I can omit and follow the rest of the recipe.
Thanks!
I’m afraid I can’t recommend using that blend in any of my recipes yet, Sarah. I have it, but I haven’t used it at all.
I’ve made this dairy-free. I’ve made it with a chia ‘egg.’ It always comes out delicious! Best recipe
Thank you for sharing that the “chia egg” works well for you, Carissa. That’s really useful. And of course I’m so glad you love this recipe. I do, too!
I read your substitution list but I just wanted to check if I could use modified tapioca starch, like expandex?
Expandex is very different than regular tapioca starch/flour, Laura. You can’t use it in this recipe, no.
Wow, mine was a failure! I made it exactly as written, same flour, room temp egg, took the temperature of my milk, and no rise, and I baked it anyway, after an hour. The taste was also not good. I tested my yeast afterwards, with warm water and sugar, to make sure it was good, i was SURE that was the issue, but nope- yeast was fine. I was really hoping to read ALL of the comments, to see if it didn’t work for others, but oddly, can’t find them all. Where did all the comments go? I sure would love for this to work, and wonder what other found. I am a very experienced baker, with regular and many gluten-free flours, too.
Nancy, there are nearly 150 comments on this post, and they are almost entirely very positive. There are so many comments that they are broken up into multiple pages, so you have to click to see the rest. I’m not hiding comments from anyone. In fact, I’d be happy for you to read them. I understand that you’re disappointed that the recipe didn’t work for you, but it’s hard to help when I’m not there with you and universal statements about having done everything “exactly as written” are often overbroad. Very often there are issues that seem insignificant to you that are actually quite significant.
Here are my usual questions for yeast bread:
Did you measure by weight, not volume (volume is simply not accurate)?
Did you use one of my recommended flour blends, including the tapioca flour that this recipe calls for?
Did you make ingredient substitutions?
An hour sounds like it was not enough rising time. I discuss rising time quite extensively in the post under the title “It will rise.” Yeast bread requires patience, and an hour is often not long enough, depending upon the environment in your kitchen.
Did you bake at the proper temperature? Most ovens aren’t properly calibrated, so you really need a simple analog standalone oven thermometer.
This was my first attempt at any kind of gluten free bread and my world is forever changed. I added rosemary and garlic (dried, even though I’m sure fresh garlic would have been far better than powder. I was afraid of messing with the moisture content). My husband has been stuck admiring restaurant bread baskets from afar, but this loaf is ideal for dipping in olive oil and balsamic. The crust is divine! Between the two of us, I anticipate the entire loaf will be gone before the end of the day. Thank you thank you thank you!
I’m getting a little choked up reading your comment, Kati. I know that longing, and I know what it’s like when it gets satisfied. I’m so happy for both of you. Thank you for sharing.