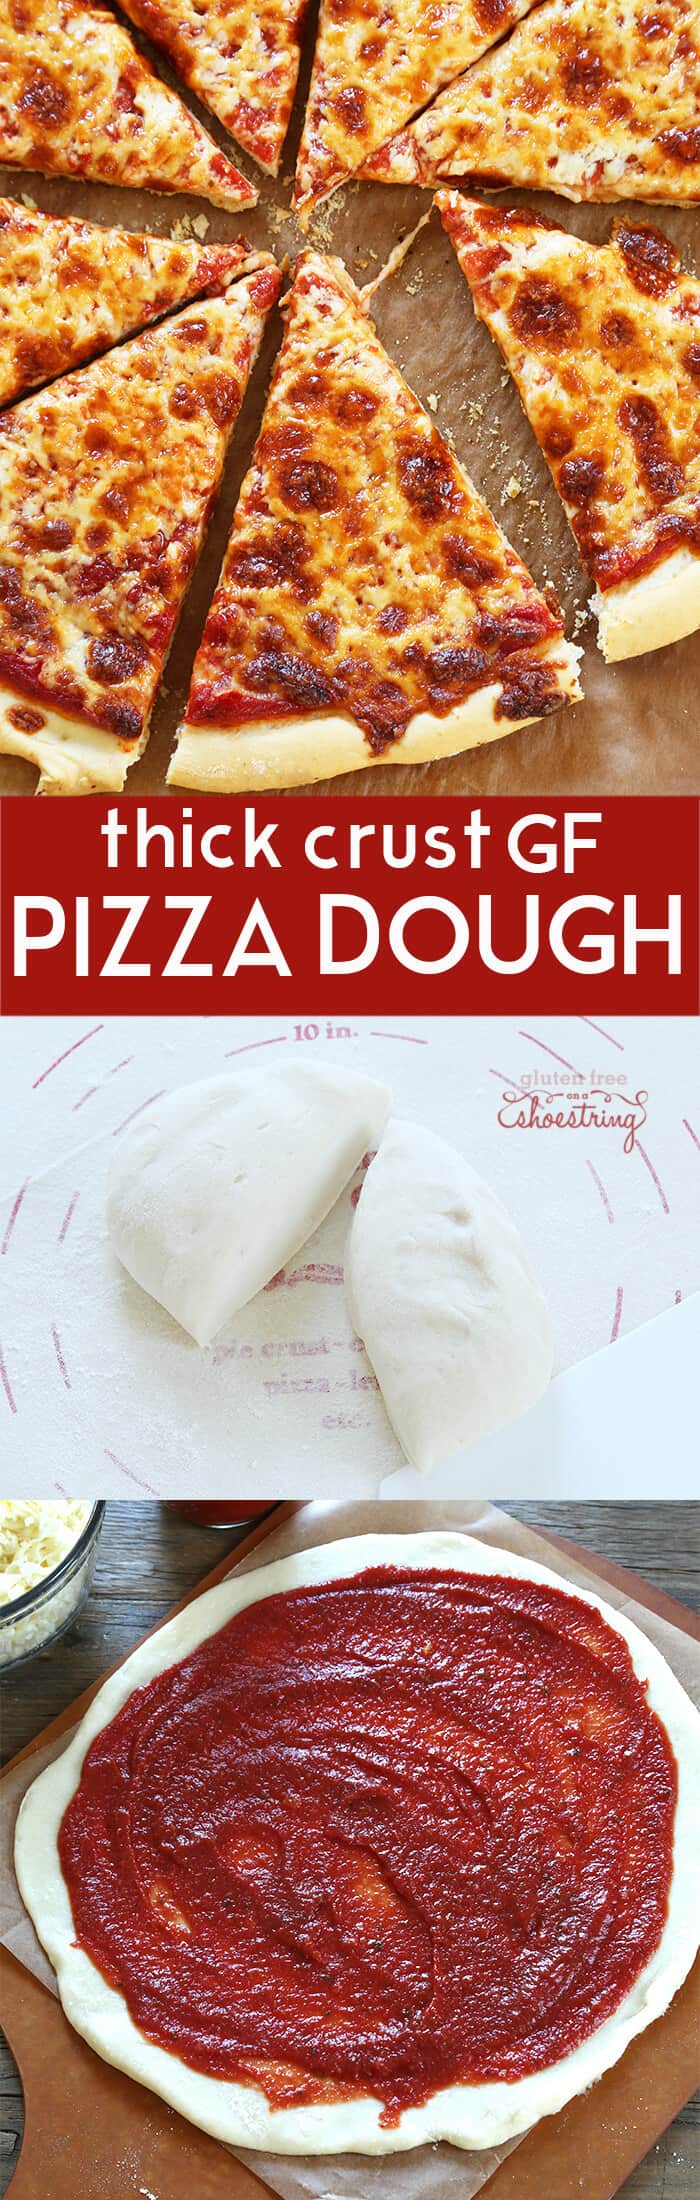
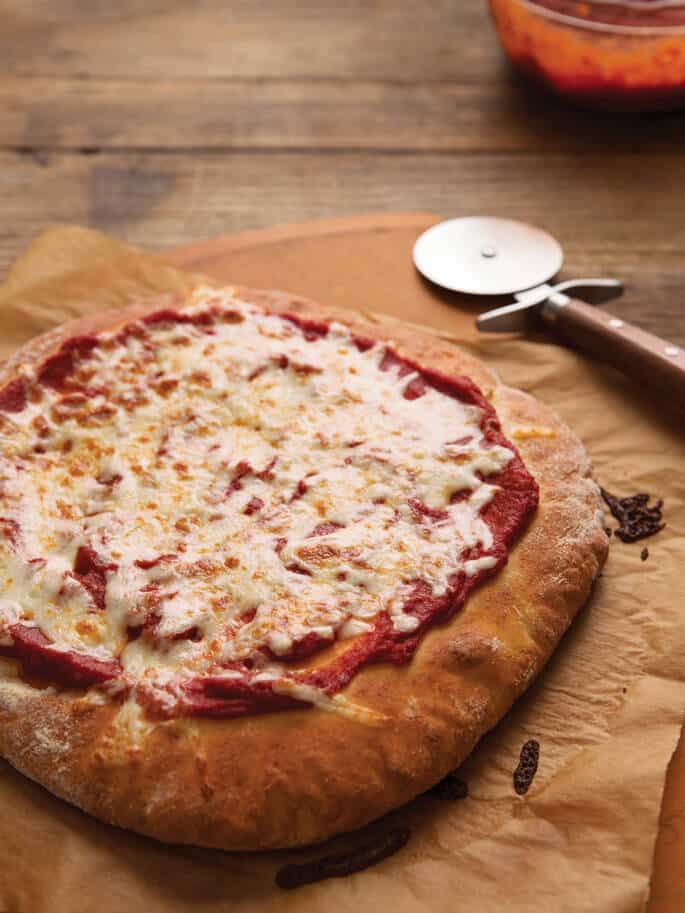
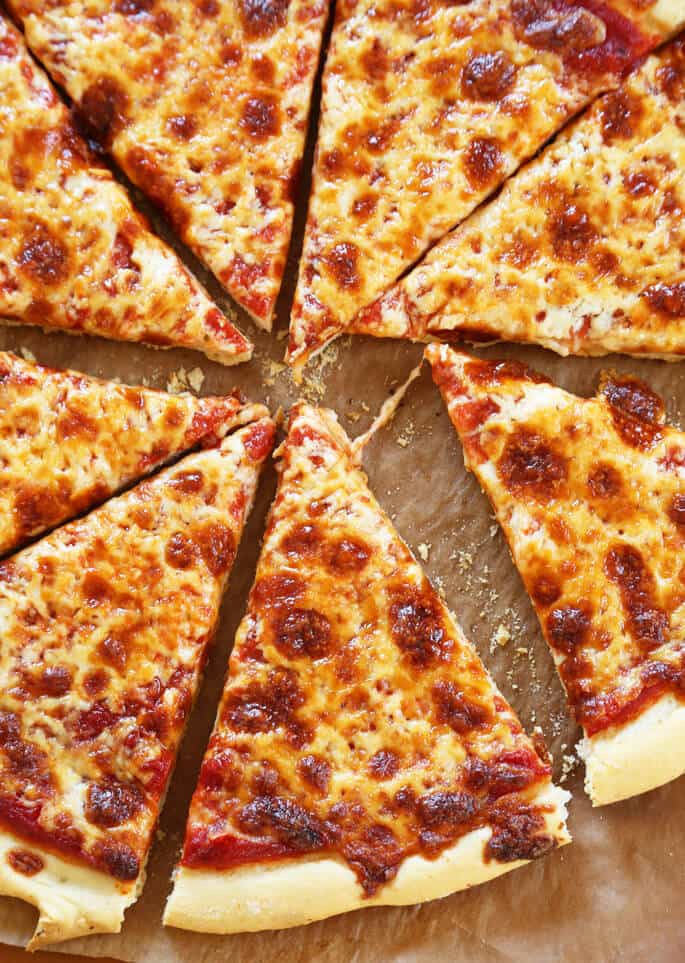
This thick crust gluten free pizza dough takes only minutes to make, and has the authentic bite and chew that you've been missing. Make tonight pizza night!
Having a proper recipe for an authentic gluten free pizza crust means so many things to my family. It's only my son who has to be gluten free, but we all eat that way at home (and I eat that way everywhere, whether I'm with my son or not).
When they sell pizza in the school lunchroom on Fridays, my son can come home and expect real pizza at home that night. When he's invited to a birthday party and everyone's having pizza, so can he.
And it looks, smells and tastes like the real deal. If it's a cracked and crumbly crust, it's just not going to cut it. I want my son to be proud, not ashamed.
This gluten free pizza crust recipe comes to you straight from page 187 of my gluten free bread cookbook, Gluten-Free on a Shoestring Bakes Bread. I decided to provide it here on the blog because I know not everyone is going to buy the book (even though of course I wish you would!), but I want everyone to have the chance to have real pizza.
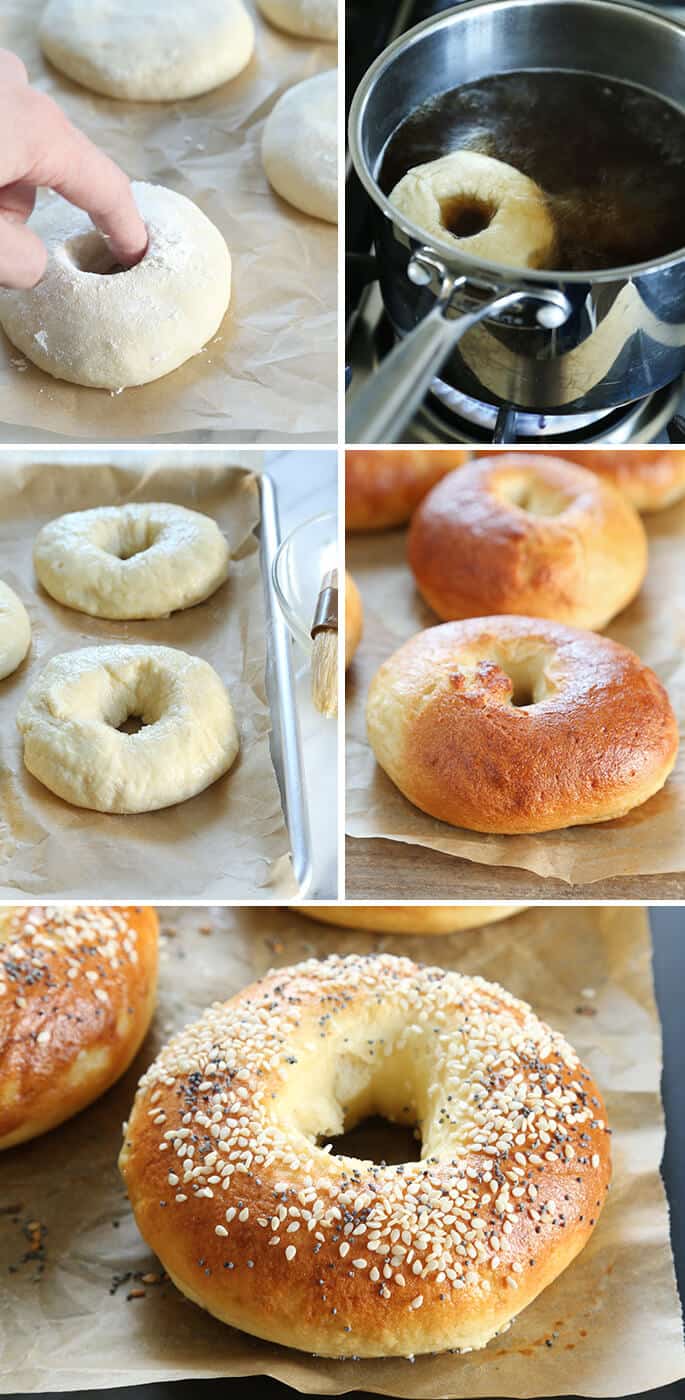
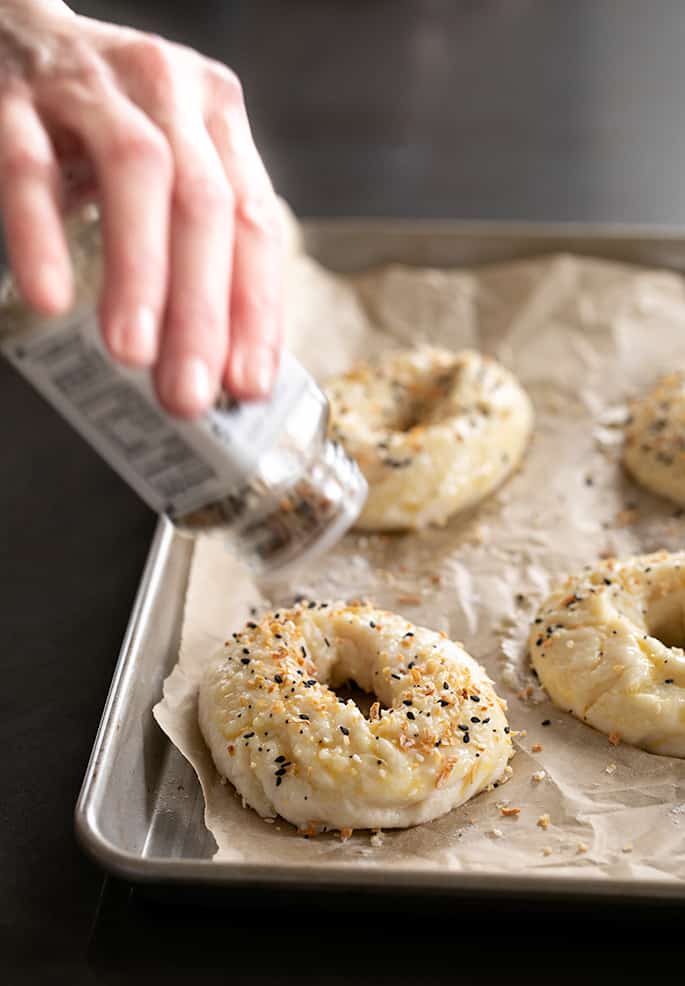
This recipe is so authentic and easy to handle that you can even make it on the grill in the summer—right on the grates. I thought it was time to provide complete step-by-step photos, too, to walk you through how to make and shape the dough, and bake the pizza.
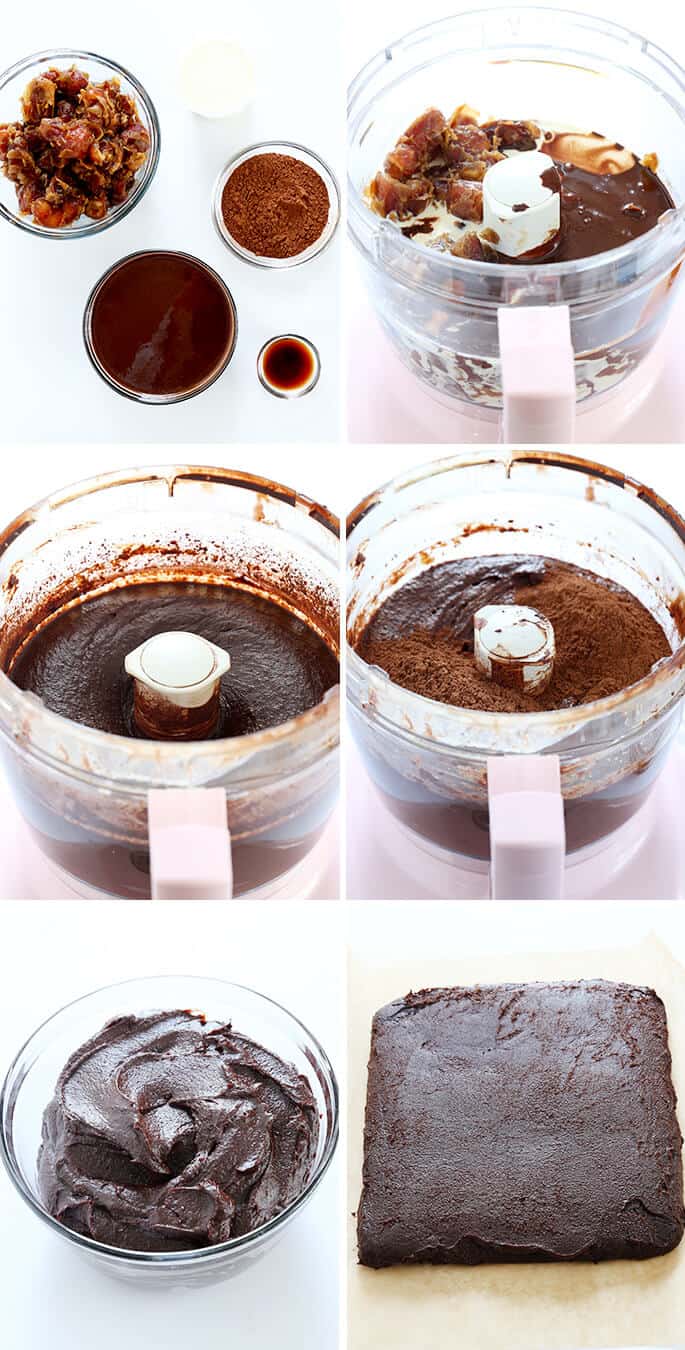
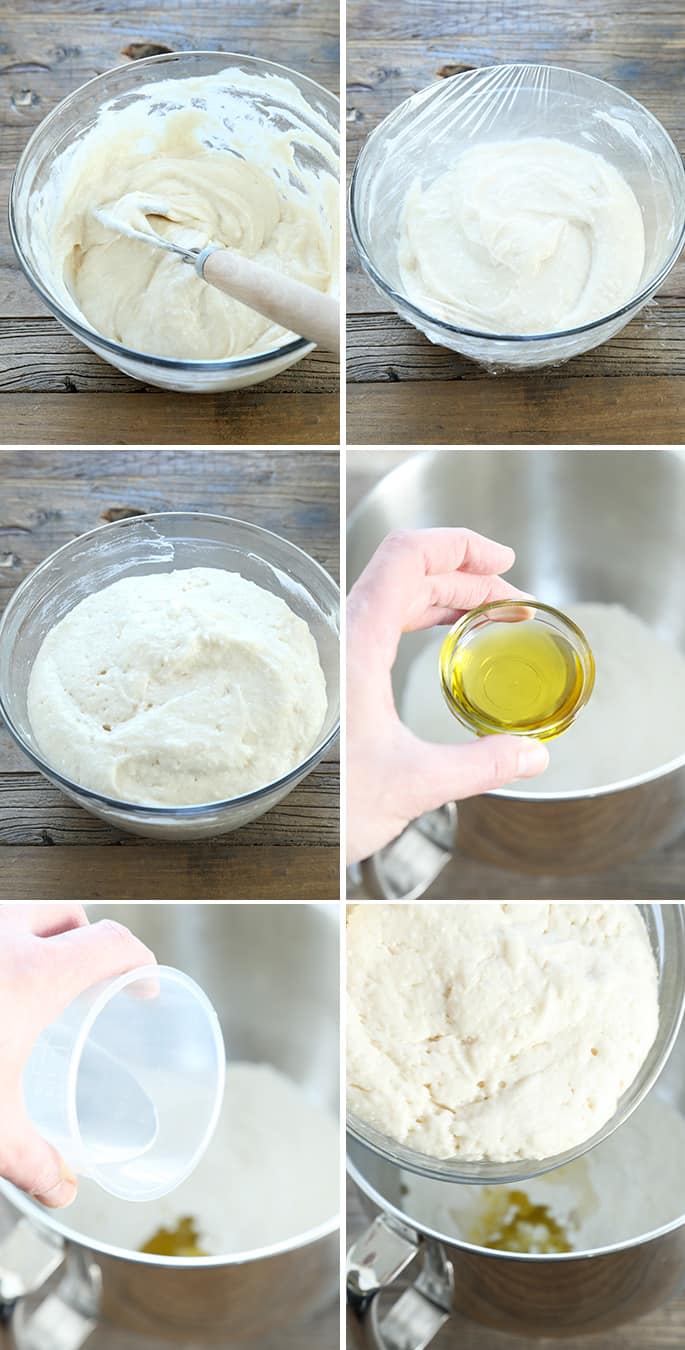
It begins with a starter, which is just a quick-rising flour-yeast-sugar mixture. If I'm being completely honest, sometimes I skip the starter step and just put all the ingredients in the mixer at once. But the dough is always easier to handle when I follow the recipe exactly as written. (Practice what you preach, Nicole!)
If you can't find or can't use all the ingredients in our gluten free bread flour, don't worry! Our classic, old-school recipe for gluten free pizza crust is still available, and it still makes awesome gf pizza!
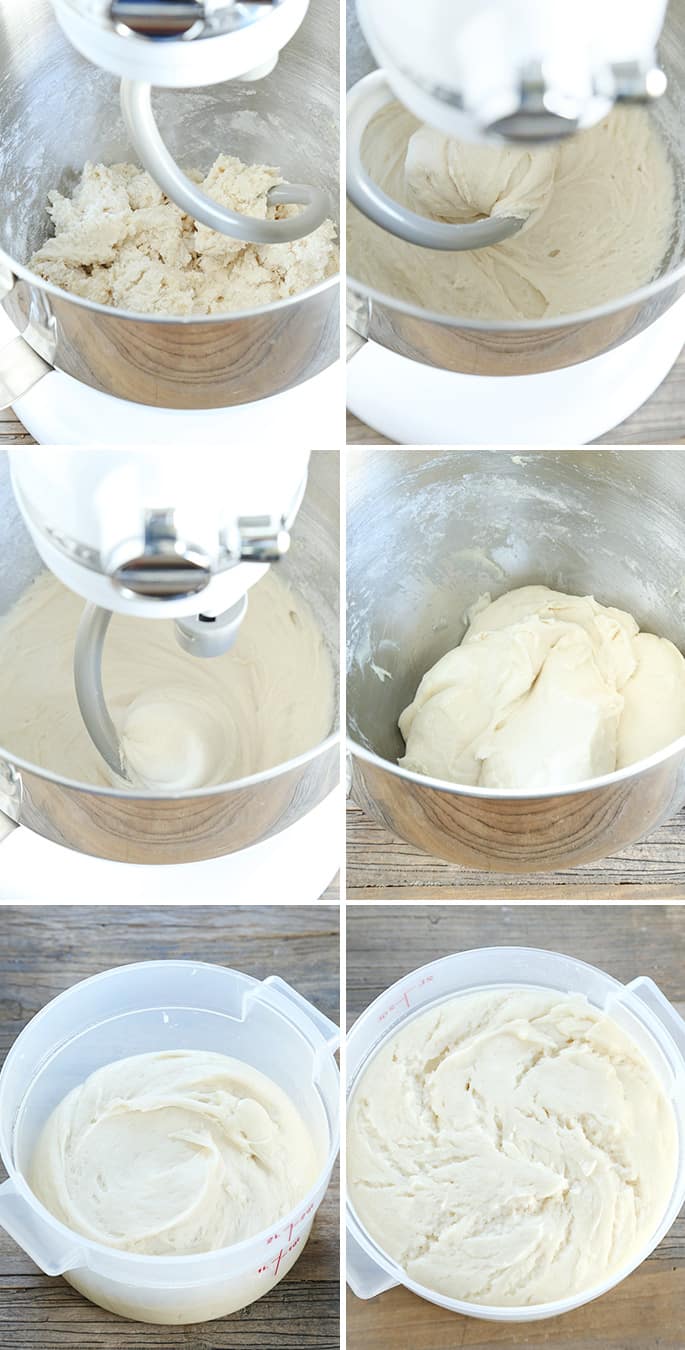
The dough starts off super shaggy, as you can see, but as you knead it with a dough hook (in a stand mixer or a handheld mixer with dough hooks) it becomes smoother and even lightens a bit in color. When you reach the point where it is done being kneaded, the dough will come off the sides of the bowl cleanly when scraped with an oiled spatula. All that's left to do is seal the dough in a proofing bucket or other well-sealed container and pop it in the refrigerator for at least an hour. Closer to 12 hours and the dough will be easier to handle, but as long as the dough is cold, you can work with it.
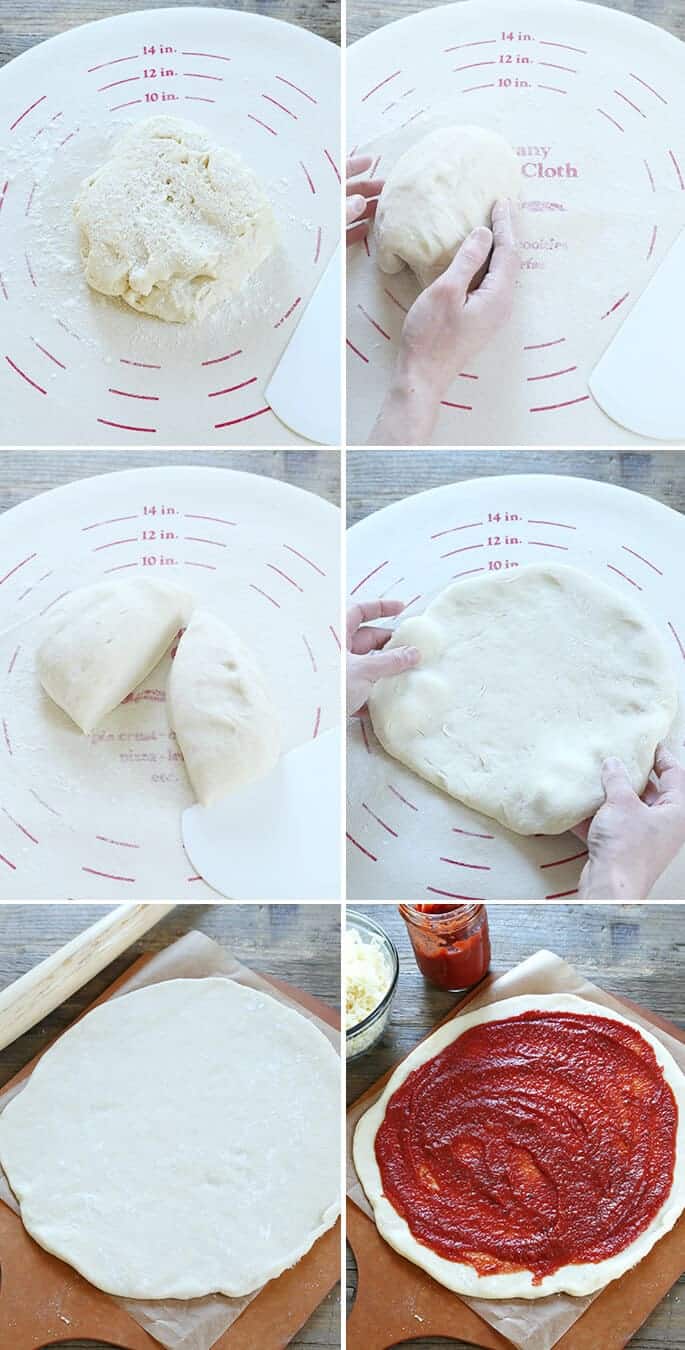
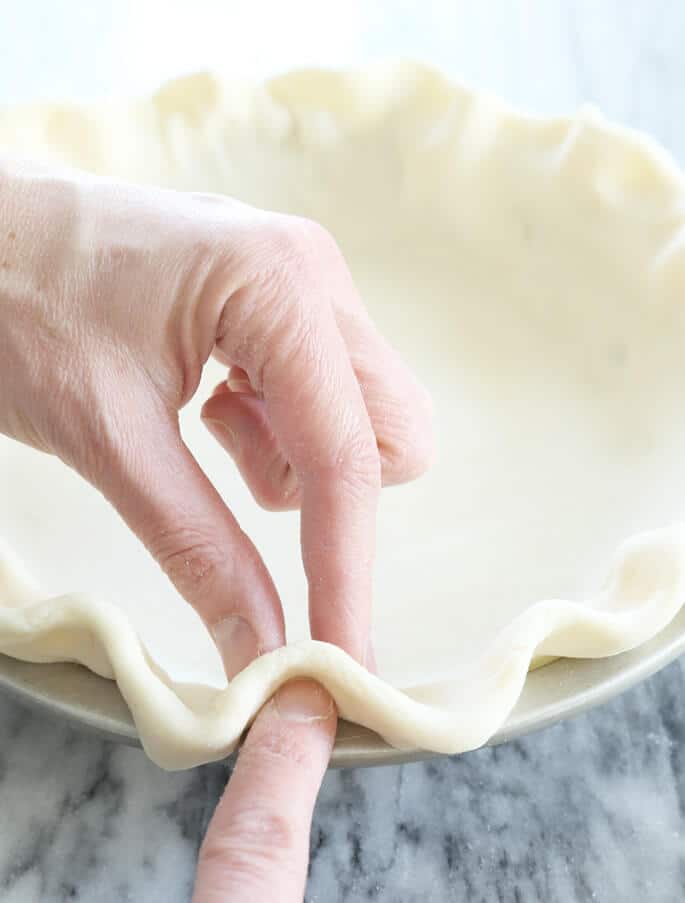
The risen dough will look a bit shaggy again, but kneading it very lightly with some extra gluten free bread flour will smooth it right out. Then it's ready to be patted and rolled into a round.
In case you need it, when the bread book first came out, I filmed a quick iPhone video of me shaping the dough into a round. But really, any way you get it into shape is perfectly fine.
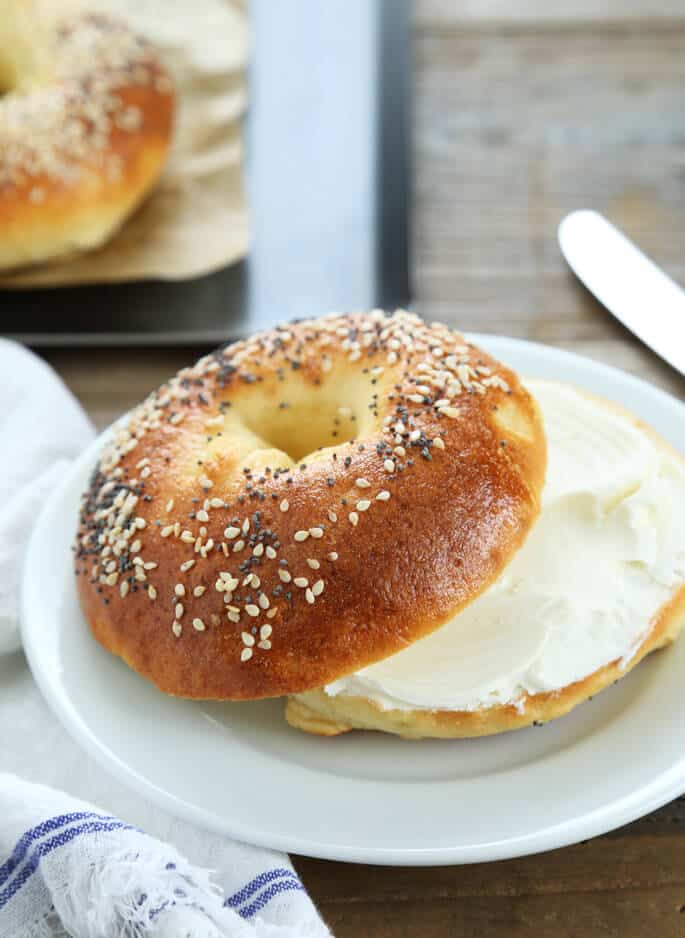
Then just top it with sauce and cheese, and bake it. If you have a pizza stone, great. If not, an overturned baking sheet that allows some more air circulation will work.
As far as I'm concerned, an authentic gluten free pizza crust recipe is more than just a way to eat bread and cheese (I know, cue the violins ?). It's proof. Proof that, if they can make it with gluten, we can make it without—and demand that it's good.
Proof that we can have Friday night pizza nights (that are even easy on the adults, since the dough takes minutes to prepare and can be made up to five days ahead of time). Proof that we don't have to accept a cracked and crumbled crust as the best we can do. Let's do better.