This post may contain affiliate links. Please read our disclosure policy.
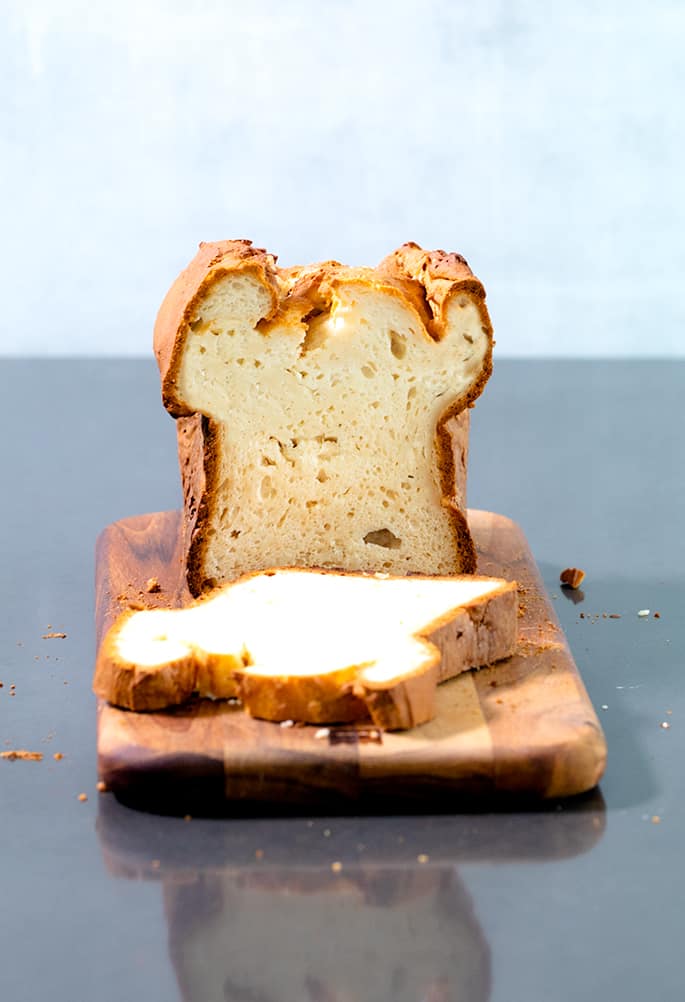
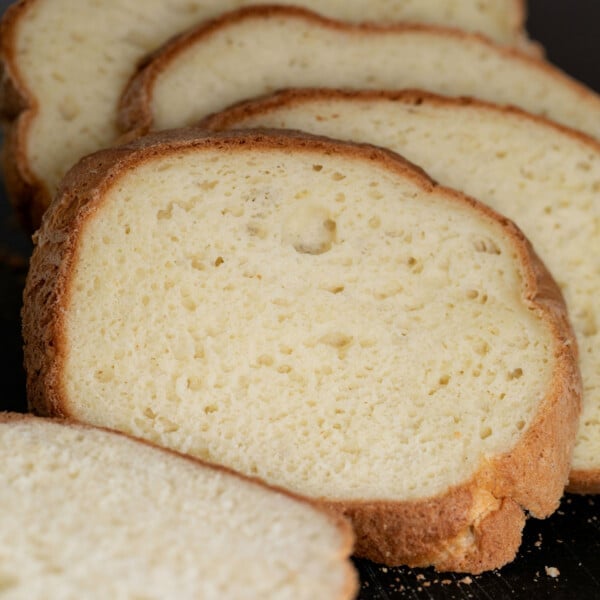
This yeast free gluten free bread recipe is perfect for sandwiches and needs no rising time or advanced preparation at all. If you're in a hurry, or just can't have yeast, this bread is for you!
Why you'll love this yeast free gluten free sandwich bread
You probably know that I've written 5 gluten free cookbooks, but you may not know that I didn't choose the subject of my second cookbook. At the time, I was so thrilled that my publisher wanted me to write a second cookbook, and thought nothing of the fact that they were dictating the subject.
I remember being kind of freaked out that there were other gluten free cookbooks already on the market that were called “quick and easy.” My editor was like, um, Nicole, it's basically a category of cookbooks. Relax.
I had a subject, then, but no hook. I flat out refused to make every single recipe in the book ready in 30 minutes or less (I'm not Rachael Ray!). Too arbitrary.
So I decided to add as many baking recipes as I could that were yeast-free. No yeast means no rising time, which means quick and easy!
How to make gluten free sandwich bread without yeast
I had already developed this very yeast free gluten free bread recipe for the blog after being asked a few times over the years whether there was any way to substitute yeast in my yeast bread recipes, especially my classic gluten free bread recipe for sandwiches. At first, I figured, um, no way. It's yeast bread.
And generally, there is no substitute for yeast. Chemical leaveners such as baking soda and baking powder (which is really just baking soda + cream of tartar + starch) aren't yeast substitutes.
Not really. They're completely different ways of baking, they react more quickly, and produce a much different result in baking.
Usually, baking soda is used in quick breads that tend to be sweet, not savory. But that doesn't mean that I couldn't develop an entirely different recipe for yeast free bread that could be used for sandwiches.
I tried to give the bread as much chance of success as possible, so little by little, failure after failure, I added more support. It turned out that egg whites were really the key to adding structure and support.
Even though egg whites are mostly liquid, they actually tend to dry out baked goods so the recipe would need plenty of moisture for balance.

This recipe was such a success when I first posted it on the blog many years ago. I ended up deleting the post, though, most likely in a fit of shame.
The photos were just horrid. I remember also being a little nutso with the text overlays that were (I swear!) popular on blogs at the time.
Along with the success on the blog of my recipe for gluten free yeast free pizza crust (one of the most popular posts on the whole blog!), and how much you love my recipe for yeast-containing gluten free bread recipe for sandwich bread, it seemed time to bring this recipe back.
It's a high-rising-then-falling sort of bread, so expect the shape to be a little unusual. You can score the top of the raw bread to help it split in the center rather than more irregularly, but it won't matter too much. Just be sure to bake it until a toothpick comes out entirely clean and all will be well.
The crust is thick and bakery-like, and the crumb is moist and tender but surprisingly strong. Expect some crumbs when you slice into it, and be sure to let it cool first. It freezes quite well after being sliced, too.
Ingredients and substitutions
Since this recipe was developed as a response to all the substitution questions I have always gotten on the blog, it seems only fair to advise you on how to make more substitutions!
But remember that the more substitutions you make, the further the recipe gets from its original roots and the more likely it is to fail.
Whey powder: In recent years, whey protein powder is much more commonly available than whey powder. This recipe calls for whey powder, which I have always purchased at Whole Foods or my local natural foods store.
If you have trouble finding it and you can have dairy, I recommend using nonfat dry milk in place of the whey powder.
Dairy: I've made this recipe dairy free at least 100 times, but there are a few things to note. For milk, just use your favorite unsweetened, nondairy milk.
In place of butter, use either virgin coconut oil, Spectrum nonhydrogenated vegetable shortening, or Melt brand VeganButter.
Instead of whey powder, you can use soy powder or egg protein powder. But since the egg protein powder tends to lead to a larger rise than either whey powder or soy powder, if you use it I recommend reducing the baking powder from 4 teaspoonsful to 3 and using about 1 tablespoon less milk.
Eggs: This recipe is quite egg-dependent, so making it egg-free is a tough one. Since it's only egg whites, I'd recommend trying aquafaba and treating it just the same as you would the egg whites as instructed in the recipe.
Cream of tartar: This ingredient is used to help stabilize the whipped egg whites. In its place, you can use 1 teaspoon of freshly squeezed lemon juice.
Honey: In place of honey, you can use agave syrup or Lyle's golden syrup. If you'd like to use pure maple syrup, I'd recommend using 1 1/2 tablespoons (32 grams) rather than 2 as it's less viscous.
Yeast Free Gluten Free Bread for Sandwiches
Ingredients
- 4 (100 g) egg whites, at room temperature
- ¼ teaspoon cream of tartar
- 3 cups (420 g) all purpose gluten free flour blend, (I used Better Batter; please click thru for full info on appropriate blends)
- 2 ½ teaspoons xanthan gum, (omit if your blend already contains it)
- 1 teaspoon (6 g) kosher salt
- 5 tablespoons (45 g) whey powder, or nonfat dry milk
- 4 teaspoons baking powder
- 6 tablespoons (84 g) unsalted butter, melted and cooled
- 2 tablespoons (42 g) honey
- 2 teaspoons apple cider vinegar
- 1 ½ cups (12 fluid ounces) milk, at room temperature
Instructions
- Preheat your oven to 375°F. Grease and line a 9 inch x 5 inch loaf pan and set it aside.
- In the bowl of a stand mixer fitted with the whisk attachment, beat 2 of the egg whites on high until stiff (but not dry) peaks form, adding the cream of tartar about halfway through.
- With a silicone spatula, gently scrape the beaten egg whites into a medium-sized bowl and set the bowl aside.
- In a separate, medium-size bowl, place the flour, xanthan gum, salt, whey powder and baking powder and whisk to combine.
- To the bowl of the stand mixer fitted with the paddle attachment, place the butter, honey, vinegar, the 2 remaining egg whites, and milk, then top with the dry ingredients and mix to combine well. The batter will be stiff and thick.
- Add one-third of the whipped egg whites to the dough, and slowly mix using the paddle attachment until the egg whites are incorporated into the batter.
- Remove the bowl from the mixer, and gently fold the remaining egg whites into the batter until nearly no white streaks remain.
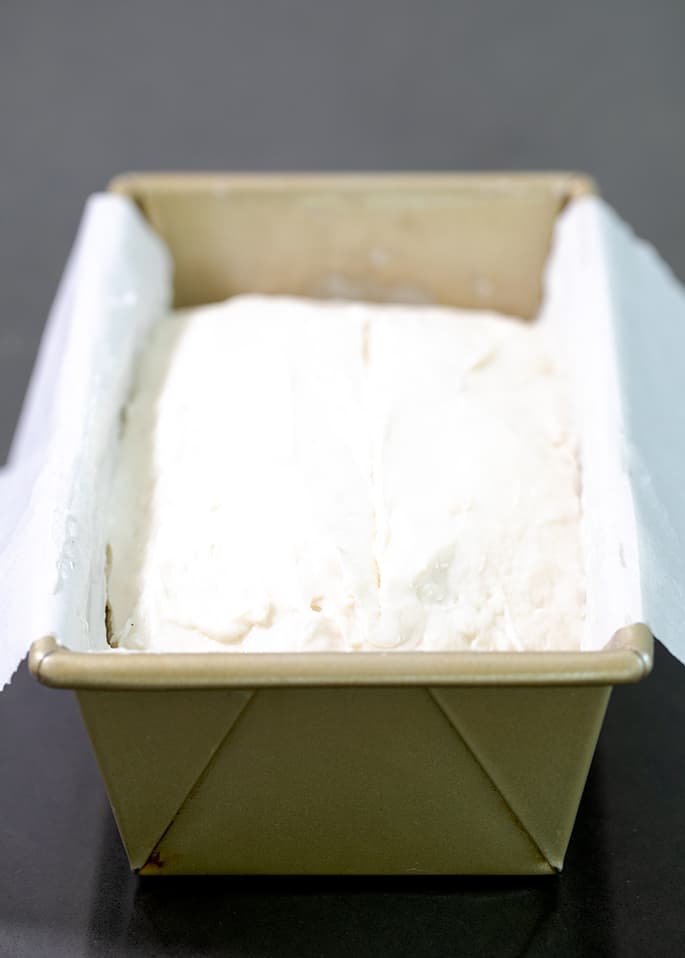
- Scrape the dough into the prepared loaf pan.
- Smooth the top of the dough in the pan with a wet spatula.
- Grease the underside of a piece of aluminum foil and tent the loaf pan with it.
- Place the loaf pan in the center of the preheated oven, and bake for about 50 to 60 minutes (rotating once during baking).
- Remove the foil and continue to bake until the top is brown and a toothpick inserted into the center comes out clean.
- The bread will rise higher than you expect and will fall as it cools.
- Allow the bread to cool for a few minutes in the pan, and then turn out onto a wire rack to cool completely before slicing and serving.
Video
Nutrition information is automatically calculated, so should only be used as an approximation.





I can’t do the whey powder. Any substitutions available?
Please see the section of the post titled Ingredients and Substitutions, Gayle!
I can’t do vinegar :( would it be possible to sub out lemon juice like I do in other recipes?
That should work fine, Hannah. I haven’t tried it so I can’t 100% promise, but I imagine it would work.
Any idea how to use a nut flour instead if the GF flour? I’m trying to stay away from wheat completely?
I’m afraid you can’t replace the grain-based flour blend with a nut flour, Jennifer, but nothing on the entire blog is wheat-based at all. If you’re staying away from grains completely (if that’s what you meant!), try my Paleo recipes.
The video says to bake at 375, the recipe directions say 350. Which works better? Thanks ?
So sorry about that, YM! The correct temperature is 375°F. I’ve edited the recipe to reflect that. Thank you for pointing that out!
Oh I forgot to ask… I wanted to make individual “popover” type bread for a ladies luncheon I have coming up, so could I use a muffin pan for this type of bread? Do you know how much time to allow in the oven? I adore your recipes and have used so many!!
Hi, Judi, I recommend using my recipe for gluten free popovers! It’s from my very first cookbook (and the second edition reboot as well), and it’s reprinted here on the blog. Please use the search function!
Hi Nicole – I don’t have a stand mixer with paddle attachment so could I just use a regular hand mixer with dough hook attachment or would that ruin the dough.