This post may contain affiliate links. Please read our disclosure policy.
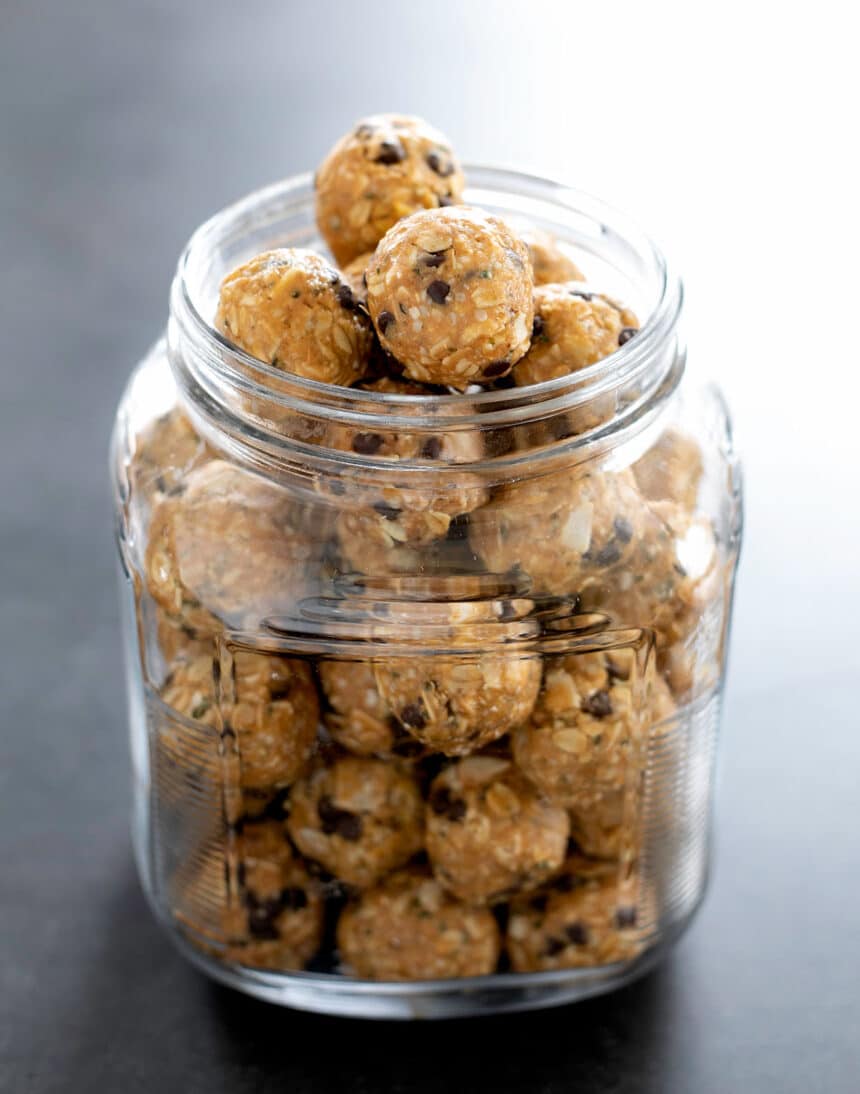
These protein balls are delicious, satisfying, and easy to make without protein powder of any kind. Made at home, these protein balls costs about 20¢ each to make; buy them in a store, they might cost you about $1.79 each (no joke).
If your family is always hungry, like mine seems to be, these bites are the perfect snack to have around. They're even great for breakfast on the go.
“Absolutely amazing! I made these as a pre-track snack without the chocolate chips since I’m dairy free and they were great. I definitely would recommend it to anyone!!”
my take
Nicole's Recipe Notes
- Quick and easy: There only 7 main ingredients, and if you skip toasting any of the ingredients, they're also no-bake. Just mix, portion, roll and eat.
- Texture: A combination of rolled oats and oat flour gives them a really satisfying chew.
- Taste: Honey, peanut butter and vanilla add tons of flavor. Toasting the seeds, oats and coconut enhances their aroma and taste, too.
- Packed with protein: Just one bite contains 6 grams of protein even without adding protein powder. Plus lots of whole grains for fiber, all of which keep you satisfied.
- Versatile: You can replace nearly every ingredient with something with a different taste or texture.

Recipe ingredients
- Old fashioned rolled oats – If you can't have oats, try picking a substitute for oats like flattened rice or flattened buckwheat.
- Coconut flakes – a delicious, nutritious binder full of healthy fats
- Hemp seeds – I like these, but you can also try chia, hulled sunflower, pumpkin, or flax seeds
- Oat flour – This helps hold the bites together better than just rolled oats can.
- Salt – a must for balancing all the different flavors
- Peanut butter – smooth, no-mix peanut butter works best; natural peanut butter is usually too runny
- Honey – or maple syrup – helps to bind the recipe ingredients while adding a touch of sweetness
- Vanilla extract – just a bit adds such big flavor
- Mini chocolate chips – add more sweetness without taking these overboard
How to make protein balls without protein powder
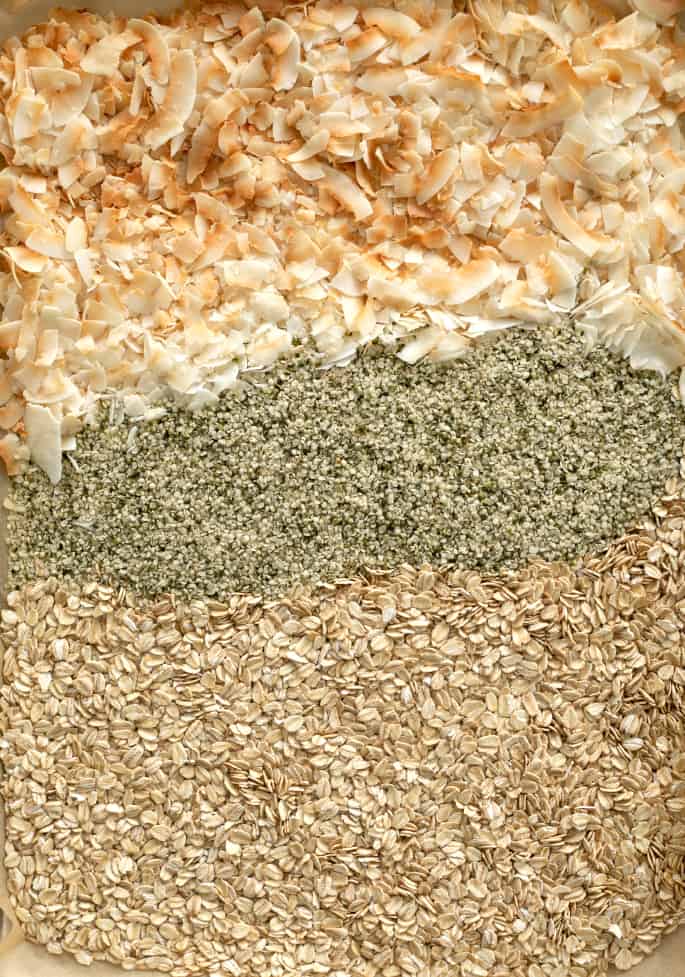
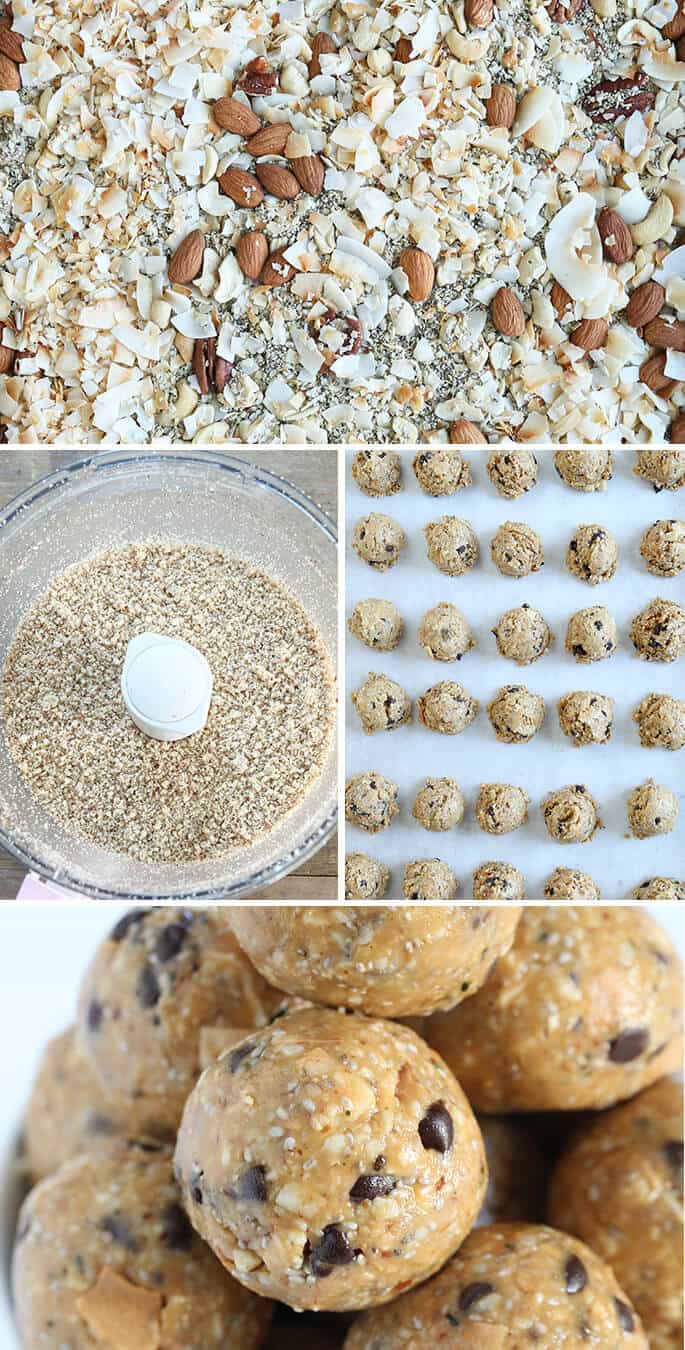
This is a no-bake recipe, but if I often toast the oats, coconut, and seeds in a 300°F oven for about 15 minutes at the start. It really helps to intensify and deepen the flavors. You could also try toasting them on the stovetop in a cast-iron skillet just until they smell fragrant.
Place the oats, coconut flakes and seeds plus salt and oat flour in a large bowl. Add the peanut butter and honey and mix.
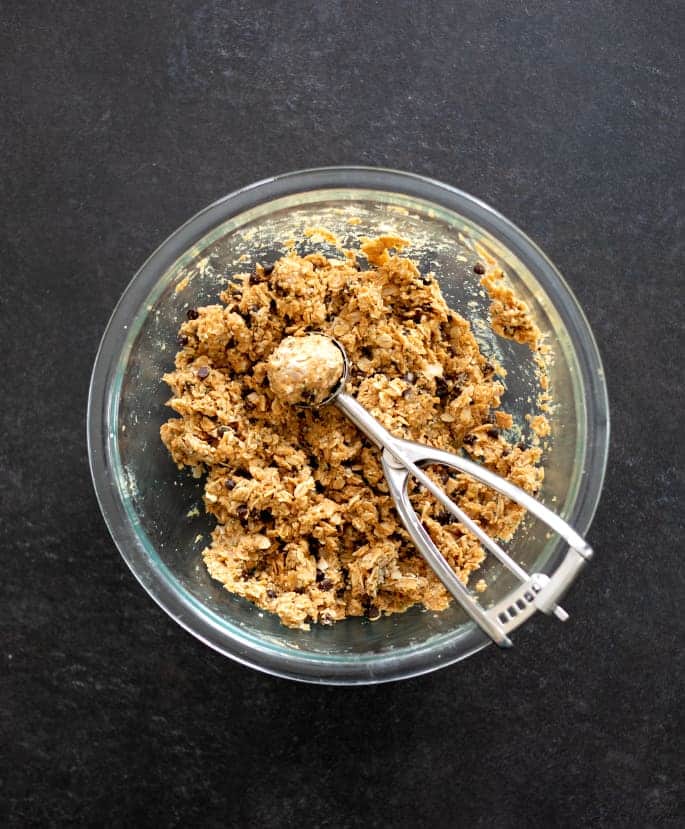
Press down the mixture with the back of a spoon to moisten the bulky ingredients with the peanut butter and honey. The raw batter should be thick enough to hold its shape when pressed together, but not so stiff that the mixture falls apart soon after.
If you toasted any of the ingredients first, let the mixture cool to room temperature before adding the few miniature chocolate chips or they'll melt.
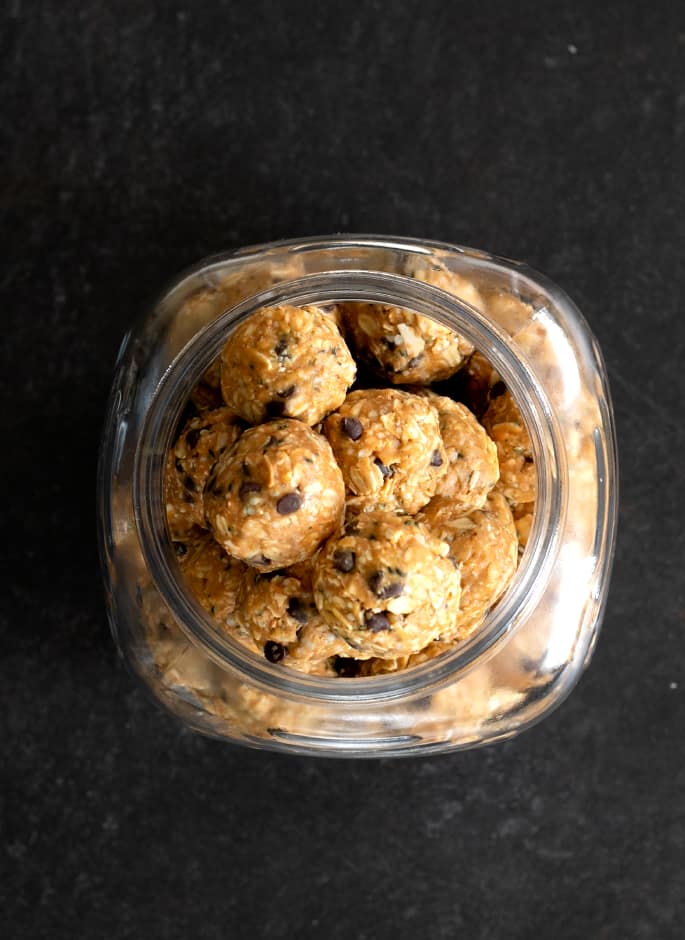
Use an ice cream scoop or your fingers to create heaping tablespoon size portions. Roll each tightly into a ball between your palms. Place them in the refrigerator to chill, then pile them into a container with a lid.
Expert tips
Use an ice cream scoop
Eyeing up the protein bites dough and pinching off pieces is a perfectly legitimate way to divvy up the batter. But if you want more consistent sizing across your energy balls, use an ice cream or cookie scoop.
Wait before adding chocolate chips
Be sure that the mixture is completely cool before adding mini chocolate chips or they will melt immediately after you add them.
Refrigerate before rolling
I find that it's much easier to roll an energy ball when the dough is cold. If you find that your mix is too soft to handle, just stick the mixing bowl or portioned batter into the fridge for about 30 minutes. When it comes out, it will be firm enough for easy handling.
Ingredient substitutions
Peanut butter-free
If you can't have peanut butter, almost any other nut butter will do. Almond butter is the perfect substitute, and cashew butter will make a more neutral-flavored energy bite. Just make sure it's the no-stir kind, where the oil doesn't separate.
Nut free
ITry replacing the peanut butter with “Wow Butter,” which is made from toasted soy, or “Sunbutter”, which is made from sunflower seeds. You may need to add some more oat flour if the mixture seems a bit too soft.
Vegan
If you want to make these vegan or just don't like honey, you can use a combination of half maple syrup, half unsulphured molasses (like Grandma's brand). Maple syrup alone is too thin and not sticky enough to replace honey.
Protein powder
If you'd prefer something with protein powder, try my recipe for homemade protein bars. There are lots of different flavor variations, and have the texture of a brownie.
Or try adding more protein to these biters with your favorite vanilla protein powder. Add 1 scoop (about 30 grams) vanilla protein powder to the mixture and reduce the oat flour by the same amount. If the mixture seems too sticky, add a bit more oat flour until the consistency seems right.
Seeds
I buy shelled hemp seeds at my local Trader Joe's market. You can also use chia seeds, hulled sunflower seeds, or pumpkin seeds (chopped first).
Grain free
In place of oats and oat flour, use twice as many coconut flakes, and a combination of assorted raw nuts. I recommend using at least 1/2 cup cashews in that mix, since they're a soft, mild nut that helps bind together the other ingredients in a similar way to how the oat flour does in the oat-containing recipe below.
- 2 cups (240 g) assorted raw nuts (I recommend 1 cup (120 g) raw cashews + 1/2 cup (60 g) raw pecans + 1/2 cup (60 g) raw almonds; use at least 1/2 cup cashews)
- 1/2 teaspoon kosher salt
- 4 cups (160 g) unsweetened coconut flakes
- 1 1/2 cups (384 g) smooth, no-stir peanut butter (can substitute almond butter another favorite no-stir nut butter)
- 1/2 cup (168 g) honey (Lyle’s Golden Syrup is a good substitute)
- 1 cup (160 g) hulled raw seeds (I recommend a combination of hemp, chia, and/or flax seeds)
- 4 ounces miniature chocolate chips
In the bowl of a food processor fitted with the steel blade, place the raw nuts, salt, and about 2 cups (half) of the coconut flakes. Pulse the mixture until the mixture resembles coarse crumbs (3 or 4 times).
Microwave the peanut butter and honey mixture in a large microwave-safe bowl on 60% power for 30 seconds to loosen the mixture. Add the nut and coconut mixture, the seeds and the remaining coconut, and mix until well-combined. Allow the mixture to cool fully, and then mix in the miniature chocolate chips.
Scoop the mixture by the heaping tablespoon onto the prepared baking sheet (a #50 ice cream scoop works perfectly). You should have about 40 portions. Roll each portion tightly into a ball between your palms.
Place the baking sheet in the refrigerator to chill until firm. Serve chilled. They will hold their shape at room temperature, but I prefer them chilled.
Protein Balls Recipe
Ingredients
- 2 cups (200 g) old fashioned rolled oats, (gluten free if necessary)
- 1 cup (80 g) unsweetened coconut flakes
- 1 cup (160 g) hulled raw hemp seeds, (can substitute chia seeds, hulled sunflower seeds, flax seeds or pumpkin seeds)
- ½ cup (60 g) oat flour, (gluten free if necessary)
- ½ teaspoon kosher salt
- 1 ½ cups (384 g) smooth peanut butter
- ½ cup (168 g) honey
- 1 teaspoon pure vanilla extract or your favorite flavoring, we really like McCormick brand butter flavoring
- 4 ounces miniature chocolate chips
Instructions
- Line a large, rimmed baking sheet with parchment paper and set it aside. In a large bowl, place the oats, coconut flakes, hemp seeds, oat flour, and salt, and mix to combine well. Set the bowl aside.
- To intensify the flavor of the whole oats, coconut, and seeds, place them all together on a lined baking sheet in a single layer and toast them in a 300°F oven (or toaster oven, in batches) for about 15 minutes, stirring once. Then, transfer them to a large bowl, add the salt, and proceed with the recipe as written.
- Create a well in the center of the dry ingredients, add the peanut butter, honey, and vanilla extract or other flavoring, and mix until well-combined. Allow the mixture to cool for at least 10 minute.
- Once the mixture has cooled enough that it won't melt chocolate, add the miniature chocolate chips. Mix until the chips are evenly distributed throughout. If you add the chips when the mixture is hot, the chips will all melt.
- Scoop the mixture by the heaping tablespoon onto the prepared baking sheet (a #50 ice cream scoop works perfectly). You should have about 36 portions.
- Roll each portion tightly into a ball between your palms. Place the baking sheet in the refrigerator to chill until firm. Serve chilled.
- They will hold their shape at room temperature, but I prefer them chilled. Transfer the bites to a large container with a lid, and store in the refrigerator for anytime snacking.
Video
Notes
Nutrition
Nutrition information is automatically calculated, so should only be used as an approximation.
Storage instructions
Store prepared protein balls in an airtight container and they'll last about a week at room temperature. Refrigerate for another week after that, or for 2 week total.
For longer storage, you can freeze them for about three months. Let defrost in the refrigerator or on the counter until soft enough to bite.
Recipe variations
- cocoa powder – sprinkle in some cocoa powder to make chocolate peanut butter balls
- cranberries – chop up dried cranberries for a tangy twist; dried cherries will also add a nice tartness
- dates – chopped dates are a good option if you want a richer taste, but feel free to also experiment with other dried fruit
- protein powder – these are protein balls without protein powder when made as written, but you can add about 1/2 scoop of your favorite protein powder for an added boost
- raisins – add chopped raisins to your mix for an oatmeal raisin flavor
FAQs
There's nothing unsafe about eating raw oats, but if you prefer the taste of them toasted, follow the instructions in the recipe for lightly toasting them in the oven.
No, they won't hold together properly as bars, so I'd recommend using our recipe for homemade protein bars instead!
As this recipe allows for so many variations, it's hard for me to list nutrition/serving size info. I have approximate nutritional information listed in the recipe card below of about 180 calories per ball, but if you don't use precisely the same ingredients I do, your results won't be the same.
If your unformed batter is dry and crumbly, add more wet ingredients like peanut butter or honey to help with binding. Be sure to taste the batter as you go and add wet ingredients slowly. If you need more sweetness, add more honey, but add moisture sparingly or your bites will end up too soft to hold their shape.



What happened to the old recipe with no oats? I loved that one so much, and now it has oats and isn’t chocolate/cookie dough flavored.
Hi, Abbie, that version is now just a variation of this recipe, listed in the text of the post under the heading “grain free, gluten free power balls.”
Love your description and the flexibility in the recipe. I have made them so often and have a few different proportions to make them stick together easily.
Hi NIcole,
I am loving your recipes! I am just wondering if they can be made without peanut butter? What is a good substitute?
Hi, Michelle, I’m so glad you’re enjoying the recipes! Yes, please see the Ingredient substitutions heading in the text of the post under the subheading “Peanut butter-free”!
I see that I asked a question below about these last summer! I finally made a batch this morning and just had one after lunch. They are wonderful! Thank you! I didn’t have oatmeal flour and didn’t feel like grinding oats; 1/2 cup more of the coconut flakes worked well. I’m wondering how these would freeze.
Glad you enjoyed them, Diane. Yes, you can freeze them. Please see the text of the post under the recipe card with the header “Storage instructions” for details.
So I have to admit that I made these in Mid May and metered them out, usually adding one if my lunch was too light on protein, and I finished the last one this past week. And they were wonderful right up to the last one! Thoughts about substituting almond butter for peanut butter?
Hi, Diane, so glad you love these and that you were able to make them last so long. They’re the perfect way to round out a lunch! If it’s a thick, no-stir almond butter like Barney Butter, I can say from personal experience that it works perfectly well.
Absolutely amazing! I made these as a pre-track snack without the chocolate chips since I’m dairy free and they were great. THey took me like 30 minutes (I was also singing at the top of my lungs the whole time so that have affected it). I definitely would recommend it to anyone!!
That’s perfect as a pre-track snack, Skylar! And I bet they came out better with the singing. :)
The recipe is amazing. But, the only way you could prepare the protein balls in 15 minutes is if you have a mixer and an assembly line of workers rolling the mixture into balls.
The recipe calls for 80g / 2 cups of coconut flakes. Which one is it? 80g is 1 cup. I’m love the recipe and I’m sure it’ll work either way.
Thank you so much for pointing out that discrepancy, Nicole! It’s 1 cup or 80 grams. I’ve corrected the mistake.
I’m very interested in protein content. I believe that the nutrition information doesn’t indicate what a serving size is. Is a serving size one ball? Thank you.
Hi, Diane, yes, nutrition information is always per individual serving, in this case, per protein ball.
Hi Nicole, your magical “no oat” version seems to have disappeared. All links now point to this recipe instead. Is it possible to get the old one back up? I’m kicking myself for not printing it out. Thanks a billion.
Hi, Ngaire, that version is now just a variation of this recipe, listed in the text of the post under the heading “grain free, gluten free power balls.” I’m planning to include it in the notes section of the printable recipe so you can print it out. But it’s still available in the text of the post. So sorry for the inconvenience!
This is a new favorite! I make energy bites routinely but this recipe is better than the others. Toasting the oats, coconut and seeds really does deepen the flavor- yum!
I’m so glad, Erin! These are a tried and true family favorite in my house.