

This post may contain affiliate links. Please read our disclosure policy.
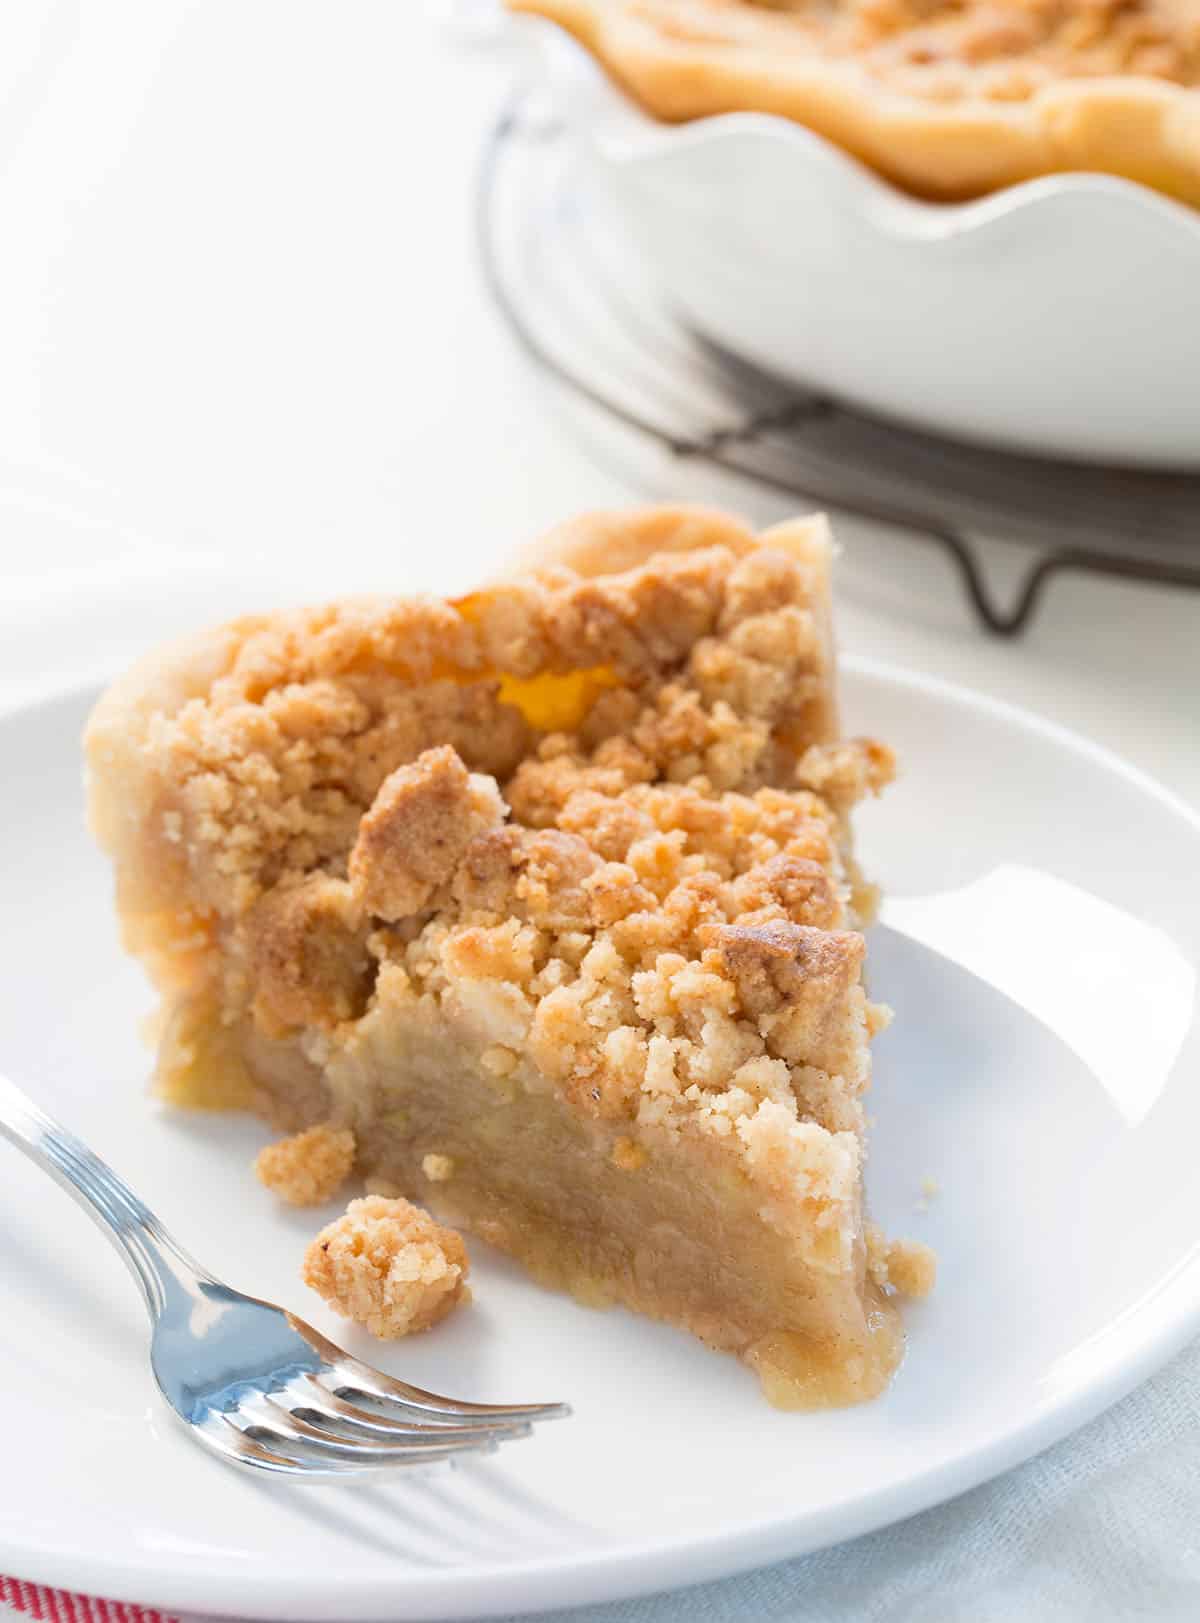
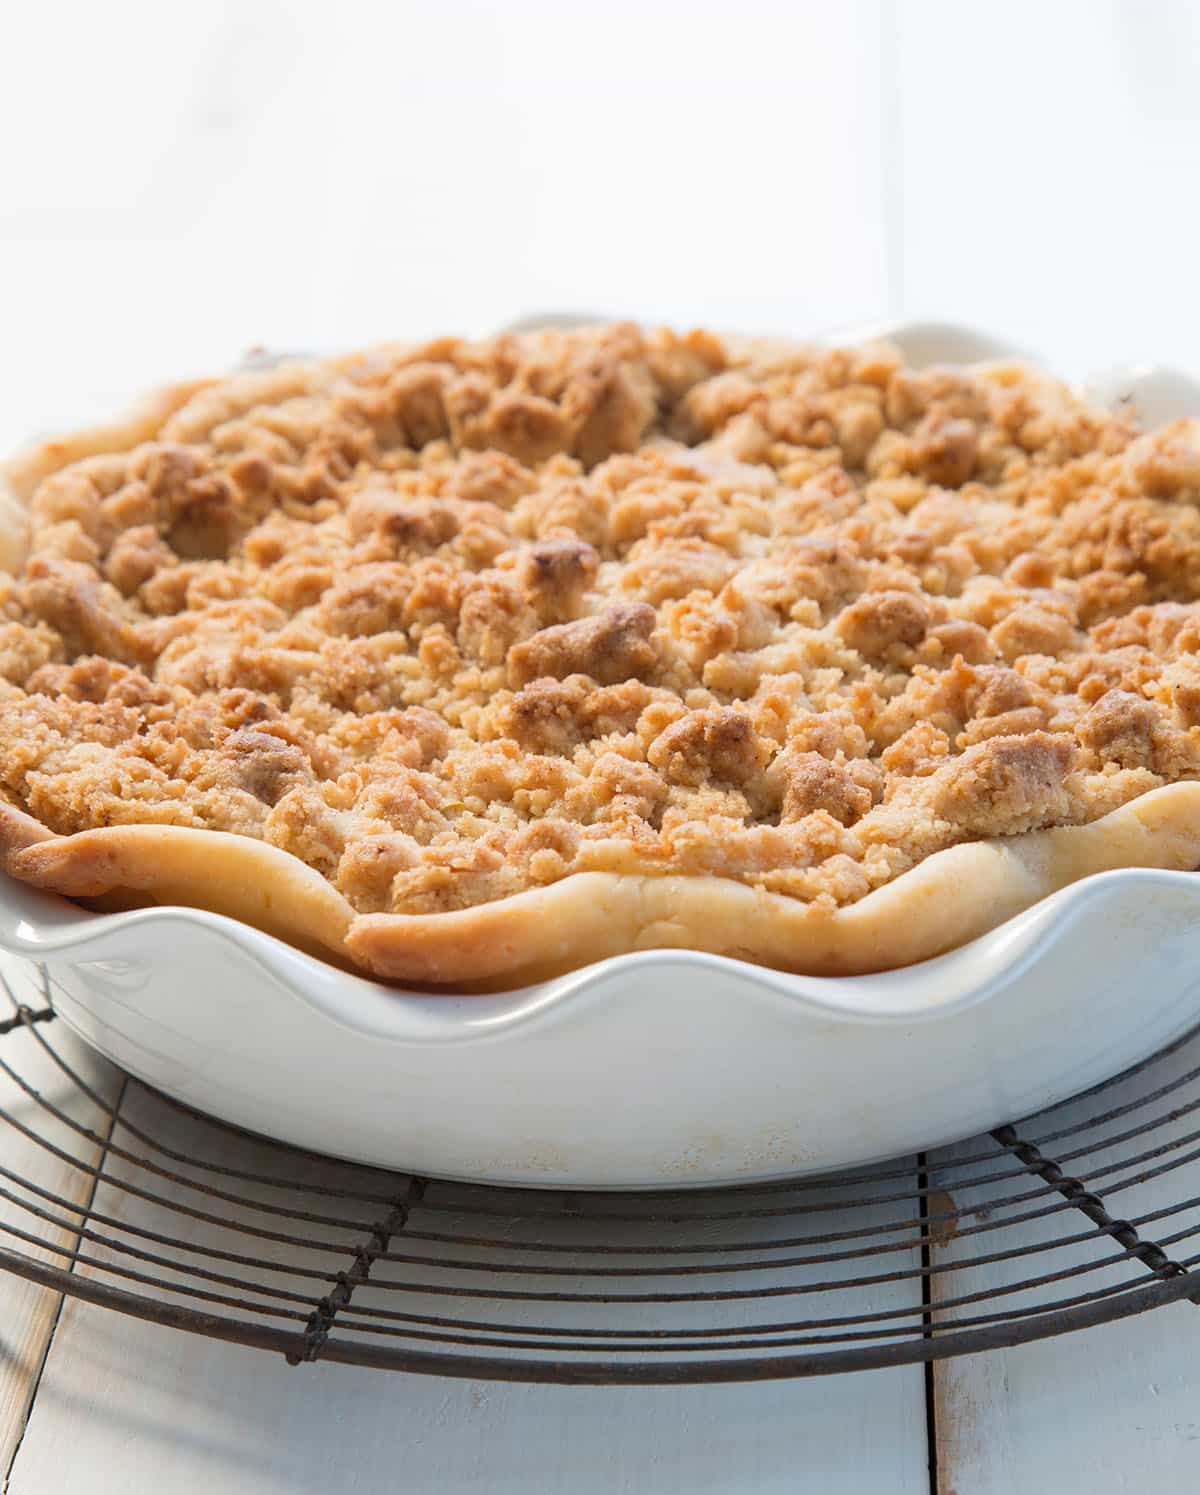
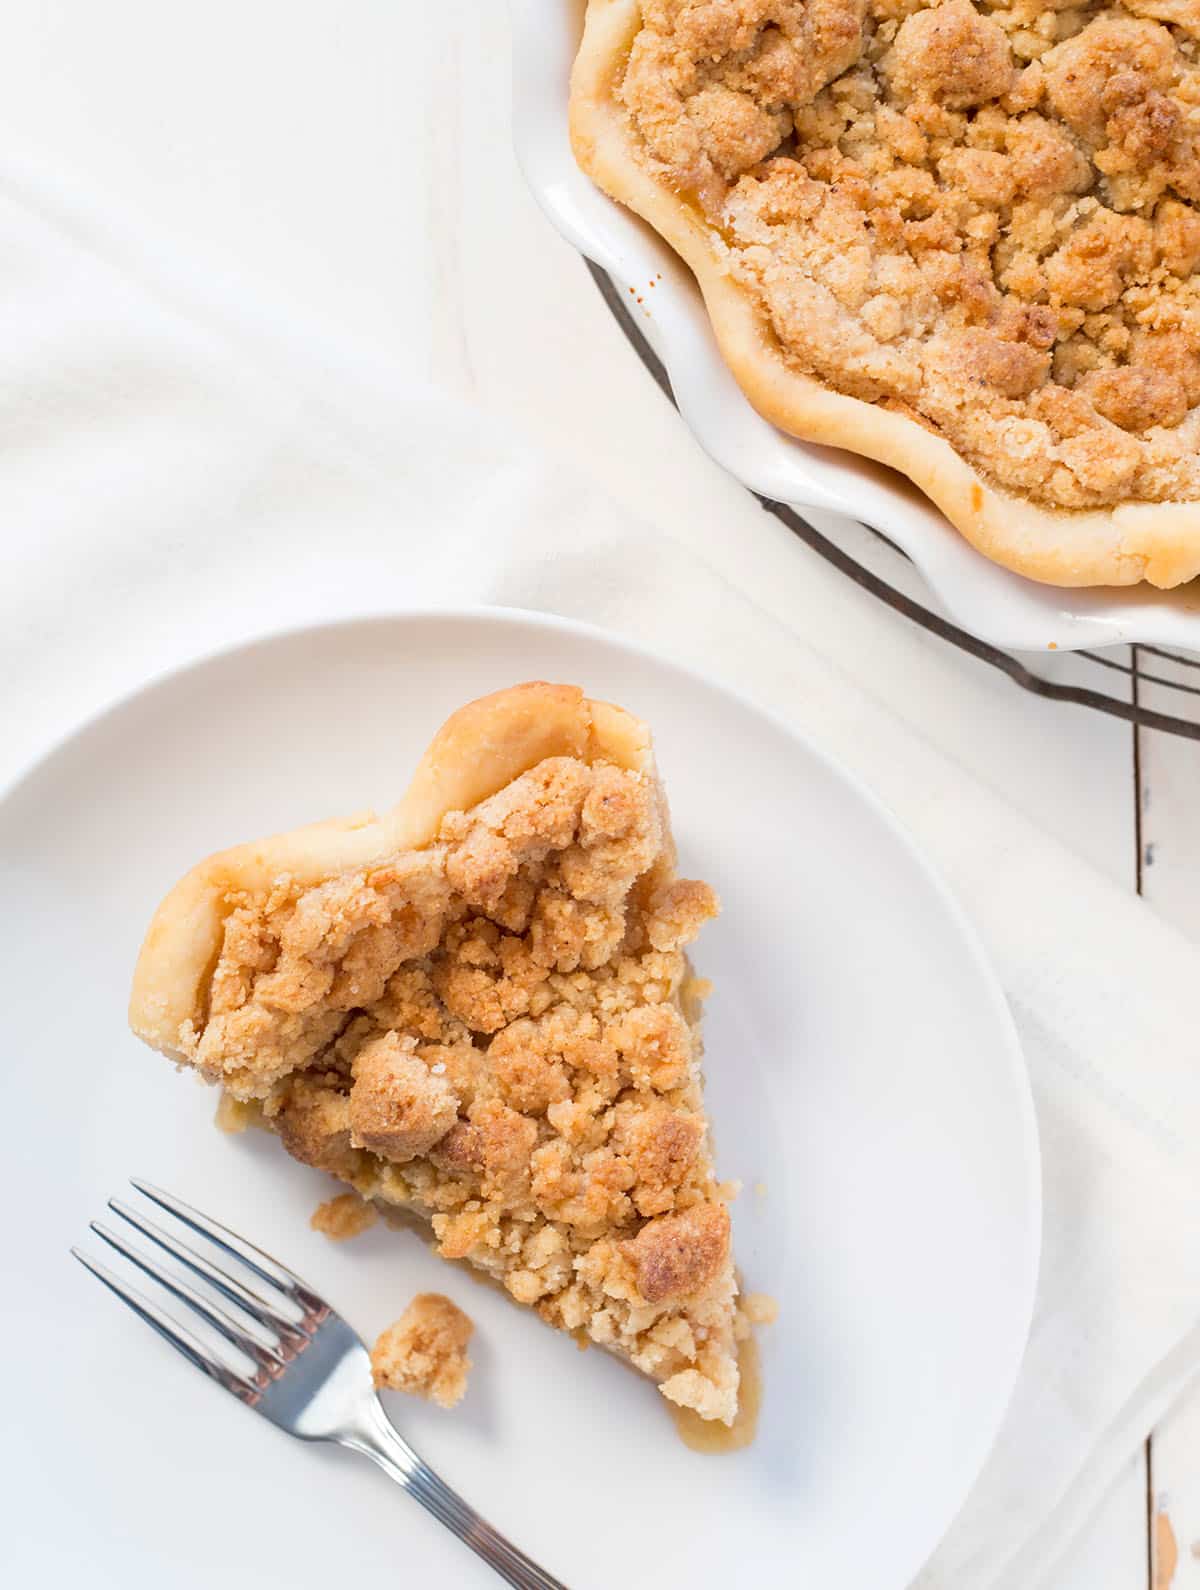
This gluten free apple pie recipe has a classic bottom crust, more than 2 pounds of tart, thinly sliced apples, and a thick, buttery brown sugar crumble on top.
I’ll walk you through all my secrets to make sure the bottom crust stays crisp (never soggy), the apples bake to tender perfection without precooking, and the crumble keeps its shape. Plus, it works in any deep pie pan you have.
Why this recipe works
This Dutch-style apple pie skips the top crust in favor of a thick, crisp brown sugar crumble. It’s like the best part of a coffee cake, and that’s part of why it bakes up so beautifully.
It starts with a sealed, parbaked bottom crust to keep the base crisp. The apples are sliced thin so they soften fully in the oven, no precooking needed, and we leave behind some of their juices to prevent a soggy crust.
The crumble holds its shape because it’s chilled fully before baking. Each layer finishes baking at the same time, so every slice comes out with a tender apple filling, a golden bottom crust, and a crisp, buttery topping.
While you are making pies, make sure to also try my gluten free coconut cream pie and gluten free pumpkin pie as they are delicious!
Recipe ingredients
This pie has three components: crust, filling, and crumble topping. The ingredients overlap a bit, but each one plays a distinct role:
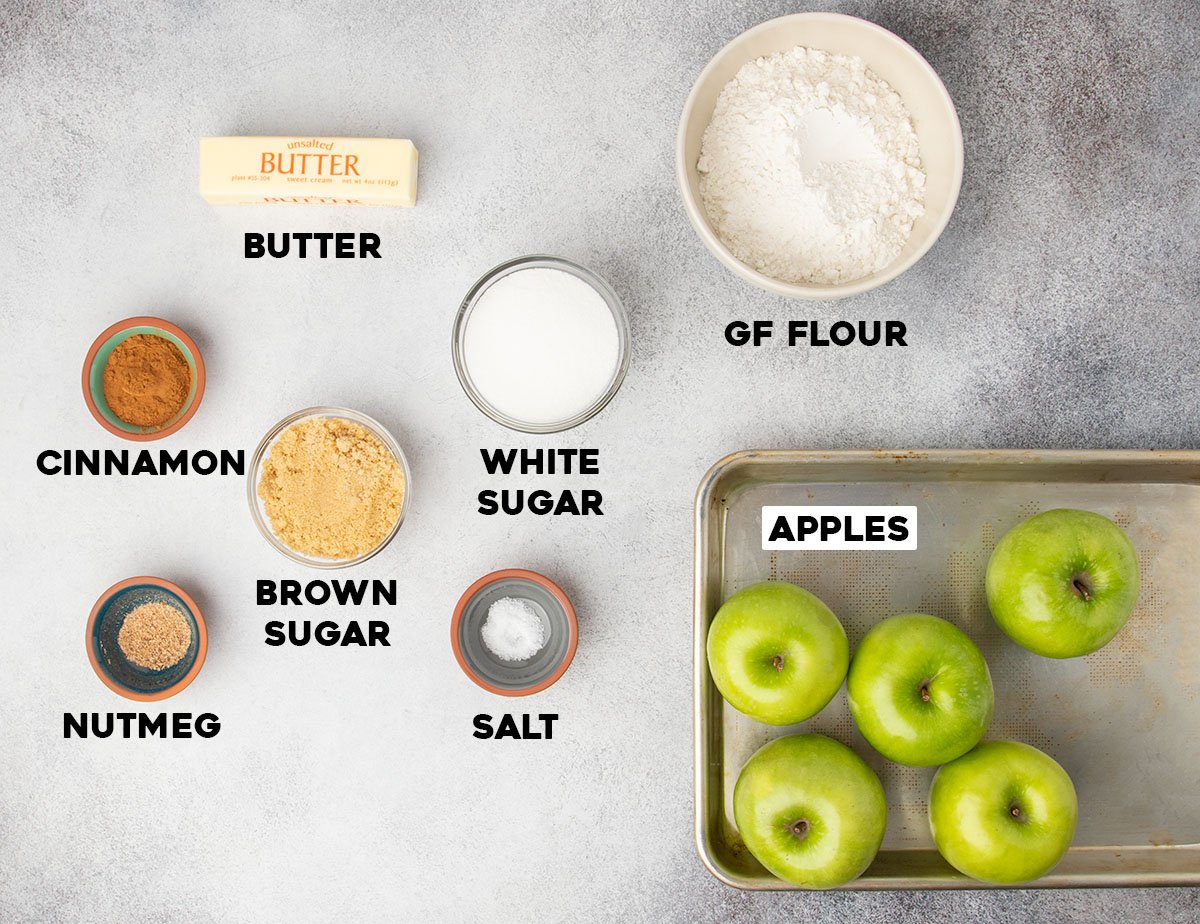
- Unsalted butter: Brings together the flour and sugar in the topping and adds moisture, richness, and buttery flavor.
- Gluten free pie crust: Use my flaky gluten free pie crust recipe, parbaked and sealed with egg white so it doesn’t absorb moisture from the filling. You can also use a store-bought crust, if you can find one you like.
- Apples: Granny Smith apples are tart, firm, and hold their shape. You can mix in a few sweeter apples like Honeycrisp or Gala for balance. If you begin with 2 1/2 pounds of whole apples, you should have about 2 pounds (32 ounces) prepared sliced apples.
- Granulated sugar: Sweetens both the filling and topping, and helps the crumble crisp in the oven.
- Light brown sugar: Adds color, moisture, and caramel flavor to the topping.
- Cinnamon: Essential for that cozy apple pie flavor in both the filling and topping. The more you use, the more bite it has and darker the topping color will be.
- Nutmeg: Optional, but freshly grated nutmeg brings warmth and complexity. Use a microplane or the finest holes on a box grater to grate a whole dried seed.
- Salt: A pinch in the filling and topping balances sweetness and sharpens flavor.
- Gluten free flour blend: Adds structure to the topping (and to the pie crust). Be sure to use something with xanthan gum so the crumble doesn’t melt into the filling during baking. I like Better Batter’s original blend, Nicole’s Best Multipurpose (with 1/2 teaspoon xanthan gum added), and Bob’s Red Mill 1-to-1 with an additional 1/8 teaspoon xanthan gum.
How to make gluten free apple pie
Follow along with my step by step instructions to see how to make gluten free apple pie in your own kitchen.
This recipe comes together in 3 parts: the bottom pie crust, the crumble topping, and the apple filling.
Make and shape the crust dough
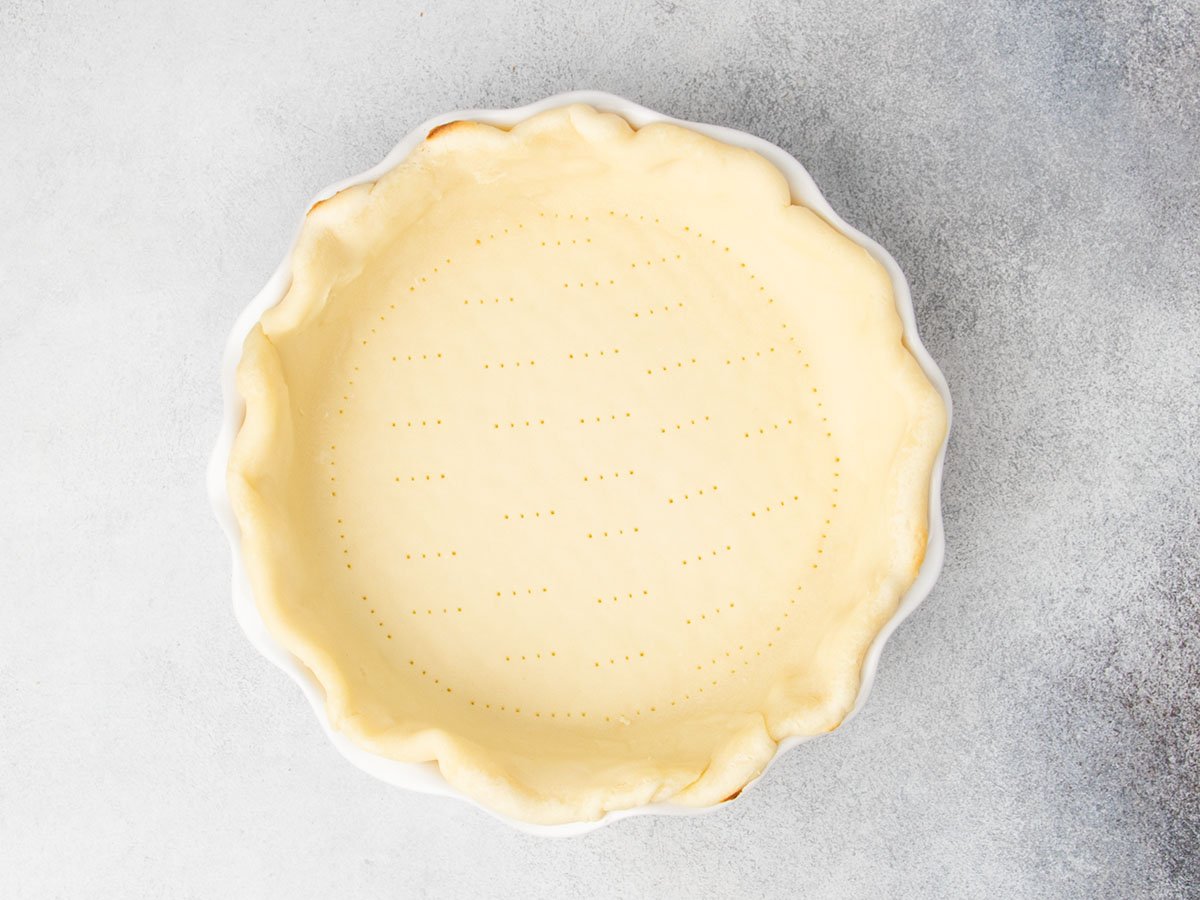
Start by preparing a single recipe of my gluten free pie crust. Roll it out, shape it into an 11-inch round, and drape it over the rolling pin to transfer it to a 9-inch deep dish pie plate, then crimp the edges. Dock the bottom with a fork to prevent puffing, then chill for 10 minutes in the freezer.
Parbake the crust
Line the chilled pie crust with baking paper, and fill it with ceramic pie weights or dried beans to keep the bottom from puffing up and the sides from falling. Partially bake the crust at 375°F for 10 minutes.
PRO TIP: If you don’t have pie weights, use dried beans or lentils instead. Just save them afterward for baking use only, not cooking.
Seal the crust
Lift the baking paper with the weights out of the crust. Brush the crust with egg white, then bake for 3 more minutes to set the crust and keep it from absorbing moisture and becoming soggy.
Make and chill the crumble topping
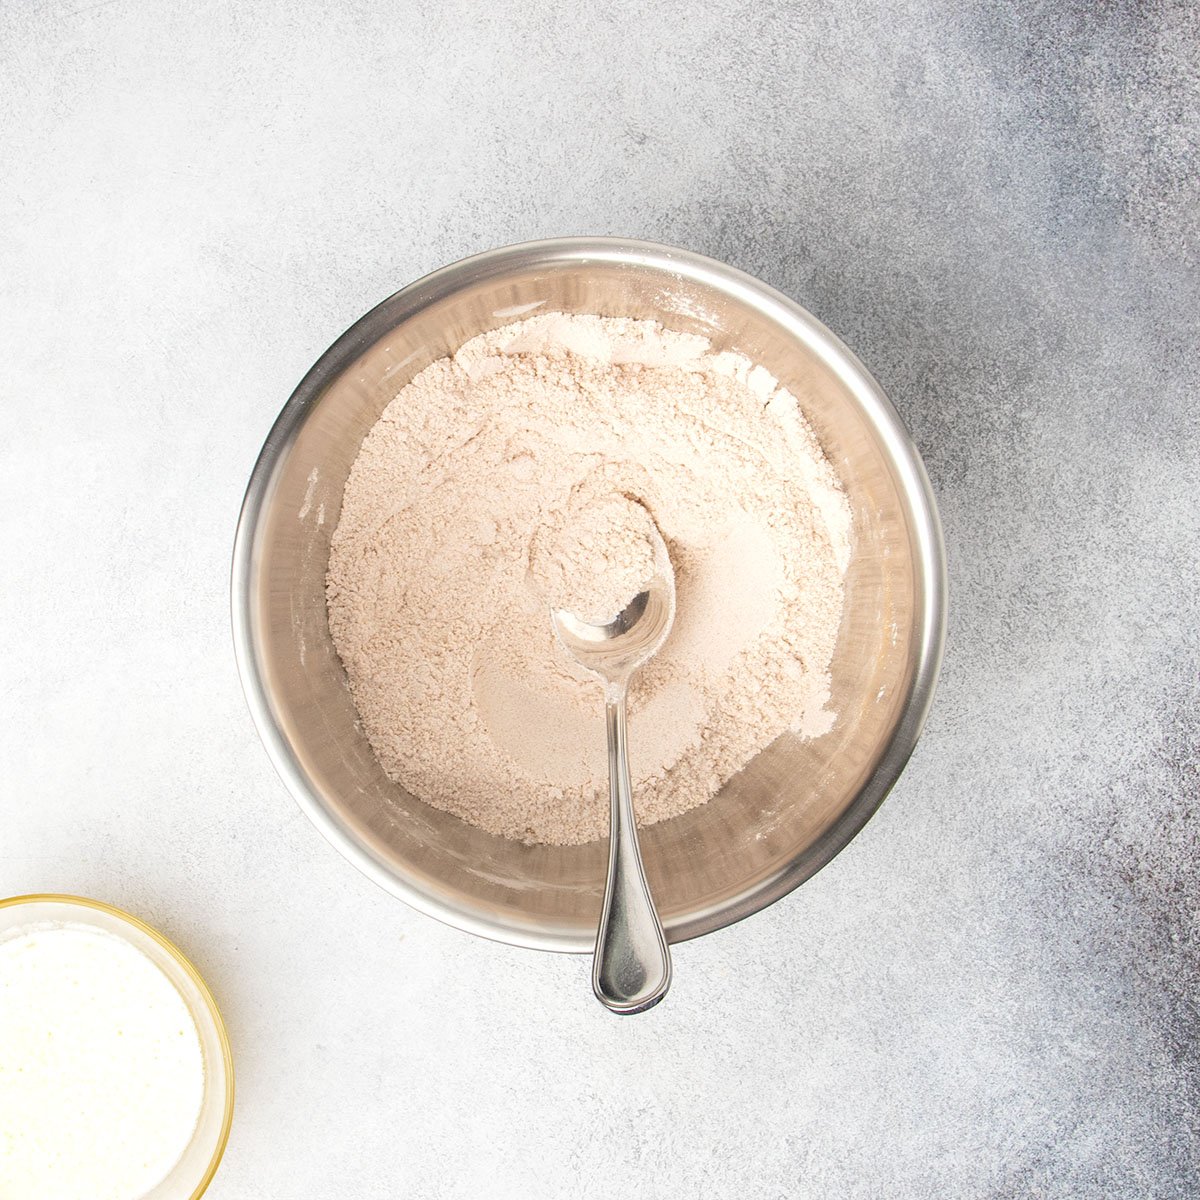
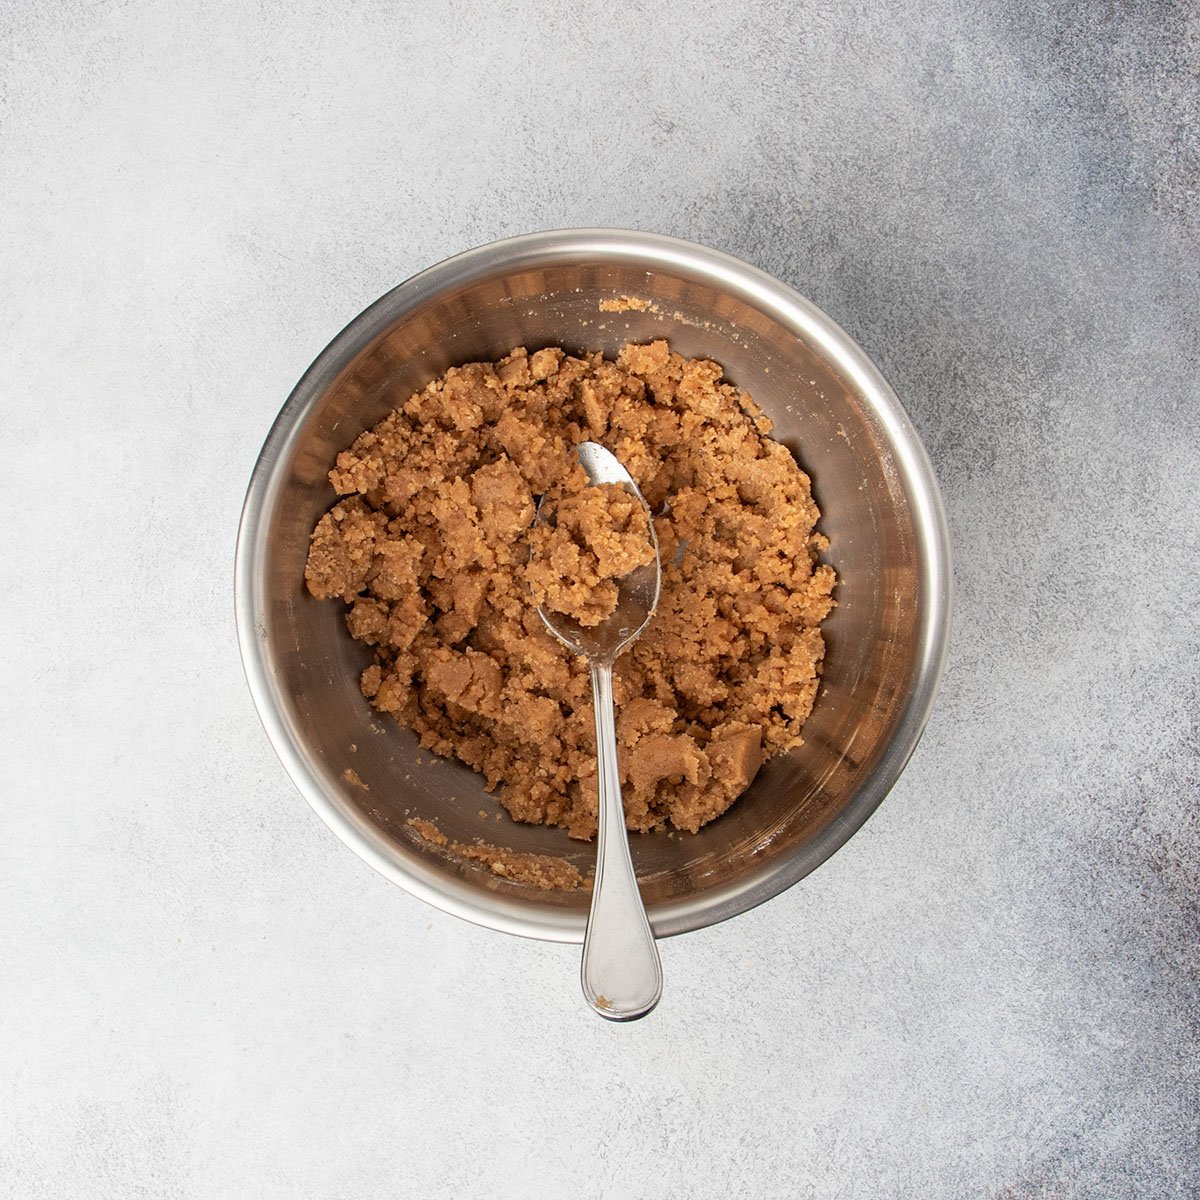
Whisk together the gluten free flour blend with xanthan gum, brown and white sugars, cinnamon, optional nutmeg, and salt. Stir in melted butter until the mixture is clumpy and moist.
The more ground cinnamon you use, the darker the topping will be.
Chill the mixture until very firm. A firm topping holds its shape in the oven instead of melting into the filling.
Prepare the filling
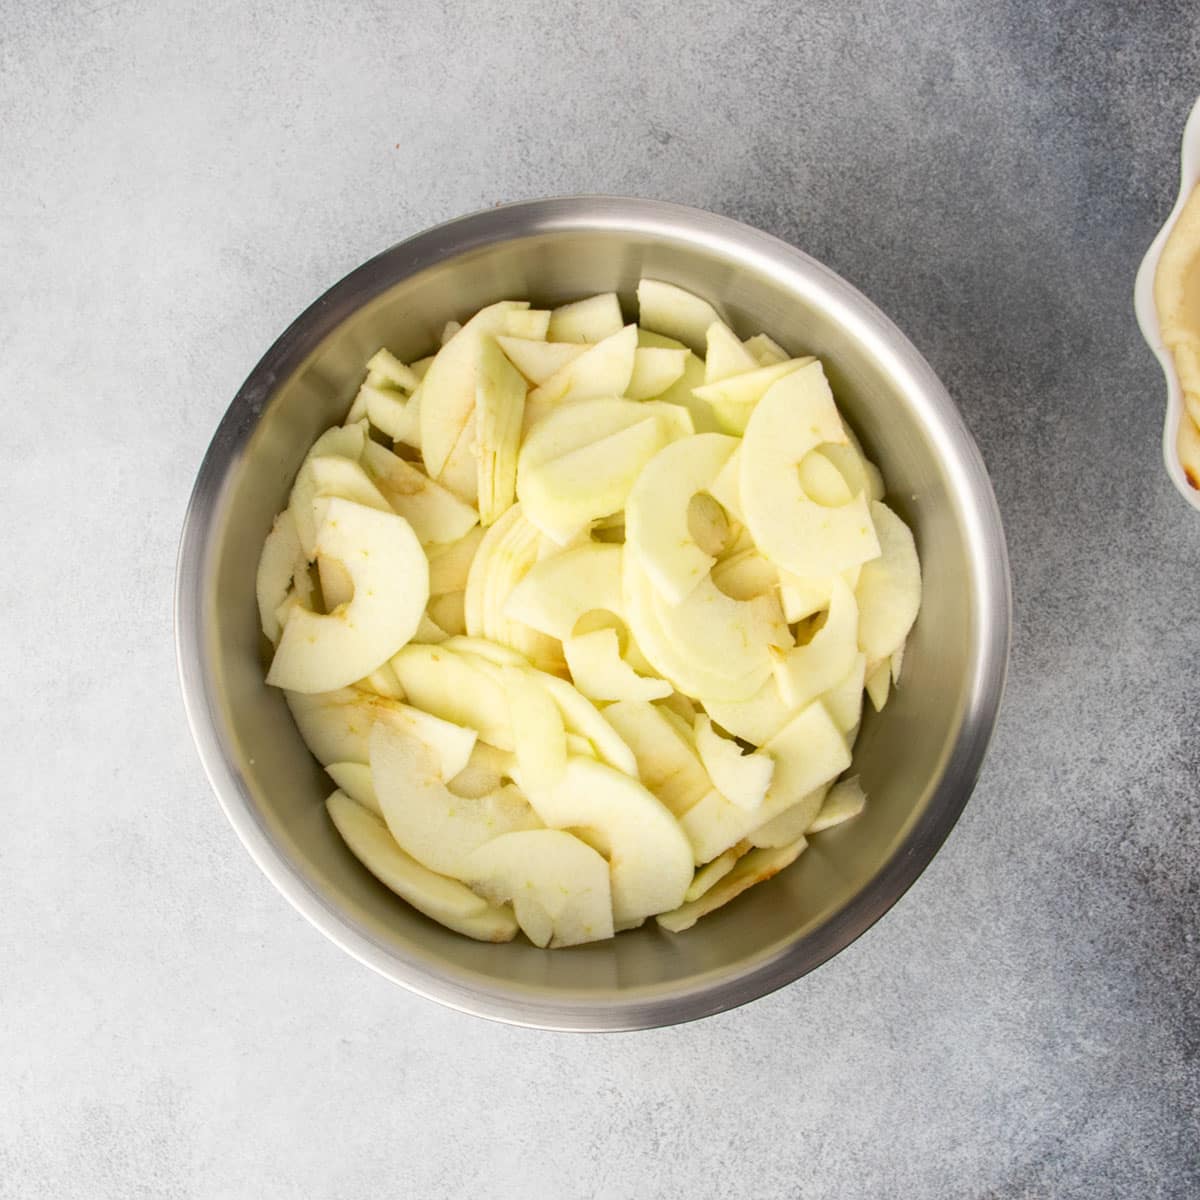
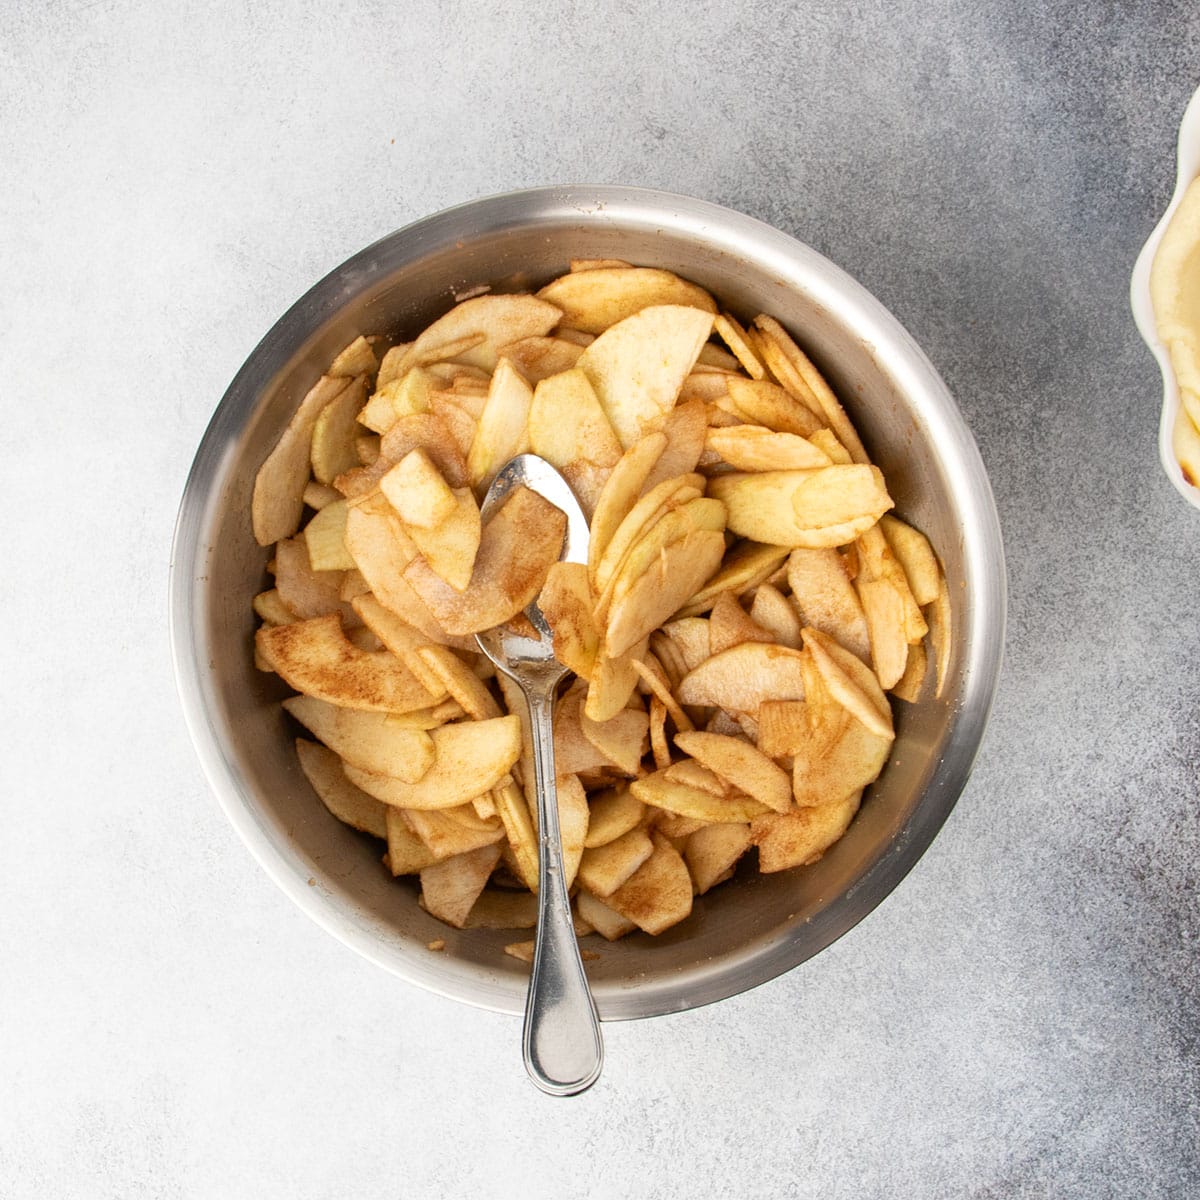
Peel, core, and slice your apples thinly so they soften in the oven without precooking. Toss with sugar, cinnamon, and salt, then let the apples sit briefly to release excess juice.
When you’re ready to assemble, leave that liquid behind. Too much juice leads to a soggy crust.
Assemble the pie components
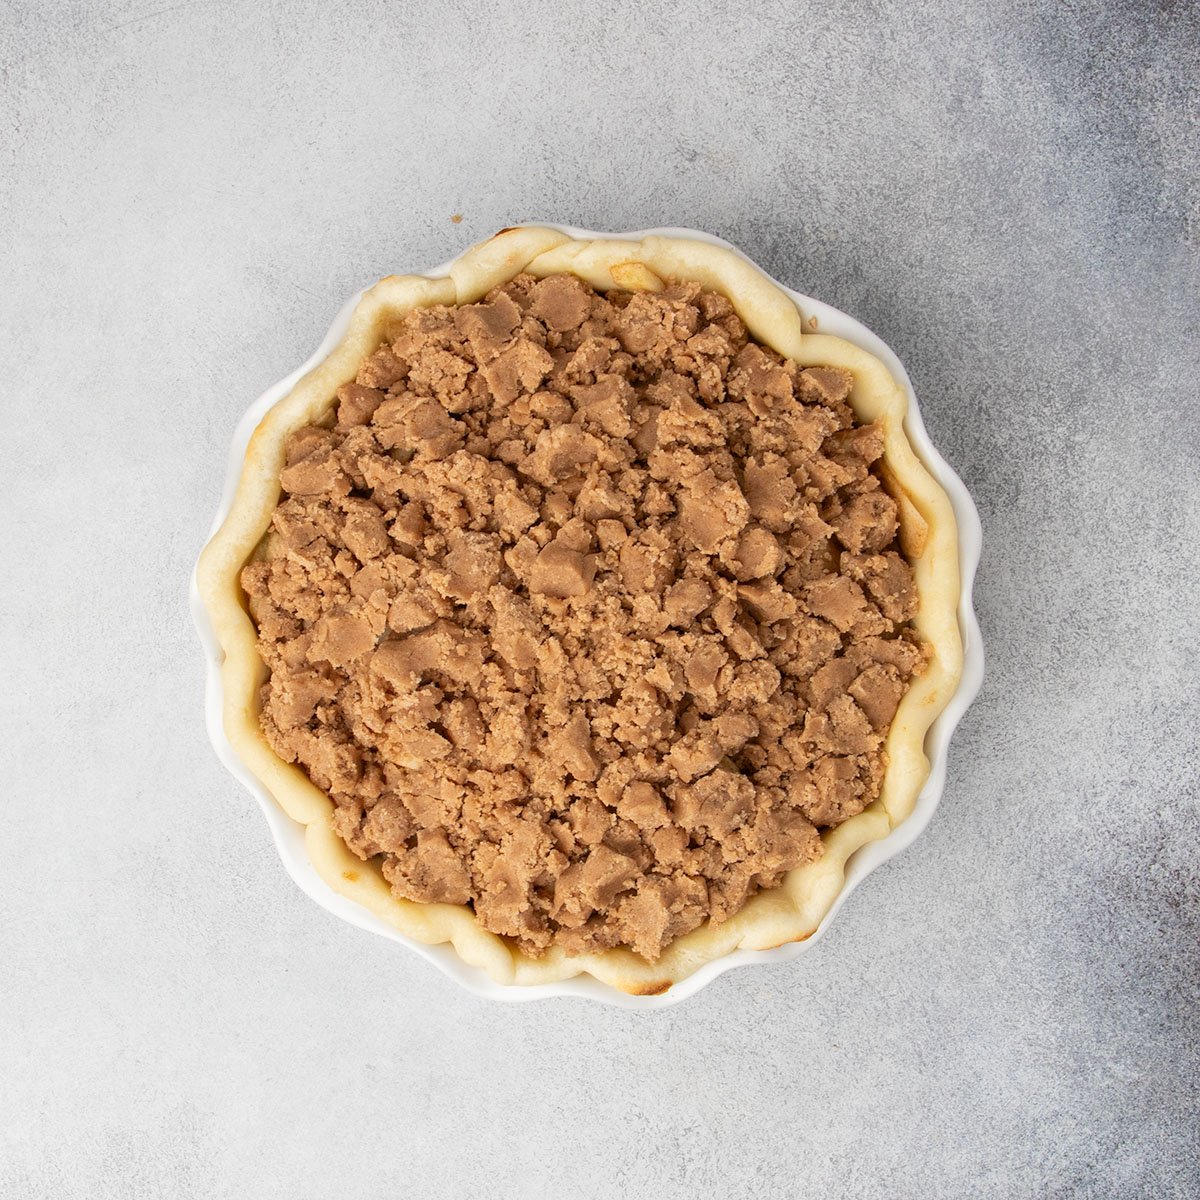
Layer the sliced apples (without any extra juice) evenly in the parbaked crust. It will look full, but apples shrink as they bake. Break the chilled topping into large irregular clumps with a fork and scatter over the apples.
Bake the complete pie
Bake at 350°F for 45 minutes, until the topping is golden and the apples are fork-tender. Check doneness around 30 minutes. Cover the crust edges with foil if they’ve begun to brown too quickly before the apples are cooked all the way.
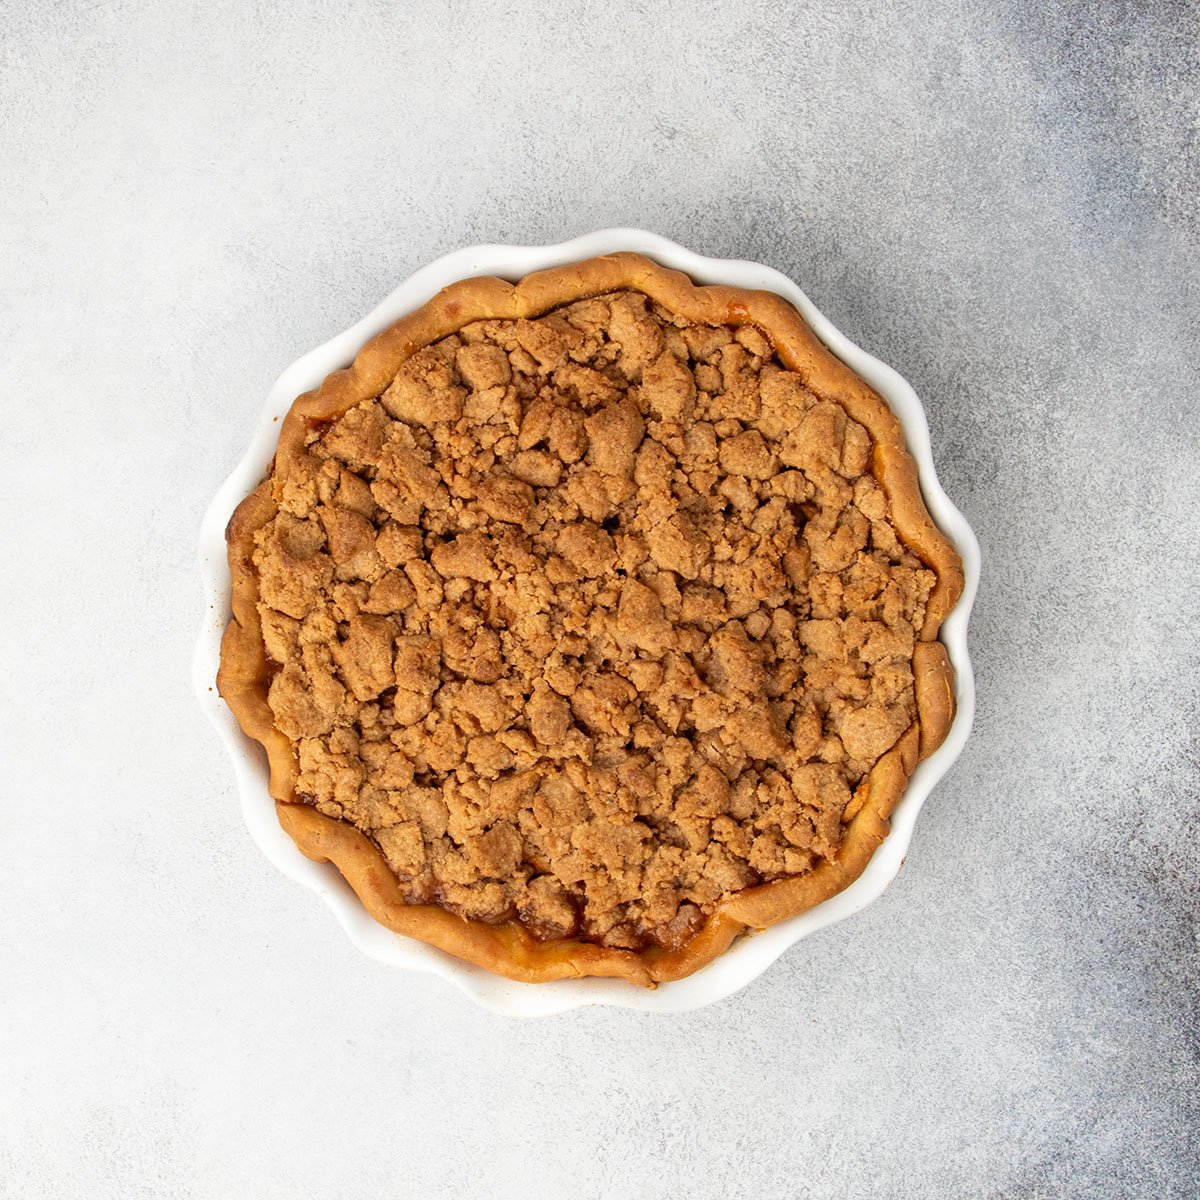
Cool, then slice
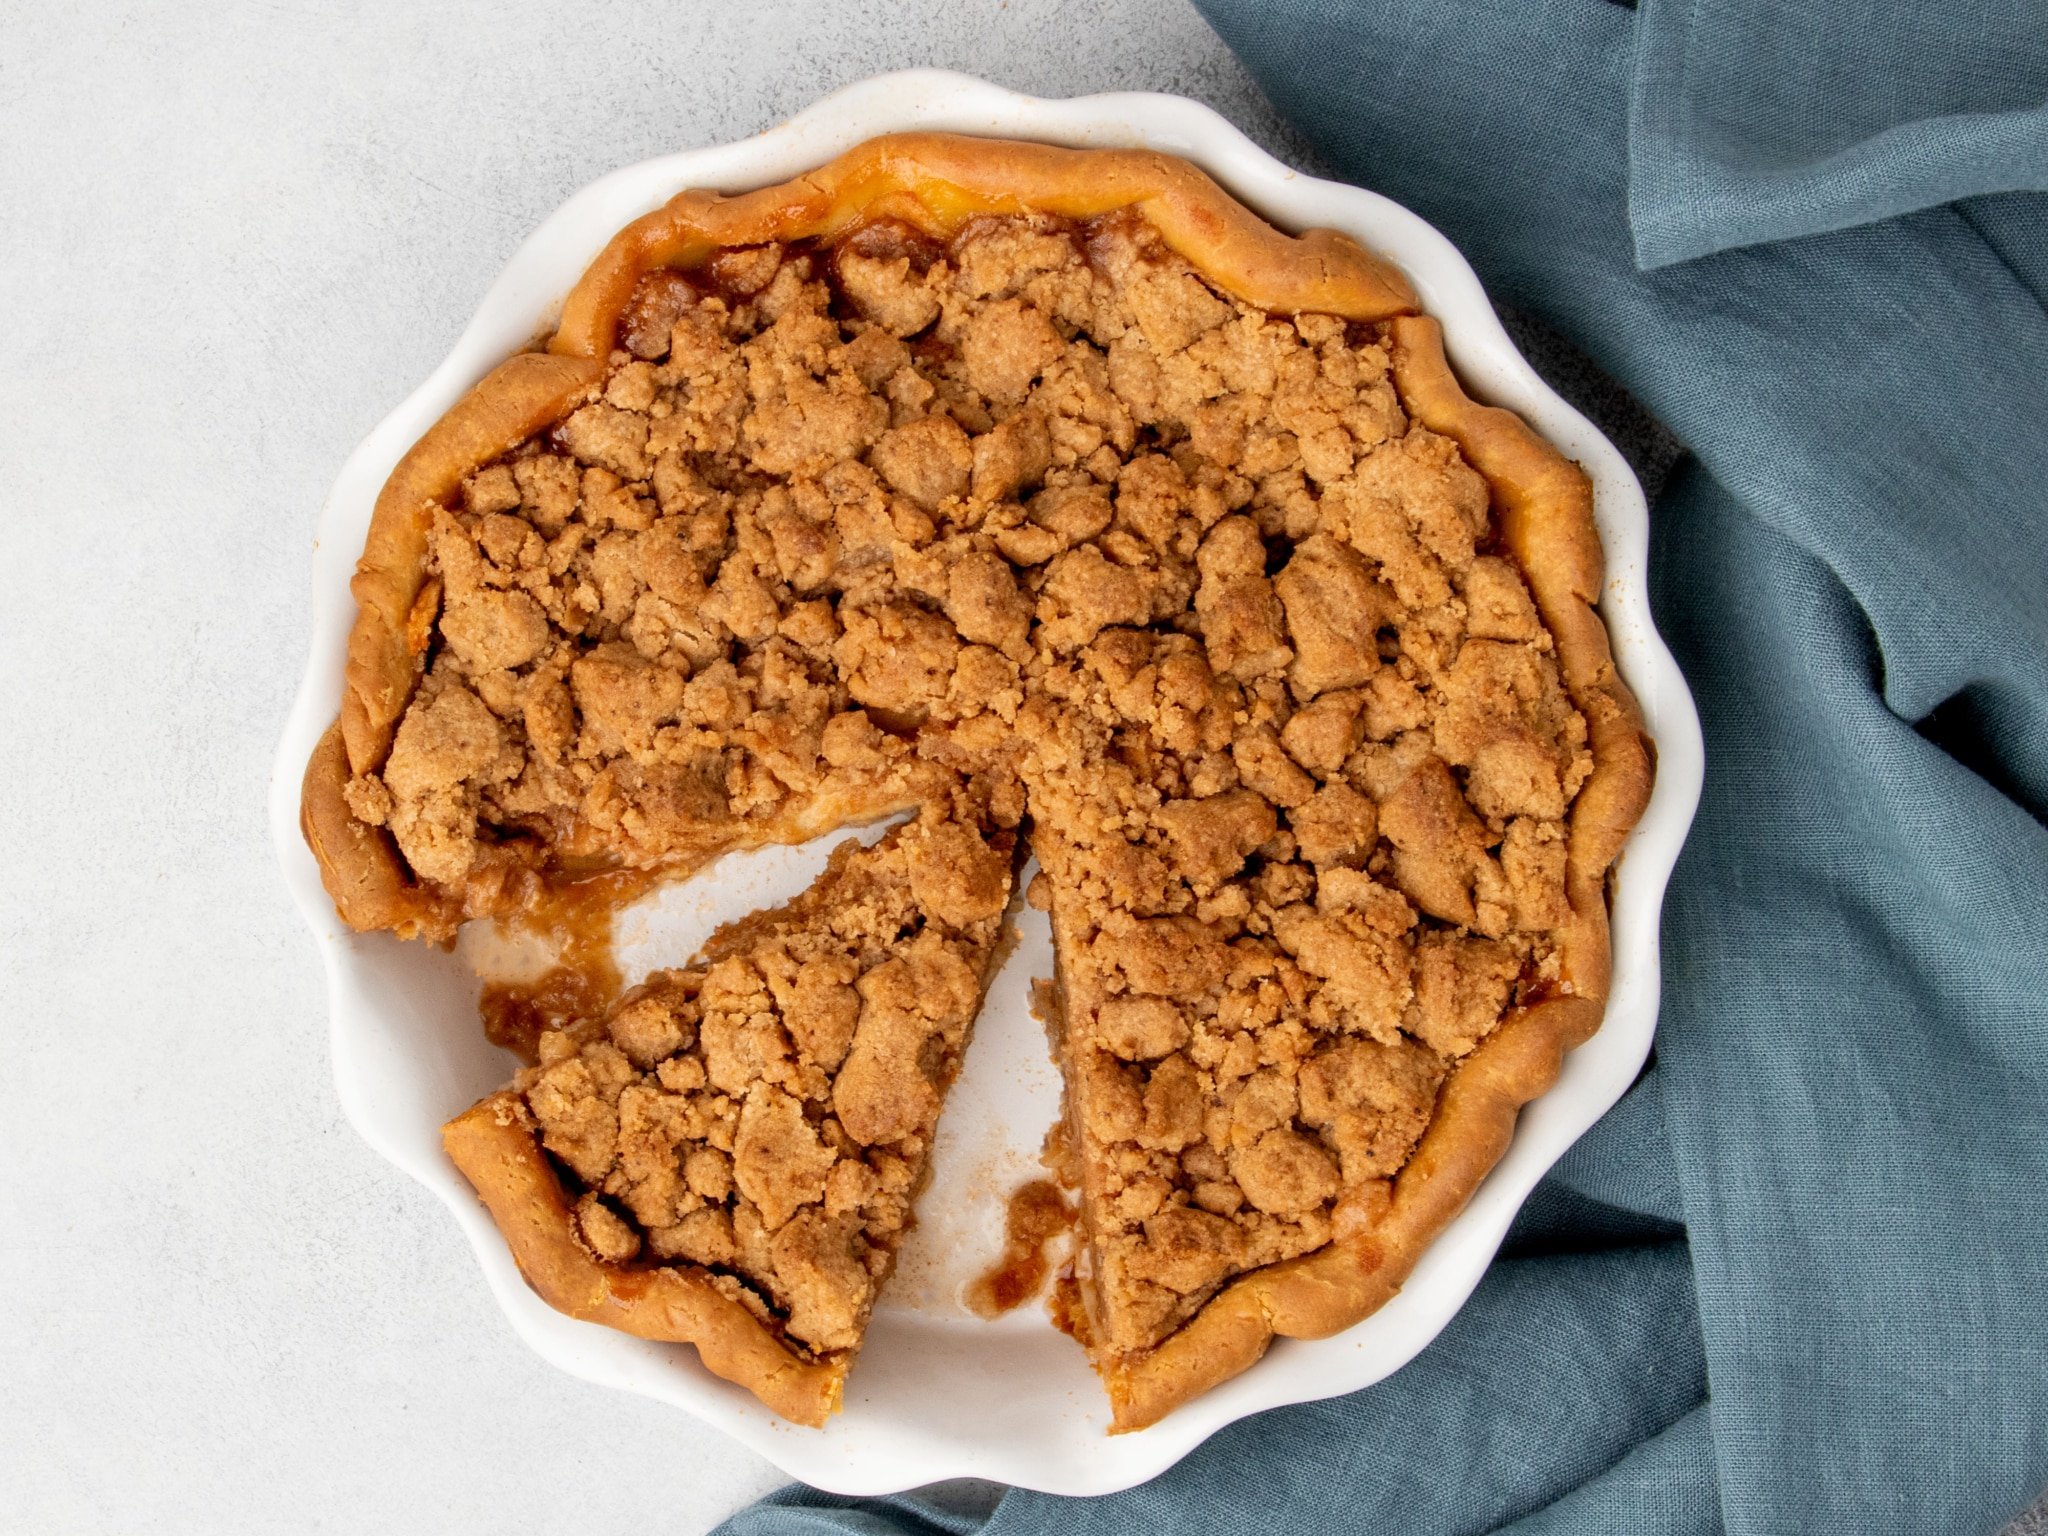
Let the pie cool at room temperature for at least 1 hour. This helps the filling set and keeps the slices clean when you cut into it. You can heat up individual slices in the toaster oven at 300°F if want a warm slice with melty vanilla ice cream.
Expert tips
Use the right apples
Granny Smith apples are my favorite here because they’re tart, firm, and hold their shape well. You can mix in sweeter firm apples like Honeycrisp, Gala, Empire, McIntosh, or Cortland for a more nuanced flavor. Avoid soft apples like Red or Golden Delicious, which tend to break down and turn mushy.
If you’re unsure whether your apples are firm enough, stir 1 to 2 tablespoons of tapioca or arrowroot (or cornstarch in a pinch) into the filling for extra insurance.
Slice the apples thin
The key to getting tender apples without first cooking them on the stovetop is to slice them thinly and evenly. Thin slices bake through at the same time as the crust and topping.
Parbake the crust, and seal it
Parbaking (which just means partially baking) the crust gives it a head start so it doesn’t absorb too much moisture from the apple filling. Brushing it with egg white helps seal it even more. Don’t skip either quick and easy step.
Leave out excess liquid
Once your apples are tossed with sugar, cinnamon, and salt, let them sit so they release some juice. Then, leave that liquid behind when you add the apples to the crust. It’s the easiest way to keep the crust from turning soggy.
Cool before slicing
Even once it’s baked, the pie needs time to set. Let it rest at room temperature for at least 1 hour before slicing to allow the juices to settle and reabsorb.
Chill the crumble topping
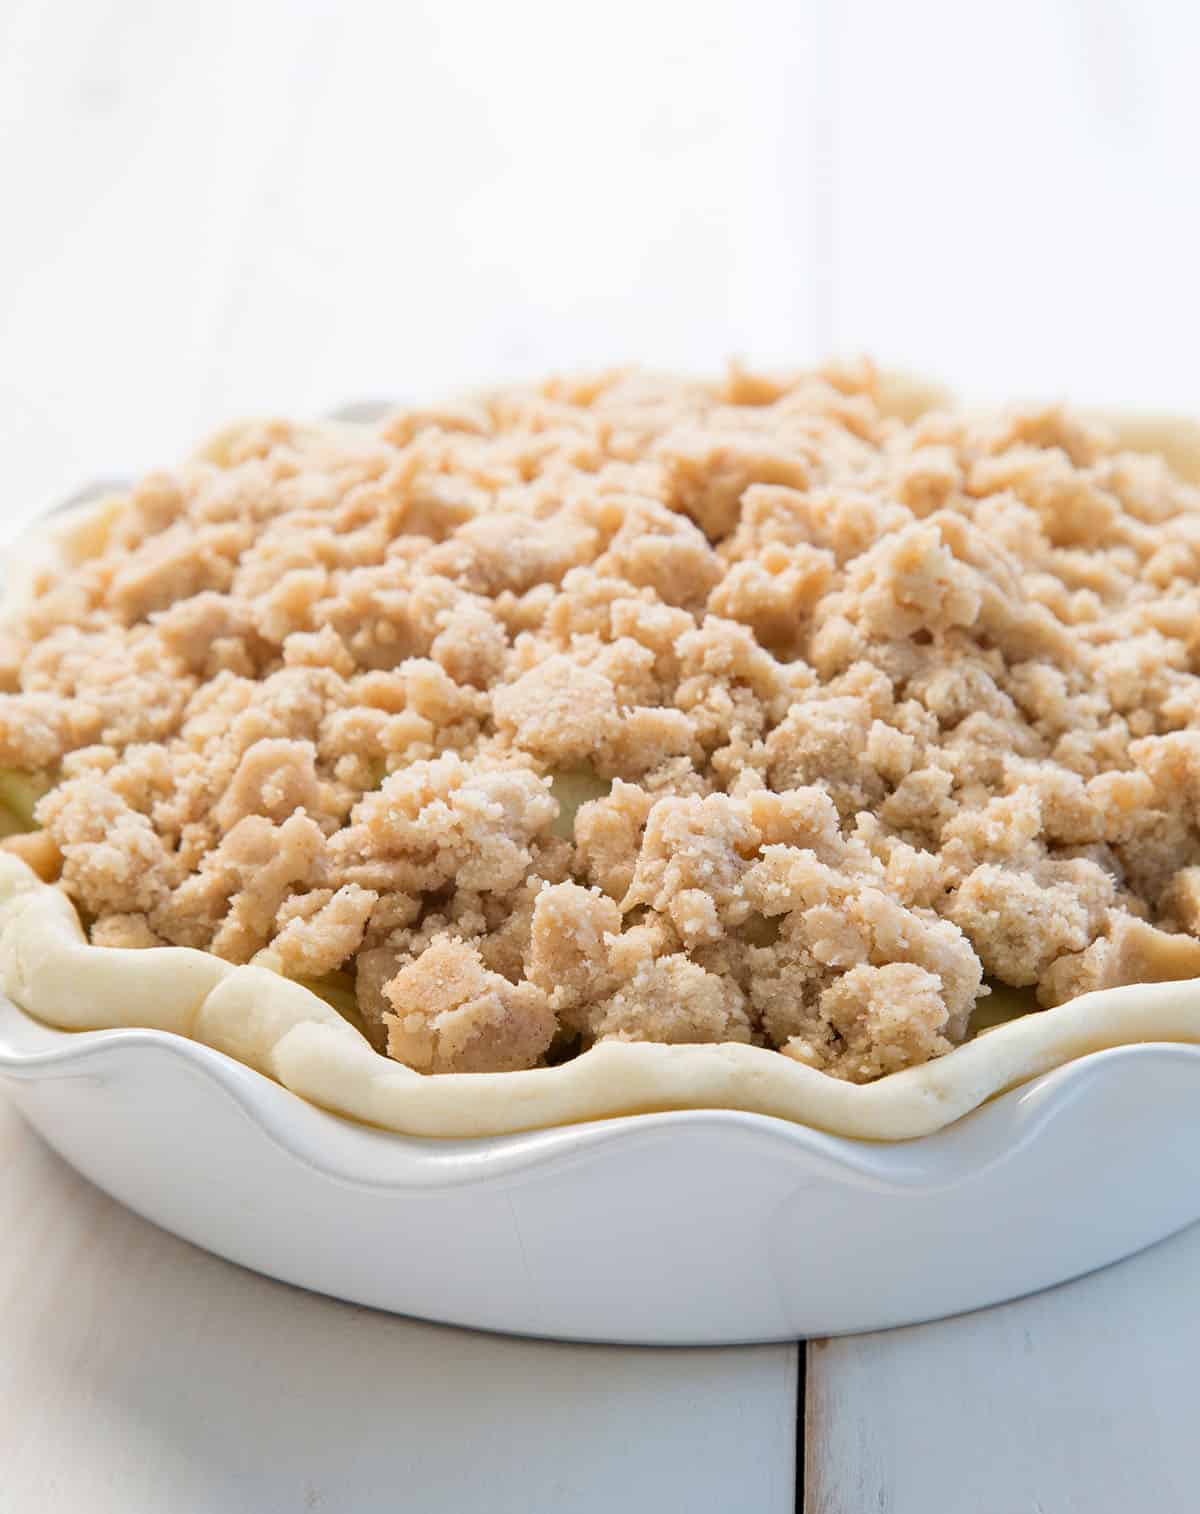
Don’t skip the chilling step. A firm crumble mixture holds its shape in the oven and gives you those bakery-style nuggets of buttery crisp topping. If you’re short on time, use the freezer to speed things up.
Ingredient swaps and crust options
Dairy free
Replace the butter in both the crust and the topping with a combination of half vegetable shortening (like Crisco or Spectrum) and half vegan butter (such as Melt or Miyoko’s). That mix gives you the right balance of structure and flavor.
Egg free
The egg white helps seal the crust before baking. If you need an alternative, brush the crust with milk, cream, melted butter, or even aquafaba instead.
Store bought pie crust
Don’t feel like making crust from scratch? Use a frozen gluten free pie crust you like. Dock it with a fork, brush with egg white, and bake it straight from frozen as instructed for the homemade crust in the recipe.
Double crust pie
If you prefer a classic double crust pie, double the crust recipe. Use one half for the base and the other for the top. Skip the crumble topping, roll out the second crust, seal and crimp the edges, cut a few vents in the top, and bake as directed.
Storage & make ahead instructions
Make ahead
Assemble the whole pie, raw filling and topping included, in the parbaked crust, then wrap it tightly in freezer-safe plastic wrap. Freeze for up to 2 months. Bake directly from frozen, adding a few extra minutes as needed.
Storage
Store leftover slices or a fully baked, cooled pie in an airtight container in the refrigerator for up to 3 days. Let sit at room temperature before serving, or reheat at 300°F until warmed through. For best texture, sprinkle slices lightly with water before gently reheating to refresh the topping and filling.
Gluten Free Apple Pie Recipe
Tell Google you trust GFOAS!
Equipment
- Deep dish pie pan 9-inches (glass, porcelain, or metal; See Recipe Notes)
- Rolling Pin for the pie crust
- Porcelain weights or dried beans (enough to fill the crust)
Ingredients
For the crust
- 1 recipe gluten free pie crust, (← click for full recipe) chilled
- egg white, for brushing
For the crumble topping
- 1 cup (140 g) all purpose gluten free flour blend, (See Recipe Notes)
- ½ teaspoon xanthan gum, (omit if your blend already contains it)
- ⅓ cup (73 g) packed light brown sugar
- ¼ cup (50 g) granulated sugar
- 2 teaspoons ground cinnamon
- ½ teaspoon freshly grated nutmeg, optional
- ¼ teaspoon kosher salt
- 8 tablespoons (112 g) unsalted butter, melted and cooled
For the filling
- 2 ½ pounds Granny Smith apples (or other tart and firm apple), (from about 5 large apples) peeled, cored and sliced thin
- ½ cup (100 g) granulated sugar
- 2 teaspoons ground cinnamon
- ¼ teaspoon kosher salt
Instructions
- Grease lightly a 9-inch deep dish pie plate and set it aside.
Make & shape the crust
- Prepare the pie crust according to the recipe instructions through Step 6 of the second set of instructions in that recipe, titled "Smooth out the chilled dough."
- Preheat your oven to 375°F.
- Place the dough on a lightly floured piece of unbleached parchment paper, dust lightly with flour, and roll into an 11-inch round, about 3/8-inch thick.
- Roll the pie crust loosely on the rolling pin and then unroll it over the prepared pie plate.
- Press the pie crust gently into the bottom and up the sides of the pie plate and, with kitchen shears, trim the crust so that only 1/4-inch of excess is overhanging the plate.
- Tuck the 1/4-inch of excess under itself, and crimp the edge gently all the way around the crust. Pierce the bottom of the pie crust with the tines of a fork and place the pie plate in the freezer to chill for 10 minutes.
Par-bake the pie shell
- Remove the pie plate from the freezer and place a large piece of unbleached parchment paper in the center of the crust. Place enough pie weights or dried beans to fill the pie crust, on top of the paper.
- No pie weights? Use dried beans or lentils instead, and store them afterward for reuse as weights only.
- Place the pie plate with the weights in the center of the preheated oven and bake for 10 minutes.
- Remove the pie plate from the oven, and remove and set aside the paper and pie weights. Brush the bottom and sides of the crust with the egg white, and return the pan to the oven.
- Bake for another 3 minutes, and remove from the oven. Reduce the oven temperature to 350°F.
Make the crumble topping
- In a medium-sized bowl, place the flour, xanthan gum, brown sugar, granulated sugar, cinnamon, nutmeg and salt, and whisk to combine, working out any lumps in the brown sugar.
- Add the melted butter, and mix to combine well.
- Place the bowl in the refrigerator or freezer to chill for at least 10 minutes or until very firm.
Make the filling
- In a large bowl, place the prepared apple slices and toss with the sugar, cinnamon and salt. Allow to sit briefly to let the apples release some juice.
- When the pie crust has finished baking, transfer the sliced apple filling to the pie crust, leaving behind any rendered liquid from the apples.
- Remove the crumble topping from the refrigerator and break up into large chunks with a fork. Scatter the topping all over the top of the pie in an even layer. Press gently on the crumble topping to ensure that it adheres to the filling.
Make-Ahead Option
- At this point, the unbaked, assembled pie in the parbaked pie crust can be covered securely and frozen until ready to use.
- Just bake from frozen according to the rest of the recipe directions. You may need to add a few minutes to the final baking time.
Bake the pie
- Place the pie in the center of the preheated oven and bake for 45 minutes, or until the crumble topping is evenly golden brown and the apple filling is bubbling around the edges.
- If necessary to prevent the edges from burning, cover the crust with foil during the final 15 minutes of baking.
- Remove the pie from the oven and allow to cool completely (about 1 hour) before slicing and serving.
Video
Notes
Use a deep-dish pie plate (at least 1.5 inches deep) so there’s enough room for all the filling. Glass or porcelain hold heat a bit better than metal which can speed up the baking time. If you’re not using metal, you can begin checking for doneness around 40 minutes to be safe. Flour blends
In the topping, use a high-quality all purpose gluten free flour blend with a finely ground rice flour, like Better Batter original, Nicole’s Best multipurpose (with ½ teaspoon xanthan gum), or Bob’s Red Mill 1-to-1 (blue bag) with an added ⅛ teaspoon xanthan gum. For DIY blends, see the All Purpose Gluten Free Flour Blends page.
Nutrition
Nutrition information is automatically calculated, so should only be used as an approximation.
FAQs
A Dutch apple pie (also called an apple crumb pie) has a buttery crumble topping instead of a top crust. A traditional apple pie uses a double crust, one on the bottom and one on top. Both versions are fruit-forward, unlike a custard-based pie like gluten free pumpkin pie, and perfect for a gluten free holiday dessert.
Use a deep dish pie plate that’s at least 1.5 inches deep. Shallow pans won’t hold all the filling or crumble topping. I’ve tested this pie in ceramic, glass, and metal pie plates. All work well, but glass and ceramic retain heat better and brown the crust more evenly.
Reduce the apple filling to 1.5 pounds of apples, and you may not be able to use all of the crumble topping. The baking time may be about 5 minutes shorter, so keep an eye on it.
Yes, just prepare it from frozen just as directed in the recipe. You’ll still get a crisp base without making a homemade crust.
This usually happens when the crust isn’t parbaked long enough, or isn’t sealed properly with egg white. It can also happen if you use soft apples or include too much juice from the filling. Always leave behind the extra liquid before assembling.
Yes, firm pears work well. Peaches or nectarines can also be used, but they’ll need extra thickener like tapioca starch since they have less pectin than apples.
First peel the apples with a vegetable peeler, then slice in quarters, core each by slicing at an angle, and slice each quarter thinly and evenly. A sharp knife or mandoline works well; apple peelers can waste too much fruit by not peeling close enough to the flesh, so I skip them.
Yes, if you prefer a double crust, skip the crumble and top the pie with a second crust. See the instructions above for how to make a Double Crust Pie. Just remember to cut vents in the top to let steam escape. You can also use the oat-based crumble from my gluten free apple crisp for a different texture.










This recipe is great for the season!
Hey! I just got everything I need to make this, so I’m about to start, and I realized if I didn’t do the crumble on top and did a double crust instead, it’s not going to be as sweet.. what do I add to the apples to make it sweet? It seems like a lot of the sweetness in this came from the topping.
Thanks :)
Hi, Jennifer, the filling already has sugar in it, but I haven’t tried this exact recipe with a top crust. To make the filling sweeter, you could increase the sugar a bit, but you’re really verging into a different recipe by doing that since that could make the filling to wet. It would require some trial and error that I’m afraid I haven’t done.
Turned out fantastic! Used Trader Joe’s premade pie crust and the crumble topping was perfectly crispy. I substituted coconut sugar for the brown sugar and drizzled a little molasses to make up for the lack of moisture and it made the flavor so rich and dark. I was worried about the apples drying out in the filling but they were the perfect consistency.
I planned to freeze one for later but accidentally baked both. Do you think I could still freeze it and reheat later?
Hi, Elizabeth, so glad you enjoyed the pie! Yes, you can definitely freeze a fully baked pie and then defrost it and serve. Defrost in the refrigerator overnight, then sprinkle lightly with water and heat until warmed through at 300°F.
Delicious! My new go-to gluten free apple pie. I even used your crumb topping for my non-gluten free family members using regular AP flour and regular pie crusts. So yummy!
So glad you enjoyed the pie, and that you are relying on it going forward. That’s great to hear! Thank you for sharing that.