This post may contain affiliate links. Please read our disclosure policy.
Need a decadent cake for one? Try this super easy flourless gluten free cake made with just 3 ingredients in the oven or the microwave.

Why make a cake for one?
Maybe your kid when you have to send him to a birthday party but since he's gluten free he can't have the cupcakes they're serving. I can't begin to tell you how many times I've made 1 dozen cupcakes just because I needed 1 for a birthday party.
But mostly, this is for anyone who can use a kitchen scale, has 5 minutes on their hands, and would like some rich flourless chocolate cake.
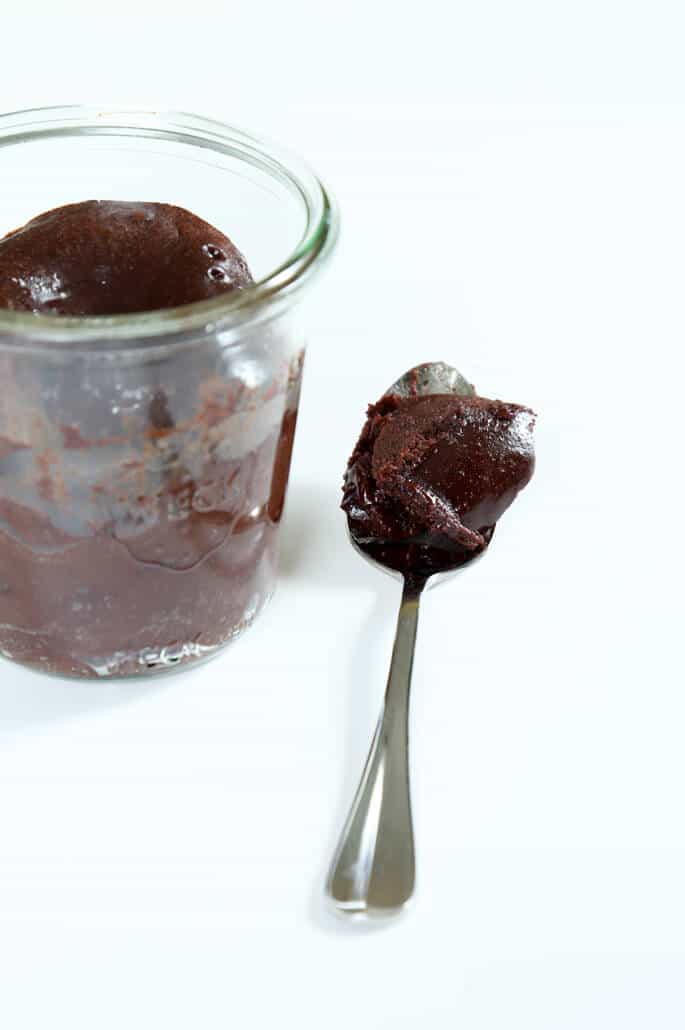
Baking the cake in the oven
3 ingredients. Sugar (only 2 tablespoons, but you could even use just 1) chopped chocolate (I haven't tried this with chocolate chips and I wouldn't do it if I were you because chips have wax in them to hold their shape), and some egg.
That's it. The batter is smooth and glossy, almost pudding-like. And the cakes are very rich, so one cake can easily be shared.

Do you need a water bath?
I prefer to bake this cake in a water bath, as it bakes slowly and evenly that way. But I've also baked it right on the oven rack or on a baking sheet for stability, and it bakes a bit more quickly but still works just fine.
If you bake it for 17 minutes flat in a water bath, it'll have a very pudding-like, molten consistency in the center. Bake it for a few minutes more, or without the water bath, and it should be baked through by then.

Making the cake in the microwave
For a much easier method, try making this cake in the microwave, like a more “traditional” mug cake. The end result isn't quite as fudgy, but it's still tender and rich.
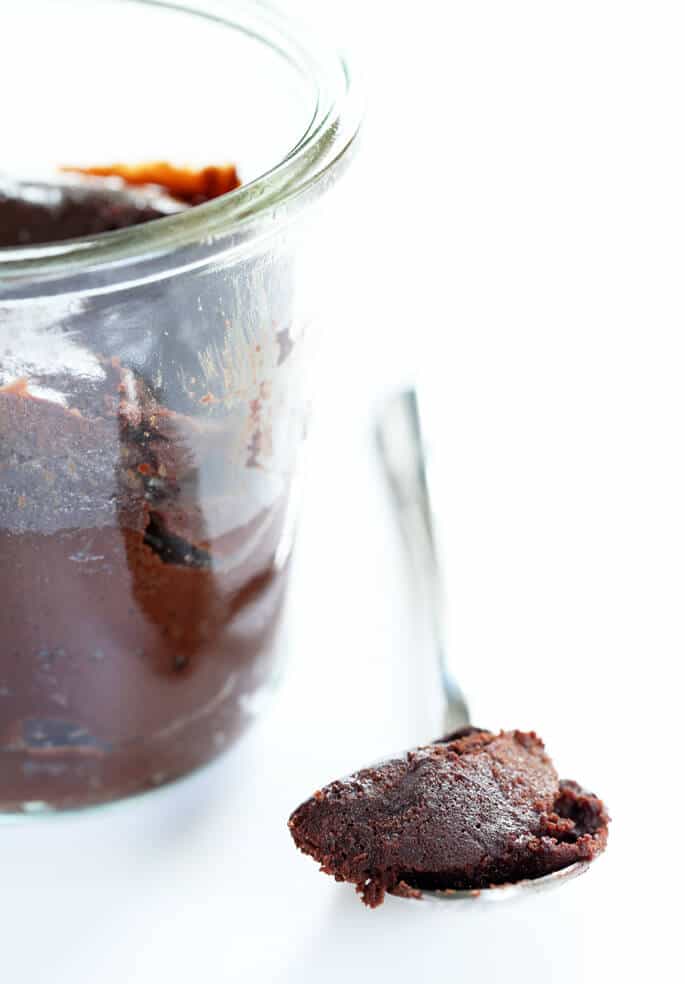
The photo above is the cake as made in the microwave. The secret is to making a mug cake successfully in the microwave is in moderating the oven's power.
It is important to be able to approximate 850 or 900 watts of power in your microwave oven. My microwave is 1200 watts, so I set it to 70% power for this recipe. That way, I can heat the cake for long enough without overcooking it.

The easiest way to melt chocolate
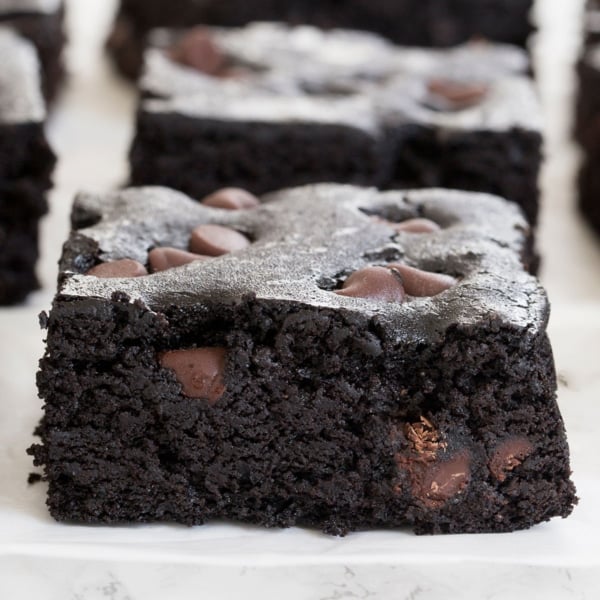
Melted chocolate is important for so many chocolate baking recipes, like our fudgy flourless brownies. So it's a technique worth learning well.
The best way to melt chocolate is over a double boiler. That melts it slowly, and evenly, and it's very unlikely to seize up. But it's definitely not the easiest way.
If you have a microwave, you can melt chocolate in it by zapping it in 30 second increments at reduced power (unless your microwave is only around 850 watts at full power). But you have to make sure it doesn't get overheated, which will cause it to seize.
If you melt chocolate in ceramic in the microwave, like you see in the photo above, it is much more resilient. I bought two little ceramic containers, each with a pouring spout, from Wilton, but you don't need anything special like that.
Any ceramic bowl or other small container will do. I can melt chocolate in relatively large batches at full microwave power without stopping and stirring.
Variations
For a much less sweet cake, try replacing the dark chocolate with unsweetened baking chocolate. Not quite sweet enough? Next time add another tablespoon (12 g) granulated sugar.
To be ready for cake at any moment, make the batter and pour it into a greased canning jar or ramekin. Cover the container and place it in the refrigerator. Then, bake it any time and add a few minutes in the oven to account for the chill.
For a full cake made without any flour, try our classic flourless chocolate cake. Restaurant quality at home!
3 Ingredient Flourless Chocolate Cake | For One

Ingredients
To make the cake in the oven.
- 3 ounces dark chocolate, chopped
- 2 eggs, at room temperature
- 2 tablespoons (24 g) granulated sugar
To make the cake in the microwave
- 2 ounces dark chocolate, chopped
- 2 tablespoons (24 g) granulated sugar
- 1 egg, at room temperature
Instructions
Oven instructions.
- Preheat your oven to 350°F.
- Grease a 4 ounce canning jar or other small oven-safe jar or ramekin, place it in a slightly larger heat-safe ramekin or dish, and set it aside.
- Place the chopped chocolate in a small, heat-safe bowl and melt it over a double boiler or in the microwave in 30-second bursts at 70% power.
- Separate one of the eggs, and discard the yolk or use it for another purpose. Place the egg and egg white in a small, heat-safe bowl and beat to combine.
- Pour the melted chocolate into the beaten eggs in a slow trickle to temper the eggs, beating continuously to combine.
- Add the sugar, and mix to combine. The batter will be thickly pourable.
- Pour the batter into the prepared canning jar, and shake back and forth gently to distribute into an even layer.
- Pour enough room temperature water into the ramekin or dish that the canning jar is sitting in so that the water level reaches about 1 1/2 inches up the side of the jar.
- Place in the center of the preheated oven and bake for 17 minutes, or until the top is domed and set.
- For a more solid cake, bake for about 5 minutes more.
- Remove the pan and jar from the oven, remove the jar from the water bath carefully with tongs, and allow the cake to cool briefly before serving.
Microwave instructions.
- Grease a large, microwave-safe mug with cooking oil spray, and set it aside.
- Place the chopped chocolate in a small, heat-safe bowl and melt it in the microwave in 30-second bursts at 70% power.
- Add the granulated sugar, and whisk to combine well.
- Once the melted chocolate has cooled until it’s no longer hot to the touch, add the egg and whisk to combine well. The batter will be thickly pourable.
- Pour the batter into the prepared mug.
- Place the mug in your microwave oven and cook at about 850 watts (See Recipe Notes) for 1 minute 15 seconds or until the cake is mostly set.
- It’s fine if the cake seems a bit wet in the center, which is preferable to overcooking it.
- The cake will likely rise relatively high and fall twice during cooking.
- Allow it to cool briefly before serving with whipped cream and berries, or plain.
Notes
Nutrition information is automatically calculated, so should only be used as an approximation.




This is amazing. I doubled the recipe and made a couple slight changes by adding a teaspoon of vanilla, a pinch of salt and used Trader Joe’s dark chocolate pound plus bar. It came out perfectly using the water bath. The center was deliciously molten while the top set into a nice tender crust and the chocolate is very intense. I will definitely be making this time and time again.
Thank you
Do you think I could prepare a few in the morning to only bake at night?