This post may contain affiliate links. Please read our disclosure policy.
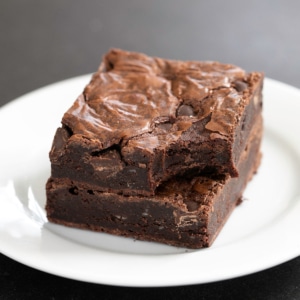
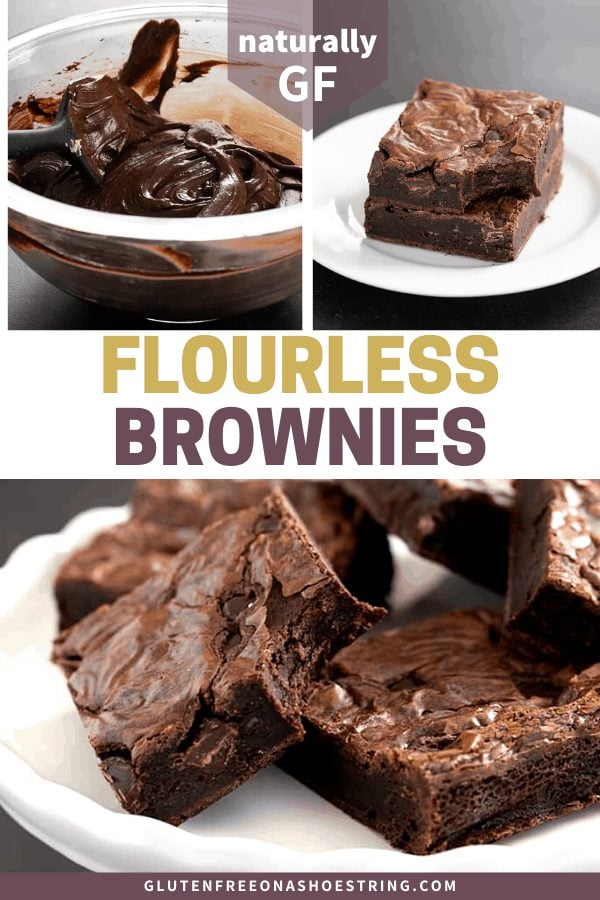
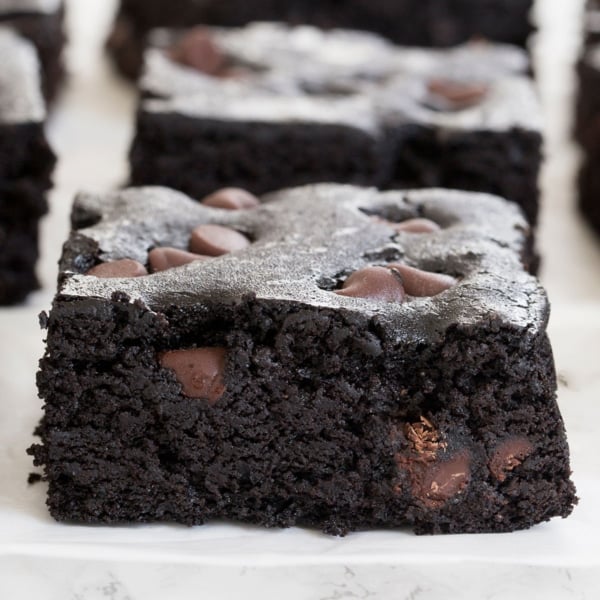
These rich and fudgy, naturally gluten free flourless brownies are made simply, with melted chocolate and cocoa powder, for maximum chocolate flavor.
Maybe you're baking for a friend or family member who's gluten free, and you don't want to have to learn all about gluten free flours. Or you've run out of flour and want something sweet. This brownies recipe will get you to that first bite without any trouble!

Why this recipe works
These brownies are rich, just sweet enough, dense and fudgy. Even without flour, the crumb is moist and tender, not crumbly.
Every flourless recipe has something that gives it structure in place of flour. Sometimes, it's a nut butter like in our flourless chocolate muffins, cooked quinoa like quinoa chocolate cake, black beans in black bean brownies, or whipped egg whites like our flourless chocolate cookies.
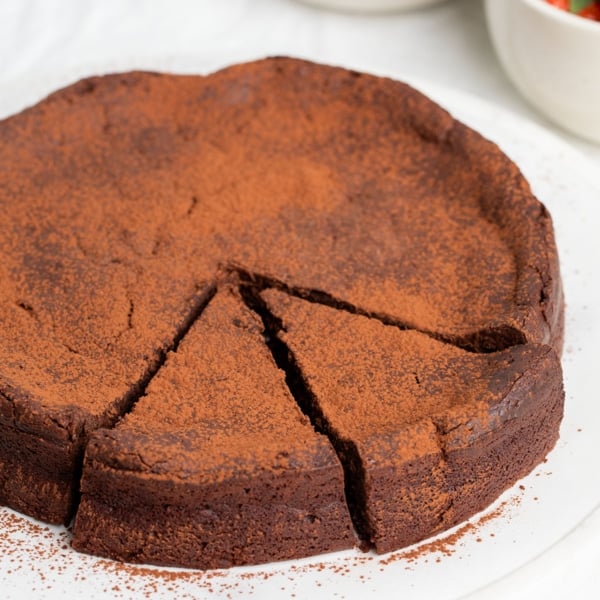
Like in a flourless chocolate cake, here in these brownies, melted chocolate pairs with butter, sugar, eggs, and cocoa powder. The combination of two types of chocolate means super deep flavor.
Ingredients explained
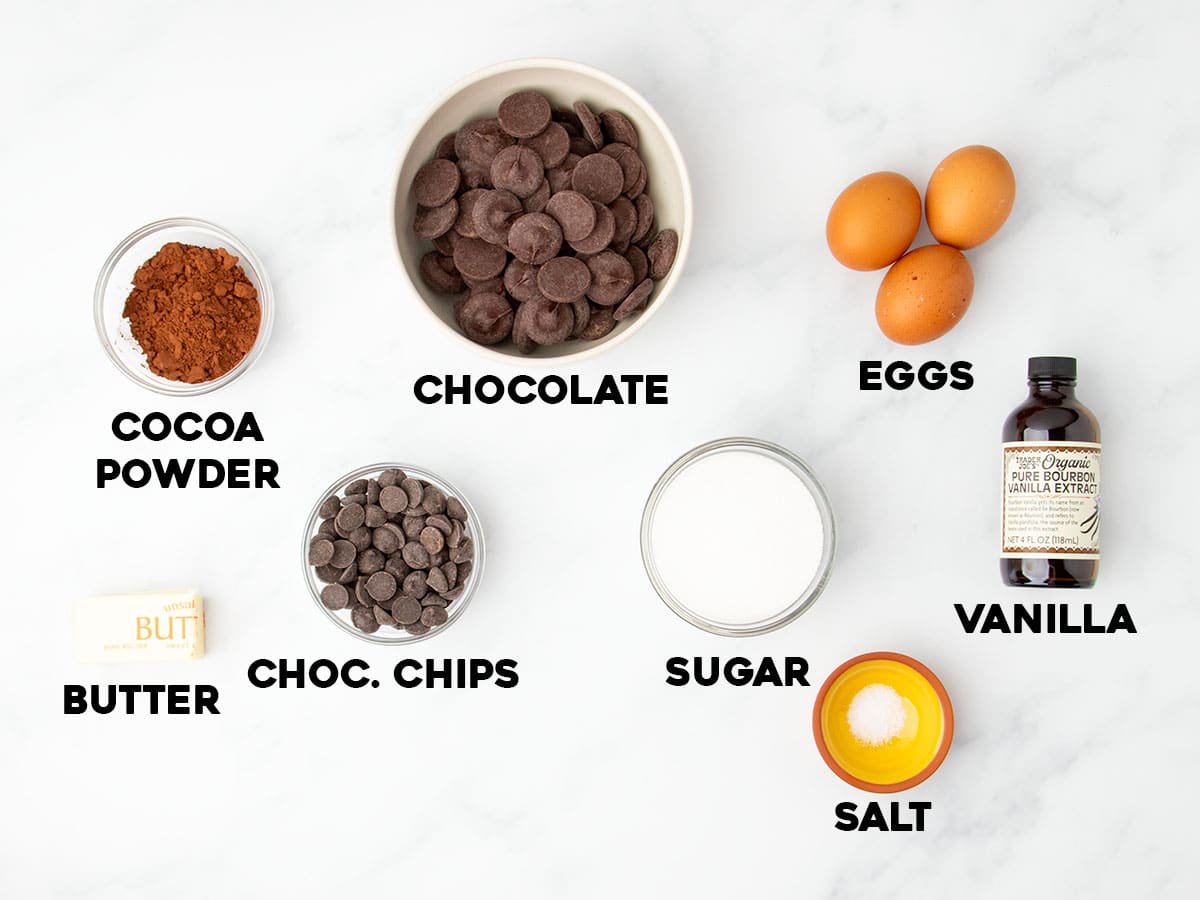
- Melting chocolate– Chopped baking chocolate or chocolate disks made for melting form the main structure of these flourless bars. Avoid melting chocolate chips, which contain wax to help them keep their shape in the oven. I like the richest dark chocolate, which usually has around 65% cocoa solids. Use your favorite type of chocolate, since baking with it will only enhance its flavor.
- Granulated sugar– Adds sweetness, and helps create a crinkly top when it's dissolved into the eggs.
- Butter– Adds tenderness, flavor, and when beaten with the sugar and eggs, helps lighten the texture a bit.
- Eggs– Add structure to help hold the brownies together and from falling as they cool.
- Salt– Brightens other flavors.
- Vanilla– Adds some depth of flavor. For even more flavor, use vanilla bean paste or the seeds from a vanilla bean.
- Cocoa powder– For a deeper, richer and smoother chocolate flavor, use Dutch-processed cocoa powder, which has been processed to neutralize its acidity. If you only have natural cocoa powder, neutralize its acid by adding a heaping 1/8 teaspoon baking soda to mellow the flavor and avoid any bitterness.
- Chocolate chips– I like to add a handful of semi-sweet chocolate chocolate chips to the top of the raw brownies in the pan to add some texture without introducing a different flavor. You can leave them out entirely, replace with a different type of chip, or even chopped walnuts or pecans.

How to make flourless brownies
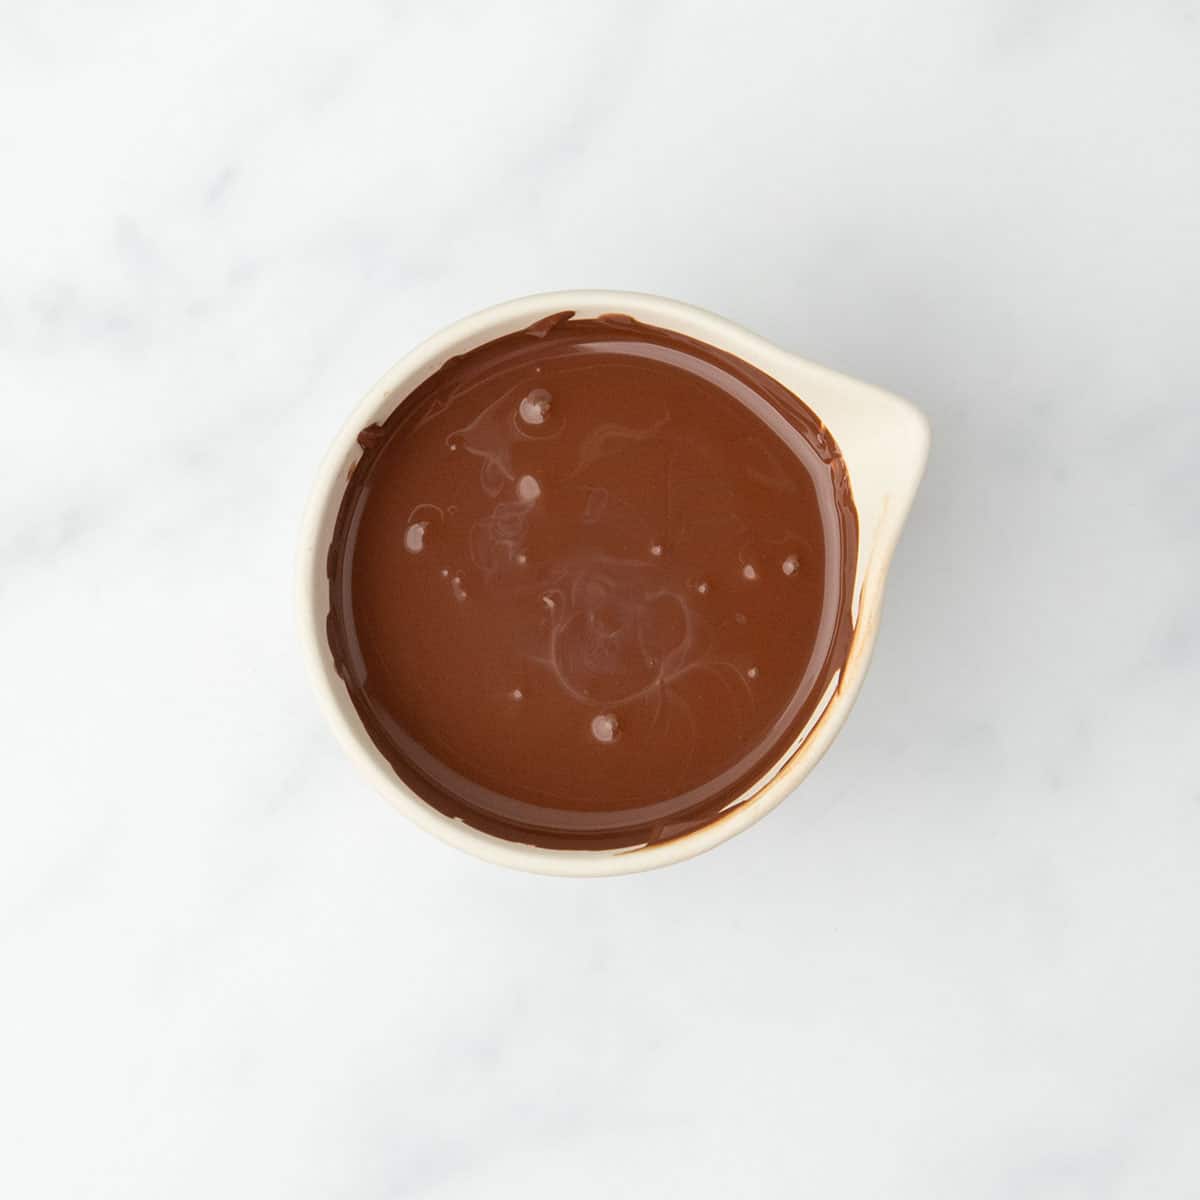
1. Melt the chocolate
Melt the chocolate gently at no more than 70% power in the microwave or over a double boiler so it doesn't seize. Once melted, allow the chocolate to rest briefly so it doesn't cook the raw eggs when we combine it.
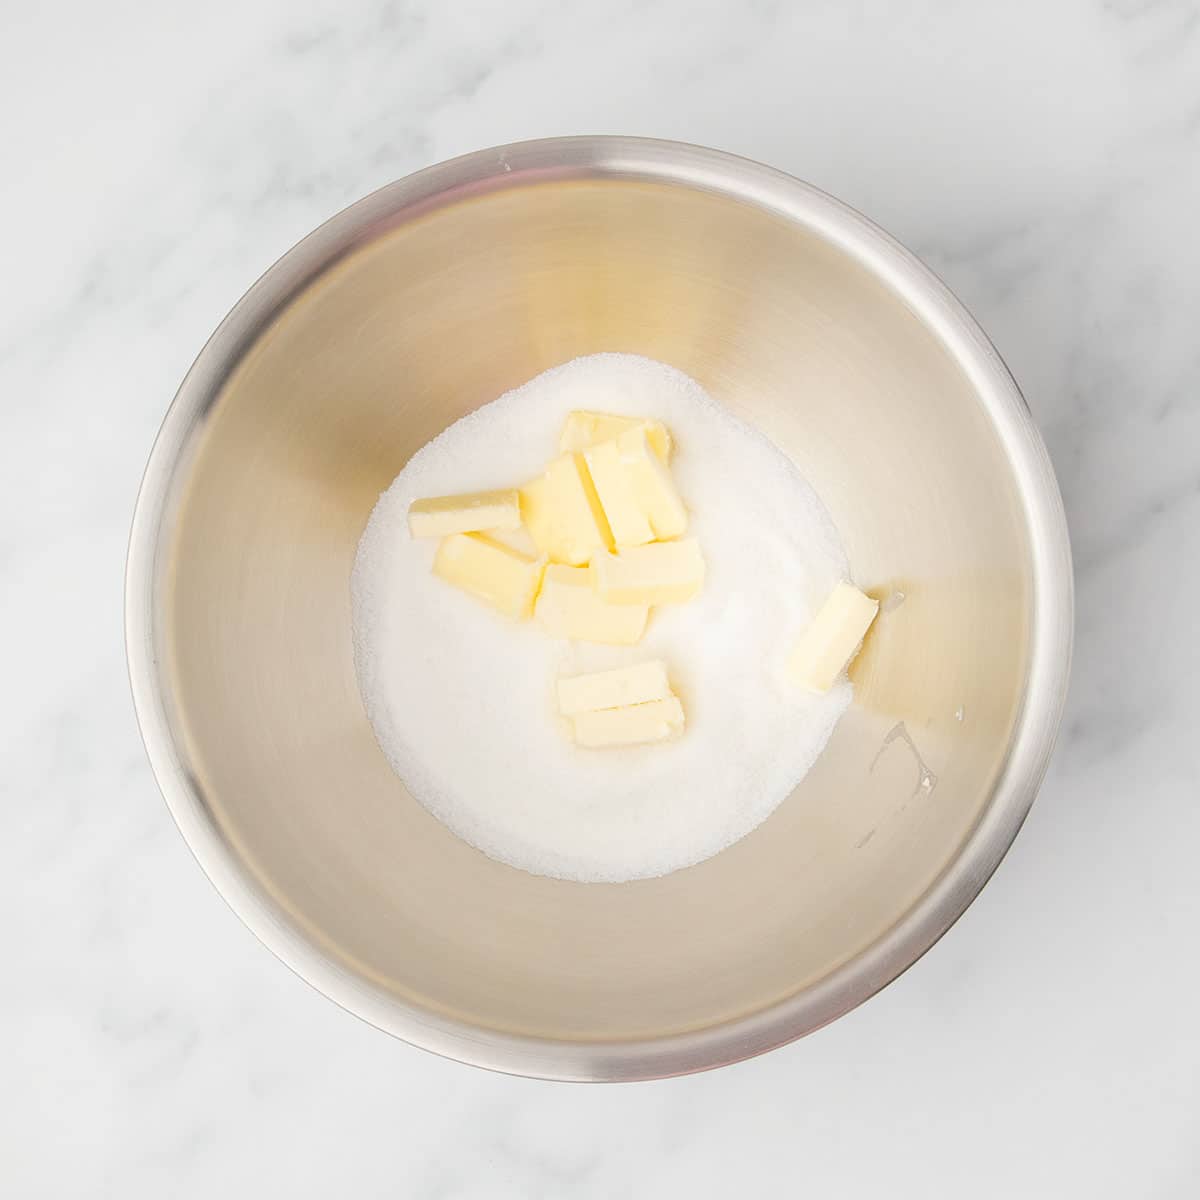
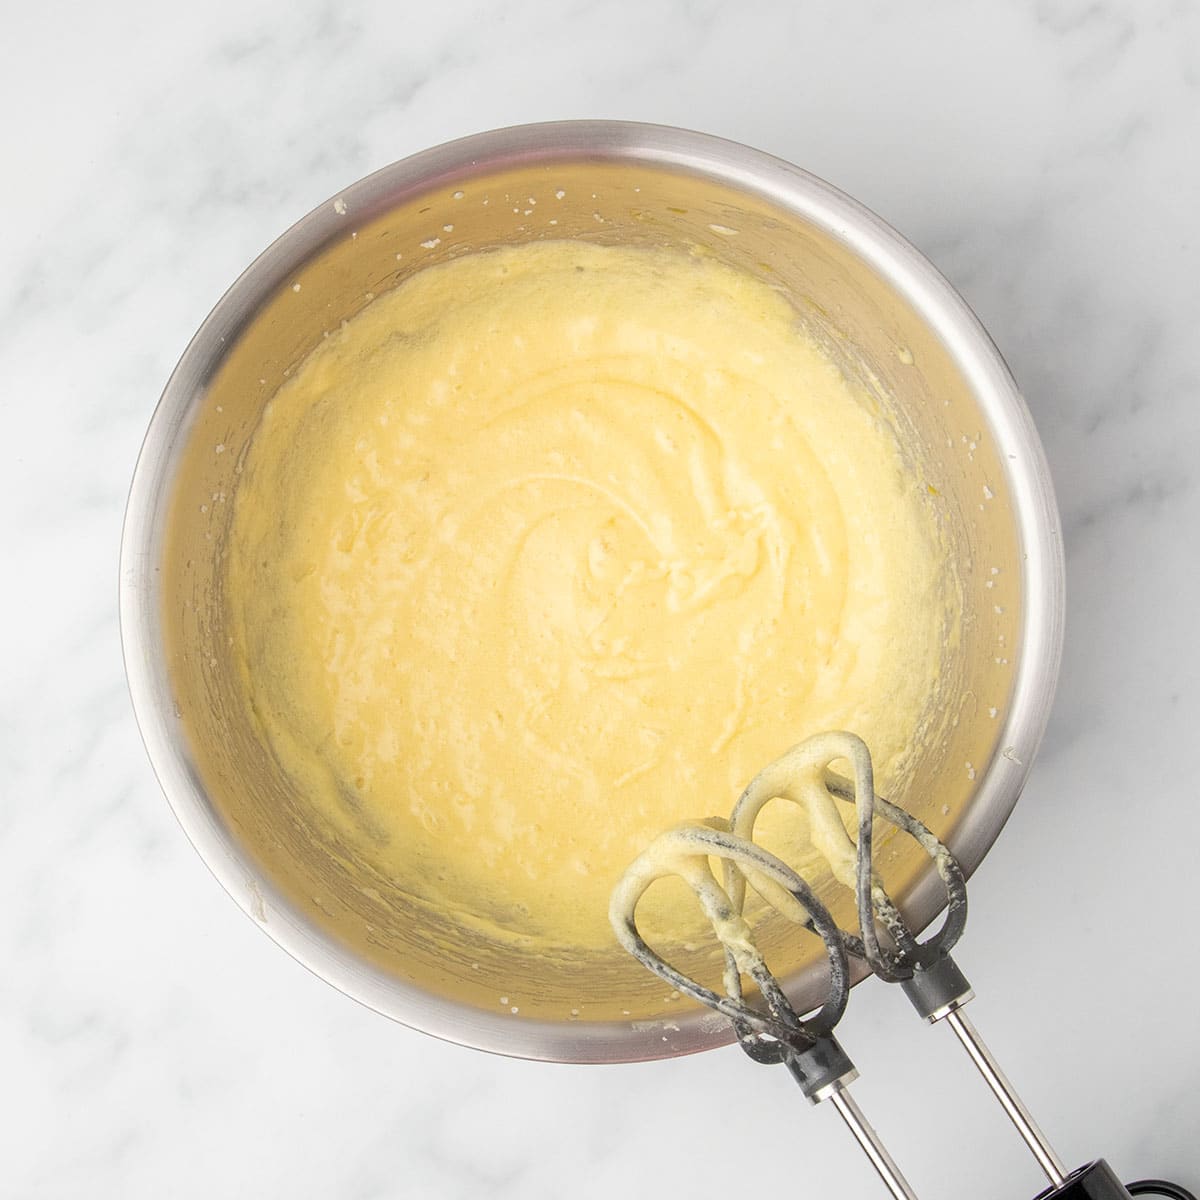
2. Beat the butter, sugar and eggs
In a large mixing bowl, beat butter and granulated sugar until beginning to become creamy (about 2 minutes). Beat in 3 eggs, one at a time, then the vanilla and salt. This process incorporates air into the batter to the brownies some lift, and dissolves the sugar in the eggs to help create that beautiful crinkly, shiny top.

3. Add the cocoa powder
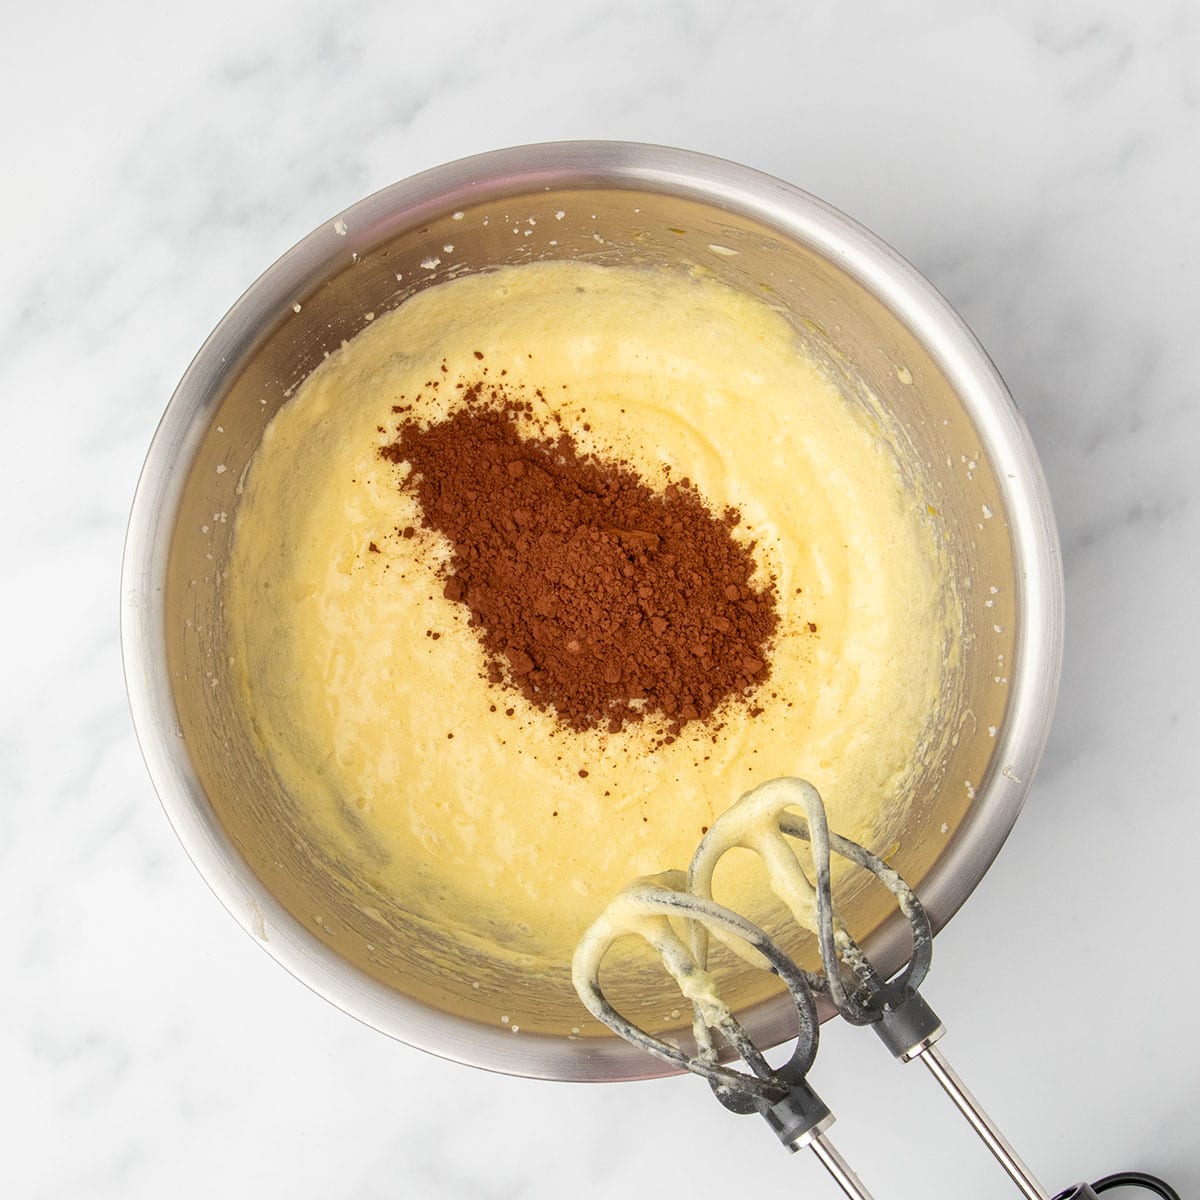
Mix in the cocoa powder first by hand because cocoa powder resists combining with wet ingredients. If you rush things, you'll create a cocoa cloud. Then beat well with the mixer to fully combine.
4. Add the chocolate
Pour in the melted chocolate, and mix well. I avoid using the mixer here, since the batter is quite thick and the batter tends to climb up the beaters. Once fully combined, it will be shiny and glossy, just the way we want it.
5. Add to the pan
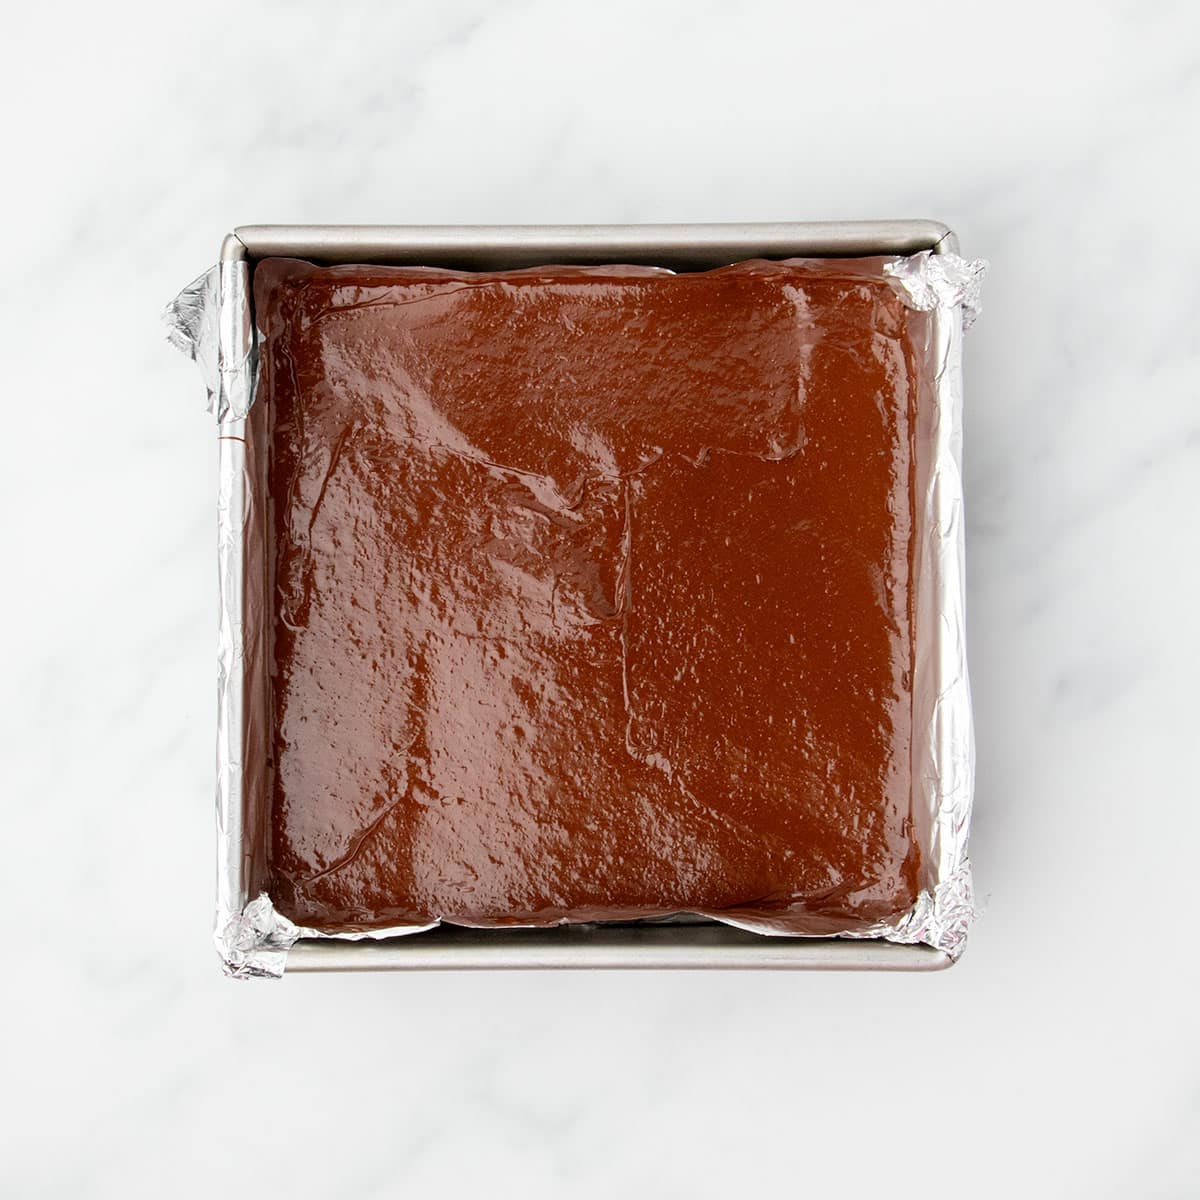
Transfer the mixture to a lined, square baking pan and spread into an even layer so the brownies bake evenly.


6. Add optional chips
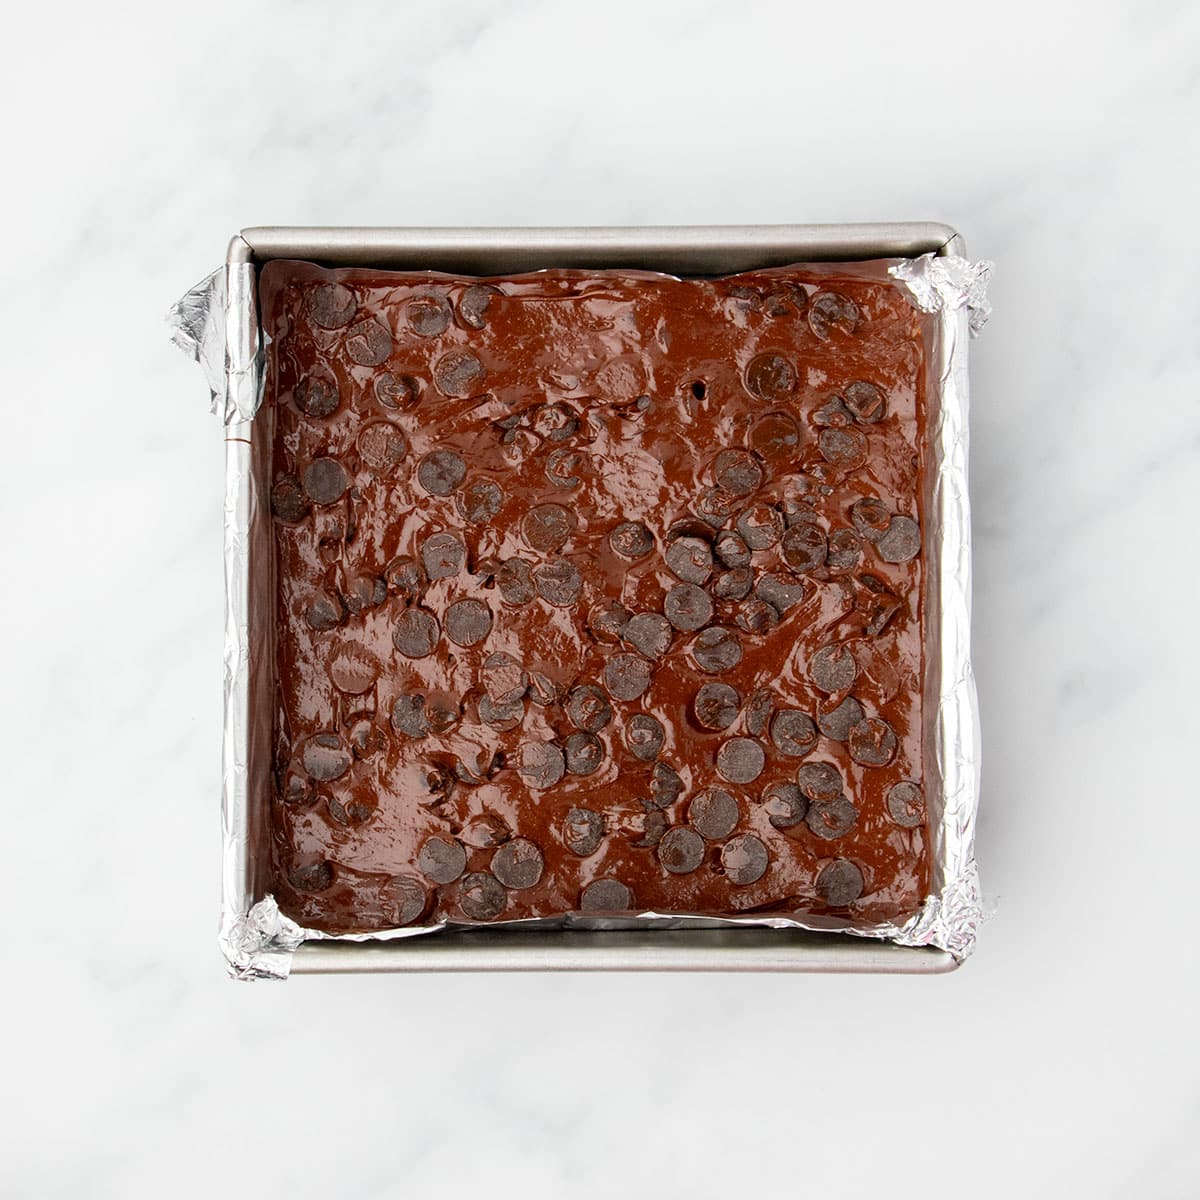
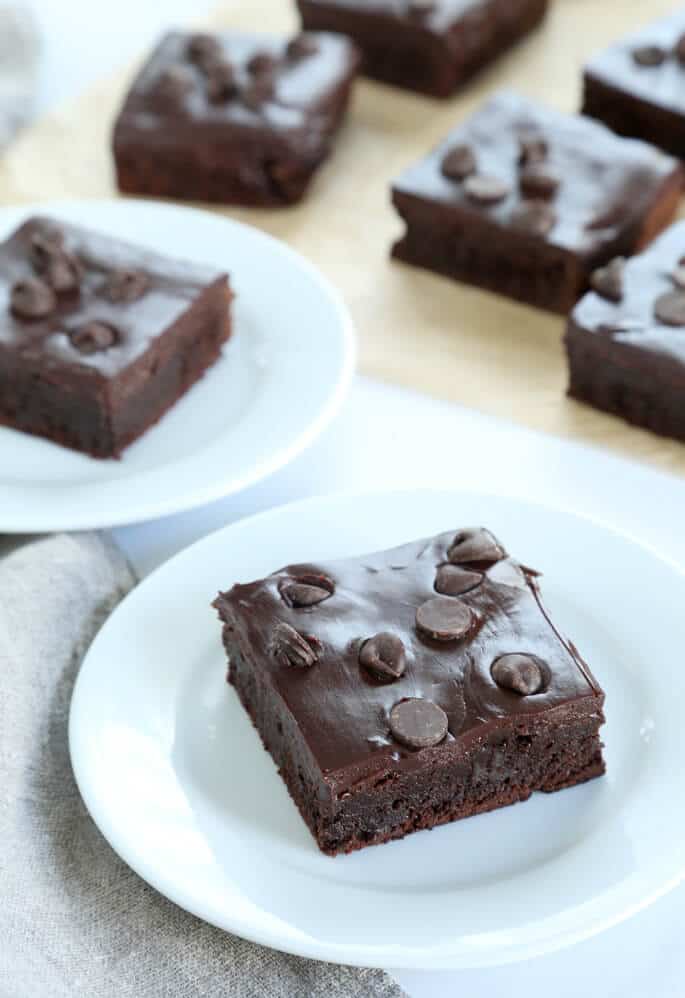
Top with a few ounces of chocolate chips, and spread again to help the chips stick to the batter. Adding chips on top not only adds some texture to the cooled brownies, but helps create the shiny top.
7. Bake
Bake just until the center doesn’t jiggle loosely when the pan is shaken from side to side. A toothpick inserted in the center may not come out clean, but it's better to underbake than overbake. It's very hard to tell when very dark brownies have begun to burn on the edges and bottom.

8. Cool
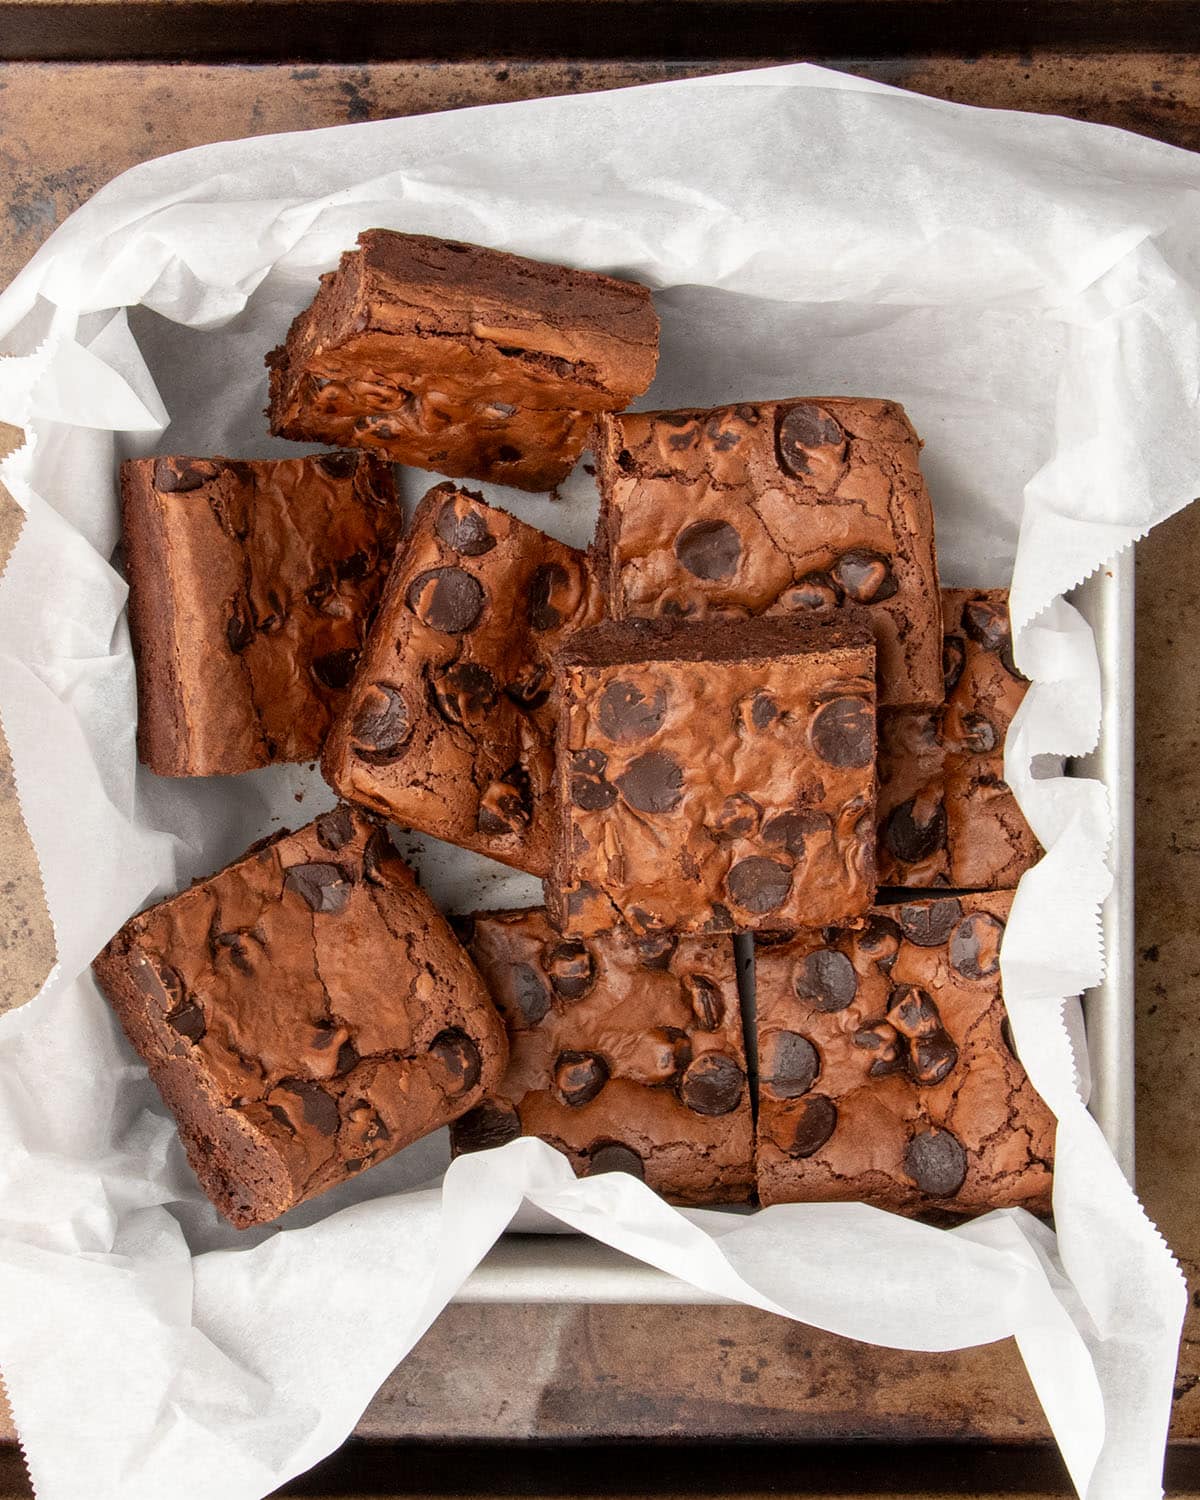
For easier slicing, let the brownies cool in the pan and then refrigerate them, uncut, in the pan until firm (about 1 hour). Then remove from the pan by the foil lining, and use a very sharp knife to slice into 9 squares. Make each cut in one single motion, and clean the knife in between slices to get clean cuts.

Expert tips
Melt chocolate carefully
Be sure to melt your chocolate very gently so it doesn't burn or seize, stirring in between short bursts in the microwave at 70% power or over a double boiler, making sure the simmering water doesn't touch the bowl of chocolate. I like to melt chocolate in the microwave in a small ceramic bowl. Ceramic doesn't conduct heat very well, so the chocolate can melt in short intervals without scorching, slowly.
Beat the butter, sugar and egg mixture well
If you can, use an electric mixer (handheld or stand mixer is fine) to beat the butter and sugar first, then the eggs. Creaming together the butter with the sugar helps add air into the batter so they taste like brownies, not fudge, and beating the eggs well helps dissolve the sugar in the eggs to create a crinkly top.
Chill for clean slices
The firmer the brownies are, the cleaner your slices will be. Let the whole pan of brownies cool on a wire rack, then refrigerate until the brownies are firm, about 1 hour. Use a large, sharp knife, slice in one motion for each cut, and clean the knife after each cut.
Ingredient substitutions
I don't think you can replace the cocoa powder or the chocolate in these brownies. But here are some suggestions for how to avoid additional allergens like dairy and eggs:
Dairy free
I have made these brownies successfully with virgin coconut oil, the kind that's soft solid at room temperature, in place of butter. Be sure you're using dairy-free dark chocolate in the brownies and the topping.
Egg-free
You can try replacing the 3 eggs with “chia eggs,” Bob's Red Mill egg replacer, or “flax eggs.” You can also try adding 3 tablespoons melted butter and 75 grams aquafaba, or the salt-free brine from a can of chickpeas.
Flourless Brownies Recipe
Equipment
- Handheld mixer or stand mixer fitted with paddle attachment
Ingredients
- 10 ounces dark chocolate, chopped, or melting chocolate disks
- 4 tablespoons (56 g) unsalted butter, at room temperature
- ¾ cup (150 g) granulated sugar
- 3 (150 g (weighed out of shell)) eggs, at room temperature
- 2 teaspoons pure vanilla extract
- ¼ teaspoon kosher salt
- ¼ cup (20 g) unsweetened cocoa powder, (preferably Dutch-processed)
- 3 ounces dark chocolate chips, for scattering (optional)
Instructions
- Preheat your oven to 350°F. Grease and line an 8-inch square baking pan with unbleached parchment paper or nonstick aluminum foil that overhangs the sides of the pan, and set it aside.
- In a double boiler or a medium-sized microwave safe bowl, melt the chocolate and until melted and smooth. In the microwave, melt in 30-second increments at 70% power, stirring in between. Set the melted chocolate aside to cool briefly.
- In a separate, large bowl, place the butter and sugar and beat with a handheld mixer on medium-high speed until becoming creamy (about 3 minutes). Add the eggs one at a time, beating very well after each addition.
- Add the vanilla and salt, and beat on high speed until light and fluffy (about 1 minute).
- Add the cocoa powder and mix by hand, then beat on low speed until the cocoa powder is absorbed.
- Add the melted and cooled chocolate and mix well until smooth and glossy (2 to 3 minutes).
- Pour the mixture into the prepared baking pan, spread it into an even layer and tap the pan on a flat surface to break any large air bubbles.
- Sprinkle the top evenly with the (optional) chocolate chips and press the chips into the batter to help them adhere.
- Place the pan in the center of the preheated oven and bake until the brownies are puffed in the center and the center doesn’t jiggle when shaken gently from side to side (22 to 25 minutes). Do not overbake.
- Remove the pan from the oven, and place it on a wire rack to cool completely, still in the pan.
- Once the brownies are nearly cool, place the pan in the refrigerator to chill until firm to the touch (about 1 hour). This will make slicing much easier.
- Remove the brownies from the pan by lifting up on the foil. Use a large, sharp knife to slice into 9 equal squares.
Video
Notes
Nutrition
Nutrition information is automatically calculated, so should only be used as an approximation.
Make ahead/leftovers
Storage instructions
You can store these in a sealed container at room temperature for up to 2 days, and up to 5 days in the refrigerator.
For longer storage, then wrap tightly in plastic wrap and freeze for up to 3 months. Let defrost in the refrigerator or at room temperature.
FAQs
Yes! You can beat everything vigorously by hand using a whisk, until you add the melted chocolate at the end. Then, mix with a spatula.
Your chocolate may have seized either in heating or when it was added to the rest of the ingredients. You can try adding a few drops of warm cream to the mixture to smooth it out before baking.
The brownies are done baking when they're puffed in the middle and the center doesn’t jiggle when shaken gently from side to side. You won't be able to use the toothpick test, as they're so fudgy that the toothpick will probably only come out clean once the brownies are overbaked.
Yes, you can use block-style vegan butter in this recipe. Avoid using the kind that comes in a tub, which is much softer and won't really whip properly with the sugar and eggs.
Yes! You can add chopped nuts in place of the chocolate chips on top, or you can mix about 2 ounces in to the completed batter at the end. Don't add too many, or the brownies may not set properly.
Yes! I have made these successfully with an equal amount of coconut sugar, by weight. If yours is dry and grainy, I recommend blending it until finer first so it fully dissolves in the eggs.




I have not made these but interested in trying them out. Can you substitute allulose for the sugar? I saw Coconut sugar works well but need something like allulose or monkfruit. Thank you!
I’m afraid I really don’t expect that that would work well, no, Mary. Sugar alternatives are very drying, unlike actual sugars which lock in moisture, and this is an extremely simple recipe.
These have been my go-to brownies for years. They are so delicious and satisfying for us serious chocolate lovers. And my GF parents can eat them! I have tried doubling in a 13×9 and they don’t turn out quite as well, so I try to stick to 2 pans if I’m doubling.
Thank you so much for sharing your experience with these brownies, KL. So glad you love them, and they’re a great option for everyone. Yes, a double batch is best baked in two pans. I generally avoid 13 x 9 pans in general for bars, as they tend to burn on the bottom in the center before baking all the way through the middle.
Loved the GF Lemon Bars! I made them for my granddaughter who has a ton of allergies – but had to try them before I gave the rest to her. You got it – I’m not GF but had to make sure they were edible. Would highly recommend to all our GF people – this recipe is the one to go to. Thank you Nicole for posting this.
Concerned..if I triple the recipe (27 brownies) the instructions still say 8″ square pan..Wondering if I should use a larger pan.
Hi, Carol, the program only multiplies the ingredient amounts, but doesn’t change anything else. You have to make the other adjustments yourself, including using 3 separate 8-inch square pans if you triple the recipe.
Awesome recipe, thank you! I made this for my GF 82 year old father and you’d have thought I handed him the moon on a platter. Suffice to say, I’ll be making them again. Oh, and I did reduce the sugar content to 1/2 cup and they were fabulous!
Aw, Jennie, that’s lovely. So glad he loved them, and that you got to give him the moon!
These were amazing and so easy to make!! Question, though- your brownies look so thick in the photos, but mine came out really flat. Is it because I probably over-mixed?
Thank you so much for this recipe!
Did you follow the instructions for how and how much to beat the butter, then the sugar, and eggs together? That’s essential to getting the crackle on top and the right brownie texture. Otherwise, you’ll end up with something a bit heavier and fudgier. Not altogether a bad thing, just different. Otherwise, did you use a pan that is larger than 8-inches square? That’s the only other thing I can think of, Alex!