
This post may contain affiliate links. Please read our disclosure policy.
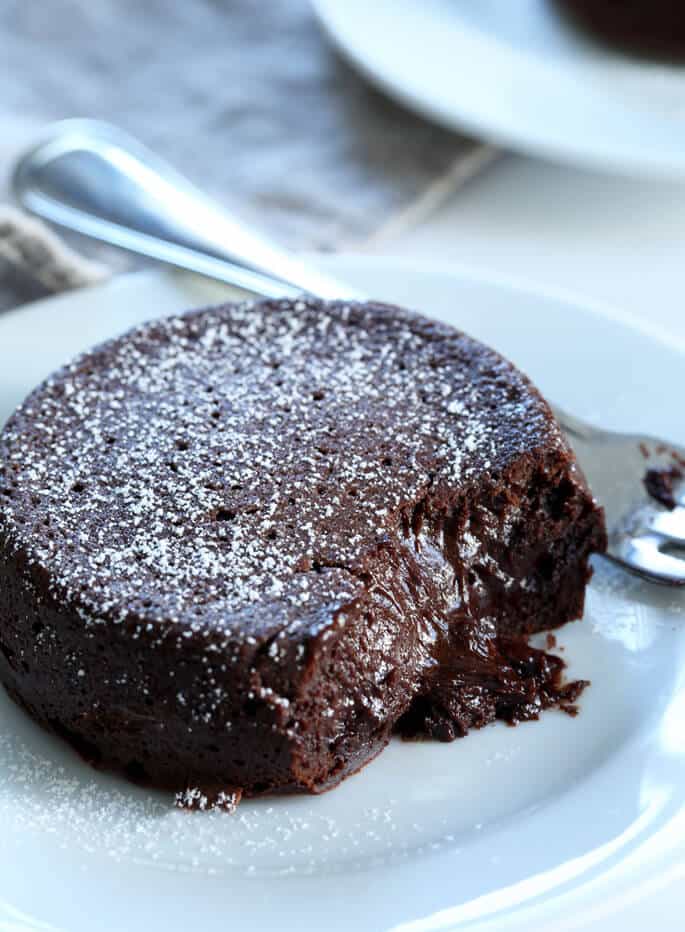
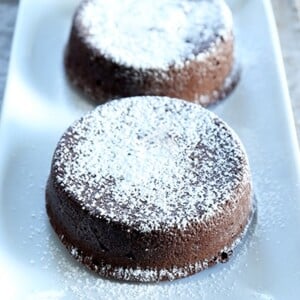
If you're looking to treat someone, try making a gluten free lava cake for maximum impact with minimum effort! This recipe is decadently chocolatey, it'll be a repeat dessert, trust me!
Chocolate gluten free lava cakes are one of those miracles of baking, like magic custard pies and petit fours. Recipes like this prove that simple pantry ingredients can be combined in just the right way to make something really special.
You may have assumed that these restaurant-style cakes are something that you simply couldn't make at home easily. Being wrong has never tasted so good—or looked so impressive!
Baking in a simple water bath
If you're dead set against baking them in a water bath (called a bain–marie), you don't really have to. Just know that your lava may not be very, well, lava-like.
The water bath is what all but assures that the cakes will bake slowly and gently enough that the top will be set and the very center smooth and soft. It also makes baking times much more forgiving.
You'll invert the cakes onto a plate or serving platter. When you do that, the tops should be set enough that the cakes can actually be moved around a bit, and even transferred from one plate to another.
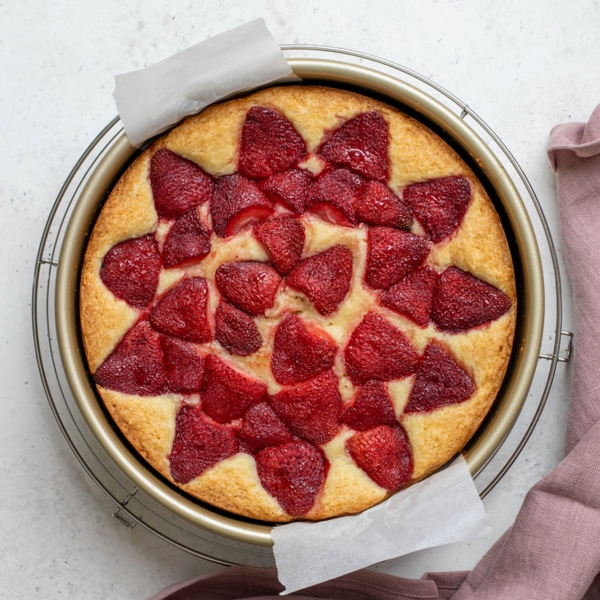
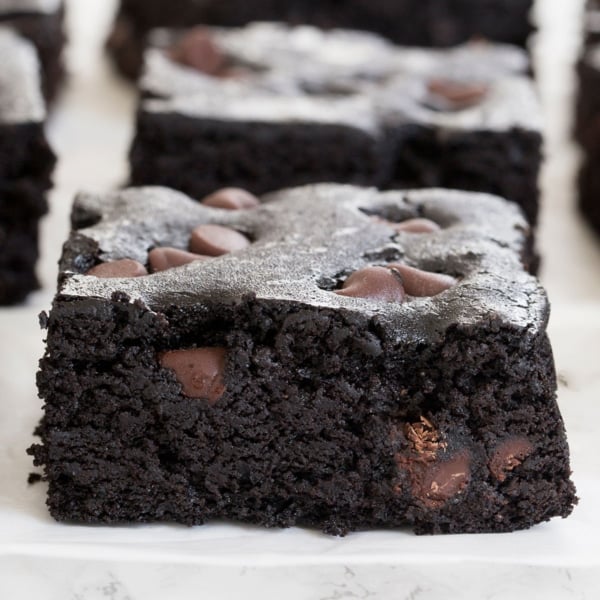
If you'd prefer a full-sized cake, there are so many recipes here on the blog for just that. You can try our classic one bowl gluten free chocolate cake, or even our flourless chocolate cake, which calls requires no special ingredients and is super rich and decadent.
The recipe calls for baking the batter in individual 4-ounce ramekins, which are really quite small. The cakes are super rich, though, and a 4-ounce serving is generally enough to satisfy even the most dedicated chocolate-lover.
If you don't have that size baking dish, fill whatever size heat-safe dish you have 3/4 of the way with batter, bake in a water bath, and serve with multiple spoons. It'll be romantic and stuff.
FAQs
What is the lava in the lava cake from?
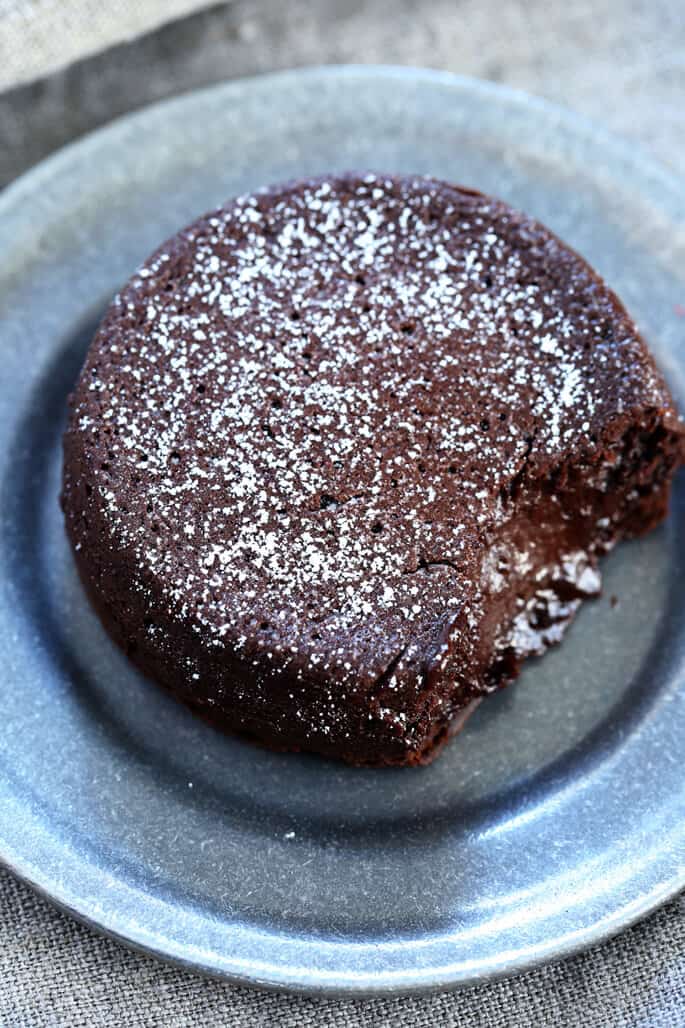
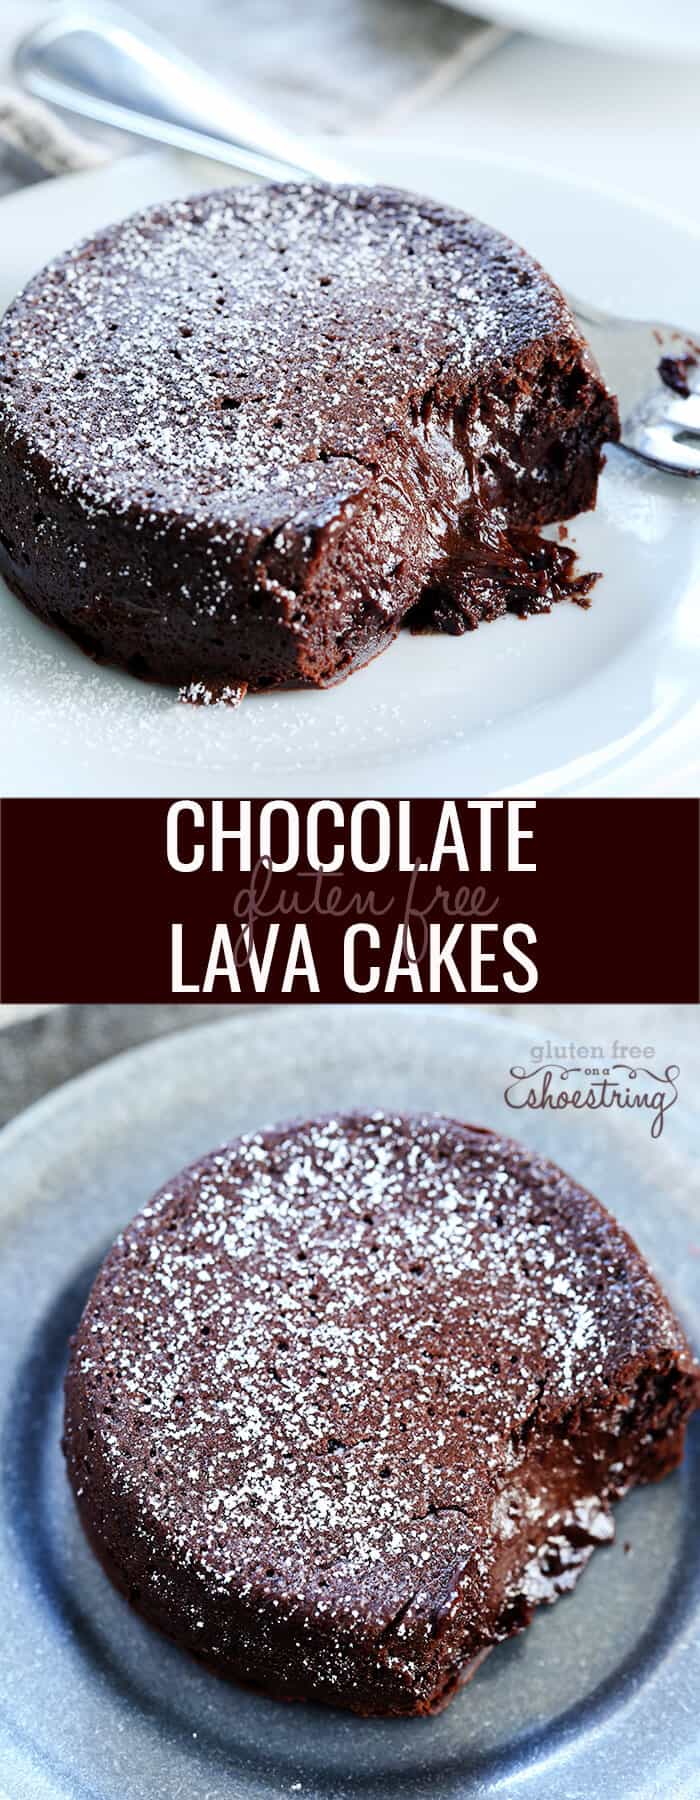
The lava in the lava cake comes from the baking process. Keeping the cakes baking slowly and gently ensures the center stays gooey and delicious and ideally flows out as you cut into it.
What can I serve with my lava cake?
What goes best with hot chocolate desserts? I love vanilla ice cream! Serve your lava cake with cream, ice cream, fresh berries or just a sprinkling of Confectioner's sugar as I've done below.
Why is the baking time important for a gluten free lava cake?
How long or short you bake your lava cake for will really impact your results. If you bake it for too long, and if you skip the bain-marie step I mentioned above, then you risk ending up with less of a lava cake, and more of a regular cake (but probably still delicious!).
If you don't bake it for long enough, your lava cake will collapse into one pool of lava. So, set your timer when you're ready to cook!
How to make the perfect chocolate gluten free lava cake, step by step
Gluten Free Chocolate Lava Cakes
Ingredients
- 4 tablespoons (56 g) unsalted butter, plus more for greasing
- 5 ounces dark or semi-sweet chocolate, chopped
- 2 (100 g (weighed out of shell)) eggs, at room temperature
- 2 (50 g) egg yolks, at room temperature
- ¼ cup (50 g) granulated sugar
- ½ teaspoon pure vanilla extract
- 3 tablespoons (27 g) all purpose gluten free flour blend, (truly almost any finely ground flour blend will do, with or without xanthan gum)
- 1 tablespoon (5 g) unsweetened Dutch-processed cocoa powder
- ⅛ teaspoon kosher salt
- Confectioners’ sugar, for dusting (optional)
Instructions
- Preheat your oven to 425°F. Grease very well the entire insides of 4 4-ounce oven-safe ramekins, and set them in a casserole dish with at least 2 inch high sides, and set aside.
- Melt the chocolate and 4 tablespoons butter together in a double boiler or a microwave-safe bowl (melt at 70% power in 30 second intervals, stirring in between, until melted and smooth), stirring frequently until just melted. Set the chocolate mixture aside.
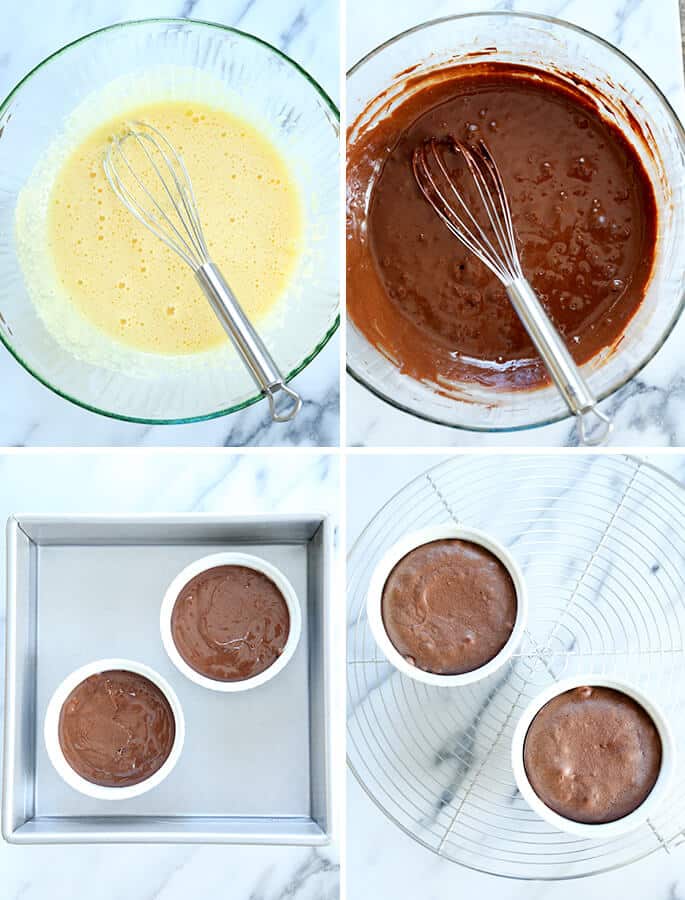
- In a large bowl, place the eggs, egg yolks, sugar and vanilla, and whisk to combine. The mixture will be very yellow in color and thin in consistency.
- Whisk vigorously (this can be done more easily with a mixer) until the mixture is very pale yellow in color and thickened in consistency.
- Drizzle the chocolate and butter mixture into the large bowl with the thickened egg mixture, whisking constantly until combined.
- Add the flour, cocoa powder and salt, and whisk to combine well. The mixture will be somewhat thick, but pourable and smooth. Pour the mixture carefully into the 4 prepared ramekins, filling each 3/4 of the way full. (See Recipe Notes for make-ahead instructions.)
- Place the casserole dish with the filled ramekins on the bottom rack of the preheated oven, and carefully fill the casserole dish with cool tap water until the water reaches about halfway up the sides of the ramekins.
- Close the oven and bake until the tops of the cakes are set and are just beginning to pull away from the sides of the ramekins, about 15 minutes.
- If you used smaller ramekins, bake for a few minutes less; larger ramekins will take a few minutes more.
- Remove the dish from the oven and lift the ramekins out of the casserole dish with tongs. The water bath will be boiling, so move carefully and deliberately.
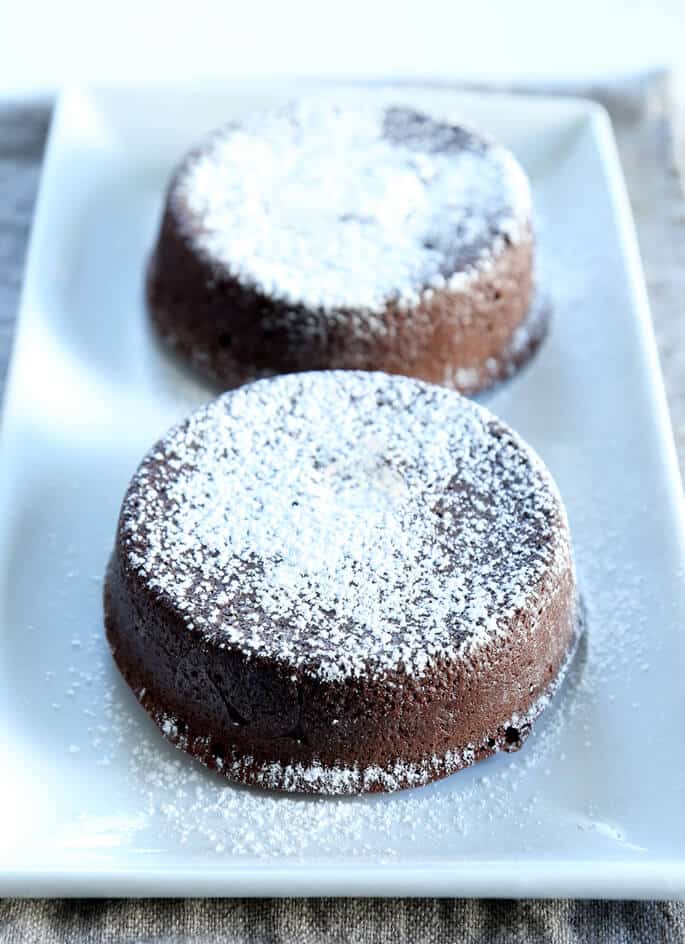
- Place the ramekins on a wire rack to cool for about 10 minutes before turning each cake out onto a small plate, and dusting with confectioners’ sugar. Serve immediately.
Notes
These are super easy to prepare ahead of time. Simply follow the recipe through Step 6 above. Cover the casserole dish (or each of the ramekins individually) tightly with plastic wrap and refrigerate until almost ready to serve. Remove from the refrigerator, allow to come closer to room temperature, and proceed with the remaining recipe instructions. Originally published on the blog in February 2013.
Nutrition
Nutrition information is automatically calculated, so should only be used as an approximation.


Can this be frozen and then brought to room temperature before cooking? So as to be able to make one or two at a time? Looking forward to trying this. With ice cream and whipped cream. Will salted butter be ok.
I’ve made the batter ahead of time as I describe in the recipe card notes before with plenty of success, Colleen, but I’ve never frozen it raw before. I’m afraid I honestly just don’t know if that would work. If you’d like to make only 2 cakes in total, I’d recommend you reduce the yield of the recipe to 2, and make only 2 cakes’ worth of batter.
I always recommend unsalted butter because it has less moisture than salted butter and allows you to control not only for moisture but for salt content. Salted butter should work since there is just one tablespoon of butter per serving, but I can’t promise it won’t affect results at all.
Hi, I made these today, however I followed the recipe weights and mine were not pourable! What should I have done?
Did you make ingredient substitutions? Did you use an all purpose gluten free flour blend based on rice flour? Sometimes, readers try to make this recipe with a single flour, and you must use a blend.
Made these for Valentine’s Day 2025. I followed the recipe exactly but my cakes were under baked. I baked them for 15 minutes as per the directions. Too runny. Put them back in the oven for an additional 20 minutes and they were still underbaked, they went back in the oven for 15 mins. Still underbaked I gave up! Texture was like pudding. Spooned a little of the very hot underbaked cake over vanilla gelato. The taste was there, very chocolatey.
Please offer any advice as to why my cakes were underbaked.
Did you make any ingredient substitutions? Measure by weight, not volume? Does your oven hold its temperature, Lena. That’s a lot of baking time for still underbaked cakes, and I’m afraid I can’t imagine why.
Delicious n easy to make
So glad you enjoyed them, Betty! Thanks for sharing your experience.