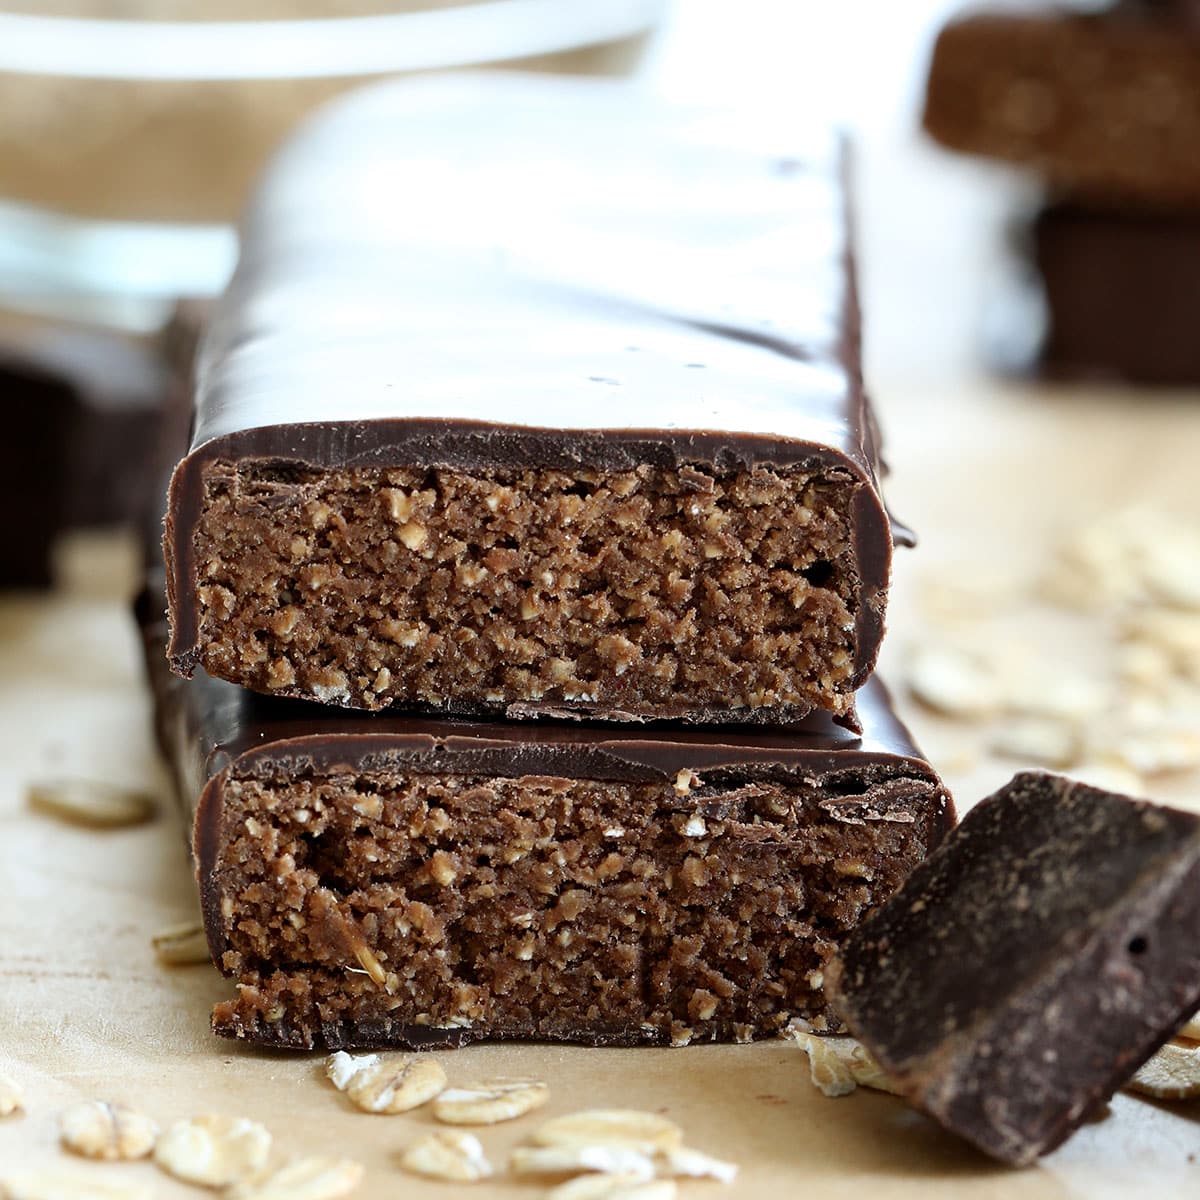

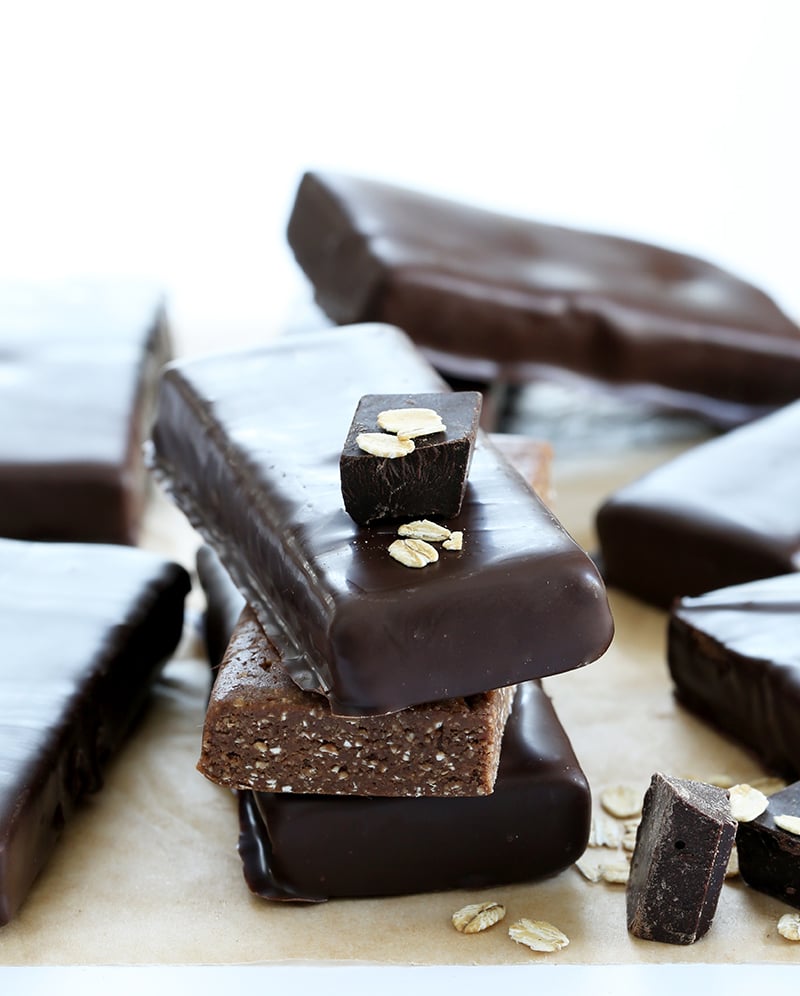
These homemade protein bars are no-bake, endlessly customizable energy bars. Just like Luna and Power bars, and made with your favorite protein powder.
This protein bar recipe is not like those other fussy, confusing recipes out there! It's easy to follow, and easy to customize. You can even easily make it without peanut butter!
There are affiliate links in this post. Please see our disclosure policy.
WANT TO SAVE THIS RECIPE?
Table of contents
Why we love this protein bar recipe
When my kids were younger, they played a lot of sports. That means that we were often on the run, so they ate a lot of protein bars.
And of course, each kid had his or her own favorite variety of bar. But all those packaged protein bars have one thing in common: they're crazy expensive.
This recipe for homemade protein bars started out as just a healthy snack that I was just making for my family, and that was that. After much hesitation, I had finally purchased some Vega Essentials protein powder.
I mean, they even sell protein powder at CVS now! I could use a coupon! I was just playing around with it. That's the kind of experimenting I rarely get to do anymore, where I just throw a bit of this and a bit of that into a recipe.

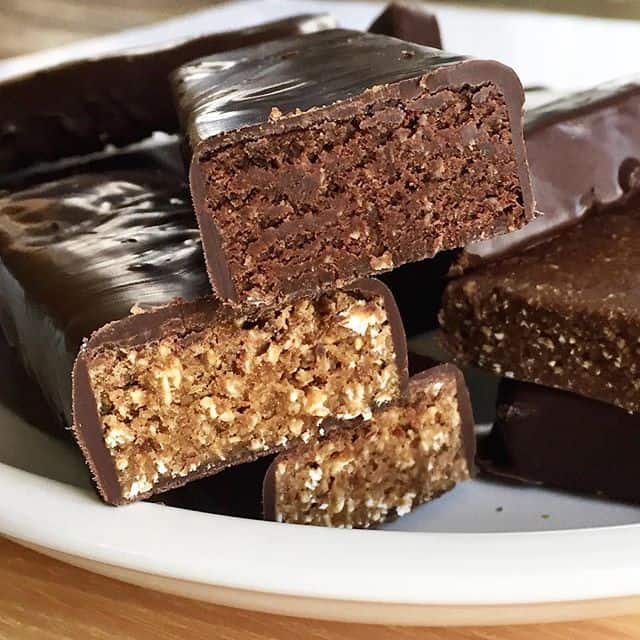
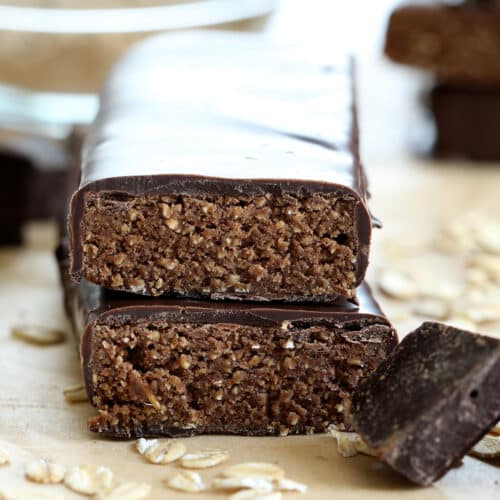
My kids couldn't get enough of these bars. They had even gotten good enough that my husband mentioned them out of the blue one day. I mean, they have the soft texture of a brownie, and they're not too sweet.
“You know, those protein bars were really good.” That's high praise for him. My kids had started asking, “Are those bars hard to make?” That's code for “please make them again.”
I also get “are these bars good for you?” That's also code for “can I eat them all day every day and be healthy?”
They always felt good about these bars because they have the soft texture of a brownie, taste rich and always satisfying. I always felt good about them because they don't have any added sugar, have lots of whole grains, and 13 grams of protein in one small bar.
Plus, I can customize the flavors to suit each individual child's tastes. Now, I mostly make them for my son since he discovered going to the gym and loves the way that makes him look and feel.
Recipe ingredients
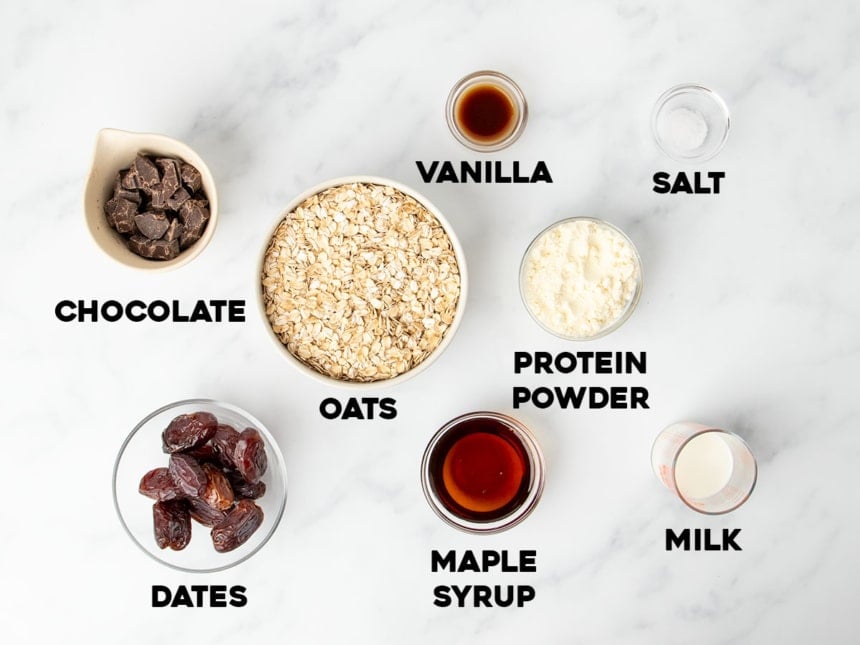
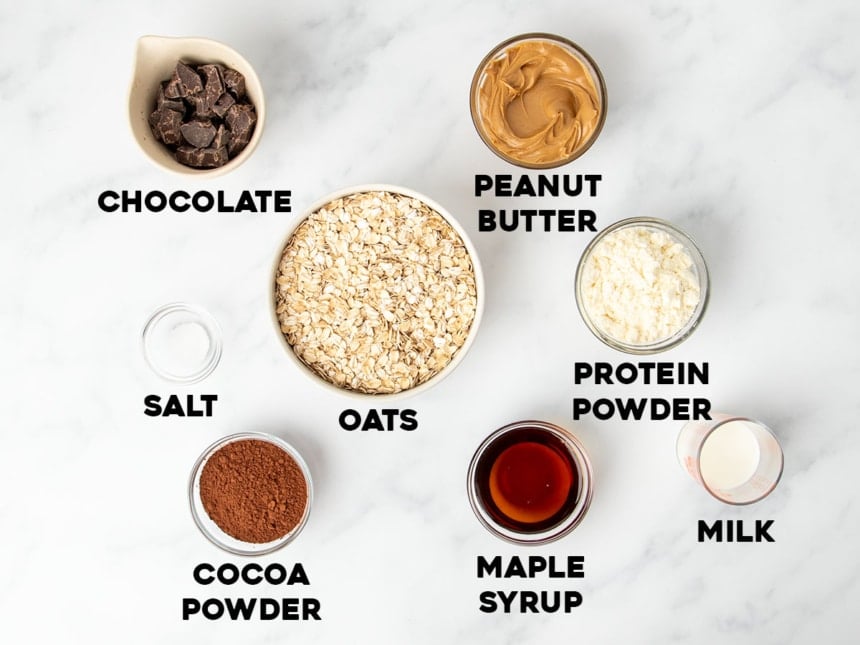
There are two main versions of these bars: with dates, and with peanut butter. Most of the ingredients in these bars are the same in both variations, but some are only in one, some only in the other.
In both variations
- Oats: We grind old fashioned oats into oat flour at the start of the process in a large food processor. They add lots of whole grain nutrients and form the backbone of the bars. If you'd rather, you can start with oat flour in the same amount, by weight. For 250 grams of oat flour, if you're measuring by volume, you'd need 2 cups + 1 heaping tablespoon of oat flour.
- Protein powder: This adds a ton of protein to these bars, and adds some flavor if you use a flavored protein powder. If you use a chocolate protein powder, it adds more richness to the bars. If you use whey protein isolate, it has no flavor and adds the most protein by volume.
- Salt: Brightens the flavor of the bars and balances the gentle sweetness.
- Milk: Adds richness and moisture to the bars and helps hold the ingredients together. Add milk slowly because if you add too much, the bars won't set up properly.
- Maple syrup: Adds depth of flavor, sweetness, and helps hold the bars together. You can use another liquid sweetener like honey, but you'll probably need a bit less of it and it will change the flavor.
- Chocolate: Adds flavor, richness, and is largely responsible for helping the bars hold their shape once they set. By using unsweetened chocolate in the bars, they don't add any sugar. First, we melt it, and then it becomes solid again as it cools. If you add the optional chocolate coating to the bars, it adds more flavor and helps hold them together, too. Be sure to use chocolate for coating that has some sugar, or the coating will taste flat and unpleasant.
In only the dates version
- Dates: They hold this version together really well with their stickiness. I prefer Medjool dates because they're stickier and have more of a rich caramel flavor. Deglet Noor dates are smaller, a bit drier, and less sweet.
- Vanilla: Adds more depth of flavor to this version, which has less strong flavors than the nut butter variety.
In only the peanut butter version
- Peanut butter: Always use a “no-stir” type of peanut butter, which is more solid at room temperature than the super drippy natural kind that usually only has the single ingredient (peanuts). You want something that has had some sort of solidifying oil blended into it that will help hold the bars together and keep them from being oily. There are peanut butters like this (I like Skippy brand best), and Barney Butter makes a great no stir gluten free almond butter. I bet Wow Butter would work for a nut-free version.
- Cocoa powder: Adds richness and deep chocolate flavor to the peanut butter bars, and helps mix with the nut butter to provide stability. I prefer Dutch-processed cocoa powder, since it is richer and deeper, but natural cocoa powder works well, too.
How to make homemade protein bars
Process oats, protein powder & add wet ingredients
- Place oats in the bowl of a food processor, and grind them into a powder. If you'd prefer, you can begin with oat flour instead and you won't have to process it.
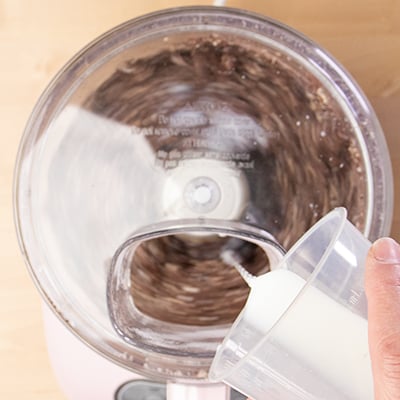
- Add protein powder, and maple syrup, melted unsweetened chocolate, and milk.
- Add either pitted medjool dates for one variety, or or cocoa powder & nut butter for another.
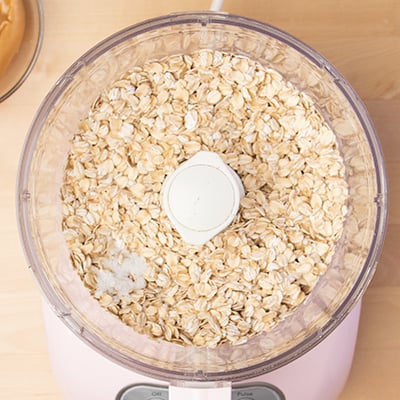
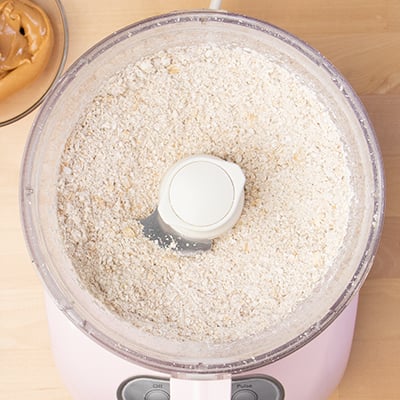
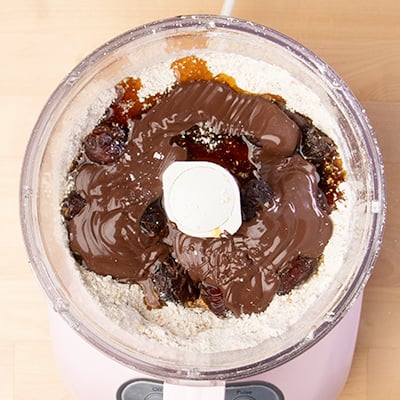
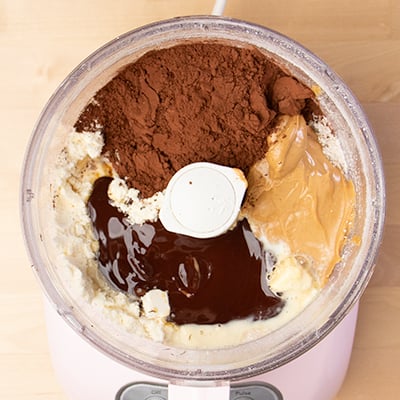
Process the mixture, & press into a pan
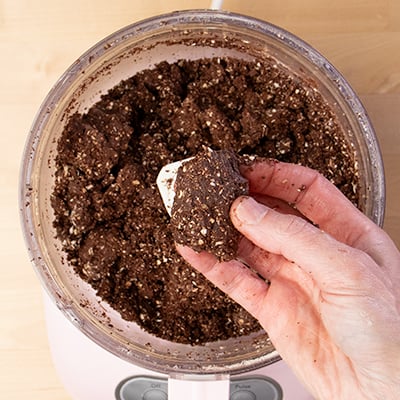
- Process the wet ingredients with the dry just until the mixture holds together.
- Add more milk a little at a time if needed.
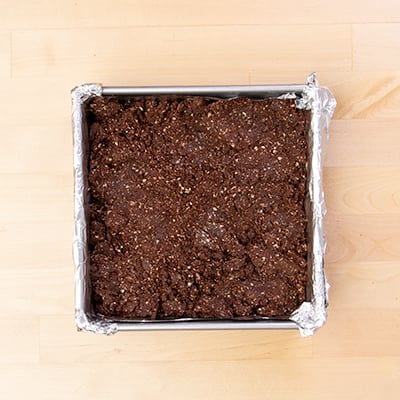
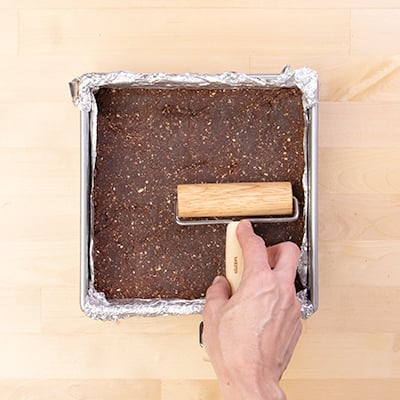
- Press everything into a pan, and chill.
Slice the bars, drizzle with chocolate, & serve!
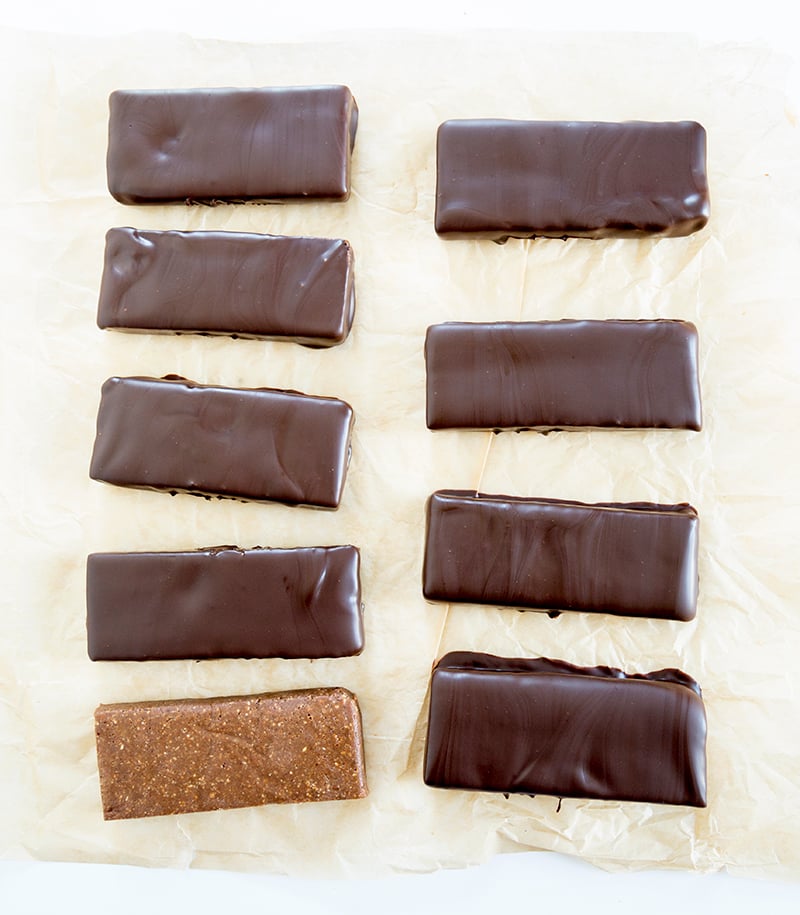
- Once the bars are chilled, slice them into bars with a sharp knife.
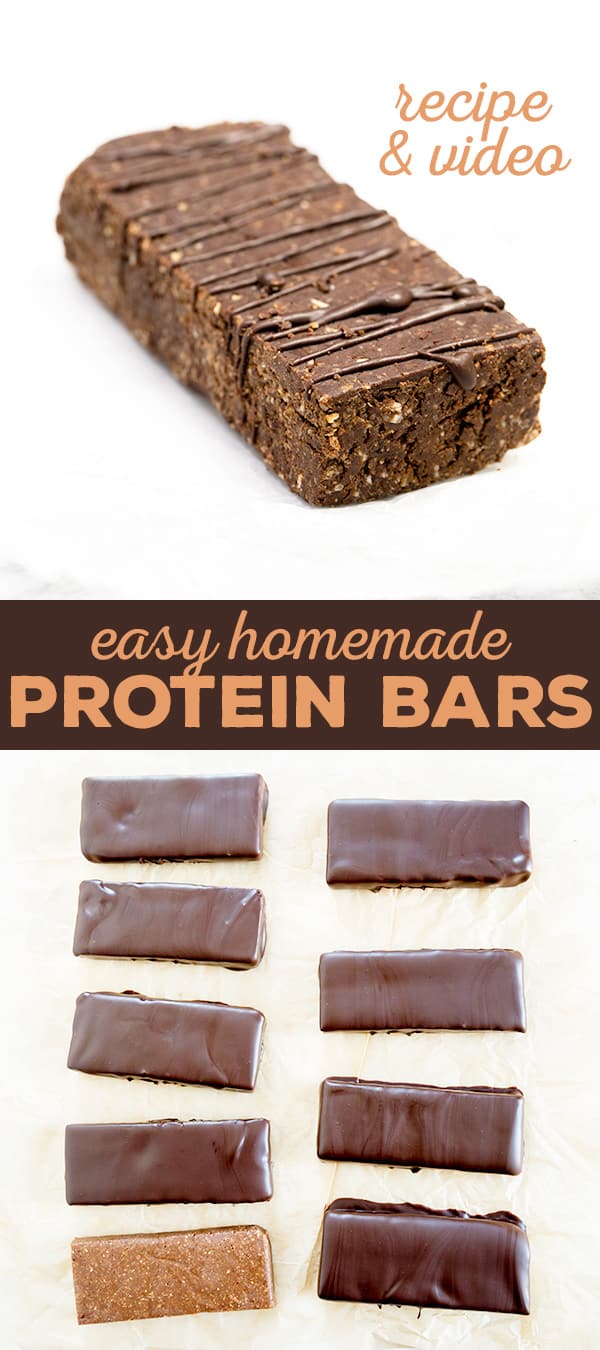
- Drizzle with some melted chocolate for extra flavor.
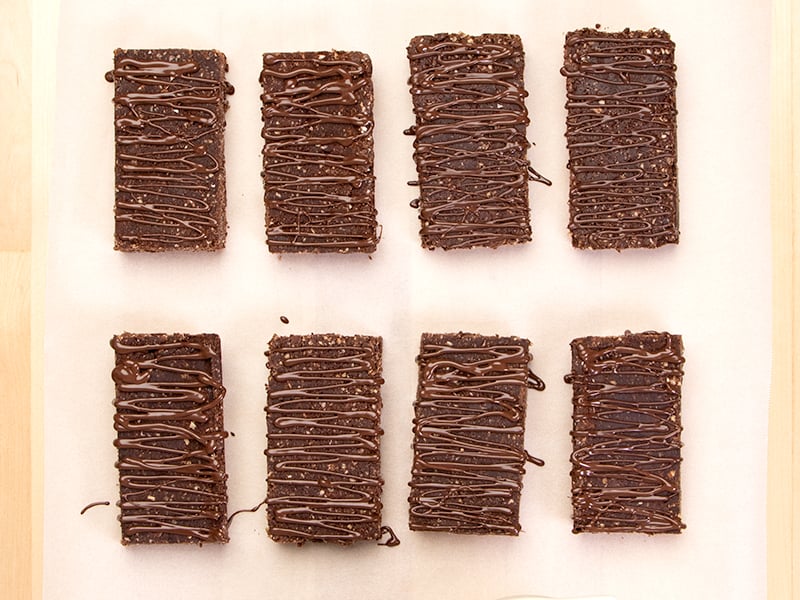
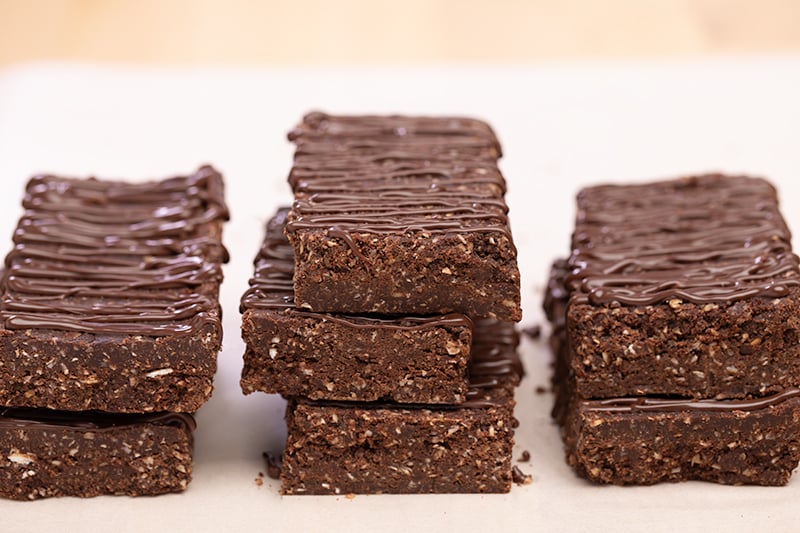
Two recipes, endless options
Have you ever noticed that most of the recipes out there for homemade protein bars are so specific? I am a fan of baking recipes being specific, since baking is chemistry. But these are no-bake.
Those other recipes either rely on one specific type of protein powder, call for a million different funky ingredients I've never heard of, or they are one flavor and one flavor only. So frustrating!
Medjool date version (protein bars without peanut butter)
So I've included two basic recipe formulas for homemade protein bars below. One is made with super soft, packed-with-fiber, deliciously sticky Medjool dates to hold the bars together and sweeten them, of course.
I buy those dates by the pound at Trader Joe's, and I can even find them sold already pitted. Since they're so high in natural sugar, they actually stay for quite a while in the refrigerator. If they seem dried out, just soak them in hot water for about 10 minutes, squeeze out the water, and use the as usual.
You can include unsweetened melted chocolate in the mixture, or not. It really helps the bars hold their shape and gives them a richer flavor.
If you prefer a more neutral-tasting bar, use a vanilla or unflavored protein powder, and leave out the melted chocolate. If you leave out the melted unsweetened chocolate, you will have to add more milk, and the bars will not hold together as firmly when shaped, but the recipe still works.
Nut butter version
But I realize that you may not know where to buy Medjool dates. Or you may think they're too sweet. So I've also formulated another recipe with nut butter and no dates.
I like this version best made with cocoa powder and melted chocolate. I do still include plenty of options for making it more neutral-tasting (including making it with cashew butter).
I've tried these bars with every single variation I recommend. They each work just as well as the other.
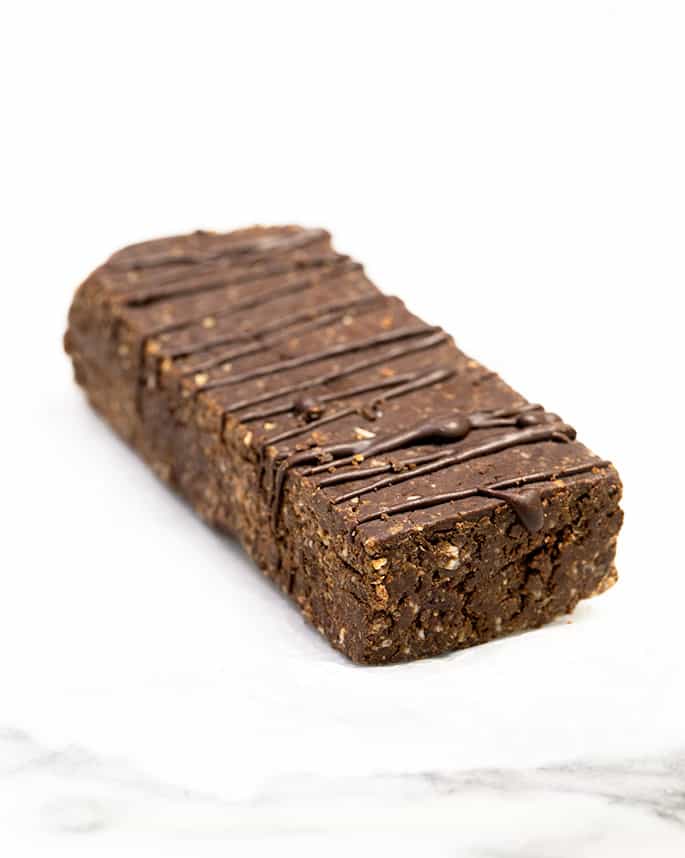
Our favorite protein bar variation
My favorite way to make these bars is the “date version.” I always include the melted unsweetened chocolate—and with just a drizzle of melted chocolate on top, at most. You can also add mini chocolate chips to the mixture after you have finished processing it and before you press it into the pan.
Without the full chocolate coating, the bars are much easier to handle and transport. Including the melted chocolate in the bar itself makes the bar richer in taste and more firm for easy handling.
You can use any flavor protein powder you like in the date version and leave out the melted chocolate, and you'll change the flavor profile to suit your tastes. If you have another favorite protein powder, use that!
Recipe tips & tricks
Don't just leave out an ingredient
There are lots of ways to customize these protein bars to your family's tastes and nutritional needs. There's no chemical reaction happening, since these bars are no-bake, so the mixture must have a certain texture right out of the food processor.
We want the bars to hold together well, so you'll need ingredients that provide structure, and ingredients that bind the bars together. Plus, you need a protein powder, since these are protein bars after all!
Don't rush the firming time
These bars will take at least an hour in the refrigerator to become firm enough to slice, and to hold together properly. So don't wait until the moment you need them to make these protein bars! Make a double batch, and stock up, so you and your family are never without this healthy, grab-and-go snack.
Don't add more liquid than the recipe calls for
If you add more maple syrup, or increase the melted chocolate, the protein bar mixture will be overly soft and won't set up.
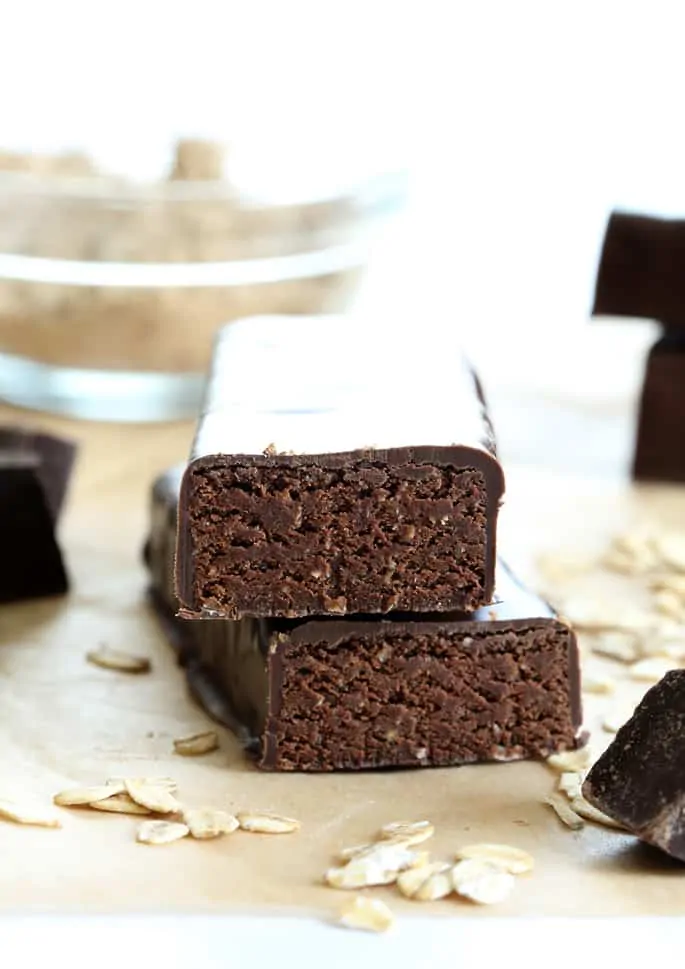
Popular ingredient substitution suggestions
Dairy free
As written and as long as you use dairy free milk and chocolate, this recipe makes dairy free protein bars.
If you prefer a dairy-containing protein powder, try whey protein. At first I was certain that you did need to include the oats…
Oat-free
I have finally successfully replaced the oats in this recipe, and every other oat-filled recipe on this blog (and in my cookbooks!). You can read all about a potential substitute for oats in baking, and finally make this grain-free!
The TL;DR version for this recipe is that you use wide, flat coconut chips. Since this recipe is no bake, the coconut chips take up a similar amount of space as the oats.
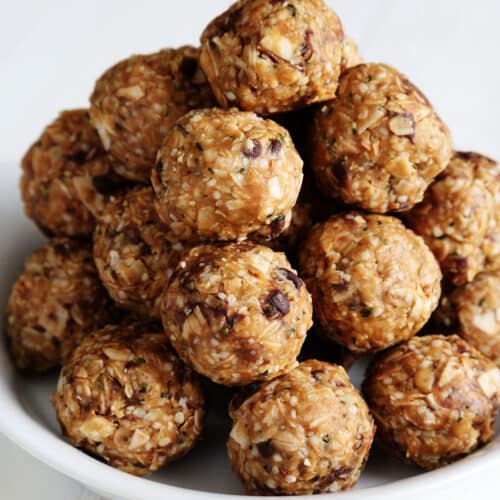
If you're looking for a bite-sized version, try my no-bake protein balls. They don't have protein powder at all, and there's no food processor involved.
You do have to roll all those little bites, but there's a grain free variety in that recipe that you might really love.
Sugar free
The nut butter homemade protein bar variation can be made without added sugars if you replace the maple syrup with Lankato brand maple syrup substitute. You may need a bit less, though, since it's quite sweet. Be sure your nut butter is made without added sugars, too.
Flavor variations
A more neutral-tasting bar
Try using cashew butter as the nut butter for a more neutral flavor that really lets the chocolate flavor shine.
A fruity version
Try replacing the cocoa powder with a freeze-dried fruit powder. You can either buy it as a powder, or buy freeze dried fruit by the bag and grind it into a powder.
If you have a dehydrator, you can make any fruit into a powder. You can also dehydrate fruit on a baking sheet in a 200°F oven for hours. I do not have that sort of patience.
A no-added flavor protein powder version
Instead of protein powder, try using collagen powder for a huge nutritional boost with no added flavor at all. You can use whey protein isolate, like in our gluten free bread flour.
I also really like Vital Proteins Collagen Peptides. That's an affiliate link, feel free to shop around for the best price.
I've also started experimenting with Perfect Hydrolyzed Collagen Peptides (affiliate link), and it's less expensive. I've used that brand in my protein granola, and I might just like it better. Plus, it’s less expensive.
Storage instructions
Refrigerating
I like to keep these bars, usually wrapped individually, in the refrigerator. They're easy to eat chilled without having to let them warm to room temperature.
Freezing
You can freeze these bars for longer storage, but don't try to eat them right out of the freezer! They're too hard to bite after they're fully frozen. Just let them sit for a bit first.
Frequently asked questions
The most time-consuming part of making your own protein bars is washing the food processor! Otherwise, making this recipe is as easy as assembling the simple ingredients, measuring them out, and processing them, which takes about 10 minutes.
Yes! Nature Valley brand makes protein bars that they say are safely gluten free. Be mindful that any of their products with oats may not be made using purity protocol gluten free oats, so whether or not to eat them is a personal decision.
CLIF Kid Z Bars don't appear to contain gluten free ingredients, but their oats are not purity protocol gluten free oats, so I avoid them for my family.
Many Power Bars appear not to contain gluten-containing ingredients, but they seem to be made on shared manufacturing equipment with gluten-containing ingredients.
Yes! If you make the “medjool date” variety homemade protein bar in the recipe below, you won't need any peanut butter at all. If you want to make the nut butter version, use another nut butter like cashew or almond butter, and avoid peanut butter completely.
Did you add any additional liquid? Maybe you added more milk than was strictly necessary. If they aren't setting up, try processing some more oats into a powder, and mixing that with the too-soft protein bar mixture to firm it up.

Interested in getting extra protein?
It seems like anything with the word “protein” in the name is going to cost you top dollar at the store. That's why I love this recipe for homemade protein bars so much: you can make it the way you like it best, and save money in the process!
If you're looking for more ways to get some extra protein in your diet, try these other high protein recipes:
Featured Recipes
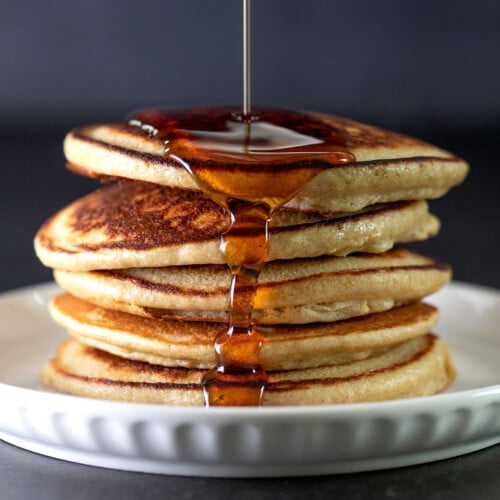
Healthy Protein Pancakes | Naturally GF
Protein Cookies
Homemade Protein Bars Recipe
Equipment
- Food processor fitted with steel blade
Ingredients
For the date version
- 2.5 cups (250 g) old-fashioned rolled oats (gluten free if necessary)
- 1 scoop (36 g) protein powder (gluten free if necessary) I like Vega essentials chocolate flavor protein powder, but you can use whey protein, or your favorite protein powder (vanilla or chocolate)
- 10 (150 g, as pitted) pitted soft Medjool dates
- ¼ cup (84 g) pure maple syrup
- 1 teaspoon pure vanilla extract
- ¼ teaspoon kosher salt
- ¼ cup (2 fluid ounces) milk (any kind) plus more as necessary
- 3 ounces unsweetened chocolate chopped and melted
- 8 ounces bittersweet chocolate chopped and melted (optional, for coating)
For the nut butter version
- 2.5 cups (250 g) old-fashioned rolled oats (gluten free, if necessary)
- 1 ½ scoops (54 g) protein powder (gluten free, if necessary) I like Vega essentials chocolate flavor protein powder, but you can use whey protein, or your favorite protein powder (vanilla or chocolate)
- ½ cup (40 g) unsweetened cocoa powder natural or Dutch-processed (can replace with more protein powder)
- ¾ cup (192 g) smooth, no stir nut butter I have used peanut butter, almond butter and cashew butter—all work well
- ¼ cup (84 g) pure maple syrup
- ¼ teaspoon kosher salt
- ¼ cup (2 fluid ounces) milk (any kind) plus more as necessary
- 3 ounces unsweetened chocolate chopped and melted (can replace with 2 tablespoons more nut butter + 1 tablespoon pure maple syrup)
- 8 ounces bittersweet chocolate chopped and melted (optional, for coating)
Instructions
- Line an 8-inch square baking pan or standard 9-inch x 5-inch loaf pan with parchment paper or nonstick aluminum foil, and set it aside.
To make the date version
- Place the oats in a food processor fitted with the steel blade and process until ground into a flour. Add the protein powder, dates, maple syrup, vanilla, salt, 1/4 cup milk and (optional) melted unsweetened chocolate.
- Process until the mixture is well-combined and is tacky (but not sticky) to the touch. Add more milk by the teaspoonful and process, only as necessary for the mixture to reach the proper consistency.
- If you opt not to use the melted unsweetened chocolate, you will have to add more milk, and the bars will not hold together as firmly when shaped.
- Transfer the mixture to the prepared pan and press firmly into an even layer, smoothing the top as much as possible.
- Cover with parchment and place in the refrigerator or freezer to chill until firm (about 1 hour in the refrigerator, or 20 minutes in the freezer). Remove the bars from the pan and slice into 10 equal-sized rectangular bars.
- Dip in the optional melted bittersweet chocolate to coat and allow to sit at room temperature until set.
- Wrap the bars individually in waxed paper, and store in the refrigerator.
To make the nut butter version
- Place the oats in a food processor fitted with the steel blade and process until ground into a flour. Add the protein powder, cocoa powder (or more protein powder), nut butter, maple syrup, salt, 1/4 cup milk and melted unsweetened chocolate (or more nut butter and maple syrup).
- Process until the mixture is well-combined and is tacky (but not sticky) to the touch. Add more milk by the teaspoonful and process, only as necessary for the mixture to reach the proper consistency.
- Transfer the mixture to the prepared pan and press firmly into an even layer, smoothing the top as much as possible.
- Cover with parchment and place in the refrigerator or freezer to chill until firm (about 1 hour in the refrigerator, or 20 minutes in the freezer). Remove the bars from the pan and slice into 10 equal-sized rectangular bars.
- Dip in the optional melted bittersweet chocolate to coat or simply drizzle some melted chocolate over the top, and allow to sit at room temperature until set.
- Wrap the bars individually in waxed paper, and store in the refrigerator.
Notes
Nutrition
WANT TO SAVE THIS RECIPE?


Thanks for stopping by!
Hi, I’m Nicole. I create gluten free recipes that really work and taste as good as you remember. No more making separate meals when someone is GF, or buying packaged foods that aren’t good enough to justify the price. At Gluten Free on a Shoestring, “good, for gluten free” just isn’t good enough! Come visit my bio!


Felicia says
Hi, both recipe versions call for unsweetened, melted chocolate. What can I substitute for this for someone who can’t eat chocolate? Is the only substitute nut butters/Nutella for similar sticky consistency?
Nicole Hunn says
Hi, Felicia, that’s a good question, and honestly one I’m not sure how to answer! The melted chocolate solidifies as the bars cool, and helps them hold their shape. The nut butter acts like glue, but doesn’t provide structure like the chocolate does. That’s why one version is with nut butter, and the other with dates. They serve similar functions. You might be able to use candy melts, which don’t usually contain chocolate. Wilton brand is not gluten free, though, but the brand Olive Nation is, if you can find that. I hope that’s helpful!
Donna says
I have a question about the coconut chip substitution for oatmeal. Do I process the coconut chips down a bit first? Some of them are quite large.
Nicole Hunn says
Yes, Donna, you don’t use anything whole in these bars. You’ll be processing the coconut chips like you would oats. Be careful about overprocessing them, though, or you’ll end up with coconut butter!
Donna says
Makes sense. Thanks.
Veronica says
I have been looking for a protein bar recipe to replace my expensive addiction to the ones I purchase at Costco and I think I’ve found it! I tried the nut butter recipe and it came out perfect the first time. I had to put quite a lot more milk than suggested in the original recipe to get it to the right consistency. I smoothed some melted chocolate on the top of each bar. Came out great. Thank you!
Nicole Hunn says
I’m so glad you love these bars, Veronica, and that they’re going to free you from having to buy expensive ones at Costco! That’s the best. There is always variation in the amount of milk you’ll need depending on the exact type of nut butter and protein powder that you use. I’m glad you paid close attention to the consistency and got it right!
Va Ba says
Hi! Thanks for the tasty recipe. I have one issue with the consistency. I am using the dates version, it gets too sticky. So sticky it even stick on the parchment paper. Any ideas what I am doing wrong? Thanks
Nicole Hunn says
Hi, Va, my guess is that you are adding too much milk and/or overmeasuring the maple syrup. I say this because I have done both of those things, when I was working too quickly and didn’t want to measure the syrup by weight, or got impatient with the food processing, and that’s what happened.
Rosemarie Lavrisa says
They taste ok but I could not get the mixture to hold together even though I used another loaf pan to press it down while leaning my whole weight on the pan. I made the nut butter recipe. What did I do wrong?
Nicole Hunn says
It sounds like you didn’t add enough milk when you processed them, Rosemarie. If you didn’t use as smooth, no-stir nut butter, and instead used one of the separated kinds, that could happen, too.
Rosemarie Lavrisa says
Thank you. I’ll give that a try.
Lori says
How long can I store the protein bars in my fridge?
Nicole Hunn says
As long as they’re each wrapped tightly to keep out air, you can store them in the refrigerator for at least 3 weeks.
Lori says
Im making your no bake protein bars and using coconut flakes instead of the oatmeal,as recommended. Do I still place in processor to make in a flour like tecture, like the oats??? THNX!
Nicole Hunn says
Yes, Lori, you’ll process the coconut flakes in much the same way. As with all ingredients in a recipe like this, don’t overprocess or you’ll end up with powder!
Peter L. says
Hi – looks great, looking forward to trying since I got a lot of dates recently! What do you think about substituting cocoa powder and coconut oil for the unsweetened chocolate, in terms of both binding the mixture and flavor? Also, haw much peanut butter could I add to the date version for flavor, or would that be a bad idea? Thanks again for all your careful work!
Nicole Hunn says
I’m afraid I don’t have ready answers for those substitutions, Peter, as I’ve never tried them. You’d have to experiment. Just watch the texture as you blend!
Rich S says
Hello. Great recipe, love dates!
How long will they last in the fridge or even can you freeze?
Thank you
Nicole Hunn says
Hi, Rich, please see the text of the post under the heading “freezing”. You can also refrigerate them. Just wrap them tightly or put them in a well-sealed container so they don’t dry out and they should be good for a week or so.
Grandma says
I left them for 2 he’s in fridge but still not hard, what did i do wrong?
Nicole Hunn says
I don’t know which version you made, but my guess is that you added too much liquid and/or undermeasured dry ingredients.
Becky says
“Add more milk by the teaspoonful and process, only as necessary for the mixture to reach the proper consistency.”
Can you say a little more about what the “proper consistency” should be at the end of the processing stage? Is this a reference back to “tacky but not sticky” in the prior step, or… something else? My first attempt at the date-based recipe holds together, but is more flexible than I expected once I remove it from the pan. (Is there a way to amend that?) I did use the unsweetened chocolate.
Nicole Hunn says
It sounds like you added too much moisture, Becky. Yes, it should be tacky but not sticky. I recommend watching the how-to video for more visual information.