This post may contain affiliate links. Please read our disclosure policy.
This master Larabar recipe will show you how to make some raw nuts, pitted dates, and some coconut oil into almost any flavor of the packaged energy snack. Takes only minutes!
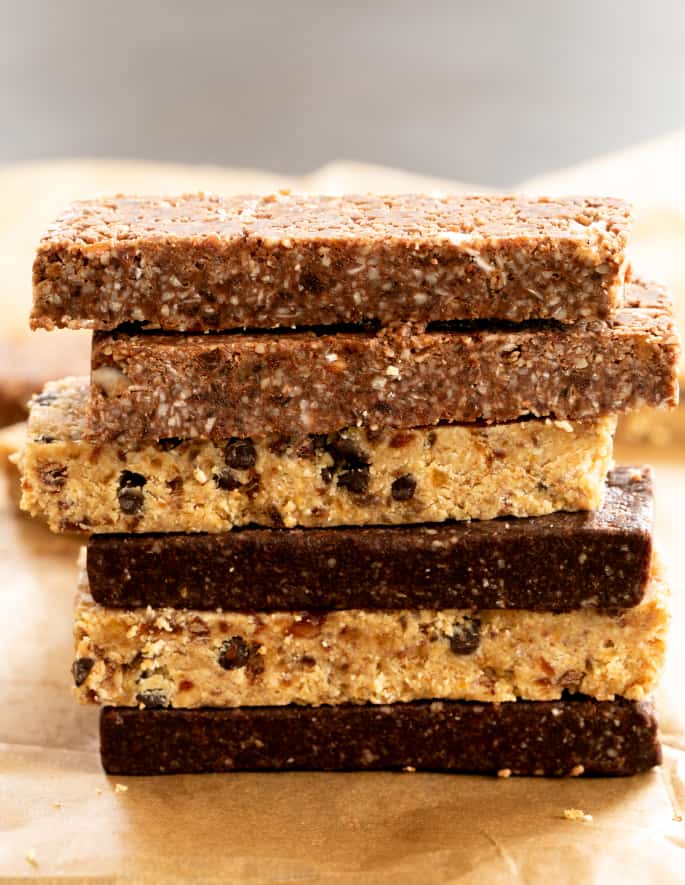
Why make a homemade Larabar?
Larabars are gluten free, and they're sold everywhere. They're a great grab-and-go snack and they're packed with lots of good fat and simple ingredients. So why would you want to make them at home?
The first reason to make them at home is always flavor. You can customize them any way you'd like, and can just use their flavors as a jumping-off point.
The second reason to make them at home is that, well, they're better this way. My version is less sweet than the original since I imagine I use fewer dates and more nuts. I think a third reason might be cost, especially if you buy your ingredients in bulk, but I haven't done the math so I can't be 100% sure.
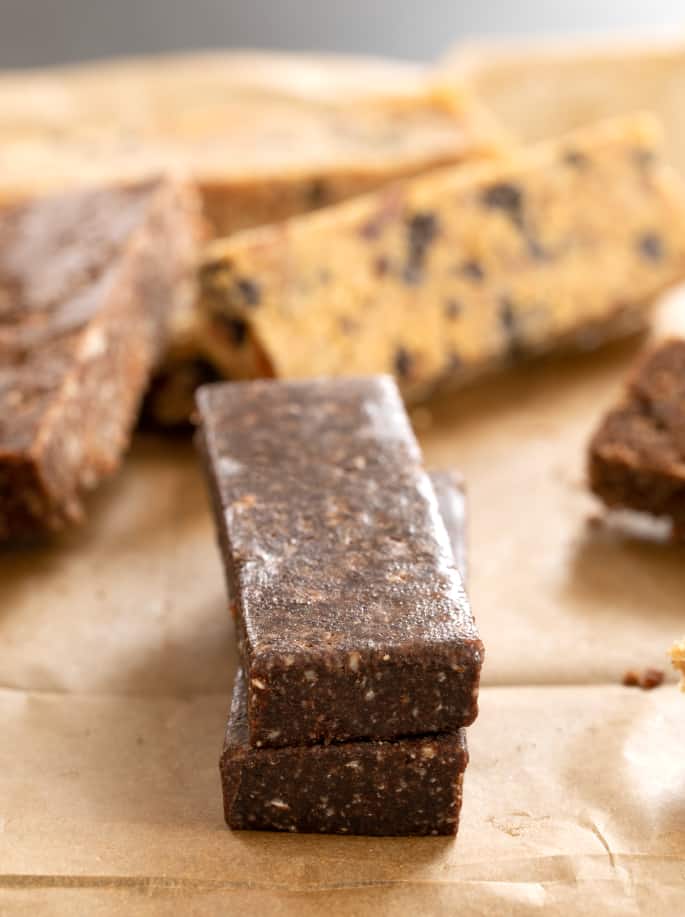
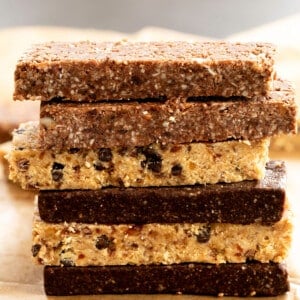
The peanut butter chocolate chip is my perennial favorite, but the varieties really are endless.

How to make homemade Larabars
I began these Larabar copycat recipes the same way I begin every copycat recipe: with the manufacturer's ingredient list. Larabar makes it super easy on their website by listing the ingredients with a photo of each. It's like they want me to do this (except I know they don't).
There are only 4 main ingredients in each of these Larabar recipes: nuts, dates, coconut oil, and some sort of mix-in. At least half of them must be included in some form, but you can still swap one flavor for another.
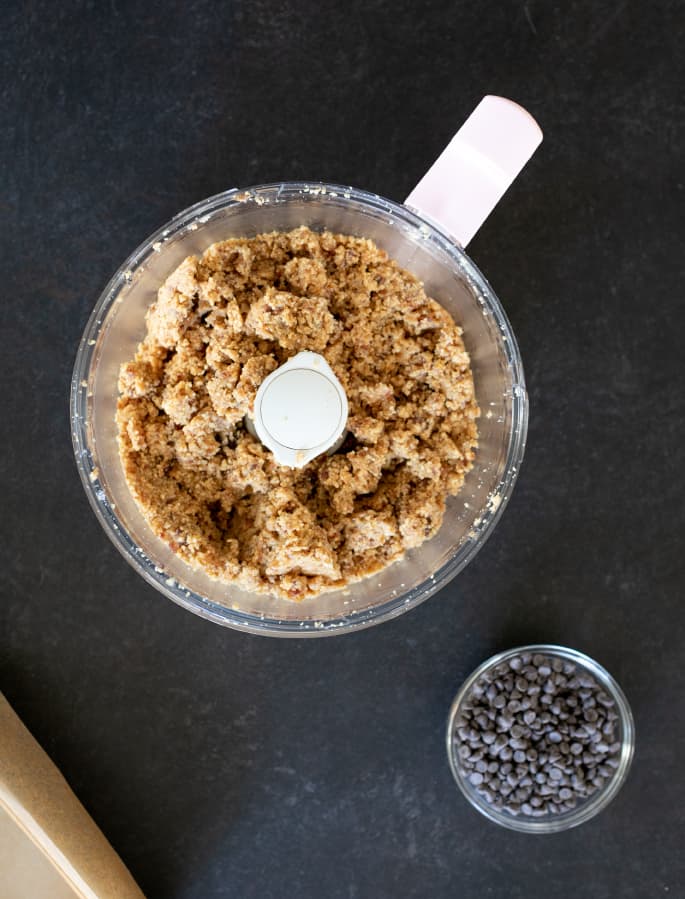
Basically, you're just pulsing the nuts into crumbs, and then adding dates, melted coconut oil and a mix-in like chocolate chips, coconut flakes, or even more nuts and seeds if you like.
Melted chocolate is also a really great way to add chocolate flavor and structure to the finished bars. For the brownie variety in the recipe below, there are three types of chocolate: melted chocolate, chocolate chips, and cocoa powder. To help the cocoa powder incorporate easily into the mixture without overprocessing, just mix it into the coconut oil first.
Raw or roasted nuts
The first non-negotiable ingredient in every homemade Larabar recipe is nuts. You can make granola bars without nuts, and you can make homemade protein bars without nuts. If you're nut-free, I'd recommend trying one of those recipes.
Nuts provide most of the structure of a homemade (or store-bought) Larabar. You can substitute any nut for any other nut, within reason, although I'd recommend avoiding all salted nuts. It's better to control the salt in your bars by using it as a separate ingredient.
Among the nuts that I've swapped in all of the Larabar variations that I've made and loved are: raw almonds, raw cashews, pistachio nut meats, raw walnuts, and raw pecans (pecans and walnuts are a softer nut, though, so avoid using only those nuts or your bars will be more fragile).
You can save money ?on nuts by purchasing nut “pieces” rather than whole nuts. We're just processing them in a food processor anyway. You won't save money, though, by buying ground nuts. Nut pieces are cheaper, though, since they're kind of the odds and ends of the manufacturing process.
Be sure only to process the nuts until they resemble coarse crumbs, as directed in the recipe. If you overprocess them, you'll have nut butter before you know it!
Dates
Like nuts, dates are essential to making Larabars. They're sticky and sweet, and they do a lot of work in these bars.
Other dried fruits, like raisins or dried apricots, just don't have the same structure as dates. If you used them to make bars, they'd probably be too soft.
You can use Medjool dates, which are the type that I generally use for one reason and one reason alone: they're sold for a great price at my local Trader Joe's. In fact, I can buy all of the ingredients (except for the miniature chocolate chips) to make these bars at TJ's.
You can also use Deglet Noor dates, which are lighter in color and less sweet. Dates do tend to dry out over time, and that can make it more difficult to process them in your food processor.
To remove their pits, just slice them in half gently, without cutting all the way through, and they'll offer up their pits. If your dates have dried and become at all stiff, just pit them and soak them in hot water for a couple of minutes. Squeeze them out before adding them to the food processor.
Coconut oil
You can replace the virgin coconut oil in any of my homemade Larabar recipes with Spectrum brand nonhydrogenated vegetable shortening. You need a neutral fat that is solid at room temperature, and those are the two fats that I know get the job done.
If you don't like coconut flavor, first, don't make the chocolate coconut chew variety below. And use triple filtered coconut oil, which has no coconut odor at all.
Cacao butter, which we use to make homemade white chocolate, can also be used, but it's super expensive. If you're down, so am I, moneybags. ?
Mix-Ins
In the 3 varieties below, the mix-ins we used are miniature chocolate chips, regular-sized chocolate chips that are processed in the mixture, and coconut chips. You really can use any sort of mix-in you like, though.
Mix-ins are mostly to add texture and visual interest to bars. Even adding coarsely chopped nuts would add a different texture. Avoid using regular sized chocolate chips without processing them at all, since you'll have a hard time slicing them into bars.
Homemade Master Larabar Recipe
Equipment
- food processor
Ingredients
For the peanut butter chocolate chip version
- 3 cups (345 g) roasted unsalted peanuts
- ½ pound (8 ounces) Medjool (or Deglet Noor) dates, pitted
- 4 tablespoons (56 g) virgin coconut oil, melted
- ¼ teaspoon kosher salt
- 3 ounces miniature chocolate chips
For the chocolate coconut chew version
- 2 cups (230 g) raw almonds
- ½ pound (8 ounces) Medjool (or Deglet Noor) dates, pitted
- 4 tablespoons (56 g) virgin coconut oil, melted
- 3 ounces unsweetened chocolate, melted
- ¼ teaspoon kosher salt
- 1 ½ cups (60 g) raw coconut flakes
For the chocolate chip brownie version
- 2 cups (230 g) raw almonds
- ¾ cup (86 g) raw walnuts
- 4 tablespoons (56 g) virgin coconut oil, melted
- 3 tablespoons (15 g) unsweetened cocoa powder , (Dutch-processed preferred but natural works, too)
- ½ pound (8 ounces) Medjool (or Deglet Noor) dates, pitted
- ¼ teaspoon kosher salt
- 3 ounces unsweetened chocolate, melted
- 2 ounces chocolate chips (any kind)
Instructions
- Line an 8-inch square baking pan with unbleached parchment paper, making sure the paper overhangs the pan on all sides. Set the pan aside.
For the peanut butter chocolate chip version
- In a food processor fitted with a steel blade, process the peanuts until small crumbs form (about 20 seconds).
- Add the dates, melted coconut oil, and salt, and pulse about 4 times or until the mixture forms wet clumps and holds together well when pressed in your palm.
- Add the miniature chocolate chips to the mixture and mix with a spoon until the chips are evenly distributed throughout.
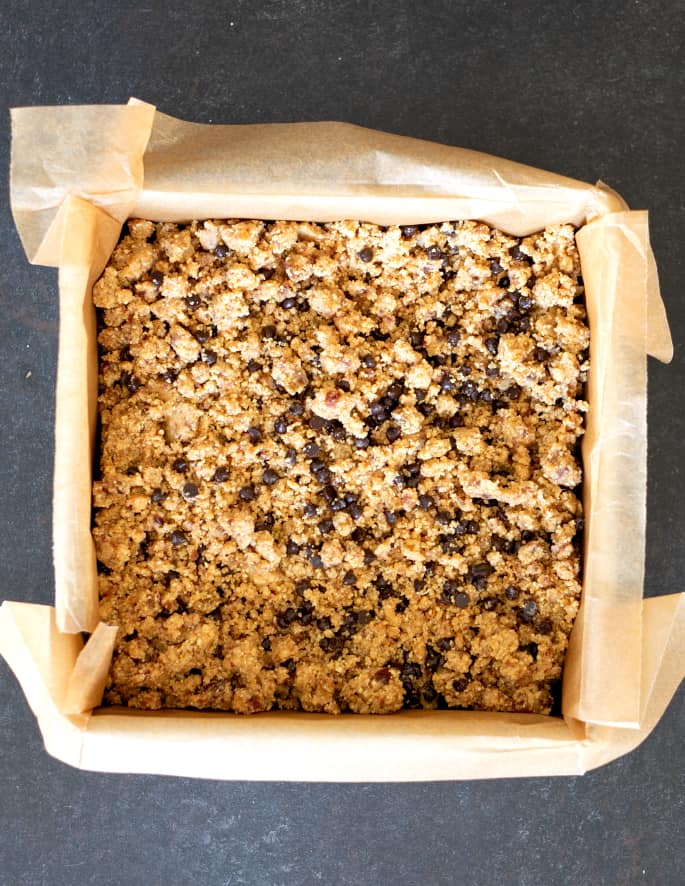
- Transfer the entire mixture to the prepared baking pan and spread it into an even layer.
- Cover the top with another sheet of parchment and press the mixture firmly into one even, compressed layer.
- Place the baking pan in the refrigerator to chill for at least 30 minutes or until firm.
For the chocolate coconut chew version
- In a food processor fitted with a steel blade, process the almonds until small crumbs form (about 20 seconds).
- Add the dates, melted coconut oil, melted chocolate, and salt, and pulse about 4 times or until the mixture forms wet clumps and holds together well when pressed in your palm.
- Add the coconut flakes to the mixture and pulse quickly and briefly (about twice) until the flakes are about 1/4 of their original size.
- Transfer the entire mixture to the prepared baking pan and spread it into an even layer.
- Cover the top with another sheet of parchment and press the mixture firmly into one even, compressed layer.
- Place the baking pan in the refrigerator to chill for at least 30 minutes or until firm.
For the chocolate chip brownie version
- In a food processor fitted with a steel blade, process the almonds and walnuts until small crumbs form (about 20 seconds).
- In a small bowl with the melted coconut oil, add the cocoa powder and mix until well-combined.
- To the bowl of the food processor with the nut crumbs, add the oil and cocoa powder mixture, the dates, salt, and melted chocolate, and pulse about 4 times or until the mixture forms wet clumps and holds together well when pressed in your palm.
- Add the chocolate chips to the mixture and pulse 2 to 3 times to break up the chips a bit and evenly distribute them throughout.
- Transfer the entire mixture to the prepared baking pan and spread it into an even layer.
- Cover the top with another sheet of parchment and press the mixture firmly into one even, compressed layer.
- Place the baking pan in the refrigerator to chill for at least 30 minutes or until firm.
To finish (for all 3 versions)
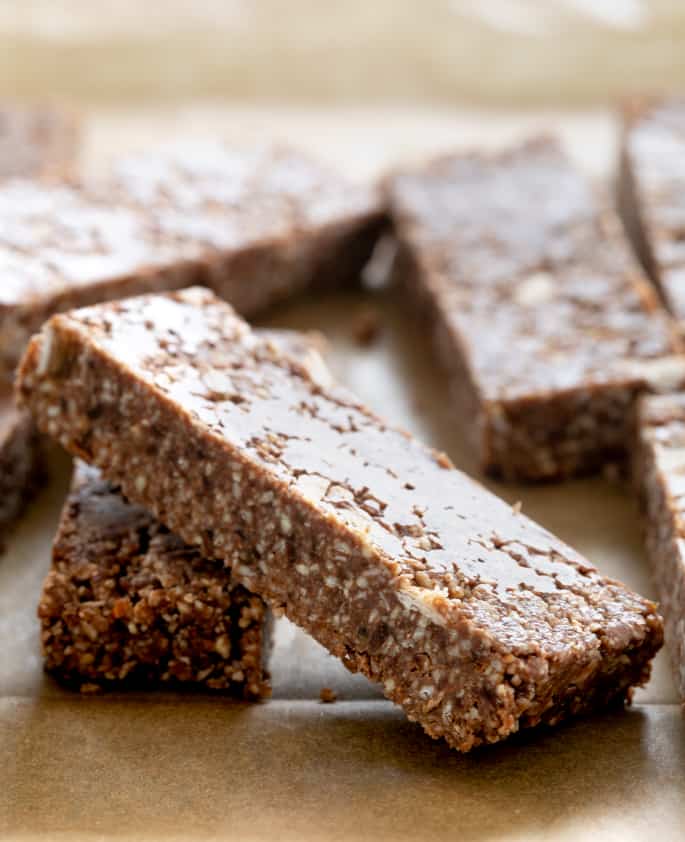
- Once firm, remove the bars from the pan by the overhung parchment paper and place on a cutting board.
- Slice into 12 equal rectangles with a large, sharp knife.
- Store the bars, individually wrapped in plastic or just piled into a sealed container, in the refrigerator until ready to serve.
Video
Nutrition information is automatically calculated, so should only be used as an approximation.




Thanks for this recipe! Can they be made ahead of time and frozen?
I haven’t tried freezing them, Tracy, but I don’t see why not if you wrap them individually in freezer-safe wrap and defrost before serving.