

This post may contain affiliate links. Please read our disclosure policy.
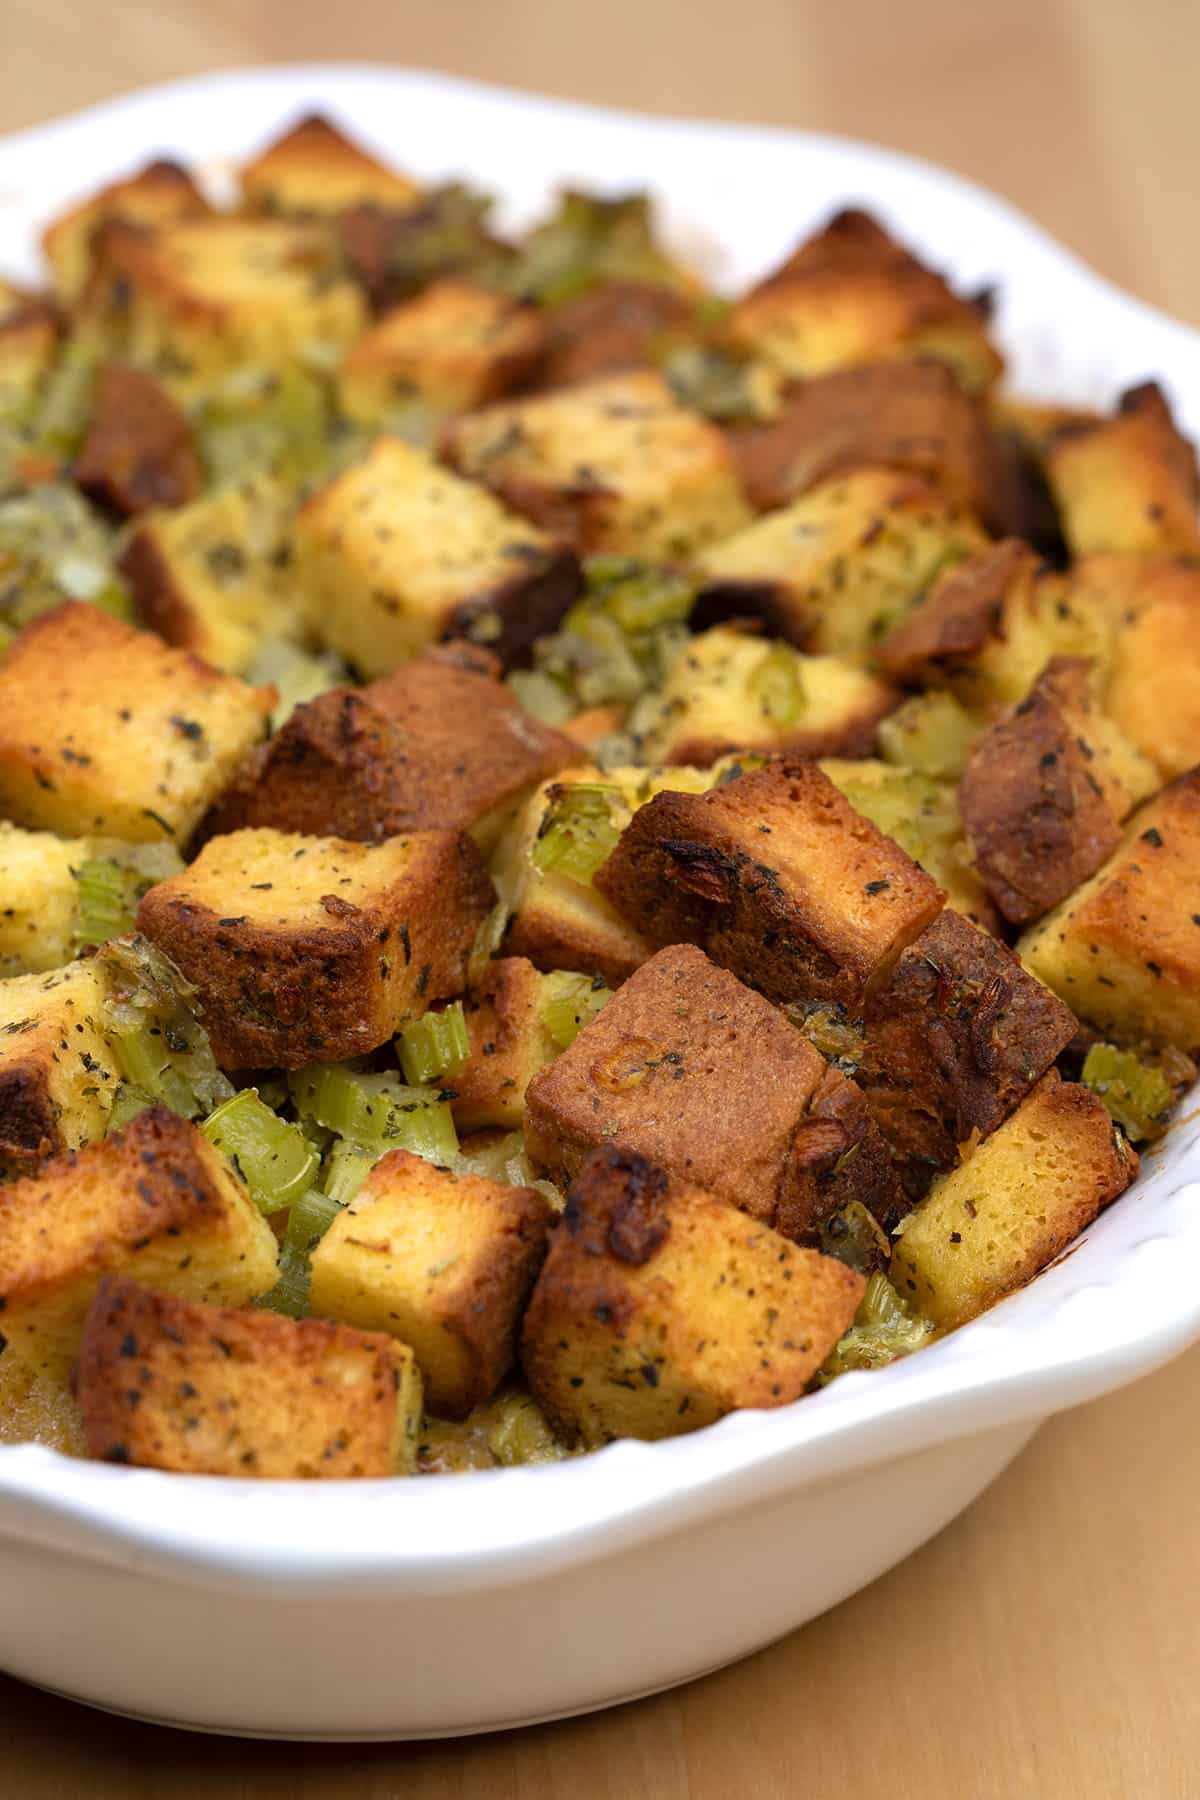
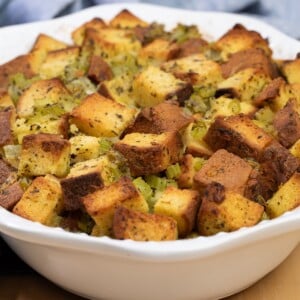
This gluten free stuffing gets extra deep savory flavor from homemade vegetable bouillon that infuses every piece of bread, with sautéed onion, celery, and herbs layered on top.
Packaged stuffing is undeniably convenient, but with a few make-ahead tricks, this homemade version can be, too. And the flavor and texture can’t be beat!
Why this recipe works
Homemade vegetable bouillon creates that deeply flavorful base for the classic aromatics, but it doesn’t have to slow you down. You can make the bouillon powder weeks ahead and keep it ready to use.
Starting with bakery-style bread then drying it helps it soak up plenty of seasoned stock without turning soggy, so the center stays tender and the top gets crisp and golden. But you can make the bread weeks ahead of time and stash it in the freezer.
You can also assemble and partially bake the stuffing ahead, then freeze it and finish baking later. It travels well like a casserole, reheats beautifully, and the leftovers are even delicious cold (really!).
Recipe ingredients
Here’s what you’ll need to make this stuffing recipe, including the role of each ingredient in great holiday stuffing for maximum flavor and ideal texture:
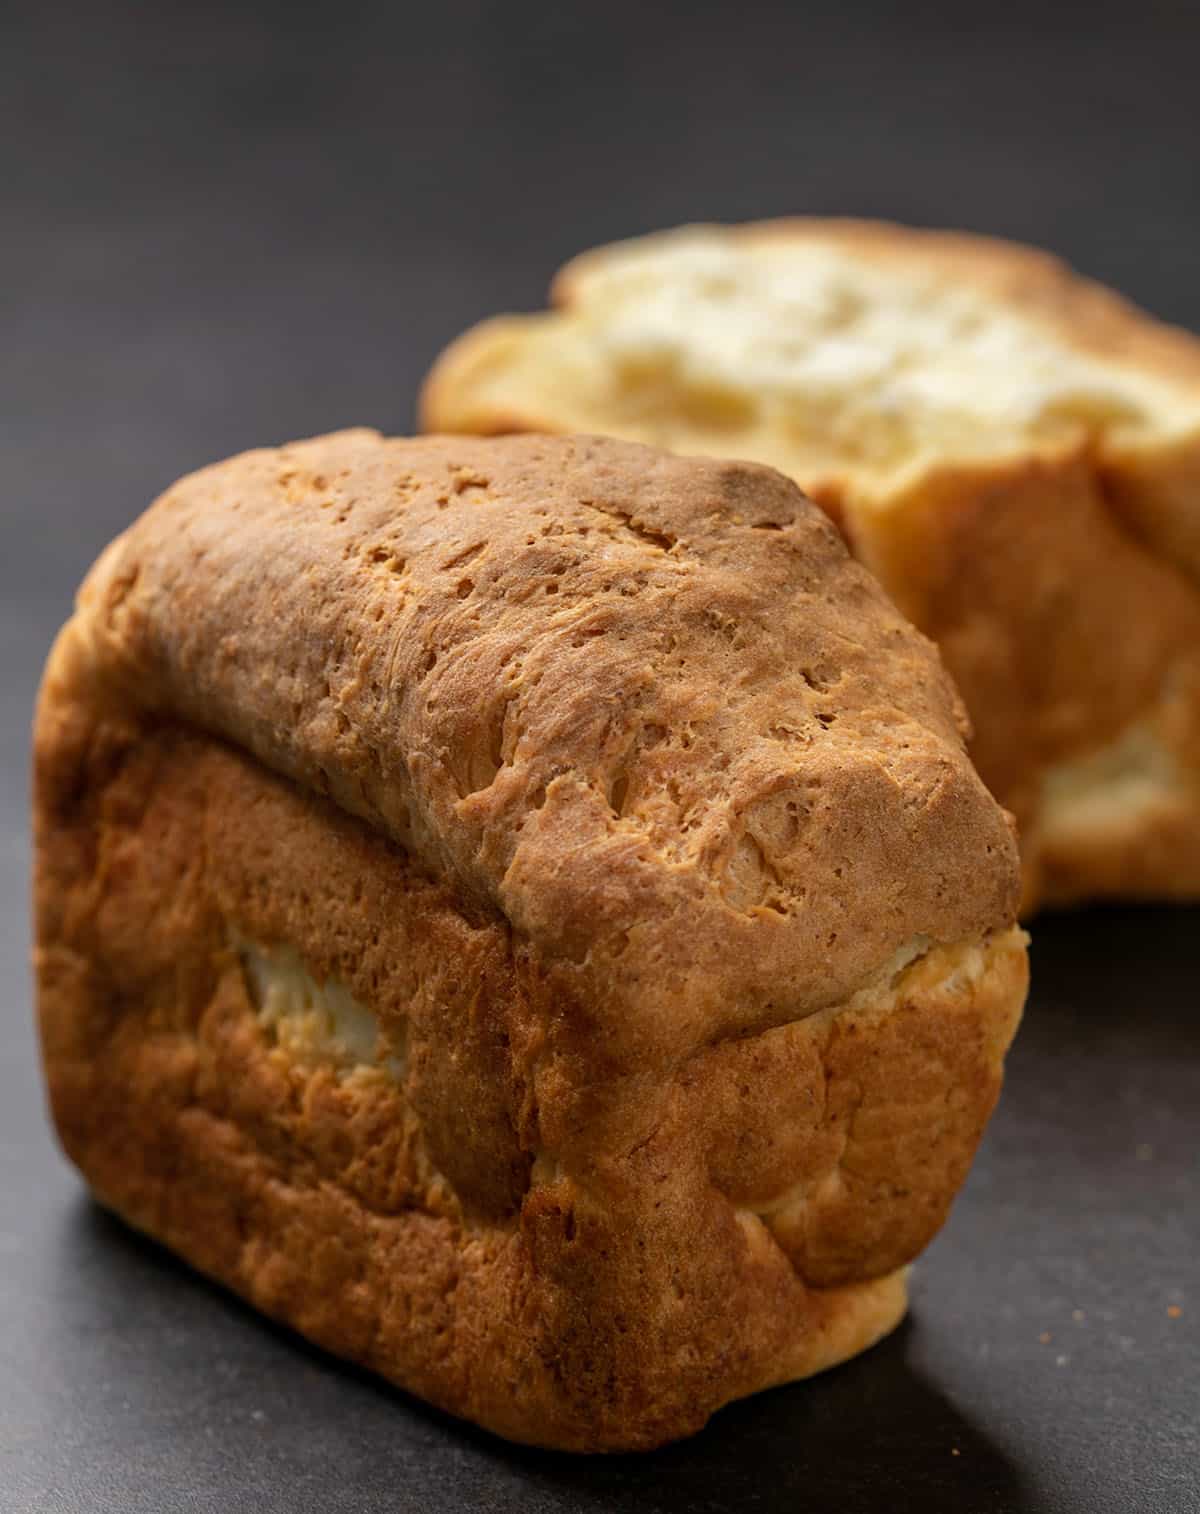
- Gluten free bread: Provides the structure and most of the substance of the recipe. You’ll need a full 1 pound loaf of gluten free bread for this recipe. My classic white gluten free bread recipe works great, and I also like to use my recipe for gluten free Japanese milk bread here. You can also use store-bought gluten free bread like Canyon Bakehouse; just cut it into cubes as large as you can. Dry-toasting this moist, enriched bread prepares it to absorb the flavors of the cooked vegetables and stock without turning mushy. If all you have is relatively stale bread, you can still use it, but toast it less in the first step of the recipe.
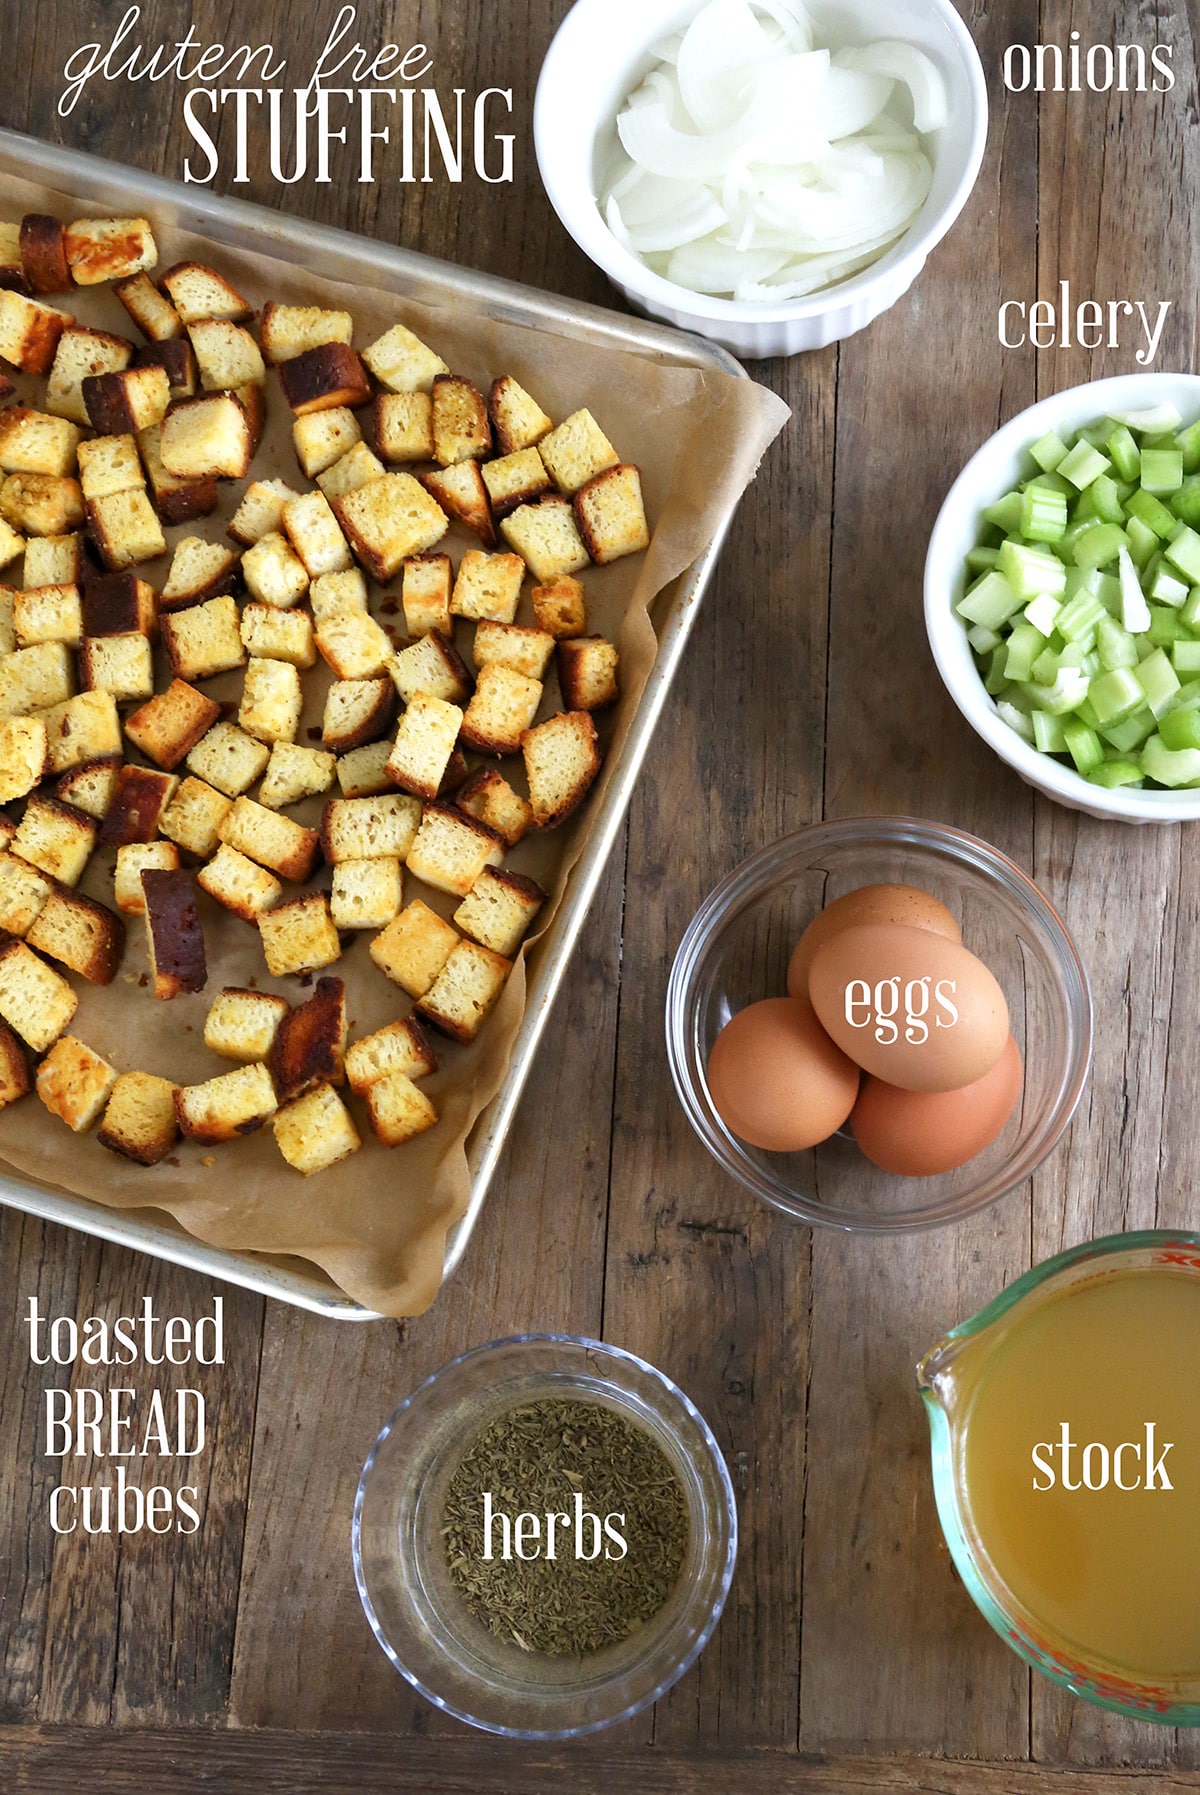
- Olive oil and butter: This combination adds richness, flavor, and helps to deliver the flavors of the aromatics.
- Onions & celery: These are your aromatics, cooked down without browning so they retain lots of their unique flavor and aroma and provide a rich base that infuses the bread with flavor. When I can, I like to use a combination of robust, earthy yellow onions for and more subtle, slightly sweet shallots for layered flavor. The celery adds some saltiness, natural moisture that it releases as it cooks down, and visual interest.
- Salt & pepper: Enhance, brighten and balance the flavors in the dish.
- Vegetable bouillon: A simple mix of nutritional yeast flakes, minced dried onion, garlic powder, dried parsley, and dried thyme adds so much umami flavor and deepen the impact of the cooked aromatics. If you don’t have nutritional yeast, you can try replacing it with a bit of finely grated Parmesan cheese. You can also replace the homemade vegetable bouillon with 2 tablespoons or 2 cubes of packaged gluten free chicken or vegetable bouillon.
- Poultry seasoning or herbs de Provence: Spice blends that add extra rich poultry aroma and traditional holiday flavor. Dried spice blends also cut down on the number of fresh ingredients you have to buy and prepare. To make your own herbs de Provence, combine (all dried) 1 T thyme, 2 t marjoram, 2 t savory, 1 t rosemary, 2 t lavender + 1/2 t sage. Or, to make your own poultry seasoning, combine 1/2 t parsley, 1 t sage, 1/2 t thyme, 1/2 t marjoram + 1/2 t rosemary.
- Chicken stock: Moistens the bread and adds another layer of poultry flavor. You can use vegetable broth if you prefer, as long as it has a rich savory flavor and aroma. Choose a high-quality stock that’s rich and has good depth of flavor, like Pacific brand. Watery stock that doesn’t have much flavor will lead to a much more flat, uninteresting dish.
- Eggs: Bind the dish together and add some structure. The yolks add some fat for richness and the whites hold the bread together as the dish cools.
How to make gluten free stuffing (step by step photos)
Here’s a visual overview of how to make this stuffing, plus notes on the reason behind each step. For full ingredient amounts, see the recipe card below.
Step 1: Prepare the bread
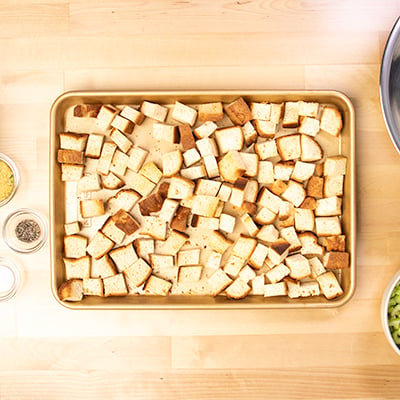
Cut your bread into cubes or tear it into rough pieces. Toast the bread until it’s dry so it can hold lots of rich flavors and liquid and still brown in the oven. When it’s done, it will have begun to shrink a bit in size and begun to brown in spots. Stop short of making it as crunchy as homemade gluten free croutons, though, which would be hard to eat.
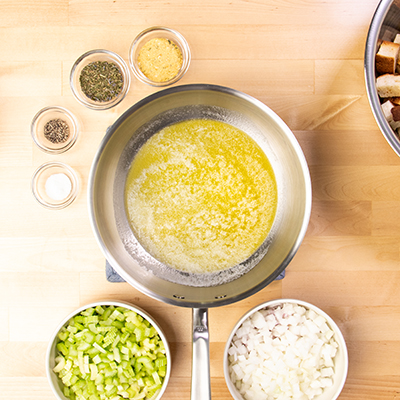
Steps 2-4: Cook the aromatics
Cook down the onions, celery, herbs and seasoning in melted butter and olive oil until tender on low heat so they retain a lot of their natural flavors without burning. Adding the seasoning now allows it to develop its full flavor potential and infuse every part of the dish.
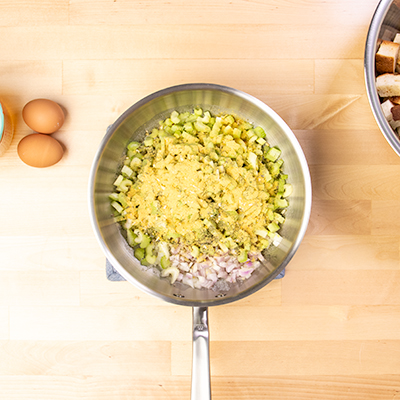
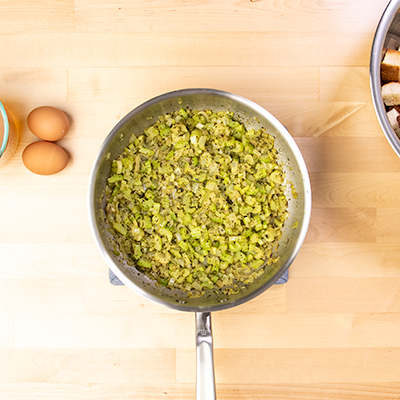
Step 5: Combine everything
In a large bowl, add two eggs for structure and to bind the stuffing together. We’ll also add lots of flavorful stock to the aromatics and toasted bread to moisten and flavor to the bread.
Step 6: Transfer the stuffing
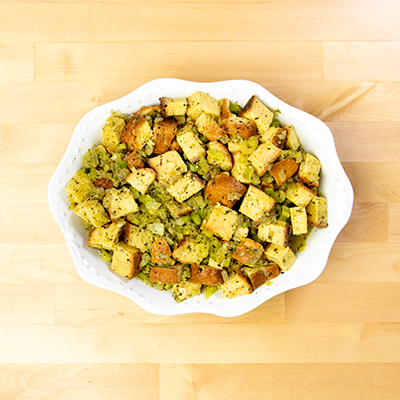
Scrape all of the combined ingredients to a buttered casserole dish, which will help the mixture brown on the outside and not stick to the dish. Spread the unbaked mixture evenly in the dish to allow everything to bake fully and the dish to come together.
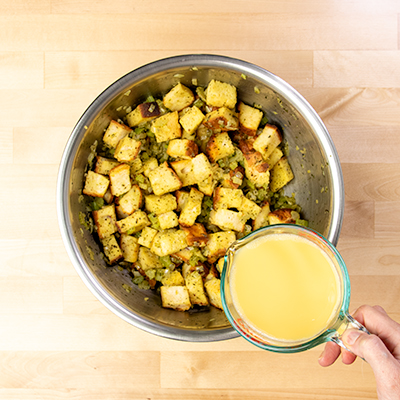
Step 7: Bake
Cover the dish first, so the eggs can set and the bread absorbs the liquids. Bake the completed dish at 350°F for about 30 minutes, just long enough for the bread to fully absorb the flavors.
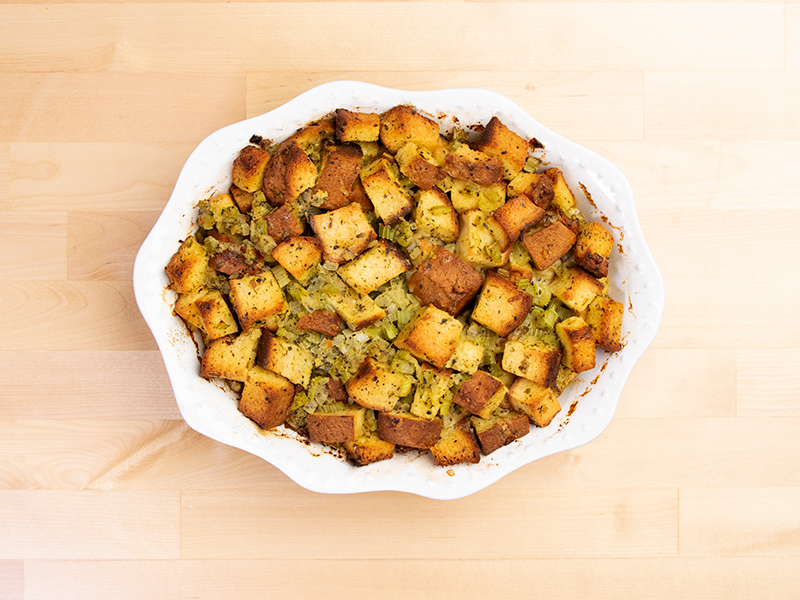
Uncover the baking dish and continue to bake for about another 30 minutes. This allows some of the excess moisture to bake off, the flavors to concentrate, and the edges of the bread to get toasty.
Expert tips
This recipe is simple and versatile, but there are still a few tips to help make sure your stuffing is flawless:
Toast the bread low and slow
We’re using a loaf of bread that’s very soft inside with a thick, bakery-style crust outside. When we tear or slice it into pieces, we expose that tender center, which we then dry out in the oven.
Toast the bread and dehydrate it in a low, 300°F oven, but don’t bake it. It takes some time, but this is how we create just the right textured bread to absorb all the flavors we will add.
Choose bouillon carefully
Instead of making your own bouillon, you can use packaged gluten free bouillon. Unless the packaging specifically says that it’s gluten free, I would avoid it. Herb Ox and Edward & Son’s Not Chick’N brands are gluten free.
Be gentle with the bread
When you mix the wet ingredients into the toasted bread chunks, don’t be too forceful. Take it gently and steadily so you don’t beat up the bread and cause it to break down too much.
Collect leftover pieces of bread all year
Save and freeze all of those ends and slices of gluten free bread in a freezer-safe ziptop bag. This way, I’m ready whenever I need gluten free breadcrumbs, bread for stuffing, or homemade gluten free croutons.
Ingredient substitutions
You can switch up this simple recipe to accommodate pretty much any dietary need. Just remember you may also need to tweak the bread recipe or choose a different bread, depending on the substitutions you want to make.
Dairy free
In place of the butter in this recipe and in the bread recipe, try using vegan butter (Melt and Miyoko’s Kitchen brands are best). For milk in the bread, use your favorite unsweetened nondairy milk, but make sure it’s not nonfat. And just leave out the cheese or add more nutritional yeast for flavor.
Egg free
You can try using one “chia egg” instead of each egg in the recipe. I make a “chia egg” by combining one tablespoon ground white chia seeds with one tablespoon lukewarm water, and allowing it to sit until it gels.
Storage instructions
To make the recipe ahead of time, bake it covered at 350°F for 30 minutes, then stop cooking. Remove the foil, and let it cool completely, cover with freezer-safe wrap and freeze. The day before serving, defrost in the refrigerator overnight. Finish baking it, uncovered, according to the remaining recipe instructions.
Leftover gluten free stuffing can be stored in an airtight container in the fridge to enjoy in the coming days. Zip-top bags work well here to stop the bread from losing its moisture. When ready, reheat the bread on low power in the microwave or oven.
For longer storage, store extra stuffing in the freezer for up to three months in an airtight container. Defrost overnight in the refrigerator, sprinkle it lightly with lukewarm water, then bake at 300°F until warmed through.
Gluten Free Stuffing Recipe
Tell Google you trust GFOAS!
Ingredients
For the vegetable bouillon
- 1.5 tablespoons (8 g) nutritional yeast flakes, (See Recipe Notes)
- 1 teaspoon minced dried onion, can substitute 1/2 teaspoon onion powder
- ¼ teaspoon dried parsley
- ¼ teaspoon garlic powder
- ¼ teaspoon dried thyme
- ⅛ teaspoon dried turmeric, (optional)
For the stuffing
- 1 pound Gluten Free Japanese Milk Bread, See Recipe Notes
- 2 tablespoons (42 g) extra-virgin olive oil
- 6 tablespoons (84 g) unsalted butter, chopped
- 2 large yellow onions, peeled and diced (or a combination of onions and shallots)
- 2 cups chopped celery, from about 6 stalks celery
- 1 teaspoon kosher salt
- 1 teaspoon freshly ground black pepper
- 2 tablespoons vegetable bouillon, homemade vegetable bouillon powder or store-bought (See Recipe Notes)
- 2 tablespoons poultry seasoning, or herbs de Provence (See Recipe Notes)
- 2 (100 g (weighed out of shell)) eggs, at room temperature
- 1 ½ cups (12 fluid ounces) vegetable or chicken stock
- 1 ounce Parmigiano-Reggiano cheese, shredded (optional)
- 2 tablespoons unsalted butter, cubed for dotting on top of stuffing (optional)
Instructions
- Preheat your oven to 300°F. Grease well a 9-inch x 13-inch baking dish and set it aside.
- First, make the vegetable bouillon. In a small bowl, place the nutritional yeast flakes, minced dried onion, garlic powder, dried parsley, dried thyme, and optional turmeric, and whisk to combine. Set the bowl aside.
Toast the bread
- Tear or slice the gluten free bread into roughly 1-inch pieces. Place them on a rimmed baking sheet.
- Place the baking sheet in the center of the 300°F oven, and bake for 30 to 40 minutes or until dried out and lightly browned.
- Continue to bake until the bread begins to shrink in size slightly and feels dry to the touch. It may take longer than 40 minutes depending on how moist the bread was at the start.
- Stir at least once halfway through baking, to ensure even baking. Remove from the oven and set aside to cool.
Cook the aromatics
- In a medium-size, heavy-bottom saucepan, heat the butter and olive oil over medium heat until the butter is melted.
- Add the onion, celery, salt, pepper, vegetable bouillon, and poultry seasoning or herbs de Provence, and stir to combine.
- Reduce the heat to medium-low, cover and cook, stirring occasionally, until the onions and celery are fork-tender (about 10 minutes). The vegetables shouldn’t be mushy or even browned.
- Increase the oven temperature to 350°F.
Combine the stuffing ingredients and bake
- Transfer the vegetable mixture to a large, heat-safe mixing bowl. Add the cooled toasted bread cubes, and mix to combine.
- Whisk together the eggs and stock until smooth. Add the egg mixture to the large mixing bowl, and toss carefully to coat.
- Add the optional shredded Parmigiano-Reggiano, and mix gently until just combined.
- Transfer the mixture carefully to the prepared 9-inch x 13-inch baking dish. Press it gently into an even layer.
- Scatter the final (optional) 2 tablespoons of cubed butter evenly across the top of the stuffing. Cover the baking dish securely with aluminum foil.
- Bake at 350°F for 30 minutes. Uncover, and continue to bake until the eggs are set and the stuffing is golden brown all over (about another 30 minutes).
- When it’s done, the stuffing will feel relatively firm when pressed gently with a finger in a thick portion. The top edges will be crisped but not dark. Serve warm.
Video
Notes
Nutrition
Nutrition information is automatically calculated, so should only be used as an approximation.
FAQs
While there’s technically a difference between the two, whether you use the word stuffing or dressing to describe the mixture of bread cubes, vegetables, and stock accompanying many turkeys on Thanksgiving is more likely to come down to where you live.
In the South, most people call this concoction with the savory flavor “dressing.” Up north, it tends to go by “stuffing.” In many regions, you can use either word, and people will know exactly what you mean. However, for purists, stuffing is the mixture that’s cooked inside the turkey, while dressing is cooked to go beside it.
Yes! You can use your favorite packaged gluten free bread to make this stuffing. Just cut the slices into the largest pieces you can, and be sure to toast it until the bread is dry so it doesn’t fall apart during baking.
If you routinely bake your own gluten free bread, definitely hold on to those ends and stale slices. Store them in the freezer until you have enough for a batch of gluten free turkey dressing, and your efforts will never go to waste.
Yes, you can use turkey drippings in place of some or all of the chicken broth or stock. The drippings will result in an even deeper, more intense flavor — just be sure to mix the drippings with water to thin them out to the right consistency.
Food safety is of paramount importance whenever you’re working with raw meat. According to the Cleveland Clinic’s website, it’s safe to eat dressing cooked inside a raw bird if you take certain precautions. Don’t add the stuffing ingredients until right before cooking. And make sure to test the dressing itself with an instant read thermometer and cook it until it reaches at least 165°F.
I get it: When you’re hustling and bustling to get food on the Thanksgiving dinner table, you may not want to think about adding gluten free stuffing from scratch to your list. Here are some prepackaged gluten free options that are worth trying for your next holiday meal if you’re really pressed for time:
– Aleia’s Savory Stuffing Mix
– Gillian’s Gluten Free Homestyle Stuffing Mix
– Trader Joe’s Gluten Free Stuffing Mix
Embracing a gluten free Thanksgiving
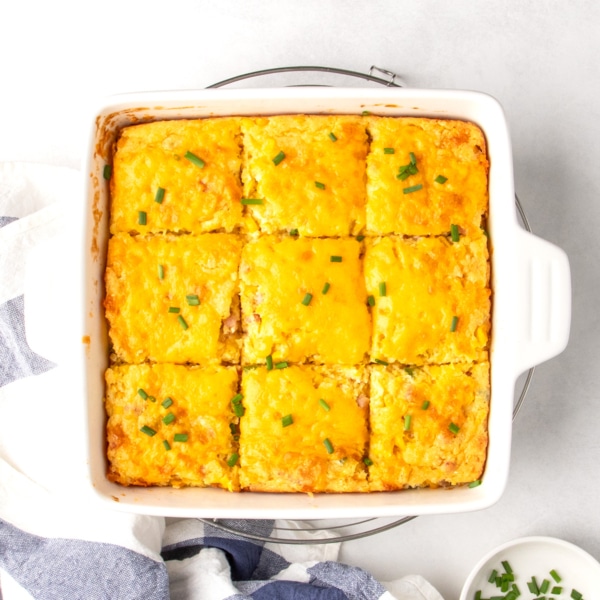
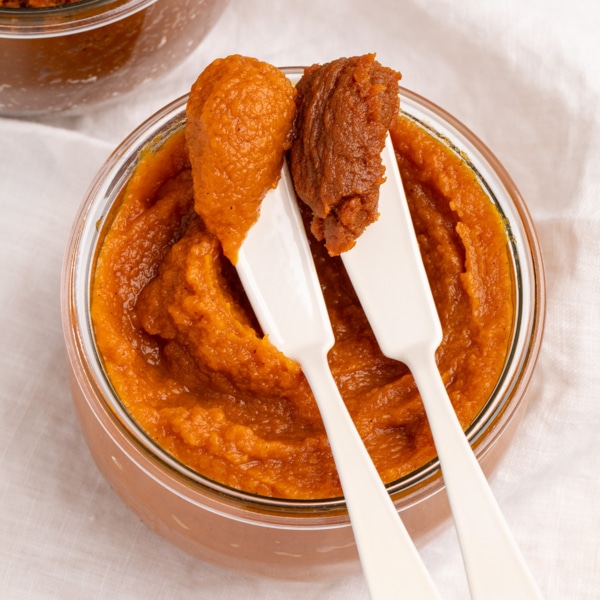
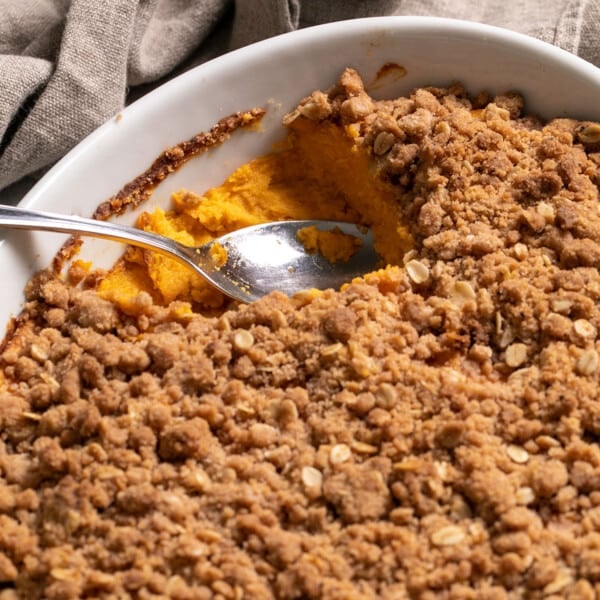
In addition to this stuffing recipe, it wouldn’t be the holidays for my family without a gluten free green bean casserole made with homemade gluten free cream of mushroom soup, and our favorite gluten free sweet potato casserole with the crumble topping. For dessert, gluten free pumpkin pie and gluten free apple pie are essential!












Could I use salted butter and leav out the salt? Would results be good? Could any gf bread be used with good results?
Please see the text of the post under the heading “What’s the best gluten free bread for stuffing?” Unsalted butter is used to be able to control the amount of salt in a dish. Since this is cooking more than baking, you can use what you like if you’re willing to not be able to control the salt content.
Trial run for Thanksgiving this Saturday and I have two questions:
•I will be using your Japanese milk bread.
1) May I substitute 2T better than bouillon for the powdered type?
2) I have plenty of fresh grown sage, thyme, rosemary and whole nutmeg and dried marjoram would you suggest a ratio or wing it with fresh herbs to make up the 4T required?
Better Than Bouillon is not considered safely gluten free, so I wouldn’t use it, no. You can use another gluten free powdered bouillon, though, if you’d like. And the ratio of fresh to dried herbs is 2 to 1. You need twice as much fresh as dried.
This is the best stuffing recipe! I made the apple cranberry version, followed the complete recipe. I have never used eggs in stuffing, so almost left them out, but after reading your comments, decided to use them and am glad I did. To help with time, I made the bread, bouillon, chopped the vegetables and toasted the cubes the day before.
I’m so glad you enjoyed the stuffing, Kathy, and I’m really glad you used the eggs. They’re just enough to hold everything together into a cohesive dish.
Thank you for another beautiful recipe.
Did not follow your recipe exactly as I was using our family’s traditional recipe… Just trying to make it gluten-free! Definitely used your recommendation for the Japanese milk bread for the bread cubes and it was absolutely perfect! Leaps and bounds better than previous trials with prepackaged GF cubes or drying out store-bought GF bread. Thank you!
I’m glad you found something that worked for you, Stacy!
Can I successfully add GF cornbread along with the milk bread? My dressing always has both.
I honestly don’t know, Stacie! The cornbread stuffing recipe is a bit different, as it accounts for how much more fragile the cornbread is. But I guess it’s worth a shot, if you’re careful with the cornbread? It sounds delicious.
I want to make this ahead as you suggested but I’m short on freezer space. Do you think it would work to dehydrate the bread so it’s like a boxed stuffing mix that could be assembled and baked the day of?
I’m afraid that doesn’t really sound feasible, Kristi. You can certainly make and freeze the bread right now, but without freezing the dish, you really can’t assemble it ahead of time.
Have you tried to make this in a crockpot?
Thanks!
I haven’t, no, Bonny. I guess you could do that, but you’d still have to cook the vegetables separately first, and the crockpot won’t get anything crispy like the oven would do.
If I make this bread one or 2 days in advance do I refrigerate or leave on the counter until making the stuffing?
Hi, Sue. I would wrap it tightly in something airtight (I really like Glad Press n Seal) and keep it at room temperature. I don’t like refrigerating bread, ever!
I read the instructions several times… at no point does it say to add the stock unless I missed it every time. Maybe that’s why people are saying it is dry? I’m glad I caught that for myself – it was fantastic!
Step 9 states to whisk in the egg and stock, Nicki.
Actually I read it again and saw to whisk it with the eggs. I can’t believe I didn’t catch that after so many times haha!
Haha, no worries, Nicki. I pretty much assumed you were probably right, since a mistake is always possible, but was honestly relieved when I checked and it was there! Thanks for responding and I’m glad you liked the stuffing!
Have tried making GF stuffing using different GF breads. When drying the bread out it gets too firm and does not absorb the liquid. The GF Japanese Milk Bread was great. Easy to make and then making it into stuffing. Added sausage to make more of a meal and it was wonderful! Will be making it again but will add the raisins like Mom always had. YUM!
Yes, Arlene! That has been my experience, if you don’t use the right bread. You need something that starts out quite moist, so you can toast it just right. I’m so glad you enjoyed this recipe, and since we agree on so much, I promise to look the other way at adding raisins (!!).