

This post may contain affiliate links. Please read our disclosure policy.
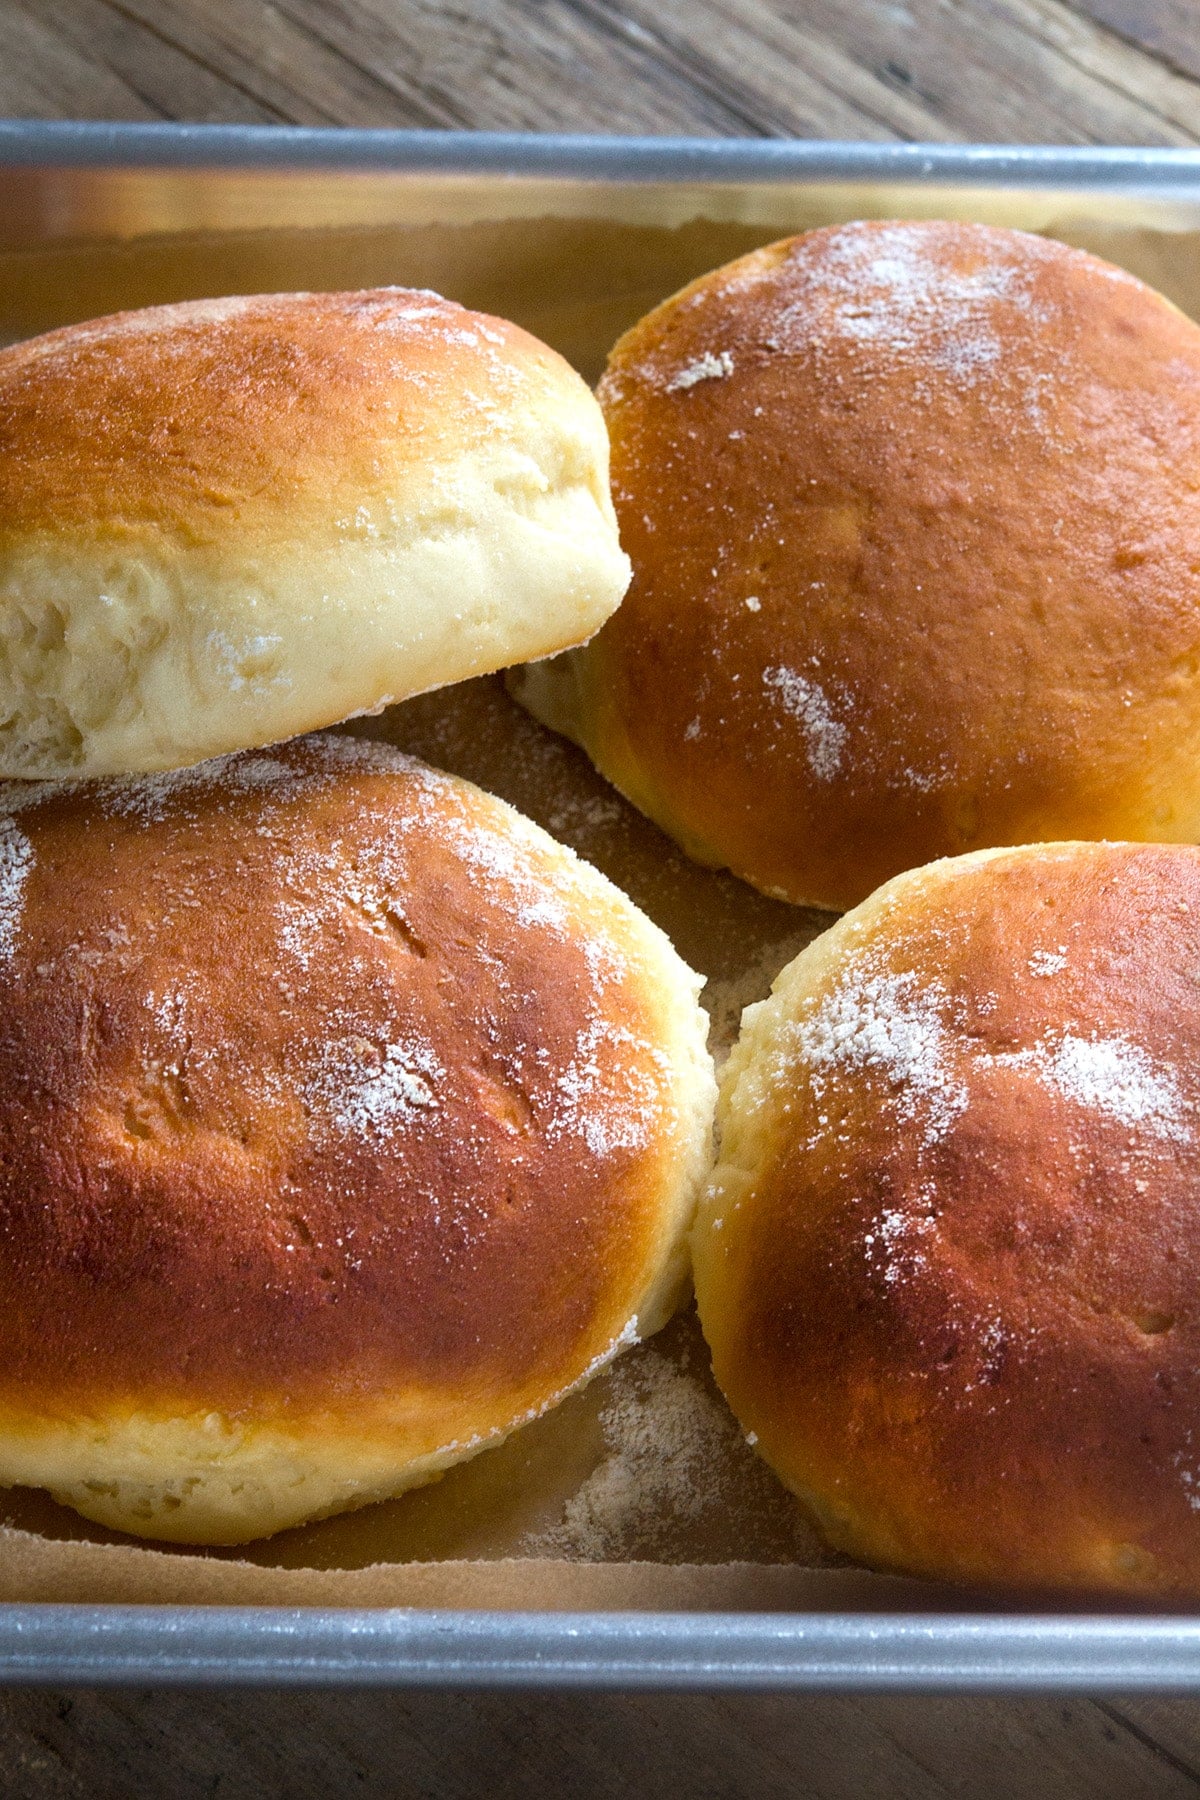
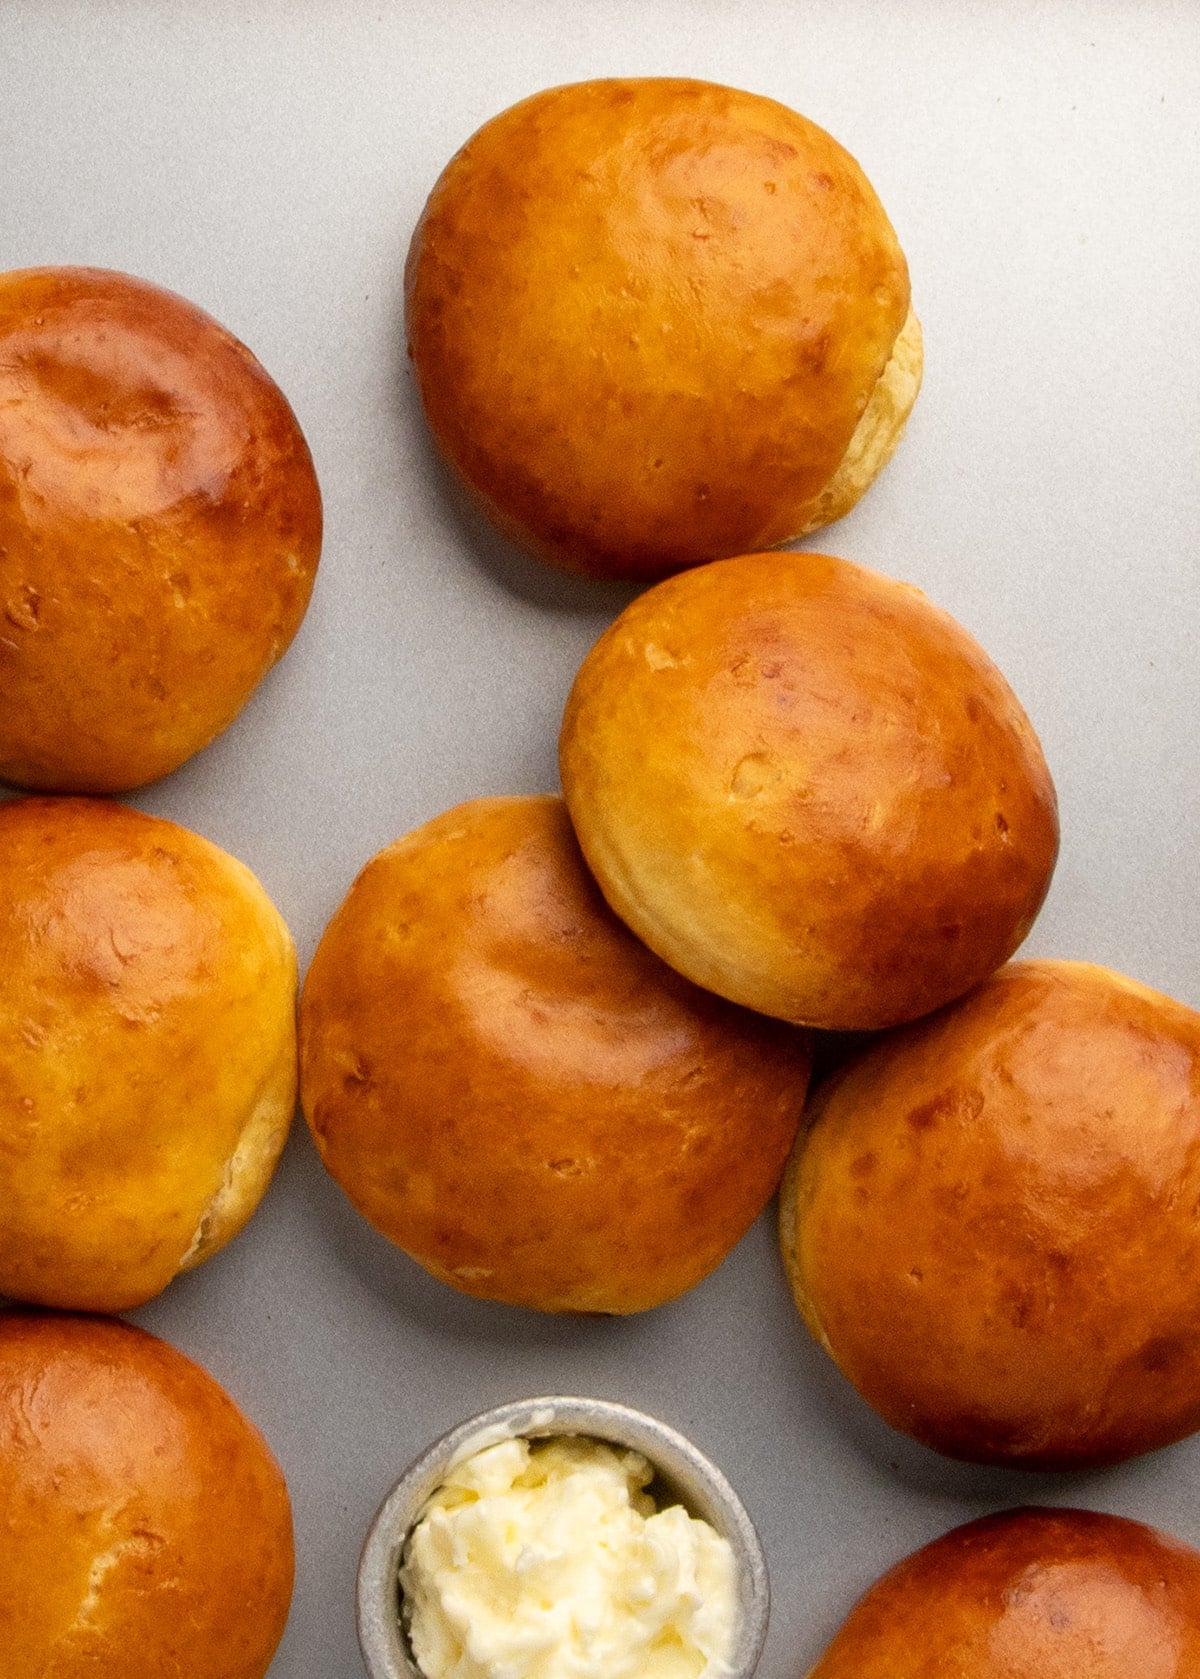
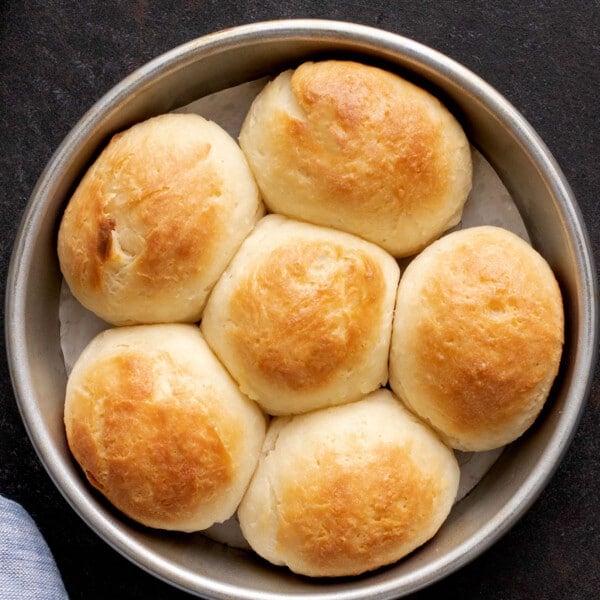
These extra soft, tender gluten free Hawaiian rolls have a lightly sweet, tropical flavor that's just right for savory sandwich fillings, or to serve alongside a salty meal.
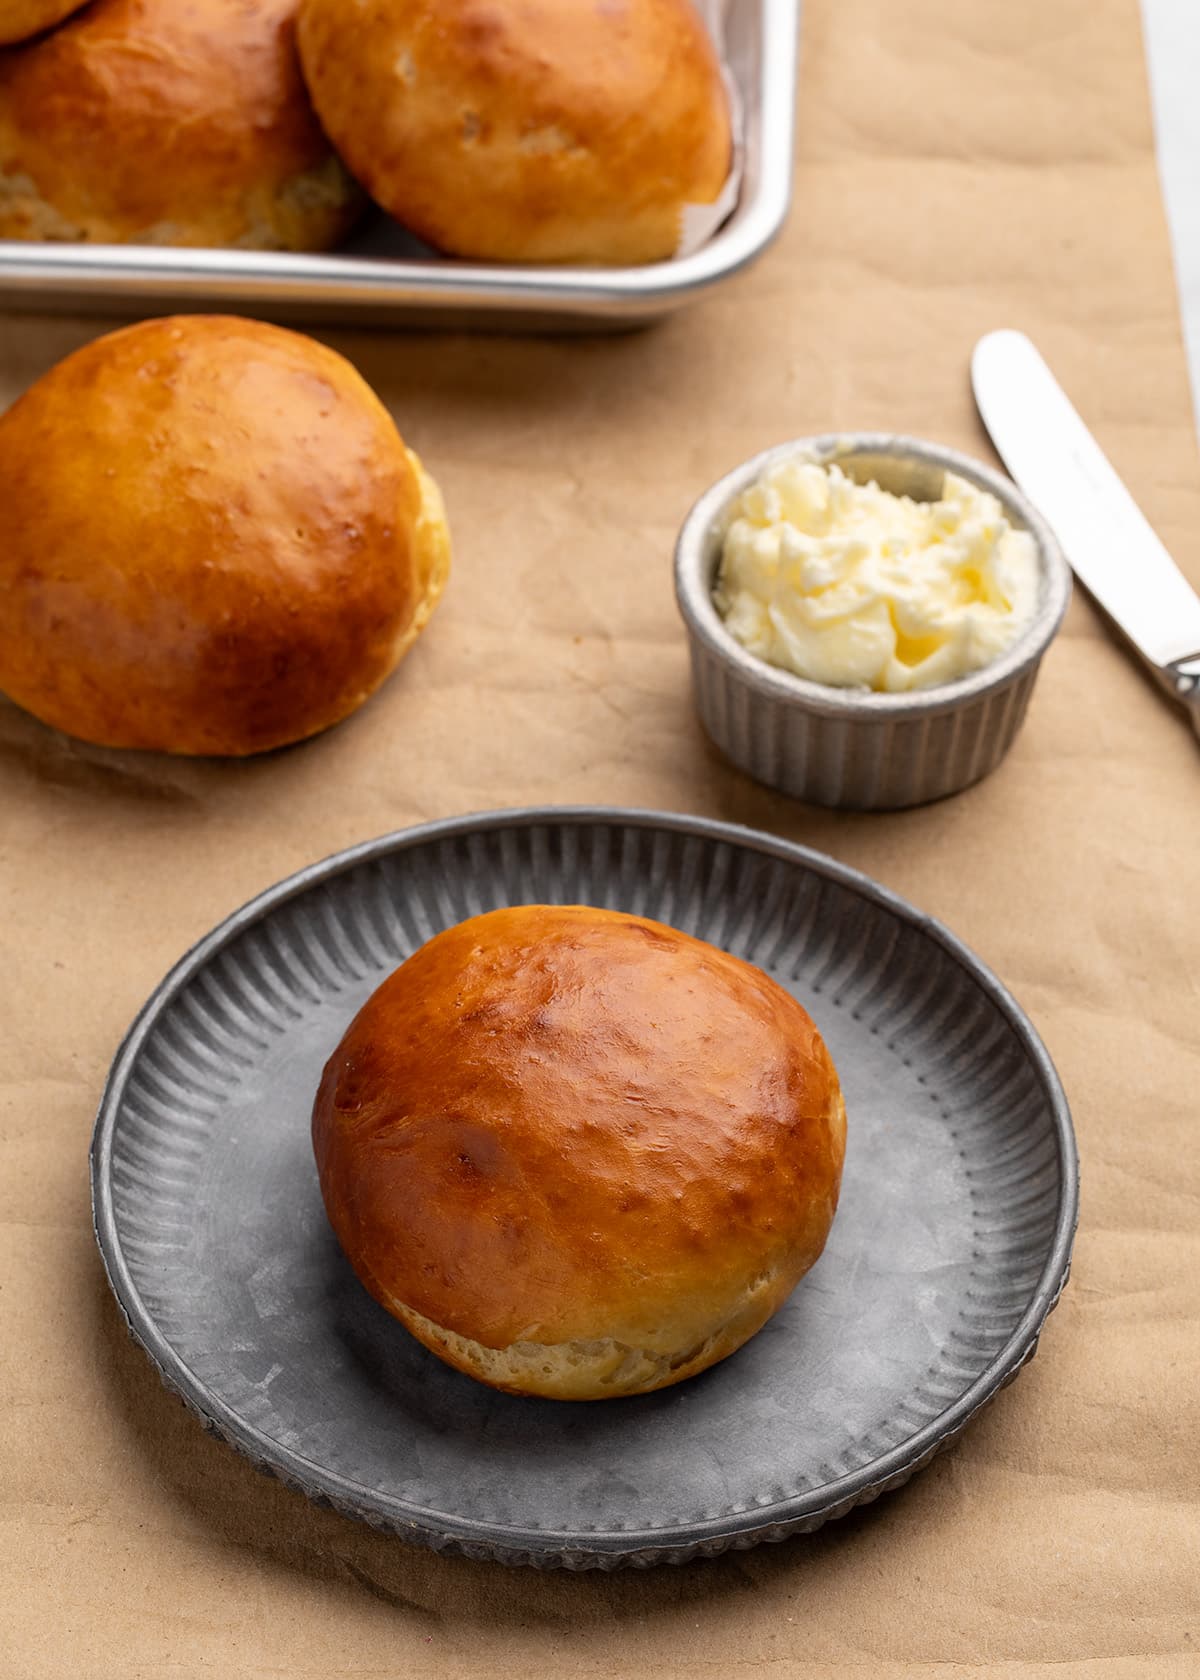
They brown deeply in the oven with a generous egg wash that keeps the moisture in and develops a super thin, shiny shell as the rolls cool.
Why this recipe works
These Hawaiian rolls are made with plenty of pineapple juice for a unique lightly sweet, tropical, and tangy flavor. Enriched with butter, an egg, and some sugar, they have an incredibly tender, pillow-soft crumb, and turn deep golden brown in the oven.
Learn my secrets for making perfectly round rolls, then shape them into 8 full-size rounds for sandwich buns. Or try dividing the dough into 12 equal pieces, shaping them into classic rounds rather than pressing them into disks, and serving them as savory-sweet gluten free dinner rolls.
Recipe ingredients
Here's what you'll need to make these rolls at home, plus an explanation of the role that each ingredient plays in the expected results:
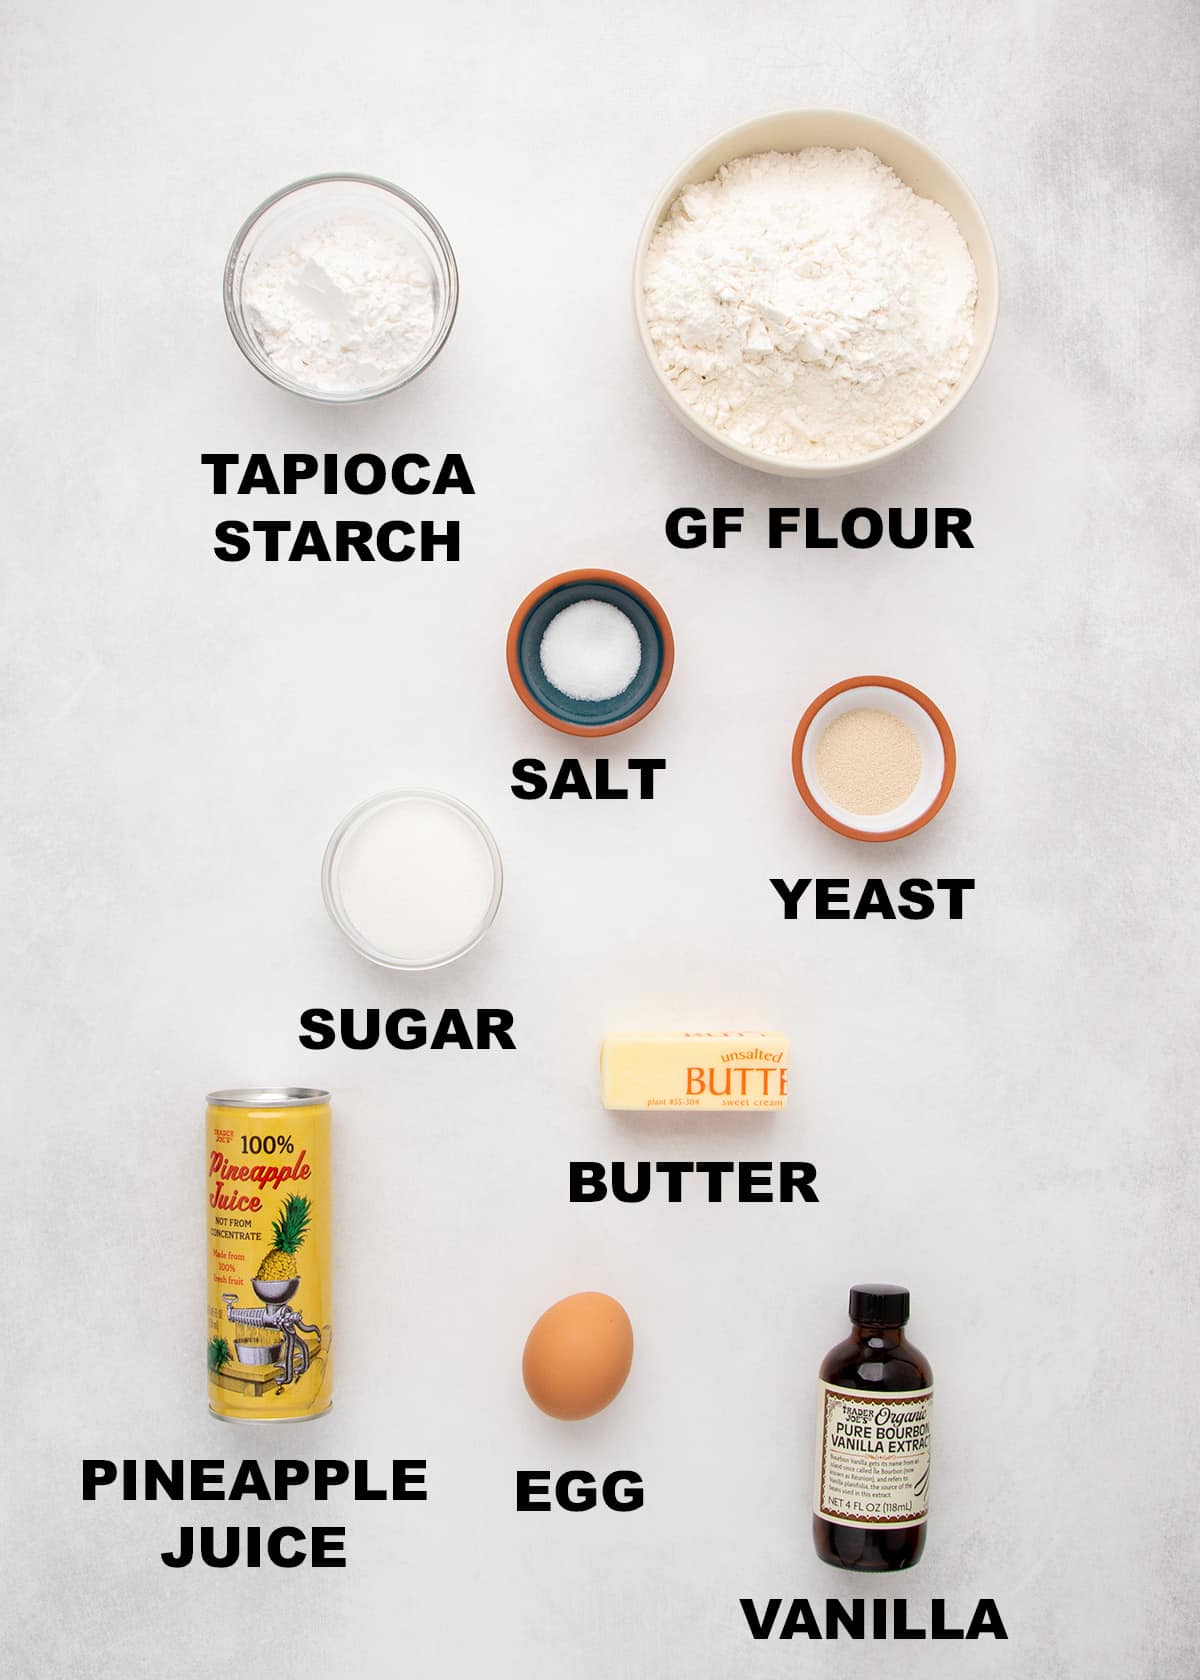
- Gluten free flour: Provides most of the structure for the rolls, so be sure to choose a well-balanced blend based on superfinely ground and sifted rice flour as an all purpose gluten free flour blend. I recommend Nicole's Best multipurpose gluten free flour blend or Vitacost's Multi-Blend Gluten Free Flour with added xanthan gum, or Better Batter's original all purpose blend without additional xanthan gum.
- Tapioca starch/flour: Adding additional tapioca starch (the same as tapioca flour) as a separate ingredient in addition to what is already in all my recommended gluten free flour blends adds stretch and chewiness to the rolls.
- Instant yeast: Provides the rise in these rolls. Instant yeast, also called bread machine or rapid rise yeast, has less of a protective shell around each grain than active dry yeast, so it doesn't have to be soaked before adding it to the other ingredients. If you'd prefer to use active dry yeast, you'll need 25% more yeast by weight for a bit below 8 grams, and you'll need to proof it first in some of the pineapple juice.
- Sugar: Adds some added sweetness, locks in moisture for tender rolls, feeds the yeast and helps the rolls brown deeply in the oven.
- Salt: Brightens the other flavors and helps control the activity of the yeast.
- Butter: Adds richness, buttery flavor, and moisture for a tender, flavorful crumb.
- Egg: Helps the rolls rise, and the white helps the rolls hold their rise as they cool. The egg wash we brush on top of the rolls helps browning in the oven and gives the rolls a shine even as they cool.
- Pineapple juice: Adds tanginess, flavor and moisture to bring the roll dough together and hydrate the yeast so it's active. The classic flavor of Hawaiian rolls comes from using pineapple juice in place of milk or water. Make sure you're using pure 100% juice, without additives. I usually buy Trader Joe's brand canned juice, which has a little less than I need for this recipe, so I top it off with just a little water rather than opening a second can.
- Vanilla: Adds depth of flavor, complementing and enhancing the flavor of the pineapple juice.
How to make gluten free Hawaiian rolls (step by step photos)
This is a visual guide for how to make these rolls at home in your kitchen, including an explanation of why the recipe is written as it is. For full ingredient amounts, see the recipe card below.
Combine the dry ingredients
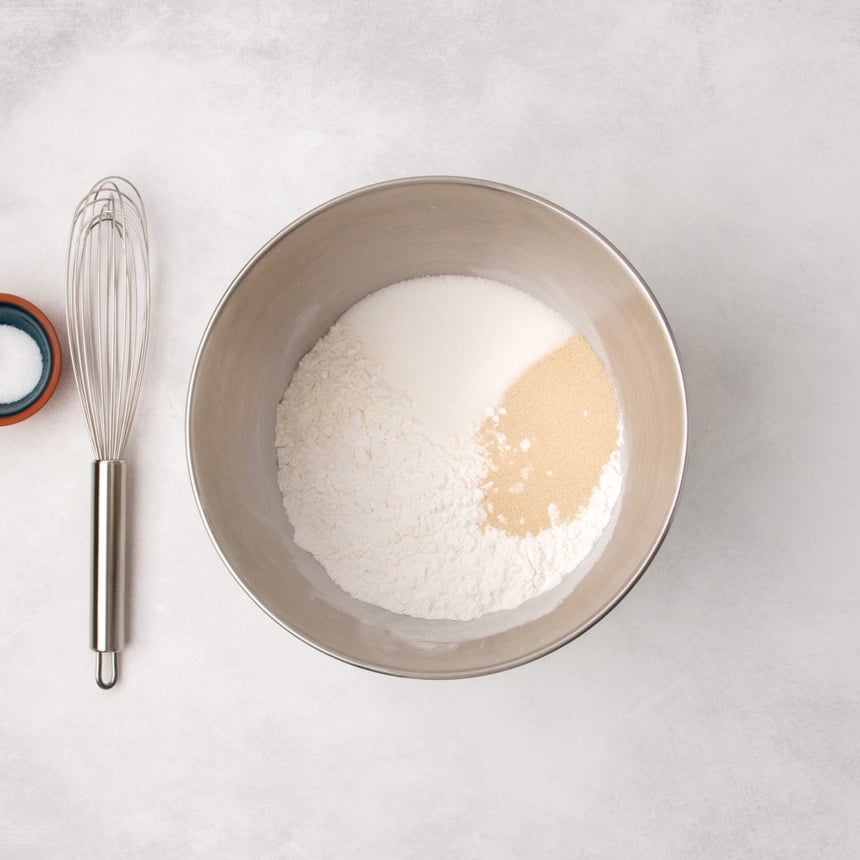
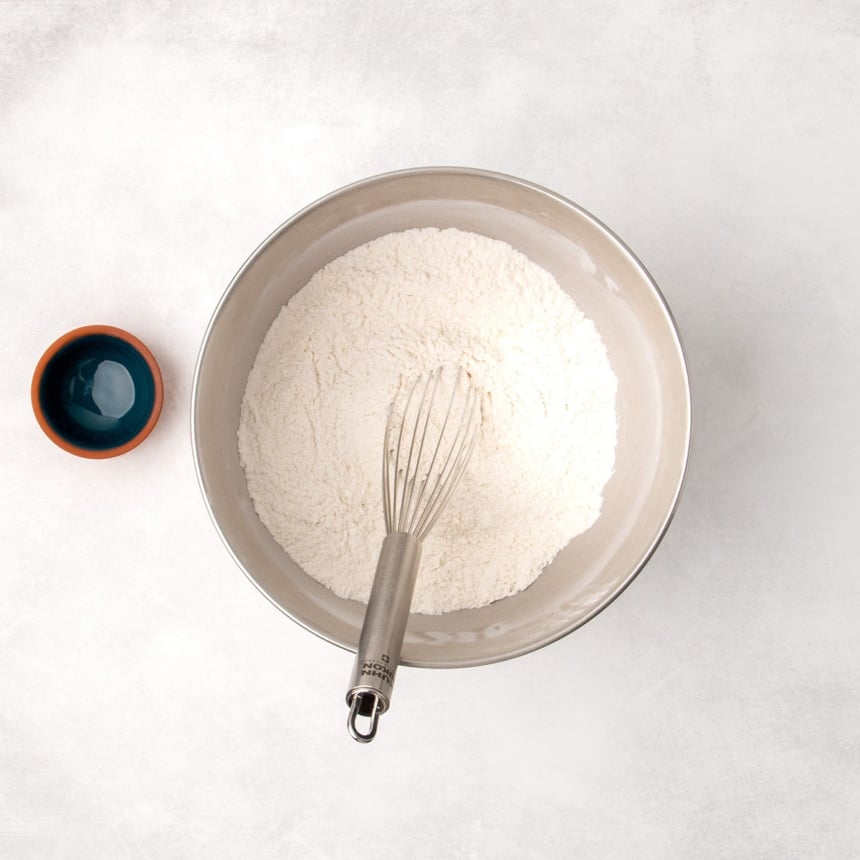
In the bowl of a stand mixer, whisk together the gluten free flour blend including xanthan gum, plus more tapioca starch, yeast, and sugar,. Whisk in the salt separately to avoid any possibility of the salt and yeast clumping together, since they operate at cross purposes.
Add the wet ingredients
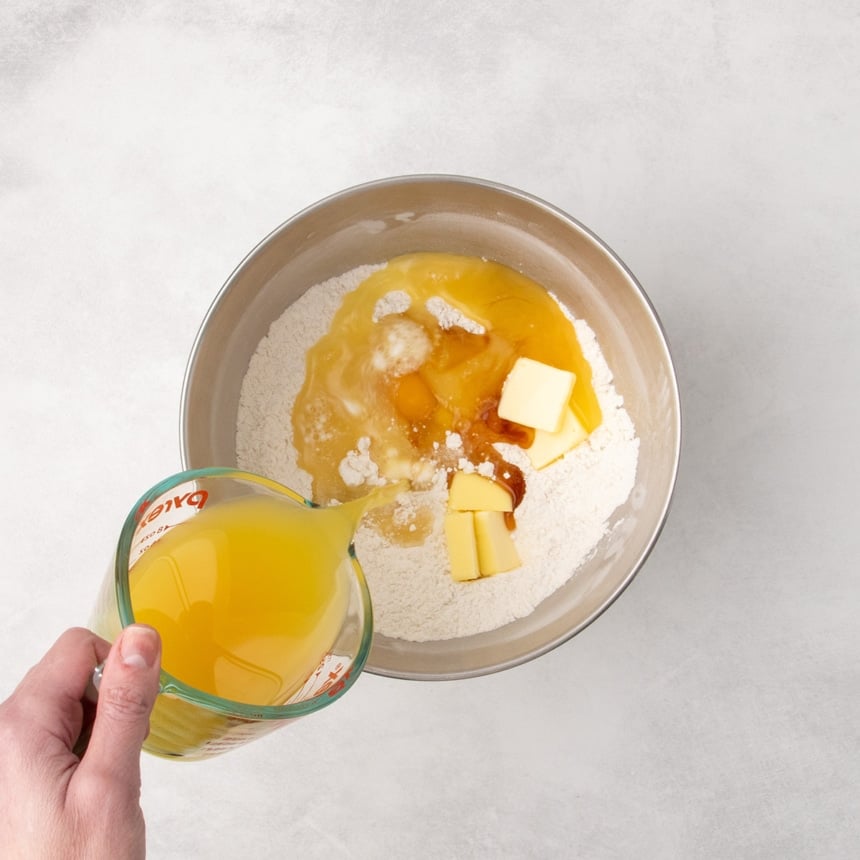
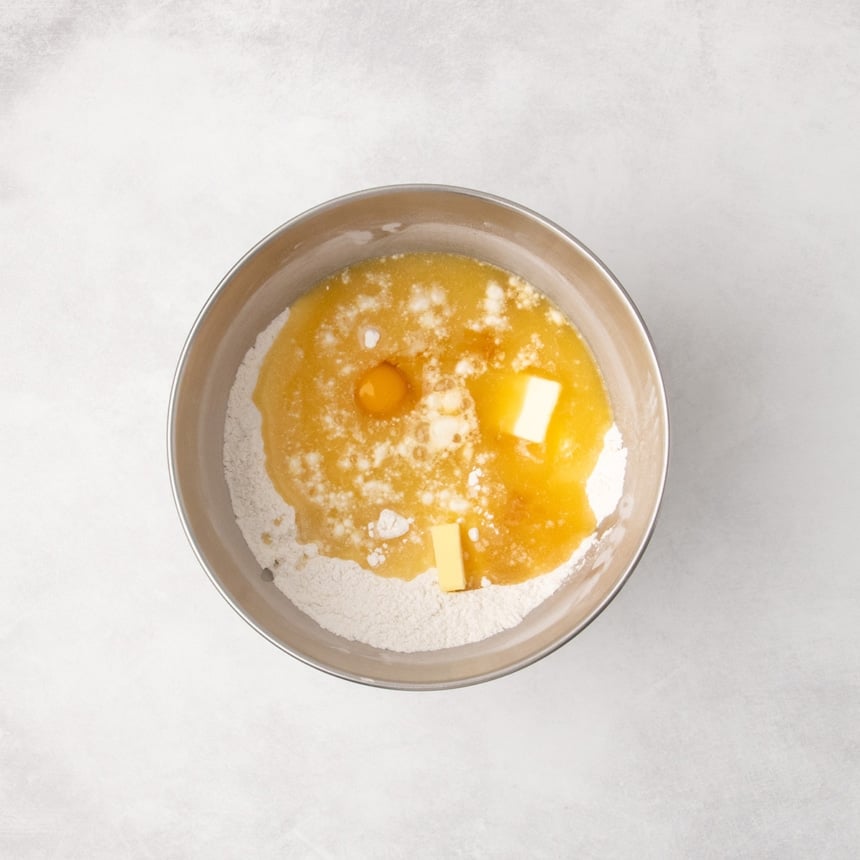
To the dry ingredients, add the butter, egg, vanilla and pineapple juice, making sure that everything is at room temperature so everything combines completely and smoothly. Cold liquid will cause softened butter to clump.
Mix the dough
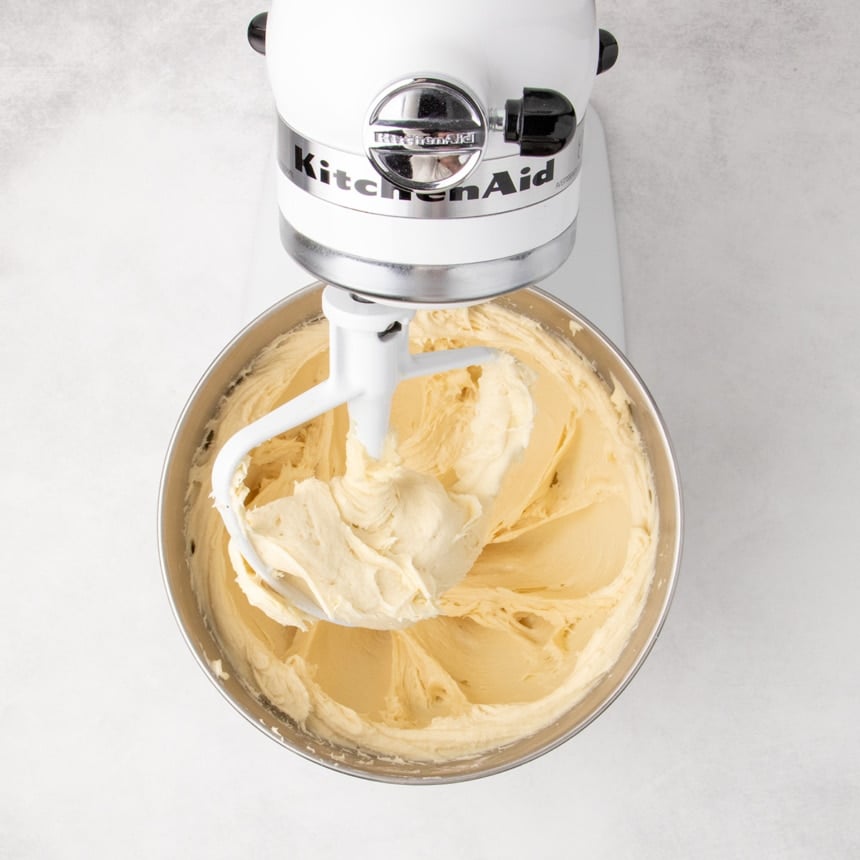
Add the paddle attachment, and mix on low speed first until the flours are moistened so everything stays in the mixing bowl. Increase the speed to medium, and beat until the dough begins to look whipped, like it has had more air incorporated into it. This helps create well-rising, less dense rolls.
Chill the dough
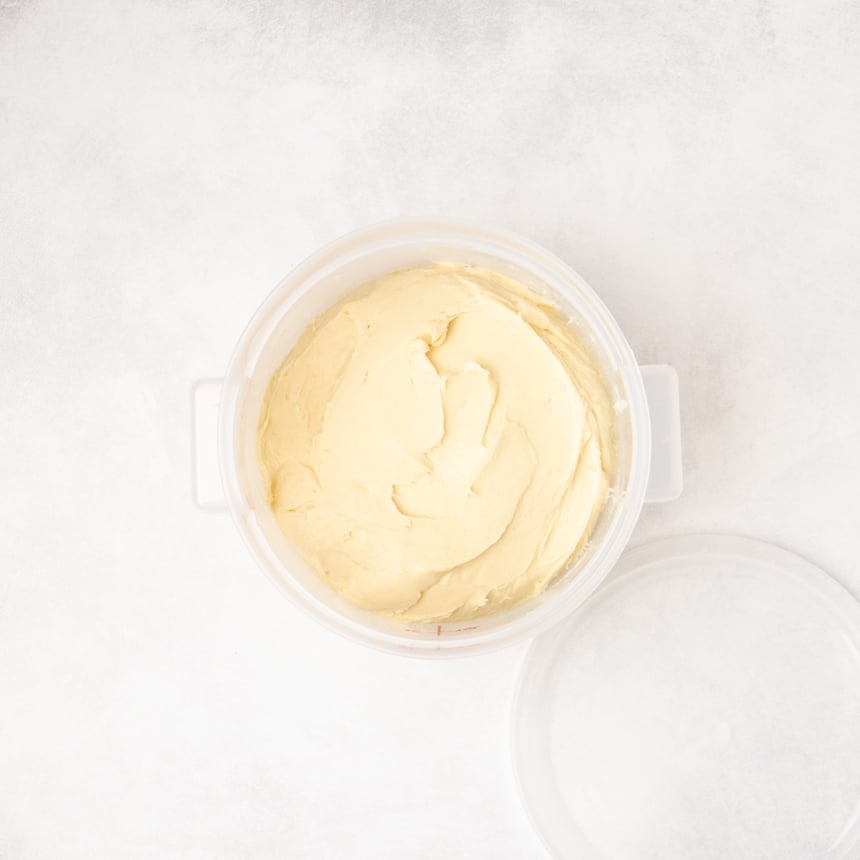
Transfer the dough to a bucket or bowl with a tight-fitting lid that’s large enough for the dough to expand to about double its size, although it won't rise quite that much. Chill the dough in the refrigerator for at least 12 hours and up to 3 days. This cold rise is for flavor development and to let the dry ingredients absorb some of the moisture, making the dough easier to shape.
Smooth the dough
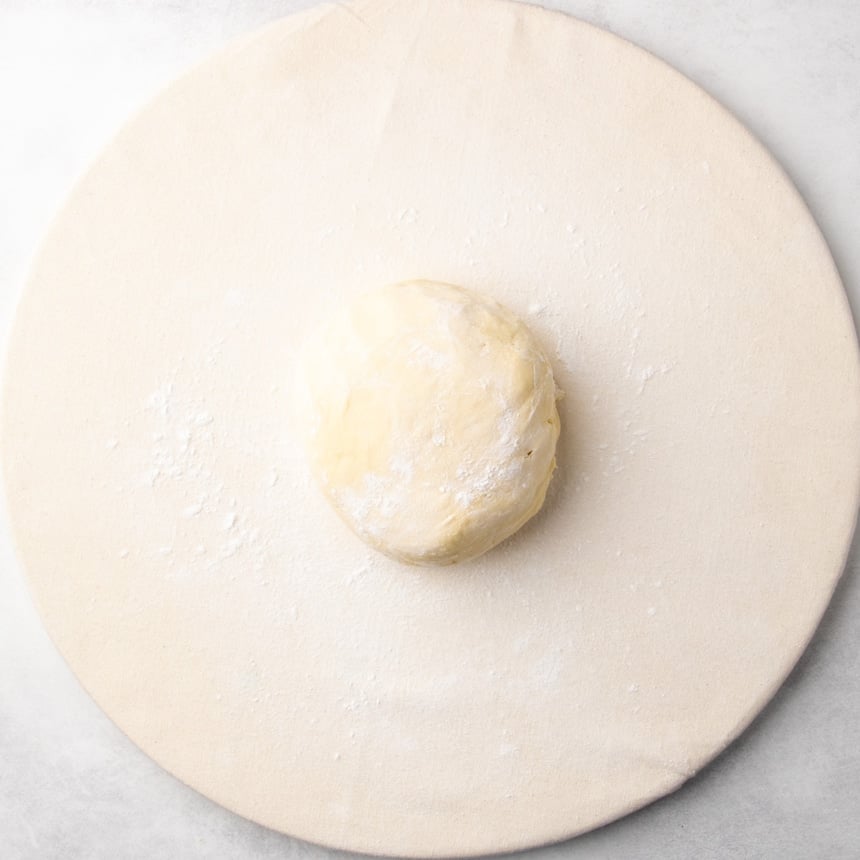
When you're ready to work with the dough, turn it out onto a clean surface sprinkled lightly with tapioca flour, and dust the top with more. Turn the dough over a few times until it's no longer sticky.
Divide into equal portions
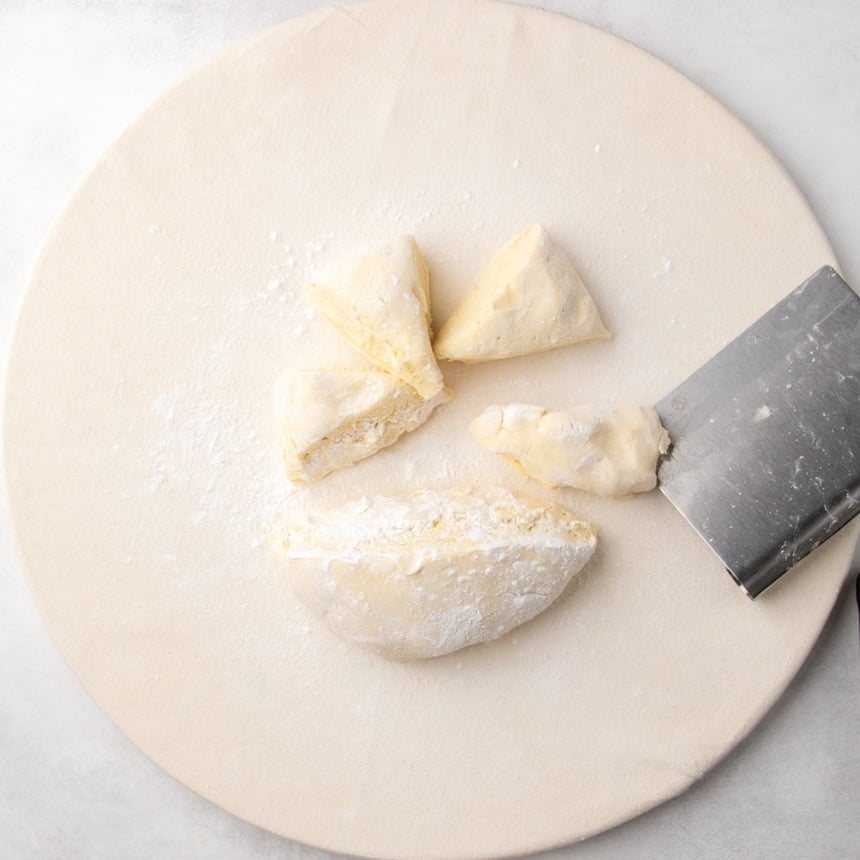
Use a bench scraper, cake turner, or sharp knife to cut the dough evenly in half, then each half into 4 equal parts for a total of 8 pieces, each weighing about 4 ounces. Equal sized rolls will rise and bake evenly together.
Shape the raw rolls
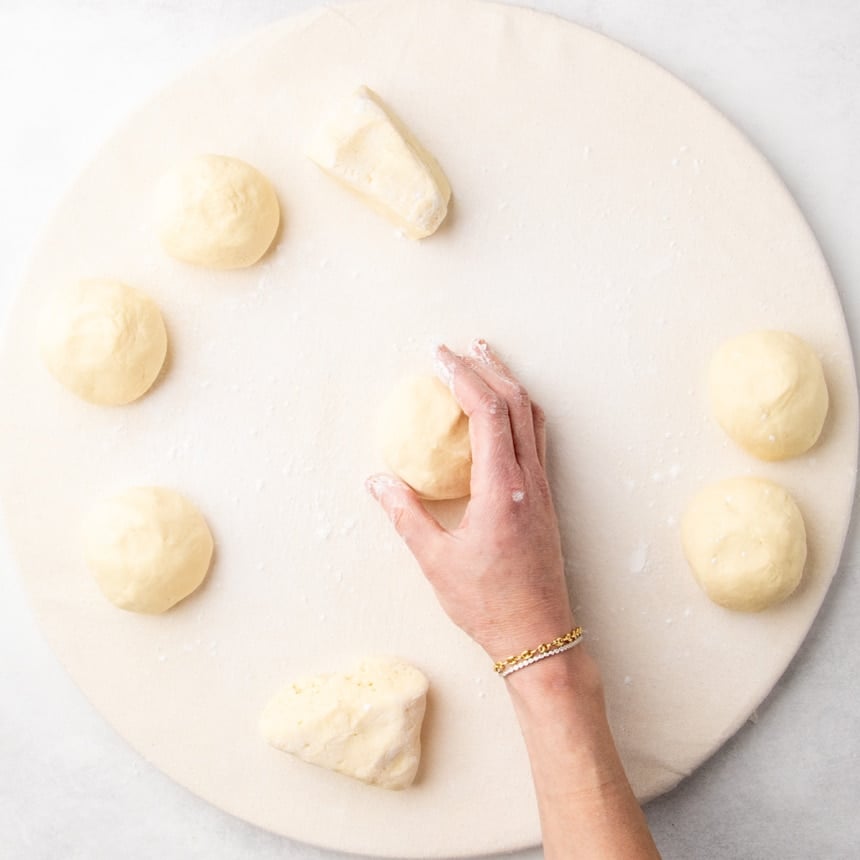
Pull the edges of each piece of dough toward the center, and pinch between your thumb and forefinger to secure. Flip the dough over so that the gathered edges are on the bottom.
Cup the palm of your dominant hand around the dough with the side nearest your pinky resting on the flat surface. This side of your hand should always maintain contact with the surface.
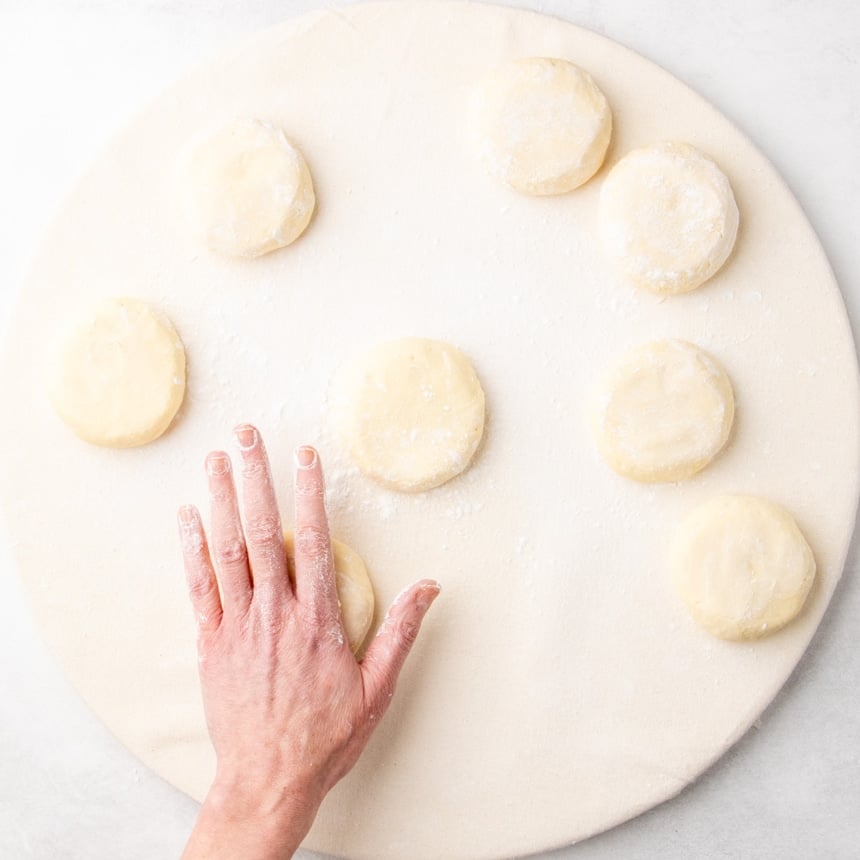
Move your hand in a tight circle to round the edges, using your fingers to coax the sides upward. Press each round into a round, flat disk with your palm to make rolls with a wider bottom for proper sandwiches.
Let rise covered
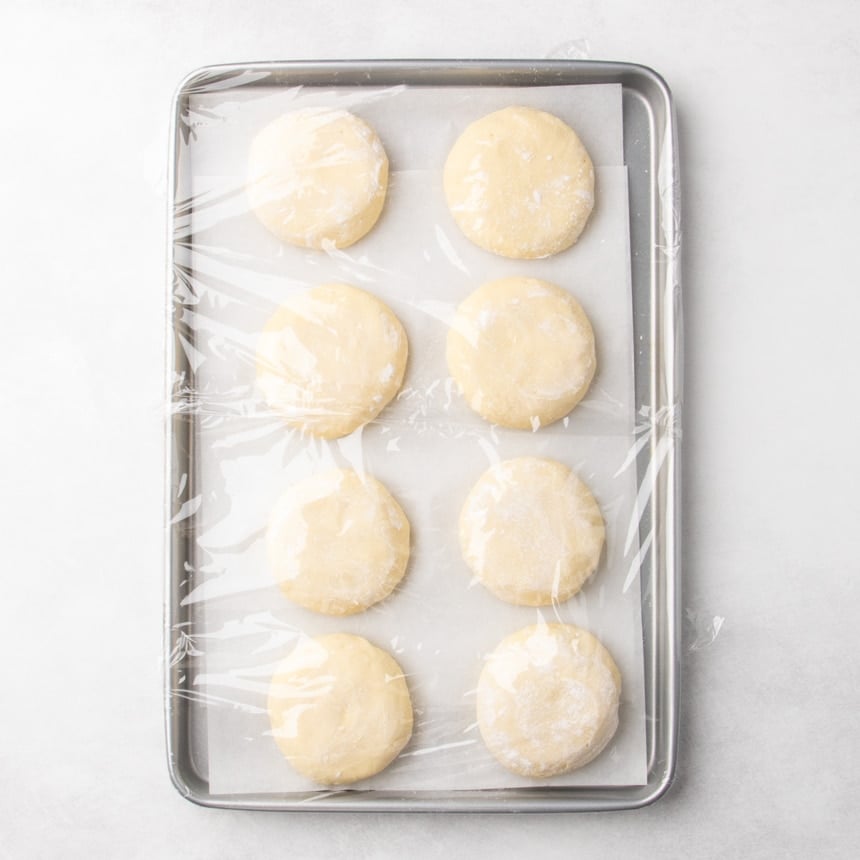
Place the shaped pieces of dough on a lined baking sheet, and cover loosely with plastic wrap. Make sure it's secured all around the perimeter so the rolls maintain enough moisture to allow them to rise.
Brush with an egg wash
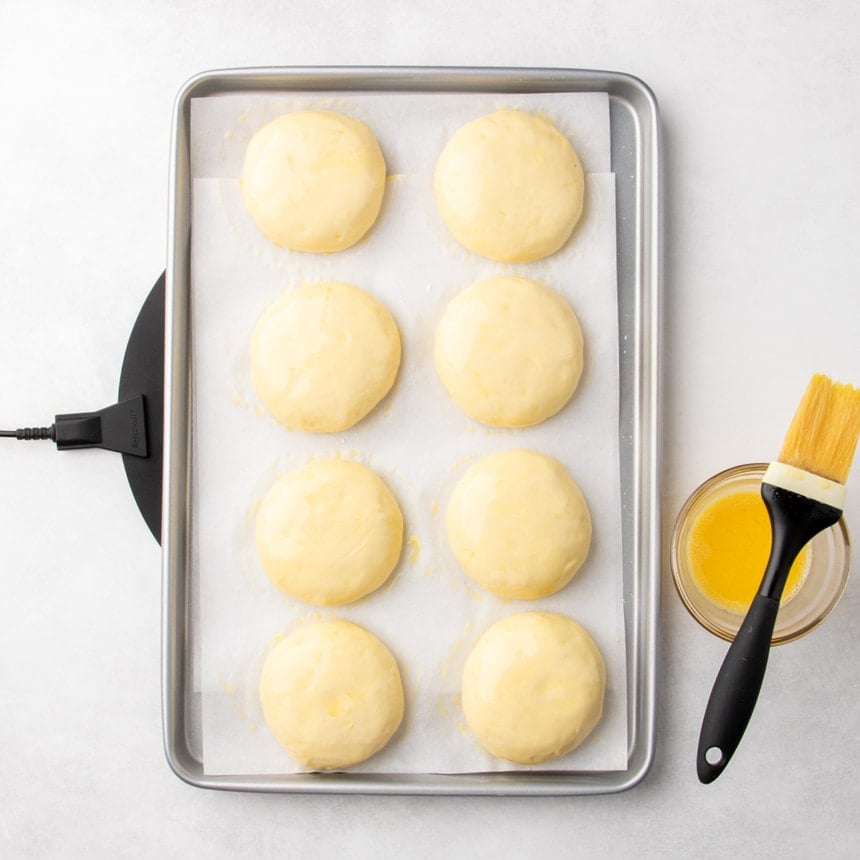
After 30 minutes, remove the plastic wrap and brush generously with an egg wash. The egg wash will keep them from drying out even without the plastic covering. It also helps the rolls brown in the oven and creates a thin glossy shine during baking.
Finish rising
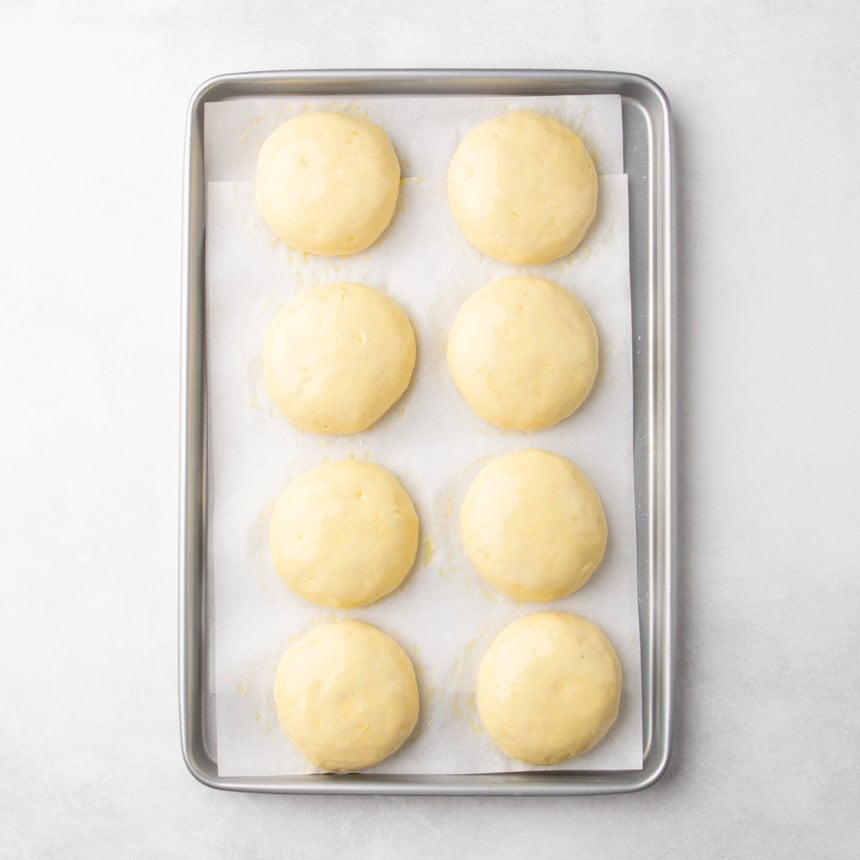
Let the rolls finish rising uncovered until they're at least 50% bigger in size than when they started. They won't fully double. If the dough begins to dimple or look pockmarked, the rise is breaking through and the rolls are beginning to overproof.
Bake
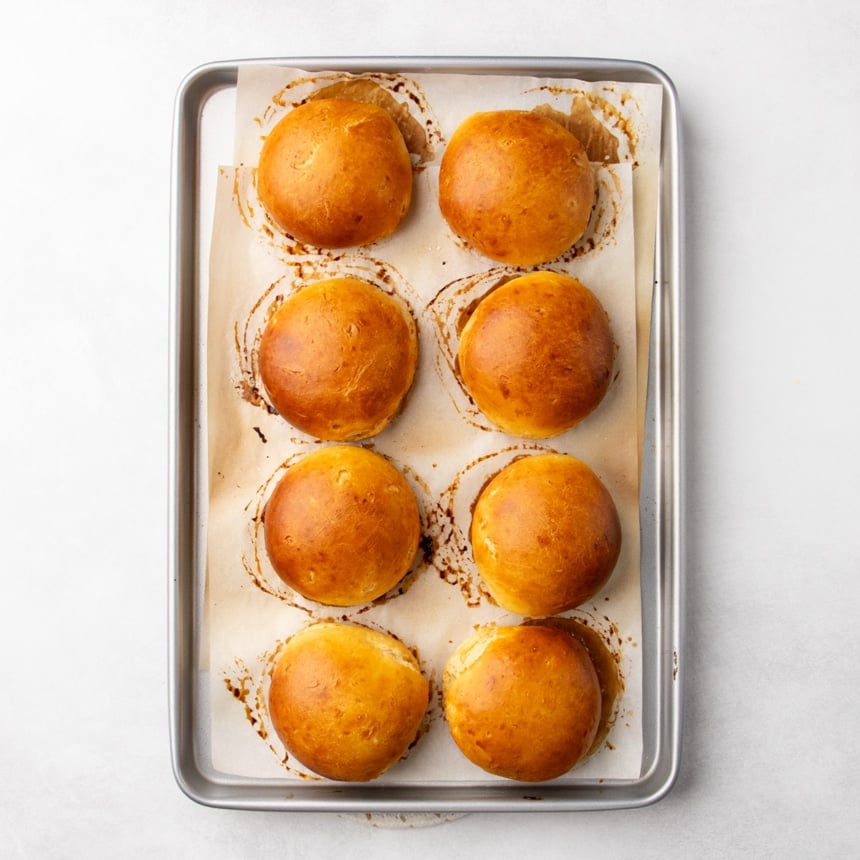
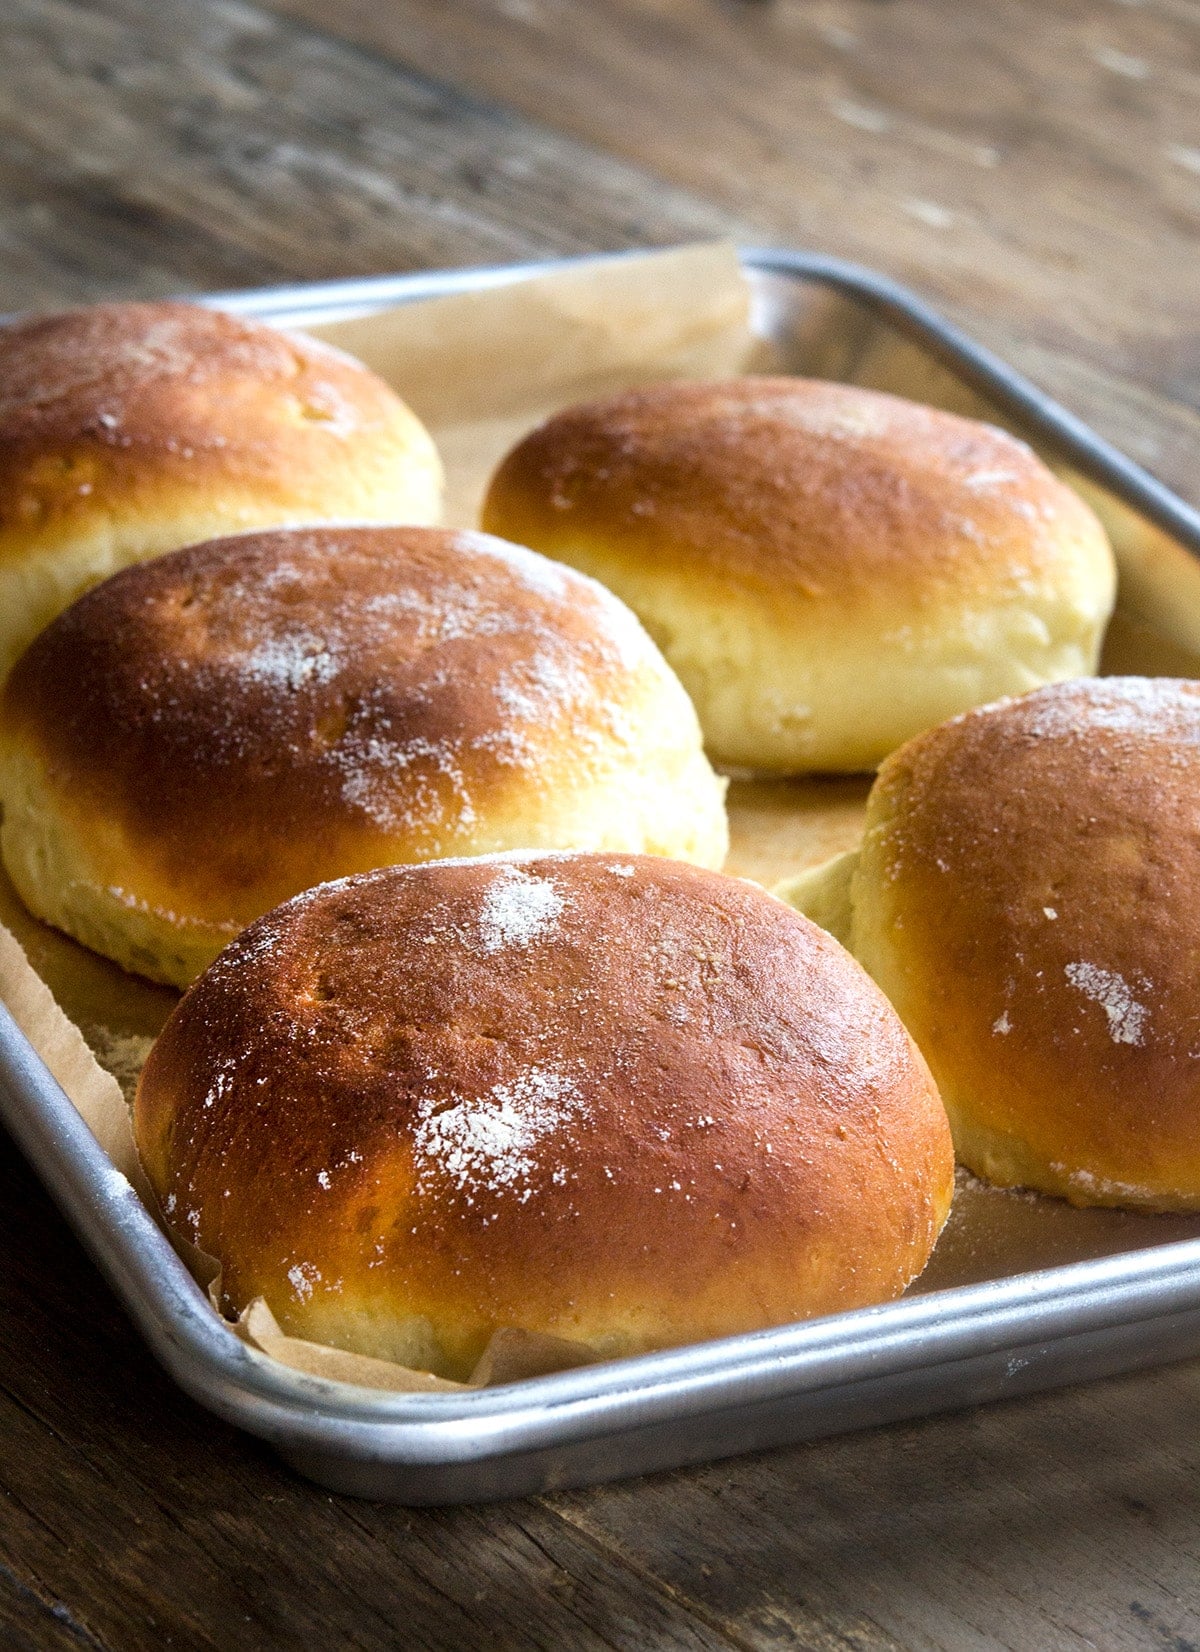
As soon as the rolls are done rising, or if you see signs of overproofing, place them right into the oven and bake at 375°F. They're done baking when they're golden brown all over, appear tight across the top, and register at least 185°F on an instant read thermometer. Cover the hot rolls loosely in a tea towel to trap moisture as the hot rolls cool, keeping the crust from getting too crispy or drying out.
Expert tips
The first rise has a different purpose
When you first make the dough, you'll seal it in an airtight container and let it chill in the refrigerator for at least 12 hours and up to 3 days. This is a “cold rise,” but don't worry about how much the dough actually rises. As long as the yeast is activated by adding moisture to it, the dough will develop some flavor.
This rest is also designed to give the flour time to absorb some of the moisture in the egg, juice, and butter, making the dough easier to handle and shape. Avoid letting it sit for much longer than 3 days, though, or it will taste too yeasty for Hawaiian rolls and the rise after shaping may be more irregular and uncontrolled.
Handle the dough lightly
As you incorporate additional flour into the raw dough during shaping, you're lowering the overall amount of moisture in the dough, which can prevent a proper rise. To avoid adding too much extra flour, work with the dough cold, handle it more with your fingertips than with your palms, and keep it moving so it doesn't have a chance to stick to anything other than itself.
If you don't have a stand mixer
You can't make a well-incorporated dough that rises smoothly by hand here. A handheld mixer with miniature balloon attachments won't work, and will incorporate too much air into the dough.
If you don't have a stand mixer with a paddle attachment try using a food processor with the plastic, and be careful not to overprocess or heat the dough.
Ingredient substitutions
If you need to eliminate other allergens from the rolls, here are my suggestions for how to do that.
Dairy free
Instead of dairy butter, try block-style vegan butter like Melt, Miyoko's, or Trader Joe's brands.
Egg free
These rolls contain only one egg in the dough, and one egg in an optional egg wash. In place of the egg in the bread dough, try using a chia egg, Bob's Red Mill egg replacer, or JustEgg refrigerated liquid egg replacer. In place of the egg wash on top of the shaped rolls, try brushing them with cream.
Pineapple juice
If you can't have pineapple juice or just don't want to use it, try apple juice for a similar, although more mild, lightly sweet roll. You can also use milk in place of pineapple juice, in equal amounts, for a rich, tender and not really very sweet roll. Nothing else in the recipe has to change.
Storage instructions
Once completely cool, each leftover roll can be wrapped tightly in freezer-safe wrap and frozen for up to 3 months. Defrost at room temperature, sprinkle lightly with water, and refresh in the microwave or a toaster oven.
Gluten Free Hawaiian Rolls Recipe
Equipment
- Stand mixer with dough hook (gf bread flour) or paddle attachment (all purpose gf flour)
Ingredients
- 2 ½ cups (350 g) all purpose gluten free flour blend, See Recipe Notes for help choosing
- 2 teaspoons xanthan gum, omit if your blend already contains it
- ½ cup (60 g) tapioca starch/flour, plus more for sprinkling
- 2 ⅓ teaspoons (7 g) instant yeast
- ¼ cup (50 g) granulated sugar
- 1 teaspoon kosher salt
- 5 tablespoons (70 g) unsalted butter, softened
- 1 egg (50 g (weighed out of shell)) at room temperature
- 1 teaspoon vanilla extract
- 1 ¼ cups (10 fluid ounces) pineapple juice, at room temperature
- Egg wash 1 egg, at room temperature, beaten with 1 tablespoon water
Instructions
Make the bread dough
- Place the all purpose gluten free flour blend, xanthan gum, and tapioca starch, yeast, and sugar in the bowl of your stand mixer, and use a handheld whisk to combine well. Add the salt, and whisk to combine again.
- Add the butter, egg, vanilla, and pineapple juice, and mix on low speed with the paddle attachment until just combined. Raise the mixer speed to medium and beat for about 3 minutes or until it begins to take on a whipped appearance, sticking to the sides of the bowl and stretching from the paddle to the sides.
- Spray a silicone spatula lightly with cooking oil spray, and scrape down the sides of the bowl.
- Transfer the dough to a lightly oiled bowl or proofing bucket large enough for the dough to rise to double its size, and cover with an oiled piece of plastic wrap (or the oiled top of your proofing bucket).
- Place the dough in the refrigerator for at least 12 hours and up to 3 days.
Shape the rolls
- On baking day, line a large rimmed baking sheet and set it aside. Remove the dough from the refrigerator and turn it out onto a lightly floured surface. Sprinkle the dough lightly with more flour, and turn over a few times until it appears smoother and is less sticky.
- Use a floured bench scraper, cake turner or large sharp knife to divide the dough into 8 pieces of equal size, each weighing about 4 ounces.
- Working with one piece of dough at a time, shape it into a round by rolling it with a floured palm in circles on the lightly floured surface. Handle the dough lightly and keep it moving in a circle with your palm, keeping your pinky and that side of your hand in contact with the surface all the time.
- Pinch together any cracks and keep shaping, sprinkling lightly with flour as necessary to prevent sticking. Use your palm or 4 fingers of your hand to press down the round of dough into a disk for even rising.
- Place the first roll in the prepared baking pan. Repeat with the remaining pieces of dough, placing the rolls less than an inch apart from one another.
Let the shaped rolls rise
- Cover the baking pan with oiled plastic wrap and set it aside in a warm, draft-free location to rise for 30 minutes.
- Uncover the pan and brush the rolls generously with the egg wash. Allow the rolls to finish rising, uncovered, until at least 50% larger than when you began, about 20 to 30 minutes more.
- Preheat your oven 375°F, while the rolls finish rising. If they begin to take on a dimpled appearance, they have begun to overproof and should begin baking immediately.
Bake
- Place the baking pan on the lower rack of the preheated oven and bake until golden brown all over, appear taut across the top, and the inside of the rolls registers at least 185°F on an instant-read thermometer, about 25 minutes.
- To maintain the softest crust on the rolls, cover them loosely with a tea towel while still hot out of the oven. Allow the rolls to cool for at least 10 minutes before slicing and serving.
Video
Notes
Nutrition
Nutrition information is automatically calculated, so should only be used as an approximation.










Nicole,
Two questions:
1.What could I use to substitute for pineapple juice? Family member is allergic to pineapple.
2.Please explain what kinds of pectin are acceptable in some of your recipes. I did not understand the comment about calcium packet. Powdered pectin used for jam, apple pectin?
You have created such a great variety of gluten free food.
Thanks,
Hi, Michele, If you can’t have pineapple, then I guess you could try orange juice. You need something with sweetness and acidity. You’ll have to experiment, though! And pure powdered pectin is what is required for the mock Better Batter. That often comes with a separate calcium packet, to be used in jam making. For more details, please see this long post on the subject.
How do I do if I am allergic to yeast ?
You can’t replace yeast in a yeast bread recipe, Julia. I have a few yeast-free bread recipes on the blog. Please use the search function to find them all!
I’m working my way through the book. Got my sourdough mother starter made and mixed up the Pain au Levain. (Weighed all the ingredients and used Better Batter flour. ) It seemed awfully soft , but I put it in the refrig for two days and took it out to bake this morning. The dough was really soft and sticky. I had to work a lot of flour into it (1/4 cup maybe) to be able to shape it at all and it was still considerably softer than the dough in you Hawaiian rolls video. My question, should all the doughs in the book be firm enough to shape?
Second question. I bought the proofing chamber but I don’t know what temperature to set it for. Thank you so much for all your work.
Hi, Mary Lynn,
You can’t just use Better Batter in the wild yeast sourdough starter, or the levain bread. There are a number of different flours required for the liquid starter, and then you must use the Bread Flour blend in the book for creating the mother starter. There are photos of every step in the book. Please review those along with the narrative in the book to try to figure out where you went wrong. No, it is not that soft at all. The Hawaiian bread dough is typical of the doughs you will find in the book. I simply can’t hazard a guess myself as to where you went wrong, as there are so many steps and I’m not there with you in your kitchen. Pay careful attention to the step by step photos in the book. And at the beginning of the sourdough chapter, the lead photo of the dough popping out of the bucket? That’s the levain bread dough.
You can set your proofer to about 80°F.
is instant yeast the same as Bread Machine Yeast?
The terms do tend to be used interchangeably, Tania. I have always used Red Star rapid rise instant yeast.
This sounds so much like Artisan Slow baking. This Slow baking naturally eats gluten in its fermentation process which makes the bread GF naturally. So is it necessary for GF flour?
Kari, I’m not familiar with ‘artisan slow baking,” but yeast fermentation does NOT remove gluten from bread. Only gluten free flour makes for gluten free bread!
There is no way to remove gluten from gluten containing products through baking. Even the gluten free beers that claim below 3 ppm still contain gluten and will impact you if you have celiac disease. Do not believe it when somebody tells you the gluten is processed out.
For those with egg allergies, can most of these recipes use an egg replacer or a “flax egg”? I’d love to buy your book, but can’t use eggs.
Shruti, many of the recipes don’t rely upon eggs at all. Only the truly enriched breads, like brioche, require eggs. This is very unusual for gluten free bread, but common with conventional bread. This is much more like conventional bread-baking than gluten free bread-baking has ever been before.
Thank you so much! That’s really good to know :)
Are you familiar with. Domata flour? It is available here and I would like to try these rolls. Also can these be made ahead an frozen? Have ordered three of your cookbooks for Christmas gifts for my grown kids that are gluten intolerant. Keep up the great work. It is wonderful to have great gluten free food after years of make do.
Yes, I am familiar with it. It is a pretty high-starch blend, Martha. You can try it as the all purpose flour in building the bread flour blend , but I can’t promise anything. Good luck!
Could you use margarine instead of butter? My daughter is dairy intolerant too.
I don’t recommend margarine, Lyn.
Thanks for posting the videos. I’ve been working my bread too much now that I’ve watched you. Helps a ton to see you do it!
My Japanese Milk Bread turned out like a dream tonight! Thanks again for all your hard work…we really do appreciate it! Love the new book!
Great, Jenny! That’s why I repeat over bad over in the instructions that a light touch is key! So glad you’re enjoying the new book!
JoAnn C – make lots of extra!! Rolling yourself in flour is half the fun, I’d say. :
LOL great idea
Congratulations Nicole! What a beautiful dough. Got to ask, how do you sprinkle flour without wearing it. No matter how careful I am I always end up looking like I rolled myself in the flour. ; )
xoxo JoAnn
Practice. :)