This post may contain affiliate links. Please read our disclosure policy.
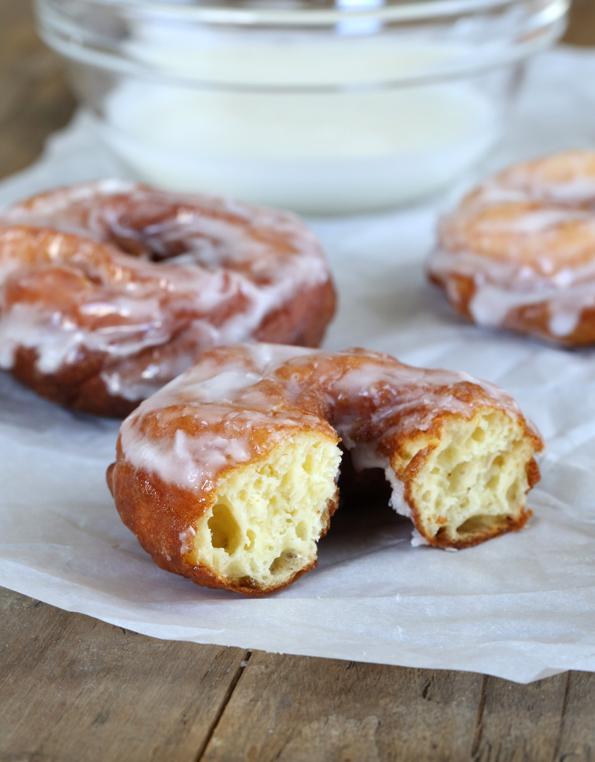
Table of Contents
I have been daydreaming about the gluten free choux pastry that we used to make Gluten Free Cream Puffs We also used it to make Gluten Free Chocolate Éclairs.
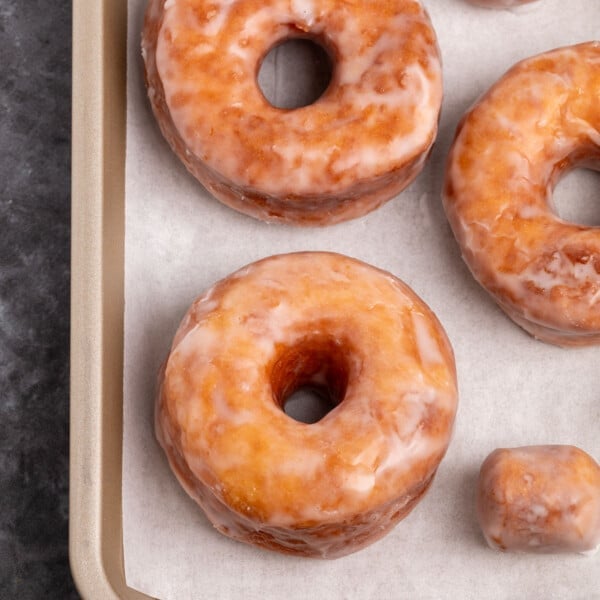
We're making Gluten Free Crullers because they are simple, and delicious. The pastry itself has zero sugar, so it is not sweet. The glaze? Well, that's plenty sweet.
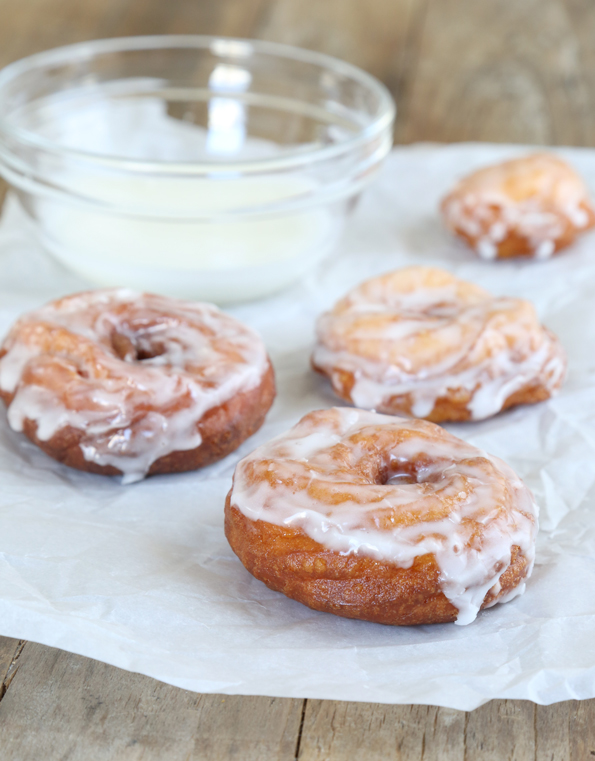
Although I have made choux pastry, like, 100s of times (okay, probably more like 30 times but still that's a lot, right?), I had never before used it to make crullers. What was I waiting for??

Yes, you can bake the dough instead of frying it. Bake for 15 minutes at 375°F, or until the crullers are puffed and pale golden.
Remove the baking sheet from the oven and, working quickly, with a sharp knife, cut a small slit in the side of each pastry to allow steam to escape. Return the pastries on the baking sheet to the oven, turn off the oven, and prop open the oven door slightly.
Allow them to sit in the oven until dry (about 30 minutes), and then glaze them. Even though they won't be as tender, they will still be completely delicious.
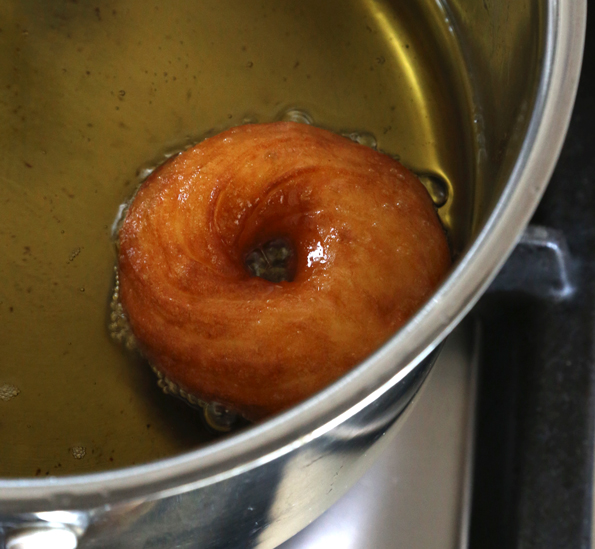
But I'm kind of excited about the idea of deep frying for a few reasons:
1. It's not nearly as unhealthy as it's generally considered (the outside of the dough is sealed quickly, so no more oil should be absorbed while the heat of the oil gently cooks the inside—unlike shallow frying, which continues oil absorption the whole time).
2. It doesn't heat up the house like turning on the oven does. Summer's coming, and we both know you're gonna roll your eyes at least a little bit each time I ask you, kindly, to turn on your oven in the summer.
3. It's ridiculous how tender and delicious fried foods can be. And I really think we need to consider making KFC-style fried chicken sometime this summer. Don't you think?
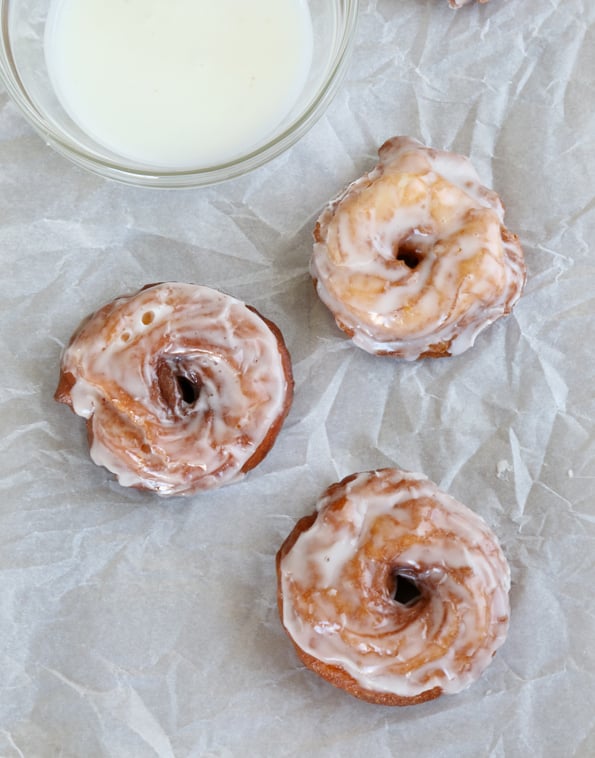
Oh, and one more thing about the choux pastry: Although the pastry fries best when it's at or near room temperature, you can definitely make the pastry dough a few days ahead of time (I have made it as far in advance as 3 days), and store it in a well-sealed container in the refrigerator until you're ready to use it.
Pipe it into rings when it's still cold (it does make the dough easier to pipe in pretty shapes), and then allow the dough to sit at room temperature for about 10 minutes before frying it.
Tips for deep-frying gluten free crullers
Oil temperature
Keeping the oil at a constant temperature is really important. When you add each cruller to the oil, it will lower the temperature slightly. The more crullers you add at a time, the more it will lower the oil temperature.
Fry in small batches. An oil temperature of 340°F proved truly optimal. It allows the crullers to cook slowly and puff completely.
Choux pastry temperature
The choux pastry must be at or close to room temperature when you fry the crullers (i.e., not frozen).
It is possible to freeze the raw, shaped crullers and then simply lift the shaped dough off the parchment and place it in the oil. However, the dough will not puff up completely, and the outside of the dough will cook way too fast, leaving a raw and dense inside.
Use “dirty” frying oil
Slightly “dirty” frying oil fries more evenly and well than completely clean (virgin) frying oil. Consider the very first cruller to be a sacrificial cruller. Fry it alone. Eat it yourself. It’s the least you can do.
Reuse your frying oil
I use a batch of frying oil three times before I throw it away (unless I have fried something stinky, like fish). “Dirty” oil fries better than completely clean oil, and I hate to waste that much oil for one recipe!
After I use the oil, I strain it. I wait until it’s completely cool, then strain it right back into the original (now empty) container from which the oil came.
I strain it through a small mesh sieve, perched on top of a small funnel. Then, I mark the container “frying oil,” and put one hash mark on the label for each time I have used the oil.
After 3 uses, I toss out the oil (back in the container and into the trash – don’t pour all that oil down your drain or you’ll clog it!).
Gluten Free Crullers

Ingredients
- 1 recipe gluten free choux pastry
- 1 cup (115 g) confectioners’ sugar
- 1 tablespoon milk (any kind), plus more by the 1/4 teaspoonful if necessary
- Oil, for frying (I used a combination of equal parts canola oil and Spectrum nonhydrogenated vegetable shortening)
Instructions
Prepare the raw crullers.
- Prepare the choux pastry dough according to the recipe instructions.
- Place the choux pastry in a large pastry bag fitted with a 1/2-inch (13 mm) open star tip (the Ateco #826 tip is a good example).
- Cut 12 squares of unbleached parchment paper, each 4-inches square, and grease the squares lightly with cooking oil.
- Pipe the choux pastry in rings, one on each greased parchment square, closing the ring by overlapping the pastry slightly, and twisting up on the piping bag at the end.
- Alternatively, grease a large piece of unbleached parchment paper, pipe the rings, spaced 2 inches apart, on the paper, and then cut the parchment paper into squares, one pastry ring per square (I actually like this alternate method a bit better).
Make the glaze.
- In a small bowl, place the confectioners’ sugar and 1 tablespoon of milk. Mix well, until a thick paste forms.
- Add more milk by the 1/4-teaspoon, mixing to combine well, until the glaze falls off the spoon slowly, in a thick but pourable glaze. A
- dd milk very slowly, as it is much easier to thin, than to thicken, the glaze. If you do thin the glaze too much, add more confectioners’ sugar a teaspoon at a time to thicken it.
Fry and glaze the crullers.
- In a medium-size, heavy-bottom pot or fryer, place about 3-inches of frying oil.
- Clip a deep-fry/candy thermometer to the side of the pot or fryer, and place the oil over medium-high heat. Bring the oil temperature to 340°F.
- Place the crullers one at a time in the hot oil by placing each cruller face down, still on its own piece of oiled parchment paper, in the oil.
- Allow to fry for a moment before carefully pulling the parchment paper off the cruller with tongs.
- Fry in small batches until well-puffed and lightly golden brown all over (2 to 3 minutes per side). Do not crowd the oil at all.
- As soon as each batch is removed from the fryer, place on paper towels to drain for only about 1 minute before dipping the top of each cruller in the glaze.
- Place right-side up on a wire rack to allow any excess glaze to drip off the cruller.
- Serve immediately.
Nutrition information is automatically calculated, so should only be used as an approximation.



If anyone has ever read the Chet and Bernie series by Spencer Quinn, didn’t this make you chuckle? Definitely making these crullers for my book club in honor of Chet: the pastry-loving dog! Love it!!!!
These look so yummy! I am so excited I just went on Barnes and Noble and ordered all three of your books! Can’t wait till they get here. Yay! In the meantime, I will be making those confetti cupcakes for my sons birthday on Saturday. :-D
Thank you, snafty! Happy birthday to your son! Those confetti cupcakes are so fun. :)
I’m salivating. I feel like a dog – a really cute dog, mind you, but a food-coveting drooler none-the-less.
I will cry tears of happiness when you bring us what will undoubtedly be a delightful fried chicken batter recipe. And then I will force my friends to come and picnic with me and eat my gluten-free fried chicken, and I will talk about how much I love Nicole Hunn and will never again be jealous when a certain friend has deep fryer parties to which I must bring all my own food.
These are definitely going to be my next project!
By the way, I cant believe I need to ask, but how do I pin gluteny recipes to your “Make it Gluten Free” board? I tried but only manage to create my own “Make it Gluten Free” under my own profile. I even Googled the topic, found others asking the same question but no answers. I do feel pretty foolish that I’m unable to figure out what is likely super easy but HELP PLEASE (I have some yummy looking bread to entrust to your deglutenizing hands)! Thx:):)
I need a day off to bake these!!!!! NEED!
You don’t need a whole day, Claudia! Make the dough one night, and fry them the next. :)
Made these immediately this morning when I saw the recipe. So delicious. I added a little honey to the glaze and at probably three of them myself. Can’t say my toddler was too disappointed either :)
That’s awesome, Kristy! Gotta love instant gratification, right? Lucky toddler you’ve got there. :)
This sounds so good. I’m going to give it a try.
What kind of pasty bag/tip brand do you use? I want to buy one but not sure which is best? Thanks
Hi, Andrea, I often use disposable pastry bags, but when it’s a dough like this that is somewhat soft, I prefer a lined canvas bag. I use Ateco brand, and the 14-inch size bag is perfect (not too big, not too small). The tip is an Ateco 13mm, but any 1/2-inch wide open star tip will work. The Ateco #826 is a good example. Just google “Ateco #826” and you’ll find it. :)
Thanks. So excited to try this one. I love donut type recipes. And I second the KFC chicken.
I think the KFC-style chicken is a must this summer, Kimmy!
so I forgot to say that I worked at KFC during high school and some of college. With that said, I still enjoy their food (well, not any more but I would if I could). I would love to see how you tackle the 11 original spices and you know what? I to this day still miss their fluffy but not flaky biscuits!
Fluffy but not flaky biscuits, huh, Jennifer? All 11 herbs and spices. Sounds like a challenge if I ever heard one!! And I doubt it’s lost on you … that I do love me a challenge. ;)
Wow – these look awesome. But before I go down the oil frying route – I have more questions: 1. After you use the oil do you strain it (I’m assuming yes) and if so, with what? 2. What type of container do you store the used oil in? I’m so close to doing this – I have the fryer, I have the oil, I have the gumption — just anxious about cleaning and storing the oil afterwards.
I’m going to bake up some pretzels tonight for me and the kids – they’ve been in the fridge since Thursday night! :)
Hi, Jennifer! I should add answers to these questions to the frying tips, since they’re such good ones. First, I’ll answer you directly, though (of course): Yes, after I use the oil, I strain it. I actually wait until it’s completely cool, then strain it right back into the original (now empty) container. I strain it through a small mesh sieve, perched on top of a small funnel. Then, I mark the container “frying oil,” and put one hash mark on the label for each time I have used the oil. After 3 uses, I toss out the oil (back in the container and into the trash – don’t pour all that oil down your drain or you’ll clog it!).
Hope that helps!
yes it does!! Thank so much!