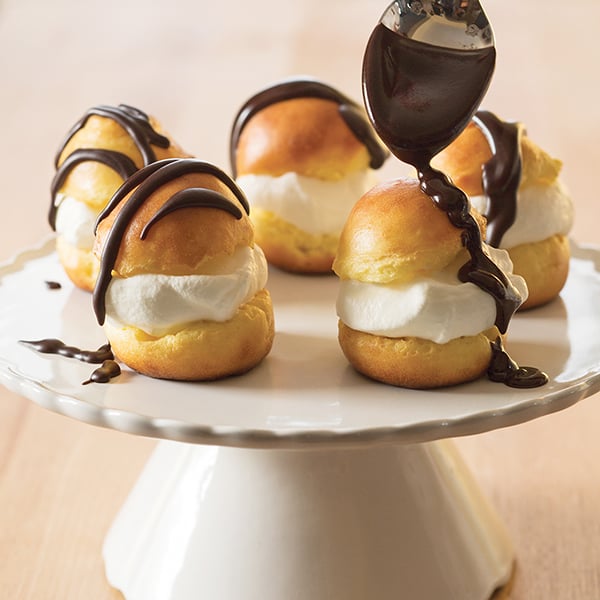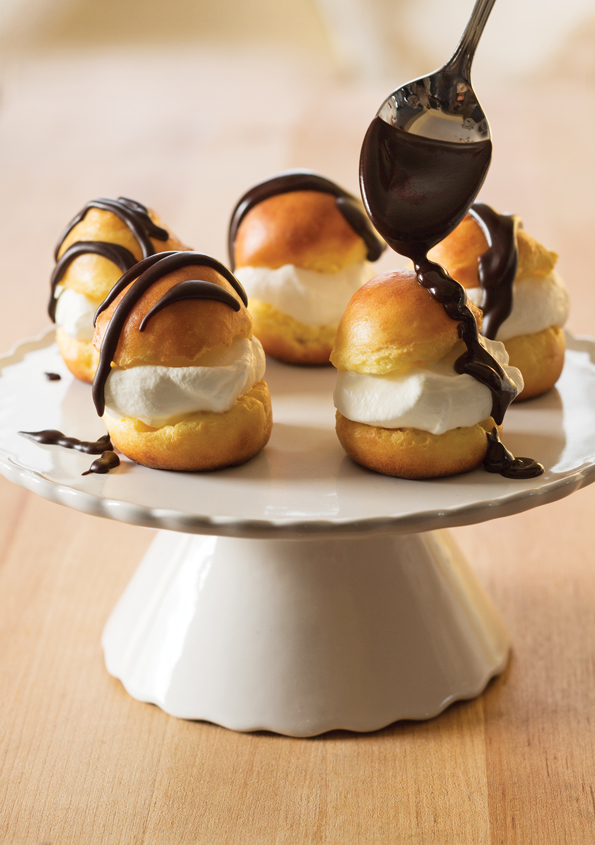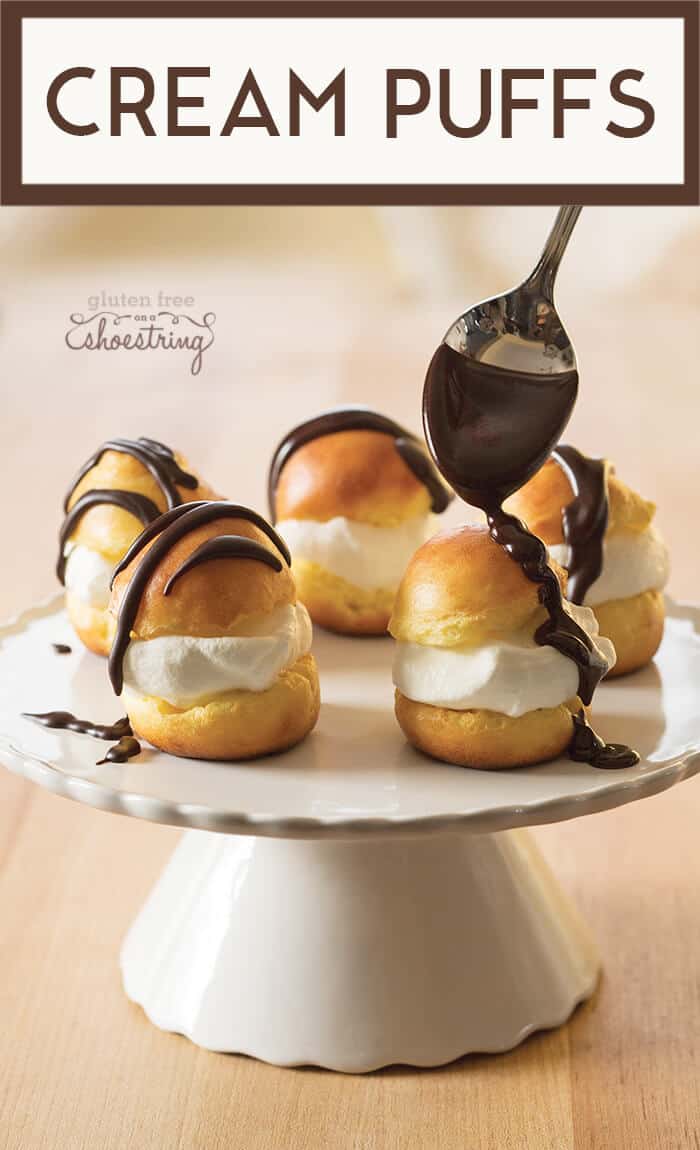

These gluten free cream puffs are made with a simple cooked pastry dough called choux pastry. With only five simple pantry ingredients, you're only moments away from a simple but impressive treat!
This is a super short post, but there's a whole lot more about choux pastry and how to make it and work with it in this gougères recipe. Gougères are really just cream puffs made with added cheese. There's even a how-to video for them which I've included here too on this page.

WANT TO SAVE THIS RECIPE?
Like chocolate éclairs, cream puffs are made with a simple French choux pastry. But don't be put off by the funny name. Choux pastry is a super simple dough that's cooked briefly on the stovetop, then piped into mounds (or éclair shapes) and baked in a hot oven.
The eggs in the pastry dough make the dough puff up like a soufflé and hold their shape. For cream puffs, just slice them in half, fill with cream and drizzle with melted chocolate.
The recipe is straight out of my bread cookbook, Gluten Free on a Shoestring Bakes Bread. The pastry itself has only 5 ingredients (including salt!), and you almost certainly have all of them in your pantry right now.
Make them for Easter, New Year's, or, well, today. Whatever that day is. I think it was Toni Morrison who said that you should make cream puffs for someone you love, because they at least look like you spent all day in the kitchen.
Gluten Free Cream Puffs
Equipment
- Food processor fitted with steel blade
Ingredients
For the pastry
- 1 cup milk (not nonfat)
- 4 tablespoons (56 g) unsalted butter at room temperature
- ⅛ teaspoon kosher salt
- 1 cup (140 g) Gluten Free Pastry Flour (See Recipe Notes)
- 4 (200 g (weighed out of shell)) eggs at room temperature, beaten
For the whipped cream
- ¾ cup (6 fluid ounces) heavy whipping cream chilled, plus more as necessary
- ¼ cup (29 g) confectioners’ sugar
- ⅛ teaspoon kosher salt
For the chocolate drizzle
- 4 ounces dark chocolate chopped
- ½ cup (4 fluid ounces) heavy whipping cream
Instructions
Make the pastries.
- Preheat your oven to 375°F.
- Line two large rimmed baking sheets with unbleached parchment paper and set them aside.
- Heat the milk, butter, and salt in a medium-size, heavy-bottomed saucepan over medium heat until the butter is completely melted and the mixture begins to simmer.
- Remove the pan from the heat, add the flour, stirring vigorously.
- Return the pan to the heat and cook, stirring vigorously, until the mixture begins to pull away from the sides of the pan and comes together in a ball (about 2 minutes).
- A thin film will form on the bottom of the pan.
- Remove from the heat, and allow the mixture to cool for at least 3 minutes, or until it is no longer hot to the touch.
- Transfer half the cooled dough to a blender or food processor.
- Pour the beaten eggs on top and then add the rest of the dough.
- Pulse until the mixture is smooth and uniformly well-blended.
- Transfer the dough from the blender or food processor to a pastry bag fitted with a large, plain piping tip (about 1 inch in diameter).
- Pipe the dough into about 20 small mounds, each about 1 1/2 inches high, about 1 inch apart, onto the prepared baking sheets.
- Smooth the tops of the pastry dough lightly with wet fingers so that nothing will burn during baking.
- Bake the cream puffs in the center of the preheated oven for 10 minutes, or until pale golden.
- Remove the baking sheet from the oven and, working quickly, with a sharp knife, cut a small slit in the side of each cream puff to allow steam to escape.
- Return the pastries on the baking sheet to the oven, turn off the oven, and prop open the oven door slightly.
- Allow them to sit in the oven until dry (about 30 minutes).
Make the whipped cream.
- Place the cream in the bowl of your stand mixer (or in a large metal bowl) fitted with the whisk attachment.
- Turn the mixer on medium speed (or use a hand mixer on medium speed) and whip until soft peaks begin to form in the cream.
- Add the confectioners’ sugar and salt, and continue to beat on medium speed until glossy and stiff, but not dry, peaks form.
- If you turn the mixer speed to high, your whipped cream will not be as stable.
- If you've beaten the whipped cream too much or too fast and it begins to look curdled, add a drizzle of extra cold whipping cream and beat until it smooths out.
Make the chocolate drizzle.
- Place the chopped chocolate in a small, heat-safe bowl and set it aside.
- Place the cream in a small saucepan and cook over medium heat until the cream begins to simmer.
- Pour the hot cream over the chopped chocolate and stir until the chocolate is melted and smooth.
Assemble the cream puffs.
- Once the pastries are cool and dry, slice them in half horizontally, spoon some whipped cream on the bottom halves, and then top with the remaining halves.
- Drizzle the chocolate mixture over assembled puffs. Serve chilled or at room temperature.
Notes
WANT TO SAVE THIS RECIPE?

Thanks for stopping by!
Hi, I’m Nicole. I create gluten free recipes that really work and taste as good as you remember. No more making separate meals when someone is GF, or buying packaged foods that aren’t good enough to justify the price. At Gluten Free on a Shoestring, “good, for gluten free” just isn’t good enough! Come visit my bio!


Erin Lowery Baerwaldt says
I completely ruined my first batch! I think they weren’t done when i cut the slits in them because they deflated in the oven off/drying phase. Going to try again. I have always used stone baking sheets and i think they are not helping out my GF baking attempts. Off to purchase some regular metal cookie sheets and hoping to try the cream puffs again!
Erin Lowery Baerwaldt says
Second attempt= success!! I got some metal baking sheets and cooked them for 25 minutes at 375 until they were nice and browned and had formed a hard shell before making a slit in them to let the steam escape. Then turned the oven off for another 10 to make sure they were dry. Doubled the cream filling and simply dusted with powdered sugar. They were a huge hit! Everyone said they tasted “just like the real thing!” ;) Will be making again for sure!
Mare Masterson says
Thanks for the reminder that I really really really NEED to make these! Have a dinner to go to on 11th and I am bringing dessert. So I think these are going to make an appearance at that dinner. Do you have a recipe for a custard filling for these? I like both (actually prefer the custard) and would like to make both.
Nicole Hunn says
A pastry cream is really for danish, Mare, not cream puffs or profiteroles. But you can try the pastry cream from these gluten free chocolate eclairs.
Mare Masterson says
Where I grew up in NJ, they were filled with both. I prefer the custard (pastry cream) filling in them (almost like an éclair). Thanks, I will try the cream from that Danish recipe.
Jennifer S. says
I’ve had it that way too Mare. Yummy idea!
Jennifer S. says
yummy! I did some lean crusty white and the HI rolls. I had some mishaps on my part with the lean crusty white – so I’m going to try again and with the simpler flour. When you are kneading the dough after the fridge rise, do you use GF bread flour or just the GF flour?
Thanks for all that you did for all of us GF peeps in 2013! I’m really looking forward to 2014!!!
Nicole Hunn says
Hi, Jennifer, you use the bread flour, which is why in each recipe, it calls for a certain amount of bread flour, “plus more for sprinkling.” But if you handle it properly you aren’t incorporating enough for it to matter that much. If you found that the dough was too sticky to handle, as the troubleshooting section says, let it rise for longer in the refrigerator. If your refrigerator runs cold, the dough will rise extra slow in that first stage.
Jennifer S. says
Oh no, the dough was a dream!!!! It was so great to work with. I’m chalking it up to my first time through. I’m going to make the English muffin bread tomorrow.
Meridith says
Do you use disposable or reusable pastry bags?
Nicole Hunn says
Good question, Meridith! I typically use disposable ones for anything that has any sort of color in it – added food coloring, or even just something with cocoa powder – as that makes the bags very, very hard to clean. Otherwise, my favorite pastry bag is a 16-inch plastic-coated Ateco, as it is large enough not to have to refill constantly, and cleans easily because of the inside plastic coating. Hope that helps!
Meridith says
Thanks, I often avoid recipes that even mention a pastry bag, but I am thinking maybe I’ll try some in 2014!
Nicole Hunn says
Oh you’re missing out on lots of fun by always avoiding pastry bags, Meridith! It’s nothing fancy, using them. I promise! I’m putting together a post for January about how to stock your GF pantry, and I will try to remember to include basic pastry equipment, like bags, couplers and tips. You don’t need much.
Meridith says
Thanks for the encouragement. I will definitely give it a try soon. Today I made old standbys from the first book. Wonton wrappers and biscuits. It seems my dumplings have become a fan favorite at parties. I wasn’t going to make them tonight but they were requested! Tomorrow will be 4 years GF for me, and I couldn’t have done it without you. Happy New Year!
Dawn says
Are your books available in stores or just on-line?
Nicole Hunn says
Everywhere, Dawn! :)
Donia Robinson says
I wish I could see everything in the spoon reflection clearly. Behind-the-scenes! ;)
Nicole Hunn says
So funny, Donia! My husband insisted upon taking some ‘outtakes,’ but I like to keep them under wraps. ;)