
This post may contain affiliate links. Please read our disclosure policy.
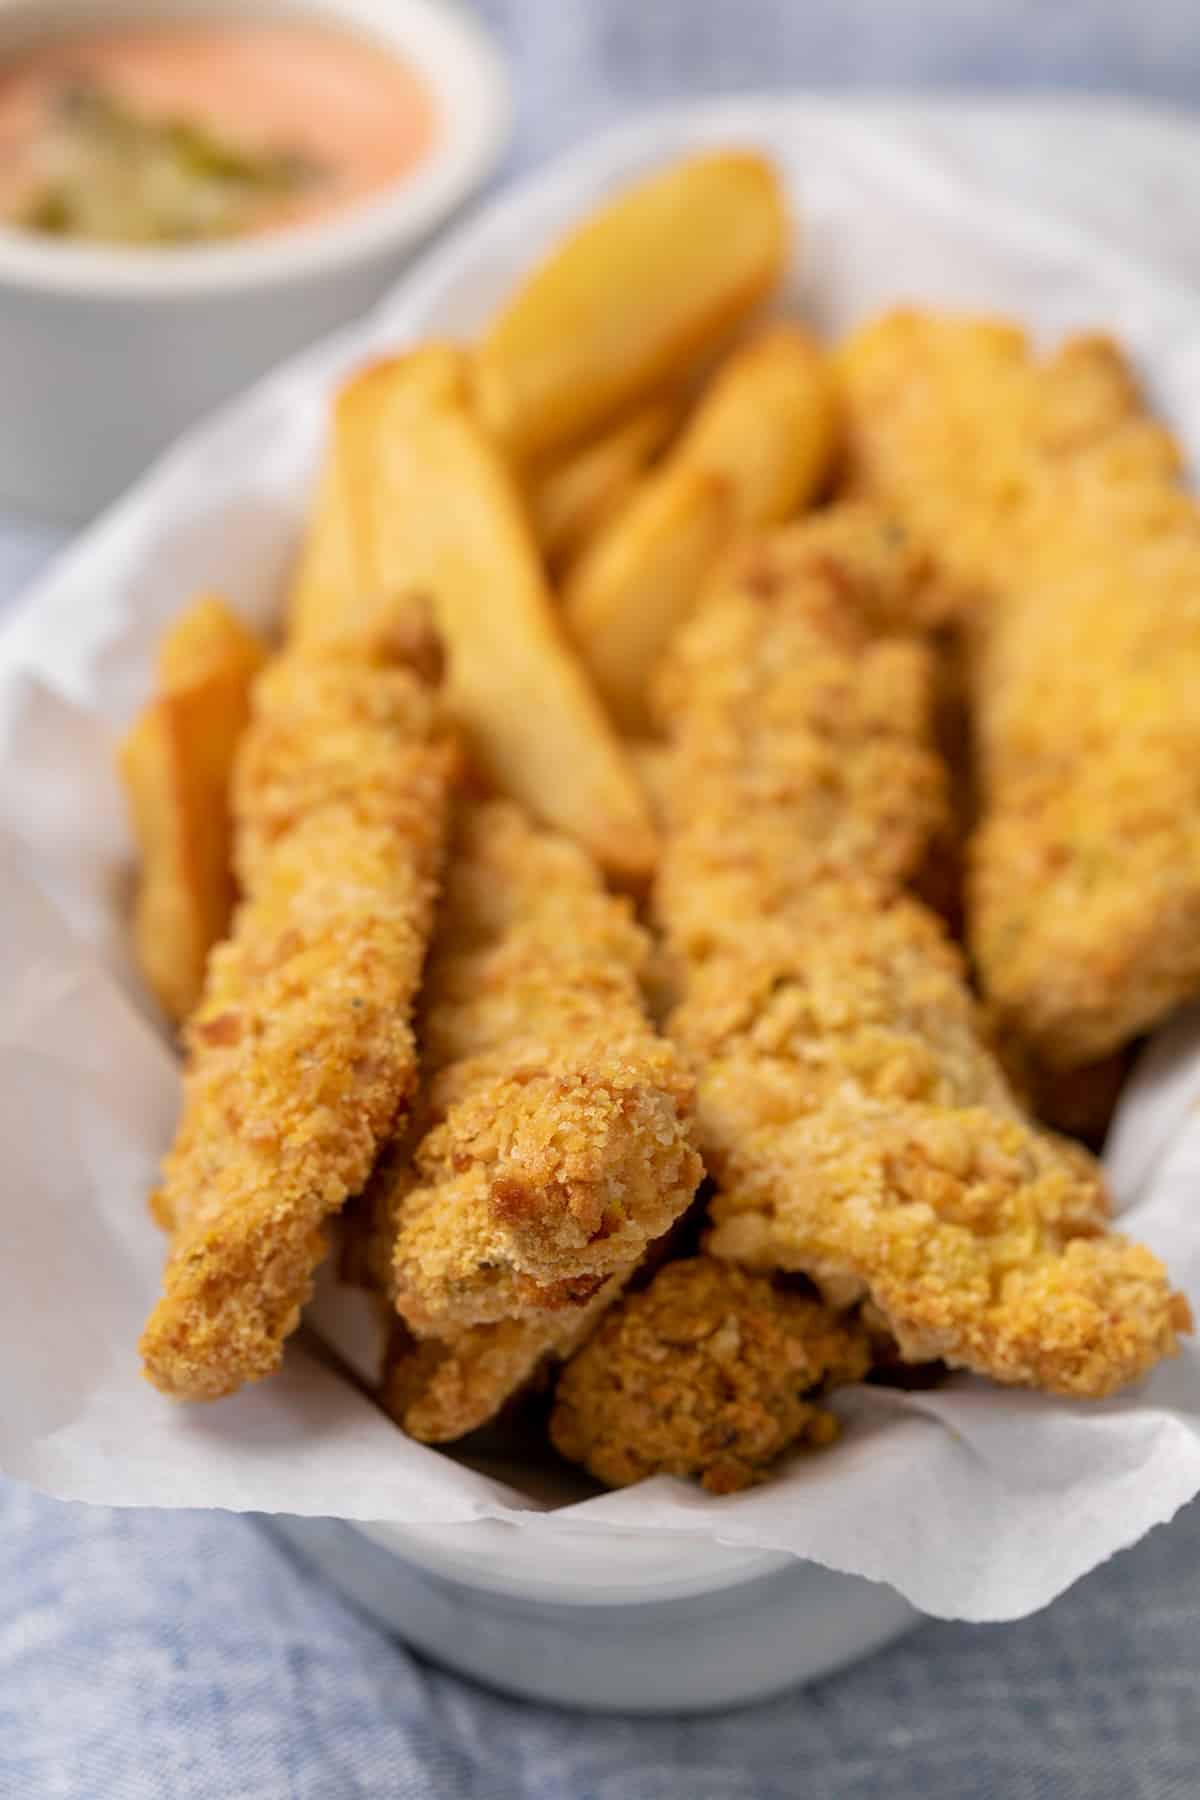
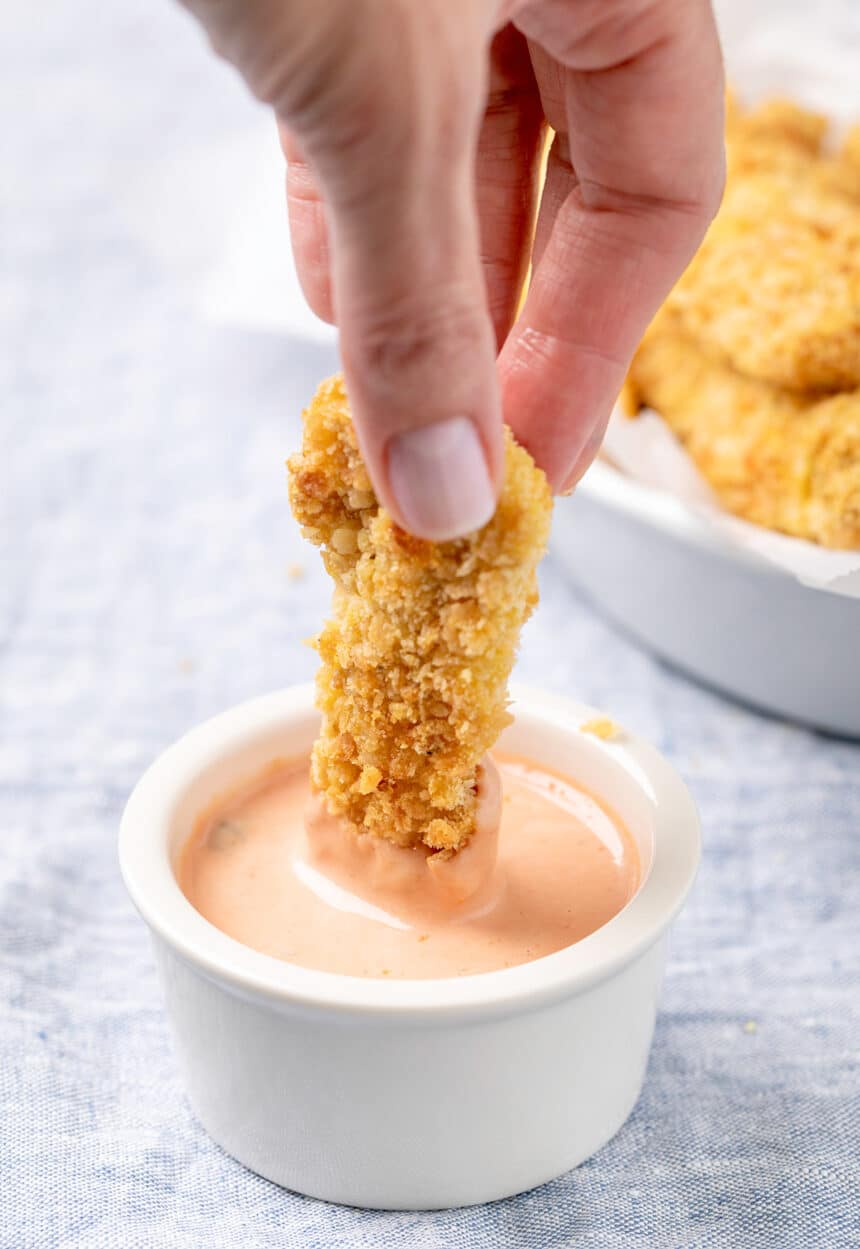
These gluten free chicken tenders, with the crispiest crust and the juiciest chicken, are breaded in a super easy, no-mess way. One bite, and this delicious, crowd-pleasing, and healthy dinner will be on repeat every week!
What makes this recipe special
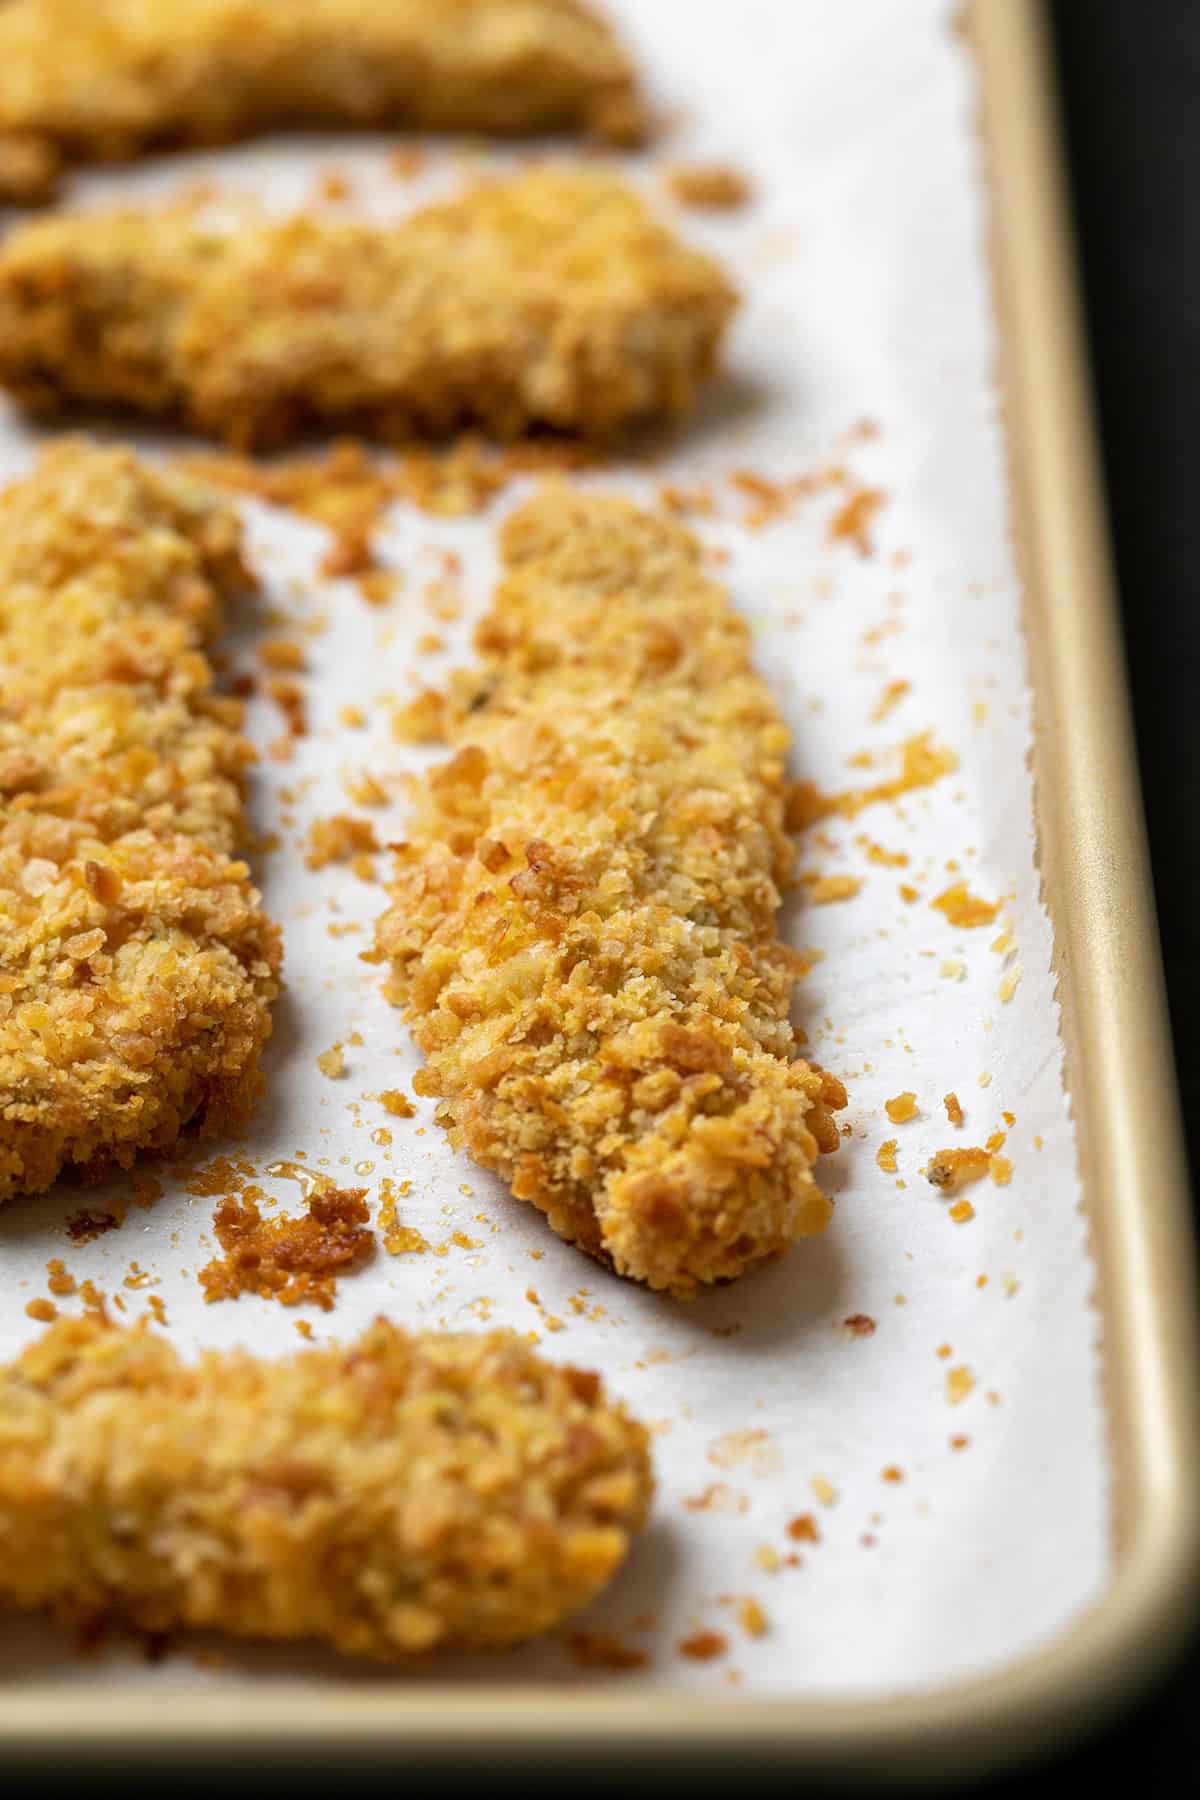
These golden brown, crispy chicken strips taste like they were fried, even though they were baked in the oven.
Rather than dipping the raw chicken first in flour, then egg, and finally breadcrumbs, we make a super thick batter with egg, flour, mayo and spices. The batter is much less messy than dipping it separately, plus it's so thick it really clings to the chicken.
Plus, the strips are even crispier when you quickly and easily prep the raw dish ahead of time by letting the strips soak in the raw batter, covered, during the day. Coat in breadcrumbs and bake as directed about 20 minutes before you'd like to eat dinner.
How to make gluten free chicken tenders
1. Prepare the chicken
Slice skinless boneless chicken breasts into strips, cutting away any gristle or fat.
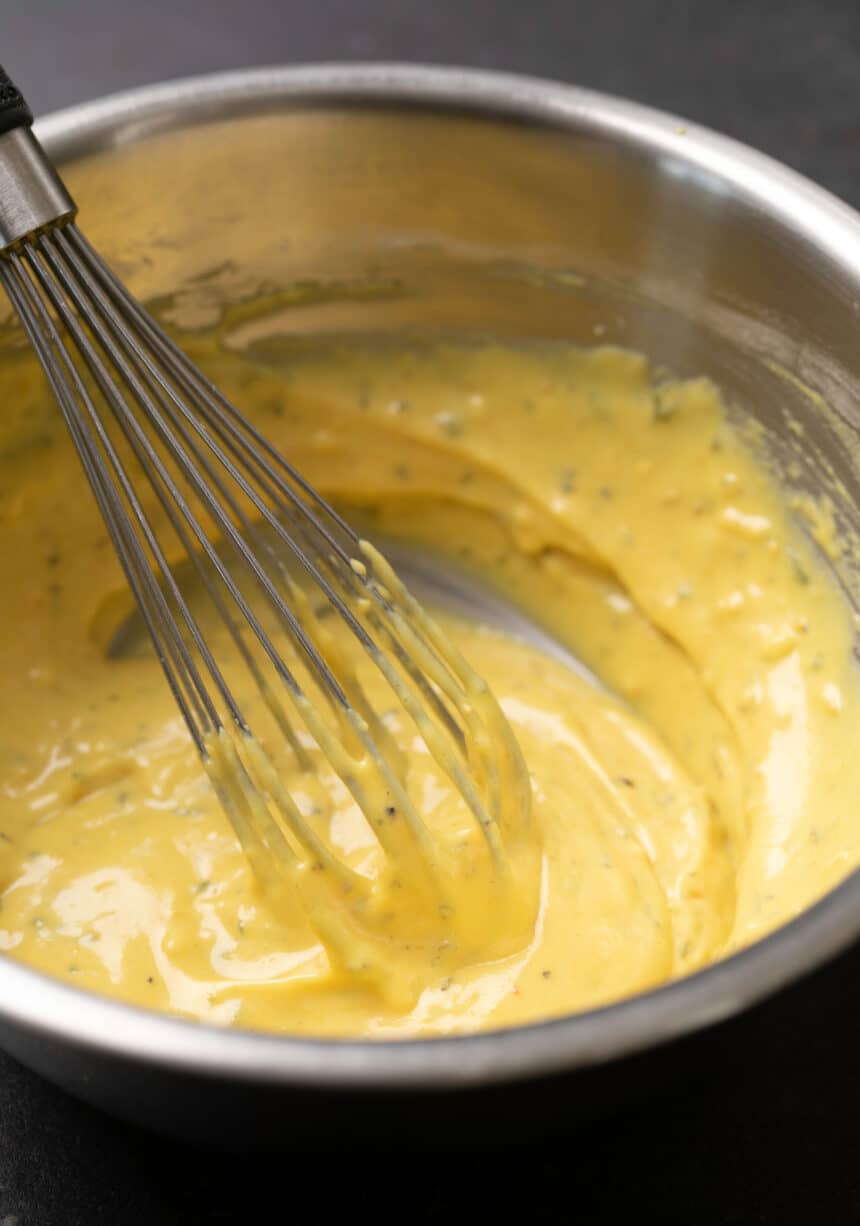
2. Make the coating batter
Whisk together mayonnaise, egg, salt, pepper, gluten free flour and savory spices in a mixing bowl. It should be smooth and soft, but thick.
3. Soak the chicken
Place the prepared chicken strips in the whisked batter, and toss to coat every piece of chicken evenly in the thick batter. Make sure it's coated on all sides. If you have the time, let the chicken sit at room temperature for at least 10 minutes or up to 8 hours, covered, in the refrigerator.

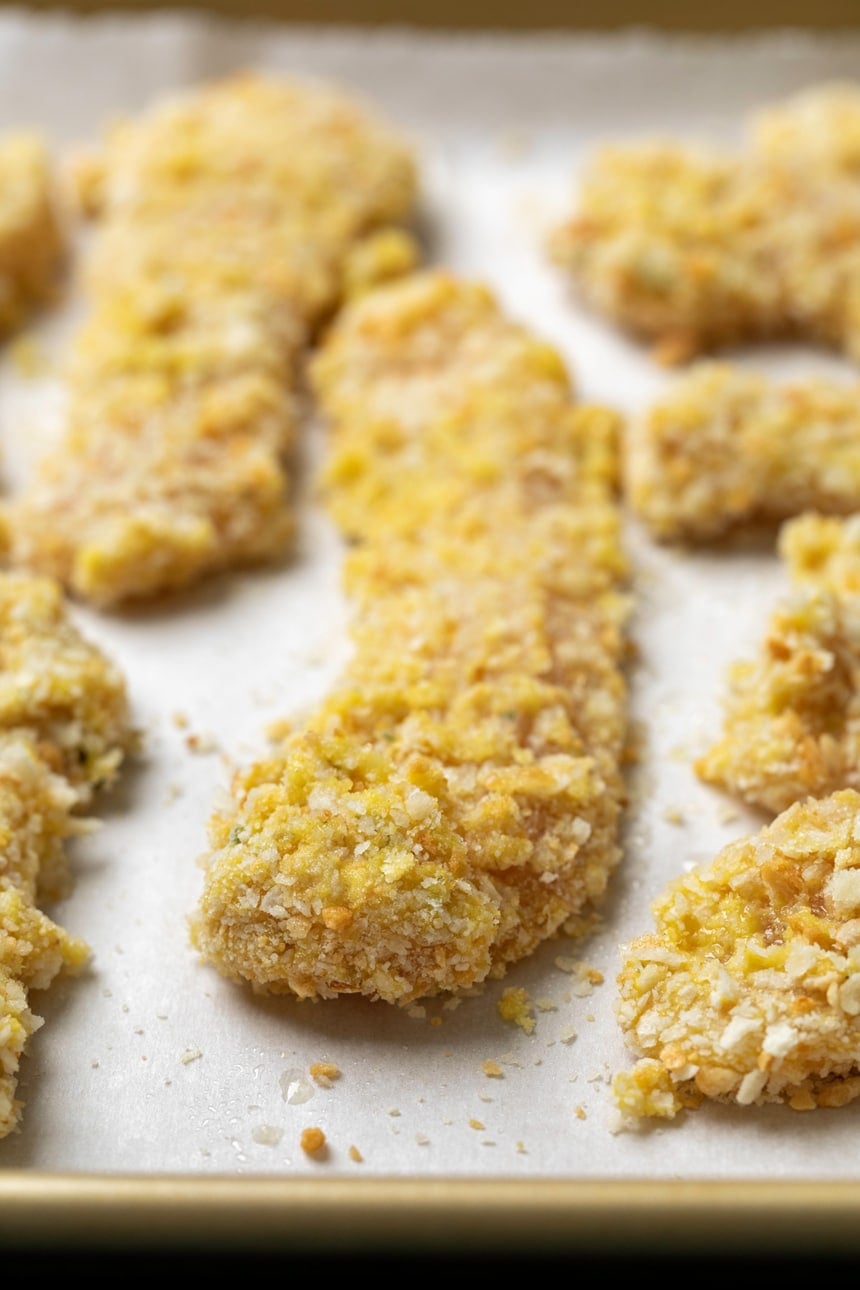
4. Coat in breadcrumbs
In a separate mixing bowl, place coarsely ground gluten free bread crumbs. Lift each chicken strip from the batter and press into the breadcrumbs on all sides. Make sure the strips don't have any bare spots without batter.
5. Place on a baking sheet
Place each piece of breadcrumb-coated chicken on a baking sheet lined with parchment paper. Leave just enough room between strips to spray with cooking spray on all sides.
6. Spray with oil
Spray the tops and sides of every strip generously with cooking oil spray. This will help them crisp and brown deeply and cook quickly.

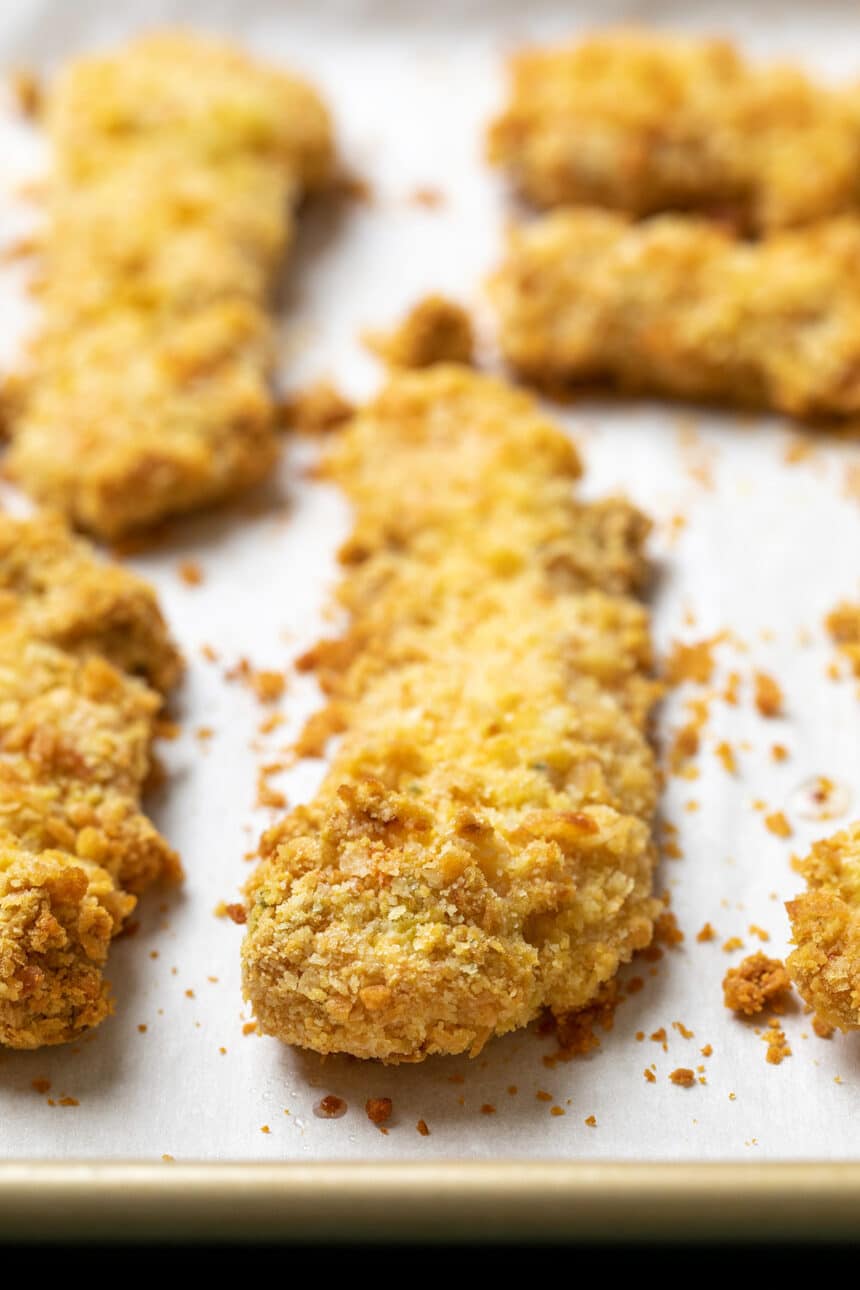
7. Bake
Bake at 375°F for about 18 minutes, or until golden brown all over and measuring at least 165°F on an instant read thermometer so they're safe to eat. Since the batter is so thick, it protects the chicken from drying out so I like to bake the chicken until it reads closer to 185°F for an extra crispy shell.
Expert tips
I have never made a bad batch of gluten free chicken fingers using this method and recipe. Here are still a few tricks that can help guide you to success the very first time you make this recipe.
Use a very hot oven
If your chicken is really cold when you put it in the oven, the oven temperature will drop If you've prepared and soaked the strips in the refrigerator first, let them warm to closer to room temperature before you bake them or just plan to bake them a few minutes longer.
Prep the raw dish ahead of time
Batter the chicken and let it sit in the refrigerator for even 10 minutes before coating and baking it. The batter tenderizes the raw chicken pieces, and also helps protect them from the direct heat of the oven. Just slice the chicken strips and place them in the simple raw batter in the morning, before your day begins. Cover the bowl and place the battered but unbreaded chicken pieces in the refrigerator.
Tips for using the air fryer
I've made gluten free chicken nuggets in the air fryer, and you can use that same method to make these tenders crispy in the air fryer. Preheat your air fryer to 350°F, place the prepared strips in the air fryer basket, and spray lightly with cooking oil spray. Cook for 10 minutes, flip, and then continue to air fry until golden brown and the center of each registers at least 165°F (about 5 minutes more).
Changing up the spices
I like to make the simplest vegetable bouillon powder for this recipe, since I use it to make gluten free “Rice a Roni” all the time.
But I also sometimes substitute the bouillon with our gluten free taco seasoning with great results. Serve it with sriracha mixed with mayonnaise or sour cream, but only if you want rave reviews!
The vegetable bouillon powder just adds a rich, chicken-style flavor to the strips—even though it's vegetarian.
Be sure not to just leave out the herbs and spices, then. You'll want that flavor!
Ingredient substitutions
This gluten free chicken recipe is already also naturally dairy-free, so there's no need to discuss ingredient substitutions if you can't have dairy.
Mayonnaise is dairy free, but it's made from eggs and oil. There's also a separate whole egg in the batter.
Egg free
The mayonnaise helps seal in the moisture in the chicken, so that it bakes up crispy but still juicy every time. In its place, you can try a vegan mayonnaise. There are some really good ones, including Follow Your Heart brand “Vegenaise.”
In place of the whole egg, try a “chia egg.” That's made by combining 1 tablespoon ground white chia seeds and 1 tablespoon lukewarm water in a small bowl, and allowing it to sit until it gels.
Mayonnaise-free
If you can have eggs but you've run out of mayonnaise or just really don't want to use it, you can replace the 3 tablespoons of mayonnaise with 4 tablespoons neutral oil like canola, vegetable, or avocado oil whisked vigorously with the egg until it forms an emulsion.
Breadcrumb-free
If you don't have coarsely ground gluten free bread crumbs and don't want to make your own, you can use plain crushed gluten free crackers or a combination of crackers and crushed plain potato chips. I don't like using all potato chips since the dish tends to be oily.

Easy Gluten Free Chicken Tenders Recipe

Ingredients
For the easy vegetable bouillon powder
- 4 ½ teaspoons (8 g) nutritional yeast flakes
- 1 teaspoon dried onion flakes, can substitute 1/2 teaspoon onion powder
- ¼ teaspoon garlic powder
- ¼ teaspoon dried parsley
- ¼ teaspoon dried thyme
- ⅛ teaspoon kosher salt
- ⅛ teaspoon turmeric
For the chicken
- 1 ½ pounds skinless, boneless chicken breasts
- 3 tablespoons mayonnaise
- 1 egg, any size
- ¼ teaspoon kosher salt
- ⅛ teaspoon freshly ground black pepper
- ¼ cup (36 g) superfine white rice flour, or gum-free gluten free flour blend
- 2 to 3 cups Panko-style gluten free bread crumbs, homemade or store-bought
- Cooking oil spray
Instructions
- Make the bouillon powder. In a small bowl, place all of the ingredients and whisk to combine well. Set the bowl aside.
- Trim the chicken breasts of any fat or gristle. Cut it into strips about 4” long x 3/4” wide x 1/4” thick. Set the chicken aside.
- In a medium-size bowl, place the mayonnaise, egg, salt, pepper, and bouillon powder blend. Whisk until very well-combined.
- Add the rice flour and whisk until very well-combined again. The batter will be thick.
- Using the tines of a fork, add all of the prepared chicken strips to the batter. Toss to coat all sides of each piece of chicken in the batter.
- At this point, the battered raw chicken can be covered and refrigerated for up to 8 hours.
- When you’re ready to bread and bake the chicken tenders, preheat your oven to 375°F. Line a large rimmed baking sheet with parchment paper and set it aside.
- Place 2 cups of gluten free bread crumbs in a medium-size bowl. Again using a fork, add about 1/3 of the battered chicken strips to the bowl at a time.
- Toss to coat all sides of each piece of chicken fully in the bread crumbs. Press the chicken pieces gently to help the crumbs adhere to the batter, and add more bread crumbs as necessary to coat all the chicken.
- Lift each piece of breaded raw chicken out of the bowl, one at a time, and place flat on the prepared baking sheet. The chicken pieces can be right next to one another, as long as they don’t overlap.
- Spray the tops of the chicken strips liberally with cooking oil spray.
- Place the baking sheet in the center of the preheated oven. Bake for about 18 minutes, or until the chicken strips are golden brown all over.
- Test the thickest pieces of chicken with an instant read thermometer. They should read at least 165°F (but will likely be closer to 185°F).
- Serve immediately with your favorite dipping sauce.
Video
Nutrition
Nutrition information is automatically calculated, so should only be used as an approximation.


Going to give it a go, thank you
Always Delicious. I follow this recipe exactly as you have posted. I don’t make it enough but am so happy when I do!
That’s so great to hear, Kathy! Thank you so much for sharing that. I’m grateful for your kind words, and for the trust you’re placing in my recipes. It means so much! ❤️
Hi Nicole, The recipe was good but I skipped the bouillon powder didn’t understand that. It didn’t come out crispy so I broiled it about 4 minutes 2 on each side instead of reheating on regular temp. The recipe I made was one half.
The first 7 ingredients, listed under the heading “For the easy vegetable bouillon powder” in the recipe card, are spelled out for you. Skipping the bouillon powder means that there is no seasoning or real flavor in the recipe, Donna. I wouldn’t recommend that.
Great recipe, thank you! We used herbox bouillon as a small shortcut and it was fine. One note, you replace your oven thermometer every six months? If that is a suggestion it’s not very good to suggest that 1) it’s assuming the cheapest temp gauges are used, 2) it’s a gigantic waste and supports a disposable economy, 3) it assumes people are ignorant of cooking by sight and knowledge of their own existing tools. If this is a CYA so people don’t get poisoned by uncooked meat just put a disclaimer at the top versus telling people to die with a casket full of thermometers. “I supported cheap goods and labor, but my chicken was never raw.” Great tombstone statement to be remembered by.
I’m glad you liked the recipe, Donald. I’m going to stick with only responding to that instead of the comment about my tombstone.
I baked these chicken tenders in my air fryer which tends to dry out what it’s baking, however these came out moist and delicious. An easy to follow recipe that you can make ahead as well. This will be one of my standard “go to” recipes, thanks!
I’m so glad you enjoy these, Ali, and happy to know that you made them successfully in the air fryer. Thanks for sharing that!
So delicious! Mine didn’t turn out crispy, but they were great anyway (I don’t have a standalone oven thermometer). I made extra to freeze since organic chicken is on sale this week. It’s nice to have something I can look forward to in the freezer! I really appreciate all the hard work you do, Nicole, to develop these great recipes.
I don’t often leave comments on anything, but I just had to with this. These are so easy and delicious. Life has been difficult adapting to new dietary restrictions because of a major health problem. Meals like this just make me feel so much better about it.
I’m so happy to hear that, Annie, and thank you for sharing even when it’s not a usual thing for you. I use this technique to bread pretty much everything, and it never fails. I’m so glad you enjoyed it, and I’m grateful to be able to help you feel hopeful for a moment as you adapt to something difficult.
I’m never one to leave a review, but this is my third time making this recipe in 2 weeks. It’s so good and stress free cooking. My local store stopped carrying frozen gf tenders and with this recipe, we’re better off anyway!
That’s so awesome, Emma! It’s a once-a-weeker in our house, at least, too! Thank you for sharing that.
I made these with pork rind breadcrumbs. They were delicious. Thank you for the recipe.
I made this last night, I had a ton of chicken tenders to cook, after problem with the freezer they were in, about 5 lbs. They were fantastic. For those who haven’t used nutritional yeast- give a try to replace cheese flavor in baking. I used to use it making delicious cheddar kale chips and others, now a new favorite. You won’t like it tasting it from the bottle- use it like a spice of course, does smell like bouillon :) . So don’t be afraid of it. I use Avocado mayo – no difference and tasty too. The only thing different was I had to use Brown Rice Flour, couldn’t get the whit rice flour and wasn’t going to make it- I did read everything you said about substituting it, but no choice here. I think it was thicker than the superfine rice would have been, but no big deal, I have muscles to stir it. I also toss in some grated parmesan cheese. I had several trays, covered in foil and put my baking cooling racks on top, sprayed them with olive oil cooking spray. 1st batch I didn’t use convection, they were crispy but light in color. After that the other batches came out perfect in color and taste with Convection turned on- really perfect. My husband was thrilled- recently converting him to GF and a success. We had them today too, so good, such a treat and will now bag with vacuum sealer, send them to the deep freezer for future meals .
Make this GF recipe…You will love them too. I’ll be checking out your other recipes, thank you very much.