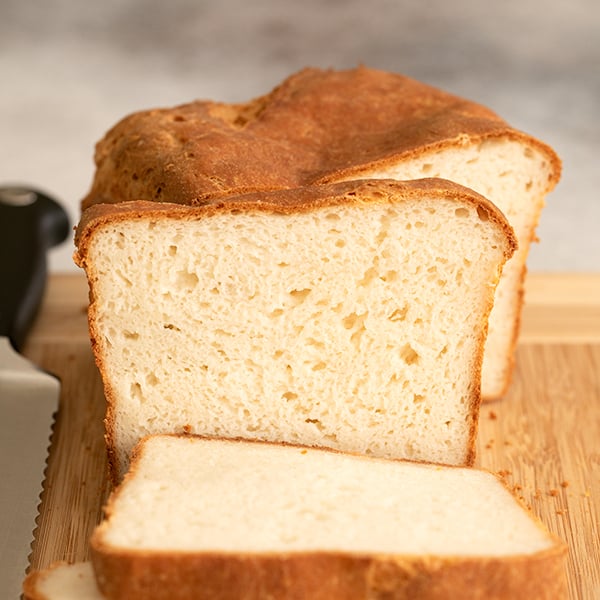

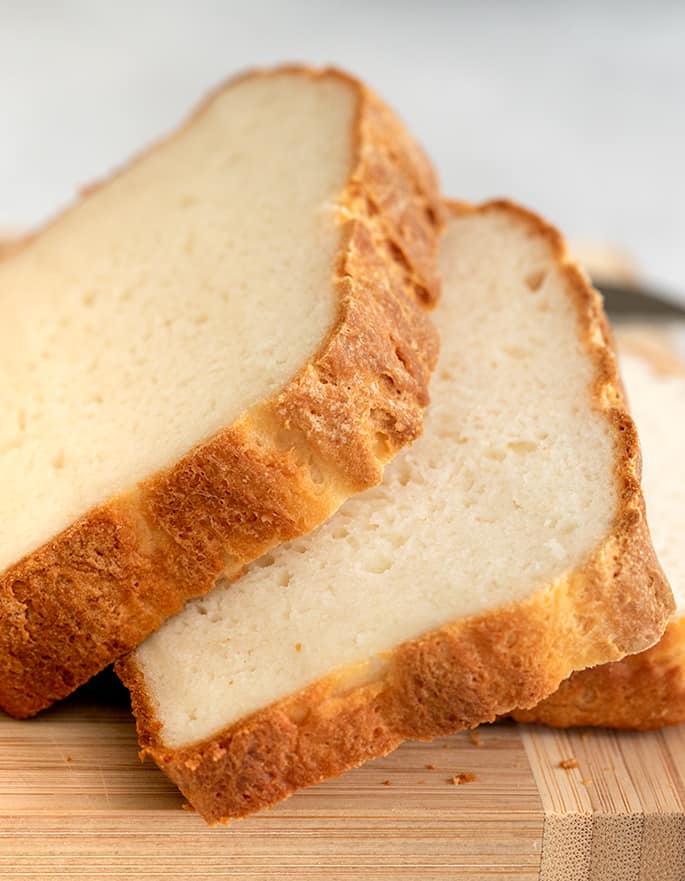
This gluten free English muffin bread is light, tender and soft, with a soft crust. It's the easy white sandwich bread you've been searching for!
WANT TO SAVE THIS RECIPE?
What makes this recipe for gluten free English muffin bread special
If you've been thinking of baking bread, and you're not sure where to begin, start with this recipe. There's no real shaping, as it's a batter dough by nature.
Plus there's no long refrigerator rise, so in just a couple hours you're ready to slice into a nice warm loaf of fresh bread. Only a few minutes of that time are even active.
This gluten free English muffin bread is by nature a wet dough. So not only does it rise quickly, but it will rise even if it's in a drier environment. It's still possible to dry it out enough that it won't rise, but there's a bigger margin for error.
Tips on making gluten free English muffin bread
The dough rises relatively fast
It's a relatively wet dough by nature, and one that you don't really shape in the “traditional” sense. But that's not because it's gluten free. It's just the nature of English Muffin Bread.
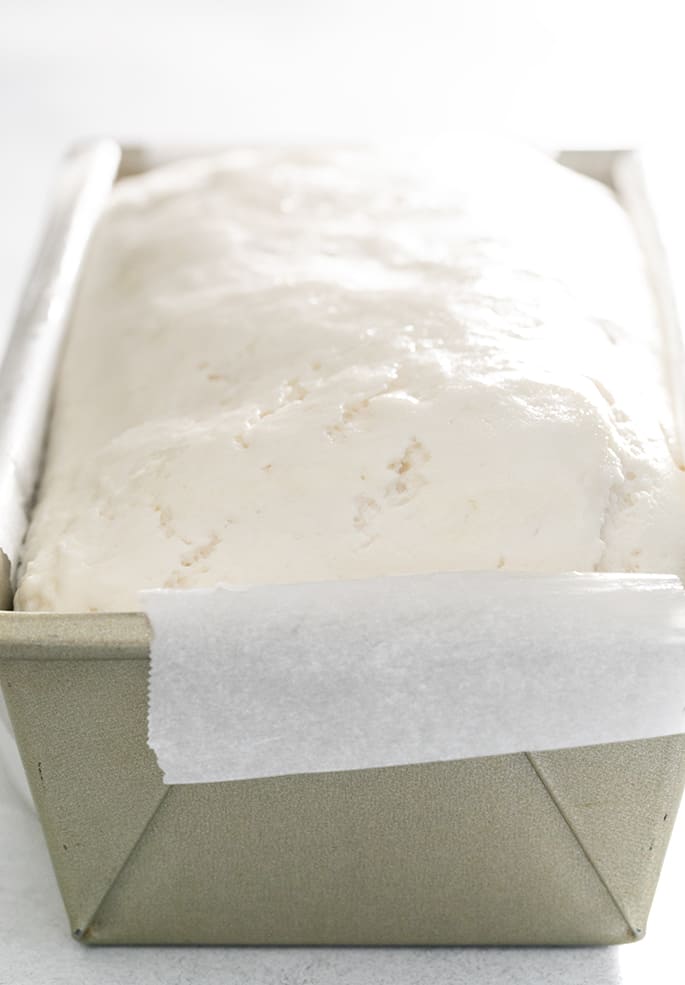
It's a super wet yeast dough, and moisture makes it double fast. Then, all that's left is to scrape it into a loaf pan, smooth the top, cover it and let it rise.
Yeast bread baking can be nerve-wracking
Whenever I ask readers on my email list about their biggest struggle with gluten free baking, I get hundreds of responses. And a few themes often emerge.
One of those themes was about your struggles with gluten free bread. And, like in conventional bread baking, the problem was most often with getting the bread to rise properly. It can be so frustrating!
Baking yeast bread is very environment-dependent. So when I bake bread in the wintertime, it takes a bit longer to rise since the air is not only a bit colder, but quite a bit drier. If you live in a very dry climate year-round, you may even have to add a bit more moisture to your bread dough.
One of the most common problems with baking bread in general is dough that has dried out. If you let it rise without covering it, the dough will lose too much moisture and won't rise properly.
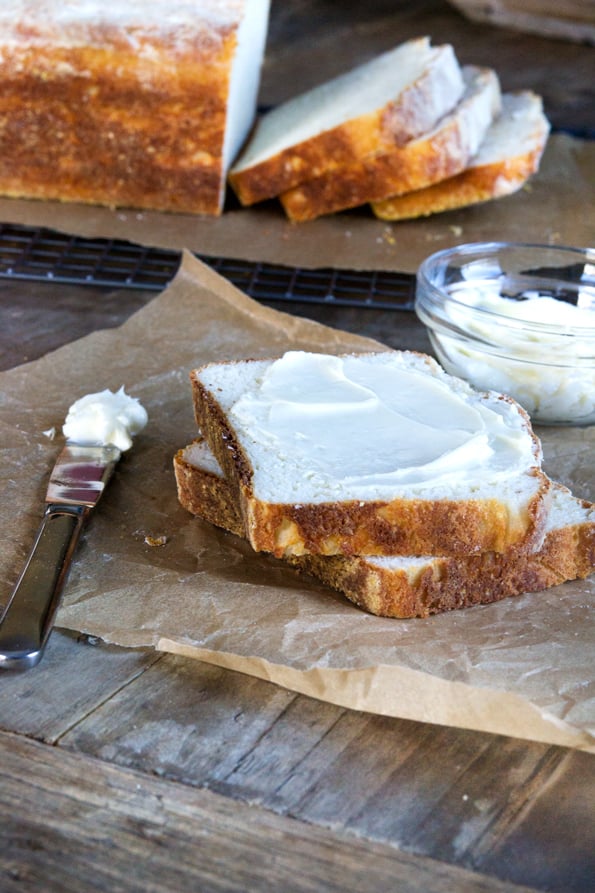
How to store this gluten free English muffin bread after baking
To store it, slice it thickly, and place a small piece of parchment or waxed paper between each slice and the next. Then, place everything in a freezer-safe bag, draw as much of the air out of the bag as possible, then place the bag in the freezer.
This is good practice with any bread that is high in moisture like this one, so the slices don't stick to one another as they freeze. It's not necessary with most of the other breads, though.
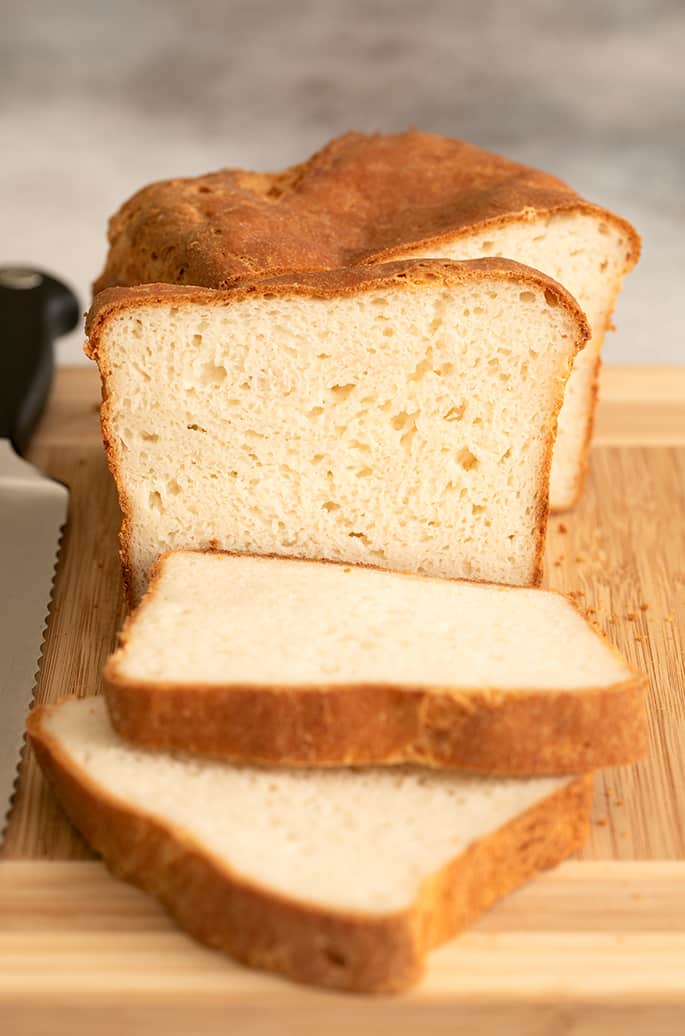
Making gf English muffin bread with bread flour or with all purpose gf flour
When I first developed a recipe for gluten free English muffin bread, it was for my very first cookbook. The flour blend I used and recommended was Better Batter, my old stand-by all purpose gluten free flour blend. It was and is a great loaf of gluten free bread.
Then, I wrote my third cookbook, Gluten Free on a Shoestring Bakes Bread and began experimenting with gluten free bread flour (which is essentially Better Batter + Expandex modified tapioca starch + whey protein isolate). I developed a modified English muffin bread recipe that is made with that gluten free bread flour. That recipe is included here.
The bread made with bread flour is a bit more chewy, and the dough has more flavor since there is short first rise, followed by a longer rise in the loaf pan. Both recipes works great. The choice is yours…
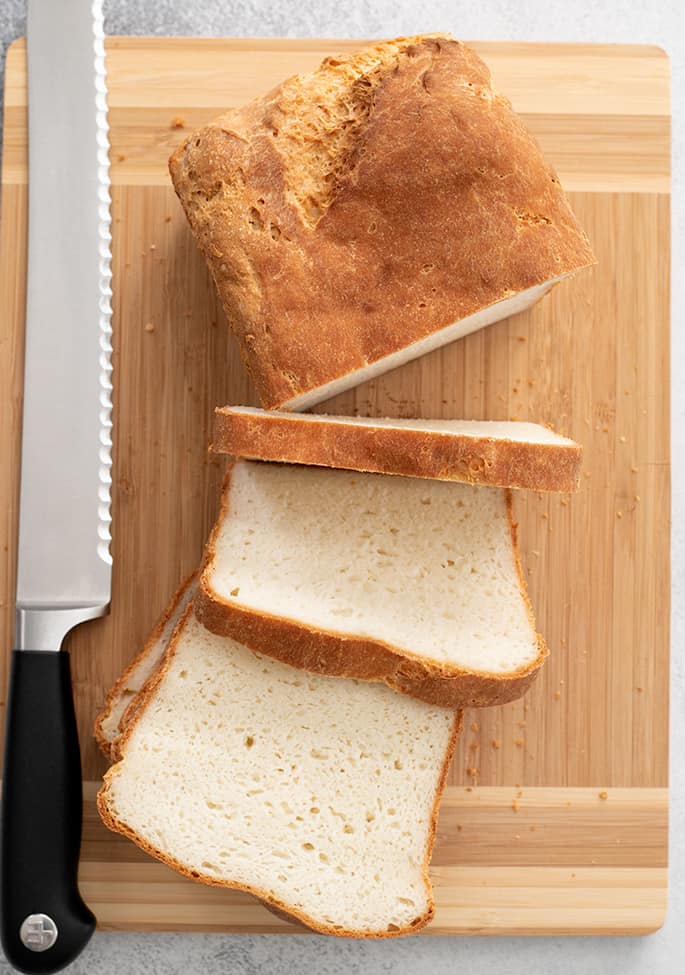
Gluten free English muffin bread: Ingredients and substitutions (and equipment)
Gluten free dairy free English muffin bread
If you're dairy free, please use the “all purpose flour recipe,” without bread flour, which necessarily has dairy in the form of whey protein isolate. The only thing you'll have to replace is the milk.
In place of cow's milk, you can use your favorite unsweetened nondairy milk. I like unsweetened almond milk. Just don't use canned coconut milk, which is too thick.
Gluten free egg free English muffin bread
If you can't have eggs and you're willing, I recommend using the bread flour recipe. It's a simpler recipe overall, since it doesn't need cream of tartar, cider vinegar, egg white or oil.
Vinegar
In place of apple cider vinegar, which activates the baking soda and helps the bread rise, you can try using white wine vinegar or white balsamic vinegar. The bread flour recipe doesn't call for vinegar at all, if that's important to you.
Stand mixer
If you don't have a stand mixer, you'll still need to beat this bread dough quite well. Second best to a stand mixer would be a food processor fitted with the steel blade.
If you don't have either machine, try using a hand mixer with dough hooks, if you have them. Or beaters, if you don't. Keep beating until the mixture begins to look slightly “whipped” like air has been incorporated into it.
How to make gluten free English muffin bread
Gluten Free English Muffin Bread
Equipment
Ingredients
For the gf bread flour variation
- 3 cups (420 g) gluten free bread flour blend (click thru for full info & ingredients), plus more for sprinkling
- 1 ⅔ teaspoons (5 g) instant yeast
- 1 tablespoon (12 g) granulated sugar
- 1 ½ teaspoons (9 g) kosher salt
- 1 ⅔ cups (13.33 fluid ounces) warm milk about 95°F
- Coarsely ground gluten free cornmeal for sprinkling (optional)
For the all purpose gf flour variation
- 3 ½ cups (490 g) all purpose gluten free flour blend (I used Better Batter; please click through for appropriate blends)
- 2 ½ teaspoons xanthan gum omit if your blend already contains it
- ¼ teaspoon cream of tartar
- 1 tablespoon (12 g) granulated sugar
- 2 ½ teaspoons (8 g) instant yeast
- 2 teaspoons (12 g) kosher salt
- ¼ teaspoon baking soda
- 1 teaspoon apple cider vinegar
- 1 (25 g) egg white at room temperature
- 2 tablespoons (28 g) neutral oil (canola, vegetable, grapeseed oils all work)
- 2 cups (16 fluid ounces) warm milk (about 95°F)
- Coarsely ground gluten free cornmeal for sprinkling (optional)
Instructions
For the gf bread flour variation.
- In the bowl of your stand mixer, place the flour, yeast, and sugar, and use a handheld whisk to combine well. Add the salt, and whisk to combine.
- Add the milk and mix with the paddle attachment until the dough is smooth. It will be wet.
- Cover the bowl with oiled plastic wrap, and set in a warm, draft-free location to rise until nearly doubled in size (about 40 minutes).
- Preheat your oven to 350°F. Grease well a standard 9-inch x 5-inch loaf pan and sprinkle the bottom and sides with the (optional) cornmeal.
- Once the dough has doubled, stir it down to deflate it a bit and scrape it into the prepared loaf pan.
- Place in a warm, draft-free location to rise until the dough is about 1/2 inch above the sides of the pan (about 1 hour).
- Remove the plastic wrap from the loaf pan, sprinkle the top of the loaf lightly with the (optional) cornmeal, and place it in the center of the preheated oven.
- Bake until the loaf is lightly golden brown, registers 185°F in the center on an instant-read thermometer, and sounds hollow when thumped on the bottom (about 35 minutes).
- Once the loaf is done baking, remove the pan from the oven and allow the bread to cool in the loaf pan for about 10 minutes before transferring to a wire rack to cool completely. Slice thickly and serve.
For the all purpose gf flour variation.
- In the bowl of a stand mixer fitted with the paddle attachment, place the flour, xanthan gum, cream of tartar, sugar, and yeast, and whisk to combine well. Add the salt and baking soda, and whisk again to combine.
- Add the vinegar, egg white, oil, and milk, and mix on low speed to combine.
- Turn the mixer up to medium high speed, and mix for about 3 minutes or until the dough begins to look somewhat “whipped,” like air has been incorporated into it.
- Preheat your oven to 375°F. Grease well a standard 9-inch x 5-inch loaf pan and sprinkle the bottom and sides with the (optional) cornmeal.
- Scrape the mixture right into the prepared loaf pan. Smooth the top with a wet spatula, and cover with oiled plastic wrap.
- Place in a warm, draft-free location to rise until the dough is about 1/2 inch above the sides of the pan (about 1 hour).
- Remove the plastic wrap from the loaf pan, sprinkle the top of the loaf lightly with the (optional) cornmeal, and place it in the center of the preheated oven.
- Bake until the loaf is lightly golden brown, registers 185°F in the center on an instant-read thermometer, and sounds hollow when thumped on the bottom (about 45 minutes).
- Once the loaf is done baking, remove the pan from the oven and allow the bread to cool in the loaf pan for about 10 minutes before transferring to a wire rack to cool completely. Slice thickly and serve.
Notes
Nutrition
WANT TO SAVE THIS RECIPE?

Thanks for stopping by!
Hi, I’m Nicole. I create gluten free recipes that really work and taste as good as you remember. No more making separate meals when someone is GF, or buying packaged foods that aren’t good enough to justify the price. At Gluten Free on a Shoestring, “good, for gluten free” just isn’t good enough! Come visit my bio!

Jayne says
Despite “stuffing up” ingredients I love this bread and will definitely bake it again.
How did I stuff up the ingredients? I decided to use the gf bread flourishing, diligently following the ingredient list, kept scrolling adding vinegar then realised the difference in flour weight. I thought Id add a little bicarb as well to the balance vinegar and somehow it still worked though it did take a long while to prove.
Jayne