

This post may contain affiliate links. Please read our disclosure policy.
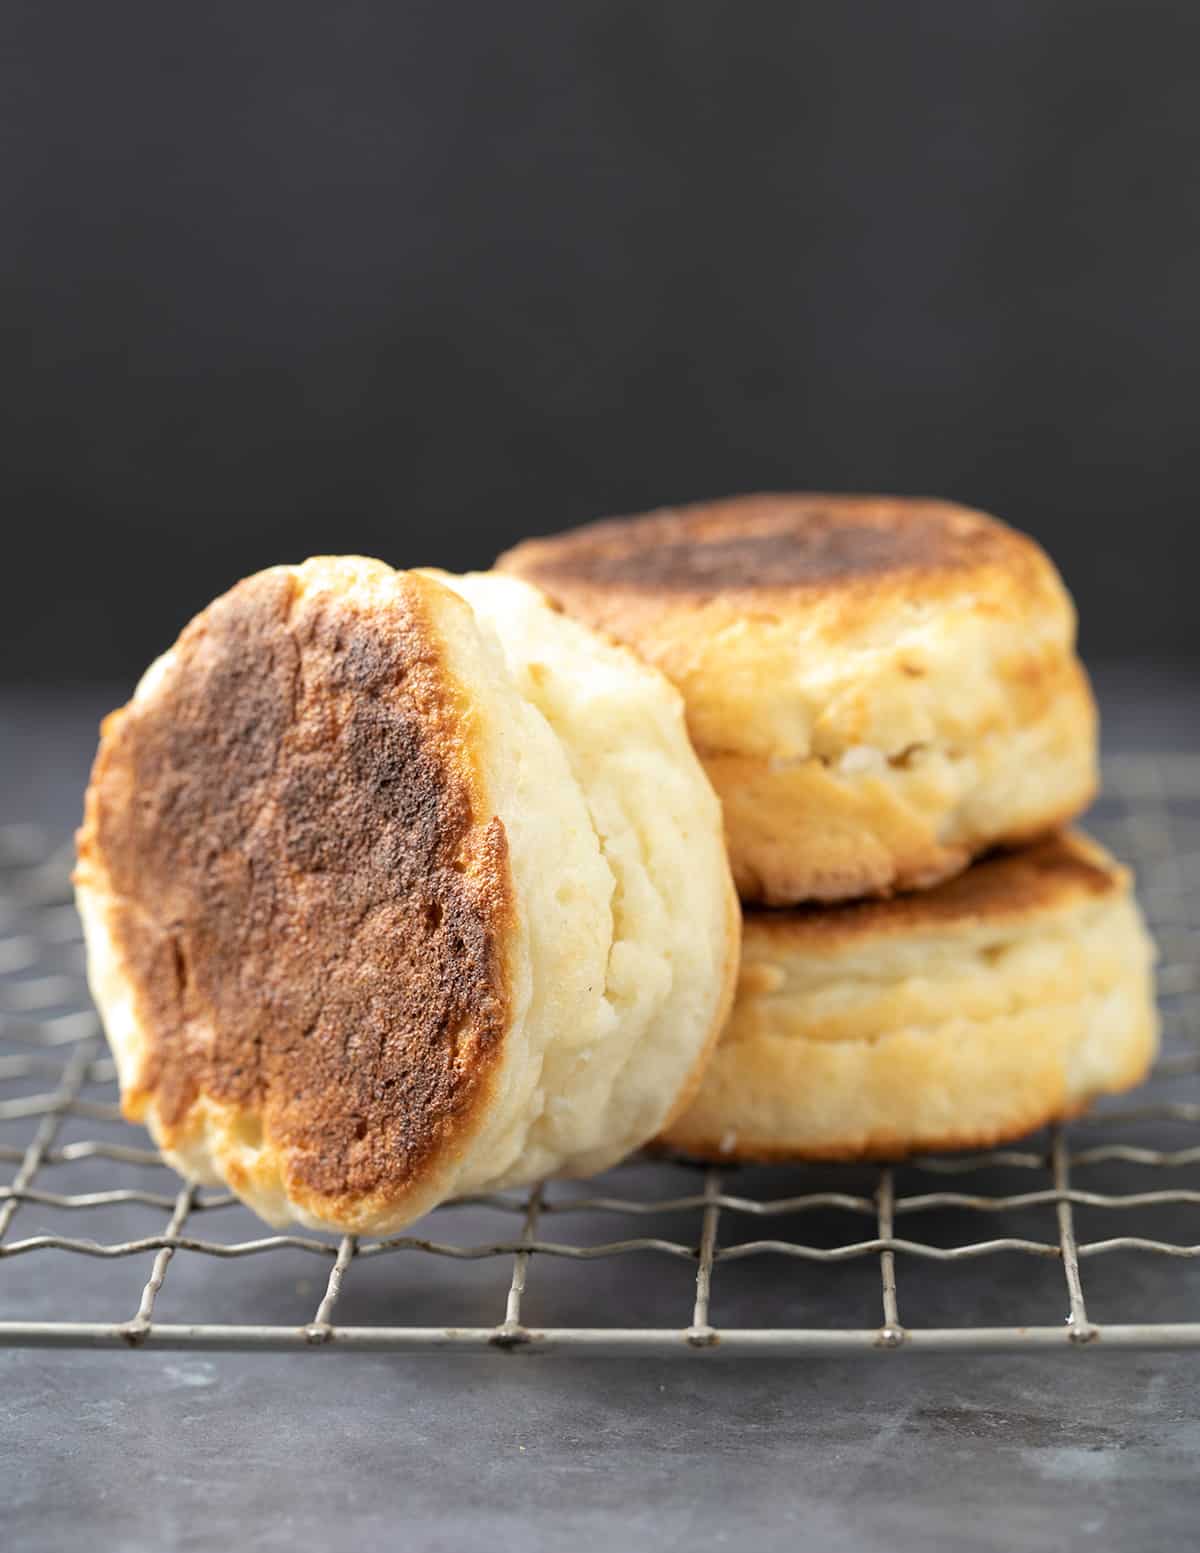
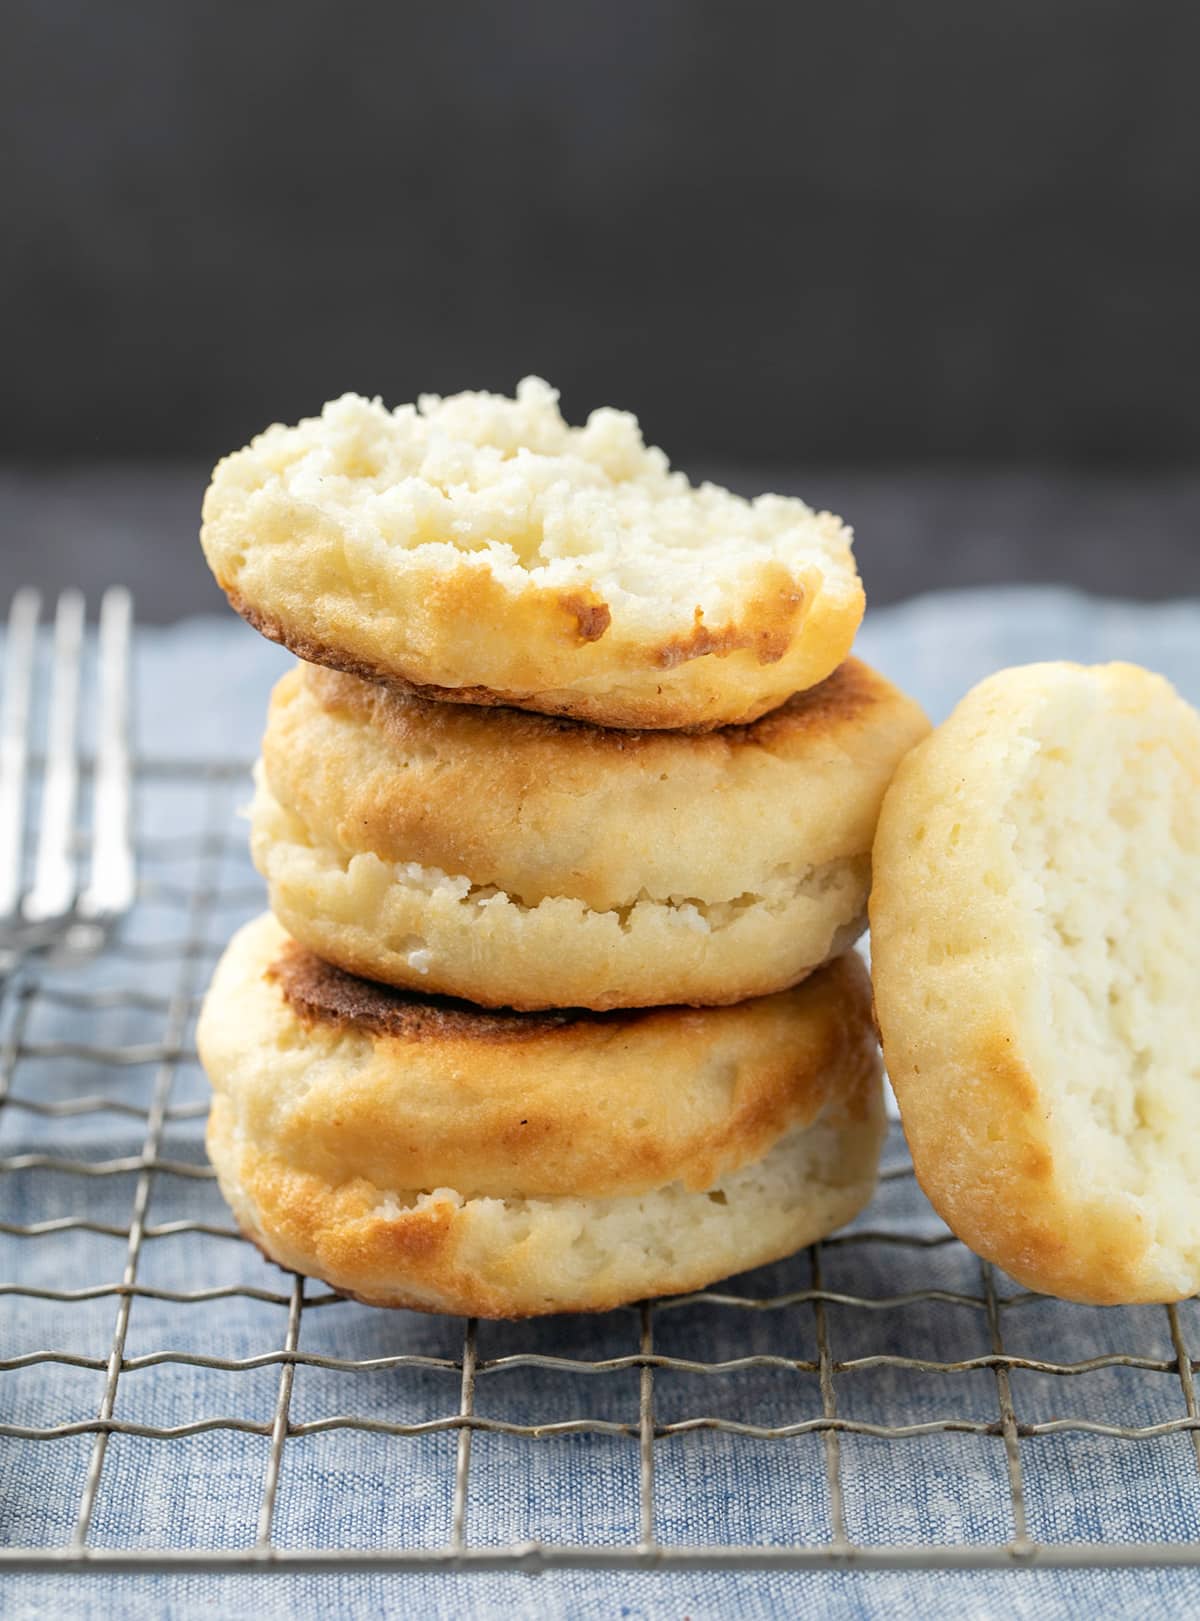
These gluten free English muffins are light and fluffy, toast up with crisp edges, and have tons of nooks and crannies. Once they're cooled and fork-split, they freeze perfectly for a quick breakfast sandwich any time.
Since we start with a high hydration, extra wet dough, they rise high and then fall as they cool. Let me show you how to handle the dough with ease, or skip handling it altogether!
“I’ve made them 3x now – fantastic recipe and even better flavor and texture than the wheat flour ones.”
Why this recipe works
These gluten free English muffins are the real deal. They’re round disks with flat edges, just like the classic Thomas’ muffins, and they cook entirely on the stovetop in a covered skillet, no oven needed.
The texture is what makes them so special: soft and fluffy inside, with all those perfect nooks and crannies that form as they rise. Split them with a fork (never a knife!) to turn those yeasty holes into nooks and crannies that catch your melted butter or jam.
Letting the dough rise slowly in the refrigerator overnight gives them that signature flavor you can’t get from store-bought versions. I’ve tried those super expensive packaged “gf English muffins,” and they don’t even come close.
Recipe ingredients
Here's everything you'll need to make this recipe, with an explanation of the role each plays in the perfect final muffins.

- All purpose gluten free flour – A high quality well-balanced gluten free flour blend that's made with a finely ground rice flour and designed to be used in yeast bread is important here to create the main structure of the bread. I like Better Batter's original blend, Nicole's Best multipurpose (with added xanthan gum), or King Arthur Flour's gluten free bread flour blend best. Bob's Red Mill 1-to-1 just does not provide enough structure to hold these together well.
- Tapioca starch/flour – Even though your gluten free flour blend already has some tapioca starch, we add more here to provide additional stretch to the muffins.
- Sugar: Feeds the yeast and adds a bit of flavor.
- Instant yeast: Gives these muffins their rise.I like baking with instant yeast, also called rapid rise or breadmaker yeast, since you don't need to dissolve or “proof” it first.
- Salt: Adds flavor and controls the development of the yeast.
- Warm milk – Adds flavor, moisture to bring the dough together and create a high rise, and richness, and activates the yeast.
- Apple cider vinegar – Provides a bit of flavor and helps the muffins to rise quickly.
- Egg white – Adds some structure to help the muffins hold their rise as they cool.
- Neutral oil – Provides a touch of fat for tenderness, and keeps the muffins moist at room temperature.
How to make gluten free English muffins (with step by step photos)
Here are some photos to guide you as you work through the recipe, and explanations of why the instructions call for the steps they do. See the recipe card for exact amounts and full details:
1. Make the dough
Place the dry ingredients except salt (gluten free flour blend with xanthan gum, tapioca starch, sugar, and instant yeast) in the bowl of a stand mixer, and whisk to combine well. Add the salt on its own so it doesn't clump with the yeast, which could inhibit rise.
Add all the wet ingredients (warm milk, apple cider vinegar, egg white, and oil) right on top, and beat with the paddle attachment on medium-high speed for at least 3 minutes. The dough is quite wet, and should stick to the sides of the bowl but begin to thicken as you blend it.
2. Let it rest in the refrigerator
Transfer the dough to a sealed container so it doesn't dry out, and refrigerate it for at least 12 hours. It will rise slowly, but the purpose of this step is for the dough to develop flavor from yeast development, and for the flours to absorb some moisture to make the dough easier to handle.


3. Shape the dough
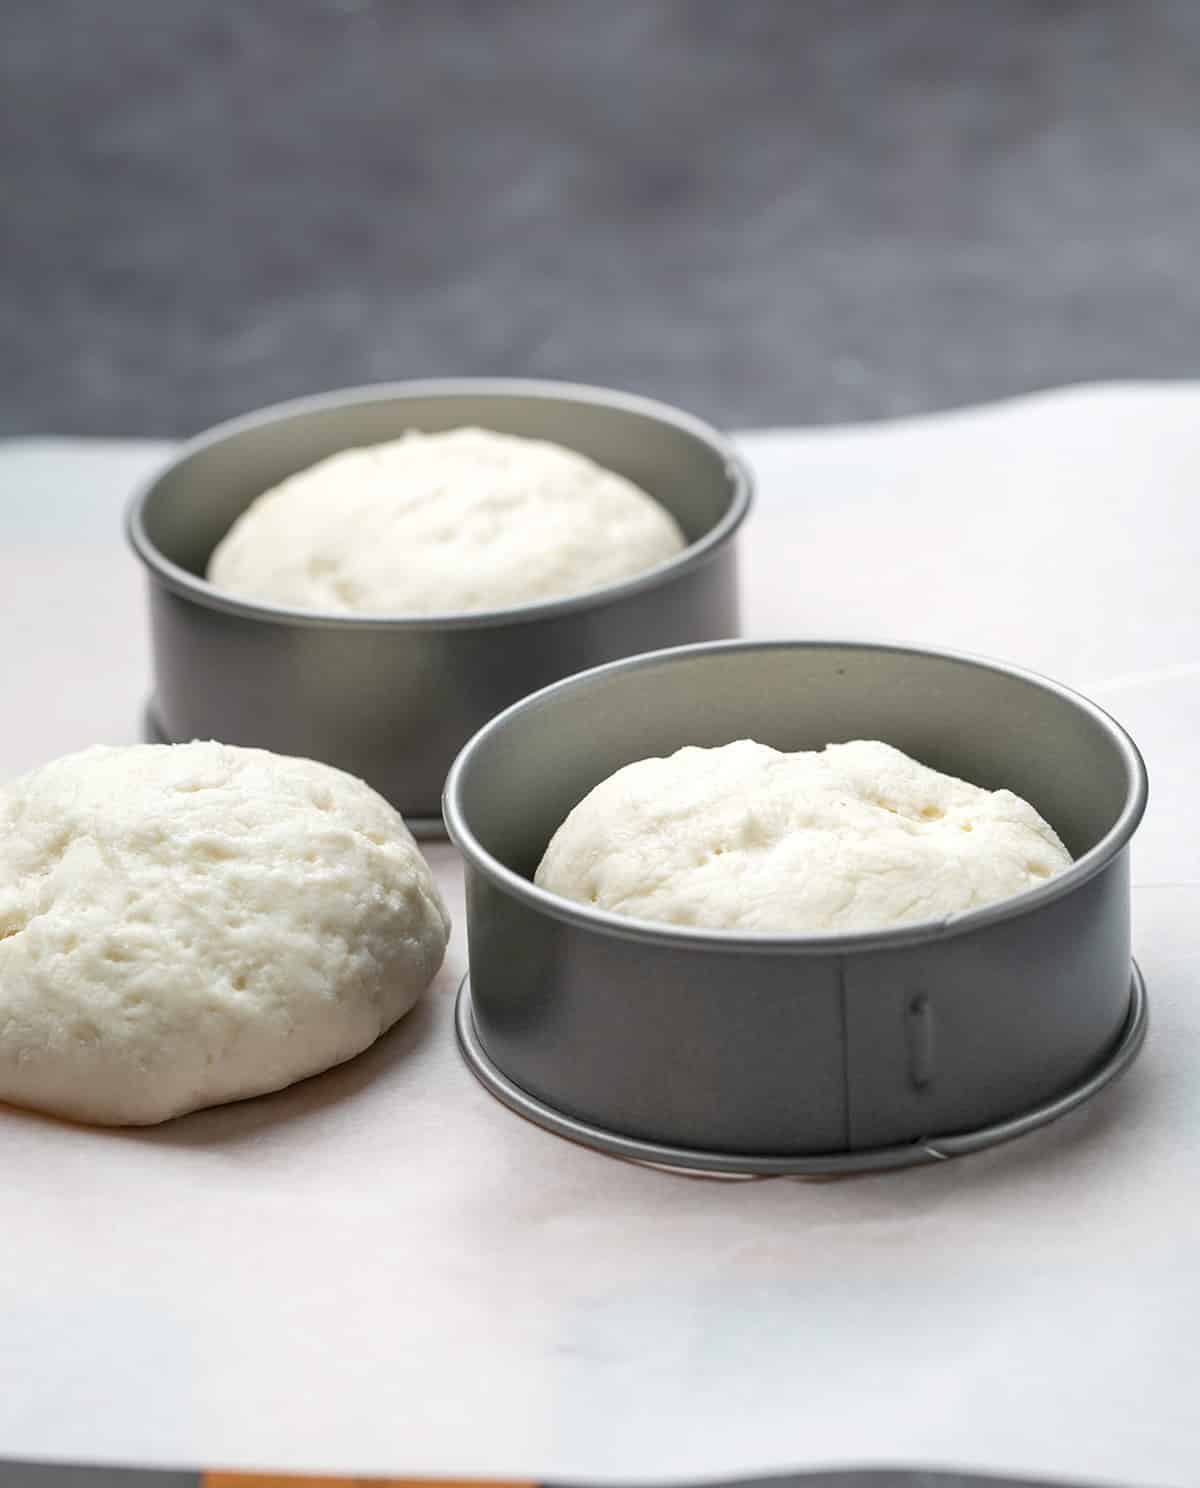
Scatter extra tapioca starch liberally on a flat shaping surface. Stretched canvas works very well. Scoop the dough in portions about 1/3 cup each using large a spring loaded ice cream scoop or two large spoons, and place right on the floured surface so the raw dough doesn't stick.
Shape using a very light touch, sprinkling lightly with tapioca starch/flour as you go. The dough is very sticky and wet, but the secret to shaping it is thinking of it like you're only smoothing the outer layer, leaving the inside wet and messy. A perfectly-shaped round isn't necessary, since the muffins will rise quite a bit during cooking.


4. Cook the muffins on one side
Heat a lightly greased cast iron or nonstick skillet (make sure it has a lid available) over medium heat. It should be hot enough to create a nonstick surface, but not so hot that the muffins burn.
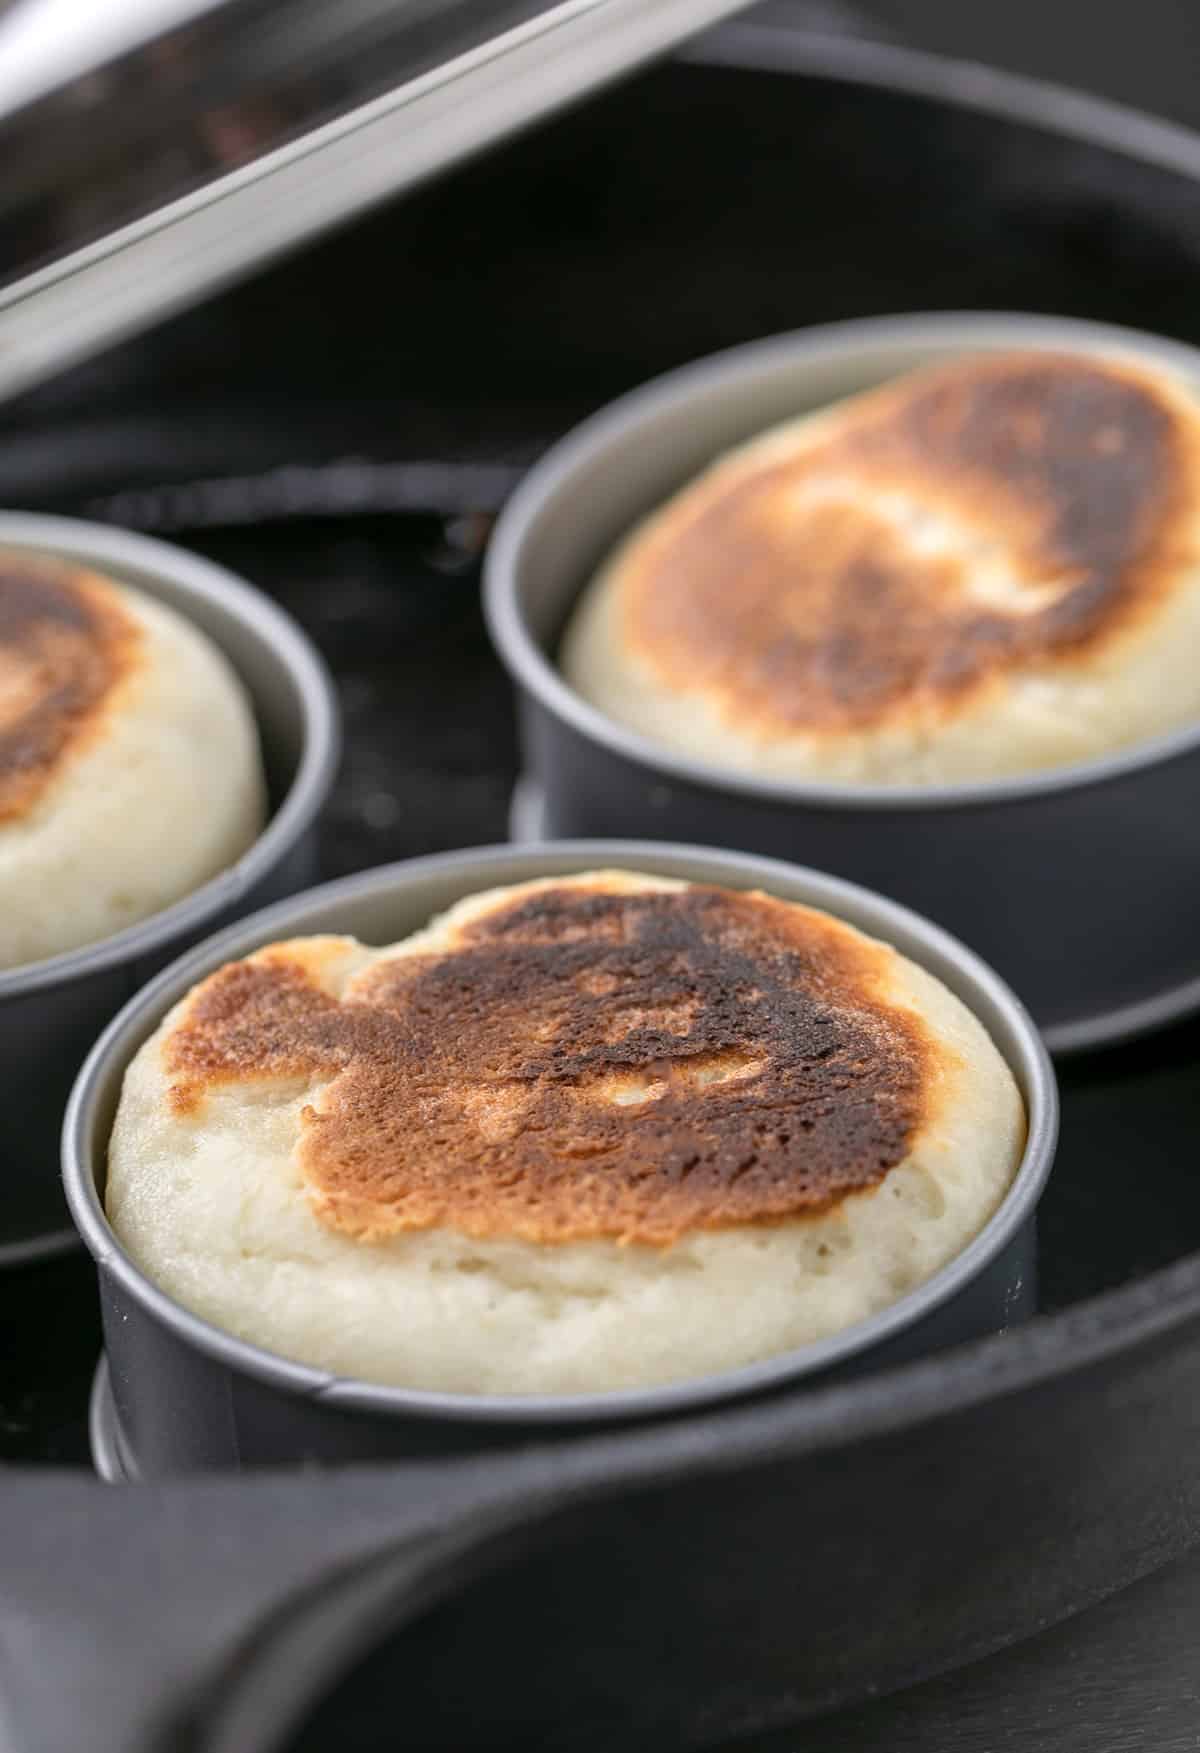
Place as many shaped pieces of dough as will fit comfortably in the skillet with at least one inch between them so they don't rise into each other. Place a greased English muffin/crumpet ring around each piece of dough to encourage the dough to rise up, not out.
Cover the skillet to trap enough steam heat to cook the muffins from the outside to the center. Cook for 10 minutes or until the muffins are lightly golden brown on the bottom and the sides don't appear wet, meaning that they've begun to cook.
5. Flip over and finish cooking
Remove the rings to make it easier to flip the muffins (and also to see if the muffins are brown underneath), then use a spatula to flip the muffins.
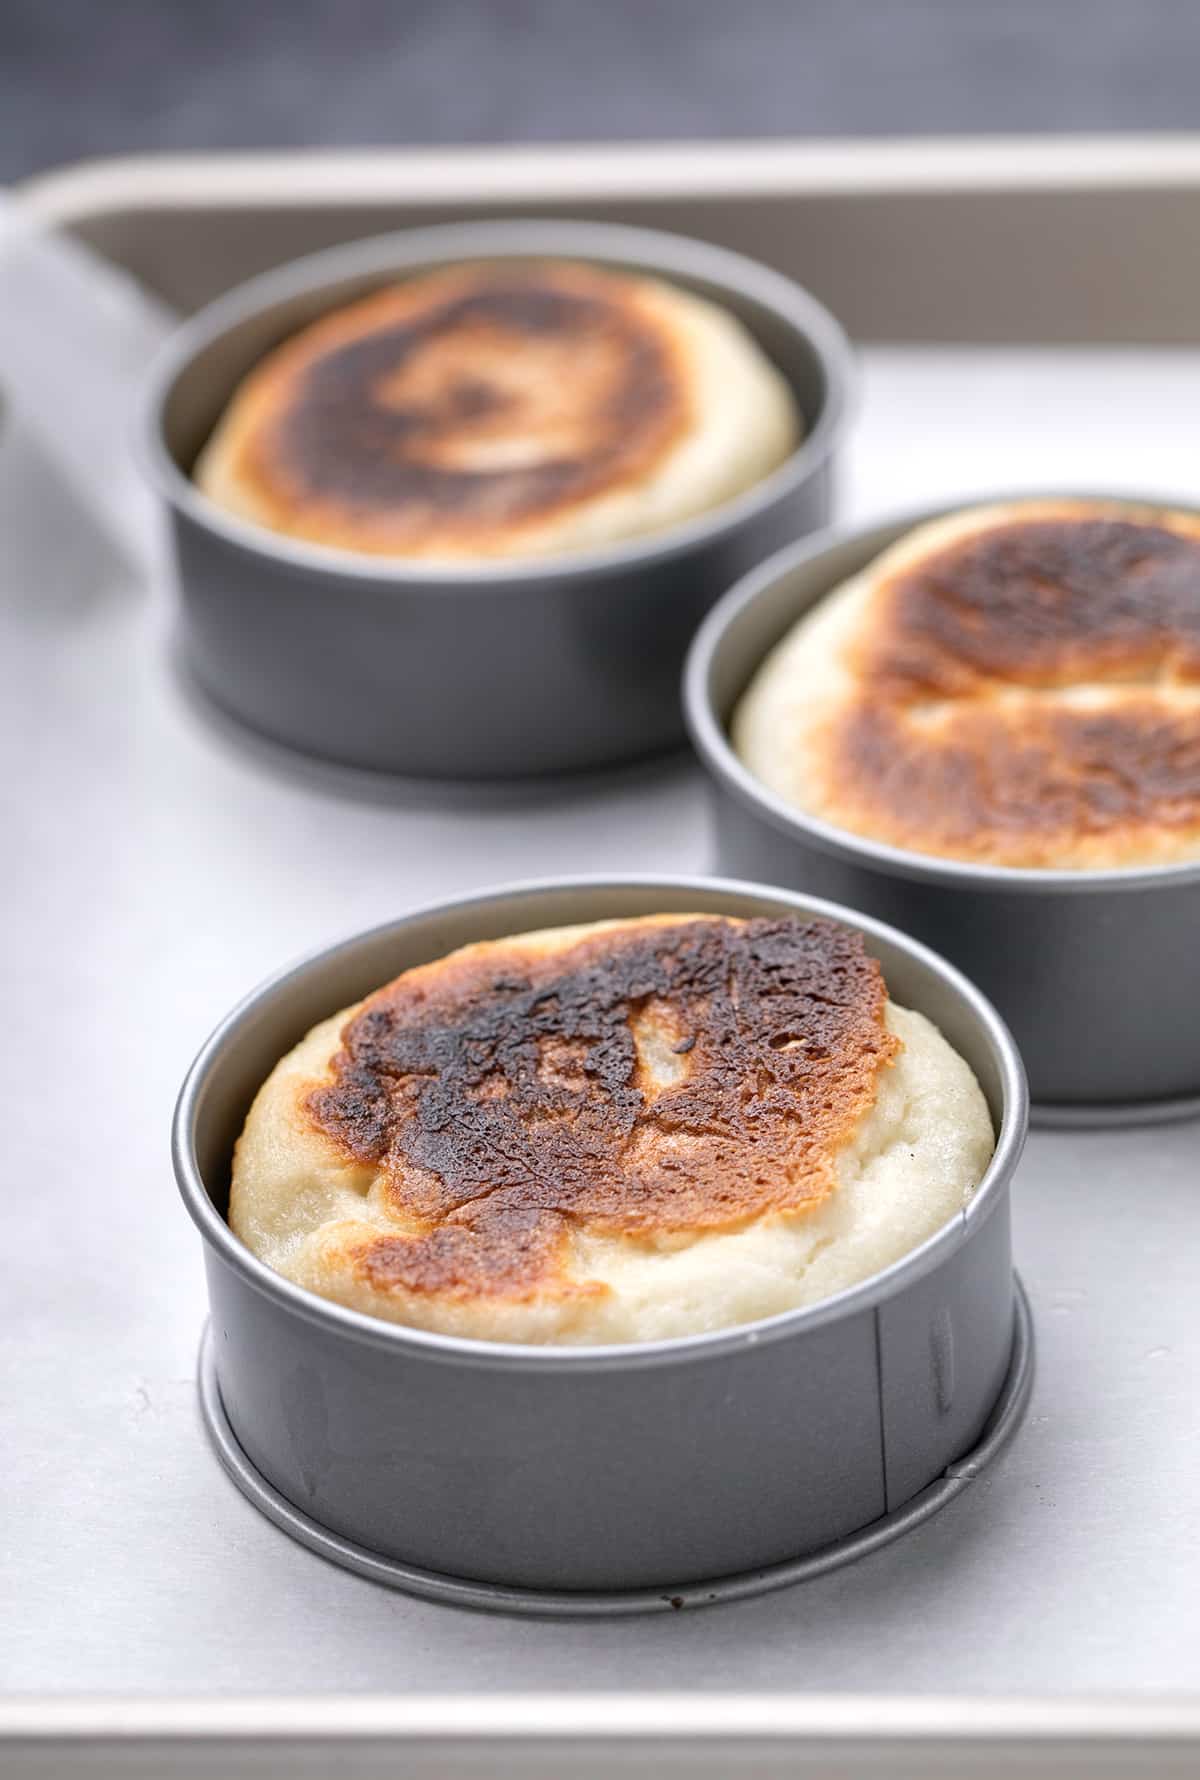
Return the rings to each muffin, cover again to trap the heat, and cook for another 15 minutes. The muffins should be browned on both the top and bottom, and measure about 200°F on an instant read thermometer. If you insert a toothpick in the center, it should come out with moist crumbs, but shouldn't appear wet.


5. Cool and split the muffins
Transfer the cooked muffins, without their rings, to a wire rack for about 10 minutes, or until they're cool enough to handle. The should also have begun to deflate.
Split each by positioning the tines of a fork parallel to the top of the muffin and inserting them from the pale edge to the center of the muffin. Move around the whole perimeter of the muffin, inserting the tines as you go.
Pull the top away from the bottom of the muffin, creating an uneven, or fork-split, English muffin.


Expert Tips
Keep the dough wet
If your dough is really easy to handle, it's not wet enough to create big nooks and crannies. You'll need to sprinkle extra tapioca starch to be able to handle and shape the raw dough into disks, but if you work too much flour into them, you'll lower the hydration and your muffins will be too dense inside.
Try not shaping the dough
If handling a wet dough is intimidating, just skip that step in favor of a more homespun shape! Use a very large spring-loaded ice cream scoop or two spoons to scoop mounds of about 1/3 cup onto the hot, greased skillet. Place greased rings around the dough, and proceed with the recipe as written.
If you've shaped the dough into disks, you can still use the rings to encourage the muffins to rise up, and only out a little bit, with those flat edges. Cover and cook, flip, and finish cooking.
Don't slice them open
Instead, “fork split” them by using the tongs of a fork to pierce the muffins all the way around, and then gently pull the two sides apart. The irregular split is how you avoid compressing the muffin, and what creates the crannies as you pull the rest of the bread from itself.
Chill the dough
Chill the raw dough in a sealed container in the refrigerator for at least 12 hours. It gives the yeast a chance to develop some flavor, and lets the flour absorb some of the moisture. Plus, cold dough is easier to handle. If you don't have that long to chill it, at least chill it until it's cold.
Ingredient substitutions
Dairy free
In place of cow's milk, use an unsweetened, unflavored nondairy milk with some fat for added richness. Try coconut milk in the carton, soy milk, or almond milk, but avoid anything with texture or obvious flavor, like oat milk.
Egg free
In place of the egg white, try an equal amount, by weight, of aquafaba, which is the brine from a can of chickpeas.
Instant yeast
There's no substitute for yeast here. But if you only have active dry yeast, just use 25% more (for a total of almost 8 grams), and dissolve it first in some of the milk before adding it to the dough.
Tapioca starch
Tapioca starch is uniquely stretchy, and nothing else quite compares. If you would like to try to replace it, you can try superfine glutinous rice flour made from short grain white rice.
If you enjoyed this recipe, try my gluten free pop tarts too!
Gluten Free English Muffins Recipe
Equipment
- 4 English muffin rings or tall round cookie cutters, or rings cut from aluminum cans
- Stand mixer fitted with paddle attachment (or try using a food processor with the plastic blade)
Ingredients
- 2 ¼ cups (315 g) all purpose gluten free flour blend, (See Recipe Notes)
- 2 ¼ teaspoons xanthan gum, (omit if your blend already contains it)
- ¼ cup (30 g) tapioca starch/flour, plus more for sprinkling
- 1 tablespoon (12 g) granulated sugar
- 2 teaspoons (6 g) instant yeast
- 1 ½ teaspoons kosher salt
- 1 ½ cups (12 fluid ounces) milk, warm (about 95°F)
- ½ teaspoon apple cider vinegar
- 1 (25 g) egg white, at room temperature
- 1 tablespoon (14 g) neutral oil, (canola, vegetable, grapeseed, avocado oils all work)
Instructions
Make the dough
- In the bowl of a stand mixer fitted with the paddle attachment, place the flour blend, xanthan gum, tapioca starch, sugar, and yeast in a large bowl and whisk to combine well. Add the salt and whisk again.
- Add the milk, apple cider vinegar, egg white, and oil, and mix to combine well.
- Turn the mixer up to medium-high speed, and mix for about 3 minutes or until the dough begins to look somewhat “whipped,” like air has been incorporated into it.
- The dough will be very sticky and shapeless, but should hold together well.
- Transfer the dough to a 2 liter proofing bucket with a tight-fitting lid or a large bowl sealed very tightly. Place in the refrigerator for between 12 hours and 5 days.
Shape the dough
- Place a 10-inch cast iron skillet over medium to medium-low heat, or heat a griddle to medium (about 350°F). Lightly grease the skillet.
- While the pan or griddle is heating, grease four metal English muffin rings (1-inch tall rings cut from empty aluminum cans also work well) and set them aside.
- Sprinkle a clean, flat surface liberally with tapioca starch. Remove the raw dough from the refrigerator, scoop 3 to 4 portions of about 1/3 cup (95 grams), and place them loosely on top of the floured surface.
- Using a very light touch, and sprinkling with more tapioca starch as necessary to prevent sticking, shape each piece of dough loosely into a 3-inch round. With floured fingers, pinch together any seams that form on the dough.
Cook the muffins
- Place the shaped pieces of dough about 1 inch apart from one another the prepared skillet, as far apart as possible (make only 3 at a time if that’s all that fits comfortably). Place the prepared rings around each muffin.
- Cover the skillet or the portion of your griddle that your muffins occupy and allow them to cook for at least 10 minutes or until browned on the bottom and the sides seem mostly set (they will no longer glisten).
- Uncover the skillet, and remove the rings (unless they’re stuck to the edges of the muffins). Use a spatula to flip the muffins over, and replace the rings.
- Cover the skillet again, and finish cooking until browned on both sides and fully cooked inside (another 15 minutes) The muffins will register about 200°F on an instant read thermometer placed in the center.
- Remove the rings, then the muffins from the skillet and place on a wire rack to cool briefly until just warm, but no longer hot, to the touch. They will deflate as they cool.
- Repeat with the remaining dough, re-using the same muffin rings, newly greased.
- Split each muffin with a fork by inserting the tines in the center of the muffin along the middle, parallel to the muffin itself. Gently pry open the muffin with your fingers. Serve warm.
Video
Tell Google you trust GFOAS!
Notes
Nutrition
Nutrition information is automatically calculated, so should only be used as an approximation.
Storage suggestions
These muffins will stay fresh for about 2 days on the counter at room temperature in a sealed container. Just don’t put them in the fridge as that will make them dry out quicker.
For longer storage, these muffins freeze very well for up to 3 months. Split them using a fork, and then wrap each tightly in plastic wrap. Put the wrapped English muffins into a larger container, and freeze.
You can also let the raw dough rest in the refrigerator in a sealed container for up to 5 days and make only as many English muffins each day as you'd like to eat.
FAQs
The story behind English muffins is rather straightforward: The recipe for this bread originated in the United Kingdom. The bread came to the US and took on its new name in the late 1890s.
No! Particularly if you're willing to shape the muffin dough lightly into disks, you can really let them cook without rings. Even if you're not shaping your dough, if you don’t have English muffin or crumpet rings, you can easily use the rings from Mason jars, aluminum foil folded over several times and shaped into rings, or egg molds.
Yes! They come out just as well on a griddle as they do a cast iron pan. You'll need a lid to cover them, but you can use the lid from any pot or skillet you have, as long as it's tall enough to enclose the muffins on the griddle.
Yes! All properly balanced rice-based gluten free flour blends have tapioca starch as an ingredient. This recipe uses more tapioca starch to add stretchiness and crispness to the English muffins. You should never leave out an ingredient in a recipe. Every ingredient is essential and serves a purpose.












Could I add grated cheese to this recipe?
No, I don’t recommend adding anything to the batter, Barb. I’d wait and add whatever you like after they’re fully baked and fork split.
This looks like a great recipe. Just a question. Is the dough stiff enough to cook them without the rings? Thank you for all the great recipes.
You need some sort of rings, Teri. Have a look at the video for more details.
I’ve just made them and they are absolutely delicious. I used Schar B mix as I live in Europe and that brand is avalaible for me. The English muffins were perfect. I cannot tell you with how many recipes I failed but this one is a keeper. Thank you so much. Next time I’ll try it with different bread mix but I couldn’t find good flours, most rice flours are gritty.
I’ve made these 2x now and they are wonderful. The only substitution I made was using Masa Harina for the final dusting because I like a little crunch. I used wide mouth canning jar lids since I didn’t have rings, which worked just fine.
Good idea on the masa!
Can you substitute the xanthan gum since I’m allergic?
There is no 1:1 substitute for xanthan gum, no, Ruth. Guar gum is not as effective in heated applications like this. You might want to seek out other blogs with recipes using psyllium husk, which I do not like and will not use.
where is the video
If you’re not seeing a video, it’s because you are using an ad blocker. There is no other way to view it than to turn that off, which is the right thing to do anyway since that’s the only way I get paid for my hard work.
Has anyone tried to substitute the tapioca flour for corn starch? Taste wise is it okay?
Are you referring to using cornstarch in place of tapioca starch, Abby? That won’t work. There is no perfect substitute for tapioca starch, as it’s a unique starch. The only thing I’ve ever tried that has come close is superfine sweet white rice flour (also known as superfine glutinous rice flour). I can’t promise results, though.
I really can’t believe the nooks and crannies! I figured they would taste good since Nicole’s recipes are delicious but they are so spot on! I followed recipe exactly but will definitely being using the griddle next time to make flipping easier. I used individual springform pans since I had nothing else to use and amazingly the removable bottoms served as covers so it worked out perfectly. Of course I have jumbo size English muffins now which will work great with the eggs Benedict that I’ve been missing.your the best Nicole thanks!
Hahaha that’s so great, Patty! Jumbo-sized English muffins in individual springform pans sounds kind of awesome, actually! Thanks so much for sharing your experience.
I love english muffins and the store bought ones just don’t measure up. I do have a question about going dairy free with these. You suggest almond milk but I have a sensitivity to almonds. Can you recommend other non-dairy milks that may work as well?
Hi, Bonita, you can really use any unsweetened nondairy milk you like that’s the consistency of dairy milk. Anything that has some fat, but not sweeteners will work, but be sure to canned coconut milk, which is just too thick. For example, unsweetened soy milk would work.
I’ve tried many of your recipes over the past few years, but this was the first time I tried the English muffins. The recipe was easy to follow and the video helped with shaping them. They are delicious! Just made an egg & cheese sammy!
Thank you so much for sharing your experience, Christine! Everything you described, from reading the recipe carefully to watching the video for help in shaping, is ideal. That sandwich sounds like a dream!