This post may contain affiliate links. Please read our disclosure policy.
These soft gluten free breadsticks are a homemade version of the famous Olive Garden breadsticks. Fluffy and soft inside, with a thin, almost crispy layer outside, and covered in garlic butter.
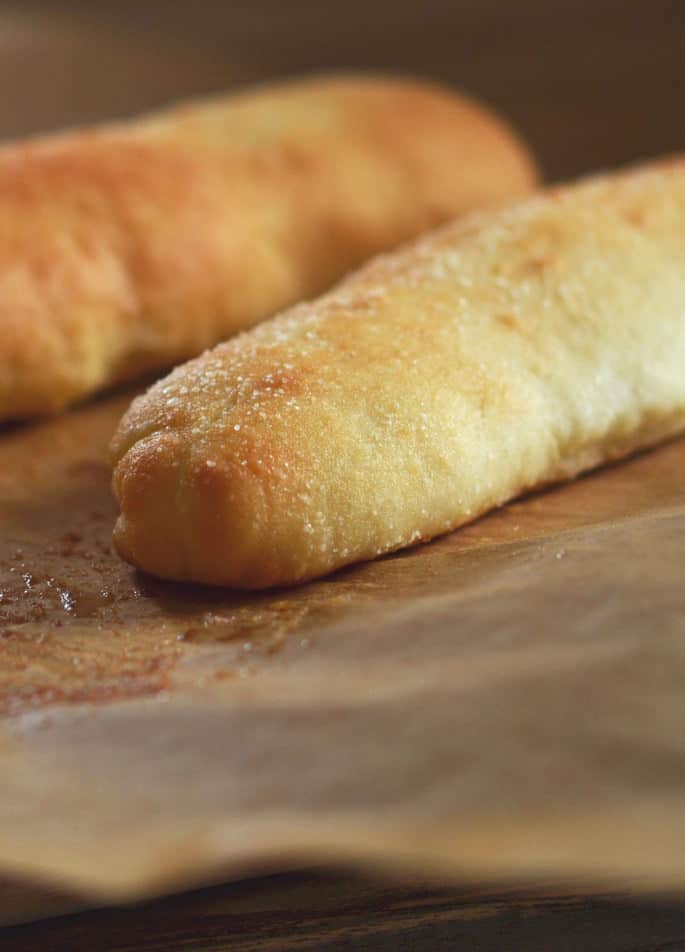
Table of Contents
When my bread book first came out, I was so excited. My gluten free son could finally taste real BREAD. He would know what that chew was like, and what yeast bread actually is meant to taste like.
I still am so excited when I think about how far we have come in baking really good gluten free yeast bread. I knew that it would take some adjusting. Up until that point, gluten free yeast bread dough was a batter, and could only be shaped with very wet hands. I was so happy to leave that behind!
I knew the new ingredients would take some getting used to. I thought you might have a bit of trouble finding them, and I tried to prepare everyone as best I could. But I wasn't prepared for a certain reaction that you might have to the dough…
Most of the recipes in the book have two rises, like traditional yeast bread. The first rise is before shaping, and it's when the yeast actually develops and adds flavor to the bread.
I like that first rise to be in the refrigerator, since that slows down the yeast development. And it also makes the dough easier to handle. The second rise is after shaping.
Before the book came out, though, I had no idea how impatient you might be about waiting for the bread dough to rise in the refrigerator! That first rise nearly did you in, it seems. If you look at the early reviews of the book, you'll see.
I started recommending that you begin with this recipe for Garlic Butter Soft Gluten Free Breadsticks from page 177. These breadsticks are legendary at Olive Garden restaurants, and I knew you missed them.
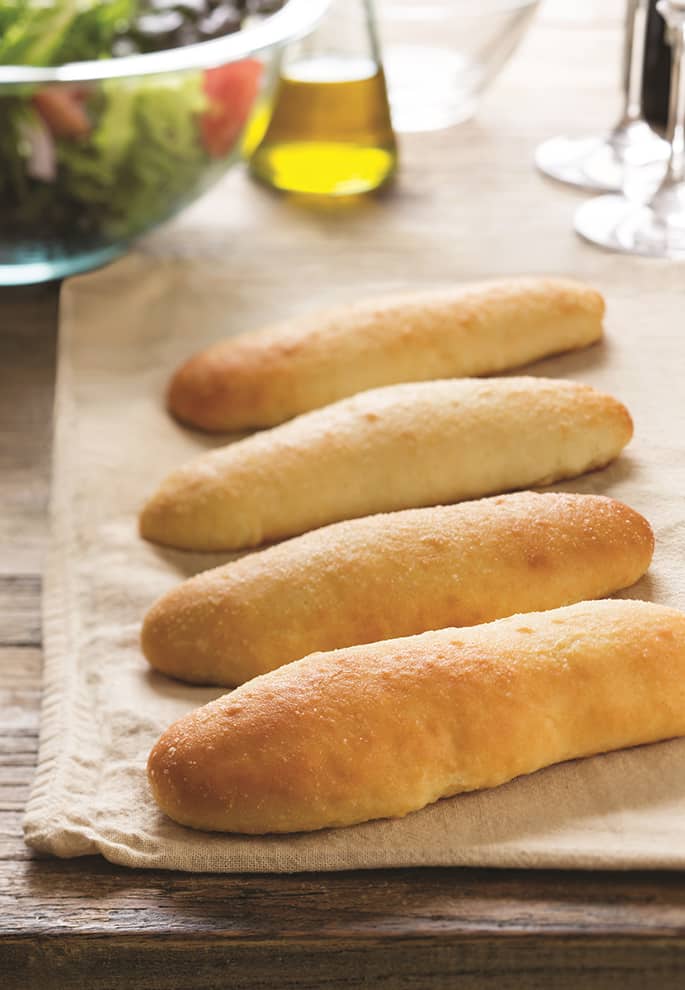
And the best part? They only need one rise! They're made with our gluten free bread flour blend, so they must be magic after all.
The flavor of these breadsticks comes almost entirely from the butter-rich dough, and the garlic butter generously slathered on top, both in the middle of and at the end of baking.
This recipe was reproduced, with permission, on a popular commercial website when the book was released in 2013. Over time, the link has disappeared, though. I
had to be sure that you had the recipe, whether you have the book or not. And I thought a video of my making and shaping them might help, too.
Especially during the fall and winter holidays, when family and friends are gathering around the table to share hearty meals, we need bread. These gluten free breadsticks are the ones that you can proudly serve to gluten-free and gluten-eaters alike, without asking permission or forgiveness.
Soft Gluten Free Breadsticks | Olive Garden Style
Equipment
- Stand mixer
Ingredients
For the bread dough
- 4 ¼ cups (595 g) gluten free bread flour, (click thru to the must-use gf bread flour blend) plus more for sprinkling
- 2 teaspoons (6 g) instant yeast
- 2 tablespoons (24 g) granulated sugar
- 2 teaspoons (12 g) kosher salt
- 6 tablespoons (84 g) unsalted butter, at room temperature
- 1 ⅜ cups (11 fluid ounces) warm water, (about 95°F)
For the garlic butter
- 3 tablespoons (42 g) unsalted butter, melted
- 1 teaspoon garlic salt
Instructions
Make the dough.
- Place the gluten free bread flour, yeast, and sugar in the bowl of your stand mixer, and use a handheld whisk to combine well. Add the salt, and whisk to combine.
- Add the butter and water, and mix on low speed with the dough hook until combined.
- Raise the mixer speed to medium and knead for about 5 minutes. The dough will be quite sticky, but should be smooth and stretchy.
- Spray a silicone spatula lightly with cooking oil spray, and scrape down the sides of the bowl.
Shape the dough.
- Line a rimmed baking sheet with unbleached parchment paper and set it aside. Turn the dough onto a lightly floured surface. Knead until smooth by sprinkling very lightly with more gluten free bread flour and turning it over on itself gently.
- Divide the dough into 12 pieces of equal size (each about 3 1/2 ounces).
- Working with one piece at a time (covering the other pieces with a moist tea towel when you're not working with them), shape into a round, then pat into a rectangle about 1/2 inch thick and about 4 inches long.
- Fold the rectangle along the length halfway, from bottom to top, and top to bottom. Fold the smaller rectangle now in half, each side just folded over one another.
- Roll the dough back and forth on the lightly floured surface to seal the edges well, and to elongate it slightly until the dough is about 7 inches long, tapering the dough on both ends.
- Place the shaped dough on the prepared baking sheet, each piece about 2 inches apart from the other.
Let the dough rise.
- Once all the breadsticks are shaped, cover the baking sheet with oiled plastic wrap and set in a warm, draft-free location to rise until the breadsticks are nearly doubled in size (about 1 hour, depending upon the environment).
- About 25 minutes before the dough has finished rising, remove the plastic and preheat your oven to 375°F.
Bake the rolls.
- Once the breadsticks have finished rising, remove the plastic, place the baking sheet in the center of the preheated oven and immediately turn the oven temperature down to 350°F. Bake for 5 minutes.
- While the breadsticks are baking, melt the butter for the garlic butter in a small, microwave-safe bowl or in a small saucepan. Mix in the garlic salt.
- Remove the baking sheet from the oven and brush each breadstick generously with the garlic butter.
- Return the breadsticks to the oven and continue to bake until they are lightly golden brown all over (about another 5 minutes).
- Remove the breadsticks from the oven and brush again with garlic butter. Serve immediately.
Video
Notes
Nutrition information is automatically calculated, so should only be used as an approximation.



I recently purchased your baked bread book, and wondering if you have a favorite brand for the whey protein isolate as i am really confused what to buy for that product. Thanks so much and can’t wait to get started.
I would like to know the same thing. I looked at Amazon but I cannot figure out which whey protein isolate is 18%. Thank you! I just love your recipes.
How do you get 12 bread sticks on a pan that will fit in the proofing box? I can’t get a half sheet pan in mine so are you not using the box in this case?
Hi, Nancy, I haven’t been using the proofing box, actually. I find that if I just wait long enough, everything will rise even in the winter. But I believe they actually sell a shelf for the proofing box now, so you can make better use of the vertical space!
Hi Nicole.
Thank yo so much for hearing me. I LOVE your site and, of course, I will continue to watch for it in my inbox and come to visit Thank you so much for all the work you put into it. (Your recipes are SO yummy!) Be well and be good to yourself.
Thanks, J’Marinde. Please understand that I am working on a way to make even the autoplay less intrusive, such as lowering the volume to 1%. Video monetizes at rate much higher than other ads, and as you know this site is my livelihood. But whatever I decide, I am taking your concerns (and my own similar ones!) into consideration.
Thank you. I wish you well in all of this. Thanks for all the yummy recipes. Be well and be good to yourself.
Please stop the auto-start videos.They are startling and way too loud when they start, and I have to rush to find and mute them or shut the entire page down. They are a detriment to your lovely site. Please. Thank you.
You know, what, J’Marinde? You’re right. I just turned off the autoplay function, one by one, on every video I’ve ever posted on the site.
When you’re right, you’re right. This site is my livelihood, and I don’t ever apologize for monetizing it. But everything is a balance, and I was uncomfortable with this particular decision to autoplay. Your comment reminded me that I had tipped this balance in the wrong direction, this time.
I hope you’ll continue to enjoy the site more without the video autoplay. But I do hope you’ll watch the videos when you’re ready. They can be very useful!
I enjoy your cookbooks so much! This video is amazing.. I am such a visual learner and I love to see what the dough looks like when mixed and after it rises.. Thank you so much for doing this video!! I am so excited to try these.
That’s so great, Tina. I’m really happy the video is helpful.
My son is casein free so the whey protein isolate won’t work for us – can you recommend a substitute? I really want to make these breadsticks!
Please see my response to the first comment, below, Wendy. I answer this question there. :)
Thanks for having such a wonderful helpful free resource for us who are just starting out! I’m hoping to buy your books eventually, but your blog looks like it will be helpful to get me started!
My pleasure, Deb! So glad you’re having a good look around. There are almost 900 recipes on the blog. Should keep you busy for a while. :)
For the GF Flour Bread:
My understanding is that you use-
– Better Batter GF Flour
– Whey Protein Isolate
– Expandex Modified Tapioca Starch
Correct?
Also, have you tried Grandpa’s Kitchen All Purpose Flour? Would that work in substitute with Better Batter?
Help! My dough has been kneaded for 5 minutes. It is currently in the bowl. The video shows the next step as allowing the dough to rise in a sealed container. How long? But the recipe here and the recipe in the book don’t provide that step. Necessary or not?
I get it now. The sealed container is just to keep it from drying out while you form the bread sticks. It dries out quickly. Rising in my Brod & Taylor now. I wish I had another rack for it!
I’m severely allergic to dairy and vegan. Can the whey powder be substituted for another protein such as pea or vegan protein?
I go into more detail about this in my book, Micky, but you can use either pea protein isolate or rice protein isolate, but you’ll need to increase the liquid by 50%. So instead of 11 ounces of water, you’d use 16.5 ounces of water. The dough will not be stretchy, though, and will behave more like the “old” style of gluten free bread dough. For replacing gluten, there’s just nothing like whey protein!