This post may contain affiliate links. Please read our disclosure policy.
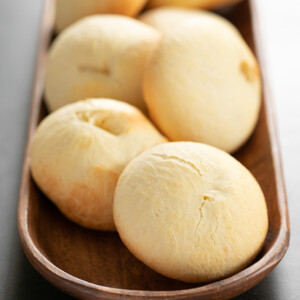
These Brazilian cheese bread rolls are made simply with tapioca starch, some oil, cheese, and milk. With a thin outside crust and a chewy center. Naturally gluten free!
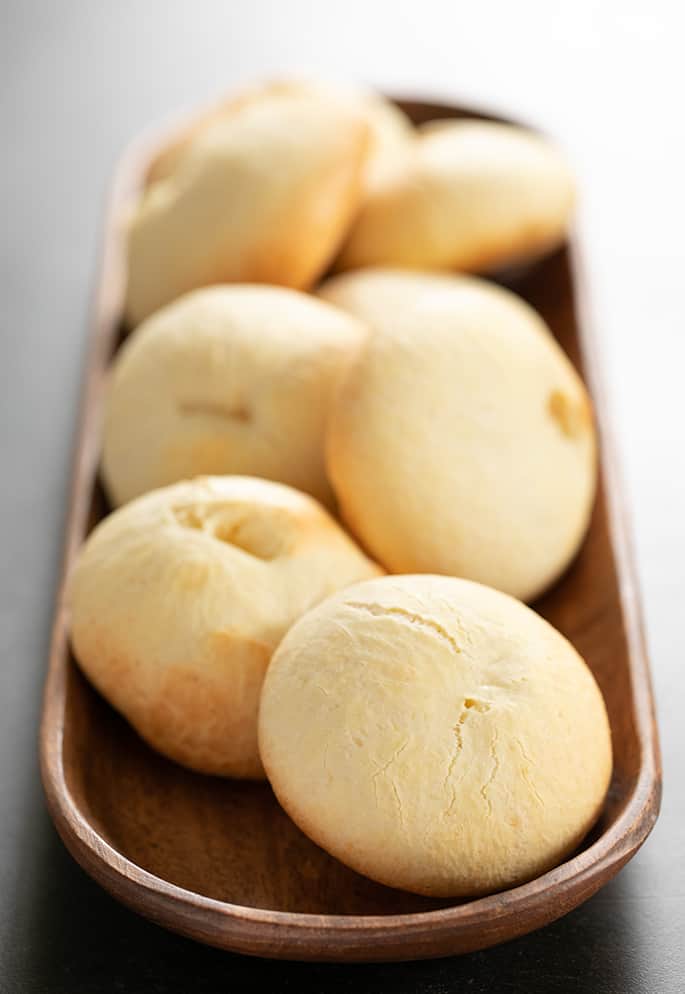
Why buy a mix for Brazilian cheese bread?
There are lots of different recipes for pão de queijo, or Brazilian cheese bread. This is simply my favorite way to make it.
I set out years ago to replicate the recipe for the original cheese bread dry mix that shall remain nameless since they sent me an e-mail telling me to remove reference to their product. That box contains little more than tapioca flour and salt.
This original mix has “modified manioc starch” as one of its lesser ingredients, which it claims is necessary for binding the wet and dry ingredients. Since both the dough and the bread are extremely chewy and stretchy without any modified manioc starch, I can't for the life of me imagine how that is necessary.

Baking mixes have their value
I have come to understand the power of buying a boxed mix for gluten free baking, particularly when you're new to gluten free baking. In fact, I've even developed recipes that replicate that experience, like gluten free cake mixes.
But buying a box of essentially one type of flour and salt just seems different to me. Remember, when you buy the boxed mix, you still have to add all of these other ingredients (eggs, oil, cheese, water or milk – I used milk instead of water and dry milk, like in this mix, so you don't have to go hunting for dry milk).
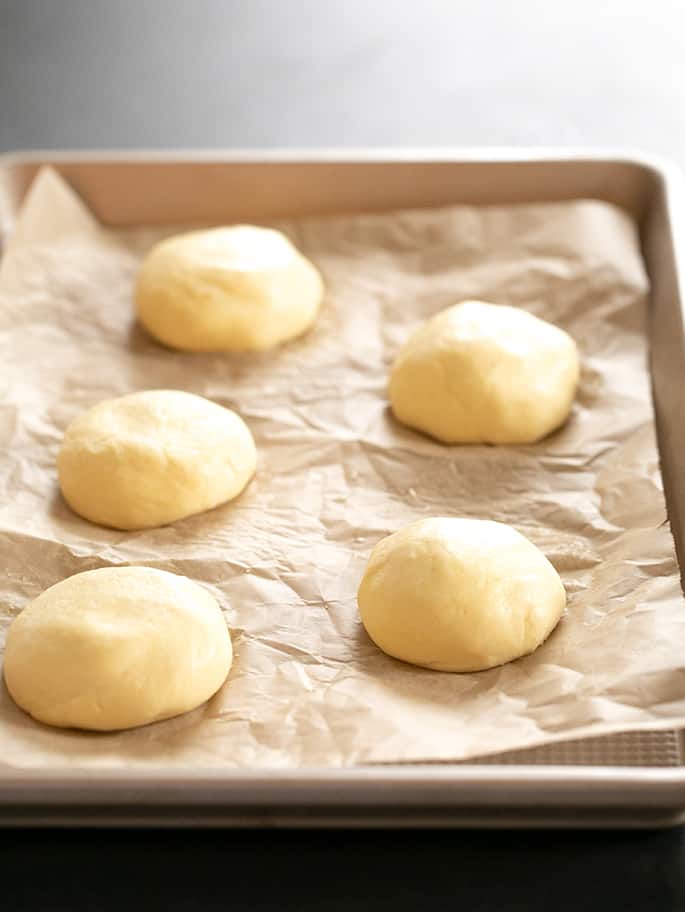
A note about cost-savings
This nameless company sells its 7.5 ounce original cheese bread mix for more than $3.00 (on average, being kind). The gluten free tapioca starch/flour necessary for this recipe costs about $1.12 (on average).
If you like that mix, then by all means keep buying it. But if you're ready to break out of the box, this recipe is for you.
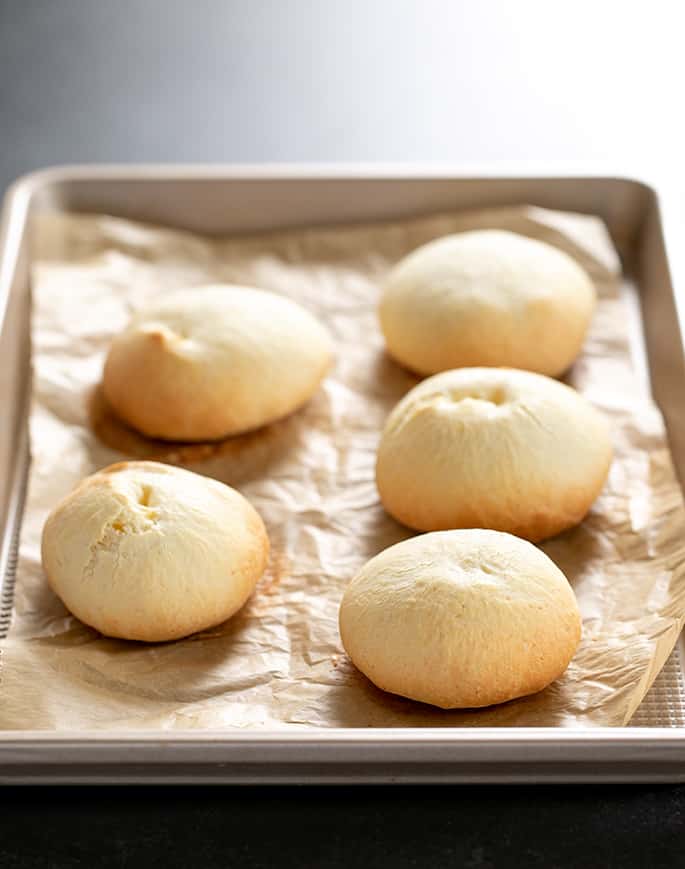
Should you chill the dough for these rolls?
In my recipe directions, I recommend your chilling the dough before baking it, but really it isn't entirely necessary. Chilling the dough simply makes it stiffer, which allows you to make a slightly more round roll.
But a truly spherical pão de queijo would require a different, somewhat more complicated method entirely. So I chill the dough, but I consider that an optional step.
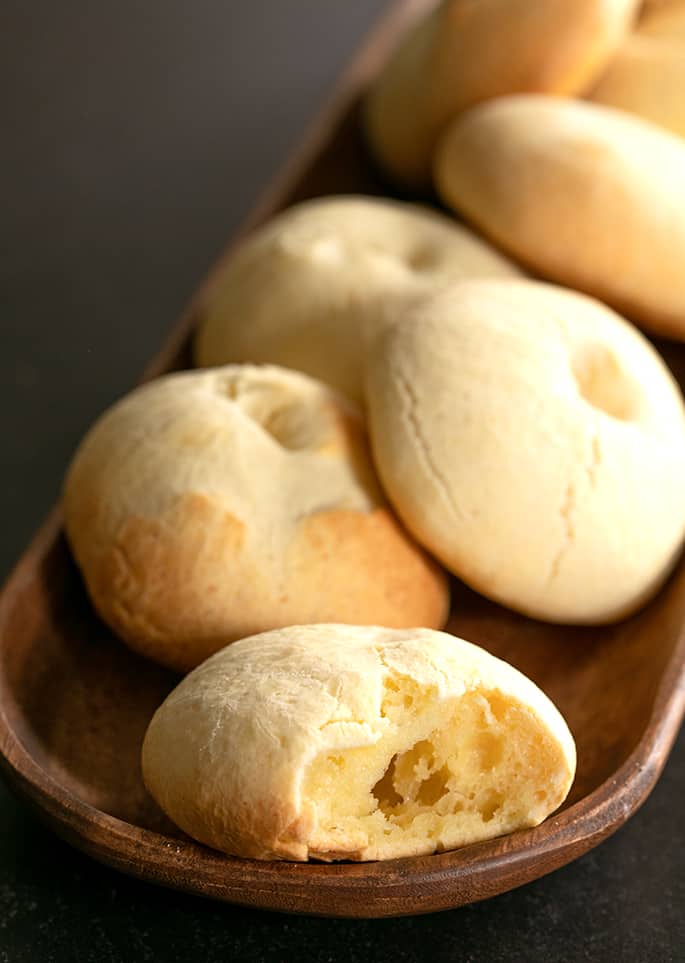
Don't overbake
Keep in mind that Brazilian cheese bread essentially has only one dry ingredient (other than salt), and that dry ingredient is a starch. That means won't brown much unless you seriously overbake it.
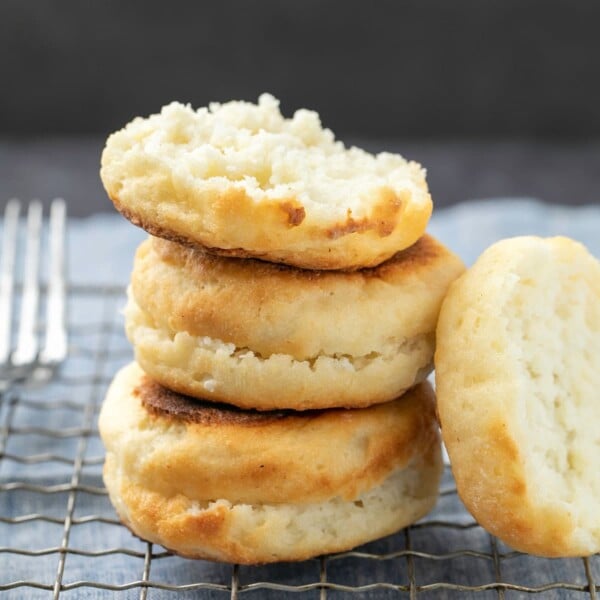
They should have a thin crust on the outside, and be quite chewy and stretchy on the inside. These are not intended to be light and fluffy rolls.
They're kinda fun and quick and easy to throw together, though, and when you make it yourself without the mix, it costs about half as much.
Ingredients and substitutions
Since this is a very simple recipe that relies upon the unique properties of cheese, eggs, and tapioca starch/flour, I'm afraid substitutions are not easy. Here's my best information and educated guesses:
Dairy: Cow's milk can easily be replaced by unsweetened almond milk, or your favorite unsweetened nondairy milk. The cheese is an entirely different story.
Pão de queijo is similar to pan de bono, a Colombian cheese bread made with a similar combination of crumbly cheese, corn flour, tapioca starch, and egg. And when my oldest daughter was briefly dairy-free, I successfully made a dairy-free version of that recipe.
If you review the Ingredients and substitutions section of that recipe, you'll find the exact modifications I made to that recipe to make it successfully dairy free. You may be able to use that as a guide for how to make dairy free Brazilian cheese bread.
Eggs: Since there are two eggs in this recipe, you can try replacing each of them with a “chia egg” (1 tablespoon ground white chia seeds + 1 tablespoon lukewarm water, mixed and allowed to gel). Since this is such a simple recipe, and relies heavily upon eggs for rise, I simply can't promise results.
Tapioca starch/flour: Tapioca starch/tapioca flour (both the same product; the names are used interchangeably for reasons unknown) has uniquely stretchy qualities. It has no appropriate substitute, particularly in a recipe like this which is made with no other flour.
Brazilian Cheese Bread | Quick Pão de queijo
Equipment
- food processor
Ingredients
- 2 (100 g (weighed out of shell)) eggs, at room temperature, beaten
- 3 tablespoons (42 g) extra-virgin olive oil
- ⅔ cup (5 ⅓ fluid ounces) milk, at room temperature
- 6 ounces sharp, hard cheese, grated (I used a blend of sharp cheddar and Parmigiano Reggiano)
- ¼ teaspoon kosher salt
- 2 ½ cups (300 g) tapioca starch/flour
Instructions
- Preheat your oven to 400°F.
- Line a rimmed baking sheet with unbleached parchment paper and set it aside.
- In a blender or food processor, place the eggs, oil, eggs, milk, cheeses, salt, and about 1/2 cup tapioca starch and blend or process until smooth and well-combined.
- Pour the relatively thin mixture into a large bowl and add about another 1 1/2 cups tapioca starch. Mix to combine.
- If the mixture still sticks to the spoon, add more tapioca starch by the tablespoonful and mix in until it pulls away from the spoon.
- The dough should be tacky to the touch, but not gooey.
- Divide the dough into 8 to 12 portions, depending upon the size you want.
- Put about 2 inches apart on a prepared baking sheet and chill in the refrigerator for about 10 minutes if you’d like a rounder roll.
- Roll into rounds and replace on baking sheet.
- Place in the center of the preheated oven and bake until puffed and beginning to brown (15 to 18 minutes, depending upon size).
- Serve immediately.
Video
Notes
Nutrition information is automatically calculated, so should only be used as an approximation.





Have you tried using a combination of the sweet and sour tapioca starch? We have had much success with it. The rolls we found are tastier over just using one starch
We use a combination of sweet and sour starch
Brand “amafil pollhilfo doce and amafil pollhilfo azedo”. They come out like the ones a Brazilian classmate made.
Appreciate all your recipes
I had never heard of sweet and sour tapioca starch, Danica, but I just googled it and it sounds like “sweet tapioca starch” is just what we in the U.S. refer to as regular tapioca starch, but sour tapioca starch is a fermented version of it that has leavening properties. That sounds super interesting and I wish it were widely available in the U.S. because I’d love to experiment with it! Thanks for mentioning that.
I tried adapting so many PDQ recipes for my egg allergy, and this one was the absolute winner, hands down! My food processor broke so I used a stand mixer w/ paddle and mixed the oil + milk (warmed up a bit), salt, and tapioca; let it cool; mixed in “eggs” and cheese; mixed well until it looked like silly puddy; made into the balls; baked at 390 for 19 minutes. I had a Brazilian I know try them and I got a hearty thumbs up.
My egg replacement: To get binder and rise I used a combo: 1 Bob’s RM egg replacer “egg” and 1 tsp baking powder + 1 Tbsp white vinegar + 2 Tbsp water. I’ve made them twice now, so it’s definitely replicable. The 2nd time I added 1/2 tsp of garlic powder, and I may eat the entire batch before the day is done. 😳
Thank you so much for sharing those adaptations, Kati, and your overall experience. It’s very helpful, and I’m so glad you loved the bread!
I am from Brazil!
Cheese bread ( pão de queijo) is one of my favorite snack! It’s very popular in Brazil! I love it! So so delicious! Yummy ? Easy for me to make ! Always have it in my freezer! Don’t need to defrost
Hi Nicole,
I made this for the third time and finally got it perfect! After reading through the comments, I weighed the flour (Arrowhead Mills organic Tapioca Flour), and used the blender for my initial mix, then hand mixed in the balance of the flour. Then I divided the dough into portions and chilled it. Since I wanted to have the kitchen clean before my guests arrived, the prep was done about an hour before I baked the rolls, but the extra refrigeration time wasn’t a problem. I also baked them in a heavy muffin tin, so making round rolls was easy! BTW: couldn’t find the link to your video…
Mixing the initial portion by blender or food processor, than adding in the rest of the flour and mixing by hand is precisely the method that is described in the recipe, and shown in the video, Leslie. I’m not surprised that you got it right that way! If you aren’t seeing the video, you need to turn off your ad blocker. Having ads on the site is the only way I get paid for the free content, so it seems fair to require that you turn it off to see the full post!
Freeze them solid for round shape. Just a note, we made these and put them in the freezer for about 10-15 min, they were firmish, but they still flattened when cooked. However, we left some in the freezer, baked them the next day straight out of the freezer, just like we do the ones from Costco, and they were big round and puffy. They taste great either way, but if you want the round look, maybe freeze them solid before baking.
Made these today and as many other comments, they did not rise. They are tasty, but definitely not like in the picture, more like flat discs.
I followed the recipe and got good quality tapioca starch, so not sure what happened.
Did you measure by weight, PJC? In these tapioca based recipes, deviation from the recipe as written usually comes from using a poor quality tapioca starch (which I understand you say you didn’t), making ingredient substitutions in such a simple recipe (like using a cheese with more moisture than that called for in the recipe), and not measuring by weight. Tapioca starch is nearly impossible to measure properly by volume, since it’s so incredibly light.
Arlene, I had the same problem! I’ve made this recipe three times now. I bring everything to room temperature, I use my food scale that I’ve used for years
and has never steered me wrong before. They flatten out in the oven and turn into cheese pancakes. We still eat them, and they’re still delicious, but I wish they’d come out like the photos. I’ve never had problems with my tapioca flour before (I used Bob’s Red Mill), but maybe I got a bad bag – don’t know how I’m supposed to be able to tell if it’s not good quality though. I’m clearly doing something wrong though. I’ll buy a different kind of tapioca flour next time I get paid and maybe try again.
Heather, Bob’s Red Mill tapioca flour is one that I strongly recommend against. I can’t be sure that has been your issue, but their tapioca flour is of very inconsistent quality. Beyond that, are you making cheese substitutions? Some types of cheese have much more moisture, and that will cause exactly the issue you’re describing. Often, we have little quirks in the kitchen that we think aren’t a problem, but can be with a particular type of recipe. In addition, you should be adding most of the tapioca flour after blending the wet ingredients, which can make a big difference in texture.