This post may contain affiliate links. Please read our disclosure policy.
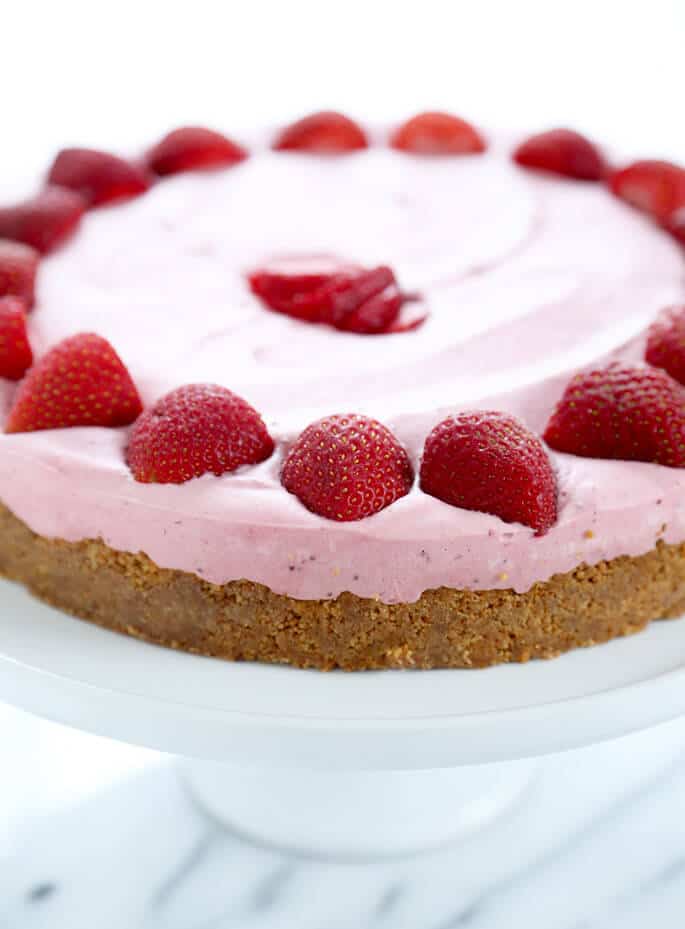
This gluten free strawberry cheesecake is the no-bake strawberry treat that you can make in the middle of strawberry season, or the middle of the winter. Smooth, creamy, quick and easy, it’s the perfect treat!
Why you'll love this strawberry cheesecake recipe
Welcome to your next dessert obsession: our no bake strawberry cheesecake. This lovely treat combines the lushness of strawberries, the heavenly creaminess of cream cheese, and a cloud-like whipped cream, with a delicate touch of gelatin for structure and a bit of sugar for the perfect sweet balance.
Forget about the oven and just get whisking and mixing, this cheesecake's no-bake aspect means you'll save time and energy. No need to preheat the oven or worry about achieving the perfect bake. This recipe is beautifully simple and practically foolproof, making it perfect for beginners and busy bakers.
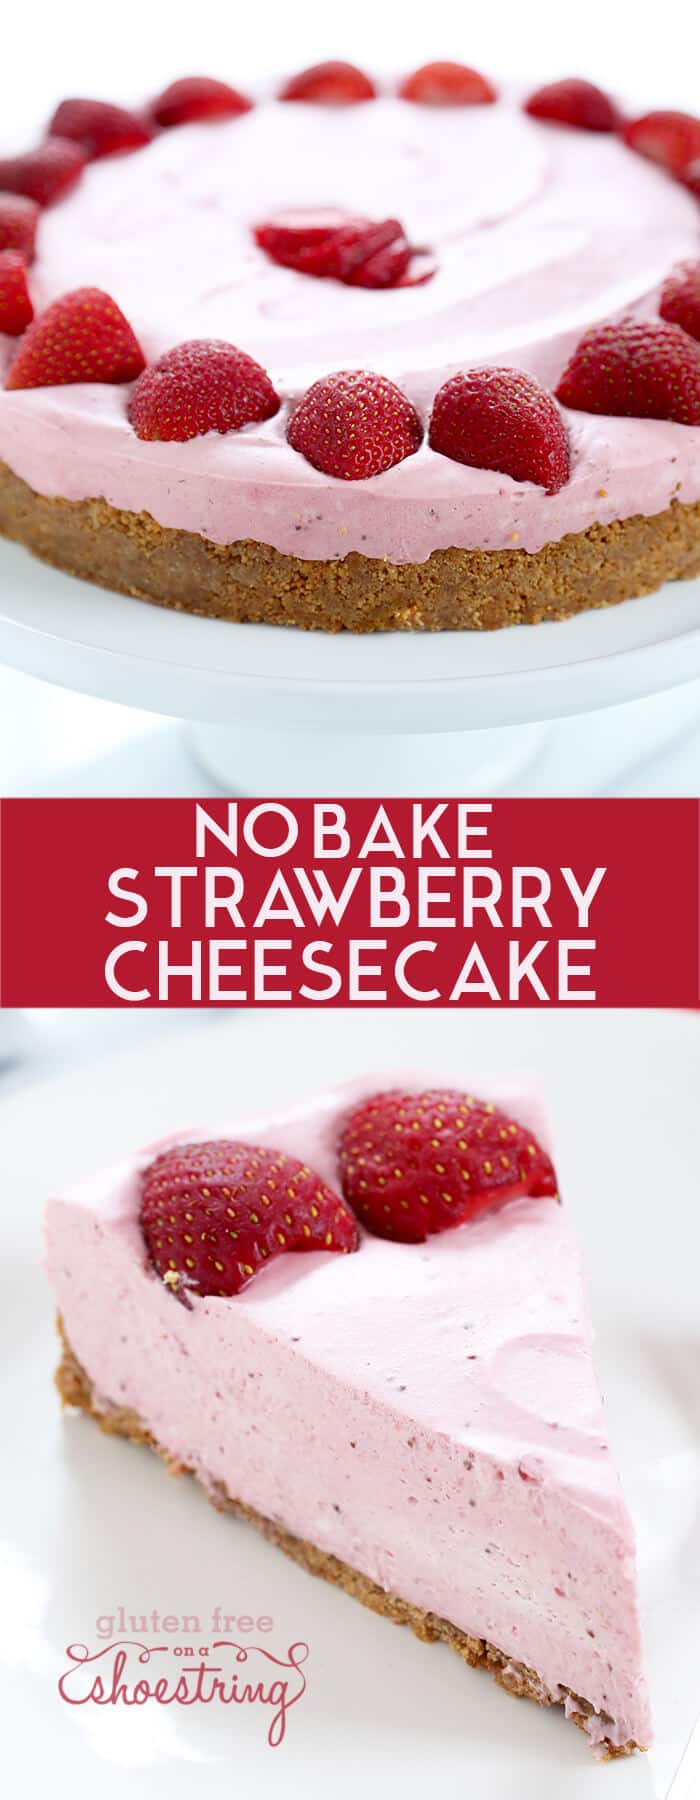
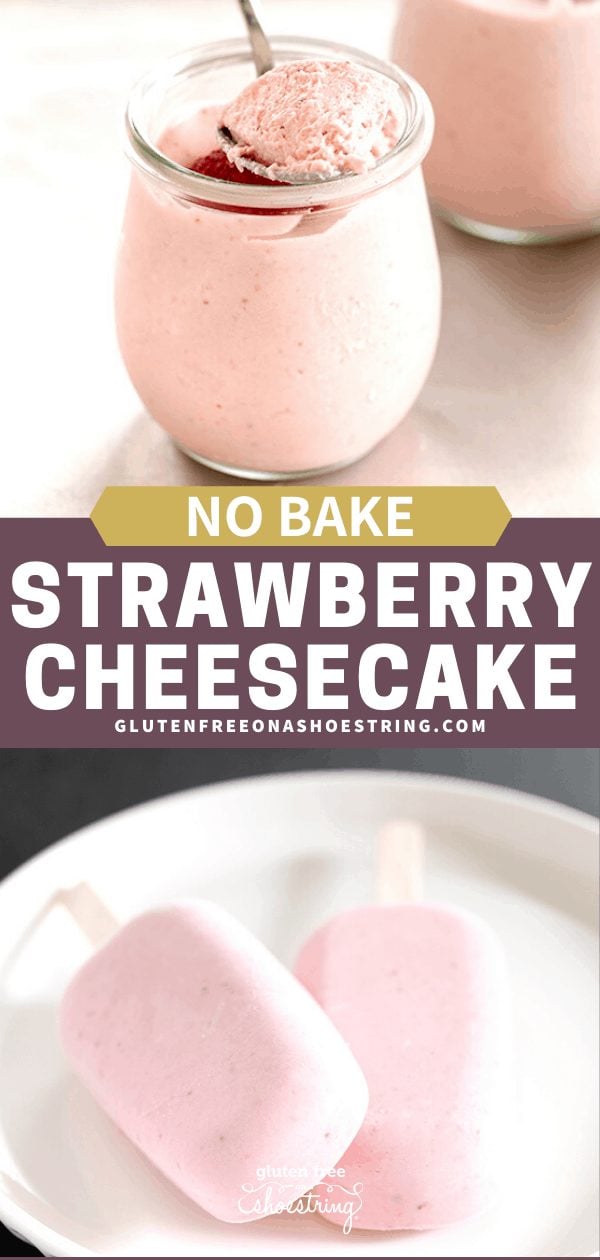
Next, this cheesecake offers versatility like no other. Whether you're serving it traditionally in a pie dish, creating individual portions in mason jars, or freezing it into fun popsicles, you can find a serving solution that works for you.
Plus, the recipe allows for both fresh and frozen strawberries, meaning you can savor this dessert any time of the year, not just during strawberry season (unlike our recipe for gluten free strawberry shortcake, which always needs fresh berries for the filling). Whether you're planning a summer gathering or need a delicious treat during the winter months, this no bake strawberry cheesecake has you covered.
Top tips for perfecting your no bake strawberry cheesecake
This recipe makes a delicious cheesecake that's incredibly easy to master. To help you get it right first time and every time, here are a few extra helpful pointers.
Fresh or frozen strawberries
If you're reading this right in the heart of strawberry season, when deep red berries are in every farmer's market and grocery store, feel free to use fresh berries. Otherwise, this no bake strawberry cheesecake is actually even better when made with frozen berries.
Frozen fruits and vegetables are a saving grace for cooking and baking all year round, as they're picked and prepared at the peak of freshness. Plus, they're way cheaper than fresh!
If you're going to use strawberries for decoration, you'll need fresh. But the decoration is, of course, totally optional.
Whipping the cream
For the best texture, whip the cream until you see soft peaks form. This gives the cheesecake filling the perfect lightness and fluffiness. Avoid overbeating, as it could turn the cream into butter.
Creaming the cheese
The cream cheese should be at room temperature for smooth blending. If it's too cold, you might end up with lumpy cheesecake filling. Beat the cream cheese until it's light and fluffy for an extra smooth texture.
Adding the gelatin
Gelatin gives the cheesecake its structure, but it needs to be handled correctly. Bloom the gelatin in water before adding it to the recipe. Make sure it is fully dissolved, and ensure the mixture is cool before adding it to the cream cheese mixture to avoid heating the cream cheese too much.
Setting the cheesecake
Allow the cheesecake enough time to set in the refrigerator. The longer it sets, the better it will hold its shape when cut. A minimum of two hours is needed, but overnight is even better.
Serving suggestions
This cheesecake is versatile. You can serve it in a traditional pie form, in mason jars for individual servings, or as popsicles for a fun twist. Explore different serving styles based on the occasion!
1: Traditional Cheesecake Form
For a classic approach, serve this cheesecake in its traditional pie form. This is perfect for a sit-down dinner when you want to impress your guests. A slice of this creamy, strawberry-filled treat on a plate with a dollop of whipped cream or a drizzle of strawberry syrup never fails to impress.
2: Mason Jar Individual Servings
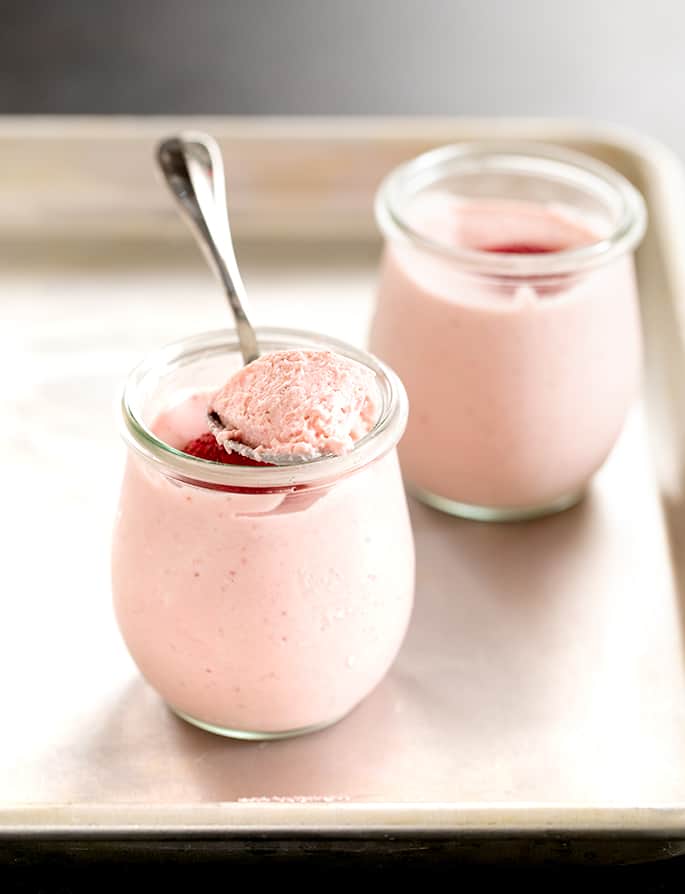
If you're hosting a casual get-together, picnic, or a kid's party, consider dividing the cheesecake filling among small mason jars. This not only makes serving easy and mess-free, but it also adds a charming touch to your presentation. You can even tie a little spoon to each jar with a ribbon for that extra touch.
3: Cheesecake Popsicles
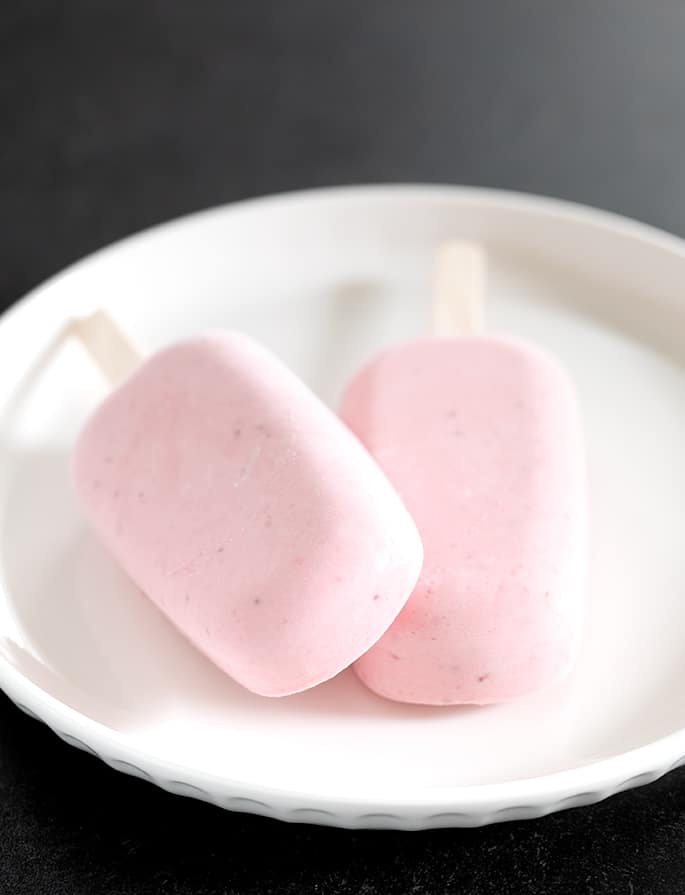
For an innovative and fun twist, why not try cheesecake popsicles? This serving style is an absolute winner during the summer months. Pour the filling into popsicle molds, and freeze them until fully set (the sticks won't budge when you grab them). Plus, these cheesecake popsicles can be made well in advance and enjoyed as a cool treat on a hot day.
4: Mini Cheesecake Cups
You can also turn the recipe into cute, bite-sized mini cheesecake cups using a mini muffin tin. These are perfect for cocktail parties or large gatherings where guests can easily pop one into their mouths.
Topping and decorating
You can decorate the cheesecake with fresh strawberries, a drizzle of strawberry syrup, or a dollop of whipped cream. Create a delicious strawberry topping with gluten free vanilla ice cream, or chocolate chips and gluten free cookie crumbs or freeze-dried strawberry powder.
A strawberry pie without Cool Whip
I'm continually surprised by how amazingly delicious a no bake cheesecake can be. And that is doubly true since Cool Whip, bless its heart, is not in the list of ingredients.
Anything made with Cool Whip to me just tastes, well, like Cool Whip. Certainly not cheesecake, that's for sure.
Smooth and creamy, and filled with real, fresh-tasting strawberry flavor, this cheesecake gets the texture just right—even without all the fuss of an oven and a water bath and all that jazz.
Gluten free strawberry cheesecake: Ingredients and substitutions
Can you make gluten free strawberry cheesecake dairy free?
I'm afraid I don't think you can make this recipe without dairy. The heavy whipping cream can be replaced with coconut cream that is whipped into soft peaks, similar to dairy cream.
But I have never tasted a dairy-free cream cheese that truly tastes like “real” cream cheese. I've tried so many of them, and I just don't care for the taste. If you have one that you love, it might be worth trying, though.
Can you replace the gelatin in this gf strawberry cheesecake?
The gelatin provides the structure to this recipe that would be provided by eggs in a classic baked cheesecake. I don't recommend just leaving it out, which will result in a cheesecake that really has to be frozen, or at least extremely cold, to slice cleanly.
If you're comfortable working with agar agar, you may be able to use it to replace the gelatin in this recipe. I'm afraid I don't have experience with it (yet!), so I can't offer any guidance.
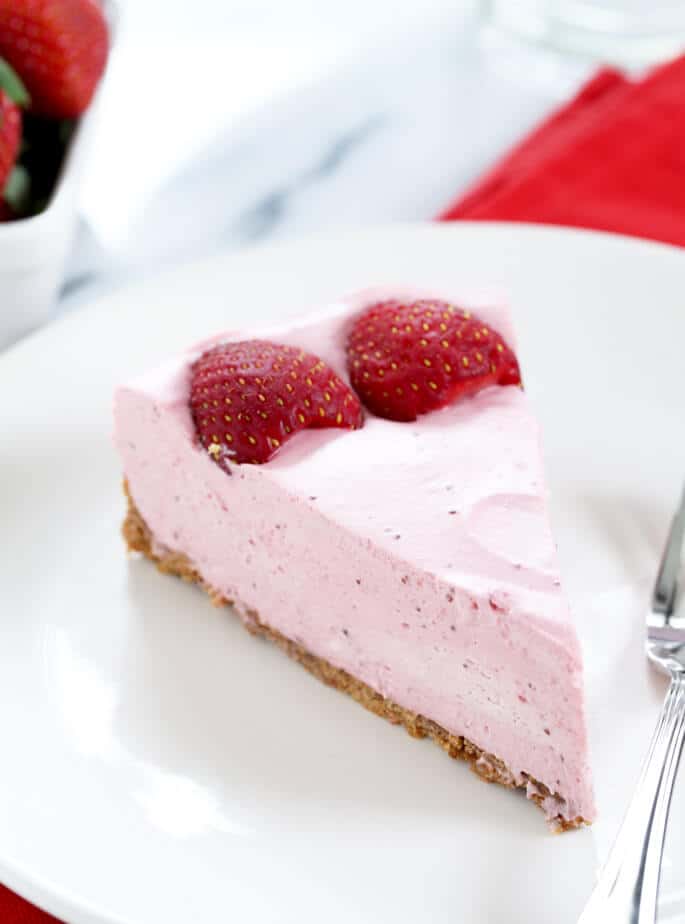
Gluten Free Strawberry Cheesecake
Equipment
- Hand mixer or stand mixer
Ingredients
For the crust
- 1 ½ cups (225 g) gluten free crunchy cookie crumbs, (I used crushed gluten free graham crackers)
- 6 tablespoons (84 g) unsalted butter, melted
For the cheesecake filling
- 1 pound (16 ounces) frozen strawberries, (or hulled fresh strawberries)
- ¼ cup (2 fluid ounces) lukewarm water
- ½ cup (100 g) granulated sugar
- ¼ teaspoon kosher salt
- 1 tablespoon (8 g) unflavored powdered gelatin, (See Recipe Notes)
- 1 cup (8 fluid ounces) heavy whipping cream, chilled
- 2 8-ounce packages (16 ounces) cream cheese, at room temperature
- ½ cup (58 g) confectioners’ sugar
For decorating
- Sliced fresh strawberries, for decorating (optional)
Instructions
Make the crust.
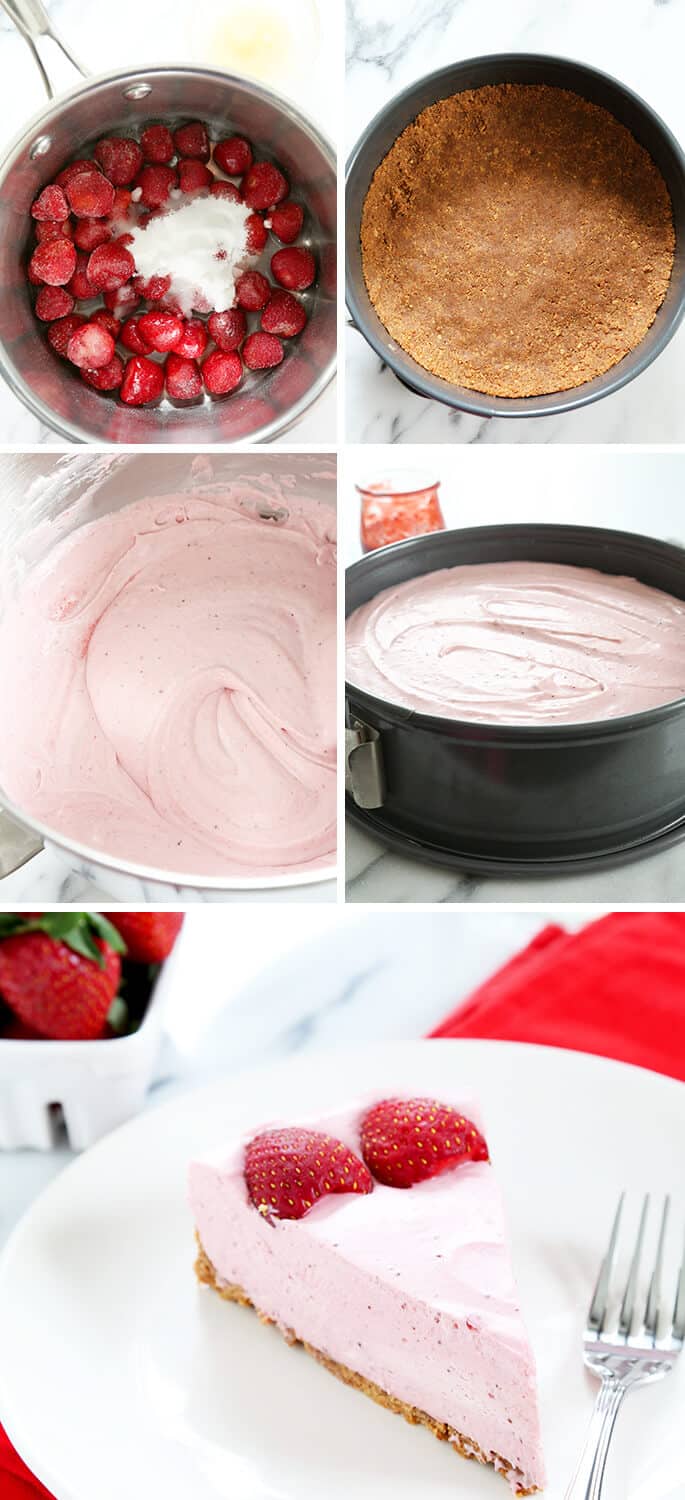
- In a large bowl, mix the cookie crumbs and melted butter until well-combined. Press the mixture into the bottom and up the sides of a 9-inch springform pan or deep-dish pie plate.
- Place the pie plate in the freezer until firm (at least 10 minutes, but longer is fine). You can also make this cheesecake into popsicles or into individual servings in mason jars, and you won’t need a crust.
Make the strawberry puree filling.
- In a medium-size, heavy-bottom saucepan, place the frozen strawberries, 2 tablespoons (1 fluid ounce) of the lukewarm water, granulated sugar and 1/8 teaspoon kosher salt.
- Cook over medium-high heat, stirring frequently, until the strawberries are very soft, and the mixture is bubbling (8 to 10 minutes).
- Blend the strawberry mixture with an immersion blender or by placing the hot mixture in a standard blender (taking care to leave enough room in the blender for the hot liquid to expand during blending).
- While the strawberries are cooking, place the remaining 2 tablespoons (1 fluid ounce) water in a small, heat-safe bowl, add the powdered gelatin and stir to combine.
- Set the gelatin aside and allow it to swell in the liquid.
- Once the strawberries are cooked and pureed, set the mixture aside to cool briefly.
- You will have about 1/2 cup leftover strawberry puree, which can be stored in the refrigerator for up to a week and used to make strawberry milk, or to drizzle over ice cream.
- Melt the gelatin mixture in the microwave for about 15 to 20 seconds on HIGH power and set aside to cool briefly.
Finish the filling.
- In the bowl of a stand mixer fitted with the whisk attachment or a large bowl with a handheld mixer, place the chilled whipping cream and beat on medium-high speed until soft peaks form.
- Transfer the mixture to a separate bowl and place in the refrigerator.
- In the same bowl, place the cream cheese, remaining 1/8 teaspoon kosher salt, and confectioners’ sugar. If using a stand mixer, switch to the paddle attachment.
- Beat the mixture on high speed until very light and fluffy (about 2 minutes).
- With the mixer speed on low, add the melted gelatin mixture, then about 1 cup (8 fluid ounces) of the strawberry mixture to the cream cheese mixture and beat until smooth and well-combined.
- Remove the whipped cream from the refrigerator and carefully fold the whipped cream into the strawberry cheesecake mixture until only a few white streaks remain. Be careful not to deflate the whipped cream.
To make a 9-inch cake.
- Remove the crust from the freezer, and pour in the filling, spread it into an even layer, and decorate with the optional fresh strawberries.
- Place the pan in the refrigerator to chill for at least 2 hours and up to 3 days. After 2 hours, cover the pan with plastic wrap to prevent the cake from drying out. Unmold, slice and serve chilled.
To make popsicles or individual servings.
- Pour the mixture into popsicle molds or small mason jars, filling the containers nearly full.
- Insert popsicle sticks into the popsicle molds, and place in the freezer for at least 2 hours or until fully formed.
- For the individual servings, top each with an optional fresh strawberry, cover tightly, and place in the refrigerator to chill for at least 2 hours and up to 3 days.
Video
Notes
Nutrition information is automatically calculated, so should only be used as an approximation.



This is delicious! Rave reviews from all my family. I used GF Oreos for the crust and that bit of chocolate flavor with the strawberry was perfect. I made them in muffin cups for easy travel & serving. Will definitely make this again.
Sounds delicious, Lisa! I love the GF Oreos. So glad you enjoyed the cheesecake!
Can I use a pretzel crust?
Since this is a no-bake filling, Patricia, you really can use any crust you like that will hold together properly. Just don’t cook the filling no matter how you prepare the crust. If you have a pretzel crust that you like, I don’t see any reason why you can’t prepare it according to the recipe you have, fill it as instructed here, and let it set as instructed in this recipe.
Can I substitute corn starch or flower for the gelatin?
No, I’m afraid that isn’t a proper substitute for gelatin and won’t help the cheesecake set up.
I have a ridiculous amount of fresh raspberries that I need to put to delicious use. Any prediction on the substitution of raspberries to strawberries? I usually rice some of my raspberries to remove some of the seeds. I’m concerned raspberries are much more “watery” than strawberries.
Thoughts? I can only make so much jam with this bounty :)
Hi, Carie, the short answer is that I do think that raspberries would work, but you’re right that you’ll want to remove the seeds—and probably cook it down a bit more to thicken the mixture. Once you’re done cooking and pureeing the berries, just pass the mixture through a fine mesh sieve to remove the seeds. That should do it. I’m jealous of your bounty! But I am sympathetic to your plight. It would be a shame to freeze too many of those, since you can buy them frozen any time.
If you are trying to make it lactose free, what is a good substitute for the whip cream?
Please see the Ingredients and substitutions section, Ella!
What brand of cream cheese is gluten free? I called about Philadelphia brand cream cheese several years ago and the company said it could not guarantee that it was gluten free.
Hi, Lynn, Philadelphia brand cream cheese is made by Kraft, which practices truth in labeling which means that they don’t hide any allergens in their ingredients. If something like maltodextrin is derived from wheat, the label will say so. That’s really all the information I have, as I always use Philadelphia cream cheese without an issue, as its contains statement only lists milk.