This post may contain affiliate links. Please read our disclosure policy.
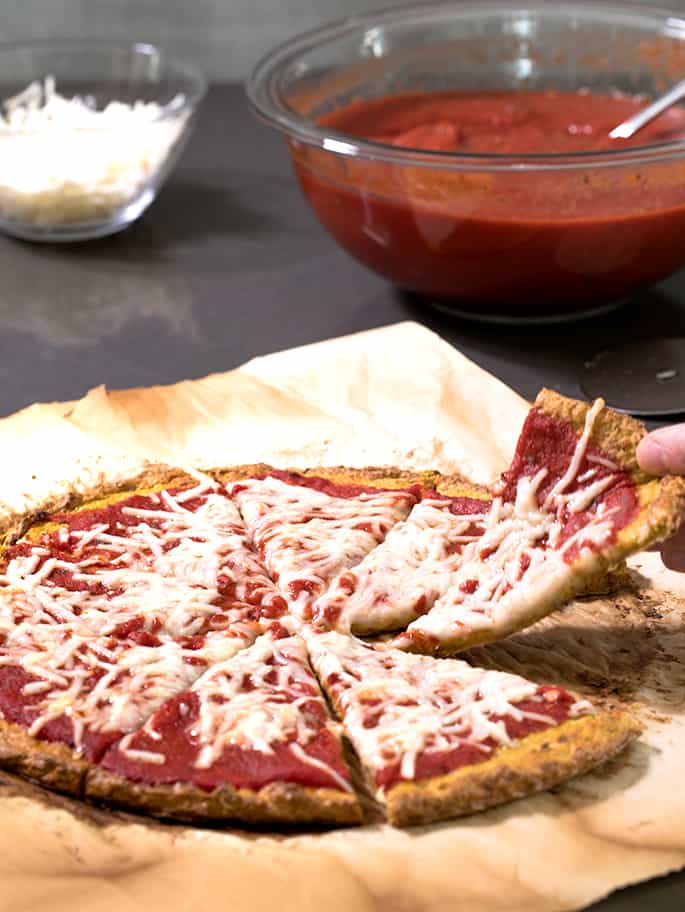
This cauliflower low carb pizza crust is the perfect savory thin-crust pizza base that suits nearly every dietary need, is Weight-Watchers friendly and still manages to be naturally dairy-free.
Low carb, keto and cheese
Have you ever noticed that the vast majority of “low carb recipes” out there, at least on the Internet (I've never purchased a low carb cookbook), are absolutely dominated by cheese? I suspect that, in a few years' time, all of that cheese in low carb and keto diets will be found to be unhealthy.
Now, I'm not a nutritionist and have never ever been willing to tell anyone how to eat (well, except for my children but even that only goes so far). I rarely provide nutritional information (although I've provided it here as an estimate only), and refuse to judge anyone's personal choices—or allow anyone else on my website or social media channels to do so either.
The world did not need another recipe for the usual cheese-based cauliflower pizza. The Internet is lousy with them, and most of them work beautifully. But my oldest (although she adores cheese) can no longer eat cheese, and I just don't want to give my family that much of it regularly anyway.
We've been relatively pleased with Daiya shredded dairy-free cheese, and I recently just ordered some new Vegan cheese made in Greece that I'm pretty excited to try. But we use that all sparingly. And I've tried making the “regular” cauli crust with the cheese replacements, and it's been awful.
One of my favorite things to eat is my zucchini pizza which I love to make in the summertime when my garden is bursting with the stuff. And when all of my family used to tolerate cheese, I made a more “traditional” cheese-based cauliflower pizza quite frequently.
They were both a great way to get some extra vegetables into my oldest child, who loves both of those recipes despite her general hatred of all recipes. She's good, she'll eat some vegetables every day, but not because she usually enjoys them.
But I had been testing both the zucchini and the cauliflower pizza recipes literally for years without cheese with absolutely no success. Generally, cauliflower pizza calls for ricing lightly cooked cauliflower, wringing it dry of moisture and then combining it with eggs and cheese before baking. The texture is great, as long as there's real cheese in there.
The winning dairy-free method
If you want a flavorful cheese-free low carb pizza base, cauliflower is still a great place to start. But if you only rice the cauliflower, without cheese the texture is just so, so wrong. I've choked down those experiments, but I would never even serve them to my family much less recommend them to you!
Finally, the answer was obvious: puree the riced and dried cauliflower along with some eggs, some really flavorful powdered vegetable bouillon that has a nutritional yeast base (I got that idea from my recipe for low carb cauliflower tortillas), and some tapioca starch to serve as both a binder and add some flexibility so the pizza bends (!).
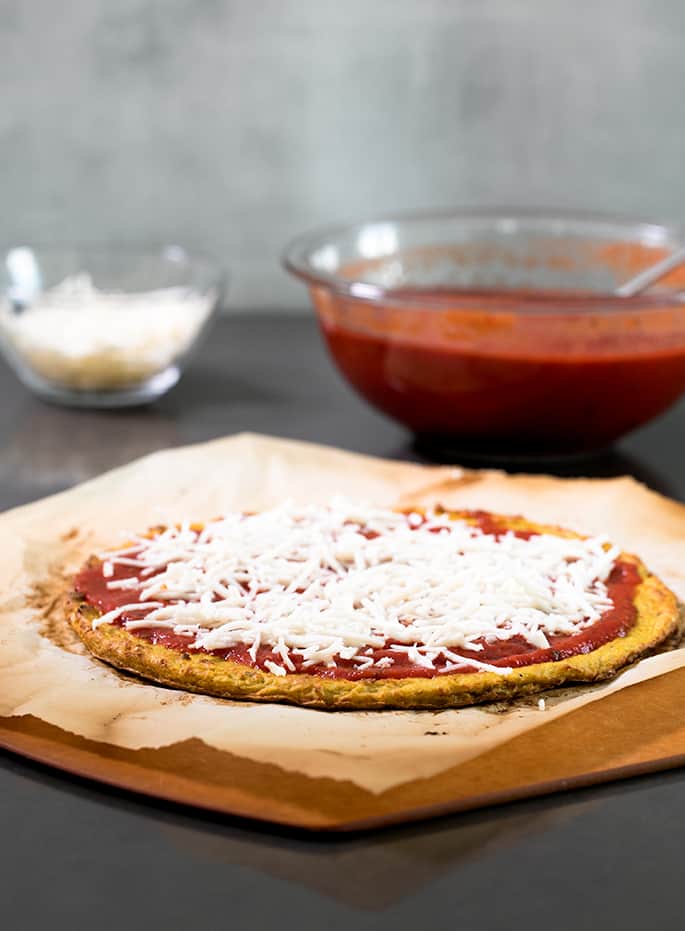
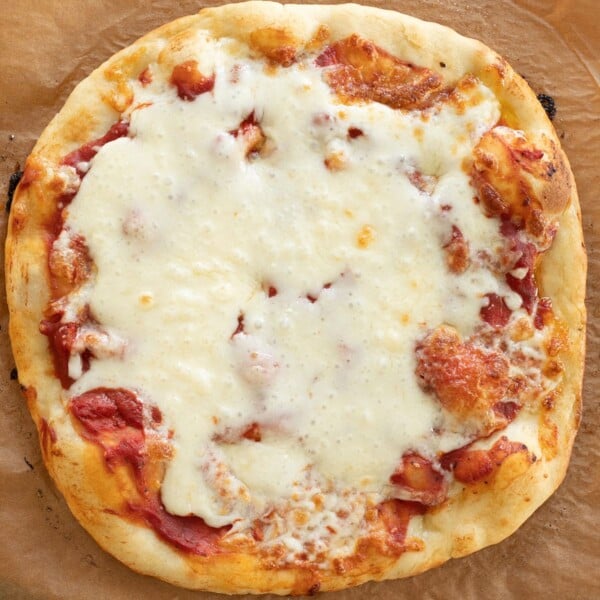
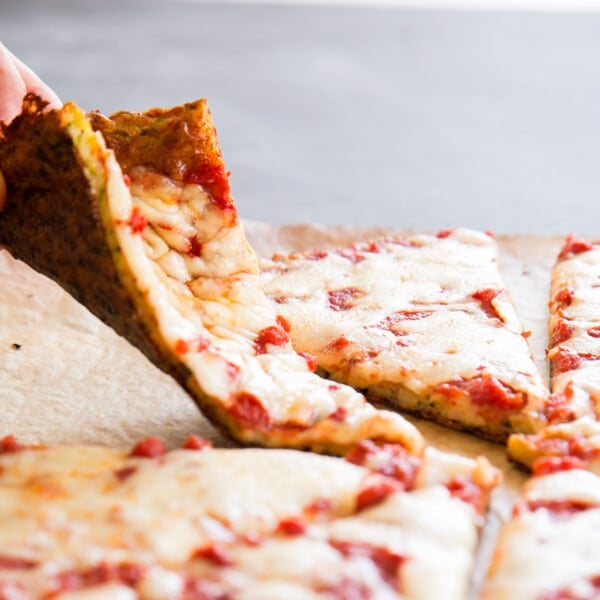
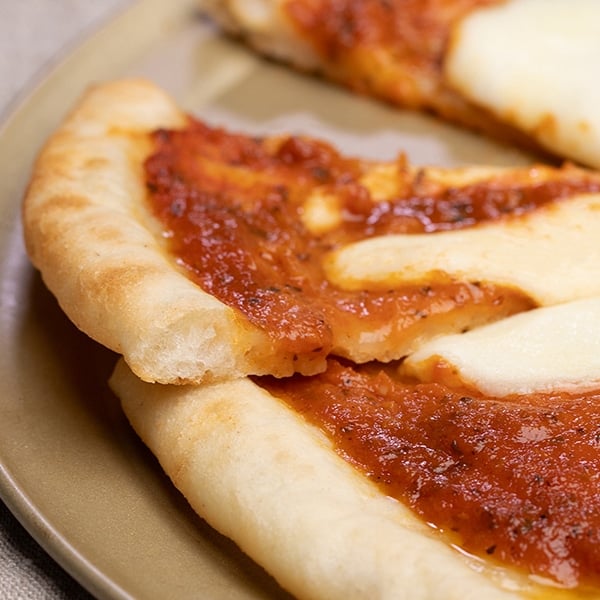
When you spread this simple mixture into a round, and bake it in a really hot oven, it makes such a lovely low carb pizza base with tons of flavor and the perfect crisp-tender texture. You can top it with a simple tomato sauce and some vegan cheese, leave it plain or top it with whatever you like. Once you've par-baked it, you can even refrigerate or freeze the base for later use.
Weight Watchers and Carb Counts
I don't really love the idea of counting WW points or carbs, and am certainly not encouraging anyone who isn't already doing that to do so. But if you call something “low carb” and say it's Weight Watchers-friendly, you'd better have the goods!
If you're following Weight Watchers, this recipe, as written, only has 5 SmartPoints in the entire pizza (without toppings). One-quarter cup of Daiya mozzarella shreds and as much simple oil-free tomato sauce as you like only adds another 3 SmartPoints, too.
The carb count is only 42.9 net carbs for the whole without any toppings (5.4 net carbs for one of 8 slices, according to Cronometer). I really don't like online nutritional information, as it's so imprecise. But there it is, for what it's worth (the label that I generated through Cronometer is in the recipe card below).
Ingredients and substitutions
This is a 4-ingredient recipe, so each ingredient is essential to its success. Making substitutions is going to be difficult, but here are my best-educated guesses. Unless specifically stated otherwise, I have not tried these substitutions.
Egg-free: Diving right into the hardest one, there are 2 eggs in this recipe and theoretically you should be able to replace them with a “chia egg” for each (1 chia egg = 1 tablespoon ground chia seeds + 1 tablespoon lukewarm water, mixed and allowed to gel). But I'm really just not sure here! If you've ever been tempted to try a “boiled flax egg” this would be the time to go for it!
Tapioca starch: Tapioca starch/flour (starch and flour are the same thing here!) is always a tricky one to replace as it's unique in its stretchy properties. You could try replacing it with arrowroot and see how it goes? If you decide to try, please let everyone know!
Vegetable bouillon powder: I adore my homemade vegetable bouillon powder. I almost always have a batch or two in a mason jar in my refrigerator. It's so easy to throw a bunch of it into boiling water and create instant soup (or gluten free ramen recipe) at home or even for an office lunch. It's absolutely packed with flavor from all the amazing spices in just the right balance.
There are store-bought vegetable bouillon powders, and if you have one you really like, it should work here. A better substitute, though, and one that I know works (but produces a much blander low carb pizza base), is simply 1/4 cup of nutritional yeast flakes + 1/4 teaspoon kosher salt.
Cauliflower: With this, and any other recipe that is made with “riced” cauliflower, please use as much elbow grease as you can muster to wring all the moisture out of the cauliflower. If you don't, your mixture will be loose and wet and you'll have to start adding things to get it to the proper consistency. Just wring it, and then wring it some more!
The only possible substitute I can imagine is shredded zucchini. You might be able to grate an equal amount of raw zucchini, and then wring that dry and use it in place of the riced, cooked and dried cauliflower. But absolutely no promises here. Unless you're actually allergic to cauliflower, just use cauliflower!
Cauliflower Low Carb Pizza Crust

Ingredients
- 12- ounces frozen riced cauliflower, defrosted (or 4 cups raw cauliflower florets) (See Recipe Notes)
- 2 (100 g (weighed out of shell)) eggs, lightly beaten
- 3 tablespoons (20 g) homemade vegetable bouillon powder, (or substitute 1/4 cup (20 g) nutritional yeast flakes + 1/4 teaspoon kosher salt)
- ¼ cup (36 g) tapioca starch/flour
- Tomato sauce and dairy-free shredded cheese substitute, for topping (optional)
Instructions
- Preheat your oven to 400°F. If you have a pizza stone, place it in the oven before preheating as it will help the pizza base to crisp during baking. If not, place a cookie sheet in the oven instead.
- Place the defrosted (or cooked), riced cauliflower to a large tea towel, cheesecloth, or fine mesh bag. Gather the towel, cloth or bag tightly around the contents and wring out all of the moisture. There will be more than you expect.
- Keep wringing until the cauliflower is clumped and as dry as humanly possible. Set it aside. This step can be completed days ahead of time, placed in a sealed container and stored in the refrigerator until ready to proceed with the recipe.
- In a food processor (a miniature one will work just fine), place the dried, riced cauliflower and the eggs, and pulse until well-combined and as smooth as possible. It will have a curdled texture, but there shouldn’t be any larger pieces of cauliflower visible.
- Add the powdered vegetable bouillon (or nutritional yeast and salt), and the tapioca starch, and pulse again until the mixture is well-combined and as smooth as possible.
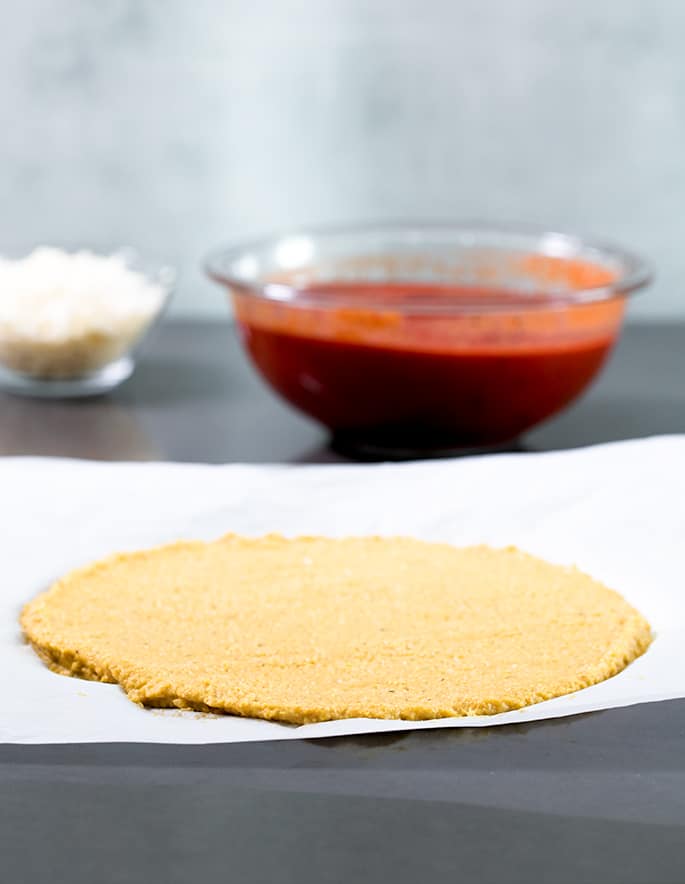
- Transfer the entire mixture to a large, square piece of parchment paper. Using an offset spatula or large spoon, spread into a round about 10-inches in diameter and 1/3-inch thick, smoothing the top as much as possible. Use the flat edge of the spatula or a butter knife to create a raised edge around the perimeter of the pizza.
- Transfer the crust on the parchment to the pizza stone or cookie sheet in the hot oven and bake for 10 minutes. Working quickly, flip the pizza crust over and continue to bake for another 3 minutes to help brown the top.
- Raise the oven temperature to 425°F. Remove the crust from the oven and top as desired (or allow to cool completely on a wire rack, wrap tightly and store in the refrigerator for 2 days or the freezer for longer storage).
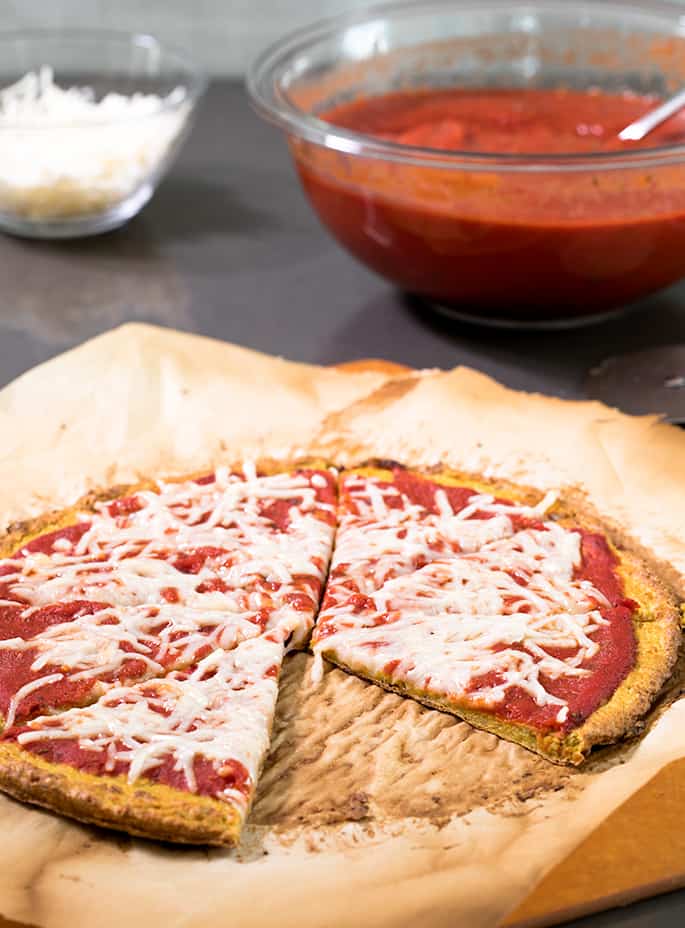
- Return the crust to the oven and bake at 425°F until the toppings are set, the cheese melted, and the edges very browned (about another 5 minutes). Remove from the oven and serve immediately.
Video
Notes
Nutrition information is automatically calculated, so should only be used as an approximation.



I have tried the VioLife vegan cheese which is a Greek cheese and it is wonderful! The best mild cheddar, smoked provolone, mozzarella and Parmesan. The Parmesan grates nicely. This is my cheese of choice! Next to that one I like Follow Your Heart Cheeses.
I agree, RuthAnn! It’s awesome. I just wish I could find it in a store near me, but I think that their distribution will continue to expand. I like the Follow Your Heart cheeses, too, but most are soy-based and my one dairy-free child is also soy-free.
No video with Internet Explorer? Try this scheme.
1. Click on the “Gear” icon which is at the top right-hand side corner of the
browser window
2. Click on the “Compatibility View Setting” and click “Add” this site
3. Click to Check the “Display intranet sites, in compatibility view” as well as Use “Microsoft compatibility lists” options.
4. Restart the browser and the problem should be fixed.
If the video won’t play it may be that you’re using Internet Explorer IE11 as a browser. Try using Chrome instead.
Is that an issue with IE11, Anton? Thanks for mentioning that as a possibility!
Yes. It seems to be an issue that MS is loath to correct. BTY, kudos to you for posting the formulas/recipes ingredients by weight instead of by volume.
Correction: in addition to volume
That’s really good information, about the videos, Anton. Thank you so much for chiming in! I really had no idea that might be an issue. And glad you enjoy the weight and corresponding volume measurements.
“The video is available in the last photo (the one that has a ▶️ button). It’s there! You have to click on the button, not just anywhere in the photo.”
Nope. No arrow button on any photos (in any of your posts, not just this one), on my computer. It’s the only problem I’ve had with your recipes. I’d really like to be able to refer to the videos.
I’m afraid I don’t have any idea why there aren’t any videos available to you on any of my posts, Sharon! I have over 100 videos that play on my site. They’re hosted by my ad network, so I can ask them if they have any ideas of why that might the case for you, but I’ve never heard of that particular issue before, I’m afraid! I really wish I could help. So sorry!
Nope. Cannot find the play button for the video. Checked all the pictures and found nothing, even clicked the button in the copy. Your directions are clear.
I think I might know what is happening! I added the video after I first published the post, and you may be looking at a cached copy of the page from before it had a video uploaded. Have you tried clearing your browser’s cache and then loading the page again? That’s the only thing I can think of! So sorry for all the trouble.
Dear Nicole, I am not a celiac but I like to eat with little gluten, and I found you. It has been a great help, I am a vegetarian so I always try to find (or invent) the best recipes, I like to eat tasty. Just to say; ¡ thank you!, one drop plus another makes an ocean. To give is to be one awake drop. :)
I imagine that you have tried the vegan cheese, there are a lot of alternatives, and the most of them are making with cashews and different fermented seeds.
Hi, Patricia,
My pleasure! I’m really glad this recipe is useful to you. I actually have quite a lot of vegetarian recipes on the blog, so you should be all set in many ways. I have in fact tried many vegan cheeses, and in fact just tried another one that I ordered by mail and is really the best so far—but it’s just not very readily available in the U.S. The brand is Violife. I am hopeful that it will have expanded distribution so that I can buy it locally. Mail ordering a refrigerated product tends to be quite expensive!
Hi Nicole, Is it just my computer or is the video you spoke of not in the post? I’ve scrolled up and down the entire page several times (even clicking on all the photos) and I can’t find it! ~ All’s grace, Mrs. O
The video is available in the last photo (the one that has a ▶️ button). It’s there! You have to click on the button, not just anywhere in the photo.
Nicole: I bought a bag of riced cauliflower from Costco to try my hand at pizza crust. My question is how does one cook the cauliflower first, do you just microwave it or do you boil it before placing in the cheesecloth and then the processor? Thank you kindly!
Hi, Patricia, if the riced cauliflower you bought is raw, you’ll need to steam cook it before using it. Just use the instructions provided in the cauliflower tortillas that I linked to in the recipe here. (Here’s the link again.) For future reference, I’d really recommend buying frozen riced cauliflower, as it’s already blanched and all you have to do is defrost (which can even be done at room temperature), wring dry and use.
Nicole, I checked my bag of Tapioca starch, and it’s 26g of carbs for 1/4 cup – could your calculation be off?? This is a really important number for kids with Type 1 diabetes who have to count carbs to dose the right amount of insulin. thanks – love your recipes and cookbooks!
Oh my gosh, Barb, yes! You’re right and I’m so sorry. I kept going back and forth between including nutrition info for the whole pie and for one slice of 8 and I guess I got confused! I will fix things right away!! Thank you for pointing that out.