This post may contain affiliate links. Please read our disclosure policy.
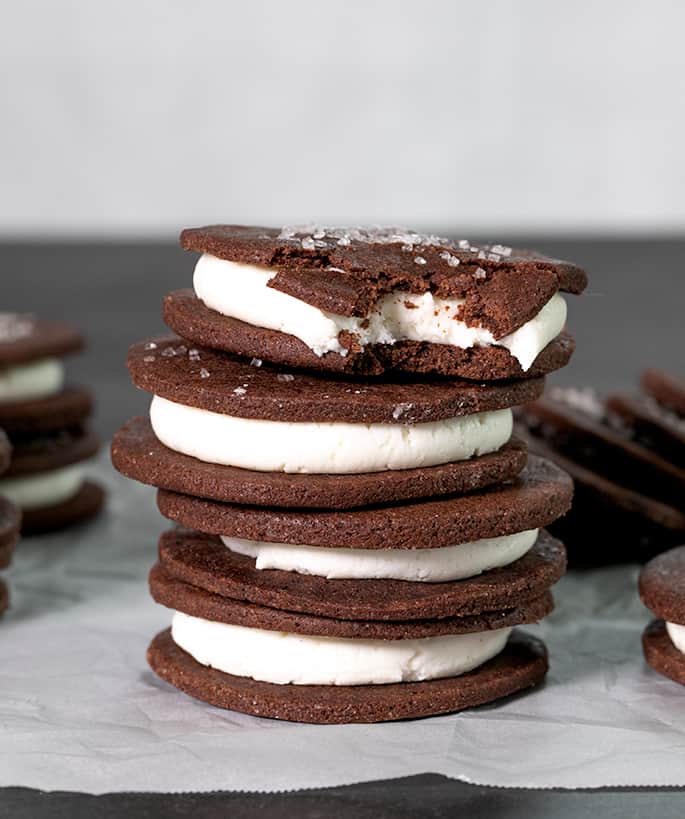
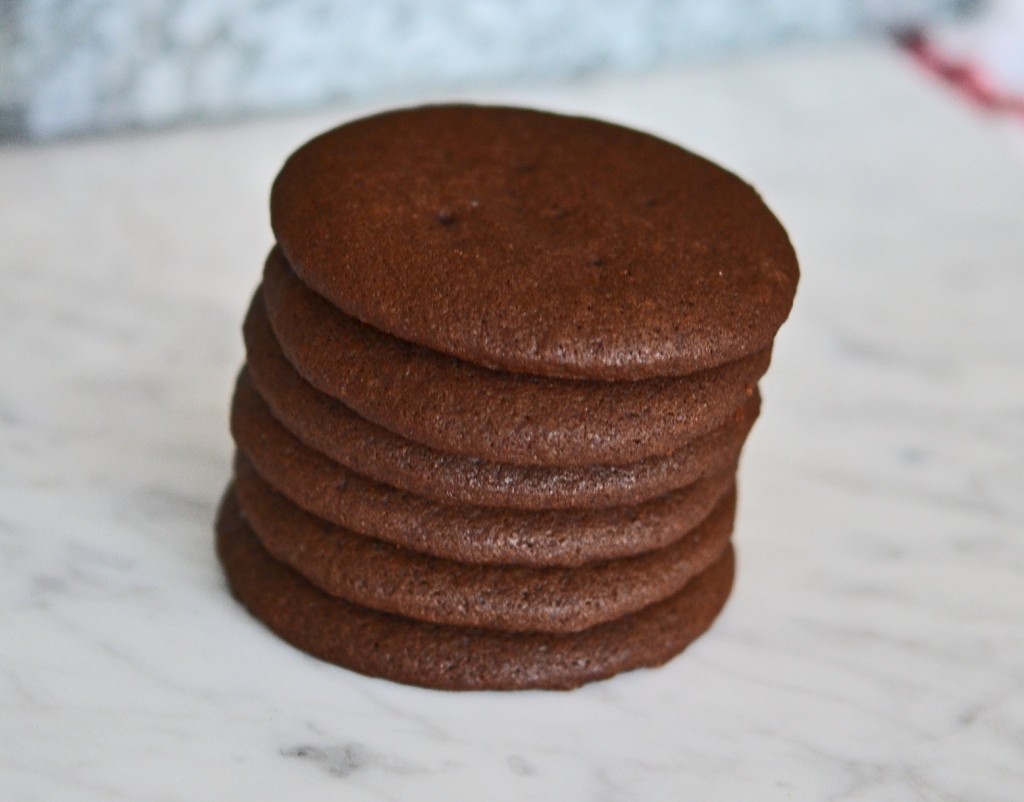
These gluten free soft chocolate wafer cookies are perfect for enjoying alone, making into homemade chocolate sandwich cookies or crumbling over ice cream. They also make the most lovely ice cream sandwiches.
What these soft cookies are—and aren't
When you bite into a soft chocolate wafer cookie, it yields. There is little to no effort involved. It practically melts in your mouth.
Soft cookies like these make for the absolute perfect ice cream sandwich cookie. The sandwiches don't have to be made in advance and allowed to sit for the ice cream to soften the cookies.
They're not for making no-bake icebox cakes. Oh, no no no. I'll ask you to please leave that job to our thin and crispy chocolate wafer cookies. The same goes for making the crust for, say, a classic gluten free cheesecake.
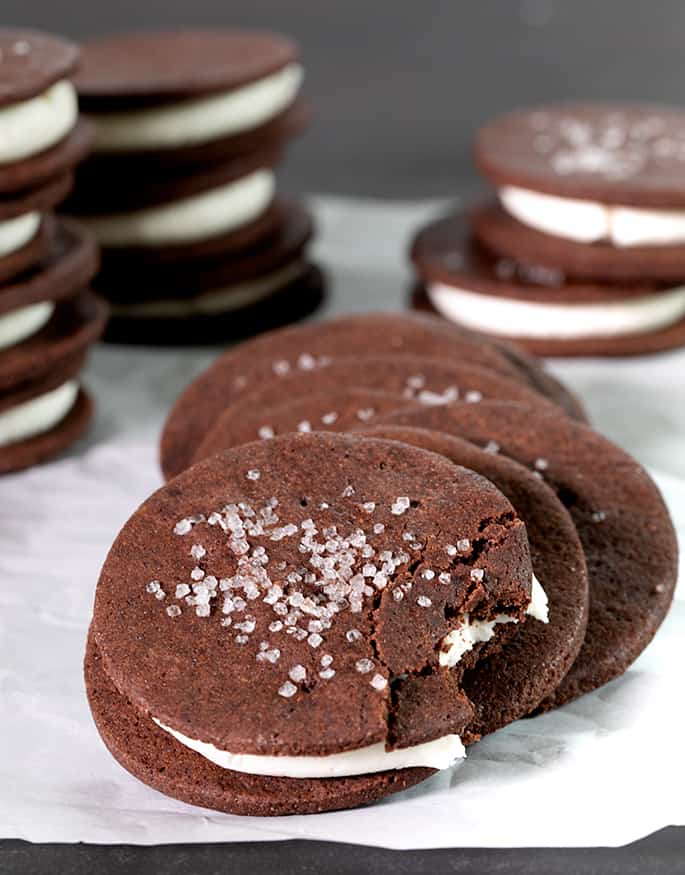
When I took a bite of that sandwich cookie you see just up there ??I barely had to finish biting it. It practically bit itself.
I'm not saying that because it's the perfect cookie for lazy people. Even lazy people can bite all the way down, especially when it comes to cookies.

Rolling out cookie dough
Please just wait and hear me out. I know you don't like to roll out any dough, including cookie dough. For some of you, it's even a deal-breaking “page-turner.”
You see a recipe that calls for rolling out cookie dough (or cracker dough (lots of rolling out dough tips in that link)), and you're out of there. But this recipe is different, for real.
The dough is so incredibly soft when it's first made that it rolls out incredibly easily between two sheets of parchment paper. And since you're not rolling it thin, but instead 1/4-inch thick, before you start to roll your eyes ?it's already rolled out plenty.
Then, you just press a cookie cutter into the dough, and chill it before you even attempt to remove the shapes from the surrounding dough. That way, it pulls off the paper easily.
Drop cookies
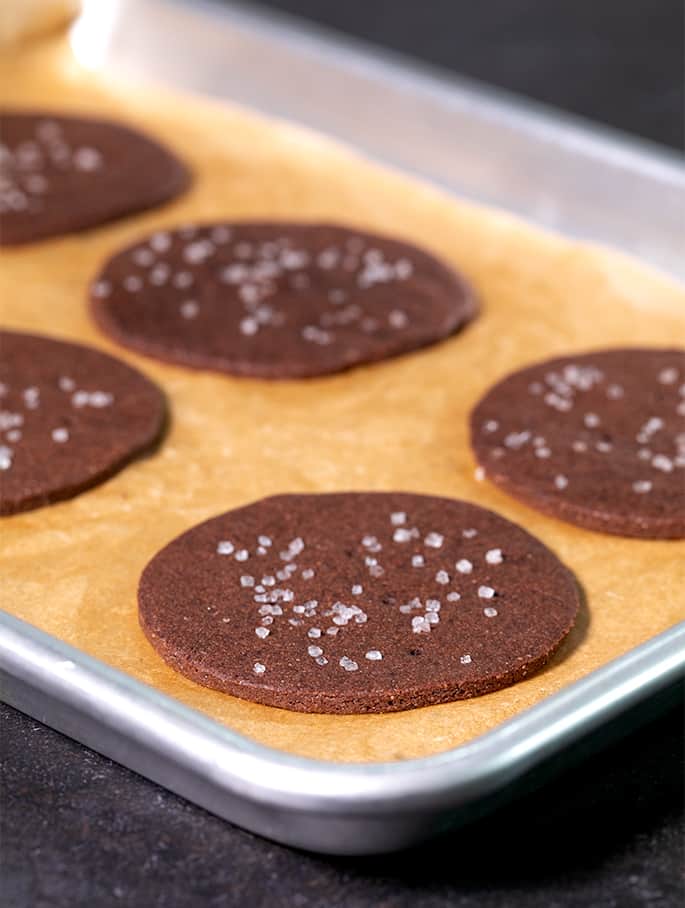
Drop cookies were an absolute failure for these soft chocolate wafer cookies. Since the dough doesn't spread much at all, you would have to press the pieces of dough so flat or you are left with these little blobs.
Before you know it, you're so frustrated that you're covering the blobs with a sheet of parchment paper and rolling them out. Then, you figure you went this far let's just use a cookie cutter and make nice, neat edges. You see where that left me.
Slice and bake
I tried extra hard to make this recipe into a slice-and-bake situation. It was a moderate success. If you are dead-set against rolling out the cookie dough and cutting out shapes, I give you permission to slice and bake.
Here's how. First, press the cookie dough into a very thick cylinder, at least 1 1/2-inches in diameter. Wrap the cylinder tightly in parchment or plastic wrap, and place it in the refrigerator. Chill the dough for at least an hour or until it's firm to the touch.
Once the dough is chilled, unwrap it and slice it by cross-section into disks about 1/3-inch thick. Place each disk gently in the palm of one hand and reshape it into a proper round with the fingers of your other hand.
Consider how much longer this whole thing has taken than just rolling out the dough and cutting it with a cookie cutter. Roll your eyes at me and make your own life choices. ?

Ingredients and substitutions
Dairy-free: The only dairy in the cookie recipe comes from the unsalted butter. The original recipe that I created in 2012 called for mostly nonhydrogenated vegetable shortening, and just a bit of butter. It helped the cookies to spread less since shortening has no liquid and butter has a fair amount.
If you'd like to replace the butter in the recipe as written now, I'd replace the 10 tablespoons of unsalted butter with 5 tablespoons of Earth Balance buttery sticks and 5 tablespoons of nonhydrogenated vegetable shortening. Earth Balance is quite salty, though, so eliminate the salt as an ingredient.
For the stiff sandwich cookie filling, you can use shortening in place of butter. You'll need to add a bit more milk, though, to make the filling the proper consistency.
Egg-free: As always, 2 eggs is my limit for optimism on replacing eggs in any recipes. You can try replacing each egg with a “chia egg” (1 tablespoon ground white chia seeds + 1 tablespoon lukewarm water, mixed and allowed to gel).
You may also want to try adding 1/4 teaspoon of baking powder, though, if you use an egg replacer. The eggs in this recipe do provide structure, but also some lift as there are no chemical leaveners in the recipe as written.
Sugars: You may be able to replace the granulated sugar and light brown sugar with the Swerve brand alternative sweeteners that mimic each of those sugars. Swerve does tend to be drying, though, so you may need to add some water to the dough to get it to the proper consistency. Simply eliminate the optional coarse sugar for sprinkling on top.
Cocoa powder: If you do not want to use Dutch-processed cocoa powder, use an equal amount by weight of natural unsweetened cocoa powder and add 1/8 teaspoon baking soda to the dry ingredients.
Gluten Free Soft Chocolate Wafer Cookies
Ingredients
- 1 ¾ cup (245 g) all purpose gluten free flour blend, (I used Better Batter; please click thru for full info on appropriate blends)
- ¾ teaspoon xanthan gum, (omit if your blend already contains it)
- ½ cup (40 g) unsweetened cocoa powder, Dutch-processed (if natural, add 1/8 teaspoon baking soda)
- ¼ teaspoon kosher salt
- ¼ cup (50 g) granulated sugar
- ½ cup (109 g) packed light brown sugar
- 10 tablespoons (140 g) unsalted butter, melted and cooled
- 2 (100 g (weighed out of shell)) eggs, at room temperature, beaten
- 2 teaspoons pure vanilla extract
- Coarse sugar, for decorating (optional)
- Stiff sandwich cookie filling
Instructions
- Preheat your oven to 325°F. Line rimmed baking sheets with parchment paper and set them aside.
- In a large bowl, place the flour, xanthan gum, cocoa powder, salt, and granulated sugar, and whisk to combine well. Add the brown sugar, and mix well, breaking up any lumps.
- Create a well in the center of the dry ingredients, add the butter, eggs, and vanilla and mix to combine. The dough should come together easily, and be smooth and glossy.
- Divide the dough into two equal portions, and place each between two sheets of unbleached parchment paper.
- Roll each into a rectangle about 1/4 inch thick, and cut out shapes with a cookie cutter (I used a 3-inch round cutter).
- Place the dough on a portable, flat surface like a cutting board and place it in the freezer for 10 minutes.
- Remove the prepared cookie dough from the freezer and remove the cookie dough from around the cutouts.
- Pulling the parchment paper away from the bottom of each cutout piece of dough, remove them from the paper and place about 1 inch apart on the prepared baking sheets.
- With a toothpick or wooden skewer, poke 5 to 6 evenly-spaced holes toward the center of each cutout. These holes will keep the cookies from rising too much.
- Sprinkle the tops of the cutouts lightly with the optional coarse sugar, and press the sugar gently to help it adhere to the cookie dough.
- Repeat with the remaining dough, including the scraps that you pulled away from the cutout rounds.
- Place the baking sheet in the center of the preheated oven and bake until the cookies appear dry on top and have lightened in color, about 7 minutes. Do not overbake.
- Remove from the oven and allow to cool on the baking sheet until firm.
- Once the cookies are cool, you can make the stiff sandwich cookie filling according to the recipe instructions (follow the link in the ingredients list) and pipe about 2 tablespoons of filling onto the underside of half of the cookies, then top each with one of the remaining cookies.
Video
Nutrition information is automatically calculated, so should only be used as an approximation.






Made these used marshmallow in the centre
They are awesome
Ooooh great idea, Liz!
Oh my, these look incredible! I know my husband and daughter will love these, and who am I kidding, me too. I always read your site at night and it *always* makes me hungry! Luckily for me I made your awesome chocolate chip brownies from your cookbook yesterday and there are still a few left.. Thanks again for making GF so good, and good looking too.
I made sure my husband had that one last night, Karen! Otherwise, if I post something that he hasn’t eaten, he gets all huffy. :/
xoxo Nicole
Stupid question. Is the Dutch Processed Cocoa Powder Unsweetened? That may be the only way it comes but I wasn’t sure!
Great timing with summer. I was just at my sister’s and she handed out ice cream sandwiches to the kids. My daughter’s face said it all. You know that face. I am going to make these and keep them in the freezer for the summer. Thanks for all you do!
Nicole, you read my mind! I have been craving ice cream sandwiches with chocolate cookies, and I even posted about it in the forum, and here they are! You rock! I will be making these today! Thanks for all your hard work!
Remember that when you think bad thoughts, Jen! Who am I kidding. I live in a glass house, so I throw no stones. :)
Glad I could help – in a timely fashion.
xoxo Nicole
These look awesome Nicole! Have you ever heard of ice box cake? It is my father’s favorite. It is pretty simple concept~ chocolate cookies and whipped cream stacked together. You let it sit overnight and the crisp cookies become soft like a cake. I am thinking these cookies would do that. I have been dying to make a gluten free version. I want my dad to know how good gluten free can be, as the stubborn man would feel so much better and his health would improve if he went that route. But he is stubborn and he refuses to listen to his daughter, lol. I can win him over slowly :)