
This post may contain affiliate links. Please read our disclosure policy.
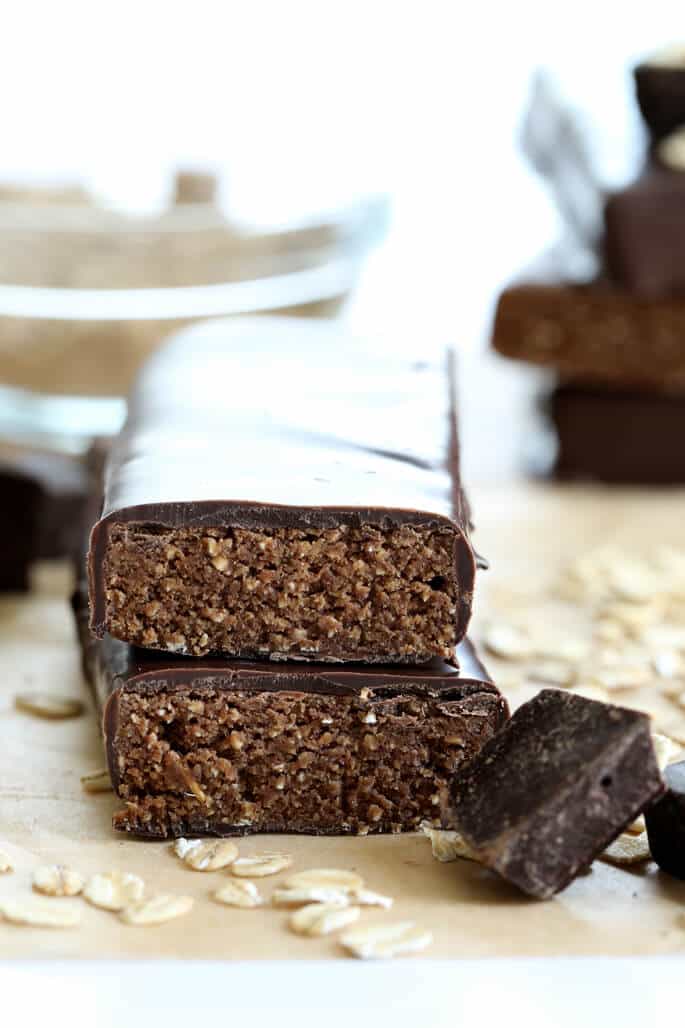
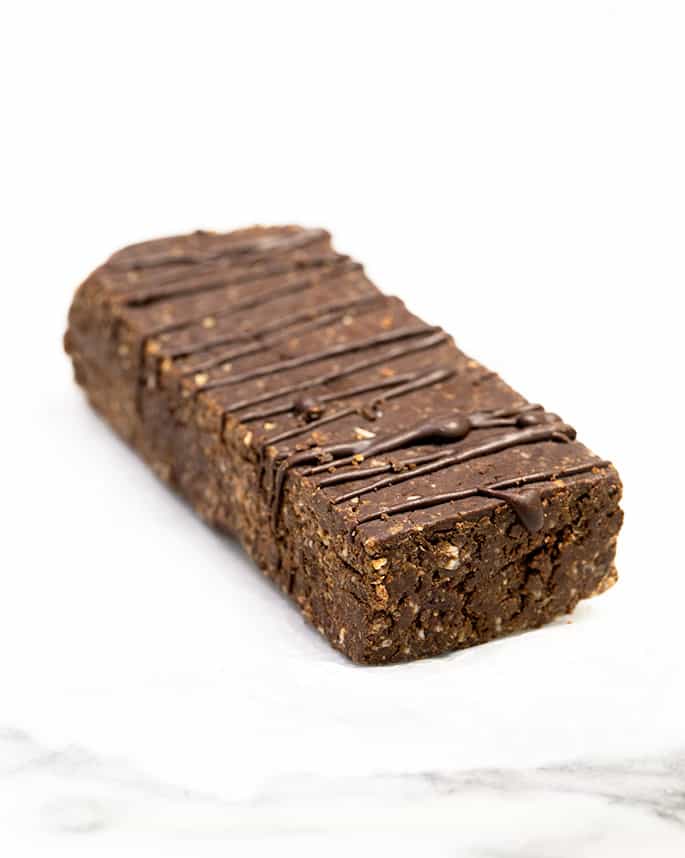
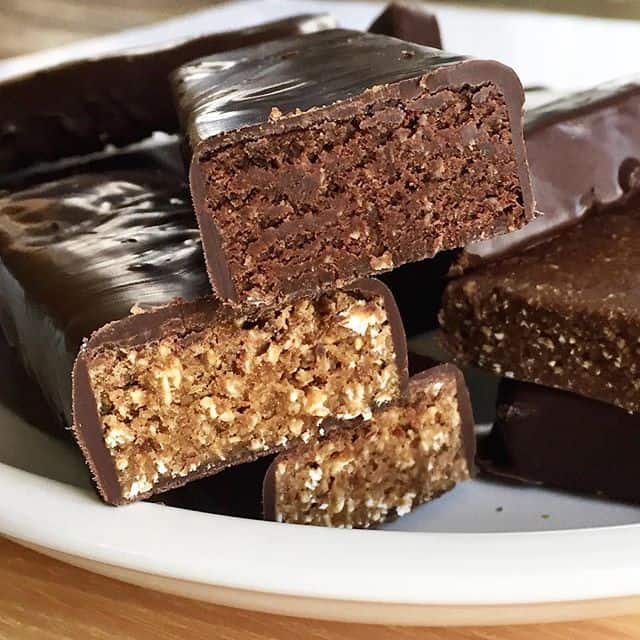
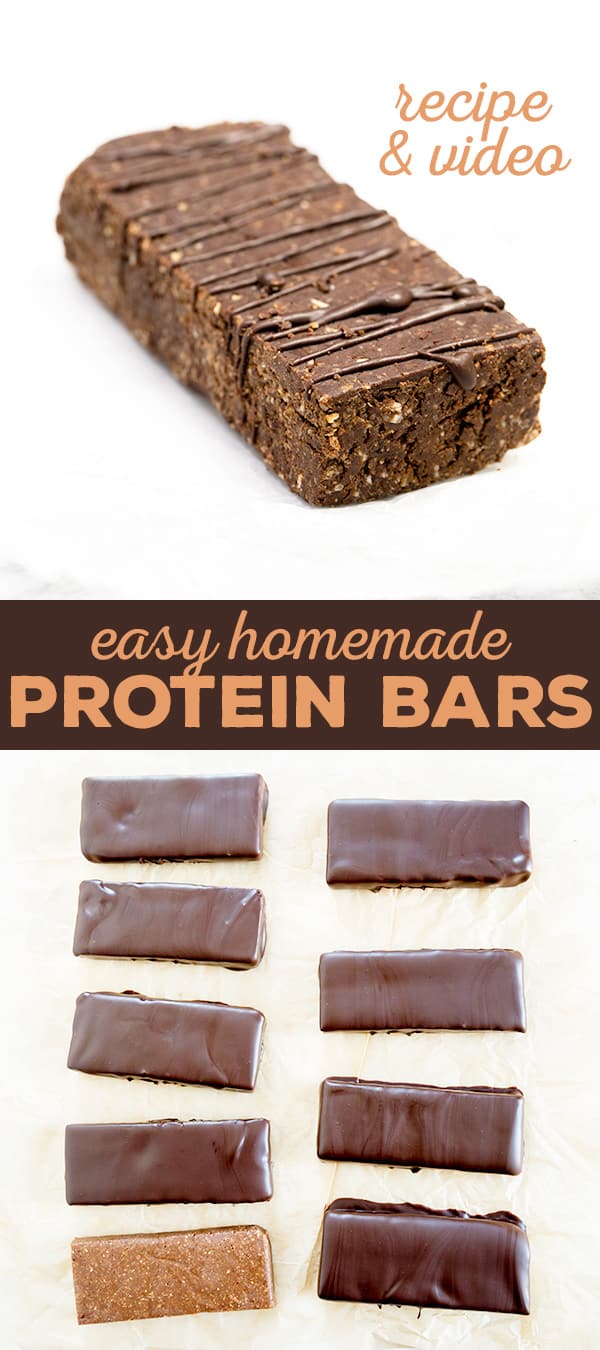
These homemade protein bars are no-bake, high-protein, and totally customizable—made with your favorite protein powder and simple pantry ingredients.
This recipe keeps things simple: no baking, no fuss, and no peanut butter required (unless you want it).
“This has been such a helpful, cost effective and healthy substitute for store bought protein/granola bars. No artificial sweeteners or weird ingredients and way less sugar. Thanks for these!”
my take
Key benefits of this recipe
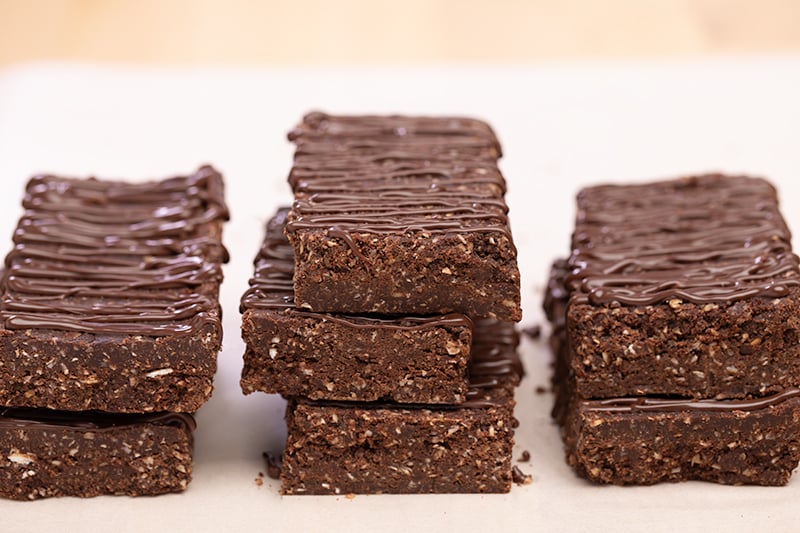
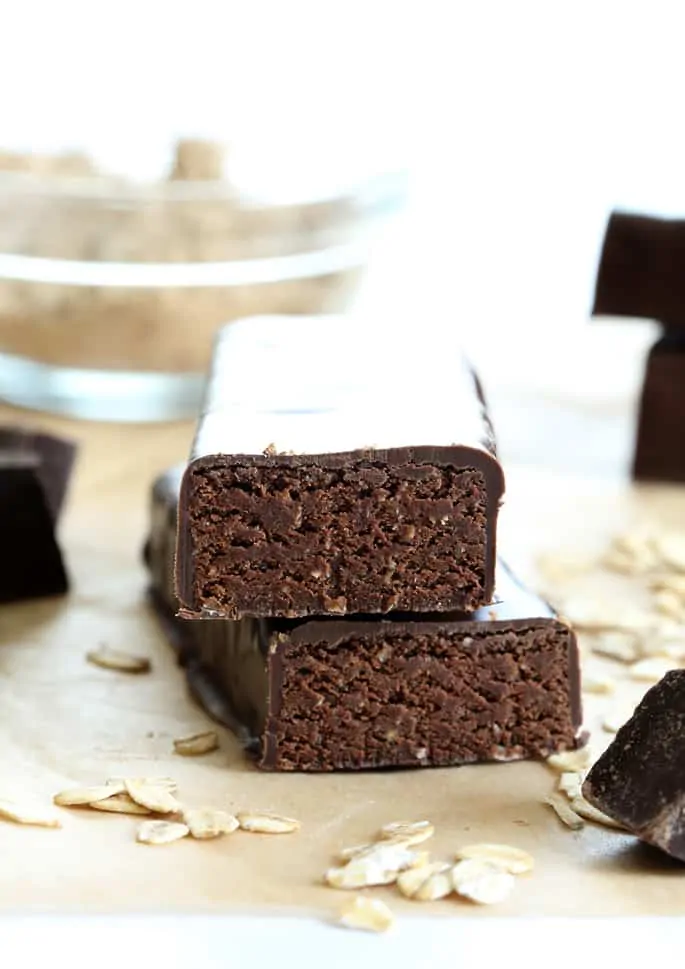
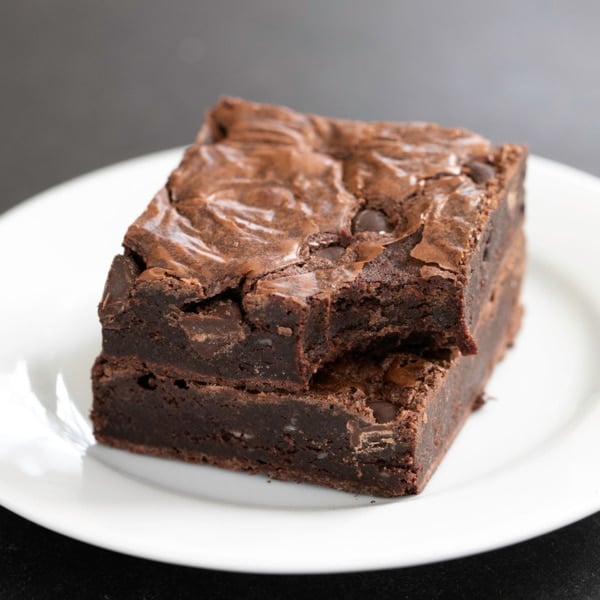
- Rich & soft texture – Like a brownie, but better for you.
- Totally customizable – Use oats or coconut, nut butter or dates, chocolate or fruit.
- Naturally nutritious – 13g protein, whole grains, no refined sugar.
- Easy to make ahead – No baking required; fridge-ready in an hour.
- Saves money – Make a week’s worth of bars for less than a store-bought pack.
Recipe ingredients
This recipe has two base versions: one made with dates (nut-free), and one with peanut butter (no dates). Both share a set of core ingredients, with a few unique to each version.
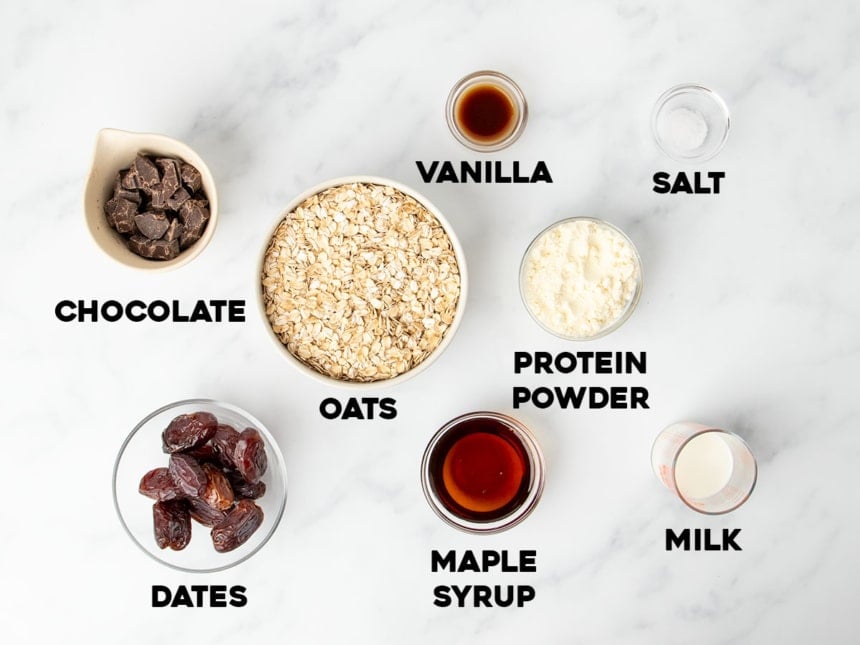
In the dates version only (nut-free)
- Dates: The sticky binder for this version. Medjool dates work best for moisture and rich caramel flavor. If using drier Deglet Noor dates, soak them in hot water for 10 minutes first.
- Vanilla: Adds flavor depth and rounds out the natural sweetness.
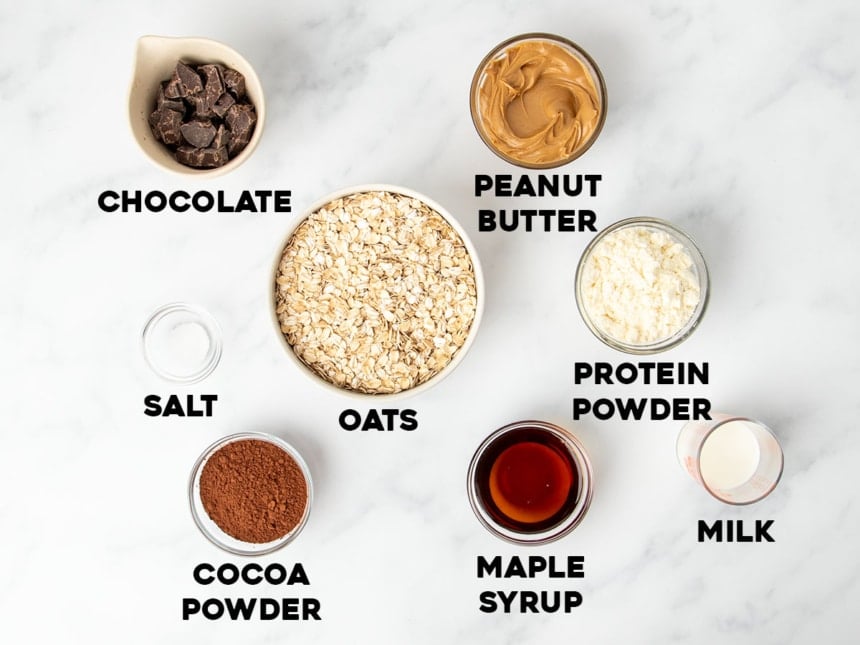
In the peanut butter version only
- Nut butter: Use a no-stir variety like Jif, Skippy, or Barney Butter for structure. Avoid drippy natural nut butters. Wow Butter works for a nut-free option.
- Cocoa powder: Deepens the chocolate flavor and helps thicken the mixture. Dutch-processed is best, but natural works, too.
In both versions
- Oats or oat flour – Ground oats form the base. You can use oat flour instead: 250g = 2 cups + 1 heaping tablespoon.
- Protein powder – Use your favorite; flavored powders add taste, whey protein isolate adds the most protein per scoop.
- Maple syrup – Adds sweetness and helps the bars bind. Honey works too, but you’ll need less.
- Milk – Adds moisture and helps everything come together. Add slowly so the bars stay firm.
- Salt – Balances sweetness and enhances flavor.
- Chocolate – Optional but recommended! Use unsweetened in the base for richness, and sweetened for coating or drizzle, if adding.
How to make homemade protein bars
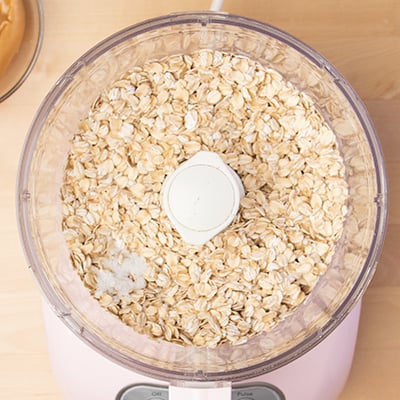
Step 1: Process the base
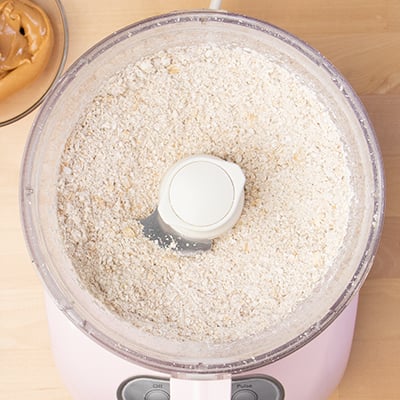
- Grind oats into flour in a food processor (or use oat flour).
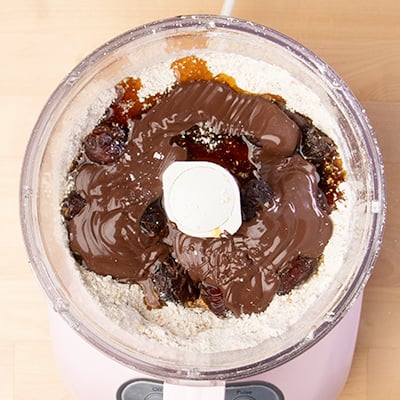
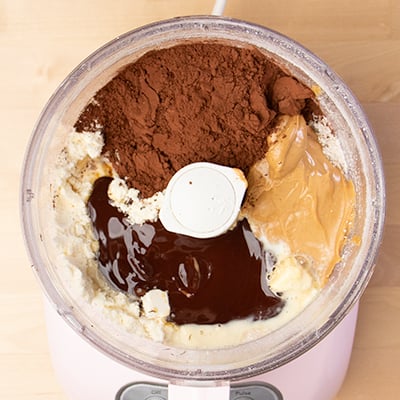
- Add protein powder, maple syrup, melted unsweetened chocolate, and milk.
- Add either:
- pitted Medjool dates (for the date version), or
- cocoa powder and nut butter (for the nut butter version).
Step 2: Blend & adjust
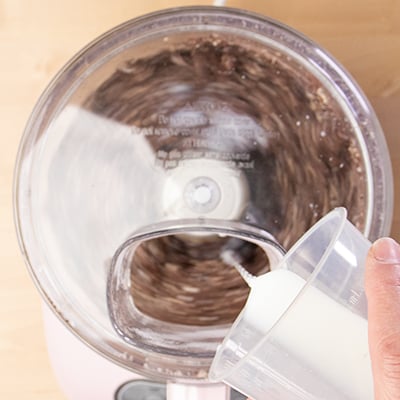
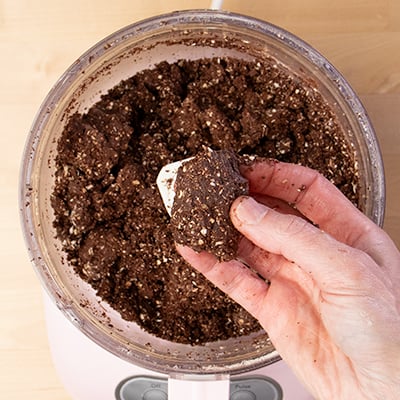
- Process just until the mixture clumps together and holds its shape.
- If it’s too dry, add milk slowly, 1 tsp at a time.
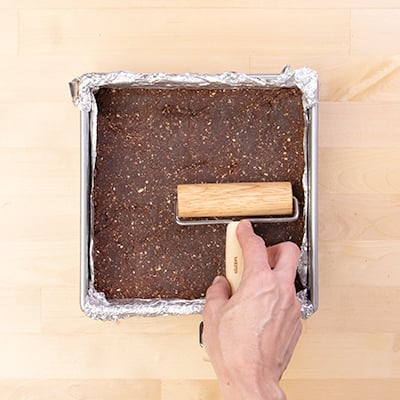
Step 3: Press & chill
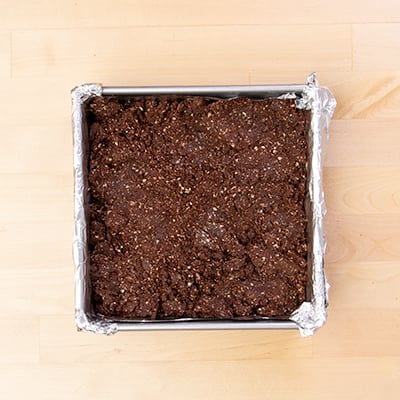
- Press the mixture firmly into a lined pan in an even layer.
- Chill for at least 1 hour in the fridge (or 20 minutes in the freezer).
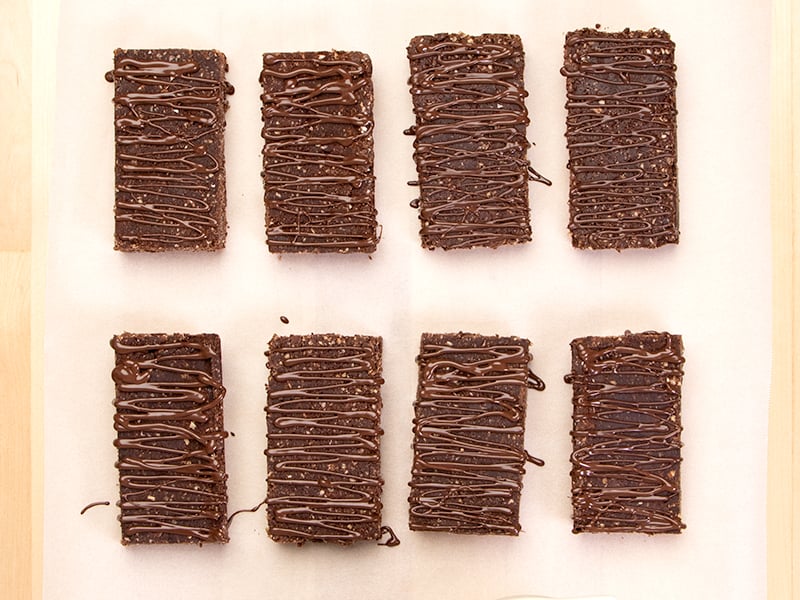
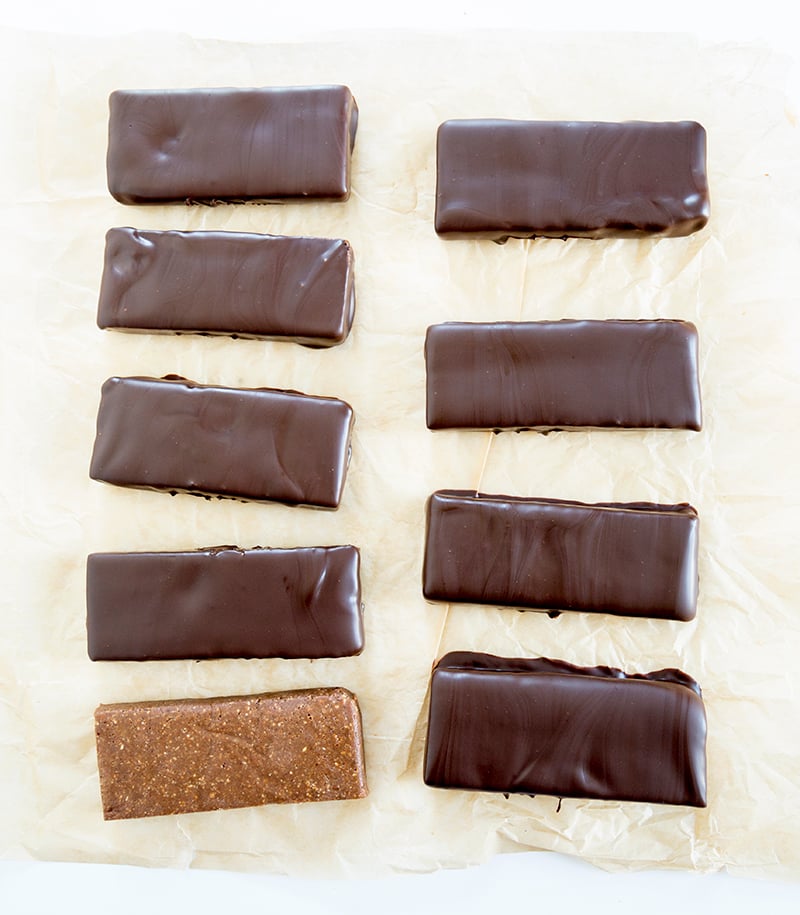
Step 4: Slice & finish
- Cut into bars using a sharp knife.
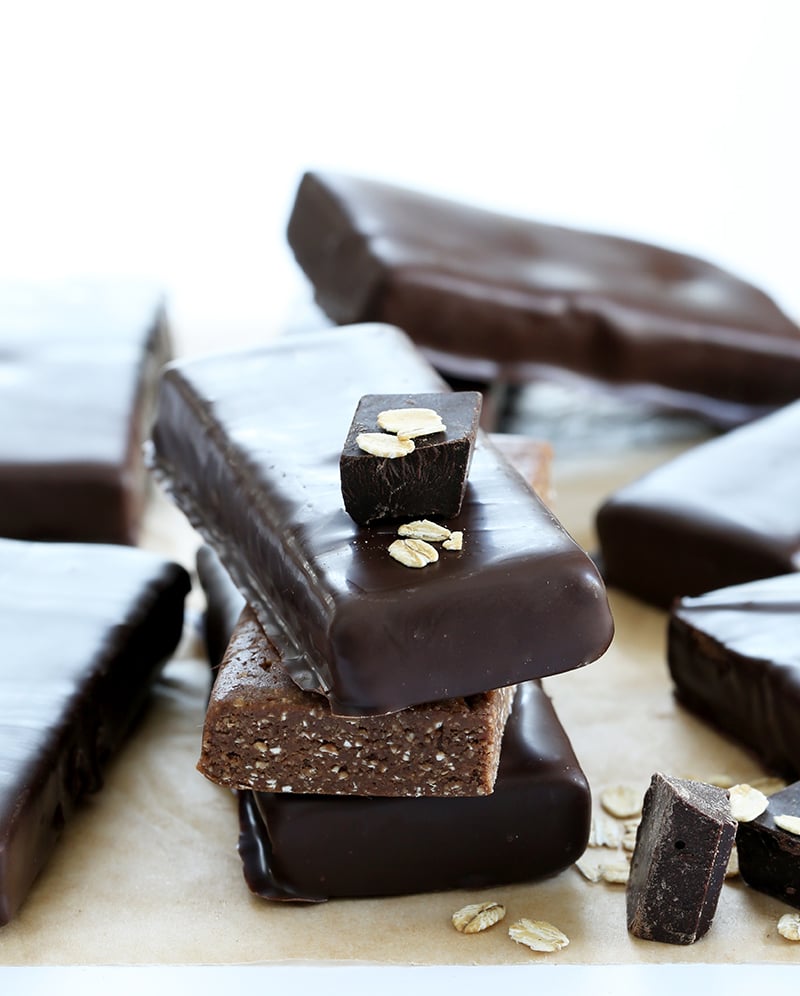
- Optional: drizzle or dip in melted chocolate, then let set at room temperature.
Expert tips
Don’t skip the binder
Every version needs ingredients that bind—like dates, nut butter, or chocolate. Without them, the bars won’t hold together.
No oven, but texture still matters
Since there’s no baking, the mixture needs to feel firm and cohesive before it goes into the pan. Aim for tacky, not sticky or crumbly.
Chill for structure
These bars need at least 1 hour in the fridge to firm up fully. Don’t rush it—warm bars won’t slice cleanly or hold their shape.
Add milk slowly
Too much liquid = soft bars that won’t set. Always add milk a little at a time, just until the mixture clumps together.
Ingredient substitutions
Dairy free
Use dairy free milk, chocolate, and protein powder (like a plant-based option), and you’re all set.
Oat-free
Swap oats with wide coconut chips or buckwheat groats. They fill a similar volume and texture role. Read more about a substitute for oats.
Sugar free
Use a sugar-free maple syrup alternative like Lakanto, but start with a bit less—it’s sweeter than maple syrup. Also check your nut butter for added sugars, and your chocolate coating at the end.
No protein powder
Looking for a softer snack without protein powder? Try my protein balls recipe—no food processor needed, and there’s even a grain-free version.
Ingredient substitutions
Homemade Protein Bars Recipe

Equipment
- Food processor fitted with steel blade
Ingredients
For the date version
- 2.5 cups (250 g) old-fashioned rolled oats, (gluten free if necessary)
- 1 scoop (36 g) protein powder, (gluten free if necessary) I like Vega essentials chocolate flavor protein powder, but you can use whey protein, or your favorite protein powder (vanilla or chocolate)
- 10 (150 g, as pitted) pitted soft Medjool dates
- ¼ cup (84 g) pure maple syrup
- 1 teaspoon pure vanilla extract
- ¼ teaspoon kosher salt
- ¼ cup (2 fluid ounces) milk (any kind), plus more as necessary
- 3 ounces unsweetened chocolate, chopped and melted
- 8 ounces bittersweet chocolate, chopped and melted (optional, for coating)
For the nut butter version
- 2.5 cups (250 g) old-fashioned rolled oats, (gluten free, if necessary)
- 1 ½ scoops (54 g) protein powder, (gluten free, if necessary) I like Vega essentials chocolate flavor protein powder, but you can use whey protein, or your favorite protein powder (vanilla or chocolate)
- ½ cup (40 g) unsweetened cocoa powder, natural or Dutch-processed (can replace with more protein powder)
- ¾ cup (192 g) smooth, no stir nut butter, I have used peanut butter, almond butter and cashew butter—all work well
- ¼ cup (84 g) pure maple syrup
- ¼ teaspoon kosher salt
- ¼ cup (2 fluid ounces) milk (any kind), plus more as necessary
- 3 ounces unsweetened chocolate, chopped and melted (can replace with 2 tablespoons more nut butter + 1 tablespoon pure maple syrup)
- 8 ounces bittersweet chocolate, chopped and melted (optional, for coating)
Instructions
- Line an 8-inch square baking pan or standard 9-inch x 5-inch loaf pan with parchment paper or nonstick aluminum foil, and set it aside.
To make the date version
- Process oats in a food processor until they form a fine flour.
- Add protein powder, dates, maple syrup, vanilla, salt, milk, and (optional) melted unsweetened chocolate.
- Process until the mixture clumps and feels tacky, not sticky. Add milk 1 tsp at a time if needed.
- Press into the prepared pan in an even layer and smooth the top.
- Chill until firm—about 1 hour in the fridge or 20 minutes in the freezer.
- Slice into 10 bars. Dip or drizzle with melted chocolate if using and allow it to set.
- Wrap individually and refrigerate.
To make the nut butter version
- Process oats in a food processor until they form a fine flour.
- Add protein powder, cocoa powder (or more protein powder), nut butter, maple syrup, salt, milk, and melted chocolate (or the maple syrup/nut butter alternative).
- Process until the mixture clumps and feels tacky, not sticky. Add milk 1 tsp at a time if needed.
- Press into the prepared pan in an even layer and smooth the top.
- Chill until firm—about 1 hour in the fridge or 20 minutes in the freezer.
- Slice into 10 bars. Dip or drizzle with melted chocolate if using, and allow it to set.
- Wrap individually and refrigerate.
Video
Notes
Nutrition
Nutrition information is automatically calculated, so should only be used as an approximation.
My Pro Tip
Flavor Variations
More neutral
For a milder flavor, use unflavored or vanilla protein powder and skip the melted chocolate. In the nut butter version, try cashew butter—it lets the chocolate shine without overpowering.
Fruity twist
Swap the cocoa powder for freeze-dried fruit powder (like strawberry or raspberry). You can buy it pre-ground or grind whole freeze-dried fruit in a simple blender or food processor yourself.
Collagen boost
Replace the protein powder with collagen peptides for a nutritional lift without added flavor. I like Perfect Hydrolyzed Collagen Peptides and Vital Proteins Collagen Peptides.
Our favorite
I love the date version with melted unsweetened chocolate in the bars and a drizzle of melted chocolate on top. For even more chocolate, press in 1 to 2 ounces of mini chocolate chips after smoothing the mixture in the pan.
make ahead/leftovers
Storage instructions
Refrigerator:
Store wrapped or in a sealed container for up to 2 weeks. The bars are ready to eat straight from the fridge—no need to let them come to room temperature.
Freezer:
Freeze for up to 3 months. Defrost in the refrigerator or at room temperature before serving.
Your protein bar questions, answered
Just 10 minutes of active time—plus at least 1 hour in the fridge to firm up. The longest part might be cleaning the food processor!
Yes! Use the date-based version in the recipe—no nut butter needed. Or use a peanut-free nut or seed butter like almond, cashew, or WowButter.
You may have added too much liquid. Try processing extra oats into a powder and mixing them in to firm things up.
Yes—just use a 9×13-inch pan instead of an 8-inch square. The bars may need slightly more chilling time to firm up completely.
Absolutely. Whey, plant-based, or collagen powders all work—just keep in mind that flavored powders will change the taste.


How long can I store the protein bars in my fridge?
As long as they’re each wrapped tightly to keep out air, you can store them in the refrigerator for at least 3 weeks.
Im making your no bake protein bars and using coconut flakes instead of the oatmeal,as recommended. Do I still place in processor to make in a flour like tecture, like the oats??? THNX!
Yes, Lori, you’ll process the coconut flakes in much the same way. As with all ingredients in a recipe like this, don’t overprocess or you’ll end up with powder!
Hi – looks great, looking forward to trying since I got a lot of dates recently! What do you think about substituting cocoa powder and coconut oil for the unsweetened chocolate, in terms of both binding the mixture and flavor? Also, haw much peanut butter could I add to the date version for flavor, or would that be a bad idea? Thanks again for all your careful work!
I’m afraid I don’t have ready answers for those substitutions, Peter, as I’ve never tried them. You’d have to experiment. Just watch the texture as you blend!
Hello. Great recipe, love dates!
How long will they last in the fridge or even can you freeze?
Thank you
Hi, Rich, please see the text of the post under the heading “freezing”. You can also refrigerate them. Just wrap them tightly or put them in a well-sealed container so they don’t dry out and they should be good for a week or so.
I left them for 2 he’s in fridge but still not hard, what did i do wrong?
I don’t know which version you made, but my guess is that you added too much liquid and/or undermeasured dry ingredients.
“Add more milk by the teaspoonful and process, only as necessary for the mixture to reach the proper consistency.”
Can you say a little more about what the “proper consistency” should be at the end of the processing stage? Is this a reference back to “tacky but not sticky” in the prior step, or… something else? My first attempt at the date-based recipe holds together, but is more flexible than I expected once I remove it from the pan. (Is there a way to amend that?) I did use the unsweetened chocolate.
It sounds like you added too much moisture, Becky. Yes, it should be tacky but not sticky. I recommend watching the how-to video for more visual information.
These aren’t protein bars, at 29g of Carbs (only 6 of which are Fiber), 17g of Fat, and a pitiful 13g of Protein in dead last, you’ve made a homemade somewhat healthy candy bar with slightly more protein than one you’d find in a store.
Sounds like this recipe isn’t for you, Dimitris.
I made these last night. I don’t have any dietary restrictions and I don’t diet or cut out any nutrients, so I just made them with regular ingredients. They were SUPER easy. I used generic brand ingredients and they came out to 79 cents/bar, which is over 3x cheaper than what I usually pay!! Absolutely amazing. Will be keeping these on hand. They taste delicious too!
So glad to hear it, Sarah. Once you do that math, you can’t ever look at another protein bar in the store quite the same way!
These were pretty good and fairly easy to make. I gave it a 4 star because even though i have a good sized food processor i still couldn’t get all the ingredients into it and get a good mix. It filled it up too full and there wasn’t enough room to mix it well. I am not sure what size processor Nicole has but it must be quite larger than my 7-cup processor. Next time i will try and make a half batch at a time and see if that gives me a better mix. I just wish i had known what size processor i was going to need before i started but the recipe just said food processor with steel blade.
I have a 7 cup food processor. My guess is that you didn’t add the ingredients in the order described, and/or didn’t “Add more milk by the teaspoonful and process, only as necessary for the mixture to reach the proper consistency” as described in the recipe.
When making the nut butter version, could you use oat flour instead of pulverizing the oats into flour? If so, would the measurement still be 2.5 cups?
Yes, absolutely, Marlene. Weight measurements are consistent regardless of form, unlike volume measurements (which is why they’re so much more reliable), so you’ll use 250 grams of oat flour, which is less than 2.5 cups.