

This post may contain affiliate links. Please read our disclosure policy.
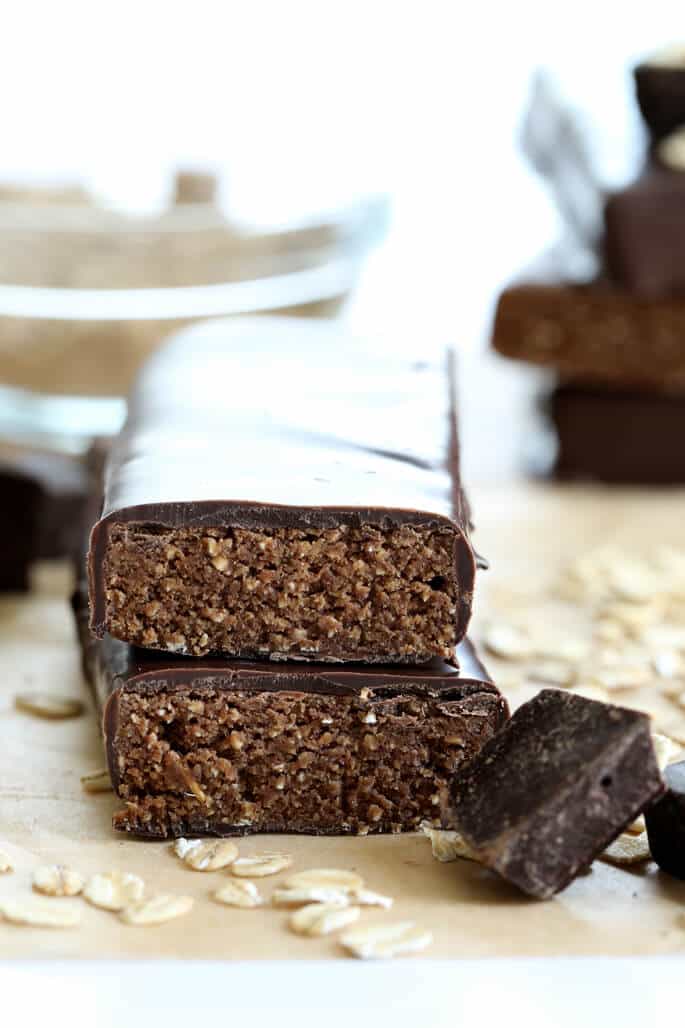
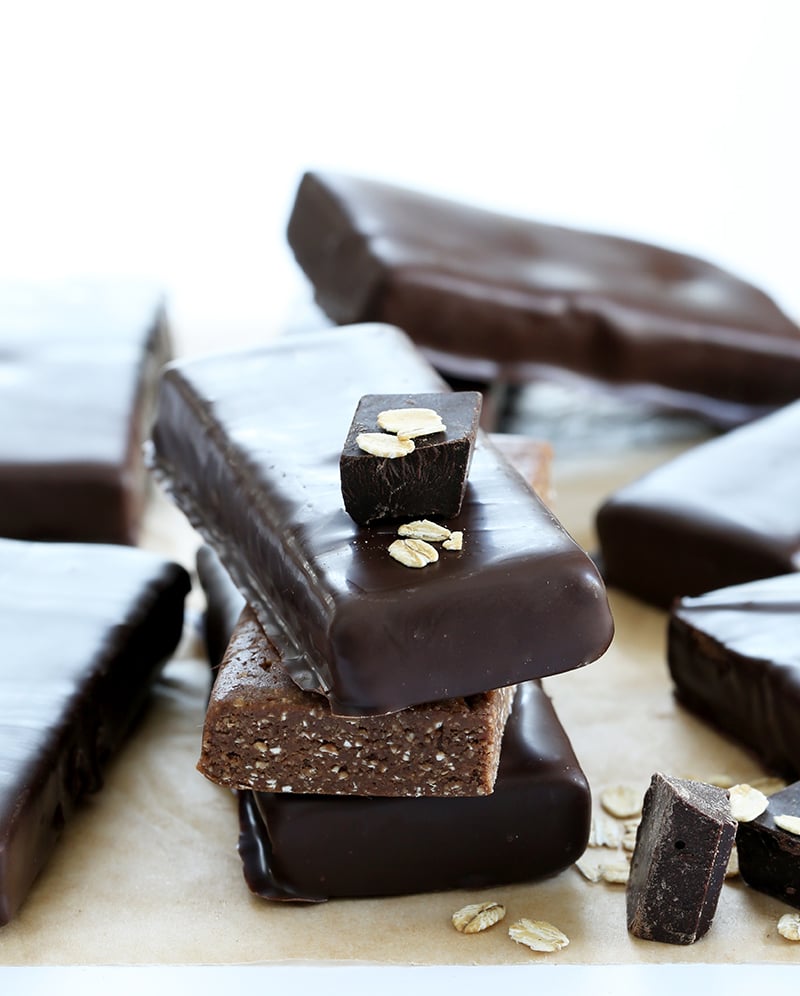
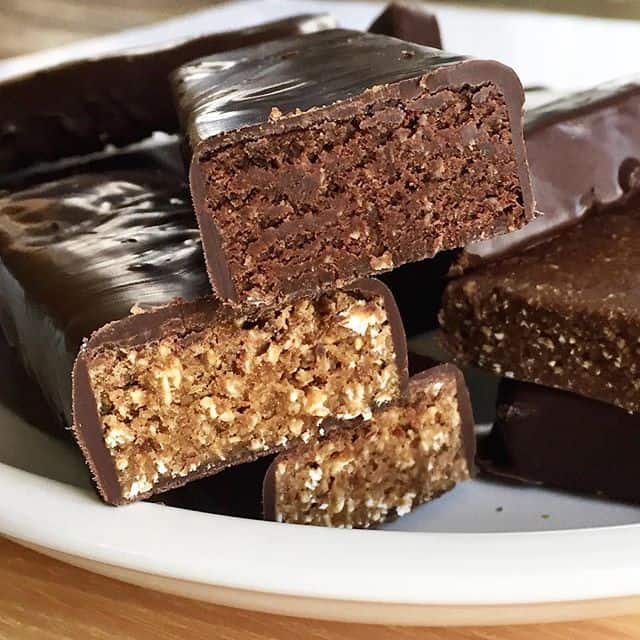
These homemade protein bars are no-bake, high-protein, and totally customizable, made with your favorite protein powder and simple pantry ingredients.
This recipe keeps things simple: no baking, no fuss, and no peanut butter required (unless you want it).
“This has been such a helpful, cost effective and healthy substitute for store bought protein/granola bars. No artificial sweeteners or weird ingredients and way less sugar. Thanks for these!”
Why this recipe works
- Rich & soft texture – Like a brownie, but better for you.
- Totally customizable – Use oats or coconut, nut butter or dates, chocolate or fruit.
- Naturally nutritious – 13g protein, whole grains, no refined sugar.
- Easy to make ahead – No baking required; fridge-ready in an hour.
- Saves money – Make a week’s worth of bars for less than a store-bought pack.
Recipe ingredients
This recipe has two base versions, one made with dates (nut-free), and one with peanut butter (no dates). Both share a set of core ingredients, with a few unique to each version. Here’s what you need for each:
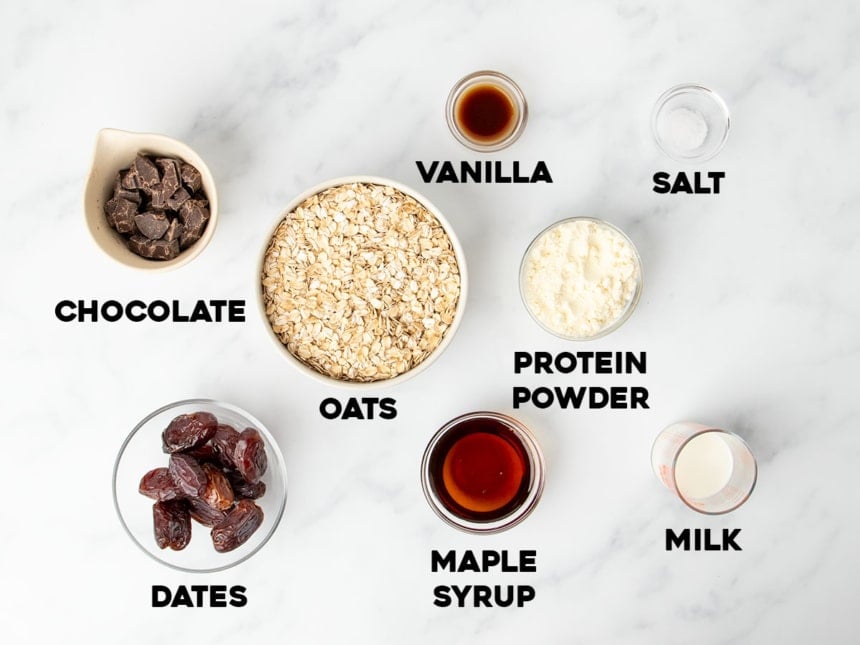
In the dates version only (nut-free)
- Dates: The sticky binder for this version. Medjool dates work best for moisture and rich caramel flavor. If using drier Deglet Noor dates, soak them in hot water for 10 minutes first.
- Vanilla: Adds flavor depth and rounds out the natural sweetness.
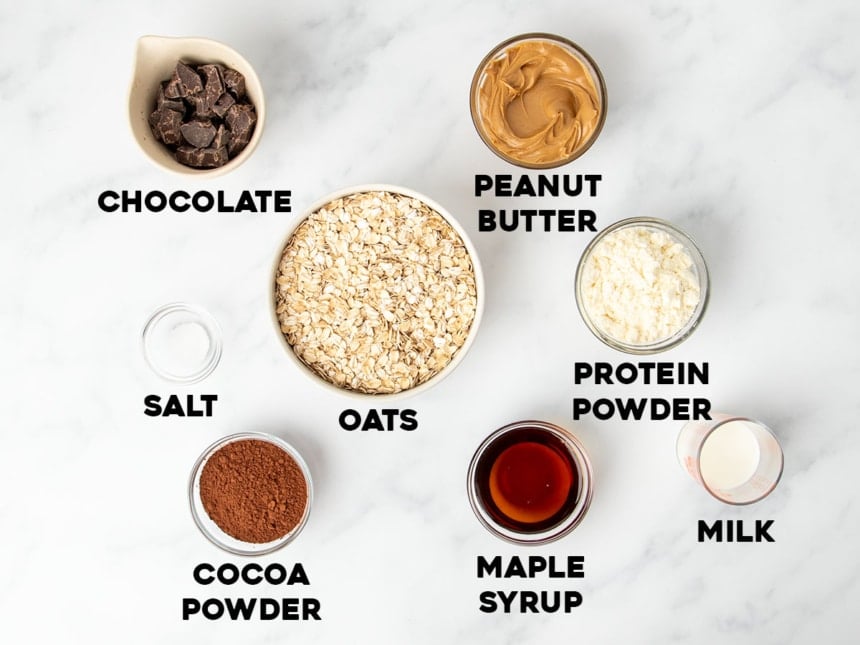
In the peanut butter version only
- Nut butter: Use a no-stir variety like Jif, Skippy, or Barney Butter for structure. Avoid drippy natural nut butters. Wow Butter works for a nut-free option.
- Cocoa powder: Deepens the chocolate flavor and helps thicken the mixture. Dutch-processed is best, but natural works, too.
In both versions
- Oats or oat flour – Ground oats form the base. You can use oat flour instead: 250g = 2 cups + 1 heaping tablespoon.
- Protein powder – Use your favorite; flavored powders add taste, whey protein isolate adds the most protein per scoop but tends to be drying so you will probably need a bit more moisture. You can also try a whey/casein blend like we use in our protein muffins for a better balance.
- Maple syrup – Adds sweetness and helps the bars bind. Honey works too, but you’ll need less since it’s thicker, sweeter and stickier.
- Milk – Adds moisture and helps everything come together. Add slowly so the bars stay firm.
- Salt – Balances sweetness and enhances flavor.
- Chocolate – Use unsweetened in the base for richness without adding refined sugars, and sweetened for coating or drizzle, if adding.
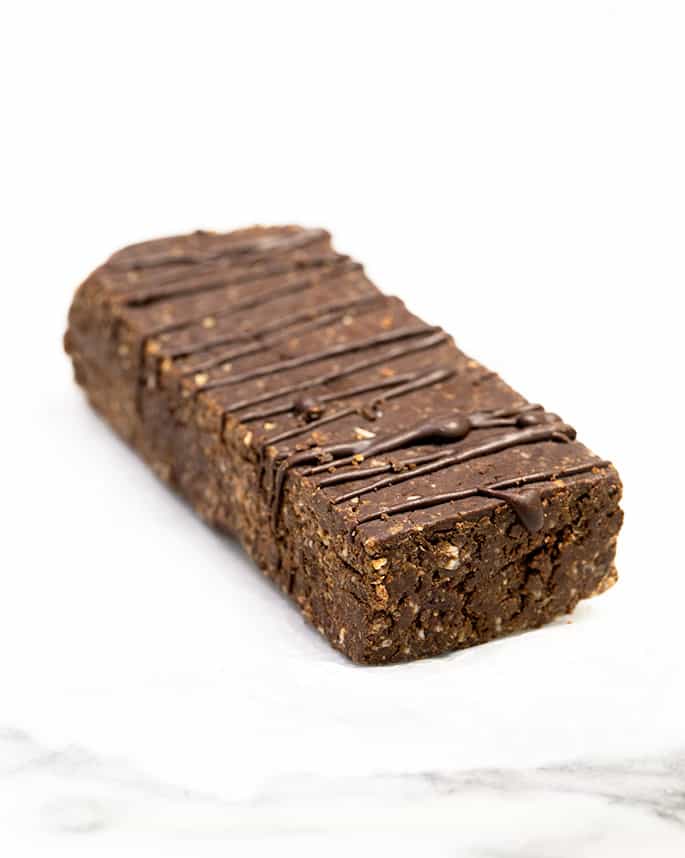
How to make homemade protein bars (step by step photos)
Here’s an overview of what it’s like to make these bars in your own kitchen. For full ingredient amounts, scroll down to the recipe card below.
Step 1: Process the base
- Grind oats into flour in a food processor (or use oat flour). This provides a stable base for the bars, giving them more stable, dense structure than rolled oats alone could.
- Add protein powder, maple syrup, melted unsweetened chocolate, and milk. These provide much of the protein content (especially in the nut-free version), flavor, and help bind everything together for a stable bar.
- Add either:
- pitted Medjool dates (for the date version) to help the bars stick together and increase their fiber content; or
- cocoa powder and nut butter (for the nut butter version) for flavor, structure, added protein and to help the bars hold together (from the nut butter).
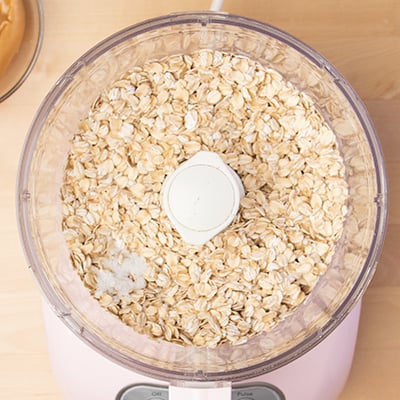
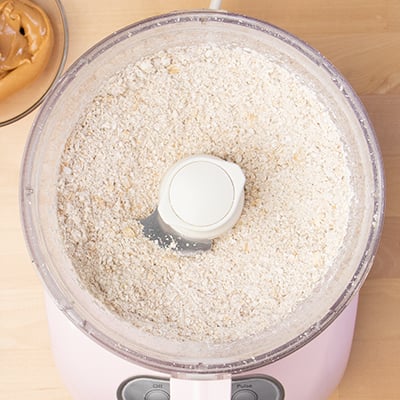
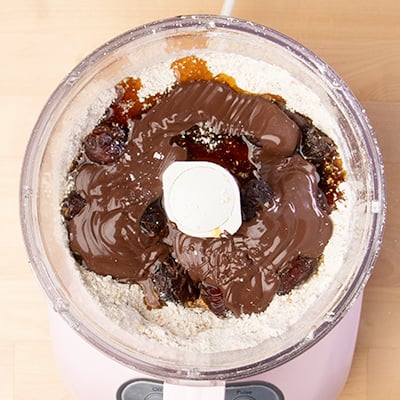
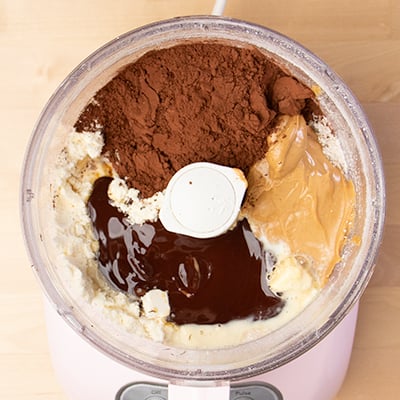
Step 2: Blend & adjust
- Process just until the mixture clumps together and holds its shape. Overprocessing it will lead to a gummy result since it breaks down the oats too much and exposes too much starch, which gelatinizes into an unpleasant texture.
- If it’s too dry, drizzle in milk very slowly, 1 teaspoon at a time. Be careful not to add too much liquid since it will make the bars too soft.
Step 3: Press & chill
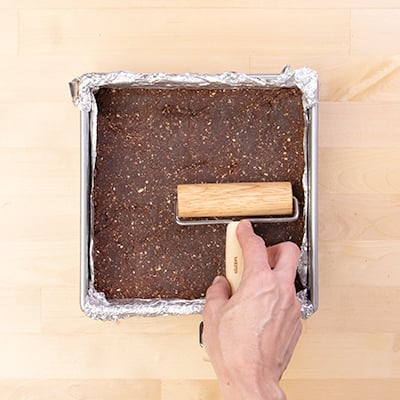
- Press the mixture firmly into a lined pan in an even layer so everything holds together.
- Chill for at least 1 hour in the fridge (or 20 minutes in the freezer) to firm up the chocolate, which will return to a solid state as it cools, giving the bars a lot of stability.
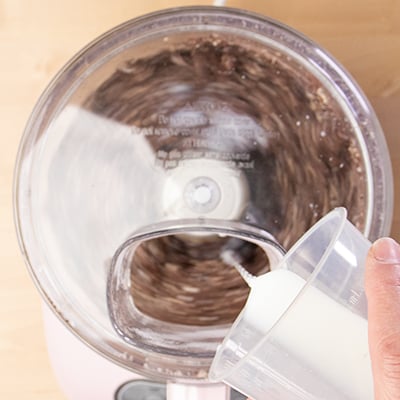
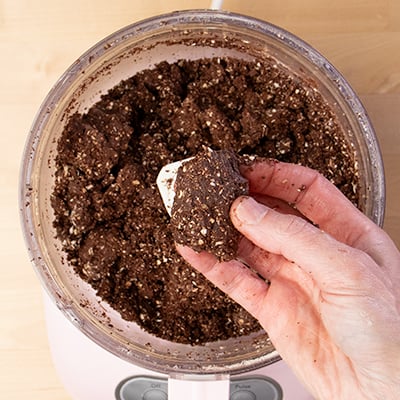
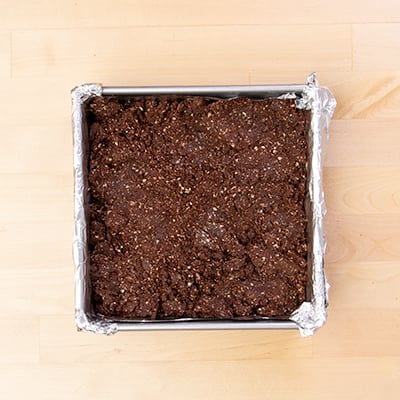
Step 4: Slice & finish
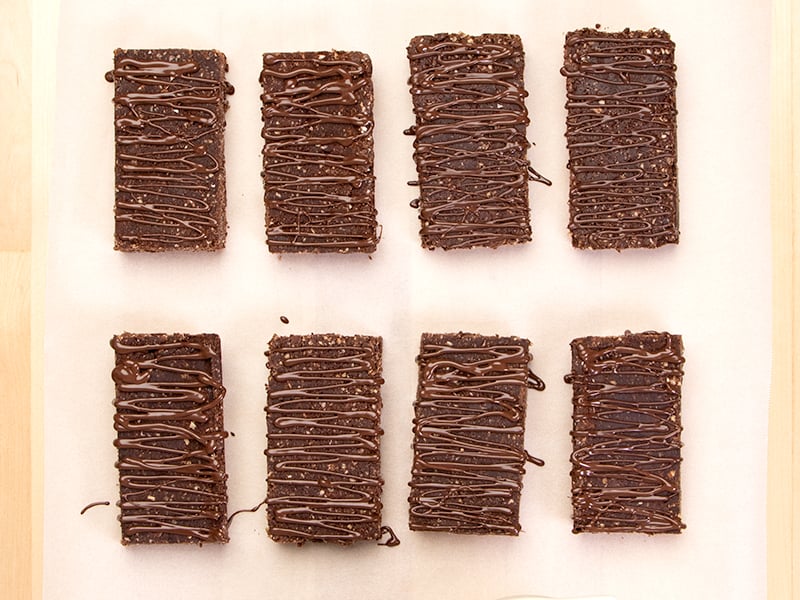
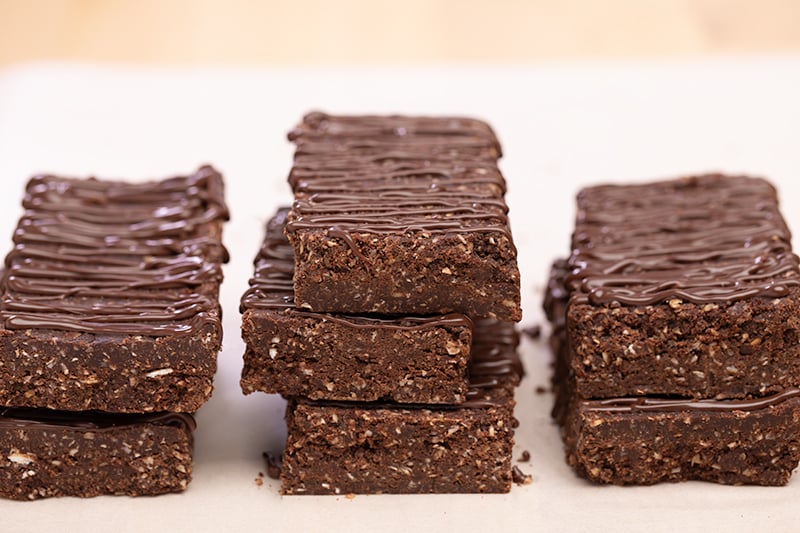
- Cut into bars using a sharp knife to make clean cuts in one swift motion, rather than sawing back and forth which will tear the bars and leave them jagged and less stable.
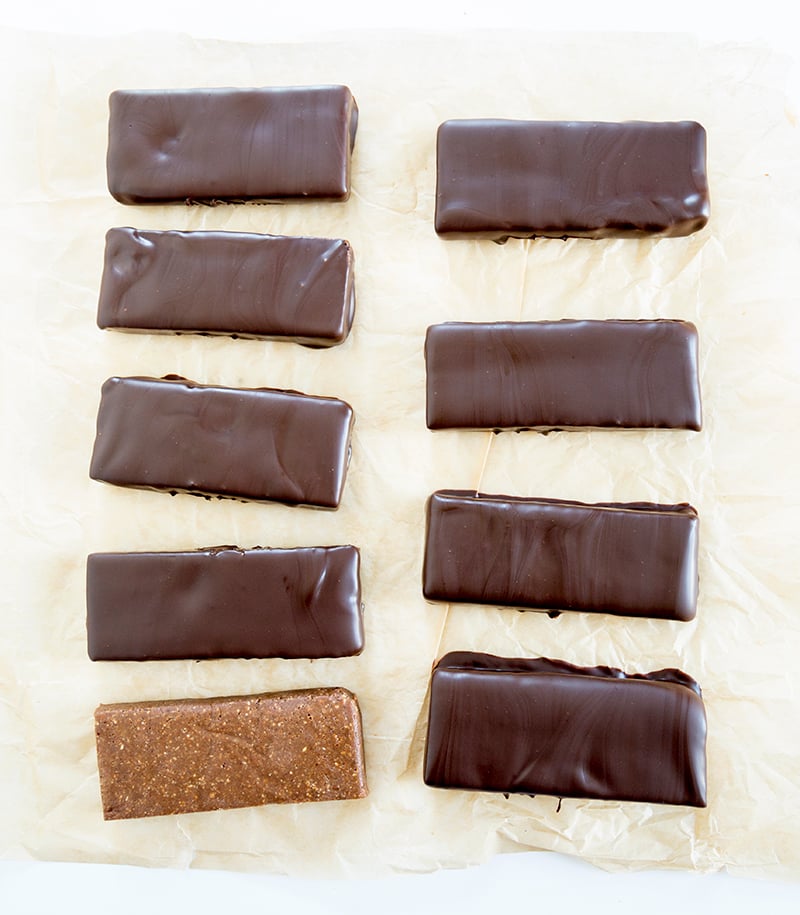
- Optional: drizzle or dip in melted chocolate for more visual interest and flavor, then let set at room temperature so the drizzled chocolate becomes solid again.
Expert tips
Don’t skip the binder
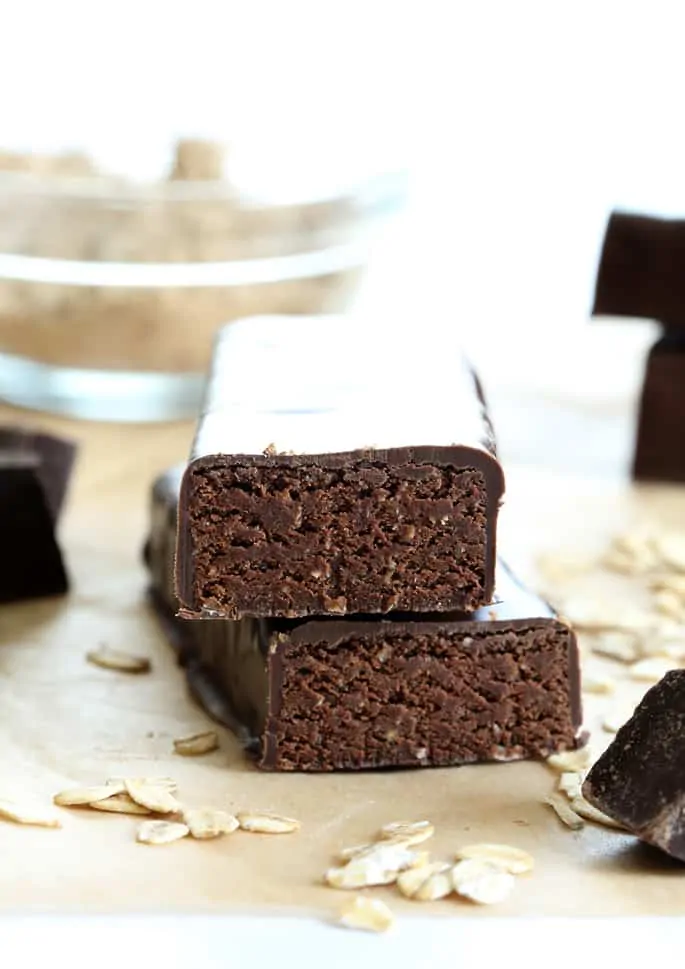
Every version needs ingredients that bind, like dates, nut butter, or chocolate. Without them, the bars won’t hold together.
No oven, but texture still matters
Since there’s no baking, the mixture needs to feel firm and cohesive before it goes into the pan. Aim for tacky, not sticky or crumbly.
Chill for structure
These bars need at least 1 hour in the fridge to firm up fully. Don’t rush it—warm bars won’t slice cleanly or hold their shape.
Add milk slowly
Too much liquid yields soft bars that won’t set. Always add milk a little at a time, just until the mixture clumps together. Otherwise, you’ll keep chasing the right texture with more oats or oat flour and unbalance the ingredients.
Ingredient substitutions
Dairy free
Use dairy free milk, chocolate, and protein powder (like a plant-based option), and you’re all set.
Oat-free
Swap oats with wide coconut chips or buckwheat groats. They fill a similar volume and texture role. Read more about a substitute for oats.
Sugar free
Use a sugar-free maple syrup alternative like Lakanto, but start with a bit less—it’s sweeter than maple syrup. Also check your nut butter for added sugars, and your chocolate coating at the end.
No protein powder
Looking for a softer snack without protein powder? Try my protein balls recipe, no food processor needed, and there’s even a grain-free version.
Homemade Protein Bars Recipe
Tell Google you trust GFOAS!
Equipment
- Food processor fitted with steel blade
Ingredients
For the date version
- 2.5 cups (250 g) old-fashioned rolled oats, (gluten free if necessary)
- 1 scoop (36 g) protein powder, (gluten free if necessary) I like Vega essentials chocolate flavor protein powder, but you can use whey protein, or your favorite protein powder (vanilla or chocolate)
- 10 (150 g, as pitted) pitted soft Medjool dates
- ¼ cup (84 g) pure maple syrup
- 1 teaspoon pure vanilla extract
- ¼ teaspoon kosher salt
- ¼ cup (2 fluid ounces) milk (any kind), plus more as necessary
- 3 ounces unsweetened chocolate, chopped and melted
- 8 ounces bittersweet chocolate, chopped and melted (optional, for coating)
For the nut butter version
- 2.5 cups (250 g) old-fashioned rolled oats, (gluten free, if necessary)
- 1 ½ scoops (54 g) protein powder, (gluten free, if necessary) I like Vega essentials chocolate flavor protein powder, but you can use whey protein, or your favorite protein powder (vanilla or chocolate)
- ½ cup (40 g) unsweetened cocoa powder, natural or Dutch-processed (can replace with more protein powder)
- ¾ cup (192 g) smooth, no stir nut butter, I have used peanut butter, almond butter and cashew butter—all work well
- ¼ cup (84 g) pure maple syrup
- ¼ teaspoon kosher salt
- ¼ cup (2 fluid ounces) milk (any kind), plus more as necessary
- 3 ounces unsweetened chocolate, chopped and melted (can replace with 2 tablespoons more nut butter + 1 tablespoon pure maple syrup)
- 8 ounces bittersweet chocolate, chopped and melted (optional, for coating)
Instructions
- Line an 8-inch square baking pan or standard 9-inch x 5-inch loaf pan with parchment paper or nonstick aluminum foil, and set it aside.
To make the date version
- Process oats in a food processor until they form a fine flour.
- Add protein powder, dates, maple syrup, vanilla, salt, milk, and (optional) melted unsweetened chocolate.
- Process until the mixture clumps and feels tacky, not sticky. Add milk 1 tsp at a time if needed.
- Press into the prepared pan in an even layer and smooth the top.
- Chill until firm—about 1 hour in the fridge or 20 minutes in the freezer.
- Slice into 10 bars. Dip or drizzle with melted chocolate if using and allow it to set.
- Wrap individually and refrigerate.
To make the nut butter version
- Process oats in a food processor until they form a fine flour.
- Add protein powder, cocoa powder (or more protein powder), nut butter, maple syrup, salt, milk, and melted chocolate (or the maple syrup/nut butter alternative).
- Process until the mixture clumps and feels tacky, not sticky. Add milk 1 tsp at a time if needed.
- Press into the prepared pan in an even layer and smooth the top.
- Chill until firm—about 1 hour in the fridge or 20 minutes in the freezer.
- Slice into 10 bars. Dip or drizzle with melted chocolate if using, and allow it to set.
- Wrap individually and refrigerate.
Video
Notes
Nutrition
Nutrition information is automatically calculated, so should only be used as an approximation.
My Pro Tip
Flavor Variations
More neutral
For a milder flavor, use unflavored or vanilla protein powder and skip the melted chocolate. In the nut butter version, try cashew butter—it lets the chocolate shine without overpowering.
Fruity twist
Swap the cocoa powder for freeze-dried fruit powder (like strawberry or raspberry). You can buy it pre-ground or grind whole freeze-dried fruit in a simple blender or food processor yourself.
Collagen boost
Replace the protein powder with collagen peptides for a nutritional lift without added flavor. I like Perfect Hydrolyzed Collagen Peptides and Vital Proteins Collagen Peptides.
Our favorite
I love the date version with melted unsweetened chocolate in the bars and a drizzle of melted chocolate on top. For even more chocolate, press in 1 to 2 ounces of mini chocolate chips after smoothing the mixture in the pan.
make ahead/leftovers
Storage instructions
Refrigerator:
Store wrapped or in a sealed container for up to 2 weeks. The bars are ready to eat straight from the fridge—no need to let them come to room temperature.
Freezer:
Freeze for up to 3 months. Defrost in the refrigerator or at room temperature before serving.
Your protein bar questions, answered
Just 10 minutes of active time—plus at least 1 hour in the fridge to firm up. The longest part might be cleaning the food processor!
Yes! Use the date-based version in the recipe—no nut butter needed. Or use a peanut-free nut or seed butter like almond, cashew, or WowButter.
You may have added too much liquid. Try processing extra oats into a powder and mixing them in to firm things up.
Yes—just use a 9×13-inch pan instead of an 8-inch square. The bars may need slightly more chilling time to firm up completely.
Absolutely. Whey, plant-based, or collagen powders all work—just keep in mind that flavored powders will change the taste.











Hi Nicole,
I only have a 4-cup food processor. If I use oat flour instead of oatmeal I would simply weigh out 250g of flour, correct? Can’t wait to try this!
Hi, Debbie, yes you can use oat flour in place of whole oats, by weight, just as you say. :)
Hello , do you have the nutritional value table for this one ?
I don’t, no, Ioannis. Feel free to plug the ingredients into an online nutritional calculator, though. Just be sure to include only those ingredients that you choose to use.
Do you think I could swap honey for the maple syrup? I don’t like the flavor of it. I know… I’m weird. Haha
Hi, Amanda, honey is thicker than maple syrup, so you’ll need more of it to moisten everything. I know that honey and maple syrup are often thought of as interchangeable, but they’re really not exactly the same in viscosity. Hope that helps!
Can I use organic oat flour instead of grounding the rolled oats? If I use the oat flour do I need to bake it.
Thanks!
Hi, Felicia, sure, you can definitely use oat flour instead. And no, you don’t need to bake the bars at all, either way. If you’d like to deepen the flavor of the oat flour, you can try ‘toasting’ it in a 250°F oven in a thin layer on a baking sheet for a few minutes, or until just becoming fragrant. I hope that helps!
I love this recipe. I made the nut butter version (almond butter) and used organic oat flour. Also because I am trying to cut out sugar so I used dates and food processed it with water to form a paste. Taste so good.
The best part about this recipe is how much you really can make it your own, Felicia!
Hi, do you know if it would be possible to use prunes, or raisins, instead of the dates?
Thanks!
Hi, Stephanie, Prunes have more moisture than dates, so your bars would likely be considerably less firm. You could try using less maple syrup and/or adding more oats/oat flour to compensate. Worth a try!
make sure you have a quality food processor, I attempted to use my ninja blender and it turned into a big mess and a nightmare. My mistake
Me too. I can’t tolerant oats. Would rice flakes or buckwheat flakes work?
I’m afraid I don’t know, Maria. Feel free to experiment!
Have you considered trying this recipe with quinoa flakes? They are similar in texture and taste to oats and I have used them to replace oats in my oatmeal cookie recipe. (I have a problem with oats, gluten free or not).
Terry
I haven’t Terry, but I have baked with quinoa flakes. They might work in this recipe, but I’m afraid I’m not very optimistic unless you make other modifications, basically turning it into a new recipe. Quinoa flakes are very soft, and not chewy. Oats are much more substantial and chewy.
Hi! Do you gave nutritional information, depending on each bar size? Thanks!!
I don’t provide nutritional information, Erin, but feel free to plug the ingredients into an online recipe calculator. That’s all I would do anyway!
Greetings from Singapore! Juz made this n they r super yummo. Kids tested n approved!! Thanks much!
So glad, Rensing! Thanks for letting me know. :)