
This post may contain affiliate links. Please read our disclosure policy.
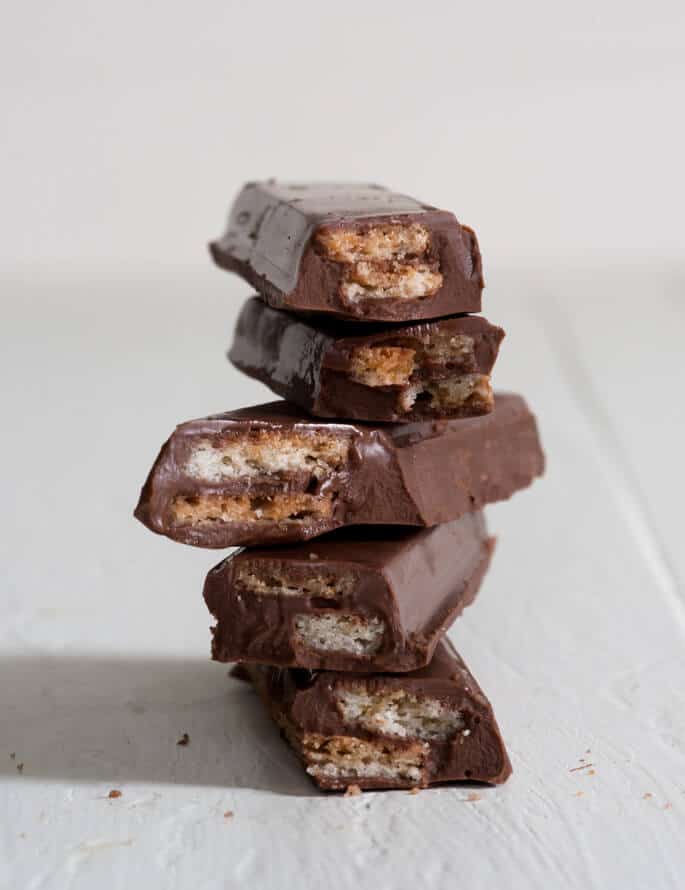
Table of Contents
When Halloween rolls around, it's time once again to explain to your gluten free kid how you know that it stinks that they can't eat some of the candy they've successfully scammed from the neighbors. Chin up, though! Plenty of Halloween candy is actually safely gluten free (love the individually wrapped candies ? !).
And whatever gluten-forward candy they make out there in the world, we can (and we will!) make our own gluten free version. Want proof? Remember when we made gluten free Twix? Now I bring you the ultimate crispy, gluteny candy made safely gluten free. These surprisingly easy homemade gluten free Kit Kats are just one of a whole chapter of gluten free candy recipes in my latest cookbook, Gluten Free Classic Snacks. And they're so easy to make!

You are not going to be-lieve how incredibly easy it is to make the gluten free crisp wafers that are the key to making gluten free Kit Kats. A few basic gluten free pantry ingredients combine in just the right proportions, and before you know it you're transported right back to Halloweens past.
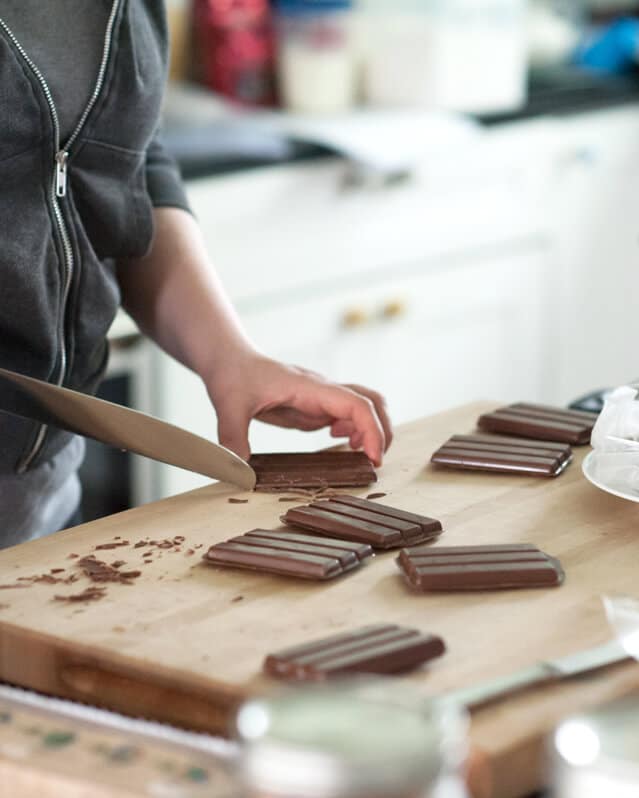
To make the classic 3-finger Kit Kat candy shape, you'll need some specialty chocolate molds (try these from confectionery house), but they're super cheap. If you don't want to bother with the molds, or just can't wait for them to come (who could blame you?), skip them! Just dip the crisp wafers individually in chocolate, let them set and enjoy.

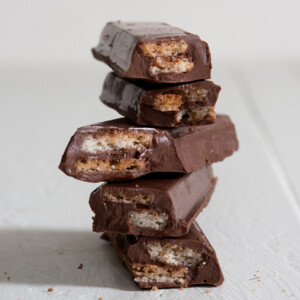
Either way, you gotta admit that it's pretty amazing that we can even do this. The wafers are snappy and crisp even when dipped in chocolate, and stay crisp for at least a week on their own if you store them in a glass container (always store anything crispy in glass, not plastic). The combination of smooth milk chocolate and light and crunchy tort-style wafers just can't be beat. So when the gluten free peeps in your life come home from trick-or-treating with long faces that they can't have this or that candy, surprise them with these homemade gluten free Kit Kats. Instant King or Queen of Halloween status.
Homemade Gluten Free Kit Kats
Equipment
Ingredients
For the crisp wafers
- 5 tablespoons (70 g) unsalted butter, at room temperature
- ⅝ cup (125 g) granulated sugar
- 1 teaspoon pure vanilla extract
- 1 cup (140 g) all purpose gluten free flour blend, plus more for sprinkling (I used Better Batter; please click thru for full info on appropriate blends)
- ½ teaspoon xanthan gum, (omit if your blend already contains it)
- ½ teaspoon baking powder
- ¼ teaspoon kosher salt
- 3 tablespoons (1 ½ fluid ounces) lukewarm water, plus more if necessary
For the candy bars
- 18 ounces milk chocolate, chopped
- 4 tablespoons (56 g) virgin coconut oil, or nonhydrogenated vegetable shortening
- 24 Crisp Wafers
Instructions
First, prepare the wafers.
- Preheat your oven to 325°F. In the bowl of a stand mixer fitted with the paddle attachment or a large bowl and a hand mixer, beat the butter until light and fluffy. Add the sugar and vanilla, and beat until well combined. In a small bowl, place the flour, baking powder and salt, and whisk to combine well.
- Add the dry ingredients to the creamed butter and sugar mixture in two batches, alternating with the 3 tablespoons of water and beginning and ending with the dry ingredients.
- The dough will come together and should be thick but not stiff. If it is stiff, add more water by the half-teaspoonful as necessary and mix to combine.
Shape and bake the wafers.
- Divide the dough in half, and place one piece on a large sheet of unbleached parchment paper.
- Pat it into a thick rectangle. Dust lightly with all purpose flour and roll the dough into a 12-inch x 5-inch rectangle, a bit more than 1/8-inch thick (no thinner), sprinkling lightly with flour as necessary to prevent sticking.
- Square the edges of the dough as best you can. Place the rectangle of dough, still on the parchment paper, flat on a half sheet pan.
- Have a sharp knife, pizza wheel or pastry wheel ready to score the dough as soon as it is baked.
- Place the dough in the center of the preheated oven and bake until very pale golden all over, about 12 minutes.
- Remove from the oven, and immediately score into smaller rectangles of about 1/2-inch wide x 3-inches long.
- Allow to cool completely, and break the cooled wafers along the scoring.
- Repeat with the other piece of dough.
Assemble the candy bars.
- Place the chocolate and coconut oil or shortening in a medium-size, heat-safe bowl and melt either in the microwave in 30-second bursts, stirring in between, or over a double boiler until melted and smooth.
- To make the candy, you will need 6 rectangular wafers per 3-finger candy bar.
- In each finger of a Kit Kat mold, if you have one, pour a thin layer of melted milk chocolate in the bottom of each well. Layer one rectangular wafer on top of the chocolate in each well, cover with another layer of melted chocolate, then followed by another wafer. Finish with a thick layer of chocolate to the top of the mold.
- Shake the mold gently back and forth to distribute the chocolate evenly without shifting the wafers around. Allow the chocolate to set completely in the molds before popping out the candy.
Notes
Nutrition information is automatically calculated, so should only be used as an approximation.


My niece absolutely loved this candy. She was so happy to have a candy that tasted just like the KitKat candy bar that she always loved before she had to be gluten-free.
Great to hear, Jean. Thank you for sharing your experience!
Can milk chocolate chips be used in place of a milk chocolate candy bar? I would have to buy five candy bars to get 18 ounces. Thank you!
Chocolate chips contain wax that is meant to help them keep their shape in the oven, which is why they aren’t recommended for melting down, particularly when you’re pouring it into a mold. You’d need at least melting wafers for a smooth result.
Hi Nicole. In my country don’t have xanthan gum. Is there any replacement? Than you.
Yanti, try Guam gum, google it for ratios to change. Happy cooking
Oh, you absolute god, you – KitKats – my favourite treat, and now I can still eat them. On the hunt now for the mould (PS: 4-fingers, in UK) Thanks so much.
Nicole thank you so much! The one thing i miss the most is kit kat bars. Cant wait to make these. From Harriett the happy celiac in New Zealand.
Where do you get the elusive gluten free wafers??? Or do you have a recipe for them?
I found them in the cookie/cracker ile at my local grocery store. Can’t wait to try :)
You have to make the wafers yourself, Lisa, according to my recipe above. You can’t purchase premade gluten free wafers of this kind.
Barbie, please see the recipe above. It’s all here, reprinted from my cookbook as it states in the post!