This post may contain affiliate links. Please read our disclosure policy.
These never-fail bakery-style gluten free vanilla cupcakes are incredibly moist and tender. They can even easily be made dairy free, too! And don't forget that creamy frosting — cupcakes like these are made for an incredible frosting.
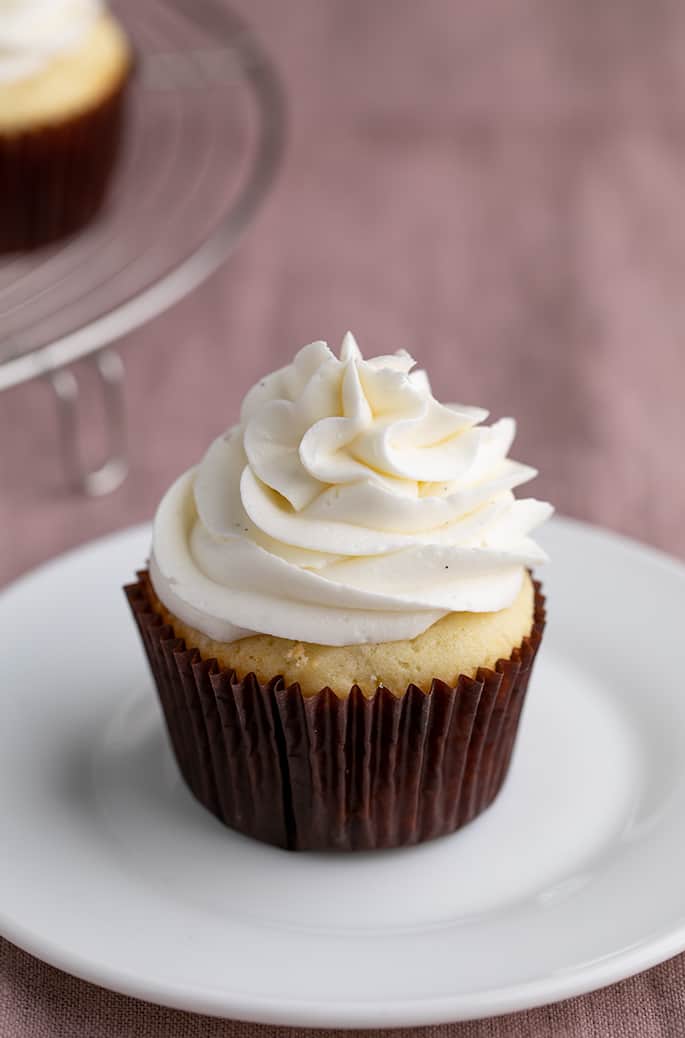
Why you'll love this gluten free cupcake recipe
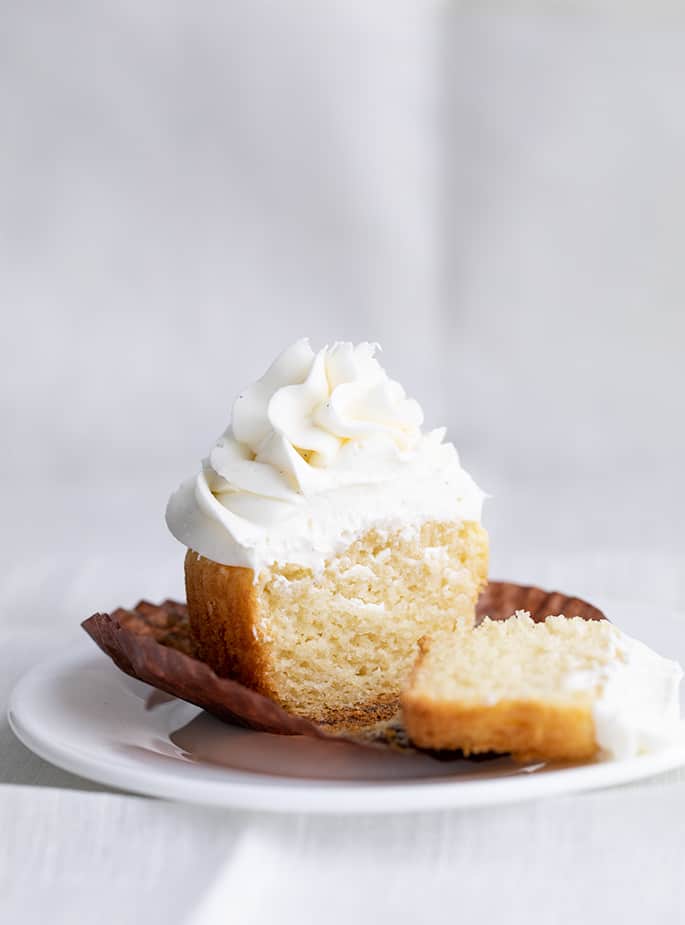
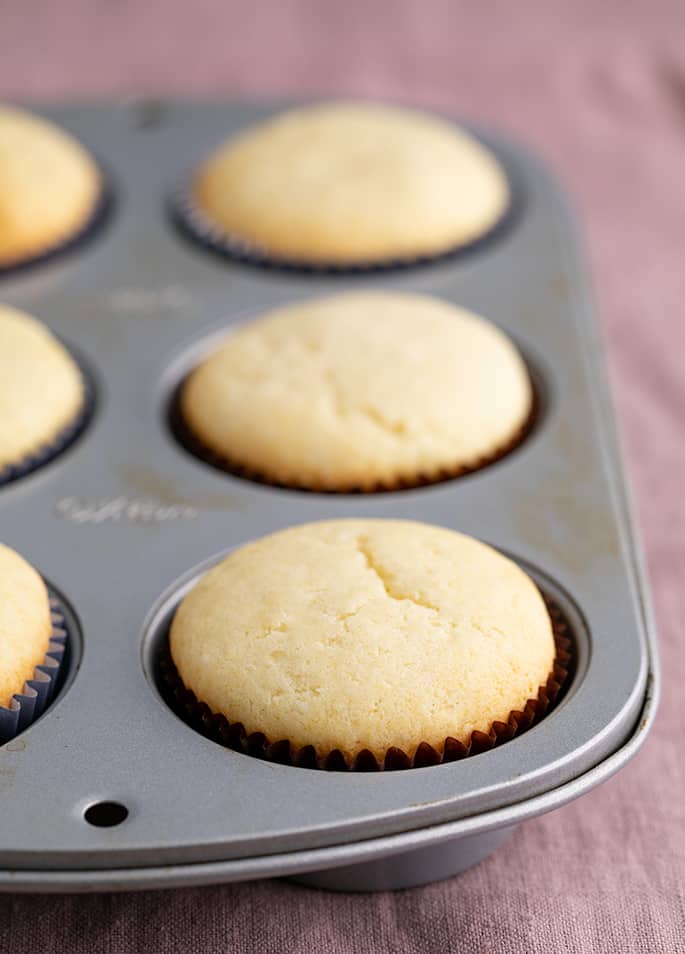
I like a cupcake with a nice, flat top, so it’s easy to pile on a nice, fluffy frosting. You can see for yourself that this recipe for gluten free cupcakes is the perfect frosting delivery system.
My recipe for the very best gluten free vanilla cake is truly perfect in every possible way—and it does happen to make very nice cupcakes. But it requires some sifting and other fussiness in the method, and the cupcakes don’t bake up as flat.
These easy gluten free vanilla cupcakes effortlessly rise into a flat top, and they don’t require any sifting of the dry ingredients. And they're so light, fluffy, and moist, they really do taste like something you'd pick up at a fancy bakery.
They're also perfect for nearly any occasion. Birthday party? Game night? Wednesday night? Celebrate events big and small with cupcakes. You can even freeze these delicious little treats, so you can enjoy them later.
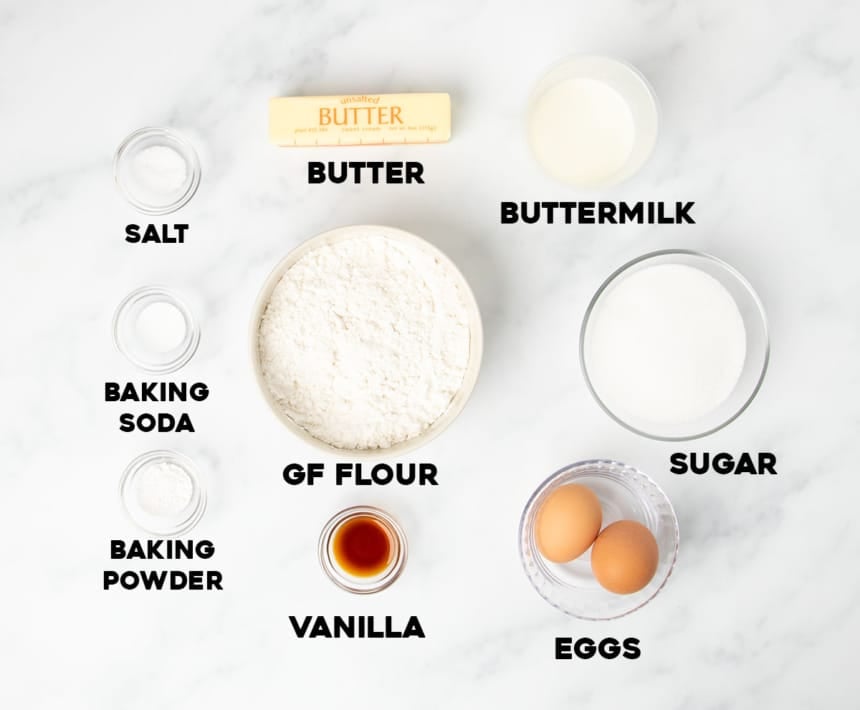
Cupcake ingredients
- Baking powder and baking soda – these ingredients help your cupcakes rise and give them that light, airy texture
- Salt – the ultimate flavor enhancer, salt really brings out the taste of the sugar and vanilla
- Butter – also helps with the texture and aroma of the cupcakes, but also adds richness and serves as a flavor delivery system
- Granulated sugar – these cupcakes are sweet thanks to the sugar, but this ingredient also works as a tenderizer
- Eggs – we use 1 egg and 1 egg white to give the cupcakes structure and contribute to the rise
- Vanilla extract – this is what gives the cupcakes that awesome flavor that reminds you of birthday cake
- Buttermilk – use regular milk or buttermilk, though I find that buttermilk results in the most tender cupcakes with the crumb you want to press into the tines of a fork

How to make gluten free vanilla cupcakes
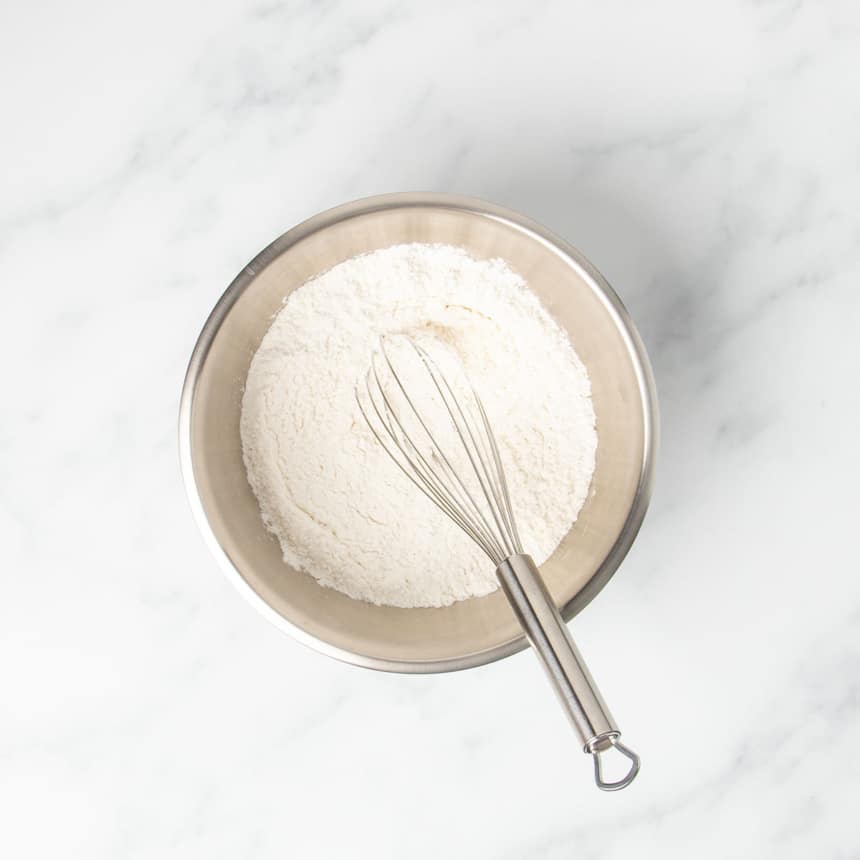
Combine the dry ingredients; then the wet ingredients
- Whisk together the dry ingredients (gluten free flour blend with xanthan gum, baking powder, baking soda, and salt), and set aside.
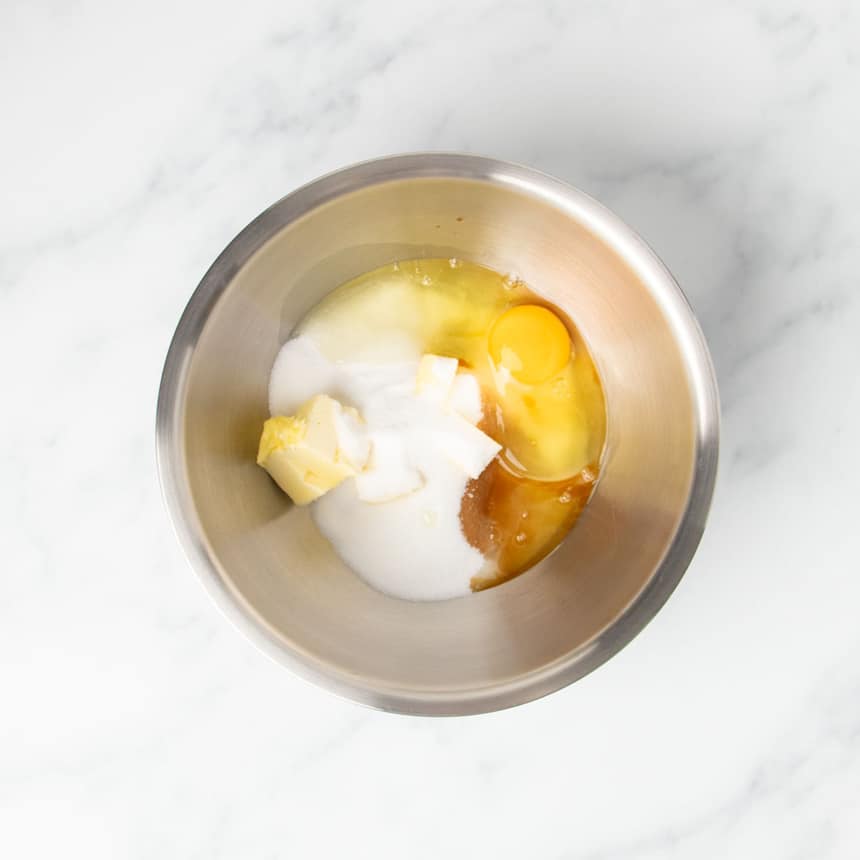
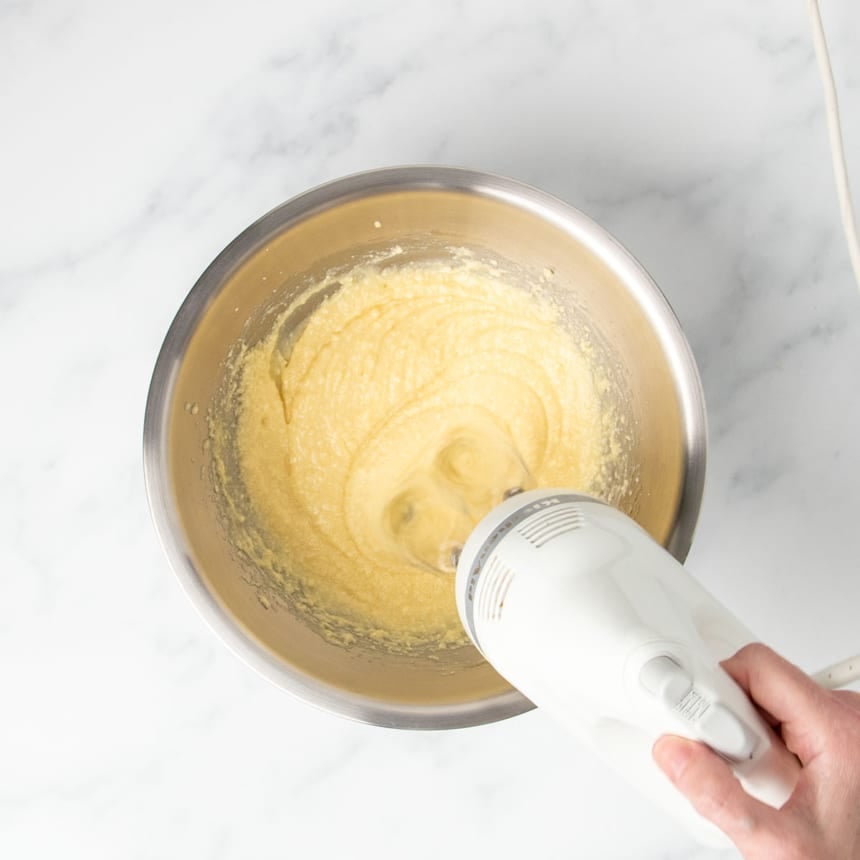
- In a large mixing bowl, beat butter, an egg, egg white, and sugar until well-combined and fluffy
Finish making the batter
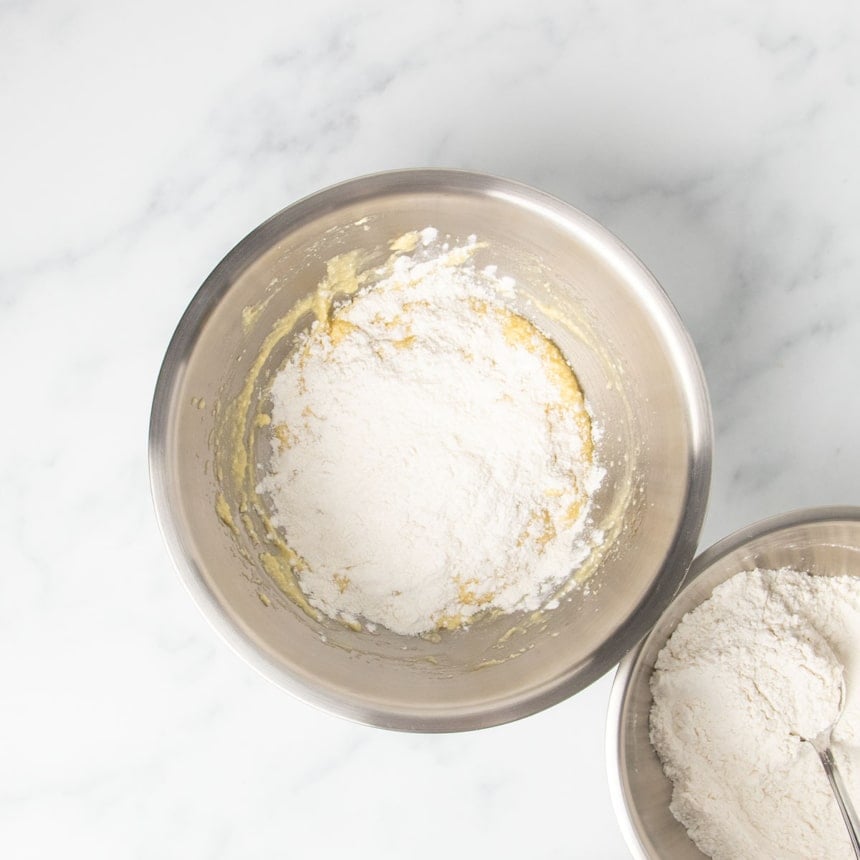
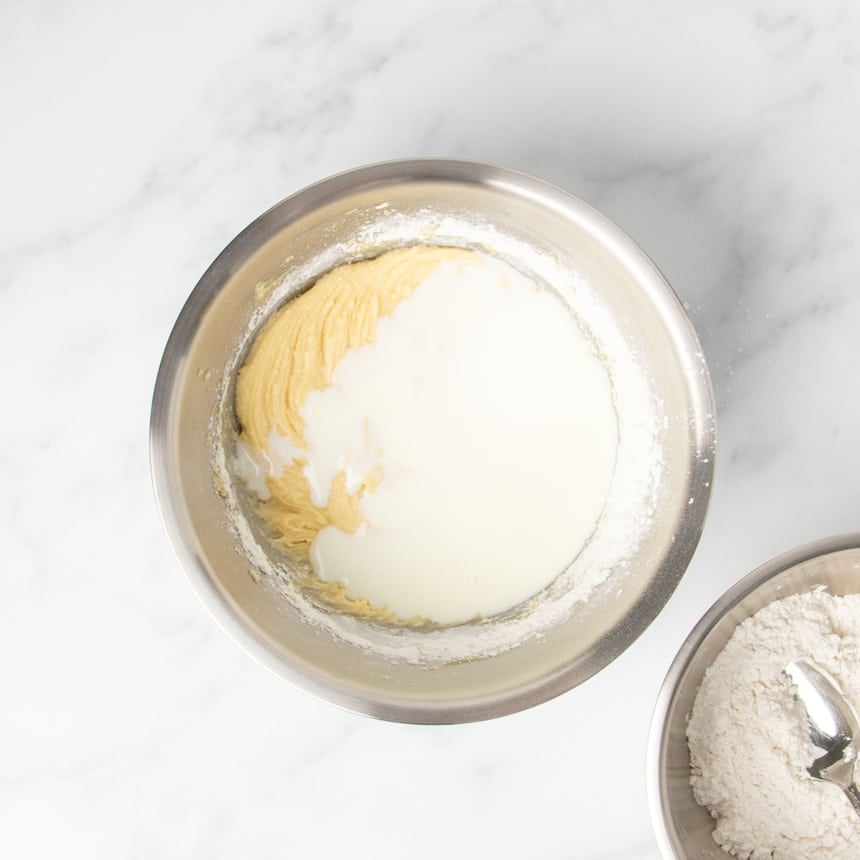
- Beat in half the dry ingredients, then the buttermilk, then the remaining dry ingredients.
- After each addition, beat until just combined.
- After adding the last of the dry ingredients, mix by hand into a smooth, soft but thick cupcake batter.
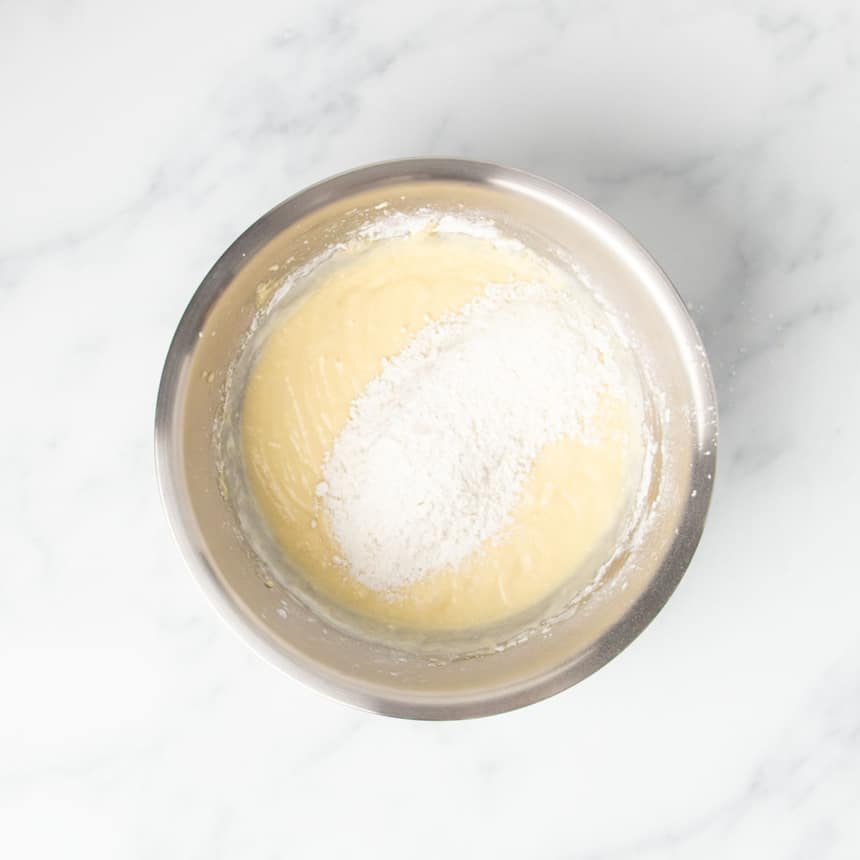
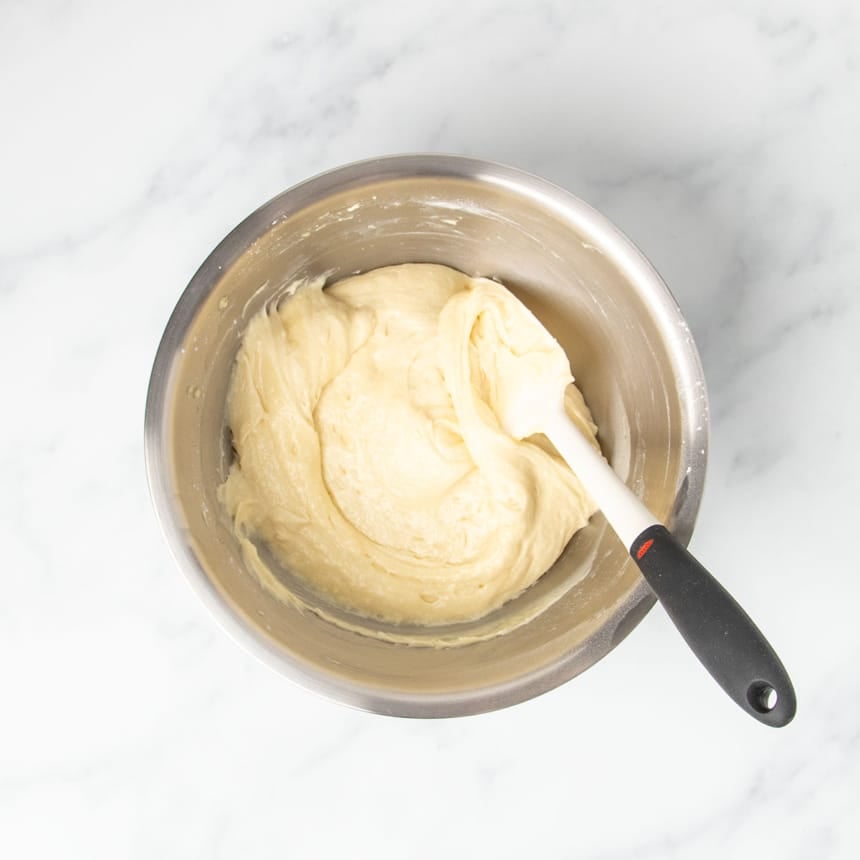
Transfer to the muffin tin & bake
- Line the wells of a standard muffin tin with greaseproof liners.
- Fill the wells 2/3 of the way full with batter. You'll have enough batter left over to make about another 3 to 4 cupcakes after.
- Bake at 325°F for about 20 minutes, or until lightly golden brown.
- Let cool in the tin for about 5 minutes, and then fully on a wire rack.
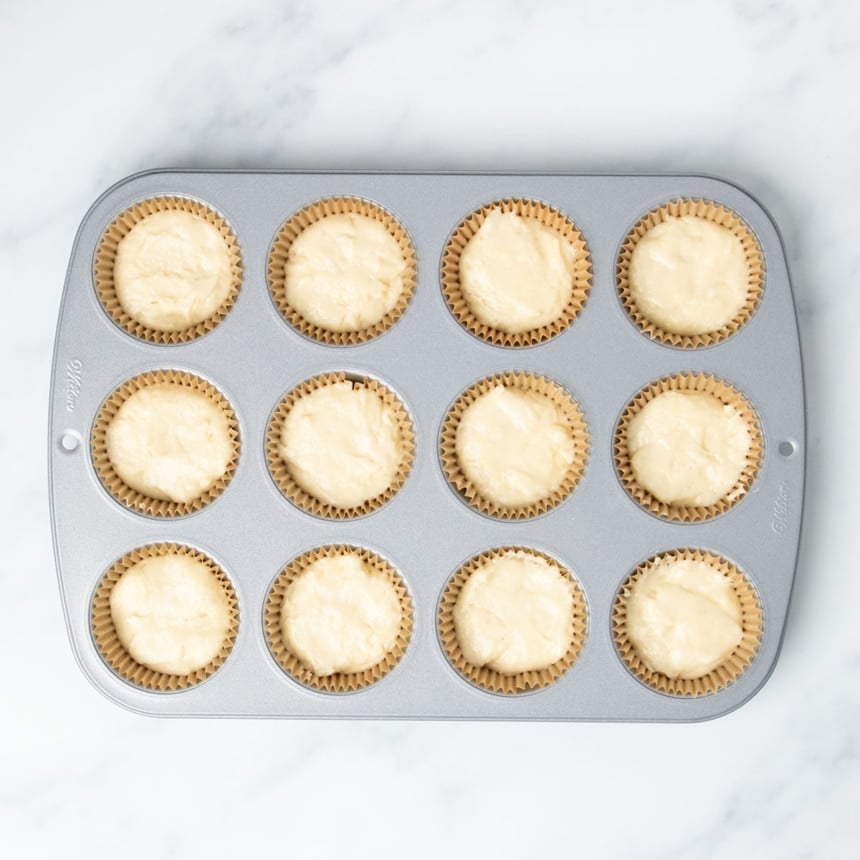
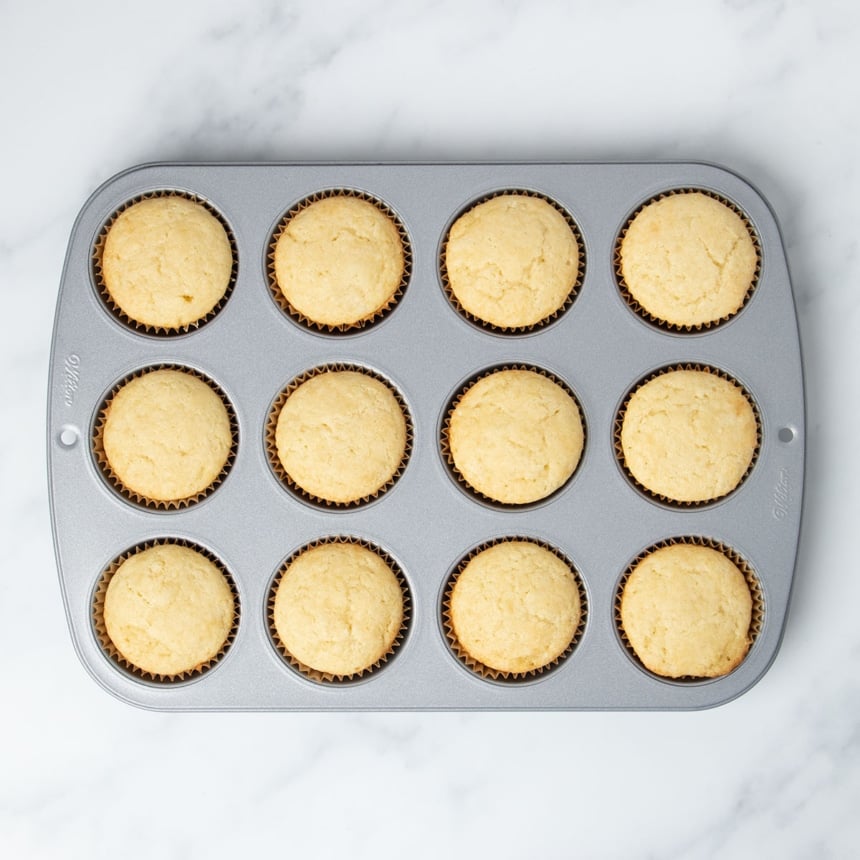
The best gluten free frosting for the best gluten free cupcakes
I've included a recipe for traditional vanilla buttercream frosting, and it's always a favorite. If you'd like something a little lighter, and a bit less expected, try our “Best” Vanilla Frosting. It's a cooked flour frosting that can be made in stages.
Instead of relying upon confectioners' sugar for the proper consistency, a cooked flour frosting has significantly less sugar than buttercream. And it's soft and velvety, but still stable at room temperature.
I haven't ever tried making it with dairy-free butter, I'm afraid. I bet it would work with butter-flavored Spectrum nonhydrogenated shortening, though.
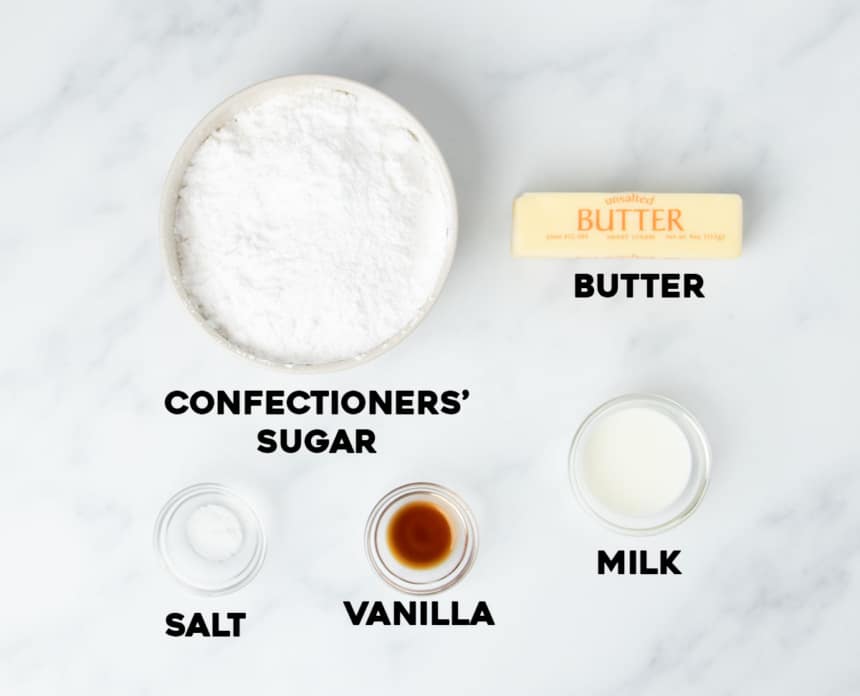
Key frosting ingredients
- Butter: Butter at room temperature adds flavor and forms the base of your buttercream frosting
- Confectioners' sugar: Adds sweetness and thickens the whipped butter so you can pipe in onto your cupcakes. It's powdered sugar plus some cornstarch to keep it from caking.
- Vanilla: Adds depth of flavor so the frosting doesn't taste greasy or flat
How to make the frosting
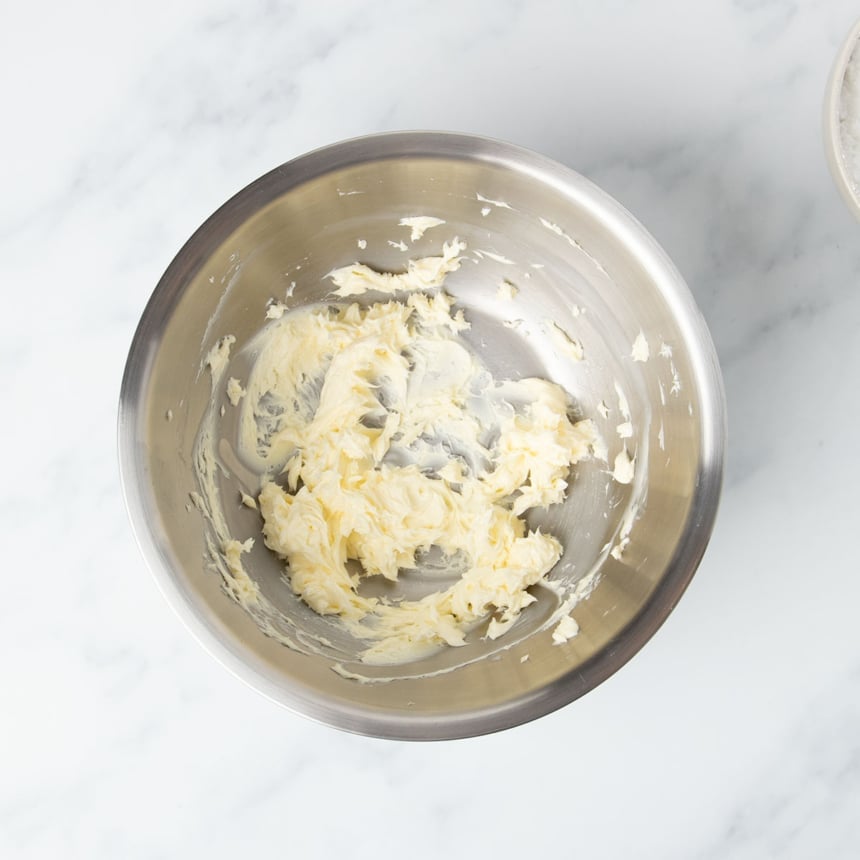
- Beat the butter just until smooth and creamy.
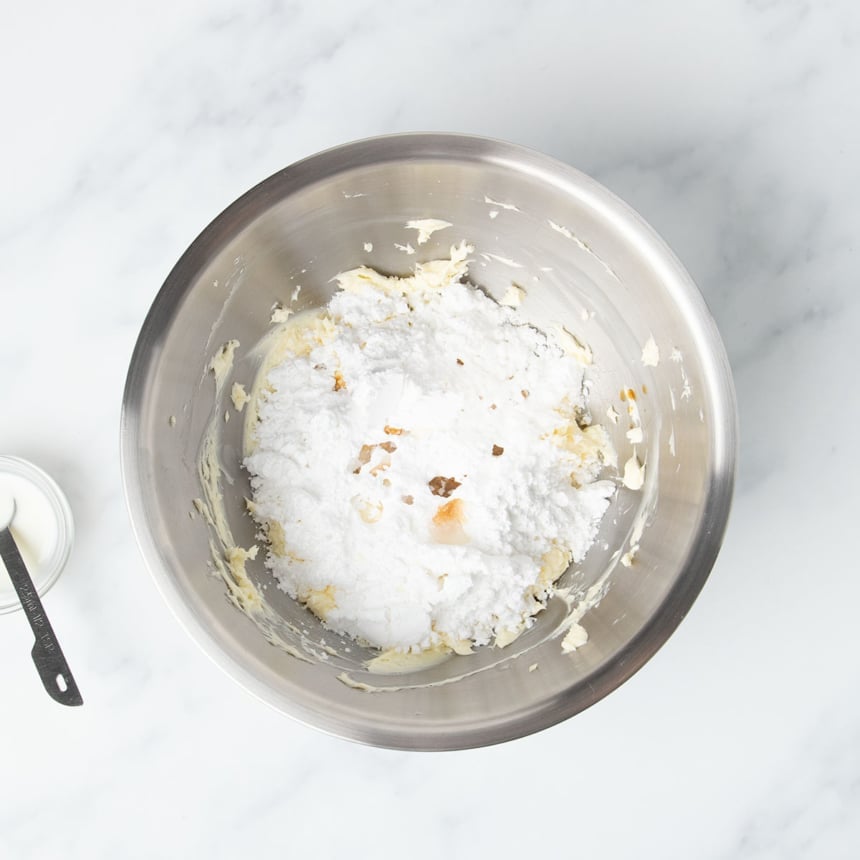
- Add the confectioners' sugar, salt, vanilla, and some milk to make it easier to beat together.
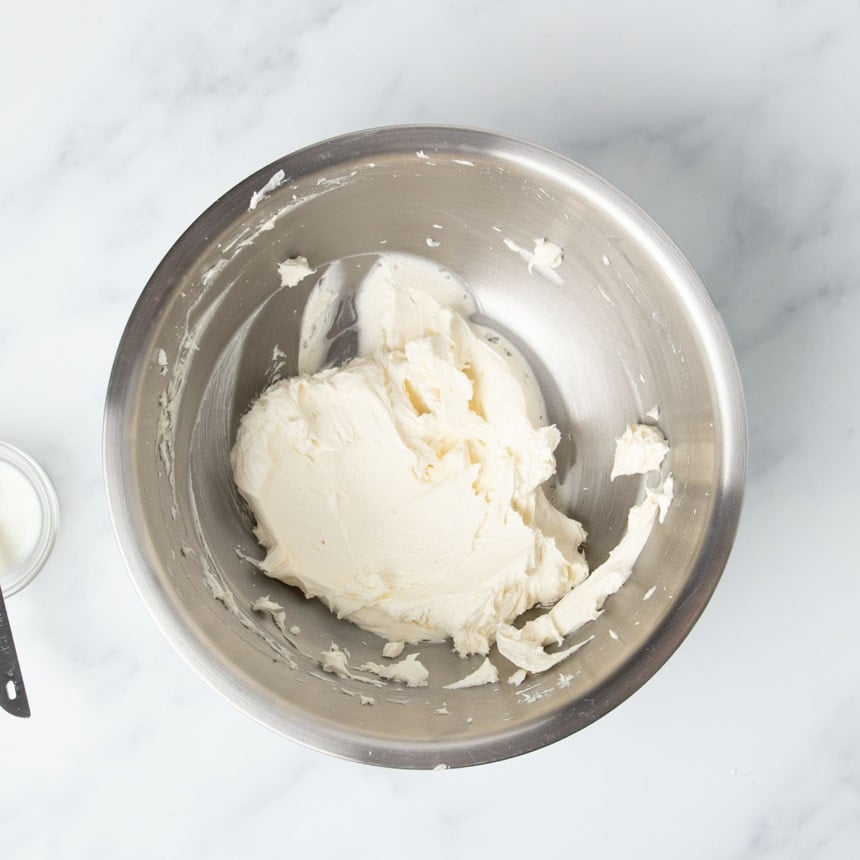
- Beat until creamy, then turn the mixer up to high speed and beat for about 5 minutes.
- The frosting should be light and fluffy, and should hold its shape when you scoop it. Add more confectioners' sugar if needed to thicken it.
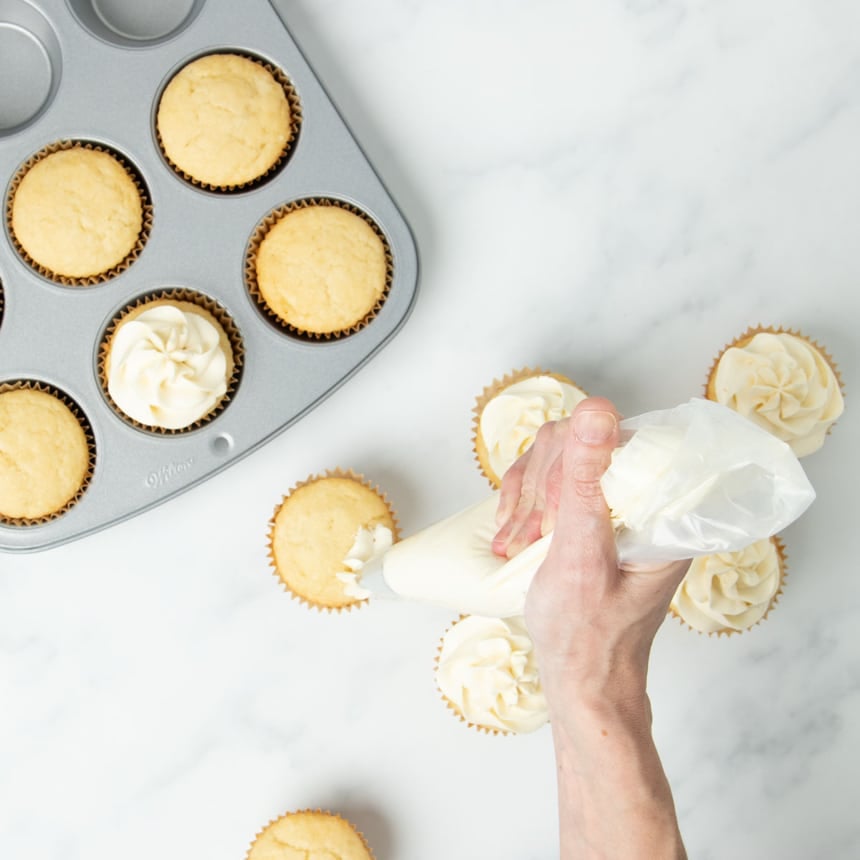
- Place it in a piping bag with a metal tip, or a zip-top bag with the corner cut off, and pipe or spread onto cooled cupcakes.
Recipe tips
Use room-temperature ingredients
Room-temperature ingredients just mix better, so pull out the cold ingredients about an hour before you're ready to bake. If you haven't planned ahead, try immersing your eggs in warm water for 10 minutes to increase their temperature gently, and chop up your butter so it warms faster at room temp.
Don't over-beat your cupcake batter
Mixing introduces air into your batter. This is fine because the air helps these cupcakes come out light and fluffy. But when you over-mix your batter or mix it using a high setting, you're going to introduce a lot of air — and during the baking process, it's going to develop big air pockets that form holes in your cupcakes.
Don't over-fill the wells of your muffin tin
Just be sure not to overfill the wells of the cupcake tin (2/3 of the way full is absolutely perfect). This prevents the dreaded cupcake explosion, where your cupcakes spill over the edges of the wells of the muffin tin.
An easy way to get uniformly sized cupcakes is to use a greased ice cream or muffin scoop. It ensure a perfect portion every time.
Don't over bake your cupcakes
Bake your cupcakes at no more than 325°F, and only until the tops spring back when pressed very lightly in the center. The toothpick test is not the best test for doneness here, and can easily lead to overbaking.
Let your cupcakes cool before frosting
If you're going to frost yours, you really do have to let them cool completely first. If you don't, your frosting will melt and make a sticky mess.
Properly measure your gluten free flour
When people tell me that they've had problems with gluten free baking, I can typically trace their problem back to the gf flour they're using. Sometimes, it's simply not appropriate for the recipe. But many other times, it's because they haven't used the right amount, despite using a measuring cup.
That's because a measuring cup isn't a reliable way to measure flour. I know what you're thinking: “how can that be?!” Let me explain.
Think about how you measure flour. If it's by sticking the measuring cup into the bag or storage container, you're already off to a bad start. When you do that, you pack the flour into the cup. This means you're going to end up with more than the recipe calls for.
Plus, dry measuring cups aren't standardized in size. Even if you spoon the flour into your measuring cup, your “cup” might be different from mine, even if we were both to measure perfectly right every time (which, of course, we can't).
The best way to measure gluten free flours is to use a kitchen scale. You'll notice that all my recipes also include ingredients in grams, so use that to ensure you're baking cupcakes precisely the way I have.
How to store your gluten free cupcakes
Because these gluten free cupcakes don't contain preservatives, they won't last for weeks on your kitchen counter. I generally find that they're good for a couple of days before they start to go stale.
If you make more cupcakes than you can eat in that time frame, I suggest freezing them for longer-term storage.
Whatever you do, don't put them in the fridge. That just speeds up the drying process.
Freezing gluten free vanilla cupcakes
Once they're cool, unfrosted cupcakes freeze very well. Just wrap each of them individually in freezer-safe wrap and store them in a sealed container or zip top freezer bag. They'll stay fresh as frozen for up to 3 months.
Defrost at room temperature or speed them up by microwaving them for 20 seconds at low power. You can freeze them after they've been frosted, but whatever you do, don't microwave a frosted cupcake or the frosting will melt everywhere!
Ingredient substitutions
Dairy free
These cupcakes and buttercream can easily be made dairy free by using vegan butter (my favorite brands are Melt and Miyoko's Kitchen), or butter-flavored nonhydrogenated vegetable shortening in place of butter.
Any unsweetened nondairy milk works well in place of cow's milk. I like unsweetened almond milk because it has some fat and is less watery than some nondairy milks.
These cupcakes are more tender with buttermilk. If you're dairy free or don't have buttermilk, you can make a buttermilk replacement with half milk (dairy or nondairy) and half plain yogurt (dairy or nondairy) by volume.
Egg-free
It's a little tricky to replace the egg and egg white here than it would be if the recipe called only for whole eggs. I haven't tried it, but you can try replacing the egg and egg white with 1 1/2 chia eggs.
Be sure to use ground chia seeds, not whole seeds, though. And avoid flax eggs, particularly in a recipe as simple as this, as flax has a strong flavor.
Vegan
While it may be tricky to substitute the eggs in this simple gluten free cupcakes recipe, dairy is easy. And as the dairy and eggs are the only non-vegan ingredients, you can follow my substitution advice for each above to make vegan-friendly cupcakes. Just be sure your sugar isn't made with bone char, if you're a strict vegan.

FAQs
I recommend that you use a mixture of Better Batter and corn starch in the ratio provided in the recipe. Adding cornstarch lightens the gluten free flour to give it a consistency that's more like traditional cake flour. The flour blend you choose must be one of my recommended blends, or the recipe won't work.
No! Like a good chocolate cake, your cupcakes certainly shouldn’t have a strange aftertaste or a gritty mouthfeel. They should have a moist and tender crumb, just like you’d expect from a cupcake in a bakery. If you’ve had gluten free vanilla cupcakes in the past and found them to be “good, for gluten free,” you weren’t eating the right cupcake, made with the right recipe and ingredients.
A gritty mouthfeel is from an all purpose gluten free flour that contains a gritty rice flour. A strange aftertaste or mouthfeel likely means the flour wasn’t good quality and well-balanced.
A dry cupcake might be made with the wrong recipe, so the ingredients were poorly balanced. Or, again, the flour blend wasn’t good quality.
Yes, you can use vanilla bean paste instead, just note that it's going to have a stronger flavor than the vanilla extract. When substituting, include the same amount of paste as you would vanilla extract.
Yes — just adjust your baking time as mini cupcakes don't need as much. And testing for doneness is the same: Press lightly on the top of a cupcake. If it springs back up, the cupcakes are ready.
No, this recipe isn't quite right for making a cake. Instead, try my Classic Gluten Free Vanilla Cake recipe. The ingredient ratios are much better for baking in a larger pan.
These gf cupcakes will keep at room temperature for about two days, so if you're making them for a party or other event, I'd recommend making them only the day before.
If you need more time, go ahead and bake them, but then freeze them until needed. To defrost, just leave them on the counter for a couple of hours, covered with a dome so they don't dry out.
The most common reason that gluten free cupcakes sink is that your oven ran too hot, so the outside cooked before the center developed the proper structure to support it. So when the cupcakes cool, they cave in.
If your oven temperature is too low, your cupcakes will probably rise reliably, but won't rise very high. The only really reliable way to gauge oven temperature is with a standalone oven thermometer that you replace often. That's what I do!
Gluten Free Vanilla Cupcakes Recipe
Equipment
- Stand mixer or handheld mixer
Ingredients
For the vanilla cupcakes.
- 1 ½ cups (210 g) all purpose gluten free flour blend, (I like Better Batter here)
- ¾ teaspoon xanthan gum, omit if your blend already contains it
- 2 tablespoons (18 g) cornstarch
- 1 teaspoon baking powder
- ½ teaspoon baking soda
- ½ teaspoon kosher salt
- 8 tablespoons (112 g) unsalted butter, at room temperature
- 1 cup (200 g) granulated sugar
- 1 (50 g, weighed out of shell) egg, at room temperature
- 1 (25 g) egg white, at room temperature
- 2 teaspoons pure vanilla extract
- ⅔ cup (5 ⅓ fluid ounces) milk or buttermilk, at room temperature
For vanilla buttercream frosting.
- 8 tablespoons unsalted butter, at room temperature
- 1 cup confectioners' sugar, plus more as necessary
- ⅛ teaspoon kosher salt
- ¼ teaspoon pure vanilla extract
- Milk by the teaspoon, as necessary
Instructions
For the cupcakes.
- Preheat your oven to 325°F. Line 16 wells of standard muffin tins with cupcake liners or grease the wells, and set the tins aside.
- In a small bowl, place the flour, xanthan gum, cornstarch, baking powder, baking soda, and salt, and whisk to combine well. Set the bowl of dry ingredients aside.
- In the bowl of a stand mixer fitted with the paddle attachment, or a large bowl with a handheld mixer, place the butter, sugar, egg, egg white and vanilla, and beat at medium-low speed to combine. Increase the mixer speed to medium-high and beat until it appears whipped (about 2 minutes).
- To the large bowl with the butter mixture, add the dry ingredients in 3 batches, alternating with the milk or buttermilk, beginning and ending with the dry ingredients. Beat lightly after each addition until just combined. Do not overmix. The batter should be light and fluffy.
- Fill the prepared wells of the muffin tin about 2/3 of the way full of the batter. Shake the tin back and forth to evenly distribute the batter in each of the wells.
- Place the tin in the center of the preheated oven and bake until the cupcakes are very lightly golden brown and spring back when pressed lightly in the center (about 20 minutes). Don’t over bake.
- Allow the cupcakes to cool for at least 5 minutes in the tin before transferring to a wire rack to cool completely. Repeat with the remaining cupcake batter. Cool the cupcakes completely before frosting and/or decorating.
For the frosting.
- In a large bowl with a hand mixer or the bowl of a stand mixer fitted with the paddle attachment, place the butter. Beat on medium speed until creamy (about 30 seconds).
- Add the 1 cup (115 g) of confectioners’ sugar, the salt, vanilla, and 1 teaspoonful of milk, and beat on medium speed until well-combined (about 1 minute).
- Beat in more confectioners’ sugar until the consistency is thick but not stiff. Turn up the mixer speed to high and beat for about 5 minutes or until light and fluffy.
- Transfer the frosting to a piping bag fitted with your favorite piping tip. Pipe the frosting on the cooled cupcakes, or use two spoons to scoop a dollop onto each cupcake.
Video
Notes
Nutrition
Nutrition information is automatically calculated, so should only be used as an approximation.




This is not dairy free as it uses butter.
The recipe can be made dairy free with the substitution suggestions offered, Joan. It doesn’t claim to be dairy free as written.
Just made these cupcakes today for a wedding. I received nothing but praise. Everyone questioned whether they were gluten free or not. I assured them that they were. Thank you for the great recipe. This is the 8th recipe I tried trying to make gluten free that tasted good. I assure you, I won’t have to look any further. I will be looking on your site first going forward.
I’m so glad to hear that, Helen. Thank you so much for sharing your experience. You pleased the gluten eaters, and that is the holy grail of gluten free baking! Well done! Thank you so much for the kind words, and for your faith in my recipes. I work very hard on making the recipes just right, and it isn’t for everyone because it requires faith to the ingredients and method, but it’s very gratifying when someone sees that it’s so worth it! Thank you again for sharing.
My first try at gluten free and I have to be honest this is a win! light, fluffy, tasty and cake flaky! I will definitely keep this one in my ‘tried tested and true’ go to recipe folder. topped it with swiss merengue buttercream yum!
I’m so happy to hear that, Jasmine! That’s a good folder to be in. :)
I’m impressed with your thoroughness regarding gluten free flours! I’ve been asked to bake gf vanilla cupcakes for a special occasion, which will be my first gf baking attempt. Yikes! I can’t mess this up! So, I just need clarification as to specific flours that will produce the best results. Would that be Better Batter Original AP GF flour, or Cup4Cup Multipurpose GF flour as an alternative? No others from a grocery store? Your cupcake recipe is so well thought out that it seems like the best one for the occasion. 👌
Hi, Becky, I’m afraid that the only gluten free flour blend that is sold in grocery stores that I can recommend is Cup4Cup’s multipurpose flour. It would work well in these cupcakes. It’s not great for bread, but it will work. Cupcakes and pastry, it’s great. I wish that I liked any of the other readily available blends. If you’re willing to order online, I would recommend Better Batter. Actually, I have my own flour blend now, Nicole’s Best, which is available online but it’s out of stock right now as we are moving warehouses. I hope that’s helpful, and if you use Cup4Cup and measure by weight, you’ll do great!
I made these for my son’s 3rd birthday party. He’s gluten and dairy free as he has some health issues. These were INCREDIBLE! Everyone at the party raved about how good they were and wished I had made more! I made a dairy free “buttercream” to top them. They were moist and delicious! I’m not sure about some of the comments on here… if you didn’t follow the recipe and they didn’t turn out, that’s not really the recipe or the author’s fault! I followed the recipe exactly and used the recommended gf flour. Thank you so much!
I’m so glad to hear that, Bri! Thank you for your support of the recipe and yes, following the recipe closely and using one of my recommended flour blends are key ingredients to a successful outcome! Happy birthday to your little boy. :)
These were lovely. My first attempt at a gluten free recipe for my aunts birthday and everyone loved the turnout. I doubled the recipe and replaced .5 tsp of the vanilla extract with almond extract. I was not able to use the suggested flour so I used bobs red mills gluten free 1 to 1 baking flour. I measure my cupcakes and kept these in between 50-55 grams. The rise was perfect and the texture was soft and fluffy. I chose my own frosting recipe a vanilla bean buttercream. The only change I may make with my frosting pairing is a tiny bit less salt used in the cupcakes. No one else agreed with me, as everyone else said they were wonderful. we can definitely be our own worse critics. Thanks for sharing this recipe.
What an amazing recipe. I made these en mass for a charity baking event to fundraise for a local family undergoing a cancer battle. The feedback has been that these are the best gf cupcakes they’ve ever had. Whilst they did sink a little in the middle, the crumb was tender, full of flavour and adored by gf and non-gf customers. Thank you so much for a brilliant recipe that didn’t break the bank!
This recipe is so delicious but I can’t seem to get the cupcakes to stop shrinking while cooling. They puff up while cooking above the pan and then shrink to like half the size they should be when cool. I’ve made the recipe exactly as written, including weighing the ingredients. I am using cup 4 cup brand flour. After reading the above info on the oven temp I tried making them again last night. I’ve never had trouble with oven temp before but I will say I usually cook most things 1-2 minutes less than called for. The first batch I cooked at 315 degrees, rotating the pan half way through. The second batch I cooked at 300 degrees, rotating the pan half way through. Same result. Little shriveled cupcakes 😅. Please help! Any feedback appreciated!
It sounds like your cupcakes are consistently underbaked, and I’m afraid that guessing at how hot your oven is running isn’t working, which is why you need a standalone oven thermometer to gauge oven temperature. With an oven temperature of 300°F, you won’t get any oven spring, which would also lead to problems with your rise. Are you making any ingredient substitutions? Swapping out the egg and egg white for another combination or an egg replacer? Beating the butter mixture until it’s whipped? That’s how you incorporate air into the batter to make it light and fluffy. You may also be overmeasuring your milk. In addition, doneness is never a strict factor of baking time as there are so many variables. The center of the cupcakes should spring back when pressed lightly in the center. If not, they’re not done baking. In addition, your oven temperature is dropping when you rotate the pan, so I wouldn’t recommend that. There are so many factors and we all have habits in the kitchen that we don’t realize can affect the outcome but do. I hope this has given you some ideas!
Thank you for the quick reply. Most appreciated. The first time I used the recipe I cooked at 325 but they did the same thing so I thought I’d try the lower temp. I will have to get a thermometer and see what it is doing. I only rotated the pan because I saw that for this issue it can help with hot spots. I don’t normally do that. No substitution of ingredients. I did not weight the milk like I did the other ingredients but I will on the next batch. I feel like the butter is whipped well but I can let it go a little longer next time too. I will keep trying. I appreciate the feedback! When you bake yours does the batter rise at all above the cupcake liner? They look so perfect in the picture. Thanks!
I was wondering if it was the cup4cup flour. I can get that at my local store and it is about $10 cheaper than the better batter. But I will buy the better batter if I need to. Thanks.
I have tried so many cup cake recipes but this one is fabulous, the trick definitely is not to over cook soft and fluffy
by far my favourite 💜 Fran
I’m so glad you enjoyed the cupcakes, Fran. There’s nothing like a soft and fluffy vanilla cupcake. My favorite!