This post may contain affiliate links. Please read our disclosure policy.
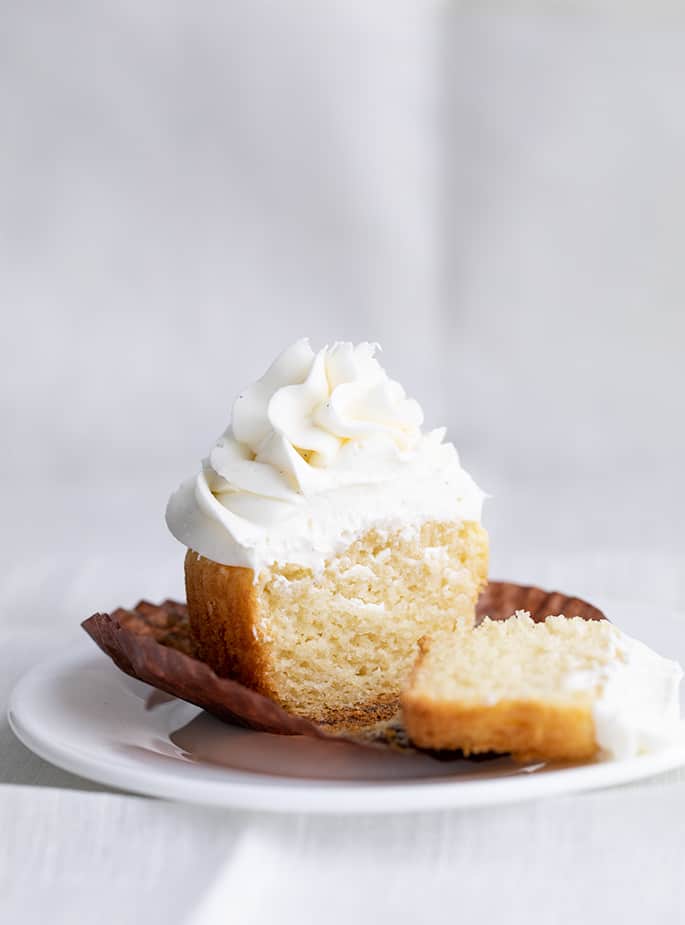
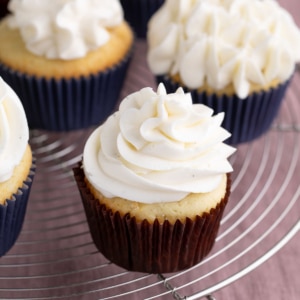
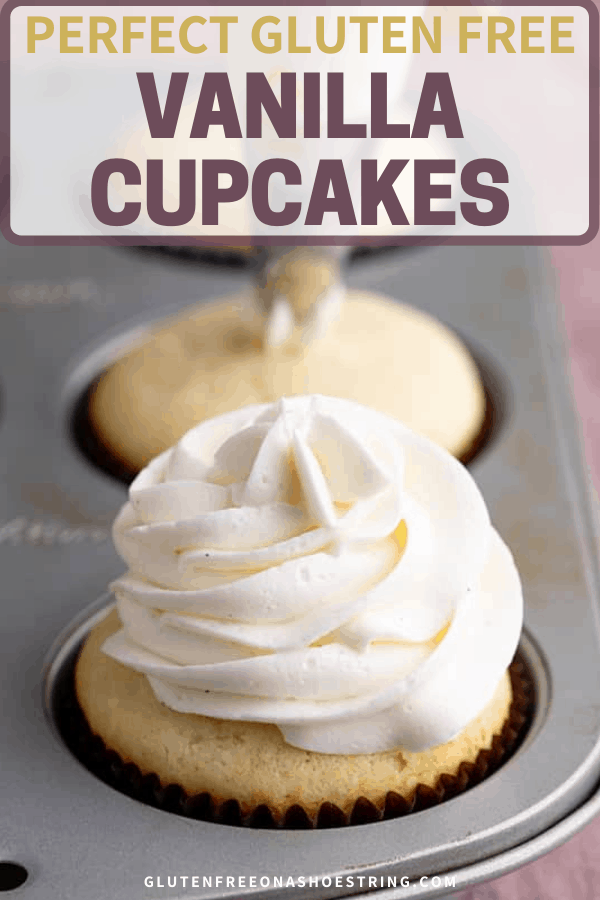
These gluten free vanilla cupcakes are tender, moist, and packed with classic vanilla flavor. With a soft crumb and bakery-style texture, they’re perfect for birthdays, weddings, baby showers—any celebration where no one should miss out.
Bring these to a party, and no one has to settle for a second-best treat. Everyone gets to eat the same thing—and love it.
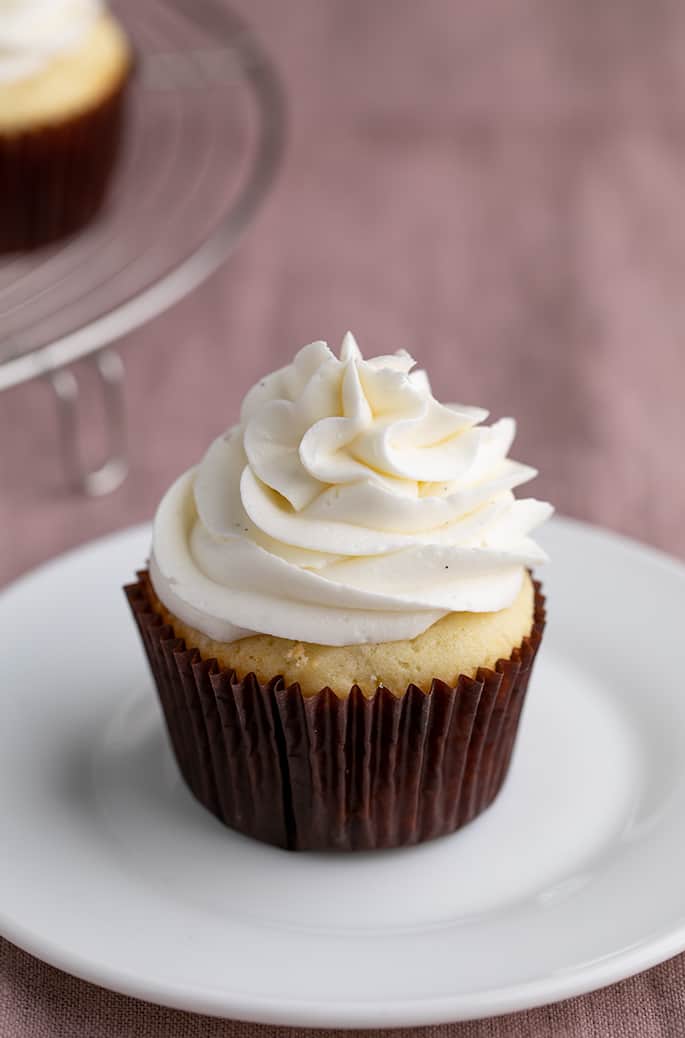
“Just made these cupcakes today for a wedding. I received nothing but praise. Everyone questioned whether they were gluten free or not!”
My take
Why you'll love these cupcakes
- Soft and fluffy crumb: Soft and fluffy crumb: Moist and tender, with a light, melt-in-your-mouth feel.
- Easy recipe: No sifting—just mix, scoop, and bake.
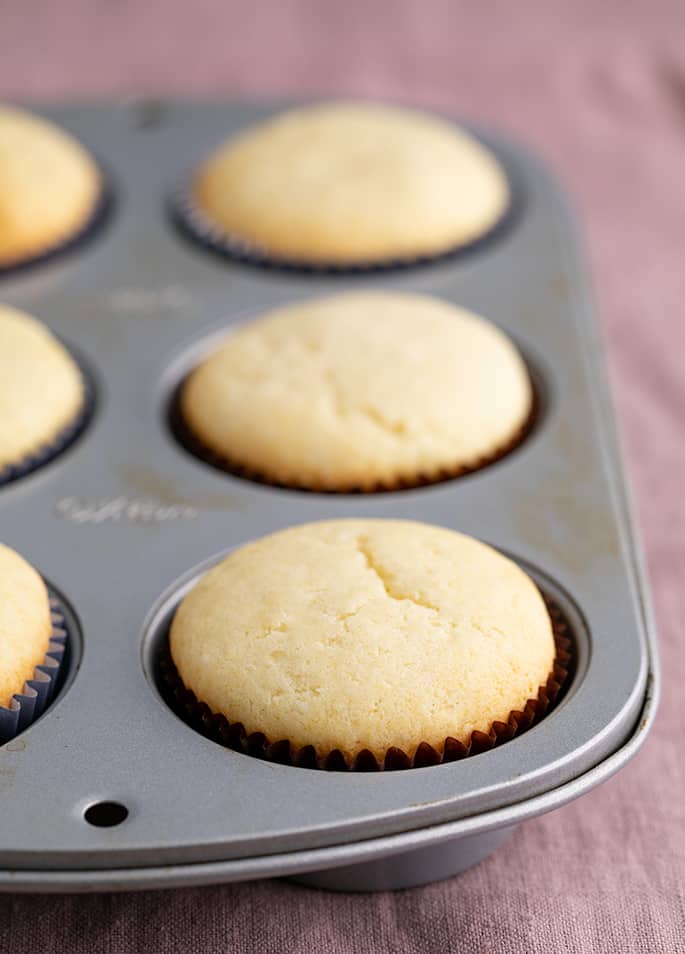
- Flat tops for frosting: No dome means perfect for decorating.
- Versatile for any crowd: Frost with vanilla or chocolate, add sprinkles or not.
- Freezer-friendly: Make ahead and freeze plain cupcakes for up to 3 months.
Cupcake ingredients
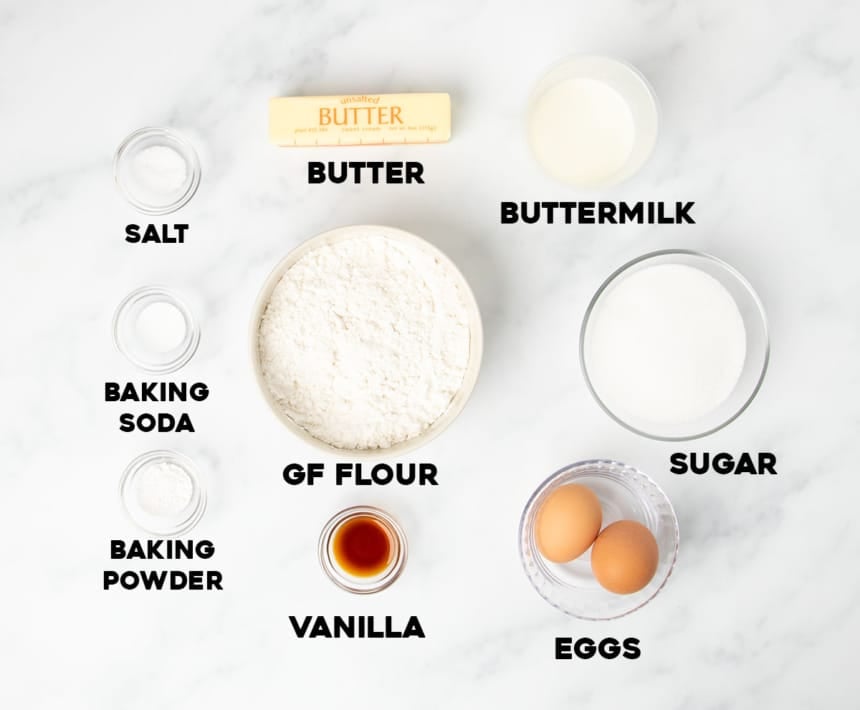
- Gluten free flour blend – The base of the recipe. Be sure to use a blend without too much xanthan gum (see Recipe Notes in the recipe card).
- Baking powder + baking soda – Help the cupcakes rise and stay light and airy.
- Salt – Enhances flavor and balances sweetness.
- Butter – Adds richness and helps create that soft, tender crumb.
- Granulated sugar – Sweetens the cupcakes and keeps them moist.
- Egg + egg white – Give structure and help the cupcakes rise evenly.
- Vanilla extract – Brings that classic birthday cake flavor.
- Buttermilk – Makes the most tender crumb. You can also use regular milk, but buttermilk gives the best results.
- Frosting included below! Learn how to make a classic vanilla buttercream with just butter, sugar, and vanilla.

How to make gluten free cupcakes
Making these gluten free cupcakes is as simple as whisking, creaming, and alternating the wet and dry ingredients. Here’s how it’s done:
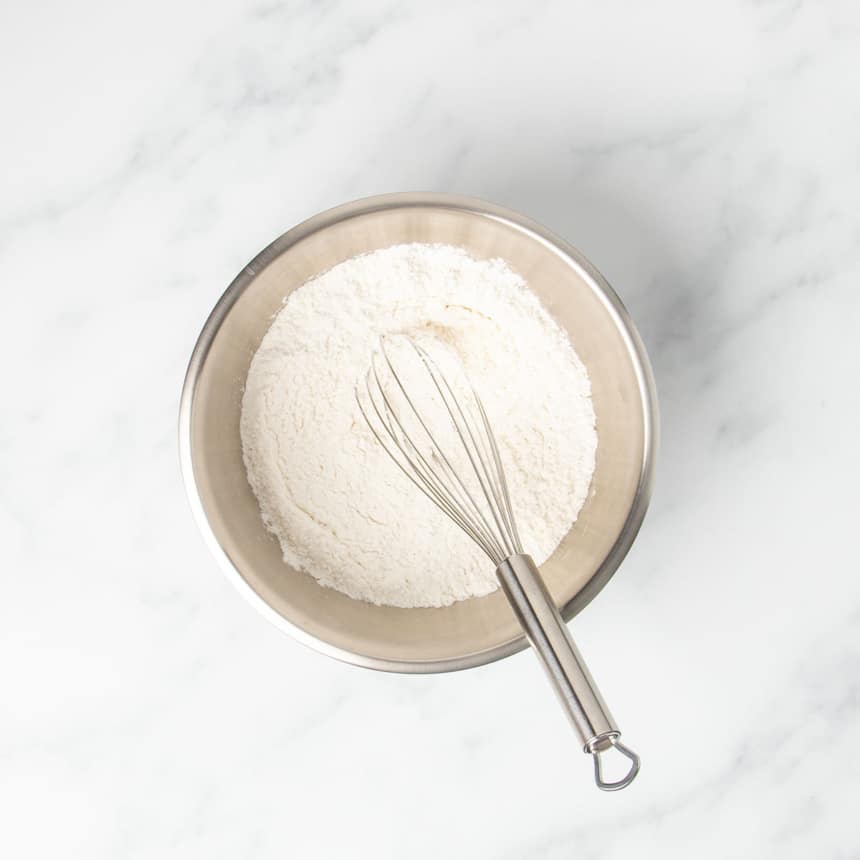
1. Whisk the dry ingredients: Combine the gluten free flour blend, xanthan gum (if using), baking powder, baking soda, and salt.
2. Cream the butter and sugar: Beat them together with the egg, egg white, and vanilla until fluffy and well-combined.
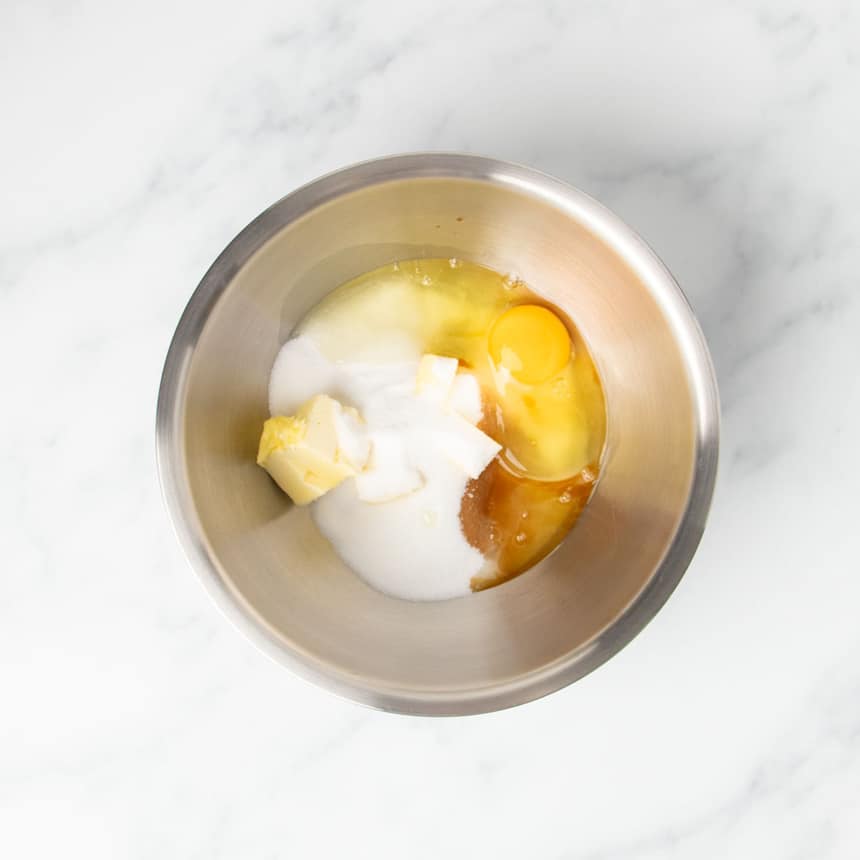
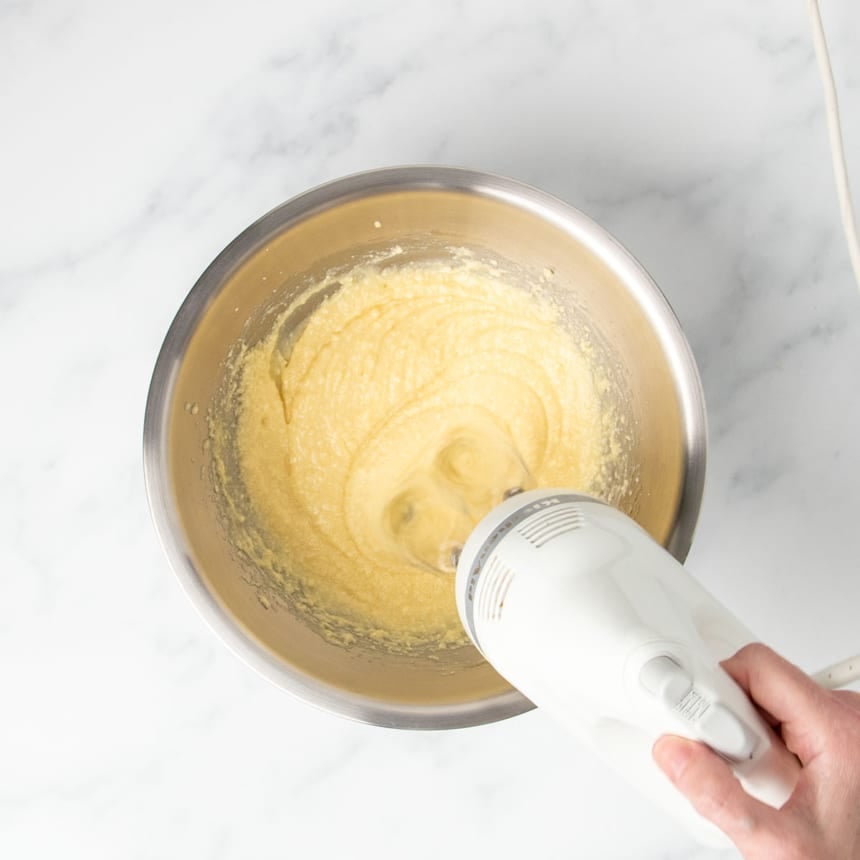
3. Combine the wet and dry ingredients: Mix in the dry ingredients in three parts, alternating with buttermilk or milk. Start and end with dry.
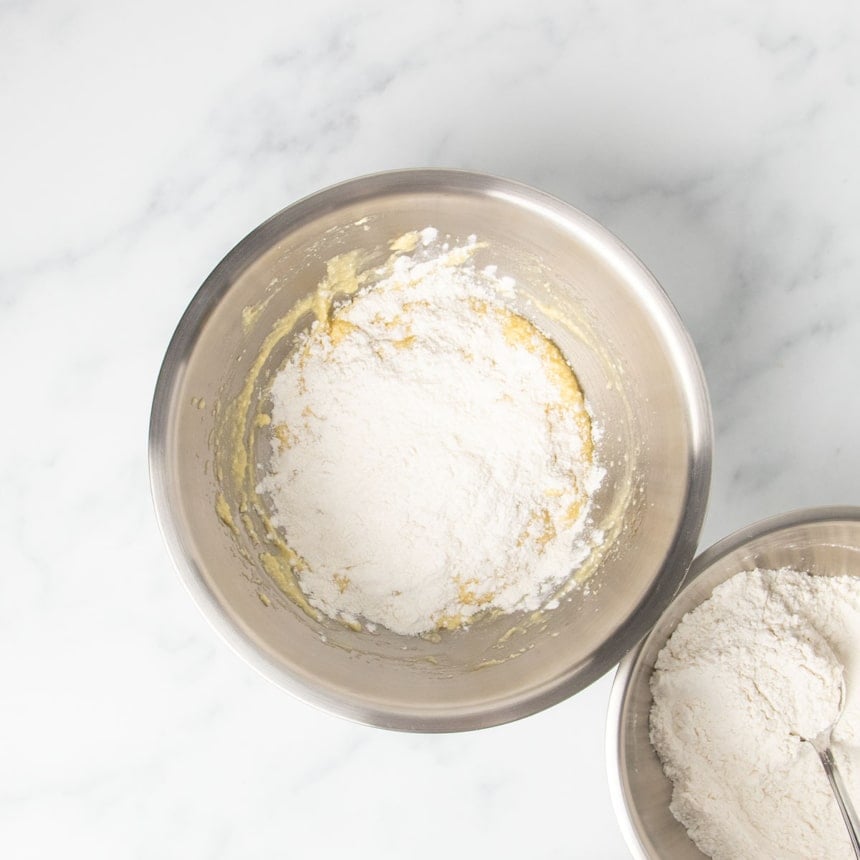
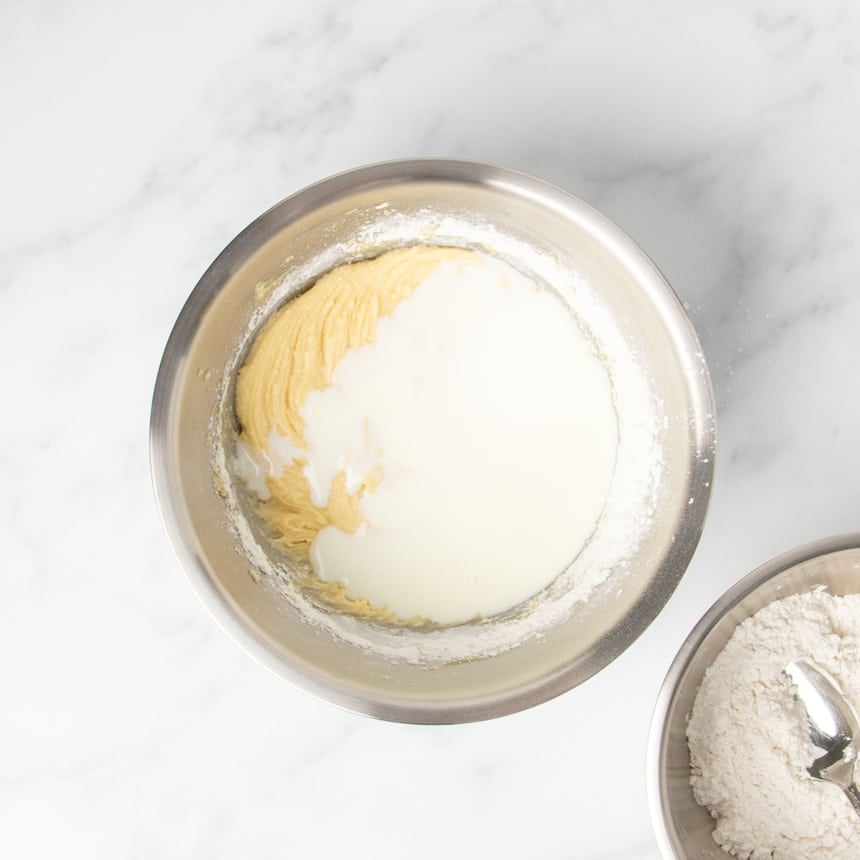
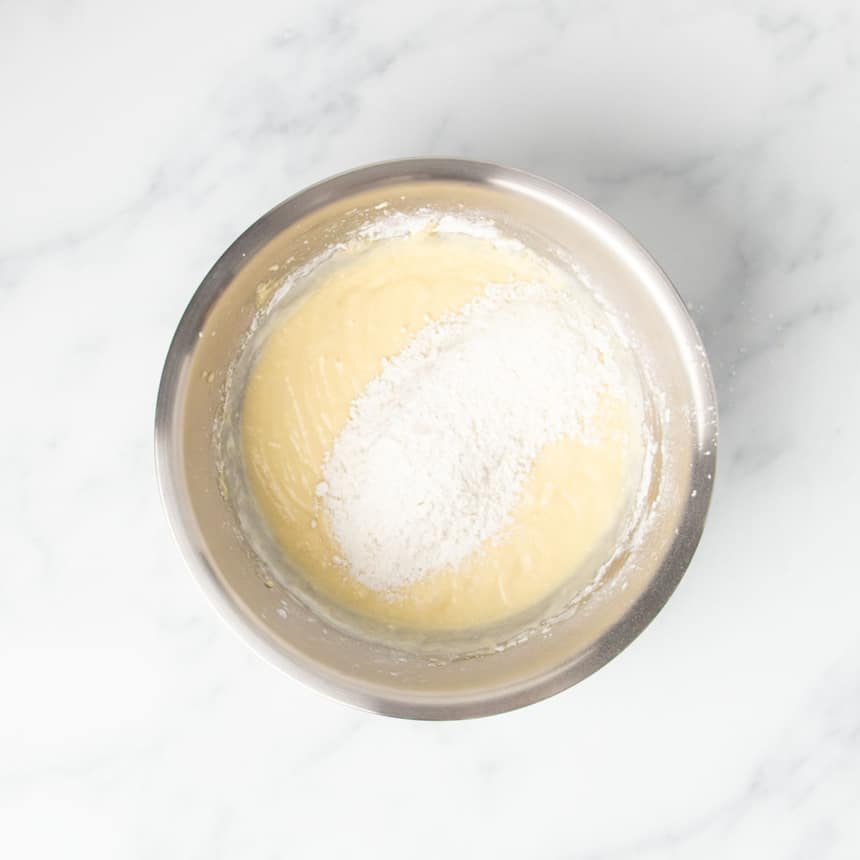
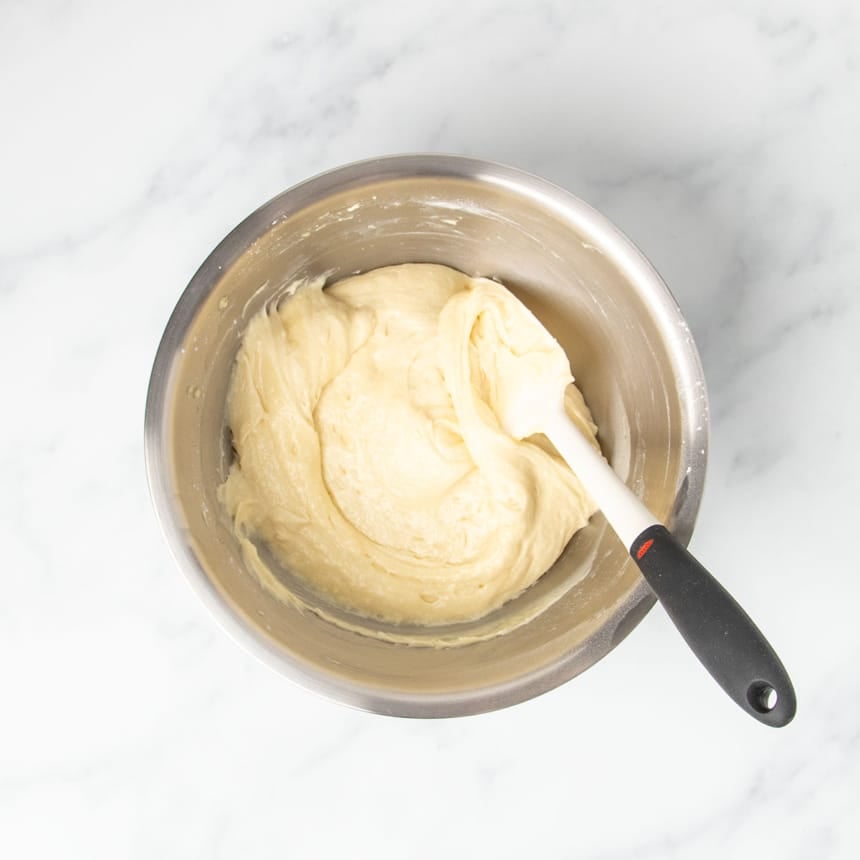
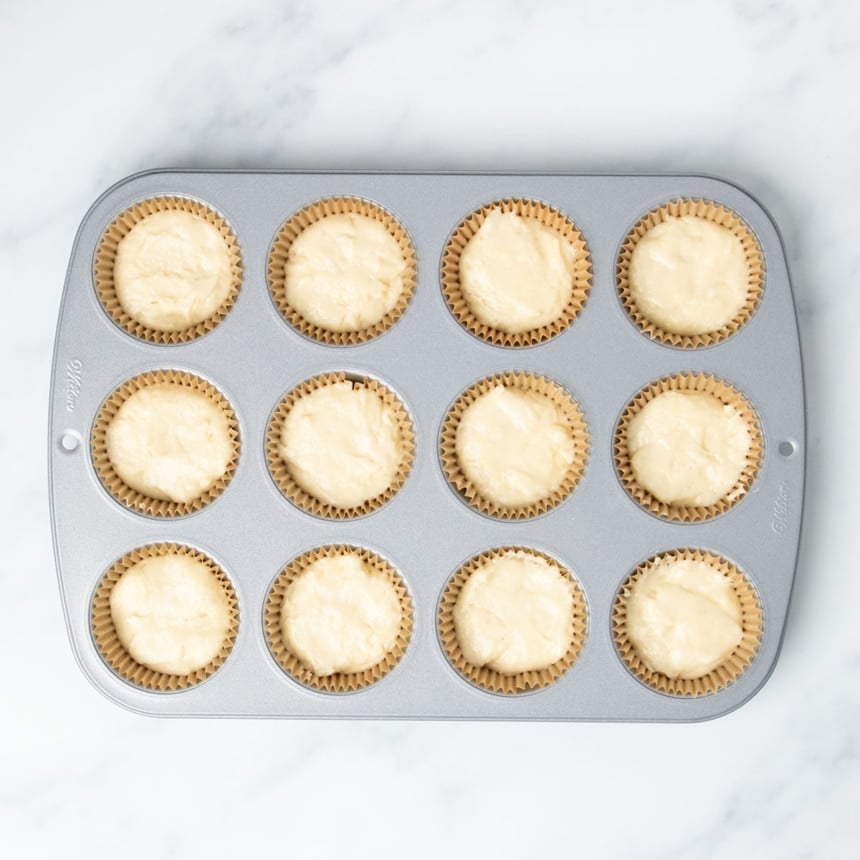
4. Portion the batter: Scoop into a lined muffin tin, filling each well about 2/3 full.
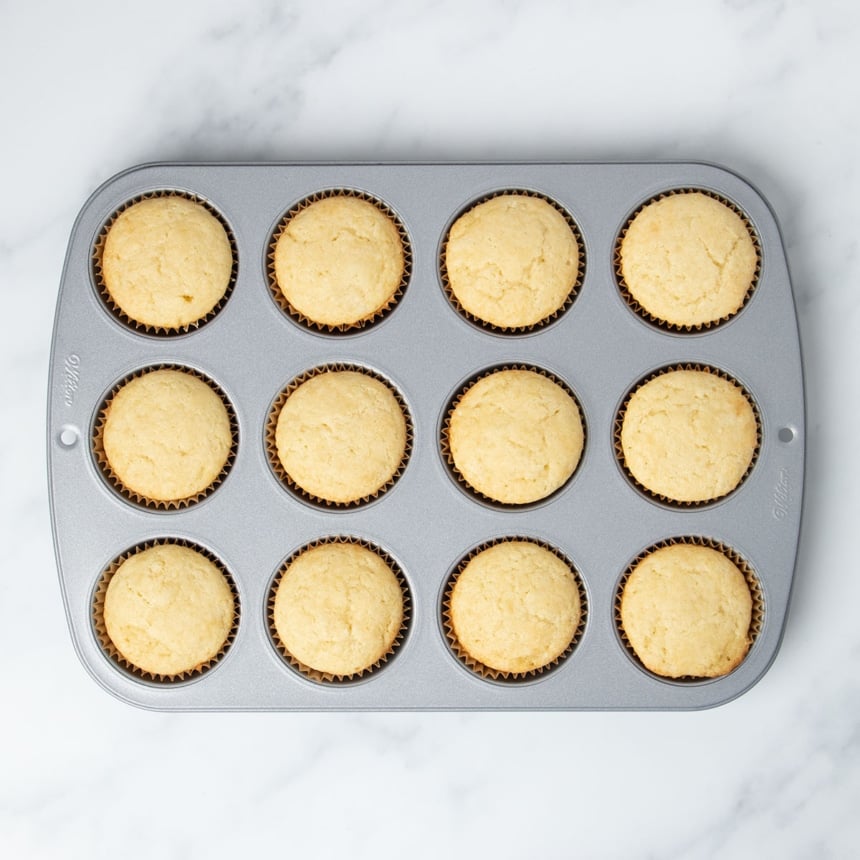
5. Bake at 325°F: Bake for about 20 minutes, or until the tops spring back when gently pressed.
6. Cool completely: Let cupcakes cool in the pan for 5 minutes, then transfer to a wire rack before frosting.
Expert tips
Use room-temperature ingredients: Cold butter, eggs, or milk won’t mix evenly and can cause texture issues.
Don’t overmix: Mix just until the batter is smooth. Overmixing adds too much air and can create tunnels.
Scoop evenly: Fill cupcake wells about 2/3 full to prevent overflow and ensure even baking.
Bake just until done: At 325°F, bake until the tops spring back when lightly pressed. Skip the toothpick—it can be misleading.
Cool completely before frosting: Warm cupcakes will melt your frosting. Let them cool fully for best results.
Measure by weight: For reliable results, use a digital kitchen scale instead of measuring cups—especially for the flour.
Ingredient substitutions
Dairy-Free
Use block-style vegan butter (like Melt or Miyoko's brands are best) or butter-flavored nonhydrogenated shortening in place of butter.
For the best texture, replace buttermilk with a mix of half plain yogurt and half nondairy milk by volume. You can also use just unsweetened, unflavored nondairy milk, but the crumb will be a little more condensed.
Egg-Free
Replace the egg with a chia egg, Bob’s Red Mill egg replacer, or Just Egg. Avoid flax eggs—they add a strong flavor that doesn’t work well here.

Vanilla Gluten Free Cupcakes Recipe
Equipment
- Stand mixer or handheld mixer
Ingredients
For the vanilla cupcakes.
- 1 ½ cups (210 g) all purpose gluten free flour blend, (See Recipe Notes) (Click thru for full info)
- ¾ teaspoon xanthan gum, omit if your blend already contains it
- 2 tablespoons (18 g) cornstarch
- 1 teaspoon baking powder
- ½ teaspoon baking soda
- ½ teaspoon kosher salt
- 8 tablespoons (112 g) unsalted butter, at room temperature
- 1 cup (200 g) granulated sugar
- 1 (50 g, weighed out of shell) egg, at room temperature
- 1 (25 g) egg white, at room temperature
- 2 teaspoons pure vanilla extract
- ⅔ cup (5 ⅓ fluid ounces) milk or buttermilk, at room temperature
For vanilla buttercream frosting.
- 8 tablespoons unsalted butter, at room temperature
- 1 cup confectioners' sugar, plus more as necessary
- ⅛ teaspoon kosher salt
- ¼ teaspoon pure vanilla extract
- Milk by the teaspoon, as necessary
Instructions
For the cupcakes.
- Preheat your oven to 325°F. Line 16 wells of standard muffin tins with cupcake liners or grease the wells, and set the tins aside.
- In a small bowl, place the flour, xanthan gum, cornstarch, baking powder, baking soda, and salt, and whisk to combine well. Set the bowl of dry ingredients aside.
- In the bowl of a stand mixer fitted with the paddle attachment, or a large bowl with a handheld mixer, place the butter, sugar, egg, egg white and vanilla, and beat at medium-low speed to combine. Increase the mixer speed to medium-high and beat until it appears whipped (about 2 minutes).
- To the large bowl with the butter mixture, add the dry ingredients in 3 batches, alternating with the milk or buttermilk, beginning and ending with the dry ingredients. Beat lightly after each addition until just combined. Do not overmix. The batter should be light and fluffy.
- Fill the prepared wells of the muffin tin about 2/3 of the way full of the batter. Shake the tin back and forth to evenly distribute the batter in each of the wells.
- Place the tin in the center of the preheated oven and bake until the cupcakes are very lightly golden brown and spring back when pressed lightly in the center (about 20 minutes). Don’t over bake.
- Allow the cupcakes to cool for at least 5 minutes in the tin before transferring to a wire rack to cool completely. Repeat with the remaining cupcake batter. Cool the cupcakes completely before frosting and/or decorating.
For the frosting.
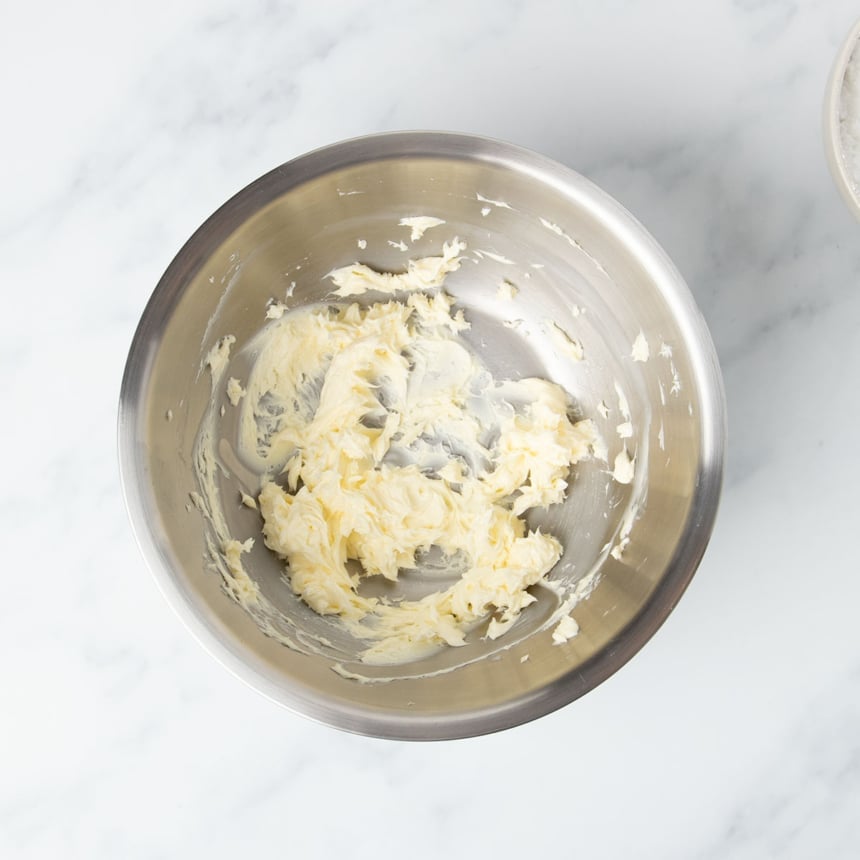
- In a large bowl with a hand mixer or the bowl of a stand mixer fitted with the paddle attachment, place the butter. Beat on medium speed until creamy (about 30 seconds).
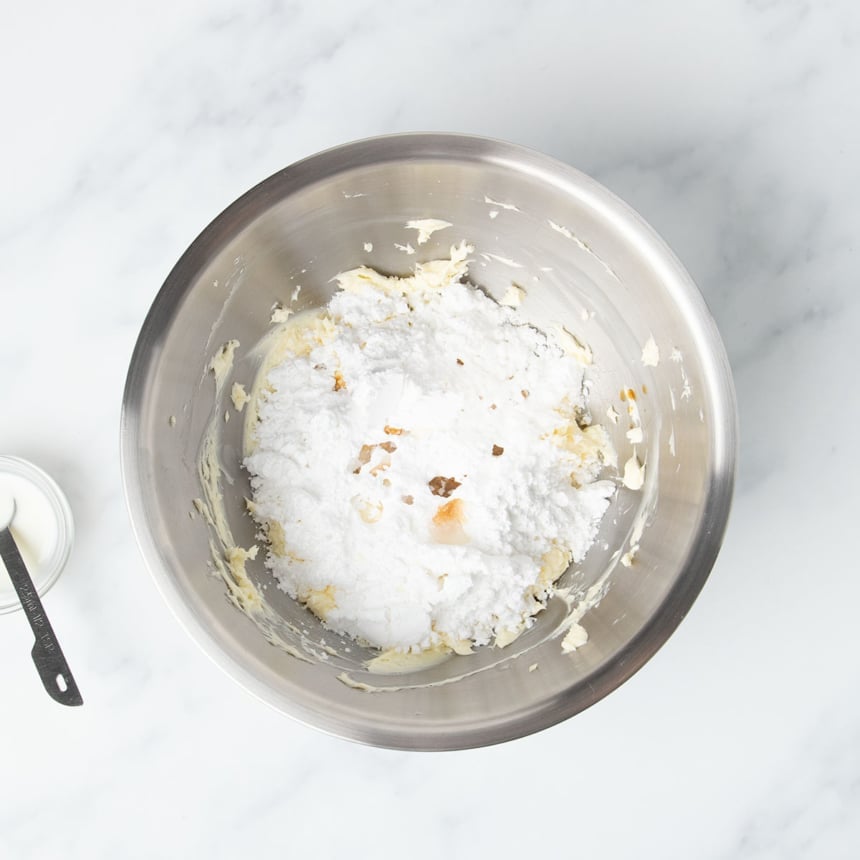
- Add the 1 cup (115 g) of confectioners’ sugar, the salt, vanilla, and 1 teaspoonful of milk, and beat on medium speed until well-combined (about 1 minute).
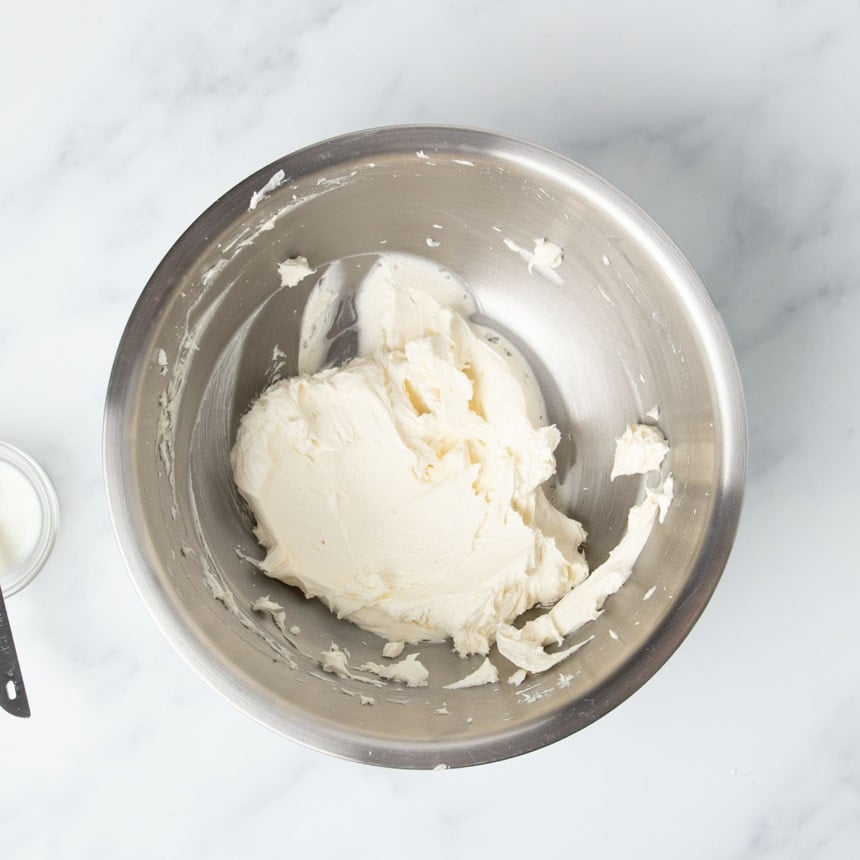
- Beat in more confectioners’ sugar until the consistency is thick but not stiff. Turn up the mixer speed to high and beat for about 5 minutes or until light and fluffy.
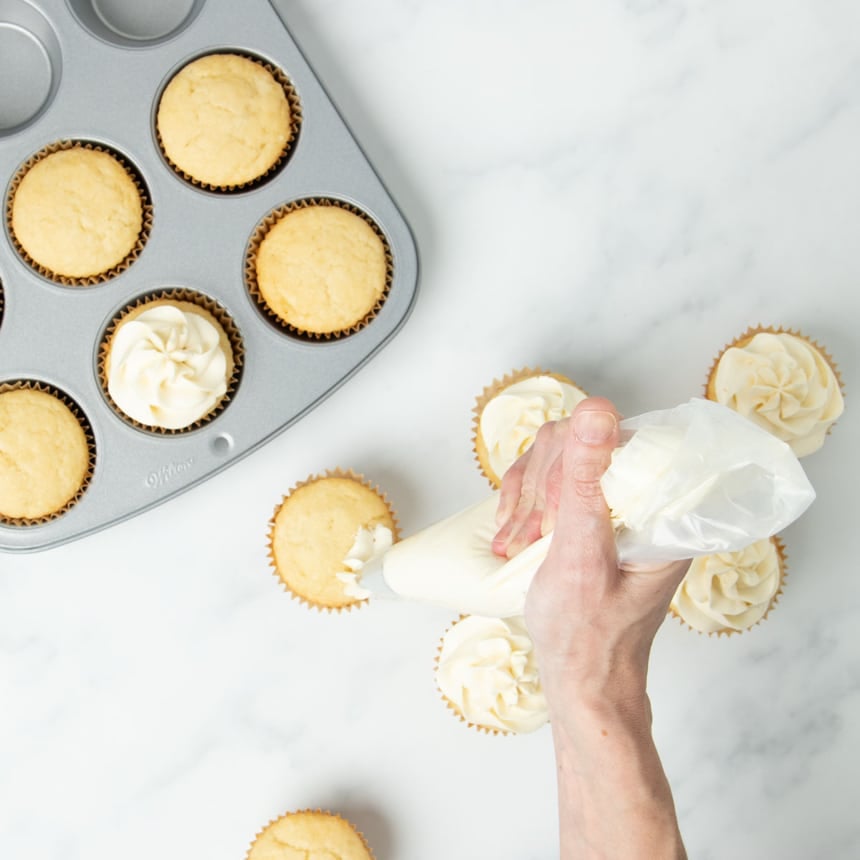
- Transfer the frosting to a piping bag fitted with your favorite piping tip. Pipe the frosting on the cooled cupcakes, or use two spoons to scoop a dollop onto each cupcake.
Video
Notes
For best results, use Better Batter original blend or Nicole’s Best multipurpose blend with added xanthan gum. Bob’s Red Mill 1-to-1 also works well—just add ½ teaspoon xanthan gum to the dry ingredients to prevent crumbling. To make your own blend, see the All Purpose Gluten Free Flour Blends page. Nutrition information: Approximate nutrition information is per cupcake, excluding frosting.
Nutrition
Nutrition information is automatically calculated, so should only be used as an approximation.
Vanilla buttercream frosting (gluten free)
This classic vanilla buttercream is smooth, stable, and pipes beautifully. It’s naturally gluten free and the perfect match for these cupcakes—but works just as well on chocolate cupcakes or sugar cookies.
Key ingredients
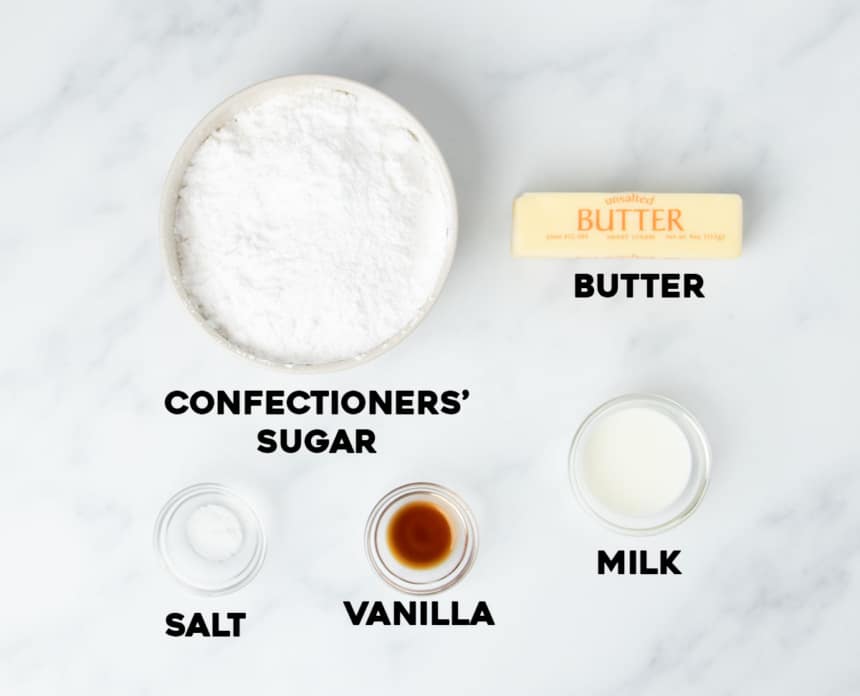
- Butter – Room temperature for easy whipping and smooth texture.
- Confectioners' sugar – Sweetens and thickens; it also helps the frosting hold its shape.
- Vanilla extract – Adds depth of flavor.
- Milk (as needed) – Helps thin the frosting to piping consistency.
How to make the frosting
1. Cream the butter – Beat until smooth and creamy.
2. Add the sugar, vanilla, and a splash of milk – Mix on medium until combined.
3. Whip until fluffy – Turn the mixer to high and beat for about 5 minutes, or until the frosting is light and airy.
4. Adjust consistency – Add more sugar to thicken or a few drops of milk to loosen.
5. Frost your cooled cupcakes – Use a piping bag or just scoop with a spoon.
Storage suggestions
Room temperature: Store unfrosted or frosted cupcakes in an airtight container at room temperature for up to 2 days. Avoid the fridge—it dries them out.
Freezing unfrosted: Once completely cool, wrap each cupcake tightly in freezer-safe wrap, then place in a sealed container or zip-top freezer bag. Freeze for up to 3 months.
Freezing frosted cupcakes: You can freeze them fully frosted, too. Let them defrost at room temperature—don’t microwave or the frosting will melt.
To serve from frozen: Unwrap and let sit at room temperature until thawed, or microwave unfrosted cupcakes at 50% power in 20-second bursts.
FAQs
Yes, vanilla bean paste works well and has a stronger flavor than extract. Use the same amount as you would vanilla extract.
Yes—just reduce the baking time. They’re ready when the tops spring back when lightly pressed.
That usually means the oven was too hot, so the outside set before the inside had time to build structure. Use a standalone oven thermometer to be sure your oven temperature is accurate.
Yes! Freeze them (unfrosted or frosted) as soon as they’re completely cool. Defrost at room temperature for best results.
You can—just divide the batter evenly across more tins, and rotate them during baking for even results.
Definitely. These cupcakes are delicious on their own or with a light dusting of powdered sugar.




Cake was great
The cupcake taste and texture is amazing, no one would ever know they are GF! However I’m getting a slight bite from either the baking powder or baking soda. Any suggestions? Thanks so much!
Hi, Caroline, I’m really glad you enjoyed the cupcakes. I’m having some trouble understanding what you’re describing, but in 16 cupcakes, there are only 1 teaspoon of baking powder and 1/2 teaspoon of baking soda. So unless you overmeasured the baking soda, or didn’t whisk the dry ingredients properly and the baking powder clumped, I’m not sure what would be the culprit. You can try sifting the dry ingredients next time to ensure no clumping, and measure extra carefully?
Can applesauce be used in place of eggs? How much?
No, I’m afraid that won’t work, M. I think you can make them egg-free, though, in one of a few ways. Please see the “ingredient substitutions” section of the text of the post under the heading “Egg-Free.” I hope that’s helpful!
Have you tried this recipe with Bob’s Red Mill 1:1 GF flour? It says it *should* work and I’ve made this recipe before and don’t recall seeing that flour recommended. I previously used Cup4Cup flour and these cupcakes turned out phenomenal. Now with the Cup4Cup reformulation, I’m trying to find an alternative GF flour that can be bought from the grocery store. Seems like Bob’s Red Mill is the only one in this blog but I’m still hesitant it might not turn out as well?
I’m afraid I haven’t tested this recipe with Bob’s Red Mill’s 1-to-1 flour blend, which is why I say it should work if you add more xanthan gum. They have greatly improved the blend, but you can still get a bad batch, and it still has a strange aftertaste, so it simply won’t turn out quite as well as a higher quality blend. That doesn’t mean it won’t turn out at all, but the aftertaste will be particularly noticeable in a simple recipe like vanilla cupcakes.
Can you substitute arrowroot for cornstarch in this recipe? Thanks!
Hi, Lisa, sure that should work just fine. They are usually good substitutes for one another in a situation like this.
I’m confused in earlier post it said cup for cup so I got it but now it says the blend doesn’t work anymore so I’ve made an expensive purchase that can’t be used! Isn’t some way to fix I t like adding powdered milk? I hate throwing money out the door
Yes, I know that’s it’s very disappointing that they’ve changed the blend, and I was devastated by it! It’s a very recent thing that Cup4Cup has changed their formula, and I’ve indicated that the change has not been for the better on the all purpose gluten free flour blends page on the blog, Deb. They didn’t just remove powdered milk, they reformulated it entirely and I don’t have access to their proprietary formulation, so I can’t tell you how to “fix” it, I’m afraid. You can try it, and if you don’t like it, you can try reaching out directly to that company, which I have no connection to.
Hi Nicole
are you saying that I only substitute cornstarch in the Cup 4 Cup mix, but not in the Better Cup 4 Cup mix, and that I use it as is in all the cake recipes here? Is that right? Because I want to try more of your unique recipes.
Hi, Aya, the mock Cup4Cup blend contains an overabundance of cornstarch, which my “Better Than Cup4Cup” blend corrects. So when you’re making this recipe using my mock Cup4Cup, you’ll use more of the mock Cup4Cup in place of the cornstarch, by the gram. If you’re using the corrected blend, the Better Than Cup4Cup, you’ll use cornstarch as a separate ingredient. You’ve got it. :)