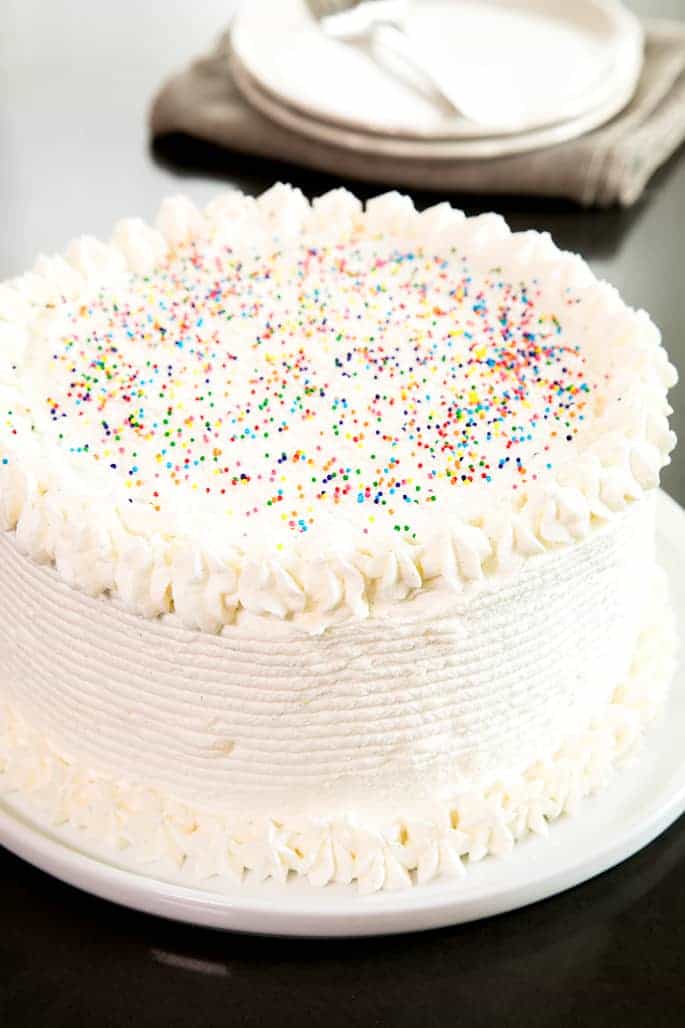
If you're looking for a vanilla frosting that's less sweet than a traditional buttercream, but still velvety smooth, this light, and fluffy cooked flour frosting is just the thing. It really is the best frosting!

This cooked flour vanilla frosting is the best frosting, so it deserves the very best gluten free vanilla cake. And that's what you see here. This cake-and-frosting duo is my default combination for quite literally any occasion.
I don't usually make much of a fuss about recipes for frosting and other naturally gluten free recipes of that sort. But this isn't just any frosting. It's a cooked flour and sugar frosting, and it's traditionally made with a conventional all purpose flour.
I first heard of it way back in 2013 when a super sweet reader named Karlie (hi Karlie!) emailed me, like, every couple months and very respectfully asked would I please give her back this frosting. She explained that it was the lightly sweet, fluffy vanilla frosting of her dreams, and she was missing it since she went gluten free.
This frosting, like my favorite chocolate whipped ganache frosting, isn't nearly as sweet as a traditional buttercream frosting. Buttercream relies upon confectioners' sugar for sweetness and more importantly for structure. Without plenty of sugar, buttercream won't hold its shape. Here, cooked sugar does a lot more heavy-lifting.

A note about the flour blend
I had originally made this frosting with a combination of cornstarch and my basic gum free gluten free flour blend. Since I always keep a container of that flour blend handy in my kitchen, and I always have cornstarch, it was easy enough to use both and the results were always spectacular.
Recently, though, I realized that most likely I could simply use tapioca starch/flour alone, and wouldn't that be simpler. I tried, and it worked just as well. I then started using different combinations, even using all arrowroot, and the recipe still worked.
There are quite a number of recipes on the web for cooked flour frosting (also called ermine or boiled milk frosting), and many of them don't seem to work very well. I believe that the secret to success in this recipe, other than the right balance of ingredients like any recipe, is cooking not just the milk and flour but also the sugar. Cooking the sugar along with the milk and flour means that the sugar changes form as well, which adds a lot of stability to the frosting.

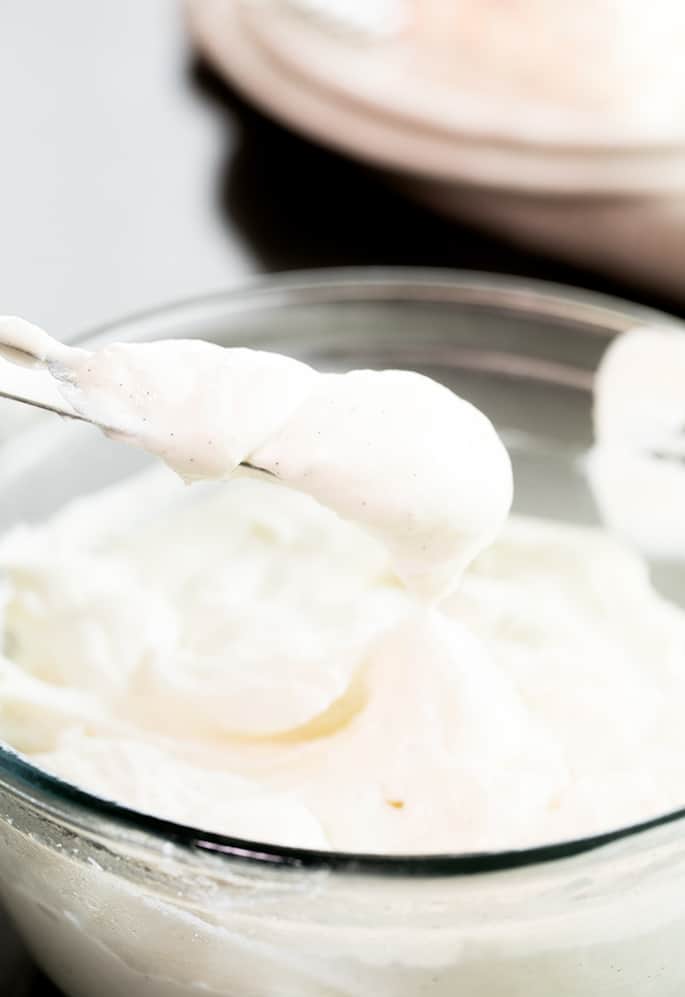
As Karlie pointed out, this recipe makes a super velvet-smooth, fluffy-light frosting. It's almost like whipped cream frosting, but it's naturally very stable at room temperature which is a really nice thing in a frosting.
Go ahead and make it ahead of time. Then, either pipe it or spread it on your cake or cupcakes right away, or store it in an airtight container on the counter for a couple days before you're ready to use it. It doesn't separate. Plus, the recipe can be doubled easily. As written, it works for 1 dozen cupcakes or a single layer cake.

One more secret to success in this recipe. Temperature is everything.
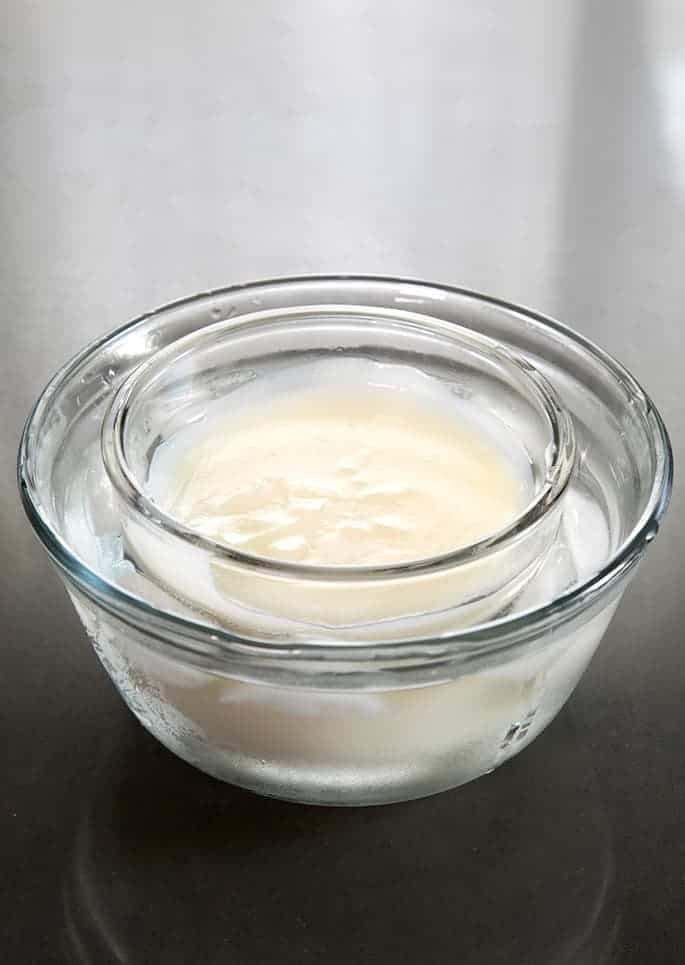
The temperature of the flour, milk and sugar is irrelevant, but the cooked mixture must be cooled to room temperature before adding the butter. Otherwise, the butter will melt into the sugar mixture and the frosting will never whip.
Likewise, the butter (or shortening—see substitution information below) must be at room temperature before it's added to the sugar mixture. If the butter is cold and the sugar mixture is at room temperature, everything will clump and resist combining into the beautiful whipped frosting you see.
Once the frosting is made, if it seems a bit soft, cover it in a bowl and refrigerate it for a few minutes. As written, this recipe creates a scoopable frosting. For a consistency that you can pipe easily and beautifully, place the frosting in a piping bag fitted with your favorite tip and place it in the refrigerator until it is chilled to the touch (about an hour). It will hold any shape you like.

Ingredients and Substitutions
Dairy-Free: I've successfully made this recipe dairy free using 14 tablespoons (168 g) butter-flavored Spectrum nonhydrogenated vegetable shortening in place of 12 tablespoons (168 g) unsalted butter. Just be sure to use your favorite unsweetened nondairy milk. My favorite is almond milk.
Sugar-Free: I haven't tried making this recipe sugar-free, but I think it would work beautifully with Swerve brand granulated sugar substitute. If you're considering reducing the amount of granulated sugar, I don't recommend that as the recipe is already much less sweet than traditional buttercream frosting.
For a refined sugar-free version, granulated coconut palm sugar might work in place of refined granulated sugar. But I'd recommend grinding the palm sugar in a food processor first, since it has a large grain otherwise and may not melt fully otherwise. The resulting frosting will be darker in color, though.
Click play ▶️ and watch me make this vanilla frosting
For the visual learners among us, I've created a short video of myself making this easy frosting. Watch it, then it's your turn!
The “Best” Vanilla Frosting
Ingredients
3 1/2 tablespoons (32 g) tapioca starch/flour (or a combination of half tapioca starch, half cornstarch)
3/4 cup (150 g) granulated sugar
Dash (1/8 teaspoon) kosher salt
3/4 cup (6 fluid ounces) milk (any kind – just not nonfat)
1 teaspoon pure vanilla extract or seeds from 1 vanilla bean
12 tablespoons (168 g) unsalted butter, at room temperature (it must be at room temperature)
Instructions
Fill a large bowl about halfway with ice and set it aside. In a small, heavy-bottom saucepan, place the tapioca starch, sugar and salt, and whisk to combine well. Add the milk, and whisk until smooth. Place over medium-low heat and cook, whisking constantly, until the mixture thickens and the whisk leaves behind a visible trail, about 3 minutes. Remove the saucepan from the heat, and scrape the mixture into a separate medium-size heat safe bowl.
Place the medium-sized bowl on top of the bowl of ice to stop the cooking of the flour and sugar mixture. Allow the mixture to cool until it reaches room temperature (temperature matters tremendously here).
Place the cooled flour and sugar mixture in the bowl of a stand mixer fitted with the paddle attachment (a handheld mixer will work just fine here), add about 1/3 of the butter and the vanilla (extract or seeds), and mix on medium speed until smooth. Add the remaining butter in two parts, mixing in between until smooth. The mixture will seem almost curdled at first. Turn the mixer to high speed and mix for about 3 minutes or until the frosting turns white and becomes light and fluffy. The frosting can be used immediately or can be stored in a sealed container in the refrigerator for a few days. Allow to come mostly to room temperature before using.
Adapted from Mel’s Kitchen Cafe. Originally posted on the blog in 2013. Video and most photos new, text edited, recipe tweaked.


jillji says
There is always at least one of us here…Do you think this would work with coconut sugar or honey? I would use the sugar very seldom, maybe a birthday, but would love a nice recipe like this without the white sugar…thanks, I will might experiment.
Nicole Hunn says
I’m afraid I’ve already provided all the substitution information I can muster, Jill! Feel free to experiment and let us know how it goes!