This post may contain affiliate links. Please read our disclosure policy.
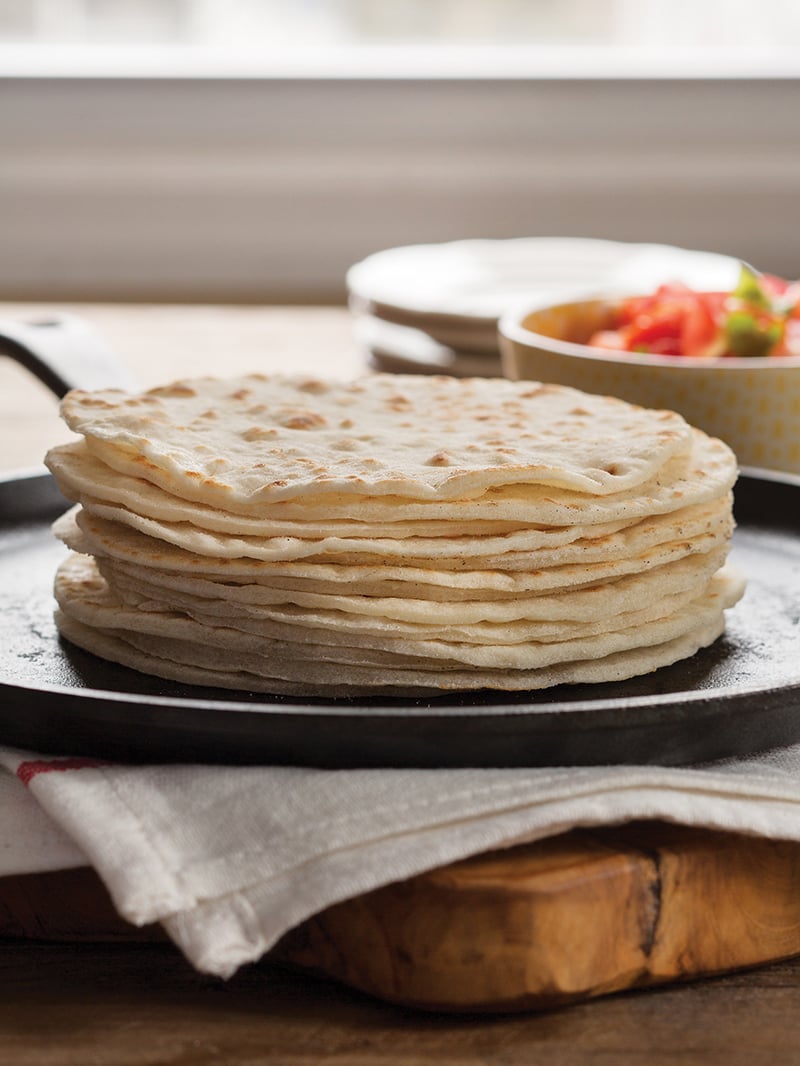
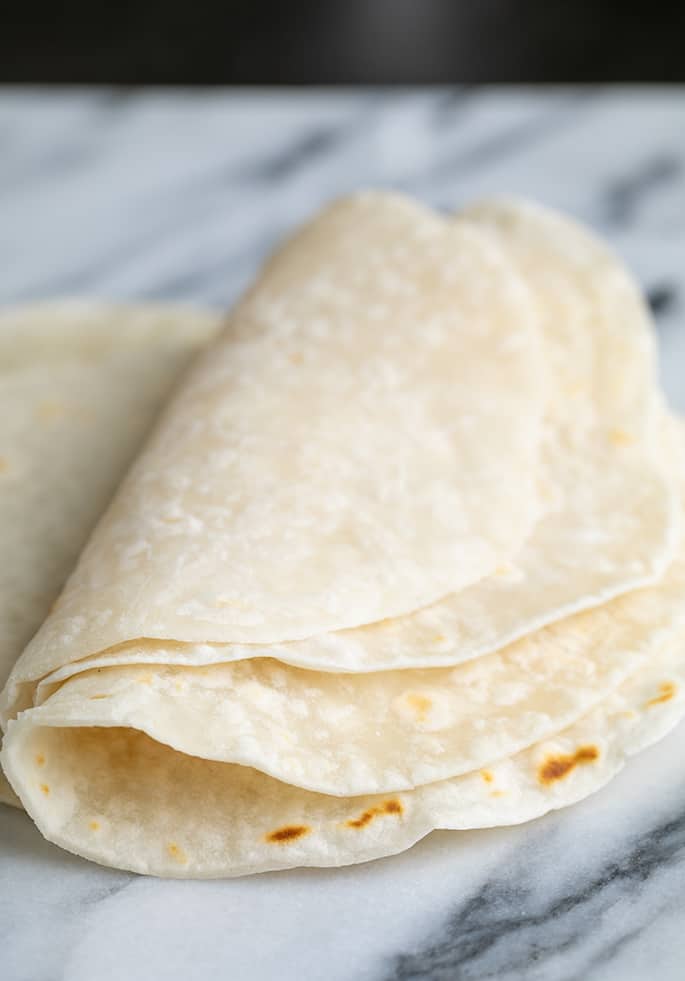
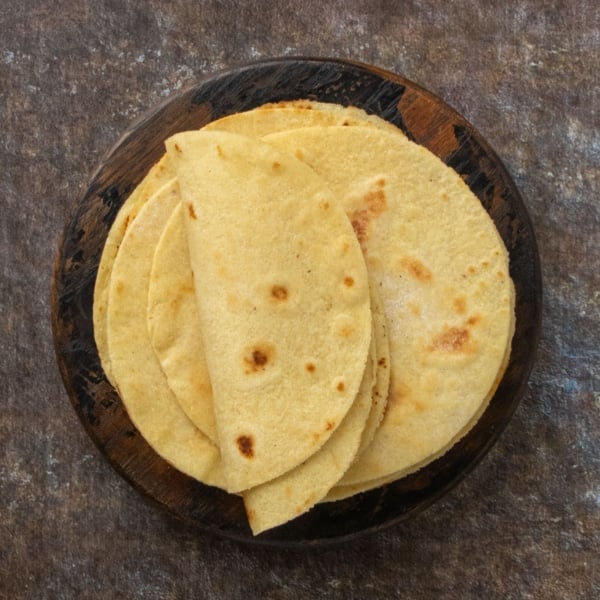
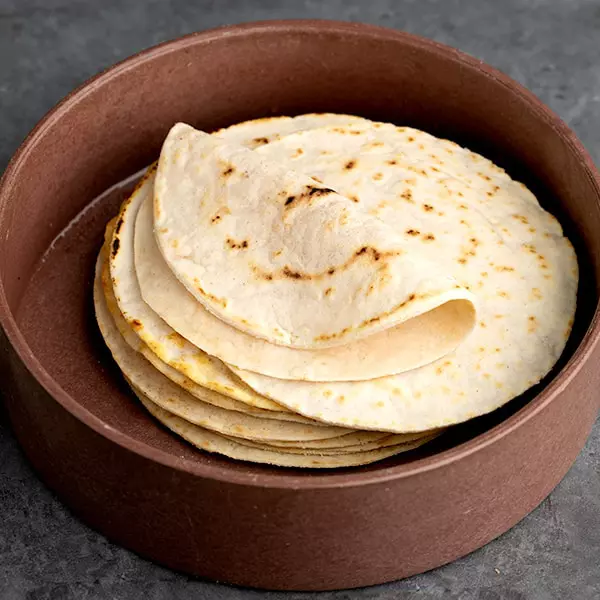
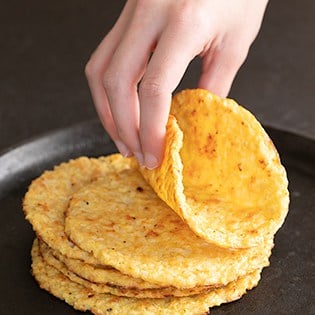
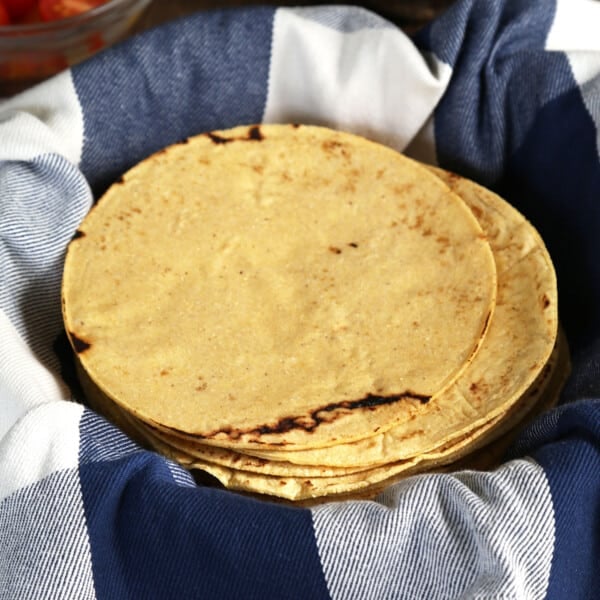
These soft gluten free tortillas are easy to make in any size, and they're perfect anywhere you'd use a corn tortilla, plus for burritos, tacos, and wraps.
I've been perfecting this recipe ever since I wrote my first cookbook, and the tortillas are more flexible than ever. Still made in just one bowl without any special equipment needed!
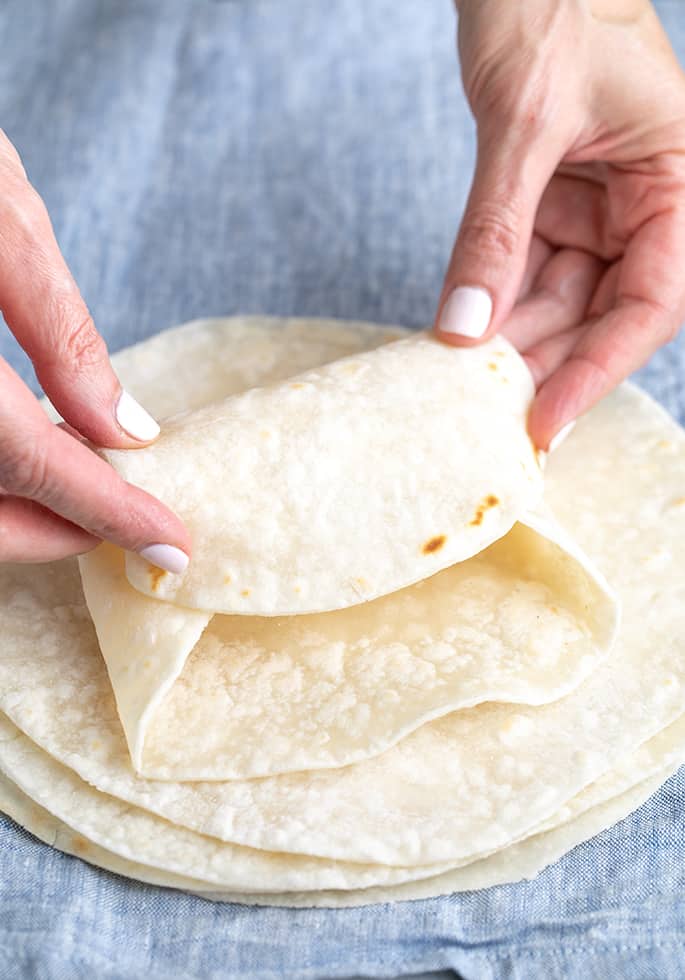
“Been trying to make a tasty tortilla, GF or not, for years – these are delectable – delicious, a bit chewy, and they don’t break when you fold them! Yay!”
my take
Nicole's Recipe Notes
- Authentic taste and texture: No packaged tortillas come close to the taste and texture of a soft, flexible homemade flour tortilla with that buttery taste.
- Burrito-size: Make these tortillas as small as you like, and up to 10-inches in diameter—or as big as your skillet can hold. No more pretending like a 6-inch tortilla is big enough for a burrito.
- Super simple recipe: You only need the most basic gluten free baking ingredients: gluten free flour, extra tapioca starch, salt, baking powder, coconut oil or shortening, and water—mixed in one bowl.
- No special equipment: You need a rolling pin to roll the dough, but a wine bottle would probably work, too! You don't need any special equipment like a tortilla press (but you can use one if you like).
Recipe ingredients
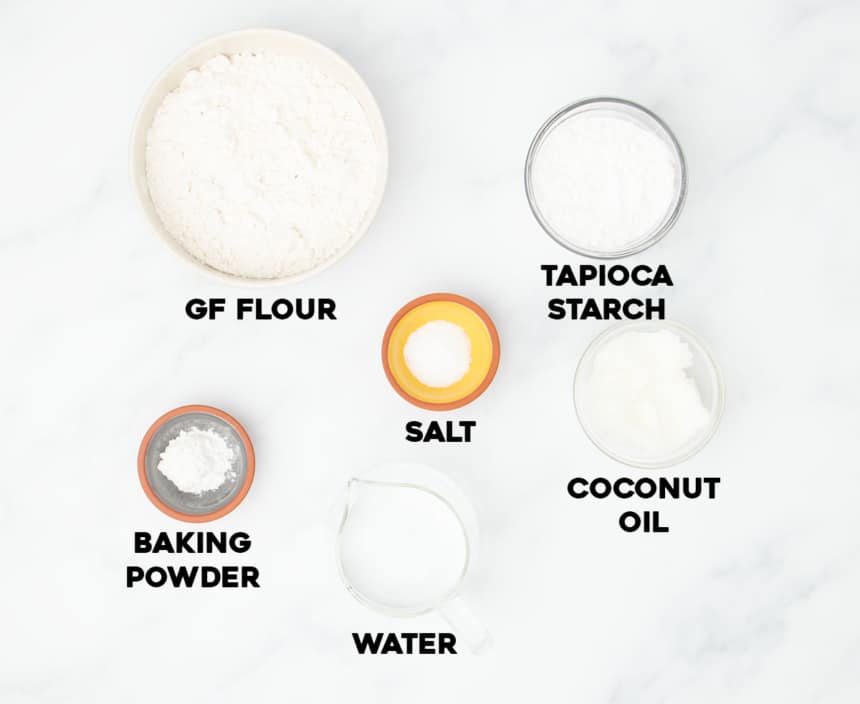
- Gluten free flour blend: Use your favorite all purpose gluten free flour blend, as long as it's well-balanced and has a finely ground rice flour. My favorites are Nicole's Best Multipurpose GF Flour Blend and Better Batter's original blend.
- Tapioca starch: Your gf flour blend will already contain some tapioca starch, which all good blends do. Adding more tapioca starch as a separate ingredient helps make the dough easier to handle and the tortillas a lot more flexible.
- Baking powder: Adds rise to your tortillas so they aren't flat.
- Salt: Brightens the flavor of the tortillas.
- Virgin coconut oil: Adds richness, flavor and tenderness to the tortillas. It's the kind that comes in a jar and is solid at cool room temperature.
- Warm water: Adds moisture and brings the dry ingredients together.
How to make gluten free tortillas
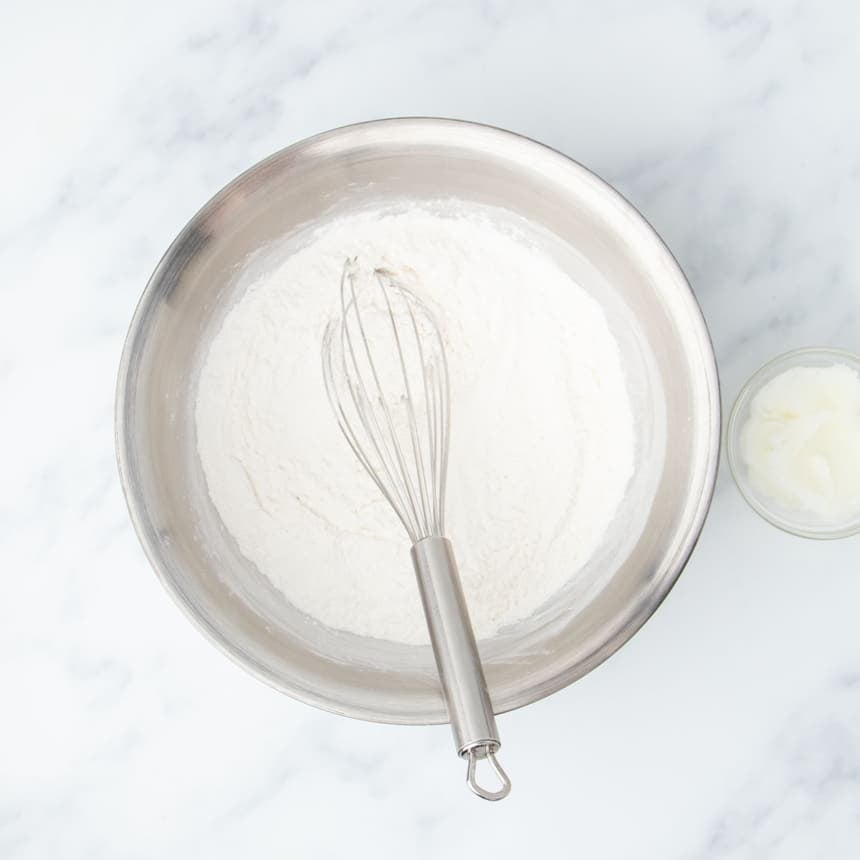
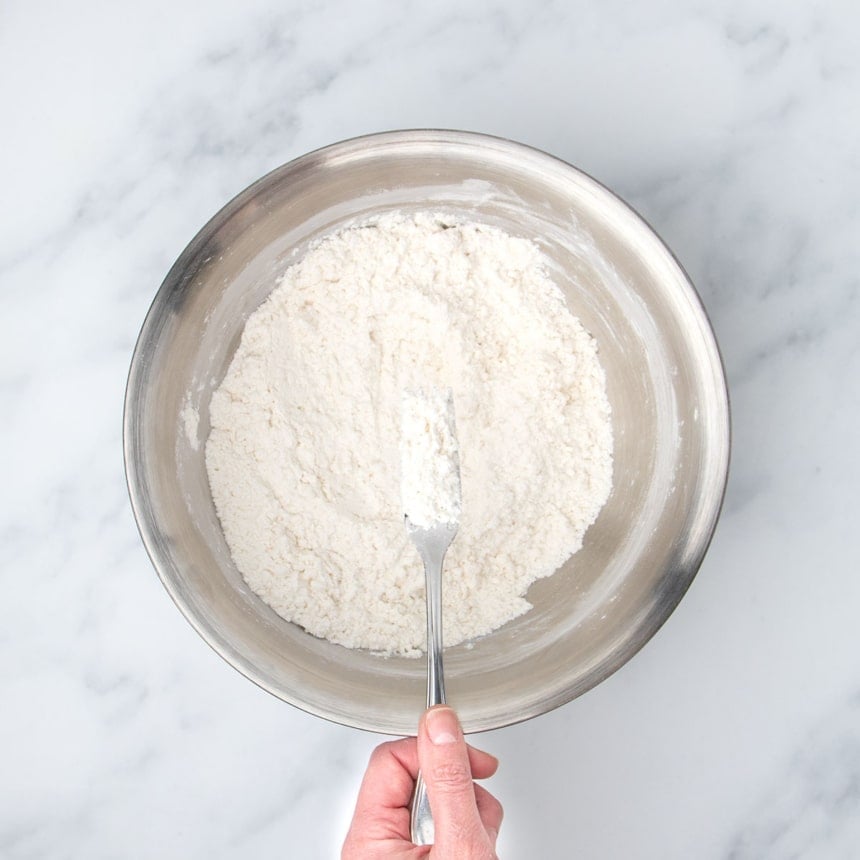
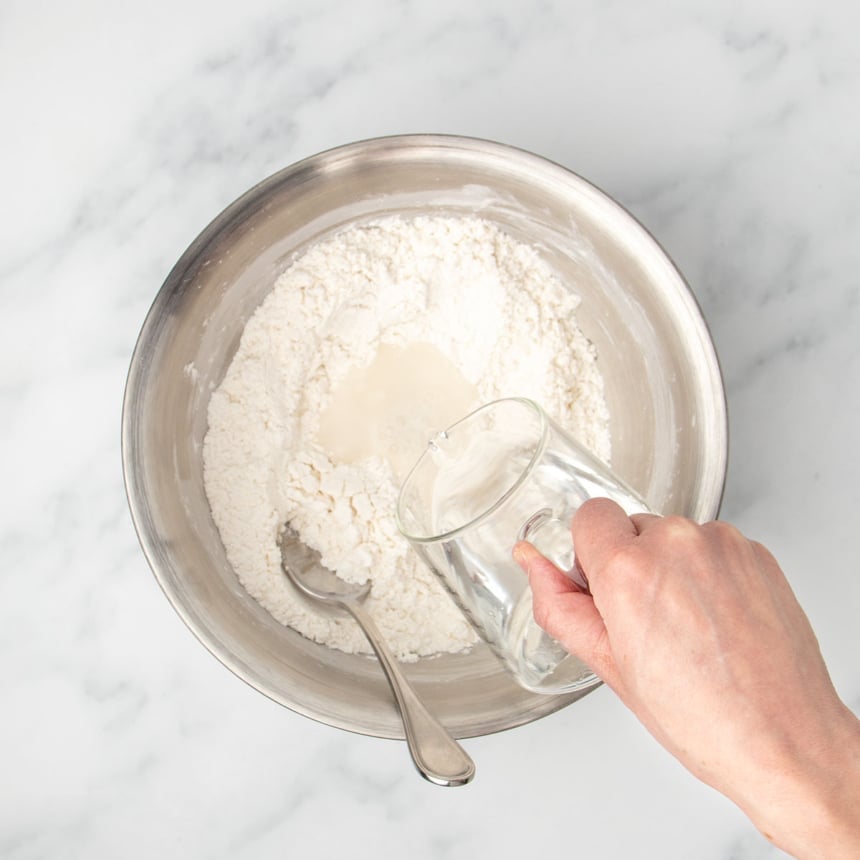
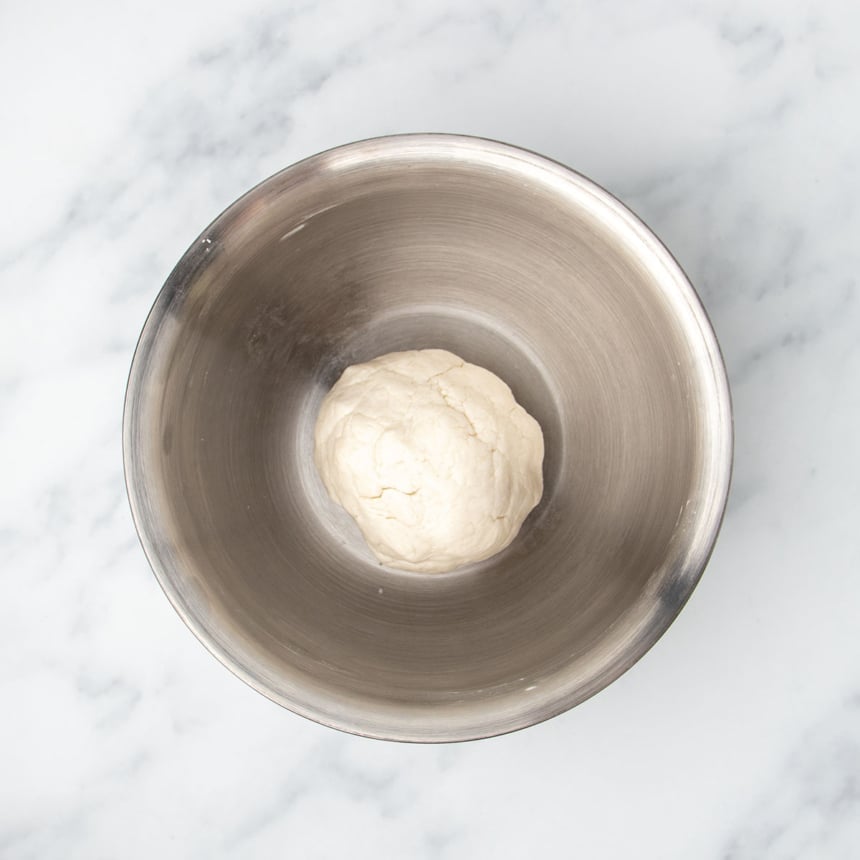
Whisk the dry ingredients (all purpose gluten free flour blend, tapioca starch, baking powder, and salt). Add virgin coconut oil and use a fork to work it into the dry ingredients until it looks sandy. Add warm water, and mix to combine. Let the dough rest for about 20 minutes to make it easier to handle.
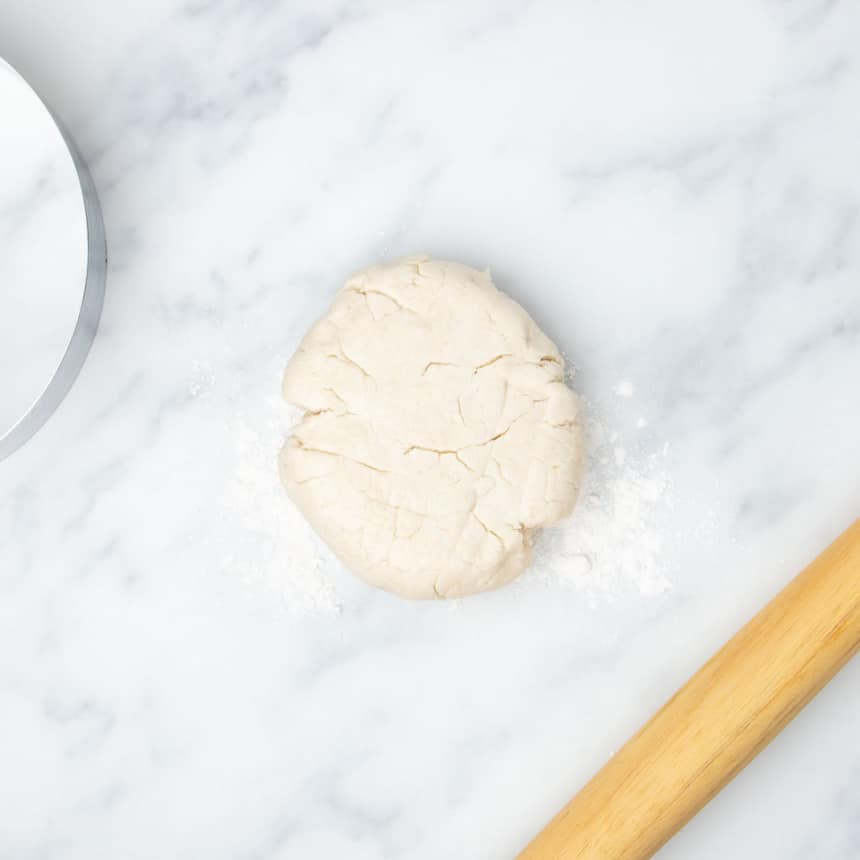
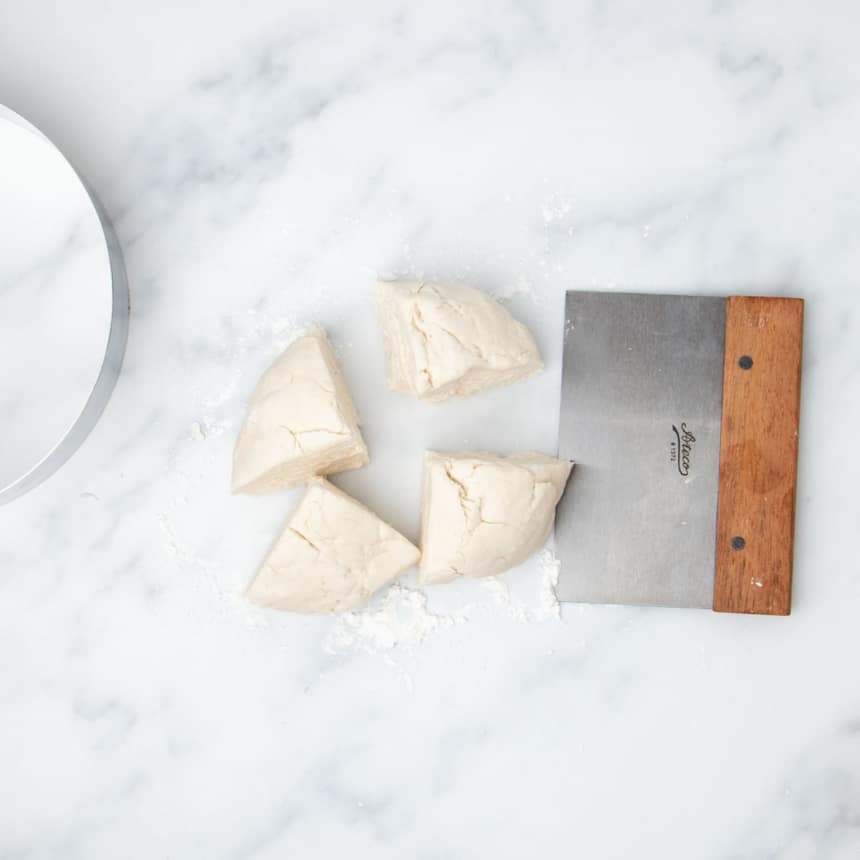
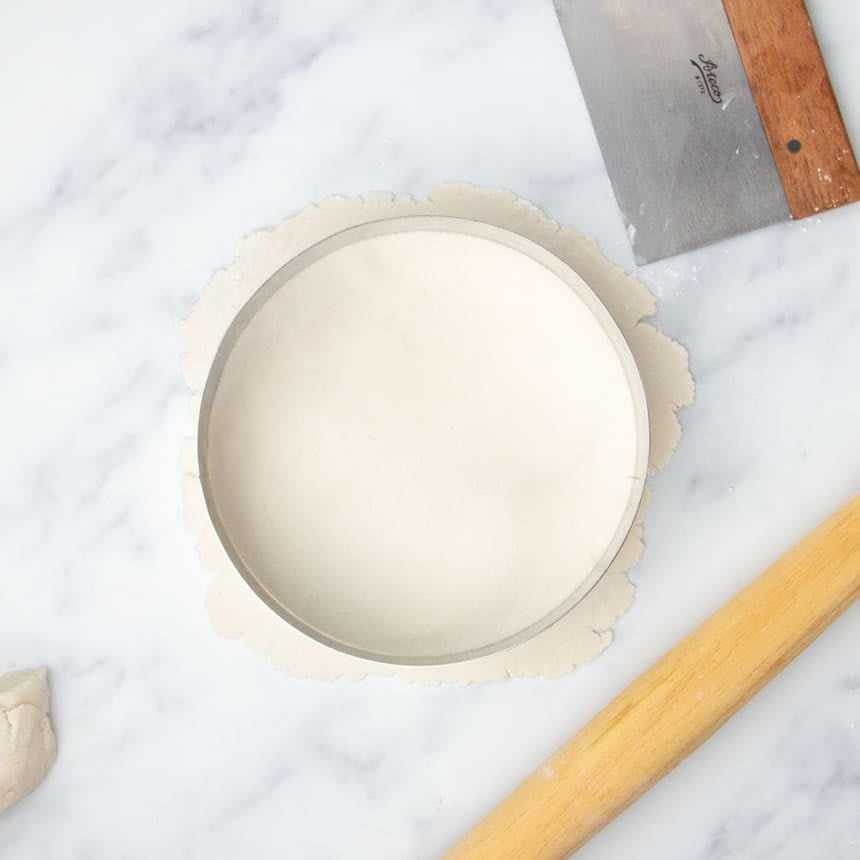
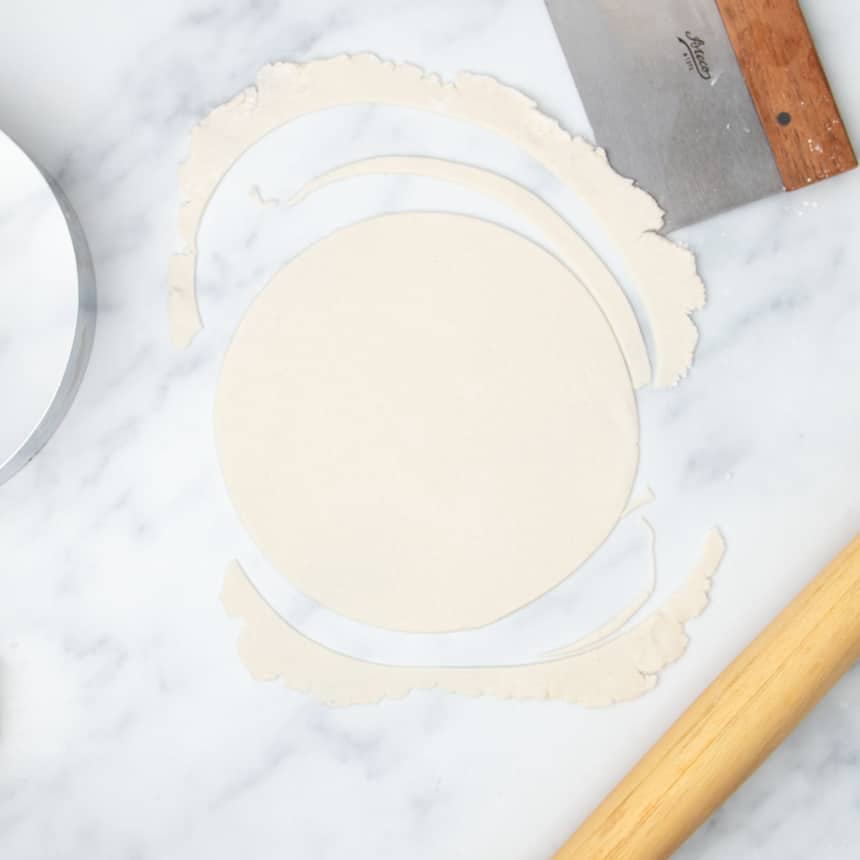
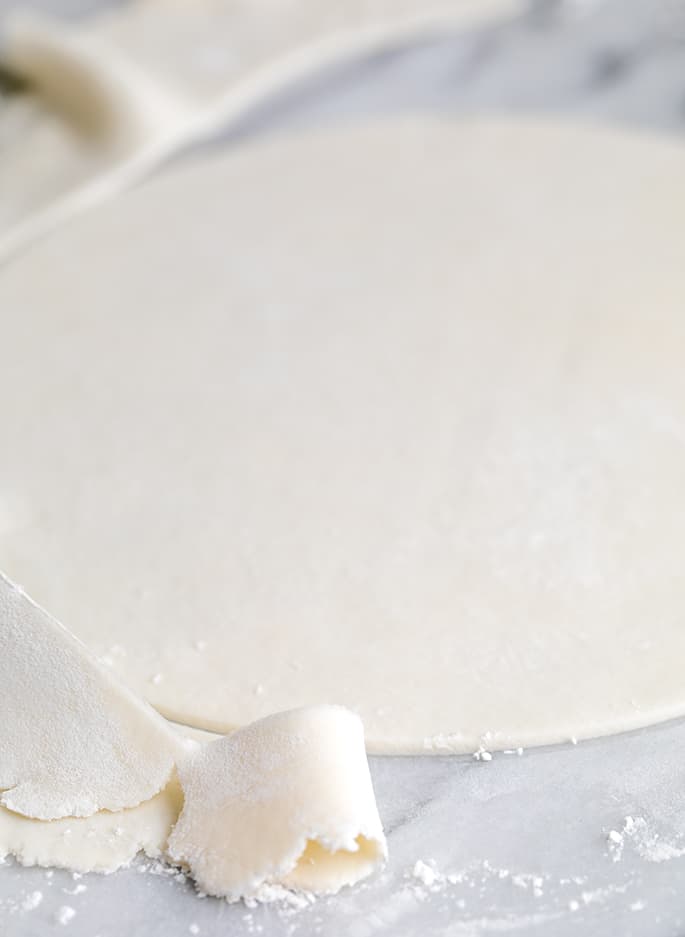
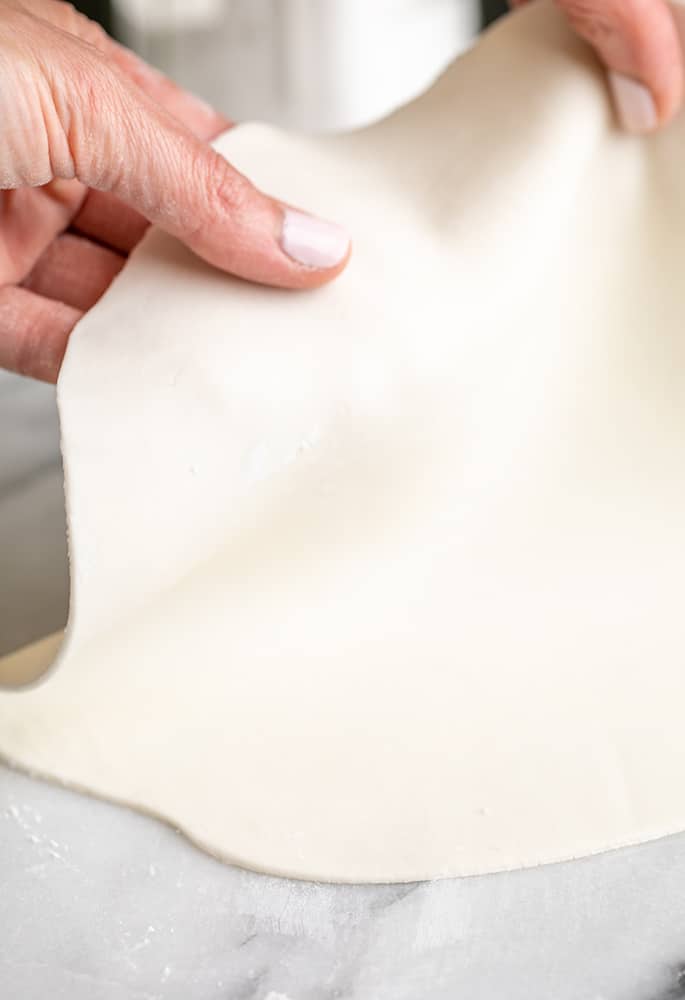
Sprinkle the dough generously with tapioca starch, and divide into 4 equal pieces. Roll one at a time out into about a 9-inch round that's a bit more than 1/8-inch thick. Cut out an 8-inch round using a cake cutter, the lid of a pot, or a pastry or pizza wheel.
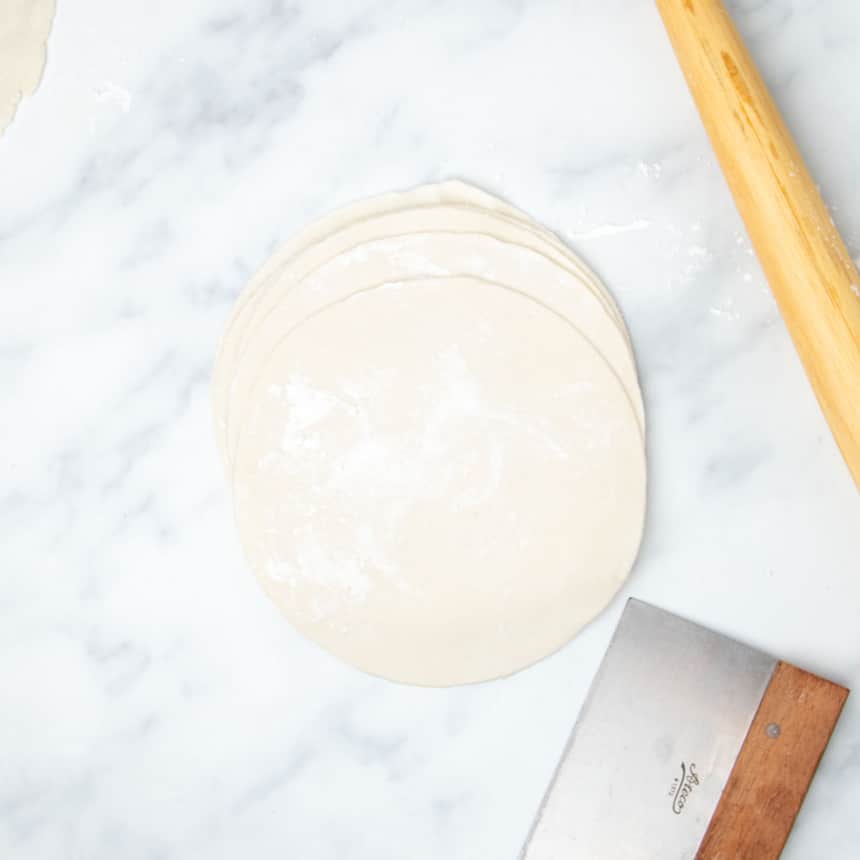
Shape the other 3 pieces, and gather and reroll scraps. Sprinkle the raw tortillas with more flour and stack them.
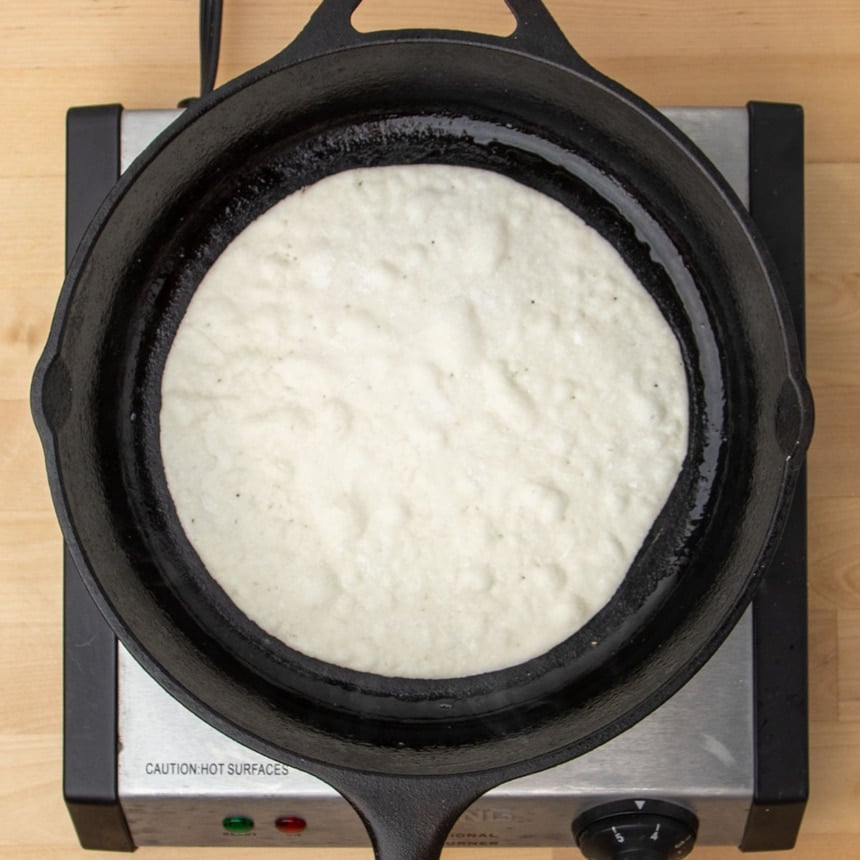
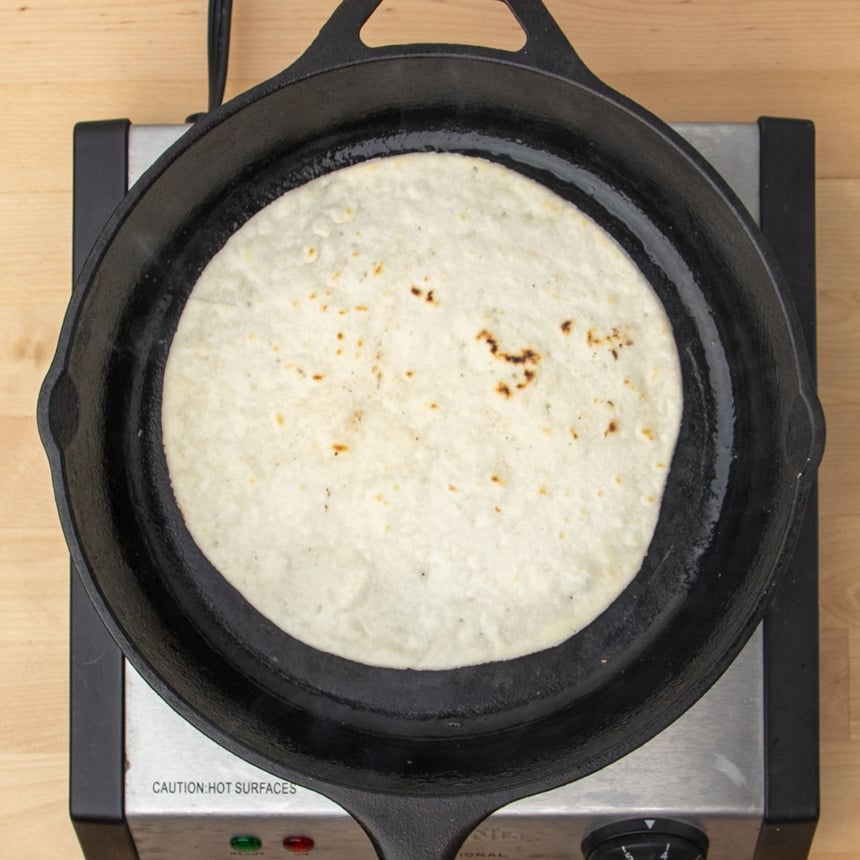
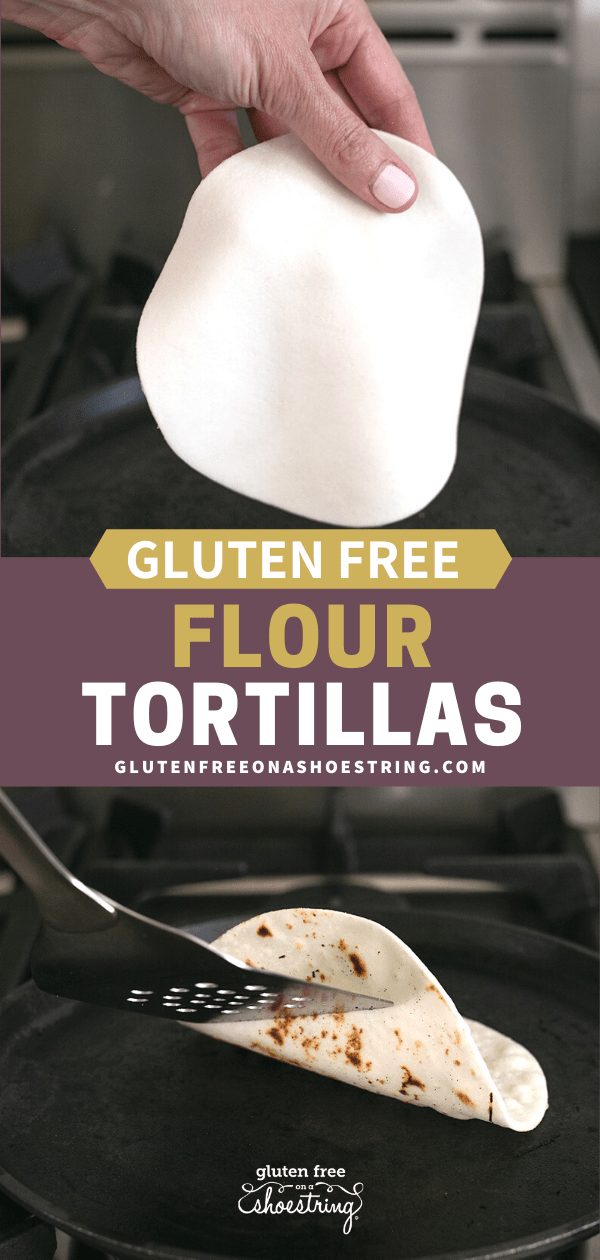
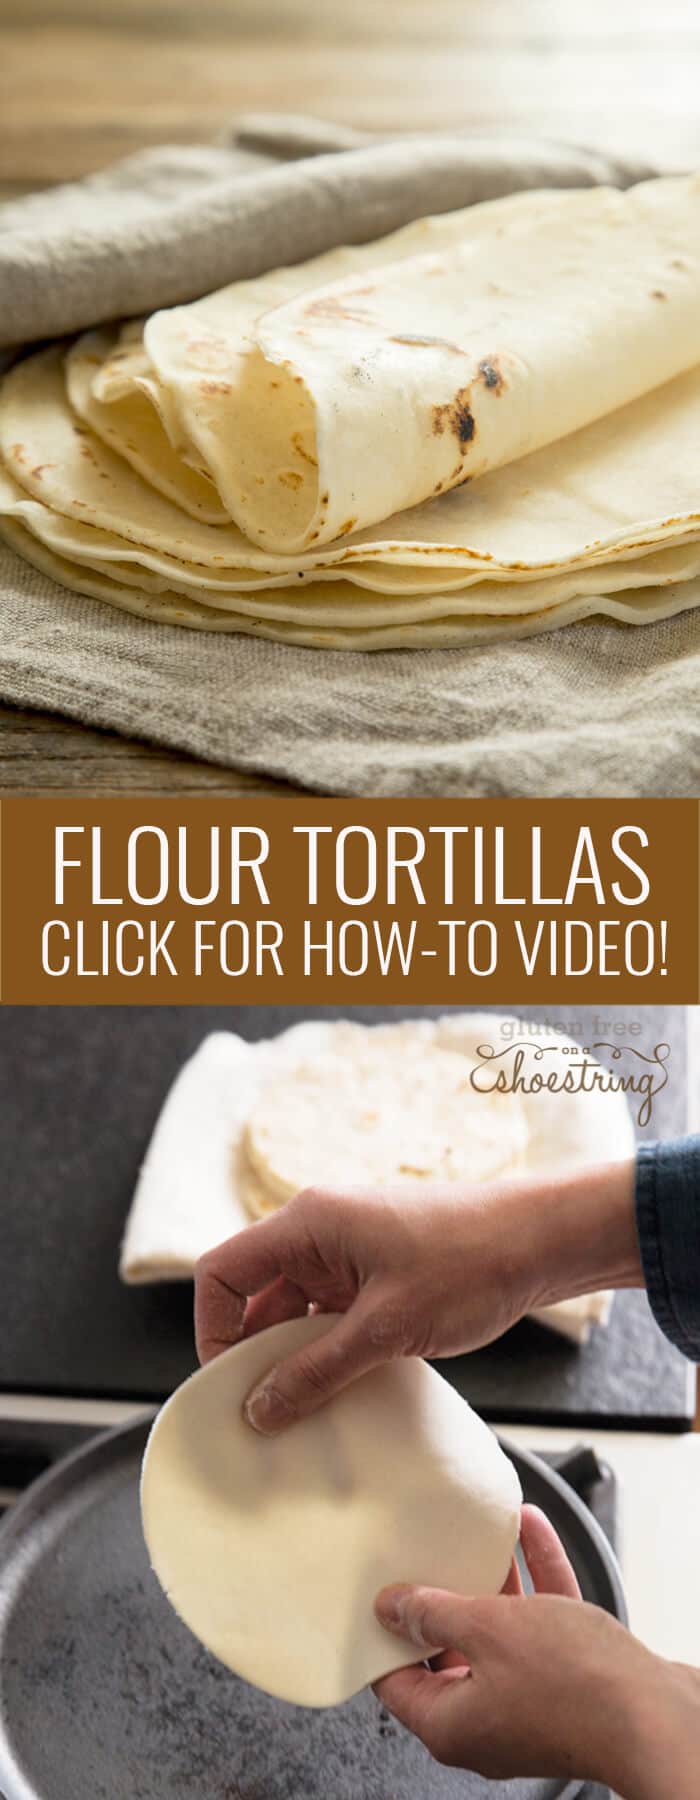
Place the raw tortillas one at a time in a hot skillet and cook for about 45 seconds or until bubbles begin to form on the underside. Flip and cook on the other side for another 30 seconds or until dry on both sides. Remove it from the hot skillet and keep it warm in a tea towel or in a tortilla warmer.

My Pro Tip
Expert tips
Add extra tapioca starch
Even though your all purpose gluten free flour blend already has tapioca starch in it as an ingredient, adding more tapioca starch makes the tortillas much more flexible.
Shape with plenty of extra flour
Begin with a wet dough and flour it liberally with extra tapioca starch for shaping. In warmer weather, you'll need more flour, in cool, dry weather you may need less. If the dough splinters and cracks as you're rolling, knead and roll in more tapioca, gather the dough, and roll it again—until it rolls more smoothly. Pinch together any tears, and keep rolling.
Try a cake cutter for clean lines
Give your tortillas a clean, round edge with a cake cutter, which looks like a large round cookie cutter. You can also use the lid of a large pot if it has sharp edges to cut out the round cleanly, and remove the scraps to re-roll with any remaining dough. For a thicker version of a wrap that doesn't need to be cut at all, our recipe for gluten free flatbread is just as easy.
Let the raw dough rest
The raw tortilla dough is relatively wet. As it rests, the flour absorbs some of the moisture, making the dough easier to handle. Try wrapping it in plastic wrap and letting it rest in the refrigerator, too.
Line your tortilla press
If you prefer shaping your tortillas with a tortilla press, line the press to prevent the dough from sticking to it. Try slicing a quart-size zip-top bag in half and lining the top and bottom of your tortilla press with each half.
I prefer to roll out the dough using a rolling pin, since a tortilla press won't press the dough thin enough, or make a larger round than about about 5-inches. It's also very hard to get the dough thin enough for a flexible tortilla without using a rolling pin. A tortilla press is great to use for gluten free corn tortillas, which are naturally thicker.
Ingredient substitutions
Tapioca starch
Tapioca starch is a unique flour that adds flexibility to gluten free baking recipes. There's no perfect substitute for tapioca starch, but I sweet white rice flour, also known as glutinous rice flour, sometimes works similarly.
If you have Expandex modified tapioca starch, which is chemically modified tapioca starch, you can use that instead of regular tapioca starch. Instead of 1 1/2 cups (210 grams) all purpose gluten free flour, use 1 3/4 cups (245 grams), plus 35 grams Expandex. For shaping the tortillas, use more of the flour blend (not Expandex).
Virgin coconut oil
In place of virgin coconut oil, you can use vegetable shortening. I like Spectrum brand nonhydrogenated vegetable shortening, and Crisco should work, too. Unsalted butter at cool room temperature should also work, but the dough will be wetter. I would not use an oil that's liquid at room temperature, which will make the tortillas feel and taste greasy.
Gluten-Free Tortillas Recipe
Equipment
- Rolling Pin
- Cake cutter 8-inch or 6-inch, or lid of pot (optional)
Ingredients
- 1 ½ cups (210 g) all purpose gluten free flour blend, (See Recipe Notes)
- 1 teaspoon xanthan gum, omit if your blend already contains it
- ⅔ cup (80 g) tapioca starch/flour, plus more for sprinkling (See Recipe Notes)
- 1 ½ teaspoons baking powder
- 1 teaspoon kosher salt
- 4 tablespoons (48 g) virgin coconut oil
- ¾ cup (6 ounces) warm water, plus more by the drop as necessary
Instructions
Make the tortilla dough
- In a large bowl, place the all purpose gluten free flour blend, xanthan gum, tapioca starch/flour, baking powder, and salt, and whisk to combine.
- Add the coconut oil, and toss it in the dry ingredients. With the tines of a large fork, break up the fat into small pieces so the mixture looks sandy.
- Create a well in the center of the mixture, add the water, and mix to combine. The dough should be thick. If there are any crumbly bits at all, mix in more water slowly by the drop.
- Knead the dough together and press it into a ball, cover with a moist tea towel or plastic wrap, and allow to sit for 20 to 30 minutes. The dough will stiffen a bit as it absorbs more of the water. You can also let it rest, covered in plastic, in the refrigerator for up to 3 days for easier handling.
Shape the dough
- Sprinkle a flat workspace liberally with tapioca starch. Place the first piece of dough on top, and sprinkle again with more tapioca. Spread the tapioca all around the dough.
- Use a knife or bench scraper to divide the dough into four equal pieces. Work with one piece of dough at a time, and cover the rest with a moist tea towel or plastic wrap to prevent them from drying out.
- Work with piece of dough at a time, use a rolling pin to roll out the dough about ¼-inch inch thick.
- If the dough seems smooth, proceed with the next step. If it doesn't seem smooth, but instead has what appears to be cracks, gather the dough together again, sprinkle with more tapioca starch, and roll it out again until it appears smooth.
- Roll the dough, sprinkling with more tapioca and moving the dough frequently to prevent it from sticking or tearing, a bit more than 1/8-inch thick and at least 9-inches in diameter (to make 8-inch rounds).
- Using a cake cutter or freehand with a pizza wheel or sharp knife, cut out a round approximately 8-inches in diameter. You'll cut one 8-inch round from each of the original 4 pieces of dough.
- Gather the scraps and set them aside with the other pieces of remaining dough. You will reroll scraps together after you've worked with at least 2 pieces of dough.
- Sprinkle each raw shaped tortilla with extra tapioca and stack them on to of one another as you work.
Cook the tortillas
- Heat a 10- or 12-inch cast-iron skillet (or a nonstick skillet over medium heat) over medium-high heat. The skillet should be hot enough to sizzle when you drip water on it.
- Place one round one at a time in the center of the hot skillet. Cook on one side until bubbles begin to appear on underside (about 45 seconds).
- Using a wide spatula, flip the tortilla over, and cook on the other side until more bubbles form and the tortilla is dry (about another 30 seconds).
- As it cooks, press down on the top of the tortilla to help it sear a bit, and cook it on the first side again if necessary. Remove the tortilla from the pan, place on large tea towel or in a tortilla warmer, and cover.
- Repeat the process with the remaining pieces of dough, including gathering and rerolling all the scraps together.
- You will make up to 2 more 8-inch tortillas from the scraps for a total of 6, 8-inch tortillas.
Make-ahead instructions
- If you don’t plan to use the tortillas right away, place them, still wrapped in the towel, in a plastic bag to seal in moisture. Serve the tortillas within a few hours.
- To freeze the tortillas, allow them to cool completely to room temperature.
- Stack them, wrap tightly with freezer-safe wrap, and freeze until you're ready to use. Allow to defrost at room temperature and refresh in a hot, dry skillet before serving.
Video
Notes
Nutrition
Nutrition information is automatically calculated, so should only be used as an approximation.
make ahead/leftovers
Storage instructions
Place any leftover tortillas, still wrapped in a tea towel in a plastic bag to seal in moisture. If you have a tortilla warmer, which is just a round container with a lid, place a couple of moist paper towels on the bottom and stack the still-warm tortillas in there. Serve the tortillas within a few hours.
For longer storage, place the cooled tortillas in a stack, wrap tightly with freezer-safe wrap, and freeze until you're ready to use. Defrost at room temperature, and refresh in a hot, dry skillet or wrap them in a wet paper towel and microwave for 20 to 30 seconds.
You can also store the raw tortilla dough wrapped tightly in plastic wrap in the refrigerator for up to 3 days. Shape the dough while it's still cold.
FAQs
Make sure your raw dough is wet enough that you can use plenty of additional tapioca starch to roll out and shape the rounds. If it's crumbly, add more warm water by the tablespoonful until it holds together and almost feels a bit greasy.
You can roll the dough between sheets of plastic wrap or parchment paper, but it's almost impossible to avoid having seams on the tortillas where the paper wrinkles. Those seams tend to make the tortillas more fragile. If you do roll the dough this way, knead in about 2 tablespoons of extra tapioca starch first, or the dough will be too fragile to get off the paper.
These flour tortillas are cooked in a hot, dry skillet, but you can grease it lightly with more coconut oil or even a bit of butter. The best skillet to use is cast iron, but you can also use a nonstick skillet at a slightly lower temperature. You can also use a griddle like we do for our almond flour tortillas.
This recipe would probably work with that flour, but you will probably need to add more water, and the tortillas most likely won't brown very well. The dough should be quite easy to handle.
Sure, you can shape the raw tortillas into rounds, stack them with parchment paper between each round, and freeze them raw. Cook right from frozen, and make sure the skillet is very hot or the dough may stick.
Packaged gluten free tortillas
If you'd rather buy than make your gluten free tortillas, there are quite a few on the market these days. Here are the brands I recommend from personal experienced:
- Mission Gluten Free Tortillas: They're sold fresh, not frozen, and are sold in original and spinach herb flavors. They usually cost about $1 per tortilla, and come in a 6-pack. They also contain soy, but are gluten, dairy, and egg-free. They do kind of taste like potato and taste better browned in a skillet than when simply heated in the microwave.
- Rudi's Gluten Free Bakery Plain Tortillas: Usually sold frozen, not always easy to find, and appear smaller in size than Mission. They have a really classic flour tortilla taste, though, and perform well when heated.
- BFree Quinoa & Chia Seed Wraps: Very flexible, and even though they look strange because of the obvious chia seeds, they don't taste “healthy.” They're expensive at nearly $9 for 6 tortillas. Theysell Sweet Potato Wraps and High Protein Wraps, too.
- Siete Almond Flour Tortillas: Taste like almonds, but not in an overpowering way, and they're super thin and flexible. They usually cost about $1 a tortilla in a package of 8, and they are pretty widely available.
- Mi Rancho Burrito Size Gluten Free Tortillas: By far the best packaged gluten free flour tortillas, but I don't think they're sold in stores. They're super flexible, taste great, and they're large enough to make a full-size burrito. I've bought them on the mirancho.com website, they're super expensive and are only sold in larger packages.
- Maria & Ricardo's Gluten Free Quinoa Flour Tortillas: Don't taste like quinoa flour to me, and heat really well. Available at Whole Foods and on Amazon.com. They are made in a facility that processes wheat, but on a dedicated gluten free line, but they're “certified gluten free” by gfco.org.



I love this recipe! I usually make corn tortillas at home, but for some reason I was really jealous while I was at Chipotle with some friends a few weeks ago… I was diagnosed before Chipotle even existed, so I’ve never had one of their enormous burritos and I could not stop thinking about them. If you ask me most days, I’d say “why would I want to add so many empty calories to my burrito bowl? I wouldn’t get a burrito even if I wasn’t Celiac” but on other, way less frequent days… its such a bummer that I *can’t* have it, even if I don’t really want it. And Chipotle tortillas look soooo soft and chewy, I was worried a gluten free one made in such a large size would end up cracking and falling apart. But I’d had such good luck with your other tortilla and flatbread recipes, so I decided to give it a try when this popped up on my feed. I grabbed my favorite burrito bowl from Chipotle, made this recipe, rolled out a massive 15″ flour tortilla, cooked it under my broiler, and had a Chipotle-sized burrito for the first time. It was like heaven. There is nothing better than eating exactly what you’re craving and Celiac can make that really hard, so thank you for the recipe <3
Thank you so much for sharing this experience, Mimi. You’re describing a phenomenon that I understand so well, but often struggle to explain in a shorthand way. It’s not just that you always loved burritos. The idea that it’s out of reach is what makes it way more important. That’s why I believe reliable gluten free recipes are so important for literally everything. Knowing that, if they can make it with gluten, so can we without, is sometimes all you need. If you decide to go for it, you know you can. And you did!
Hello, I was wondering if it would be possible to use olive oil instead of coconut oil? I loved the recipe but was look for a more neutral taste. Thank you so much!
Hi, Sierra, Olive oil has a very strong, recognizable flavor, actually. If you’re looking for a neutral flavor, I’d look for triple-filtered virgin coconut oil, which has absolutely not the slightest whiff of coconut. You could also use vegetable shortening. But you need a fat that is solid at room temperature, and low in moisture.
I’ve always used your old recipe with expandex. I can’t remember the amounts, can you please post?
Please see the section of the post with the heading: “Do I have to use the tapioca starch/flour?”, Katherine.
Nicole, made these for dinner tonight and my whole family cheered for them! It has been so long since I have made tortillas that were gluten free and… good. I have experimented with many recipes and have been so disappointed until now. Thank you! I have one question – the overall texture was wonderful, but the edges were a bit hard. Do you have any idea why? Could it be that I cooked them too long? Would so appreciate your thoughts.
That’s great to hear, Elaine! I have a few guesses about why the edges might have turned out hard/how you can prevent that in the future:
Hi Nicole,
Sorry but I didn’t know where else to ask this question. It’s about your won ton wrappers, I made them today but don’t want to use them for 3 days. Should I freeze them or are they fine in the fridge? Also when they are frozen will they separate easily so I can just take as many as I want? Thank you and by the way just like you said they were so easy to work with.
I’m glad you had a good experience with the won ton wrappers. I discuss the answer to your question in the post:
Can you please explain what difference it would make to use expandex instead of tapioca flour in this recipe. Is one better than the other
Sure, DJ. Using Expandex makes the dough a bit more stable and easier to handle when raw, and makes the tortillas a bit more stretchy. Plus, it also helps them stay fresh for a bit longer at room temperature. Hope that helps!
I love your recipes. Are you no longer posting the weights for your ingredients and now using cup measuring? I found that by cooking by weight my recipes were working much better.
Beth
Hi, Beth, I will always share weight measurements, and encourage readers to use them! In the new recipe format, you have to click “metric” or “customary” and the measurements change. You want “metric.” Just click that and it will reveal those values. I’m working on having it default to metric, but for now, just click!
Have you tried frying these tortillas? I absolutely crave the Arizona specialty–green chile cheese crisps, which are fried in hot oil, then smothered with green chile sauce that contains shredded pork. Also missing chimichangas, which are basically burritos that are fried in hot oil. My son and I seem to be buying out our small town grocery’s stock of gluten free flour tortillas every week and they are horrendously expensive. ANd don’t fry well.
I haven’t tried frying these, although I imagine they’d fry great once they’ve been cooked in the skillet. But you might like to try my recipe for “fry bread” or my recipe for “chalupas.” Just use the search function!
This is off topic but could you tell me if gluten free flour can be used to make a cream sauce, you know for thickening. I am just starting to learn about all this. At 73 I am fining it hard . I sure would appreciate an answer and am very sorry to bother you.
Thanks so much
Ps have been printing off your recipes hope I have luck.
Hi, Roberta, please use the search function to find things like gravy and other roux-based recipes. It’s all there, but for specific recipes, and the search function is very robust and it will bring back whatever you’re looking for.
Yes! Thank you, Nicole! From the video, I can tell that my tortillas always came out wrong because I cooked them way too long. It looks like there is still quite a bit of… clear…ish area. I’d been cooking them until they were totally white, all the way through, because I thought they weren’t thoroughly cooked otherwise. From the finished stack, I can tell I’d been rolling them too thin, also. Roll too thin + cook too long = tough, hard tortillas. It makes so much sense now! I can’t wait to try these again. We’ve been using the store bought tortillas, and they get mushy and stick to your teeth (ew). I can’t tell you how psyched I am about this. Really. Thanks so much :)
I absolutely love those lightbulb moments, Jess! I’m so glad you were able to troubleshoot. This is typically what’s needed when readers say that they followed the recipe “to a T” and it didn’t turn out well. It’s just that I’m not in a position to figure out where they deviated from the recipe, since they can’t tell me—because they don’t know either. :) I see many tortillas in your future. Well done!