This post may contain affiliate links. Please read our disclosure policy.
Whether it's Girl Scout Cookie season or not, I bet you're missing Thin Mints if you're gluten free. The bakeries may make a type or two of gluten free Girl Scout Cookies, but we really want the snappy chocolate mint cookies with the chocolate coating. We really want gluten free Thin Mints. And now we can have them!
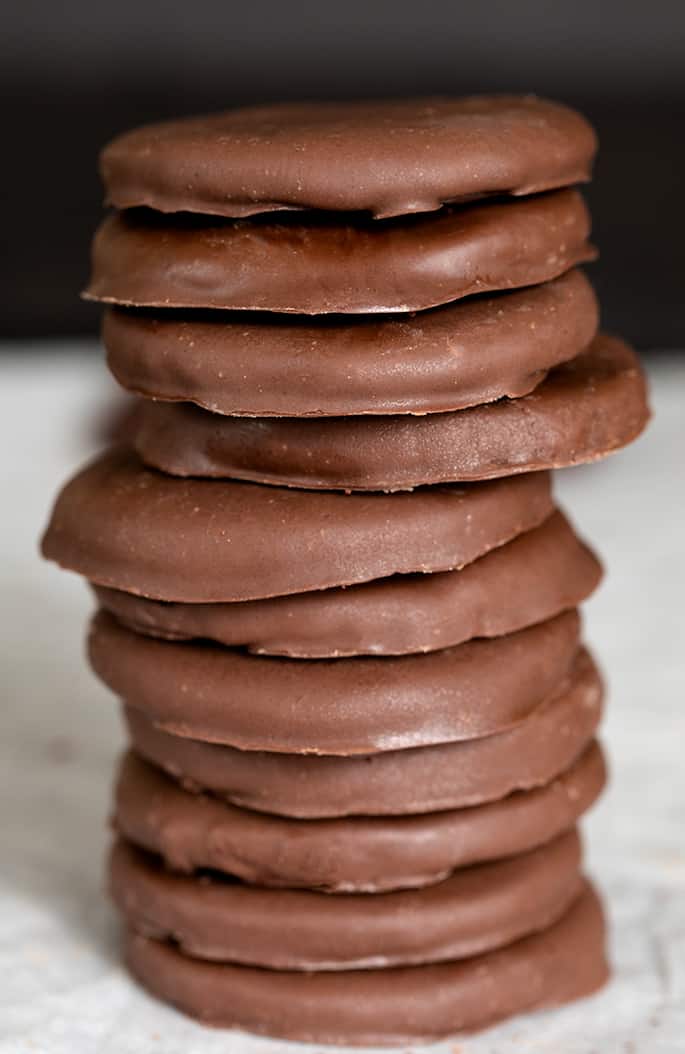
Table of Contents
What makes these gluten free Thin Mints style chocolate cookies special
These cookies are different from the gluten free chocolate wafer cookies. The way I think of it, those are cocoa cookies and these are chocolate cookies, since there's also melted chocolate in the batter. Plus, this recipe doesn't call for any eggs and has a texture more like graham crackers than wafer cookies.
I recommend using chopped chocolate, and not chocolate chips, in this cookie dough. Chocolate chips have some wax in them without which they wouldn't hold their shape. Don't panic because I use chocolate chips all the time, but when you're melting chocolate into any sort of batter, you want it to be pure chocolate.
How to make these gluten free Thin Mints-style cookies
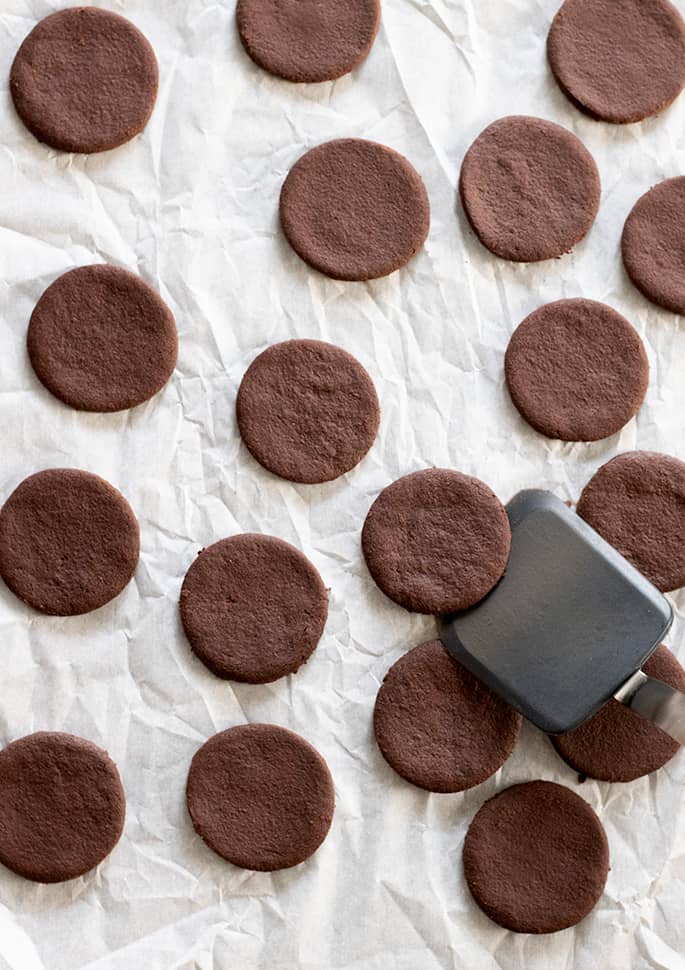
This cookie dough is made by melting chocolate and butter, and stirring to combine. Add the vanilla and peppermint extract, and mix, then set the bowl aside. In a mixing bowl, whisk together the flour, cocoa powder, baking soda, salt, and sugar, and add the chocolate mixture.
The mixture seem crumbly at first, and like it won't come together into a cohesive dough. Keep mixing, pressing the bottom of the spoon into the dough to moisten everything. With clean hands, knead and squeeze the dough together.
If you allow the cookie dough to sit before rolling it between two sheets of unbleached parchment paper, it will become dry and difficult to roll quite quickly. Just add lukewarm water by the droplet, kneading it in until the dough holds together and thick but not so stiff that it's unworkable.
An alternative way to create the shapes for your gluten free “Thin Mints” cookies
The easiest and best way to make these cookies is by rolling out the dough between two sheets of parchment paper. The dough is sticky, but not wet enough that it can handle any additional flouring.
Just roll and feel with your palms to see where it needs to be rolled thinner. It's not hard, and definitely does not need to be perfect.
If you simply refuse to roll anything out (!), and I cannot convince you that it is possible and even (dare I say it) easy, I have a solution. Divide the cookie dough into two equal portions, and knead and press each into a cylinder about 1 1/4-inches in diameter, rounding it as best you can, creating a blunt edge on each side of each roll.
Without chilling the dough, using a sharp knife, slice each cylinder by cross-section into slices that are a bit more than 1/4-inch thick. Place each piece flat on the baking sheet and, using your fingertips, pat each disk evenly until it's about 1/4-inch thick.
Your rounds will not be as perfectly round, and they will likely be of uneven thickness. But they get coated in chocolate anyway and if anyone has something to say about it, then no cookies for them.
Tips for the perfect chocolate coating on gluten free “Thin Mints”
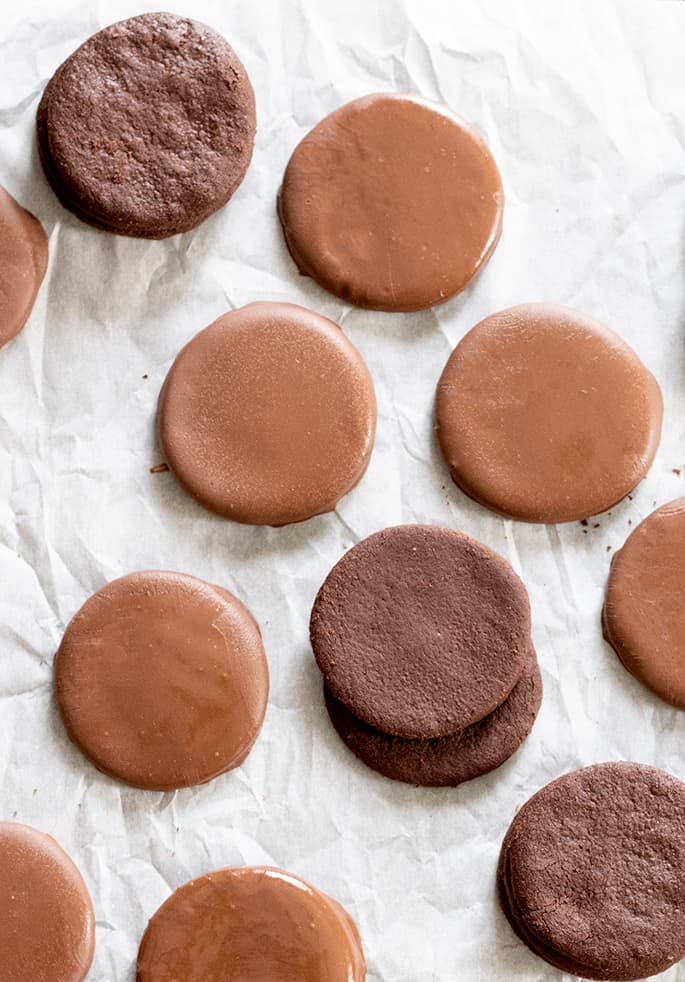
For a smoother coating of chocolate, try seeding it after melting. Simply melt most of the chopped chocolate, and then drop the rest in the hot melted chocolate. The reserved chocolate chunks will help bring down the temperature of the melted chocolate to the point where it is tempered and will make a nice, smooth coating.
Tap off some of the excess from the coated cookie by tapping the handle of the dipping fork on the side of the bowl before dragging the fork along the side of the bowl of melted chocolate to remove any final excess. That's how you avoid that big pool of chocolate on the bottom as the chocolate sets.
Carefully slide the coated cookie off the fork onto a piece of parchment paper. Allow the chocolate coating to set, either at room temperature or in the refrigerator. If you refrigerate the coated cookies, the chocolate may bloom on the surface, with white streaks appearing, but it won't affect the taste at all.
Gluten Free Thin Mints: Ingredients and substitutions
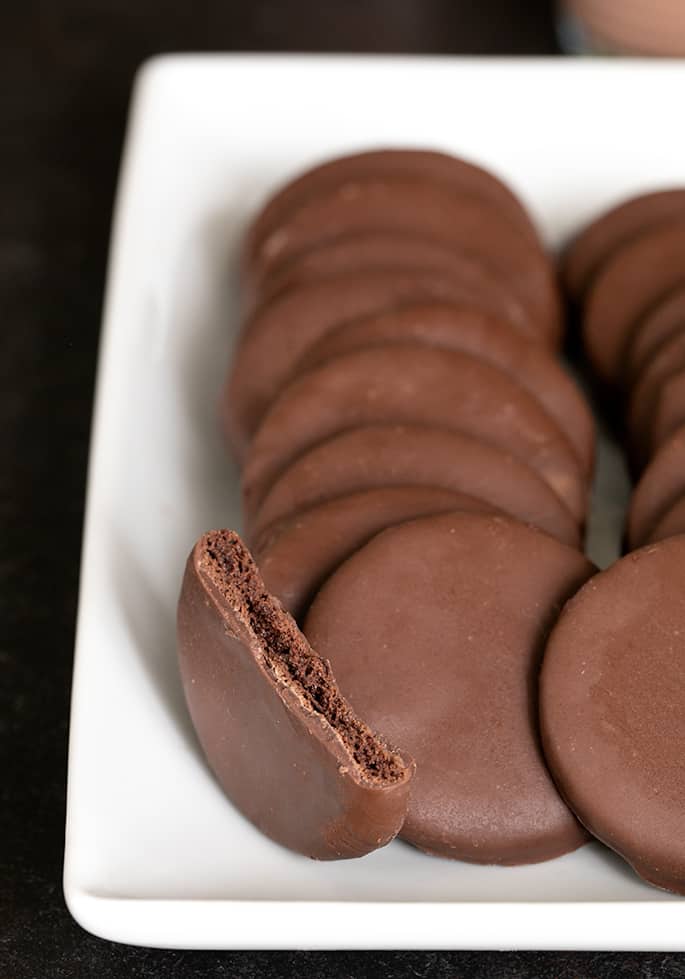
Gluten free dairy free thin mints style cookies
In place of the butter in this recipe, try using half (35 grams) Earth Balance buttery sticks and half (35 grams) Spectrum brand non hydrogenated vegetable shortening. If you can find it, you can also use a full 70 grams of Melt brand vegan butter, which behaves much closer to butter in baking. Of course, make sure your chocolates are dairy-free.
What sort of cocoa powder do you use in gluten free “thin mints”?
You can use either Dutch-processed cocoa powder or natural cocoa powder in this recipe. I prefer to use Dutch-processed because it tends to have a deeper chocolate flavor and more richness.
I use Rodelle brand Dutch-processed cocoa powder. Hershey's Special Dark is a nice blend of both natural and Dutch-processed cocoa powders and is widely available.
What type of chocolate do you use in gluten free “thin mints”?
I often use Baker's brand semi-sweet chocolate bars for baking because it's well-priced, readily available, and of course are gluten free. I just buy a ton of boxes of it whenever it's on sale at my regular grocery store.
I often use Ghirardelli chocolate disks for melting when I plan to use chocolate as a coating, like in this recipe. For a fancier baking bar of chocolate, I'll use Scharffen-Berger semi-sweet or dark chocolate.
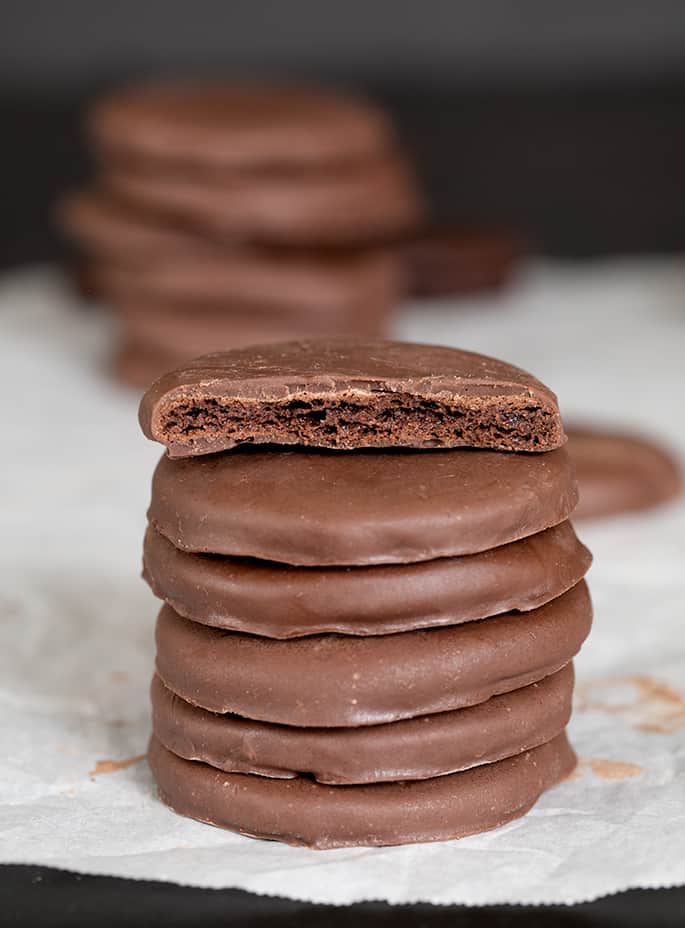
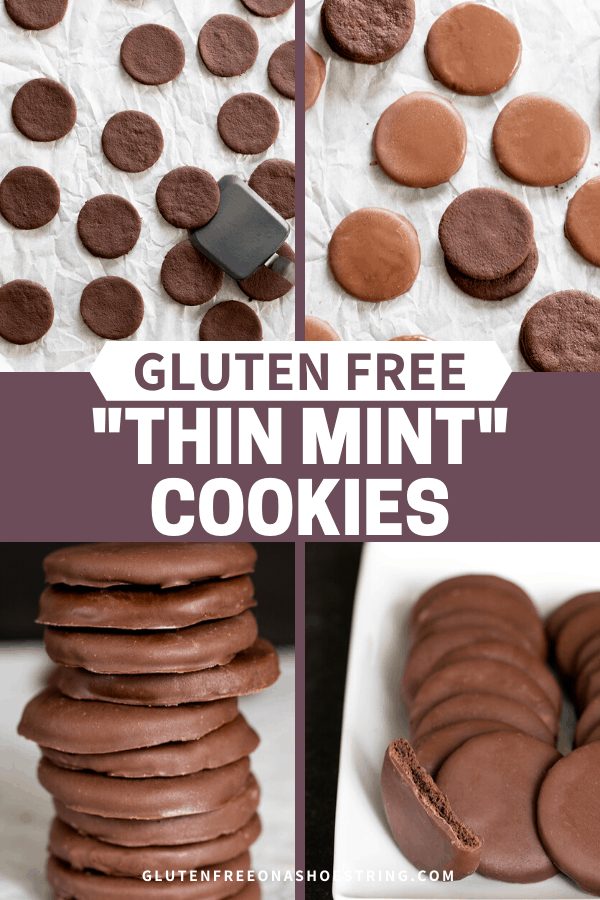
Gluten Free “Thin Mints” Cookies
Ingredients
For the cookies
- 5 tablespoons (70 g) unsalted butter
- 4 ounces semi-sweet chocolate, chopped
- ¼ teaspoon pure vanilla extract
- ½ teaspoon pure peppermint extract
- ¾ cup (105 g) all purpose gluten free flour blend, (I used Better Batter; please click thru for full info on appropriate blends)
- ¼ teaspoon xanthan gum, (omit if your blend already contains it)
- ½ cup (40 g) Dutch-processed or natural cocoa powder
- ¼ teaspoon baking soda
- ½ teaspoon kosher salt
- ½ cup (100 g) granulated sugar
- Lukewarm water by the drop, as necessary
For the glaze
- ½ pound dark chocolate, chopped
- Pure peppermint extract, to taste
Instructions
Make the cookies.
- Preheat your oven to 300°F. Line rimmed baking sheets with unbleached parchment paper, and set them aside.
- In a medium-size heat-safe bowl, place the butter and all the semi-sweet chocolate except for about 3 1/2-inch-size chunks.
- Microwave the mixture 50% power for 45 seconds at a time, stirring in between, until melted and smooth.
- Add the reserved chunks of chocolate, and stir until the chocolate has begun to thicken a bit and the chunks have melted.
- Add the vanilla extract and peppermint extract, and stir to combine.
- Set the chocolate mixture aside.
- In a large bowl, place the flour, xanthan gum, cocoa powder, baking soda, salt, and sugar, and whisk to combine well.
- Add the chocolate mixture, and mix until the dough comes together and is smooth.
- This is a relatively dry cookie dough, and may appear crumbly at first. Using clean hands, squeeze the dough to help it form a disk.
- If you have allowed the dough to sit at all before rolling it out, knead in water by the drop until the dough is still thick but not tough.
- Place the dough between two sheets of unbleached parchment paper, and roll it out until it is about 1/4 inch thick (any thinner, the cookies are more likely to burn in the oven, and will crack when you try to coat them in chocolate).
- Cut out rounds that are about 1 1/2-inches in diameter.
- To remove the rounds from the surrounding cookie dough, peel the paper away from them while pulling up gently on the rounds.
- Place each round on a prepared baking sheet 1-inch apart from each other.
- Gather and reroll any scraps, and repeat the process.
- Place one baking sheet at a time in the center of the preheated oven and bake for 7 minutes or until the cookies no longer glisten in the center.
- Remove the cookies from the oven, and allow them to cool completely on the baking sheet.
Make the glaze.
- Once the cookies are completely cool, make the glaze.
- Place all the dark chocolate except for about 3 1/2-inch-size chunks in a medium-size, heat-safe bowl.
- Microwave at 50% power for 45 seconds at a time, stirring in between, until melted and smooth.
- Add the reserved chunks of chocolate and the peppermint extract, and stir until the chocolate has begun to thicken a bit and the chunks have melted.
Glaze the cookies.
- Place the cooled cookies, one at a time, in the glaze.
- Press down on the cookie with the tines of a (dipping or regular) fork, then flip it gently in the chocolate.
- Pull the cookie out of the chocolate by slipping the fork under it and tapping the handle of the fork on the side of the bowl to remove some excess and break any air bubbles.
- Carefully drag the bottom of the fork (along with the bottom of the cookie) along the edge of the bowl to remove any drips, and carefully place the cookie on a clean sheet of parchment paper.
- Allow the chocolate coating to set at room temperature.
- Once the coating is set, you can place the cookies in a covered glass jar and store at room temperature for about a week.
Video
Notes
Nutrition
Nutrition information is automatically calculated, so should only be used as an approximation.




I am gluten free and my daughter is vegan. She really misses chocolate mint cookies. I made these for Christmas, simply subbing the butter with plant-based butter (cashew based). They were such an incredible hit! I had a bit of trouble dipping the icing, so I just took a little knife and spread a bit of glaze on top of each cookie. It was perfect! I made them again for her birthday and at her request made them coin sized. These are really special. She keeps the iced cookies in the freezer and loves eating them frozen! Thanks Nicole for this awesome recipe that we will make again and again!
Thank you so much for telling me, Rose! I’m so glad that they worked with the butter substitute, and that you’re able to give your daughter that gift. For the chocolate coating, it sounds like maybe you could have thinned it with a little bit of virgin coconut oil. In fact, I think the recipe should state that, because there is so much difference in the quality of chocolate, and I know that a lot of people use chocolate chips, which have wax in them to help them hold their shape and some coconut oil melted in there can really help.
Can I freeze these cookies with good results ?
You can freeze the plain cookie for sure. If you freeze them covered in melted chocolate, the chocolate will most likely develop a white coating called bloom. It is harmless and tasteless but will affect the appearance.