This post may contain affiliate links. Please read our disclosure policy.
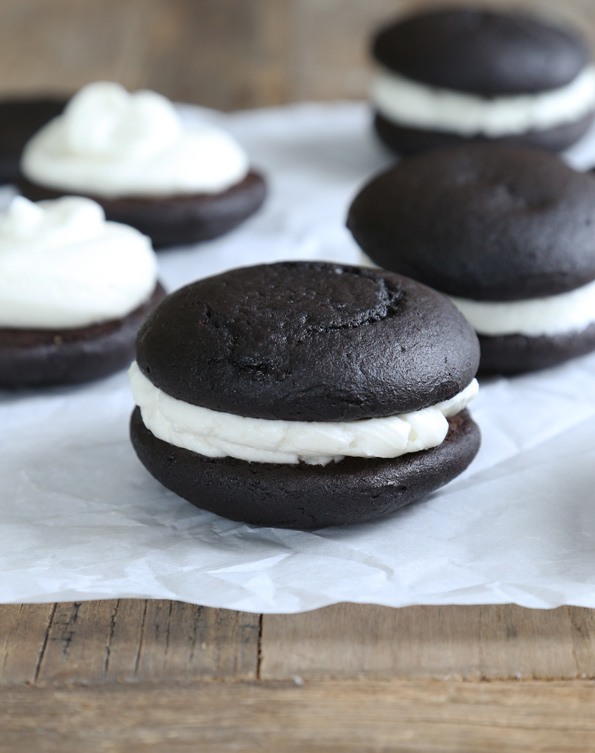
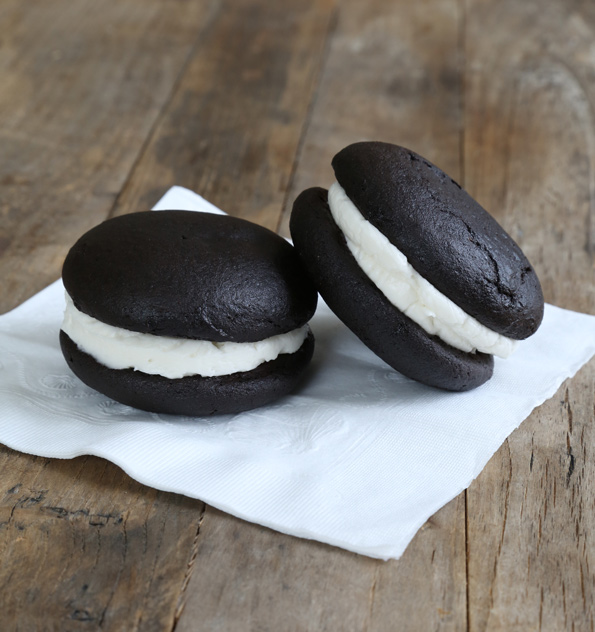
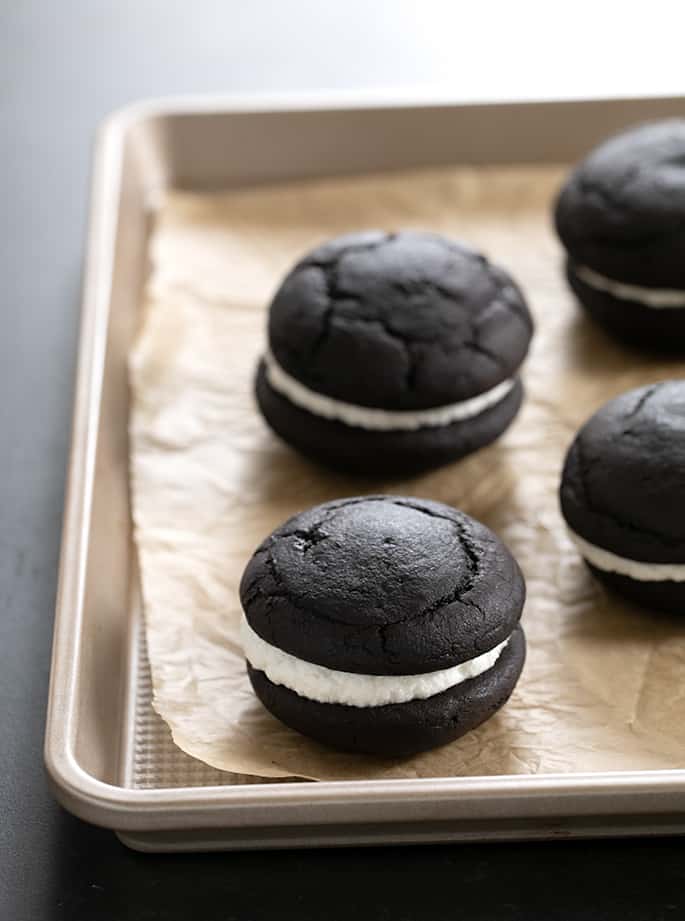
These gluten free Oreo Cakesters style pies are the cream-filled deep chocolate, pillow-soft snack cakes of your dreams. Remember when Nabisco made Oreo Cakesters? They've been discontinued, but they were never gluten free anyway so it's all the same to us.

What are Oreo cakesters?
Like big, fluffy Oreo cookie sandwiches, these are kind of like chocolate whoopie pies in concept. They're also similar to whoopie pies in texture.
Think soft and springy, almost like Devil Dogs but more moist so they stick to your fingers a bit but not to the roof of your mouth. They do taste like soft Oreos, which are different from any other chocolate sandwich cookie and you know it!
Are Oreos gluten free?
The original Nabisco Oreo sandwich cookies are not gluten free. But Nabisco now makes their own gluten free Oreos, and they're delicious! You can even use them to make gluten free fried Oreos or no bake no bake Oreo cheesecake.
There are also a few brands of crispy gluten free Oreo-style cookies available to buy in most larger grocery stores.
“K-Toos” is the name of the cookies made by Kinnikinnick, and they've been around for a number of years. They're actually really good but tend to be expensive.
TIP: use the right cocoa powder
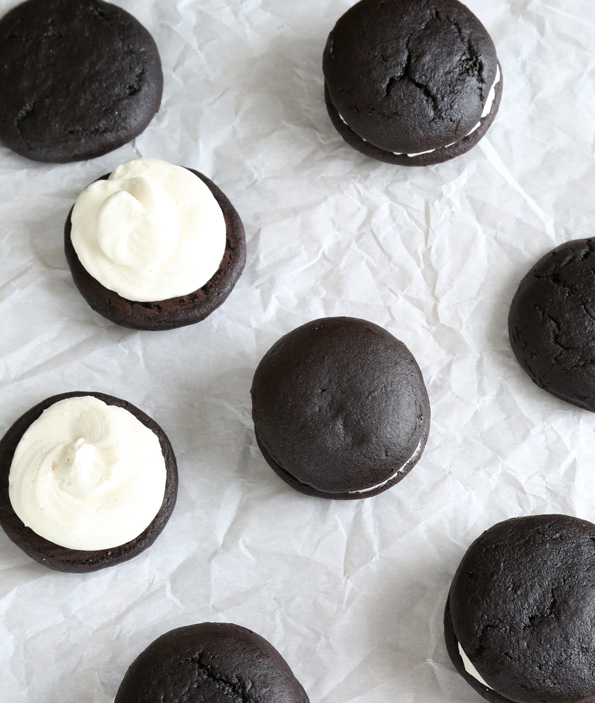
Part of what makes Oreos look like Oreos is their super dark color. Instead of buying black cocoa powder (it's a thing!) I just use and recommend that you use Hershey's Special Dark unsweetened cocoa powder.
It's a pretty magical blend of unsweetened natural cocoa powder (which is not alkalized) and Dutch-processed cocoa powder (which is alkalized). And it bakes up more black than brown, just like “real Oreos.”
Using Hershey's Special Dark cocoa powder doesn't affect the taste, though. Natural unsweetened cocoa powder or Dutch-processed unsweetened cocoa powder will each work just as well.
Can you freeze these gluten free Oreo Cakesters?
These pies freeze perfectly, since no part of them freezes solid. Make a big batch, then wrap them individually in plastic. You can pull them out of the freezer one at a time, when the need strikes.
In fact, they're even a little easier to eat when they're chilled. The filling won't squeeze out at all from between the layers, and the cakes don't stick to the tips of your fingers like a lot of snack cakes do.
I don't mean to suggest that a snack cake's sticking to your fingertips is really a bad thing. It's slightly uncomfortable, but it's the sort of discomfort that you want your gluten free child to experience, the same as the rest of us.
Ingredients and substitutions
Dairy
There is dairy in these soft Oreo-style cakes, but it can all probably be replaced with dairy-free alternatives. In place of the butter in the cakes, try using Earth Balance buttery sticks or vegan butter.
In place of the cow's milk in the cakes, use unsweetened nondairy milk. I like unsweetened almond milk best. Oh, and be sure that your melted chocolate in the cakes is dairy-free.
There is also dairy in the frosting in the form of butter. Earth Balance buttery sticks are not good for frosting.
Instead, try using butter-flavored Spectrum nonhydrogenated vegetable shortening. Or vegan butter (I like Melt brand and Miyoko's Kitchen brand).
Eggs
There is one whole egg in these cakes that might be able to be replaced with a “chia egg” (1 tablespoon ground white chia seeds + 1 tablespoon lukewarm water, mixed and allowed to gel.
The egg whites are a bit more difficult to replace. I haven't heard great things about using aquafaba (the brine from a can of chickpeas) in place of egg whites in baking. In place of the two egg whites, you might be able to use another “chia egg.”
Really, though, I would prefer a whole different recipe. One that is created to be egg-free, since most egg replacers are just not good enough.
There's also the matter of the egg whites in the Swiss meringue buttercream filling. I think maybe a “regular” buttercream would be better. Or our gluten free ermine frosting!
Cornstarch
In place of cornstarch, you can use arrowroot or potato starch. You can also use an equal amount of additional all purpose gluten free flour.
The cornstarch is just there to help lighten the flour blend a bit. If you're using a more starchy blend, like Cup4Cup, you should instead use more Cup4Cup instead of the cornstarch called for in the recipe.
Gluten Free Oreo Cakesters Style Pies
Equipment
- Pastry bag with plain piping tip
- Candy thermometer
- Stand mixer or handheld mixer
Ingredients
For the cakes
- 6 tablespoons (84 g) unsalted butter, chopped
- 2 ounces dark chocolate, chopped
- 1 ½ cups (210 g) all purpose gluten free flour blend, (I used Better Batter; please click thru for full info on appropriate blends)
- ¾ teaspoon xanthan gum, (omit if your blend already contains it)
- 2 tablespoons (18 g) cornstarch, (replace with more Cup4Cup if that is your all purpose gluten free flour blend)
- 1 cup (80 g) unsweetened cocoa powder, (preferably Hershey’s Special Dark)
- 1 teaspoon baking soda
- ½ teaspoon baking powder
- ½ teaspoon kosher salt
- ½ cup (100 g) granulated sugar
- ½ cup (109 g) packed light brown sugar
- 1 (50 g (weighed out of shell)) egg, at room temperature, beaten
- 2 (50 g) egg whites, at room temperature, beaten
- 2 teaspoons pure vanilla extract
- 1 ¼ cups (10 fluid ounces) milk, at room temperature
For the Swiss meringue filling
- 1 ¼ cups (250 g) granulated sugar
- ½ cup (4 fluid ounces) lukewarm water
- ⅛ teaspoon kosher salt
- 2 (50 g) egg whites, at room temperature
- ⅛ teaspoon cream of tartar
- 1 teaspoon pure vanilla extract
- 12 tablespoons (168 g) unsalted butter, cubed and kept cool (but not cold)
Instructions
- Preheat your oven to 350°F. Line rimmed baking sheets with unbleached parchment paper and set aside.
Make the cakes.
- In a medium-size, heat-safe bowl, place the chopped butter and chopped chocolate. Melt over a pot of simmering water, stirring occasionally, or in the microwave in 30-second bursts at 60% power, until melted and smooth. Set the bowl aside to cool briefly.
- In a large bowl, place the flour, xanthan gum, cornstarch, cocoa powder, baking soda, baking powder, salt and granulated sugar, and whisk to combine well. Add the brown sugar and whisk, working out any lumps.
- Create a well in the center of the dry ingredients and add the melted chocolate and butter, egg and egg whites, vanilla and milk, mixing to combine after each addition. The batter should be thick and glossy.
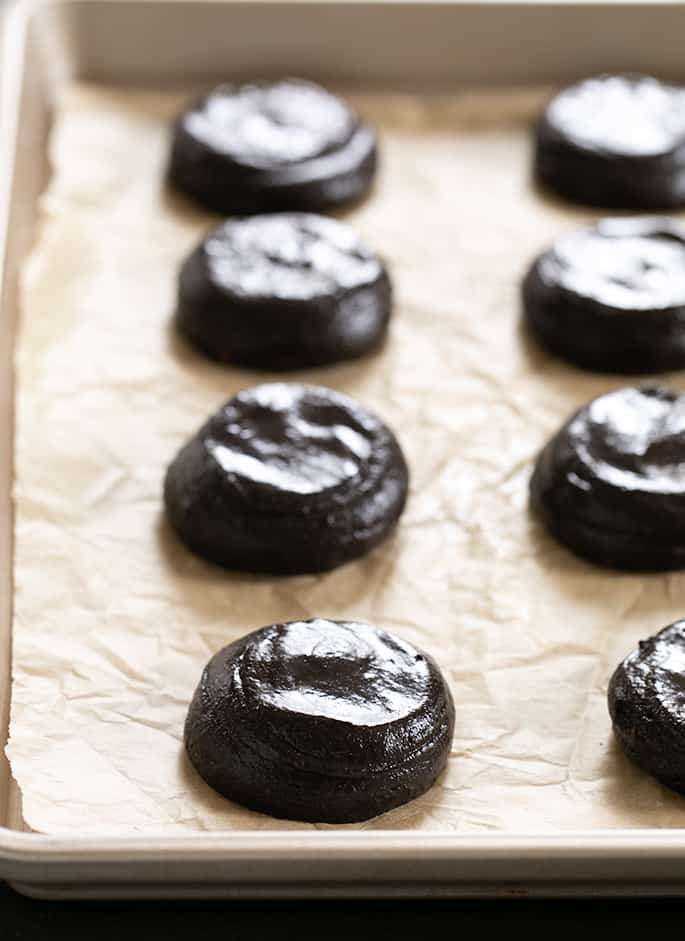
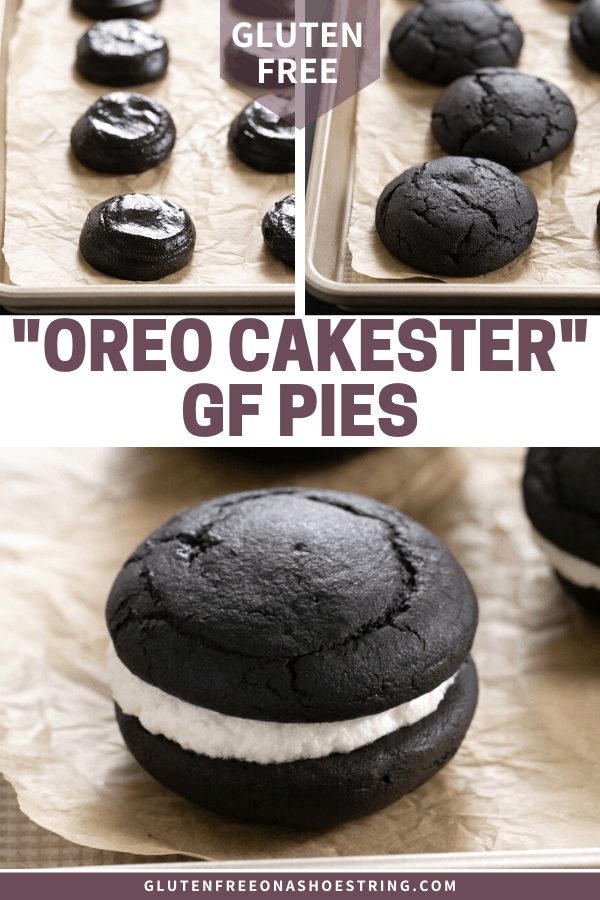
- Transfer the cake batter to a large pastry bag fitted with a large, plain piping tip (about 1/2-inch in diameter) and pipe mounds of batter about 1 1/2-inches in diameter, about 1 1/2-inches apart from one another.
- With wet fingers, press the mounds of batter into flat disks about 1/2-inch thick.
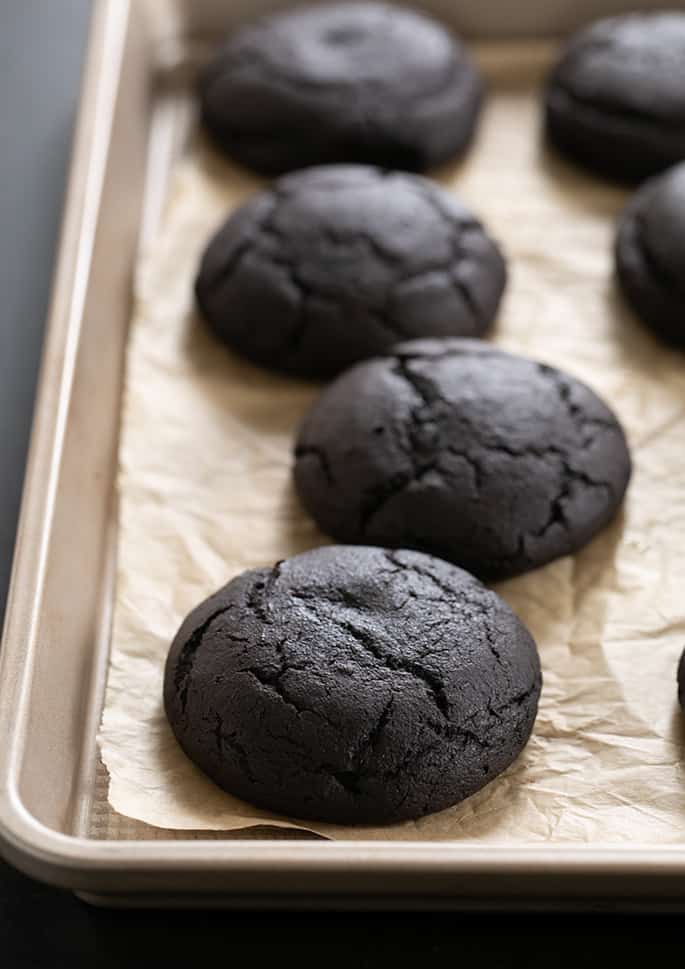
- Place in the center of the preheated oven and bake until the cakes spring back when pressed in the center (about 10 minutes).
- Remove from the oven and allow to cool on the pan for 10 minutes before transferring to a wire rack to cool completely.
Make the filling.
- In a medium-size, heavy-bottom saucepan, place the sugar, water and salt, and whisk to combine. Clip a candy thermometer to the side of the saucepan and cook the sugar mixture over medium-high heat, without stirring it, until it reaches the softball stage, 240°F.
- Remove from the heat and set it aside to cool briefly. Place the egg whites in the bowl of your stand mixer fitted with the whisk attachment attachment or a large bowl with a hand mixer. Whip the egg whites on medium-high speed until beginning to thicken. Add the cream of tartar, and continue to whip until stiff, but not dry, peaks form.
- With the mixer speed on low, pour the warm sugar mixture down the side of the mixer (making sure the sugar doesn’t hit the whisk).
- Once all of the sugar mixture has been added, turn the mixer speed up to high and beat until the mixture is thick, glossy, at least doubled in size and holds a stiff peak (about 5 minutes).
- This is Marshmallow Fluff, and can be used on its own as filling. To make a modified Swiss Meringue Buttercream (a more stable filling), continue to the next step.
- Once the outside of the mixing bowl is cool to the touch, switch to the paddle attachment and begin adding the cubed, cool butter while the mixer is on medium speed. Continue to beat until all of the butter is added and the mixture is silky smooth and thick.
- If the mixture looks curdled, continue to beat for a while longer until the butter is smooth (the “curdles” are actually butter that is too cold). If the mixture is runny, place the bowl in the refrigerator for 15 minutes and beat again.
Assemble the pies.
- Assemble the cakes into pairs and invert one cake of each pair.
- Transfer the filling to a large pastry bag fitted with a large (1/2-inch) plain piping tip and pipe about 2 tablespoons of filling onto the inverted cake of each pair.
- Place the other cake on top and press to sandwich.
Nutrition information is automatically calculated, so should only be used as an approximation.



Do you have a version of this recipe but as the vanilla flavoured cakesters?
Hi, Shawna, I’m afraid I don’t, no. So sorry!
These were so good! Just made them yesterday. Didn’t have the dark choc cocoa powder, but they still turned out lovely!
Thanks for reporting back, Amanda! So glad they turned out well. :)
These are beautiful! It always brightens my day to see the gorgeous new food options you’ve come up with! I made your Lemon Pudding Cakes yesterday. They were my first attempt at baking by weight *and* at making a souffle-ish food. They were also delicious. ;) For all the GF emotional bakers and eaters out there, thank you for your hard work!
Sounds like you’re doing great, Lauren! So glad you loved the lemon pudding cakes. So summery!
YAHOO! I am also making these – TODAY! going to run and see if I can’t find the dark chocolate powder…..I have heard of it many times, just never found it yet. Also, I bet if you had solicited your readers (maybe you did?) I would have suggested these babies because they are LOVE on a plate! :)
Found the special dark cocoa powder – GOLDEN!
I didn’t solicit readers, Jennifer, but I really love hearing readers’ recipe requests, and when my site is redesigned (soon!) there will be an easy way to submit recipe requests. Hope you love the cakesters!
So excited to make these! Which one of your GF flours did you use?
Hi, Sarah, I used my Better Than Cup4Cup flour once, and Better Batter another time. They both worked great. :)
Wow Nicole! You spoil us! Jennifer S is gonna flip!
I love using Hershey’s Special Dark coco, when ever we make a special US shopping day I always pick it up, I use it more often than the other lighter coco.
Your children must be grinning from ear to ear. You are one smart cookie :)
HUGS!