This post may contain affiliate links. Please read our disclosure policy.
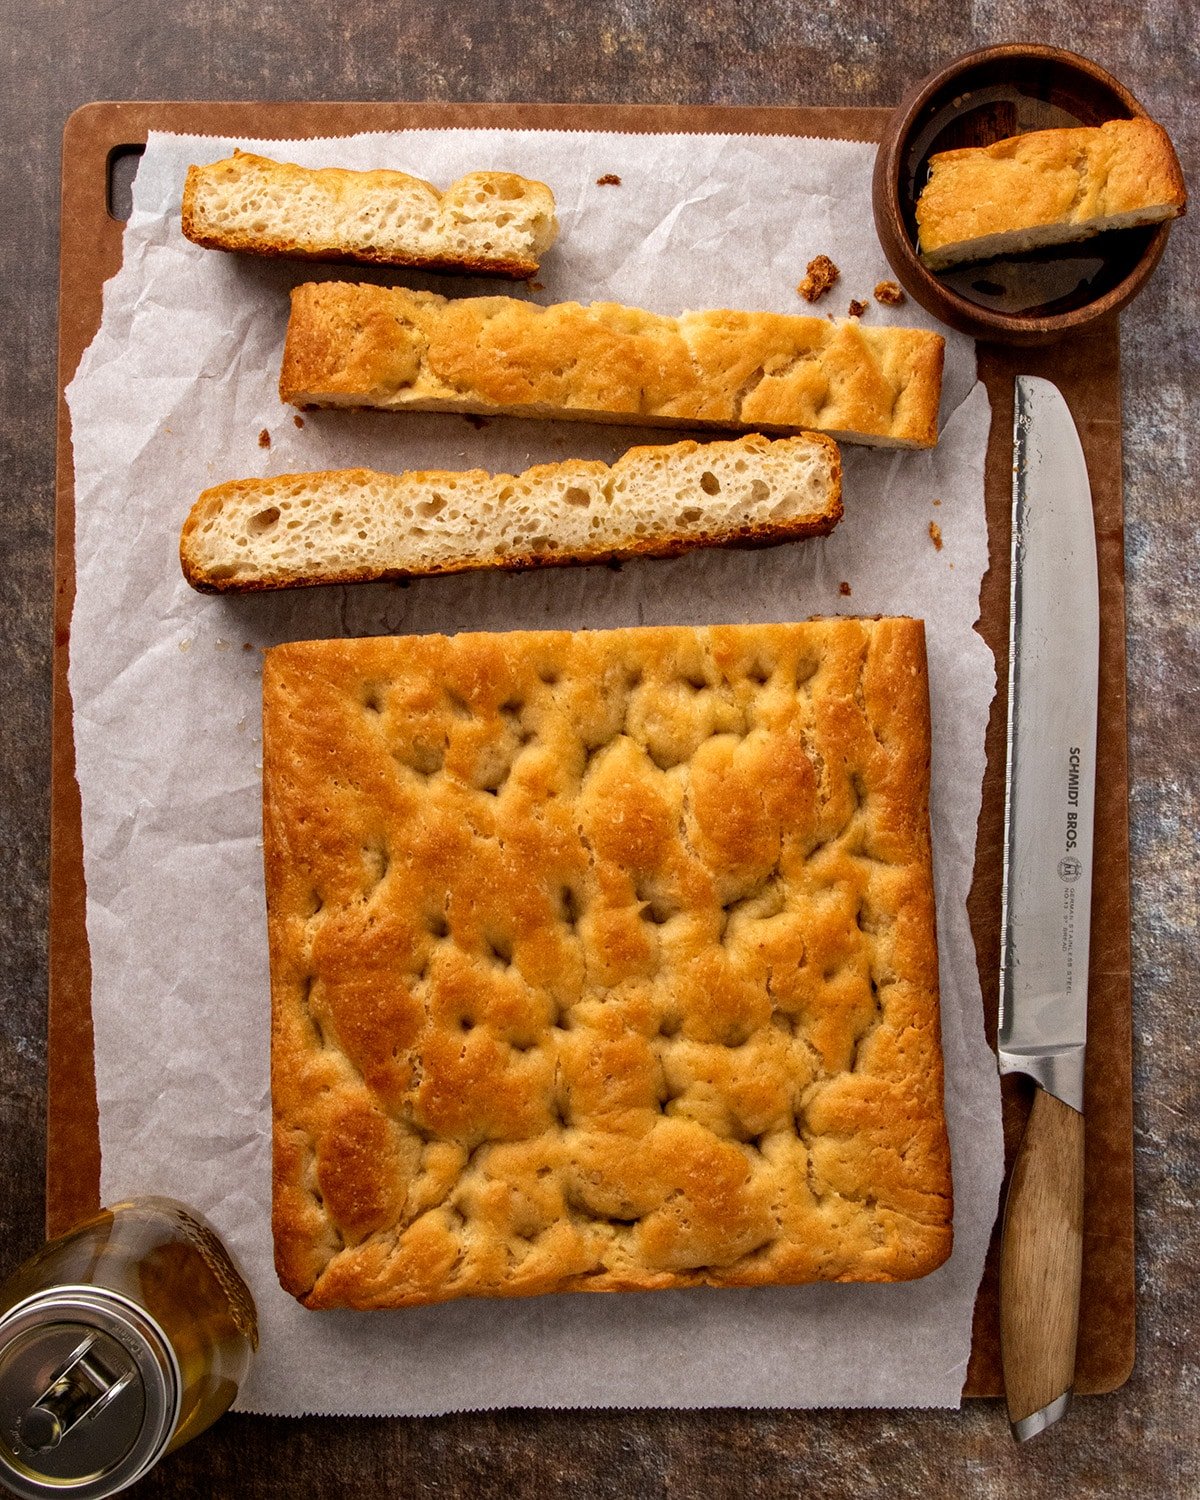
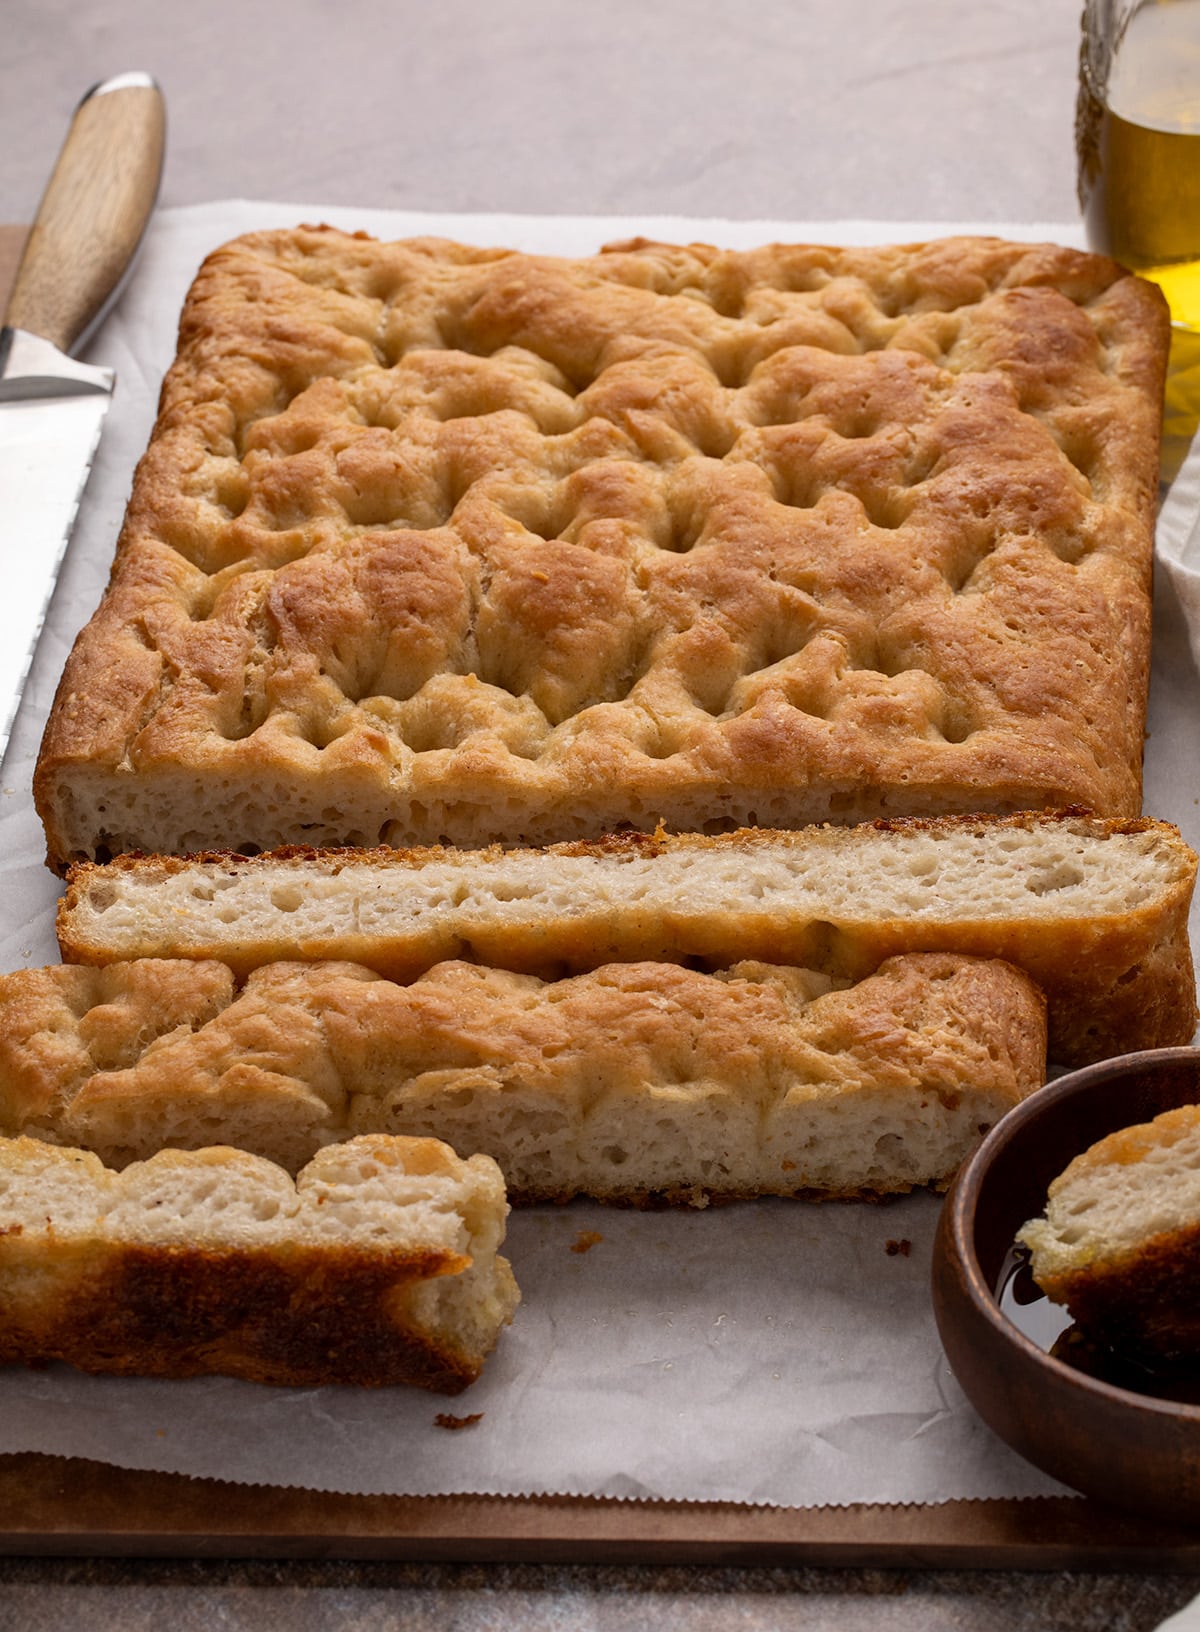
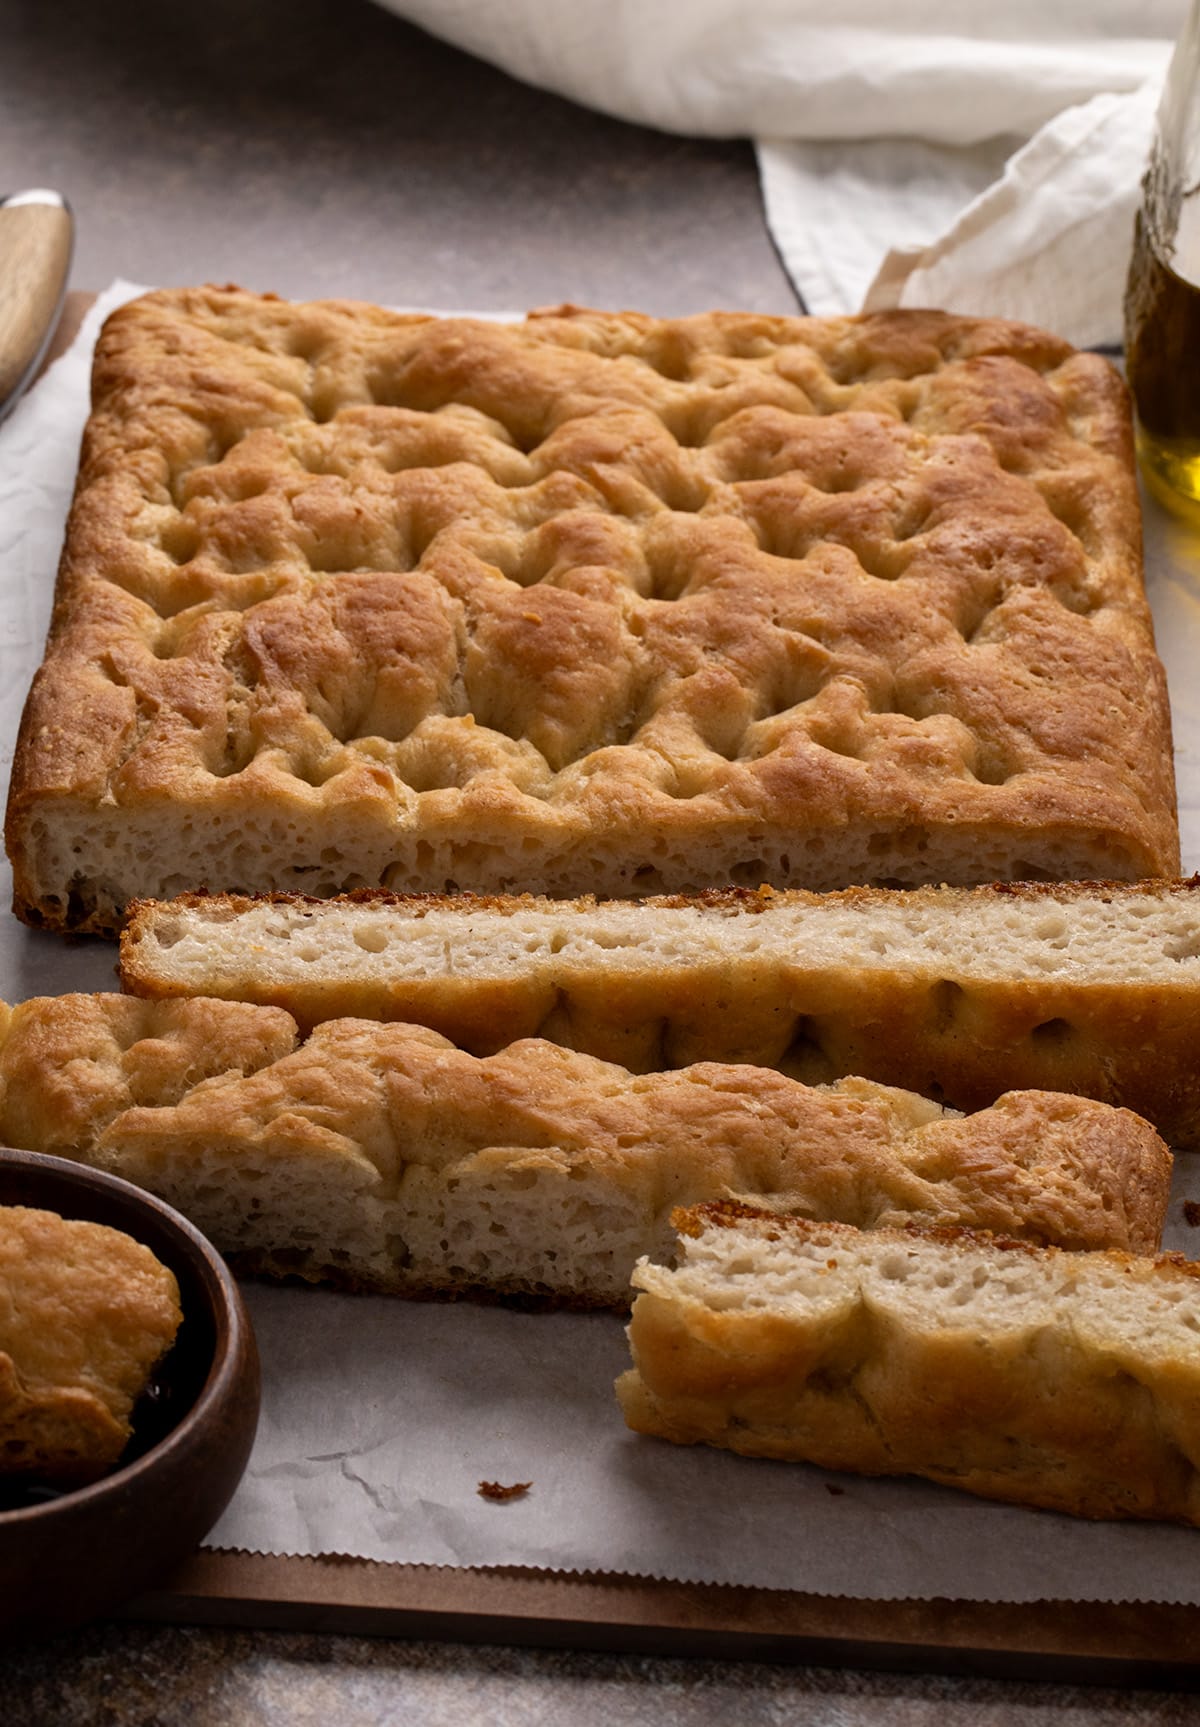
This gluten free focaccia bread is crispy on the outside with a light and airy open crumb inside. With only 7 ingredients, including water, it couldn't be easier to make this authentic-tasting Italian-style flatbread.
Why this recipe works
This recipe solves the problem of dense, gummy gluten-free bread. Its precise, repeatable method delivers consistent, bakery-quality results with the light, open crumb that gluten-free bread often lacks.
The most critical factor is the gluten free flour, specifically King Arthur Flour's Gluten-Free Pizza Flour blend. My exhaustive testing shows it provides the best structure for large interior holes, crisp exterior, and a high rise other blends can't quite match.
Success also comes from technique. A full four-minute mix of the dough creates a smooth, integrated dough, and two-stage baking maximizes “oven spring” and still delivers a fully baked interior.
This simple, exacting recipe eliminates guesswork and delivers professional-quality focaccia.

Ingredients explained
There are only a few ingredients in this whole recipe. Here is a bit about the important role each one plays:

- Gluten free pizza flour – King Arthur Flour's Gluten Free Pizza Flour blend works best to give this bread the highest rise and best authentic crisp texture outside and airy crumb inside. You can also use Caputo Fioreglut gluten free flour or my own gluten free bread flour blend, with varying results.
- Instant yeast – Gives this bread its rise and adds flavor. I prefer instant yeast because you don't need to soak it first to dissolve the outer layer before adding to the rest of the recipe.
- Warm water – Hydrates the dough, activates the yeast, and brings the dough together.
- Honey – To feed the yeast and add a touch of depth of flavor and sweetness.
- Olive oil – Flavors the bread, adds fat for moisture and tenderness.
- Apple cider vinegar – Adds subtle flavor and helps to activate the yeast for a better, pillowy rise.
- Salt – Adds flavor, and controls the activity of the yeast.
How to make gluten free focaccia
1. Make the dough
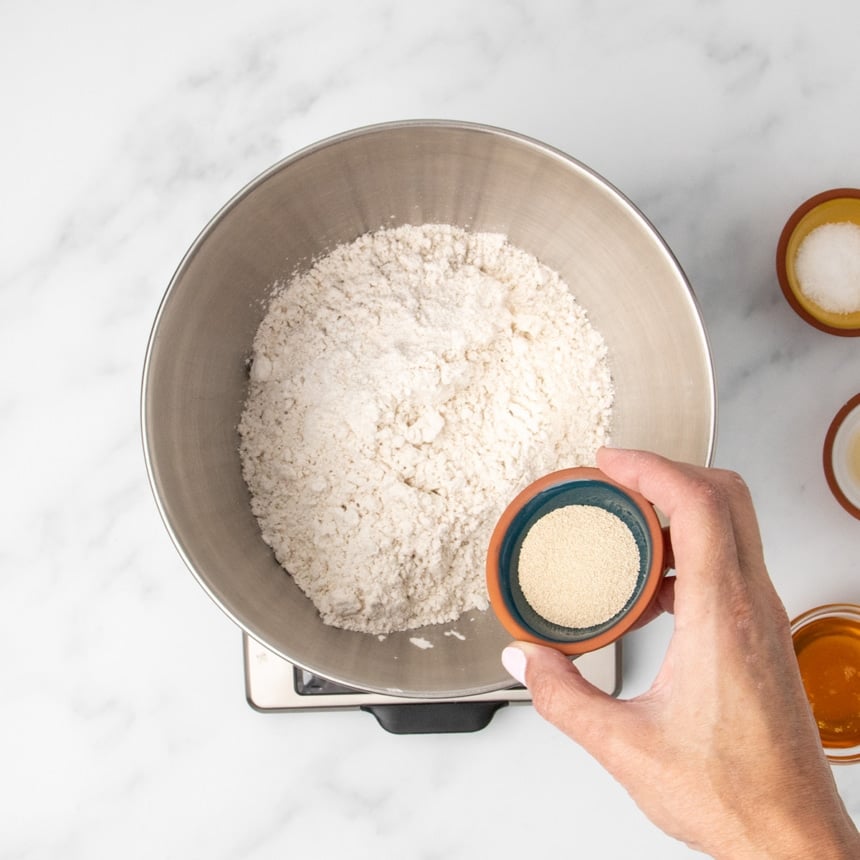
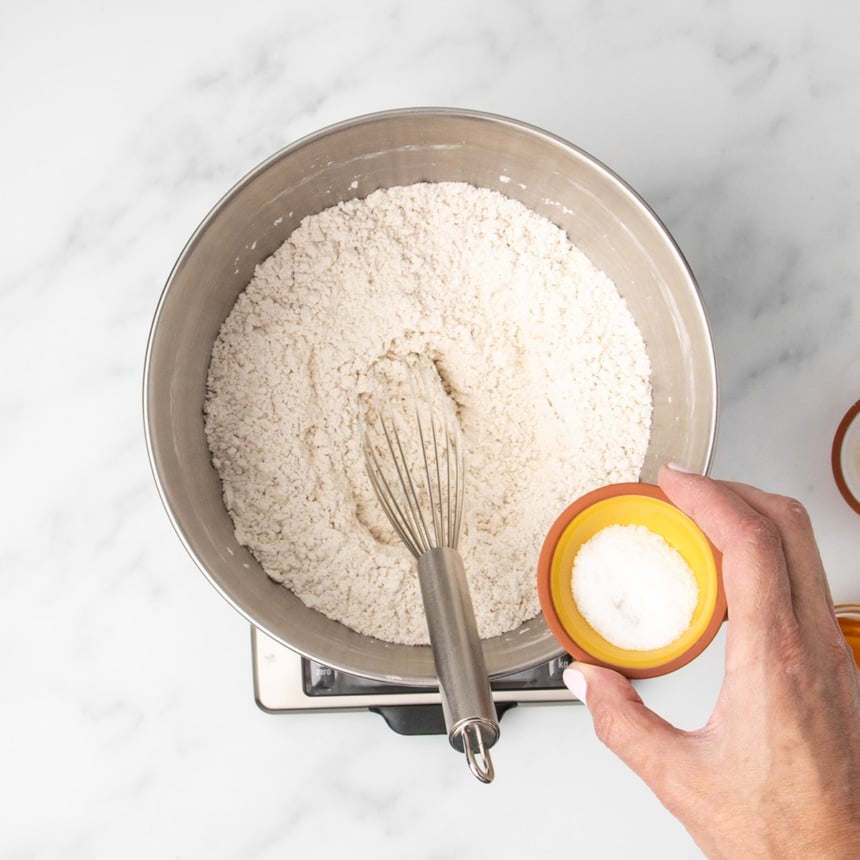
In the bowl of a stand mixer whisk together the flour blend and the instant yeast. Then, whisk in the salt separately to ensure that the salt and yeast don't clump together, or the salt will inhibit the yeast development too much.
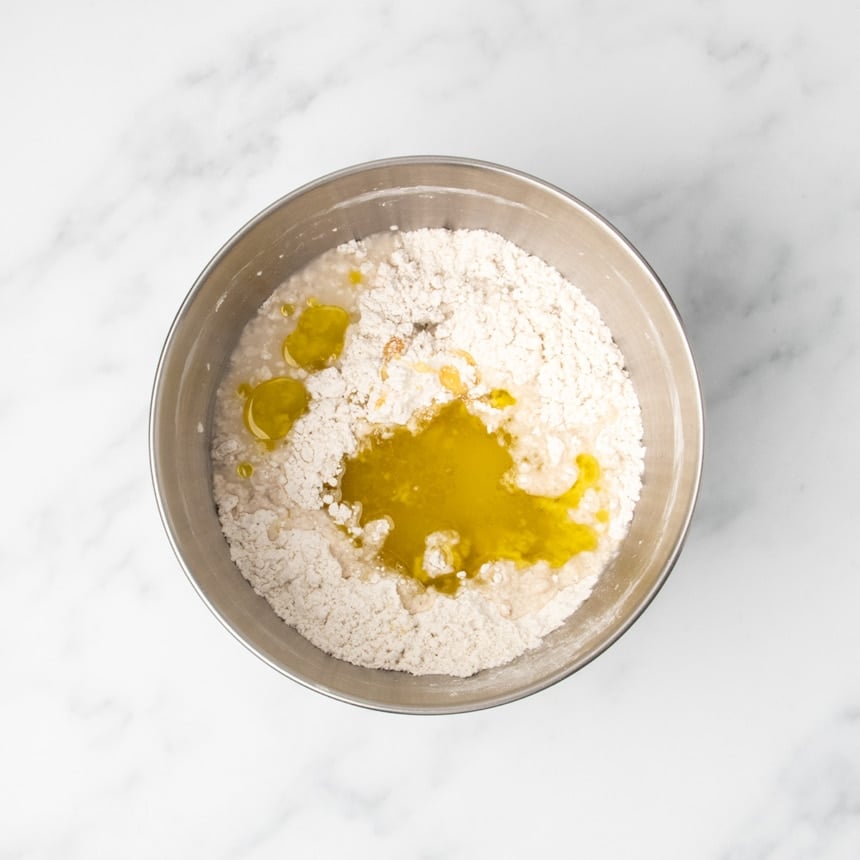
Add all the wet ingredients, the warm water, then 3 tablespoons of olive oil, vinegar and honey. Pour the water into the center of the bowl first, and then the other liquids on top so the other liquids begin to combine with the water, rather than clumping in the dry ingredients.
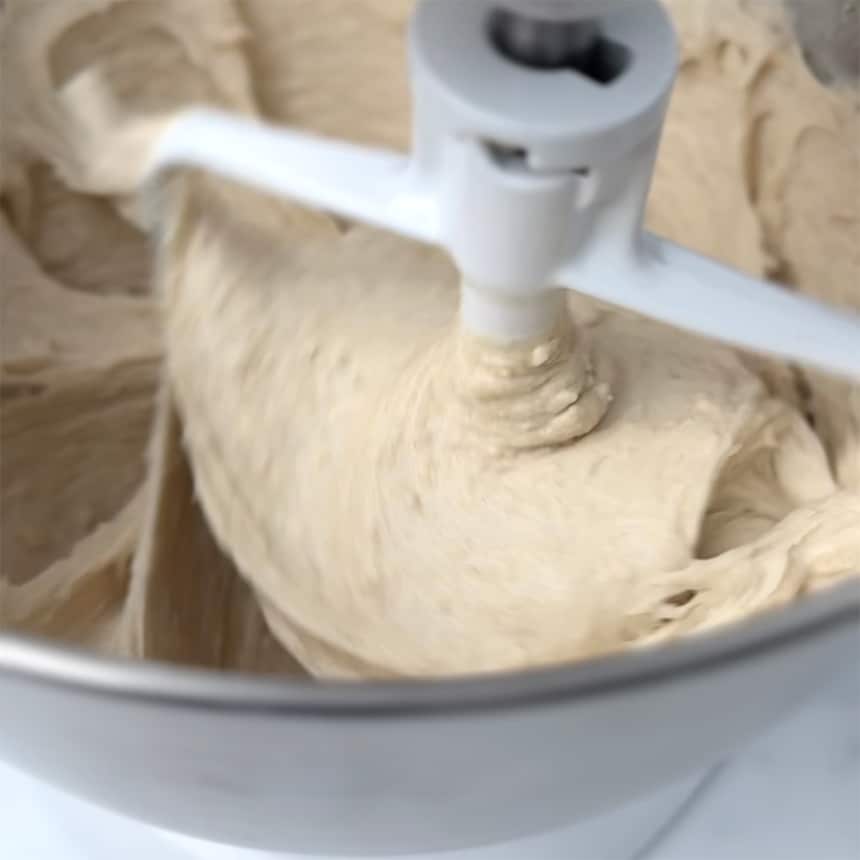
Beat with the paddle attachment first on low speed until a dough begins to form so the dry ingredients don't scatter. Then, turn up the mixer speed to medium-high and beat for 4 full minutes. This will ensure a fully integrated, smooth dough that is as easy to handle as possible (although still very sticky).
2. Choose 1 or 2 rises
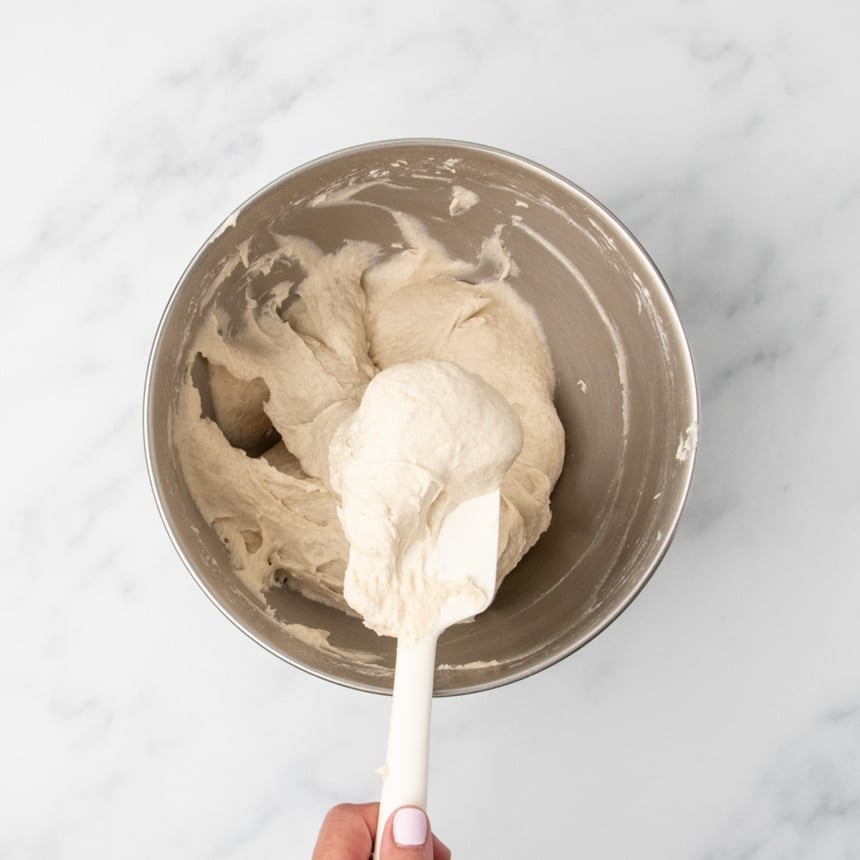
The dough will be very sticky, but should easily scrape off the sides of the mixer bowl. You can either:
- Allow a first rise for flavor development. Scrape the dough into an oiled proofing bucket or a large bowl, and refrigerate for 2 hours to 2 days; or
- Proceed right to the next step if you're in any rush. The dough will have less yeasty flavor, but the recipe still works as intended.
3. Shape and allow final rise
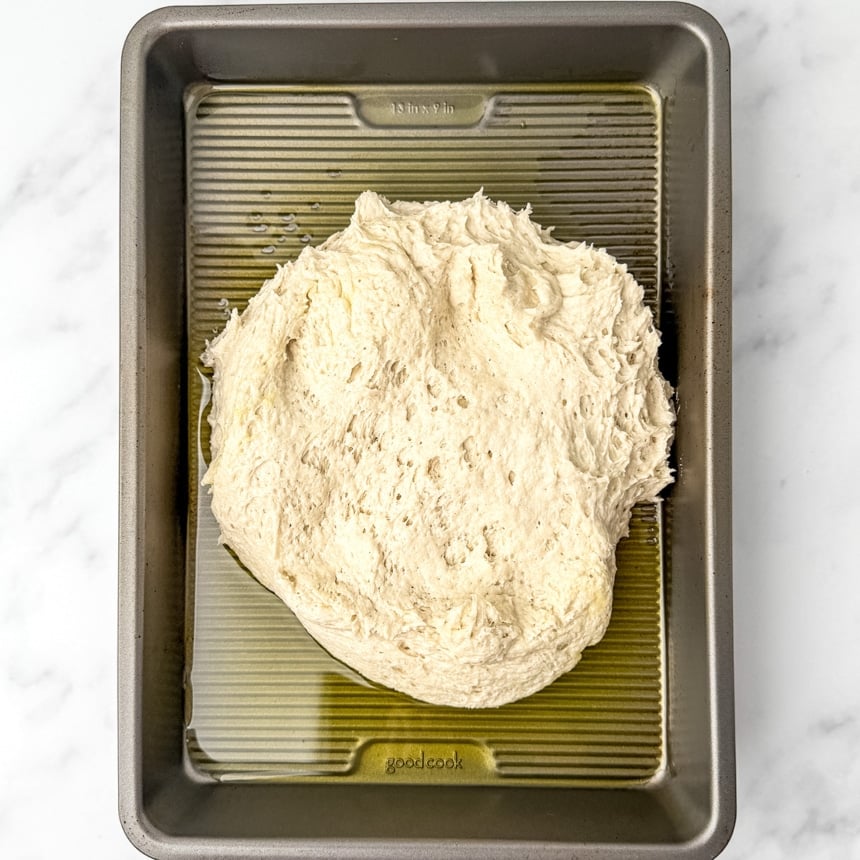
Once the dough is ready for its final (or only) rise before baking, cover the bottom and grease the sides of a 9-inch x 13-inch x 2-inch baking pan.
Avoid lining the pan with parchment for the crispiest crust. A pan with ridges on the bottom will release the dough most easily.
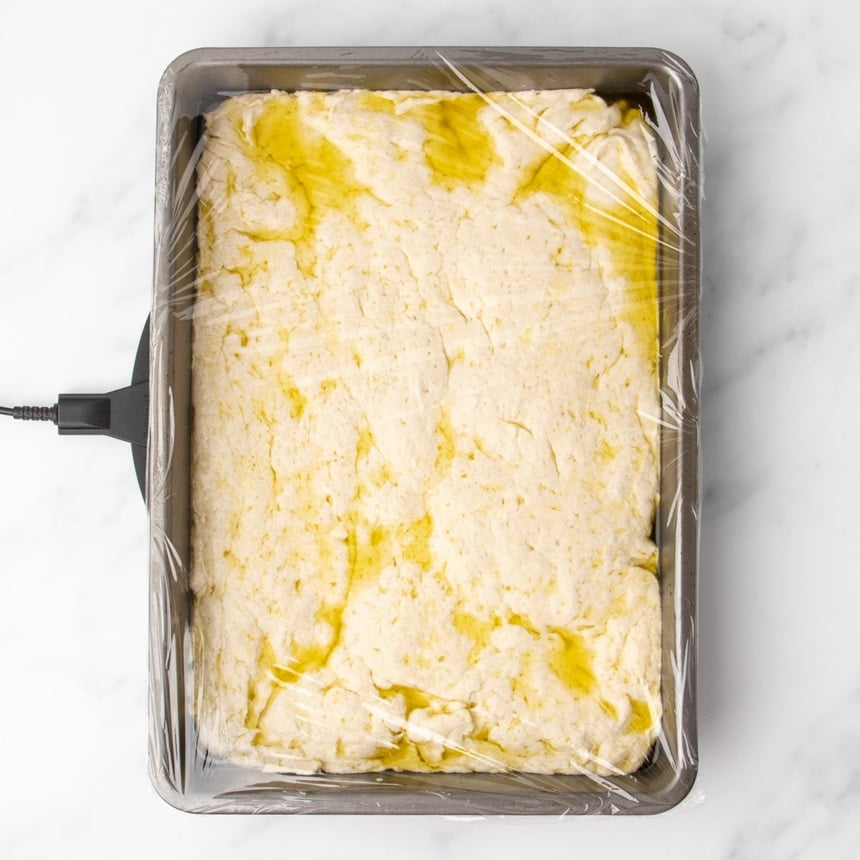
Scrape the dough from either a proofing container or the mixing bowl into the prepared pan. Oil the top of the dough and your fingers so it doesn't stick to your fingers.
Press the dough into as even a layer as possible in the pan. Some of the oil from the bottom of the pan will end up on top of the dough.
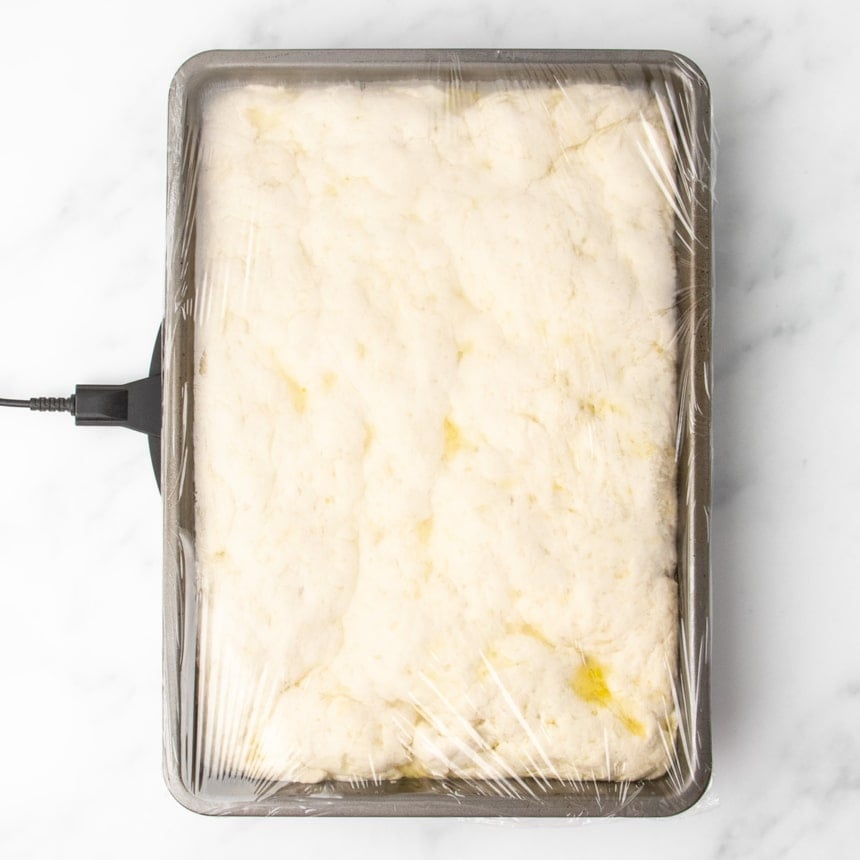
Cover the baking pan with lightly oiled plastic wrap to prevent moisture loss. Allow the dough to rise in a warm, draft-free place until it has fully doubled in size. This will take at least 2 hours.
4. Finish shaping and bake
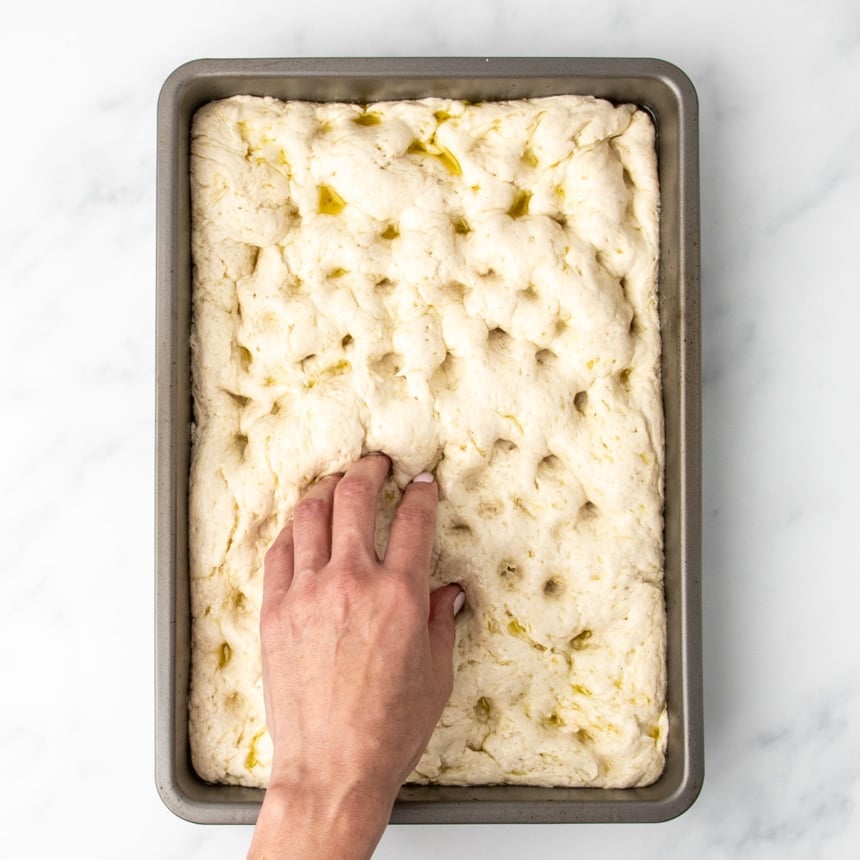
Once the dough has risen fully, uncover it, and oil your fingers again generously to avoid sticking. Carefully press your fingertips into the top of the dough straight down to the bottom. This “dimpling” is designed to break any overly large air bubbles in the dough.
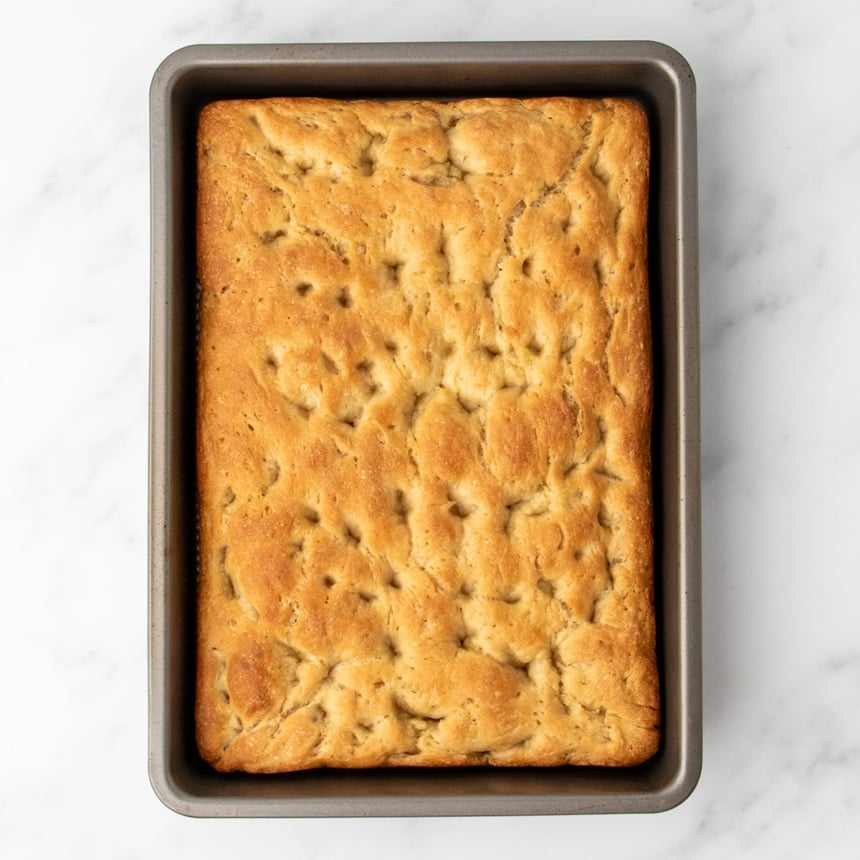
Bake in a preheated 425°F oven for 15 minutes to maximize oven spring for a fluffy, high rise and an open, airy crumb. Reduce the oven to 375°F to finish baking for another 25 minutes without burning the bread.
The bread is done when it reads at least 205°F on an instant read thermometer and the dough has absorbed the oil on the top and sides.
5. Cool and slice
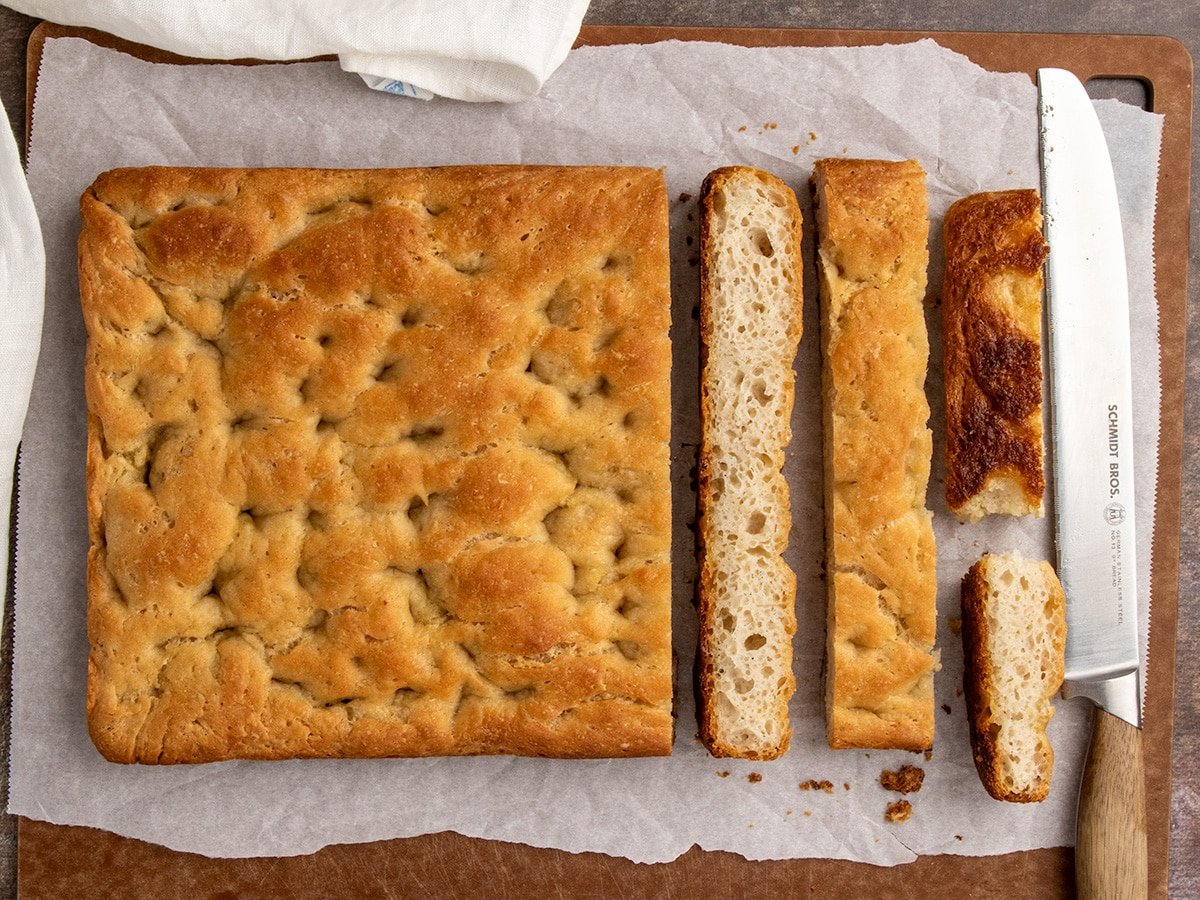
Let the bread cool on a baking rack for at least 30 minutes before slicing and serving. This will allow the bread time for the starches to set. If you slice the bread too soon, the inside may collapse and the crumb may turn gummy.
Expert tips
Measure water by weight
This recipe calls for 18 fluid ounces of water, a volume measurement. But 1 fluid ounce of water weighs exactly 1 weighted ounce. So for total accuracy, and ease of measurement, measure even your water by weight. Your scale will switch over to 1 pound once you reach 16 ounces, so look for a weight of 1 pound 2 ounces.
Be patient during rising
If you choose to allow the dough a first, cold rise, that's only for flavor development and the amount of rise is unimportant. The second rise is for bulk, though, and that's where most of the holes in the bread are created. It generally takes at least 2 hours for the dough to fully double, but it may take longer if your environment is cool and/or dry.
To help encourage the rise, turn on your oven to a low temperature (around 300°F) and place your rising dough on top of the range. Don't place it in the oven, even on the lowest temperature, since that may kill the yeast.
Use olive oil generously
In the dough itself, limit the amount of olive oil to 3 tablespoons or 42 grams. But when shaping the raw dough, oil both the dough and your fingers generously. This will only add flavor to the dough and allow for a smooth rise.
Use a serrated knife
The outside texture of the bread is very crisp, especially on the bottom, so be sure to use a large serrated knife to slice it. You can also use kitchen shears if the blades are large enough not to get lost in the bread.
Ingredient substitutions
The recipe, as written, is already egg-free, gluten-free and dairy-free. My chosen flour blend does contain wheat, however, but not gluten.
Gluten free flour blend
King Arthur Flour's Gluten Free Pizza Flour is my choice for this recipe for the largest interior holes and texture and the best overall texture. You can find it easily online, and in many larger grocery stores. I haven't tested this recipe with their gluten free bread flour blend, but I think it would work relatively well.
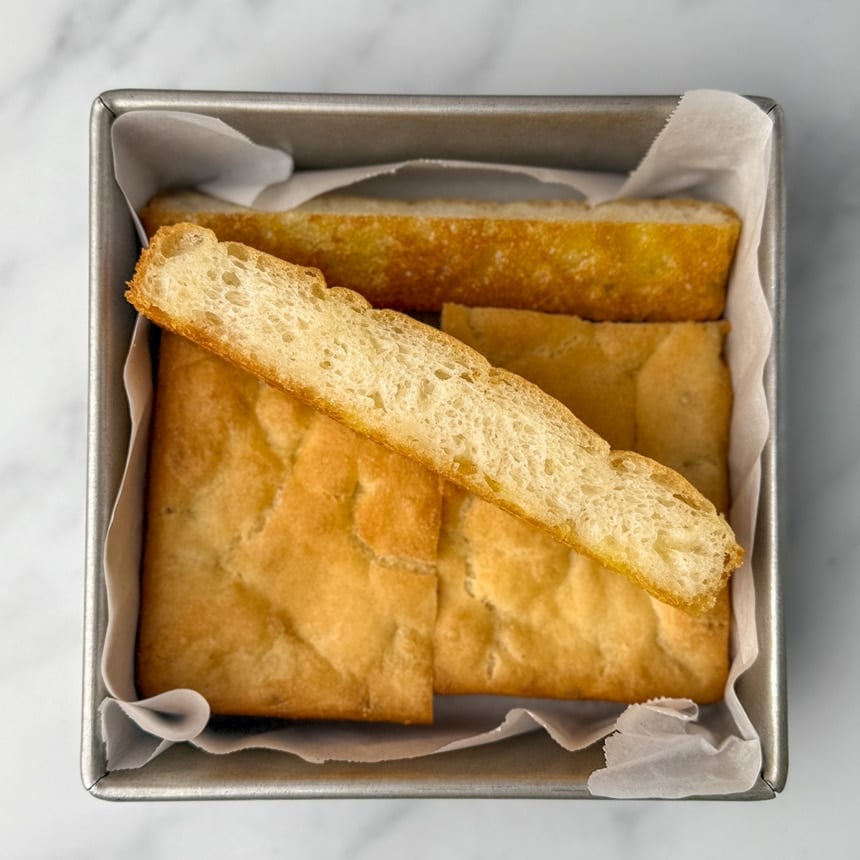
Caputo Fioreglut also works quite well here. I made a half recipe in an 8-inch square baking pan, which you can see on the left below. The bread had smaller, less airy holes, but with great outside texture. The bread itself had the least amount of flavor, though, and grew stale the fastest.
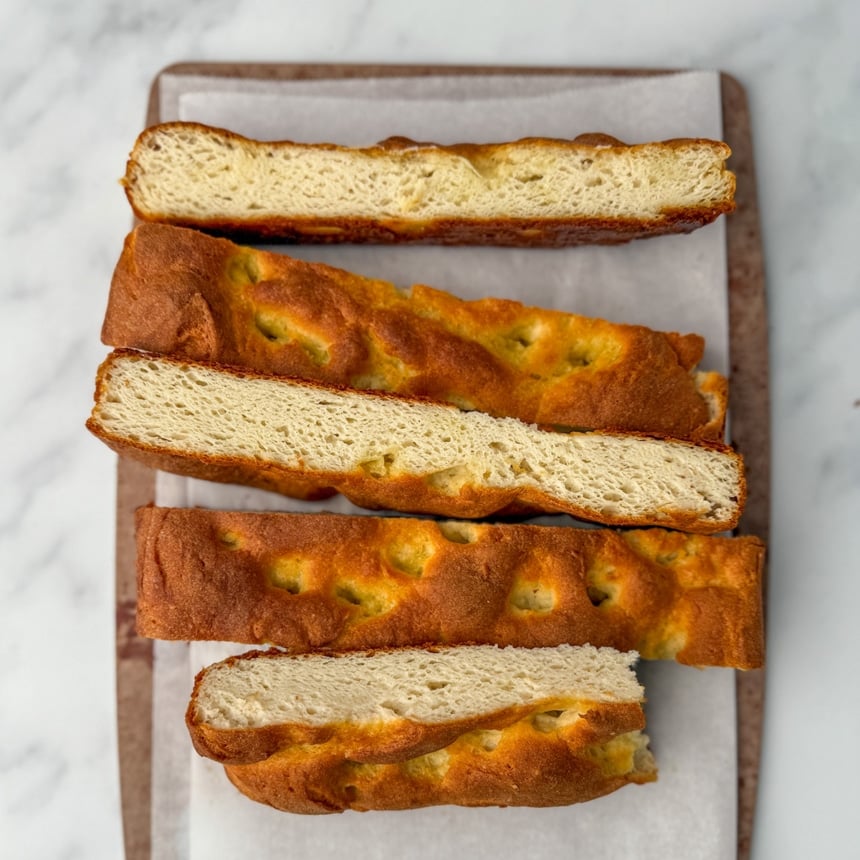
I also used gluten free bread flour recipe here, which can see below on the right. The bread made this way browns the best and has the best overall flavor, but I think would work better with another 1/4 cup (2 fluid ounces) added water. If you are dairy-free, my blend necessarily contains dairy protein that can't be properly replaced.
Wheat-free
Both KAF GF Pizza Flour and Caputo Fioreglut contain wheat starch from which the wheat protein has been removed. They are considered suitable for celiacs but not for anyone with a wheat allergy. None of this constitutes medical advice, and everyone should make the choices they are most comfortable with.
Instant yeast
There is no non-yeast substitute for yeast. But if you don’t have instant yeast (also called breadmaker or rapid-rise yeast), you can use active dry yeast.
To replace instant yeast with active dry yeast, multiply the amount (by weight) of the instant yeast (here, 6 grams) by 1.25 or 125%. Here, that would mean 7.5 grams of yeast. Just add a bit more after you reach 7 grams.
Active dry yeast has a thicker coating around the yeast, so you should soak it in some liquid in the recipe (here, water) until it foams before adding it with the rest of the water.
Olive oil
We use a ton of extra virgin olive oil in this recipe. Make sure you use an oil you really like the smell and taste of. A neutral cooking oil will crisp the bread, but not add flavor, which may make the bread seem oily.
Apple cider vinegar
Apple cider vinegar is particularly useful for encouraging rise in gluten free baked goods, both yeast bread and quick breads like muffins. If you can't have it, you can try using white wine vinegar in its place.
Gluten Free Focaccia Recipe

Equipment
- Stand mixer with paddle attachment (or food processor with plastic blade)
- Large lidded bucket for proofing or large bowl with plastic wrap (optional)
- 9-inch x 13-inch x 2-inch baking pan
Ingredients
- 3 ¼ cups (455 g) King Arthur Flour Gluten Free Pizza Flour, (See Recipe Notes)
- 2 teaspoons (6 g) instant yeast
- 1 tablespoon (9 g) kosher salt
- 2 ¼ cups (18 fluid ounces) warm water
- 1 teaspoon apple cider vinegar
- 3 tablespoons (42 g) extra virgin olive oil, plus more for drizzling
- 2 tablespoons (42 g) honey
Instructions
Prepare the dough
- In the bowl of a stand mixer fitted with the paddle attachment, whisk together the pizza flour and instant yeast until well-combined. Whisk in the salt until evenly distributed.
- Add the water, vinegar, 3 tablespoons olive oil, and honey. Mix on low speed with the paddle attachment until a very sticky batter-style dough forms.
- Turn the mixer to medium-high speed and mix for 4 minutes. The dough will still be quite thin and very sticky, but should have thickened a bit.
- You can work with the dough right away, or allow it a cold rise first for flavor development.
- For a cold rise, transfer the dough to a greased 2-quart proofing bucket with tight-fitting lid or a bowl at least 2-quarts in volume, and cover tightly with plastic wrap. Place the bucket or covered bowl in the refrigerator for at least 1 hour and up to 2 days. It will expand, but remain very sticky.
Let the dough rise
- On baking day, if you've chilled the dough, or right after mixing, prepare the dough for its (final) rise.
- Drizzle enough olive oil to cover the bottom of a 9-inch x 13-inch x 2-inch pan with 1/8-inch of oil. Turn the pan slowly to spread it evenly around the surface of the pan, including greasing the sides.
- Use a greased silicone spatula to scrape the dough out of the mixing bowl (or proofing container if you refrigerated it) into the oiled pan.
- Drizzle the top of the dough lightly and your fingers generously with more oil. Use your fingers to press and push the dough into a rectangle about 9-inches x 13-inches, filling the pan, in a single layer.
- For a more even layer, use an oiled bench scraper or cake turner to smooth the top of the rectangle as much as you can.
- Cover the top of the pan with oiled plastic wrap and place it in a warm, draft-free location to rise until at least doubled in size. This will take 2 to 3 hours.
Bake the bread
- When the dough is nearly at the end of its rise, preheat your oven to 425°F.
- Uncover the pan with the risen dough, drizzle the top evenly with about 2 tablespoons of olive oil, then oil the tips of your fingers generously.
- Dimple the dough by pressing the tips of your fingers into the dough straight down to the bottom of the pan in about half-inch intervals from one short side to the other.
- Drizzle the dough lightly with more oil if it isn’t already glistening. Place the pan in the center of the preheated oven and bake for 15 minutes.
- Reduce the oven temp to 375°F, and bake until the bread is lightly golden brown all over, most of the oil has been absorbed, and the internal temperature an instant-read thermometer inserted in the center reads at least 205°F (another 20 to 25 minutes).
- If the top is browning too quickly, cover with aluminum foil until finished baking.
- Remove the pan from the oven, remove any foil you’ve added, and place the baking pan on a wire rack.
- Let the bread cool for 5 minutes in the pan. Remove the pan and place the bread right on the rack to cool for another 30 to 45 minutes to let the starches in the bread set.
- Slice with a large serrated bread knife and serve.
Video
Notes
I have made this recipe successfully using King Arthur Flour (“KAF”) Gluten Free Pizza Flour, Caputo Fioreglut, and my gluten free bread flour recipe. The KAF gluten free pizza flour makes the bread with the largest holes, and the best interior texture. Caputo Fioreglut makes smaller holes with great outside texture and the least depth of flavor. My bread flour blend browns the best and has the best overall flavor, but I think would work better with another 1/4 cup (2 fluid ounces) additional water. Nutritional information
Is approximate based on 1 of 6 equal individual servings, and does not include olive oil used for drizzling.
Nutrition
Nutrition information is automatically calculated, so should only be used as an approximation.
make ahead/leftovers
Storage instructions
As with most gluten free breads, focaccia has perfect texture both inside and out the same day that it's made. If you have leftovers, wrap them tightly in plastic wrap and storing in an airtight container on the counter for up to 2 days.
For longer storage, I recommend you freeze the bread. After it's completely cooled, wrap slices bread tightly in freezer-safe wrap, and then place it inside a zip-top bag before freezing for up to 2 months.
Defrost by the slice at room temperature, then sprinkle lightly with lukewarm water and warm at 300°F in the toaster oven until it's warmed through.
Flavor variations/toppings
The olive oil and yeast development add a lot of flavor to this bread, but you can also add other savory flavoring. Try mixing up to 1 tablespoon dried herbs de Provence into the raw dough, add dried herbs on top of the risen bread, or try one of these ideas:
- Top the risen dough with dried or fresh rosemary and flaky sea salt on top;
- Add sun-dried tomatoes, chopped garlic, pitted and sliced olives, and/or roasted red peppers in the dimples after rising;
- Experiment with fresh herbs like fresh sprigs of rosemary or fresh basil and oregano.
FAQs
Yes, you can let dough begin its final, shaped rise in the refrigerator overnight. Remove it from the refrigerator and let it finish its rise, still covered, at room temperature until it's fully doubled before baking.
Try Caputo Fioreglut flour or my gluten free bread flour blend, using Better Batter's original blend with added whey protein isolate and Expandex.
Sure! Let it bake for the first 15 minutes at 425°F as directed, then another 10 minutes at 375°F. Remove the pan from the oven, work quickly to add your pizza toppings gently, and return the pan to the oven to finish baking.
No, a “regular” all purpose gluten free flour blend doesn't provide enough structure to create or hold a high enough rise to make a focaccia-style bread like this.
Yes! You can cut all of the ingredients in half by reducing the yield from 6 servings to 3 servings, and bake in an 8-inch square pan. The final bake at 375°F will be shorter.
You can try using a food processor fitted with the plastic blade and pulsing the dough until smooth. Be careful not to process for too long or the dough will warm. Otherwise, try mixing the dough vigorously using a Danish dough whisk in a large mixing bowl until you have a very smooth dough, but I can't promise results. Begin with a half recipe to avoid wasting ingredients.




This focaccia is a TEN. So chewy, crispy, soft and delicious, all at the same time. Didn’t think it was possible using gluten free flour, but Nicole you cracked the code!
That’s so great to hear, Karen! I’m so glad you gave it a shot. I could barely believe it myself! Thank you so much for sharing your experience. It means a lot to me.
Hi Nicole, who makes the ridged bottom baking pan you recommend for this focaccia recipe?
Cate
Hi, Cate, the brand is “GoodCook,” and I honestly think I may have found it at the grocery store years ago. I can’t find it available anywhere online, but this Cuispro pan (another brand I use a ton) is similar. You can find a lot of my tools here, including this one. I hope that helps!
Hi Nicole! I’m in the process of making this and was measuring the salt by grams and by 1 tablespoon and they don’t match up. I ended up just measuring 9 grams and it was 1/2 tablespoon. Don’t know if this was a typo in the recipe or my spoons are completely off. Thanks for all your hard work you do developing these gfree recipes.
Hi, Kathy, when you’re using volume measurements, they’re not standardized and they are prone to unavoidable human error. Just ignore the volume and use the weight. It’s not useful to ever “check” my conversions, since my measurements are all that matter if you’re trying to replicate my experience. I hope that makes sense!
I’m looking at the nutritional analysis and this bread looks like it has a good amount of protein in each serving. The photos show lots of one inch or so slices; would that be considered a serving? Thank you.
As long as you slice the bread into equal parts, each will be one serving, Diane.
Thank you, thank you, this is the BEST FOCACCA Bread ever and I have tried many recipes. You did it again! Thank you again
I’m so glad to hear it, Kathleen! It’s so easy and if you use the right flour blends, you can’t beat it. Thanks so much for sharing your experience.
Looks like an easy to make and tasty bread. I’ll try it.
One question / clarification : on the ingredients list you have 3 TBS of olive oil 42g. But you then have 2TBS of honey also weighing 42?
I weigh all my ingredients- So which is correct?
They’re both correct, Fred, as some ingredients’ weight to volume ratio is different. That’s why weight measurements are also so much more accurate. One tablespoon of oil is 14 grams, and 1 tablespoon of honey is 21 grams. The math is correct!
Terrific! Thank you.
Hello,
I started off by making the starter. You wrote the starter should be thick and shapeless. After mixing the starter ingredients. It is runny like pancake batter. Is that suppose to be like that?
I’m afraid that doesn’t sound quite right, Zarah, but I can’t be sure since I don’t know if you substituted any ingredients or what flour blend you used. The flour blend you use matters a ton in all gluten free baking, but especially in yeast bread baking. For full info please follow the link in the recipe card or click here to learn more about all purpose gluten free flour blends.
I wish I could post a picture of my success with this delicious focaccia! I added herbs and thinly sliced veggies on top to create one of those artistic focaccias you see on FB so much. It was not only beautiful but tasted fantastic served with dipping oil. Will be making this often!
Oh wow, Margherite, that’s very exciting. I do wish you could post a photo in comments because I would love to see that. Thank you for sharing your experience.
I was excited to try this recipe as my precious 6 year old granddaughter was recently diagnosed with Celiac’s disease. I bought the Better Batter, the Tapioca Flour/Starch, very delicious imported olive and organic Red Star Instant yeast. While it was in the oven I re-read the FAQ’s. I checked the label of the yeast package and was crushed to find out it “contained wheat”. The focaccia bread turned out amazing, but I now can’t give it to my granddaughter. I will make it again and use a GF brand of instant yeast. I would have never caught that if I didn’t read your FAQ’s.
What a shame, Renee! But I’m glad you realized before you gave it to and you’ll make it just right for her next time. :)