This post may contain affiliate links. Please read our disclosure policy.
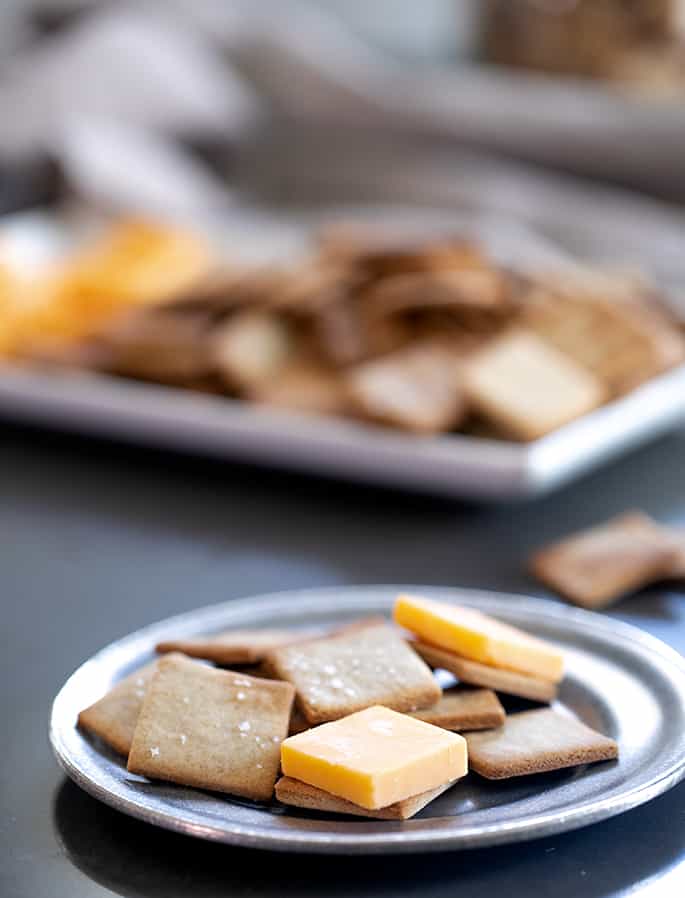
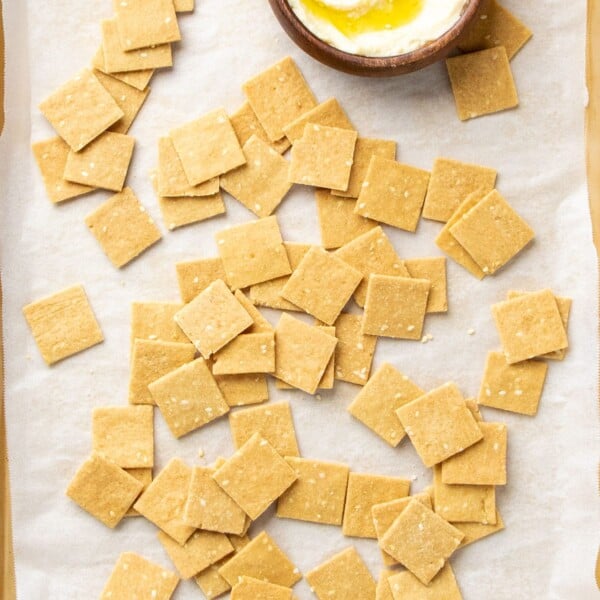
These gluten free Wheat Thins crackers have all the hearty, crispy and buttery taste you remember—just without the wheat.
The secrets to rolling out dough
I know it can be a pain to make the dough, roll it out, and then cut out shapes before baking. It really does seem much easier to just drop dough by the tablespoonful on a baking sheet. But you simply can't make crackers that way.
There are actually quite a few packaged gluten free crackers available to buy, and I am planning to do a best-of product list soon. But, sadly, Nabisco isn't likely to start making gluten free Wheat Thins crackers. ?
If you remember the taste of Wheat Thins and want to have it again, you'll have to roll out some cracker dough. Ditto for gluten free Ritz crackers, by the way.
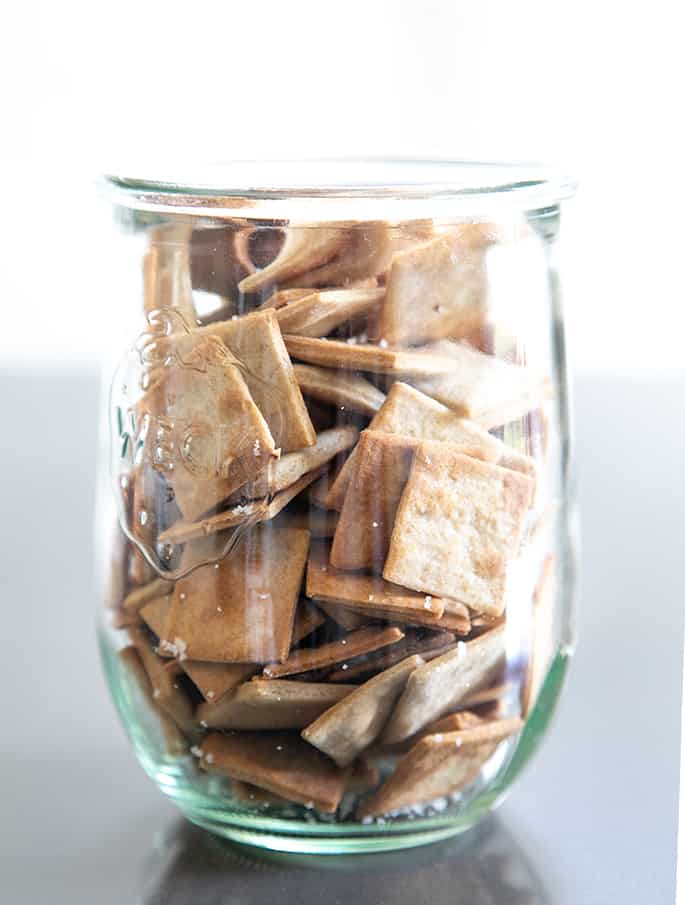
This recipe makes quite a lot of crackers (about 100!), and they keep really well in a sealed glass container. It's not like you'll have to make crackers every single day of your life, right? So let's talk about the secrets to rolling out cracker (or cookie) dough.

Rolling between two sheets of parchment, or not…
There are two ways to roll out dough: between two sheets of unbleached parchment paper, or naked dough that's been sprinkled with a bit of extra flour and no top sheet of parchment. Some doughs are better suited to one method, others to another.
My best advice about how to roll out the dough in any particular recipe is (you guessed it) to follow the recipe instructions. In this recipe, I used to make this dough by rolling it out between two sheets of parchment.
Of course, rolling the dough between sheets of parchment still works just fine here. Just be sure you use unbleached parchment paper (the brown kind), which is thinner and more flexible.
But since this dough is made with melted butter and is relatively soft, it can handle absorbing some additional flour during rolling. In fact, I find that I can roll the dough a bit thicker than 1/8-inch when I've added some extra flour—and still have it crisp up really well in the oven.

Go by feel.
When you're rolling out the dough, whatever your method, the hardest part is often rolling it into a single, even layer. Your hands are your best guide, not your eyes.
Your eyes simply can’t compare the relative thickness of the dough from one spot to another. Running your hands lightly across the dough will tell you everything you need to know about where to roll thinner, where to leave the dough be.
Don't worry so much about the thickness.
You're going to end up having some variation in thickness of the dough as you roll it out, no matter how careful you are. It just means that some crackers will brown more fully and others will only have brown edges.
Especially since we're sprinkling the dough with extra flour as we're rolling it out, all of the squares will crisp up during baking. As long as nothing burns, it truly doesn't matter at all.

Chill it out.
The temperature of the dough can make a very big difference in rolling it out properly, and in getting clean cuts. If you are having trouble getting clean cuts, try rolling out the dough as best you can, and then chilling it in the refrigerator or freezer.
Just roll out the dough on a sheet of parchment paper, then slide that parchment onto a cutting board and place it in the refrigerator for about 10 minutes or the freezer for less than 5 minutes. When you remove the dough from the refrigerator or freezer, you'll find that your cutter will glide easily and produce clean lines.
Peel paper from the dough, not the dough from paper.
The more successful you've been in rolling your dough thinly, the more difficult you may find it to be to remove the shapes from the rolling surface. You've taken the time to cut out nice, clean shapes. You don't want them to stretch or tear.
Try rolling the dough out on a sheet of unbleached parchment paper, removing the dough surrounding the cutout shapes first, and then peeling the paper away from each cutout shape instead of the other way around.

Ingredients and substitutions
Over the years, I've made this recipe so many times. It's naturally egg-free, so there's no worry there. I have successfully made this recipe dairy-free, but I haven't tried substituting the additional flours (sorghum and teff). Here are my best guesses for how to make this recipe suit additional dietary needs, in case you have them.
Dairy-free: The melted butter in this recipe can easily be replaced with Earth Balance buttery sticks or Melt vegan butter replacement. The crackers won't brown quite as much, but they should still become pretty crisp as they are baked and cooled.
If you're using Earth Balance, though, reduce the 1 teaspoon kosher salt in the dough recipe to 1/2 teaspoon. Earth Balance itself is quite salty.
To replace the 1/2 cup milk, any nondairy milk in a carton should work just fine. Make sure you're using something other than nonfat milk, though, and something unsweetened. My favorite nondairy milk replacements are unsweetened almond milk and unsweetened cashew milk.
Teff & sorghum flours: The combination of teff and sweet white sorghum flours provides the heartiness that you expect from a whole grain baked good. I haven't tried replacing them with anything, and I'm afraid I don't think either can truly be replaced with success.
If you're dying to try a replacement and you're willing to experiment, you can try replacing the sweet white sorghum flour with oat flour and the teff flour with rice bran. But I can't promise anything!
Sugar: In the past, I've made this recipe with 1/4 cup of coconut palm sugar in place of 1/4 cup + 2 tablespoons of granulated sugar, and really liked it. It does seem to make the crackers even heartier.
If you'd like to try that, you'll need to make the cracker dough by pulsing the ingredients together in a food processor until a smooth ball of dough forms. It's easy enough to do, and it will break up any clumps in the coconut sugar. But I hate cleaning a food processor, so I avoid the whole business.
Gluten Free Wheat Thins Crackers
Ingredients
- 1 ¼ cups (175 g) all purpose gluten free flour, plus more for sprinkling (I used Better Batter; please click thru for full info on appropriate blends)
- ½ teaspoon xanthan gum, (omit if your blend already contains it)
- 9 tablespoons (75 g) sweet white sorghum flour
- ¼ cup (30 g) teff flour
- ⅜ cup (72 g) granulated sugar
- 1 ½ teaspoons baking powder
- ¼ teaspoon baking soda
- 1 teaspoon (6 g) kosher salt, plus more for sprinkling
- 6 tablespoons (84 g) unsalted butter, melted and cooled
- ½ cup (4 fluid ounces) milk, at room temperature
Instructions
- Preheat your oven to 350°F. Line a rimmed baking sheet with unbleached parchment paper, and set it aside.
- In a large bowl, place the all purpose flour, xanthan gum, sorghum flour, teff flour, sugar, baking powder, baking soda and salt, and whisk to combine well.
- Add the melted butter and milk, and mix to combine until the dough begins to come together. Knead the dough until it’s smooth. Divide the dough into two parts, and press each into a small ball.
- Place the first ball of dough on a clean surface and sprinkle with 1 to 2 tablespoons of flour.
- Knead the dough to incorporate the flour and smooth out the dough. Using a rolling pin, roll the dough into a rectangle about 1/8-inch thick (about the thickness of a nickel).
- The dough should roll out quickly and easily. With a pastry wheel or sharp knife or a 1-inch square cookie cutter, slice the dough into 1-inch square crackers.
- Place the squares them on the prepared baking sheet, less than 1-inch apart (they will not spread during baking).
- Gather the scraps, add to the other half of the dough and repeat the process until you’ve used all the dough. Sprinkle the tops of the rounds liberally with kosher salt.
- Place the baking sheet in the center of the preheated oven and bake, rotating once during baking, for 9 to 12 minutes, or until the crackers are golden brown around the edges. Allow to cool completely on the baking sheet. Store in a tightly sealed glass container at room temperature.
Video
Nutrition information is automatically calculated, so should only be used as an approximation.





Looking forward to making these on the weekend. Could I get away with dividing the dough into quarters and wrapping in cling wrap or snap lock bags to freeze ? Thinking it would be awesome to have in the freezer ready to thaw roll and bake as needed. Many Thanks
Hi, Larissa, the one thing I haven’t done with this dough is freeze it to roll out and make later, so I’m honestly not sure. I think it would work but you’d have to wrap it very, very tightly because if it dries out, it will be ruined. If you are able to wrap it so it doesn’t dry out (just cling wrap definitely isn’t enough, unfortunately), you can definitely thaw it, then roll, cut and bake it. Hope that helps!
I would make these RIGHT NOW if I didn’t think I might lose power at any moment… UGH!!!
What GF all purpose do you use?
Can I use buckwheat instead of teff? Can’t get teff in the north GA Mountains. I’d have 100+ mile round trip to get to closest Whole foods!
Awesome teff flour available at nuts.com! LOVE IT!