This post may contain affiliate links. Please read our disclosure policy.
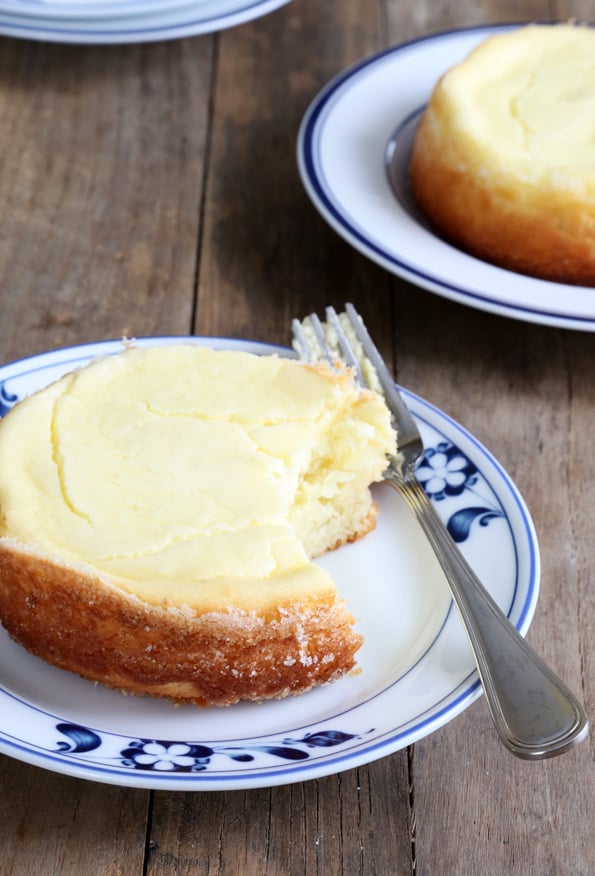
Table of Contents
I've never had the butter cake from California Pizza Kitchen. But a reader asked for it, and when I looked it up, I could see that California Pizza Kitchen does seem to know what they're doing in the cake department. Cheesecake on top, butter cake on the bottom, and a light crust of caramelized sugar you get just from buttering and sugaring the pan, this California Pizza Kitchen-Style Gluten Free Butter Cake is pretty much a cake home run.
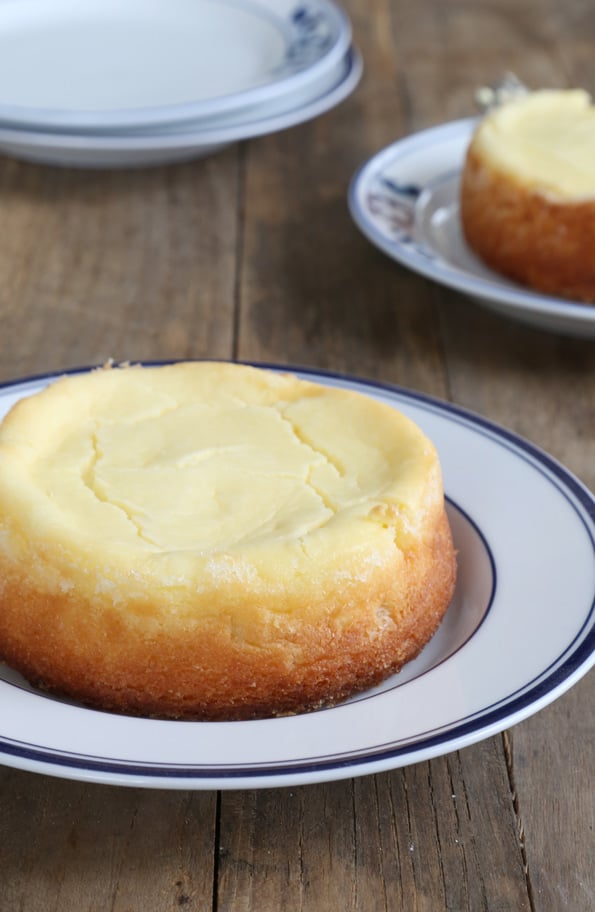
I tried a bunch of different cake recipes and methods to make this butter cake. They allllll failed miserably except for this one of course. We're talking about cake in the trash failures, which kills me dead. And then since I didn't want you to have to buy a special wee little springform pan just to make this cake (and since I only have 2 of those plus could only locate one in my kitchen cabinets), I tried baking it in a bunch of different pans and ramekins. It worked in them all! And you could still unmold a gorgeous cake without a springform pan.

And anyway with the right recipe (which of course I provide for you below because I'm no miser), this butter cake is actually really simple to put together. The cheesecake layer is going to crack a bit and so what big whoop. I tried baking the whole thing in a water bath and let's just say that it took so long to bake that it ended up in the trash. :(
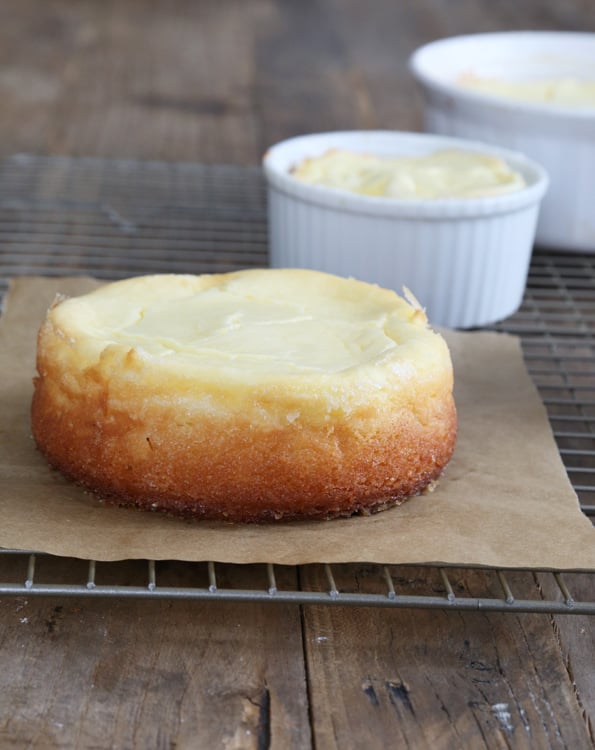
My favorite part, speaking as someone who adores cheesecake, is the crusty caramelized sugar part. No scary kitchen torch required. No contest.
Gluten Free Butter Cake | California Pizza Kitchen-Style
Equipment
- 4 4-inch ramekins and/or springform pans
- Stand mixer fitted with paddle attachment or handheld mixer
Ingredients
For prepping the pans
- 2 tablespoons (28 g) unsalted butter, at room temperature
- ¼ cup (50 g) granulated sugar
For the cake layer
- ¾ cup (105 g) all purpose gluten free flour blend, (I used Better Batter; please click thru for full info on appropriate blends)
- ¼ teaspoon xanthan gum, (omit if your blend already contains it)
- 2 tablespoons (18 g) cornstarch, replace with more Cup4Cup if that is your all purpose gluten free flour blend
- 1 ½ teaspoons baking powder
- ½ teaspoon kosher salt
- 1 cup (200 g) granulated sugar
- 6 tablespoons (84 g) unsalted butter, at room temperature
- 1 (50 g (weighed out of shell)) egg, at room temperature, beaten
- 1 teaspoon pure vanilla extract
- 6 tablespoons (3 fluid ounces) milk, at room temperature
For the cheesecake layer
- 1 package (8 ounces) cream cheese (the block kind), at room temperature
- 3 tablespoons (36 g) granulated sugar
- 1 (50 g (weighed out of shell)) egg, at room temperature
- ⅛ teaspoon kosher salt
- 1 teaspoon pure vanilla extract
Instructions
- Preheat your oven to 375°F.
- Prep 4 4-inch ramekins and/or springform pans by greasing the bottom and sides of each generously with softened butter and sprinkling with an even layer of sugar. Tap the sugar around the pans to coat the entire buttered surface. Set the pans aside.
Make the cake layer.
- In a large bowl, place the flour, cornstarch, baking powder, salt and sugar, and whisk to combine well.
- Create a well in the center of the dry ingredients and add the butter, egg, vanilla and milk, and mix to combine. The batter should be thick but relatively fluffy.
- Divide the batter evenly among the prepared baking dishes, spread it into an even layer in each, and set them aside.
Make the cheesecake layer.
- In the bowl of a stand mixer fitted with the paddle attachment or a large bowl with a hand mixer, place the cream cheese and beat on medium-high speed until light and fluffy.
- Add the sugar, egg, salt and vanilla, beating to combine well after each addition. The mixture should be light and fluffy.
- Divide the cheesecake layer among the ramekins, on top of the cake layer, and spread into an even layer.
Bake.
- Place the pans on a large rimmed baking sheet, spaced evenly apart from one another, and place in the center of the preheated oven.
- Bake until the cakes are mostly set on top, with just a little bit of jiggle in the center when shaken lightly from side to side (20 to 25 minutes, depending upon the size of the ramekin).
- Remove from the oven, transfer the pans to a wire rack immediately and allow to cool completely in the pans.
- Unmold the cooled cakes by either removing the sides of the springform pans or lifting the cake out carefully with a small offset spatula.
Nutrition information is automatically calculated, so should only be used as an approximation.



YAY! I’m the reader (or maybe one of many readers?) That requested this recipe. I am SO thrilled to have Butter Cake back in my life! Thank you for doing this!!!!
My little girl is allergic to dairy and gluten…which cuts out the cheesecake topping. However to make the pizza type base…… would i just not include the top layer? How thick will the batter layer need to be- to get a pizza that looks like this? Thank you!
Hi, Kelly, I’m afraid I’m not following your question. The base of this cake is yellow cake, not a pizza. You could try doubling the cake recipe and baking it that way, but I haven’t tried this recipe with any substitutions so you’ll have to experiment!
This looked so good, I went right to the kitchen and made it. When baking, it puffed up double its size, then deflated back down to about the original thickness. Was that what it was supposed to do? It does taste good.
It sounds like your oven is/was too hot, Carol.
Sweet Cake Lady, I bow down to you. You amaze me.
Ginger, I shall now refer to myself forever more as Sweet Cake Lady. :)
You make me laugh. But I’d cry to if I had to throw out all my effort and baking! Thanks for persevering. This looks doable and delicious! I’ve never had what it’s supposed to be and I should avoid dairy but you know…some things are worth suffering for.
Occupational hazard, Lorraine! Usually I can salvage a failed recipe for eating purposes, at least in part, but when it’s failed cake … it usually isn’t salvageable. Think of it this way—I do it a lot, so hopefully my readers don’t have to do it at all! :)