

This post may contain affiliate links. Please read our disclosure policy.
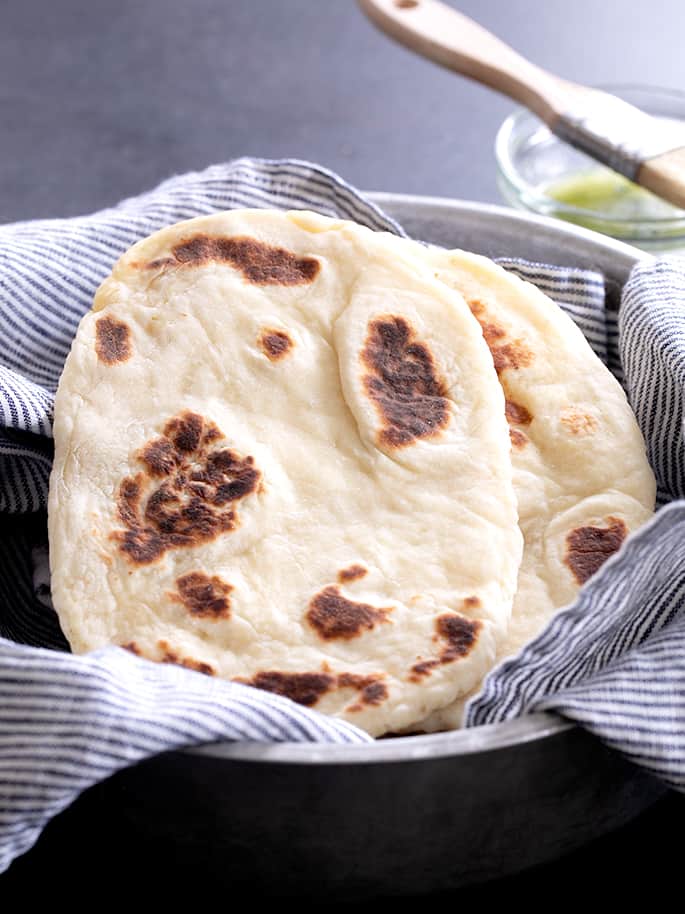
This gluten free naan bread is made extra soft and tender with yogurt, eggs and a bit of butter or ghee in the dough.
Pillow soft, chewy, and full of flavor, I keep this versatile dough in my refrigerator for days, then fry it up in a pan in minutes on a busy weeknight!
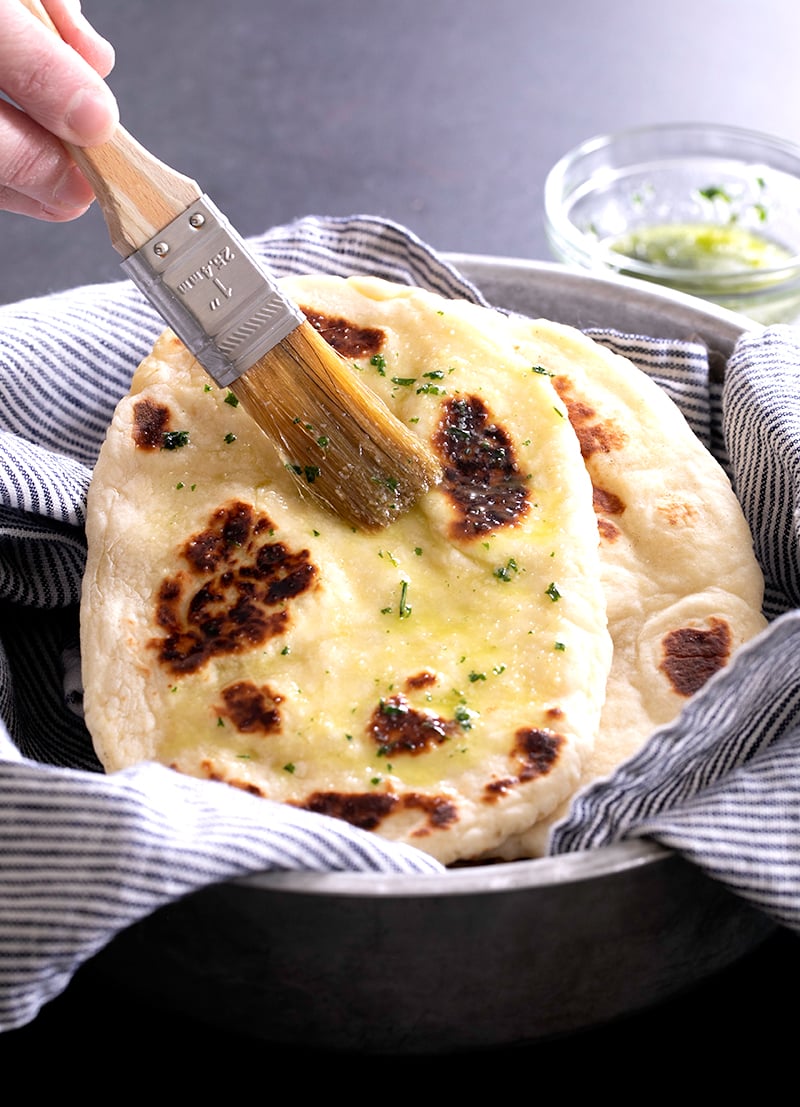
“This naan is so good even my husband loves it, and he is not a fan of the idea of GF. Yeasty, chewy deliciousness!”
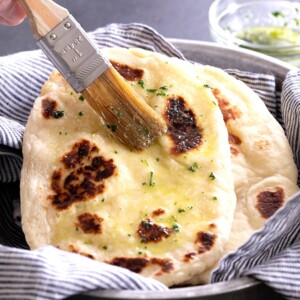
“The great bubbling when it hit the frying pan..the light fluffy poofs, grilled to golden brown…Yum! Brushed it with garlic butter and herbs before serving. Will make it again and again!”
my take
Nicole's Recipe Notes
- Flavor: made with plain yogurt and butter for a slightly tangy taste and subtle richness.
- Texture: Tender and pillowy soft, with golden brown spots that add some crispness.
- Easy to handle: We begin with a relatively wet dough, and shape with plenty of extra flour so it's smooth, pliable, and easy but never tough.
- Make ahead: Let the dough rise and work with it right away, or store it in the refrigerator for days, then shape and fry in minutes.
Recipe ingredients
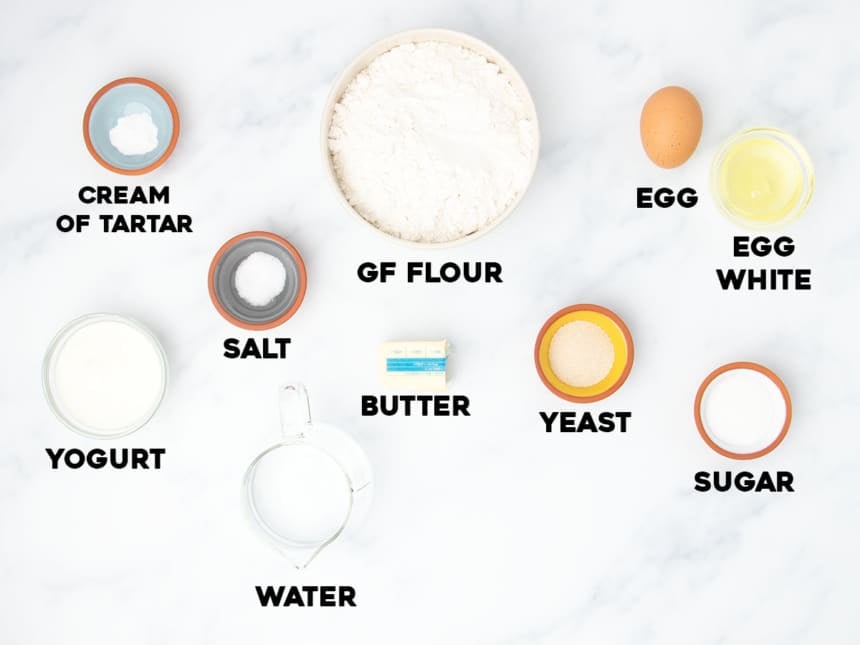
- Gluten free flour: This bread calls for a regular all purpose gluten free flour blend like Better Batter's original blend or Nicole's Best multipurpose, with added xanthan gum, not a gluten free bread flour or other specialized blend.
- Sugar: Just a touch of sugar helps enhance the flavor, tenderize the bread, and feed the yeast. You can replace it with half as much honey, and reduce the water by 1 tablespoon.
- Yeast: I prefer instant yeast, also called breadmaker's or rapid-rise yeast, because you don't need to dissolve it first in water. It adds rise and flavor.
- Salt: Enhances and brightens other flavors and helps control yeast development.
- Cream of tartar: Helps support the rise of the bread, and enhances the tangy flavor of the yogurt. You can replace it with 1/2 teaspoon lemon juice or white vinegar.
- Egg and egg white: Help bind the bread, add richness and help rise.
- Butter: Adds moisture, tenderness and flavor.
- Plain yogurt: Adds richness, moisture, and a tangy flavor.
- Water: Even if you don't plan to let the bread rise at room temperature, make sure the water is warm or the ingredients won't combine well in the mixer.
How to make gluten free naan bread
The best way to make a smooth dough is to use a stand mixer fitted with the paddle attachment. If you don't have one, try pulsing the dough in a large food processor with the plastic blade, or mixing as vigorously as possible in a bowl with a spoon.
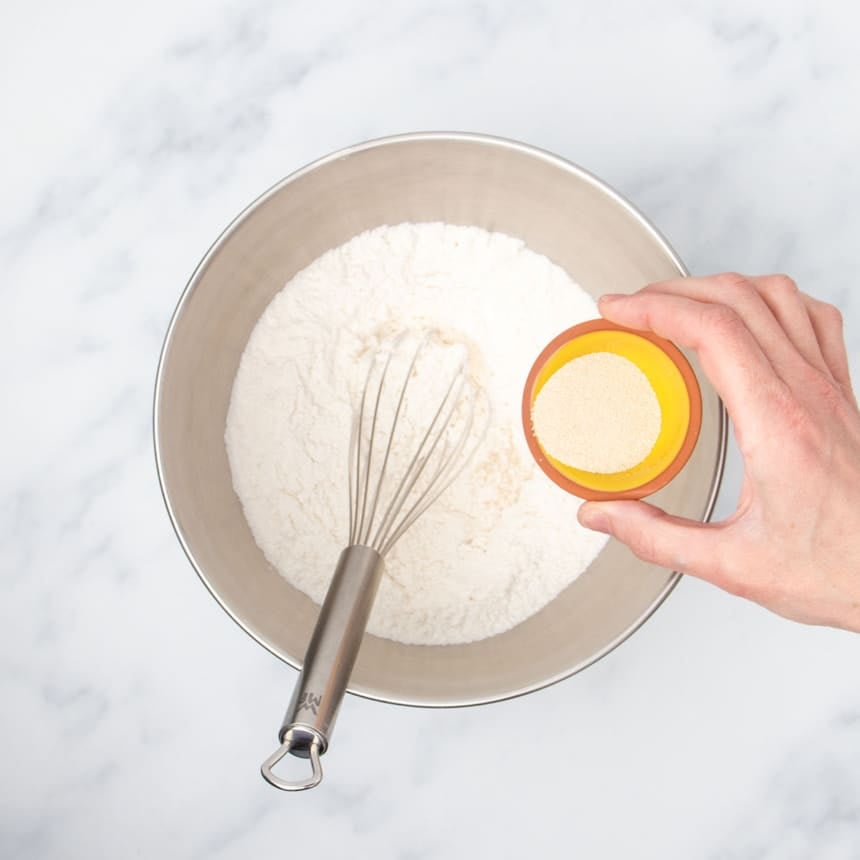
In the mixer bowl, place the gluten free flour blend with xanthan gum, salt, cream of tartar, and sugar, and whisk to combine well. Whisk in the yeast separately.
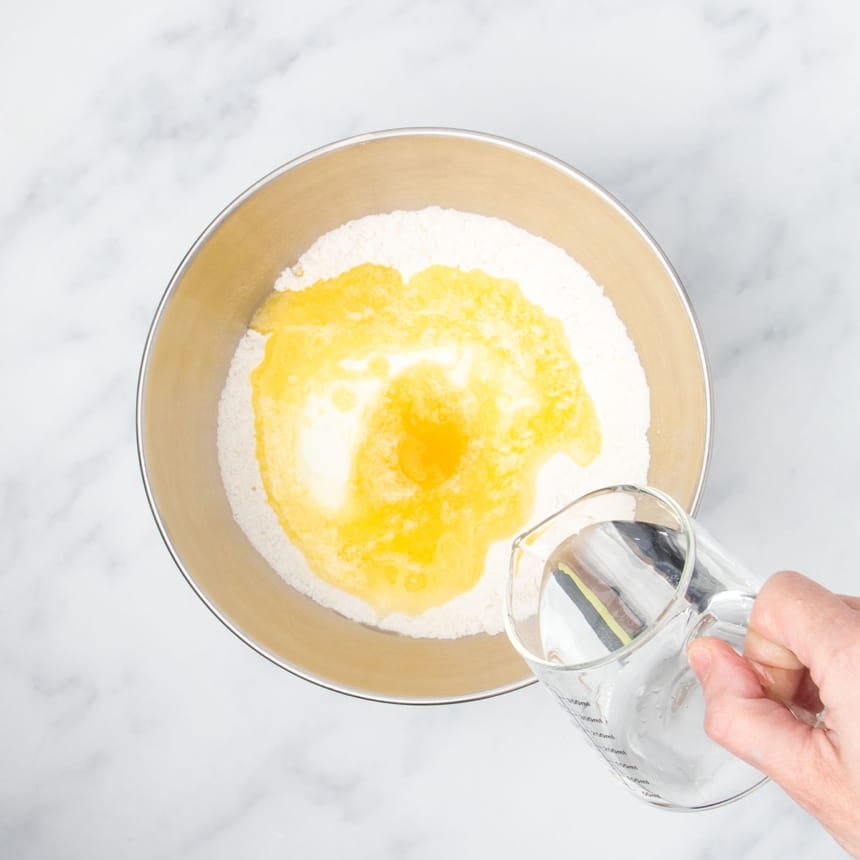
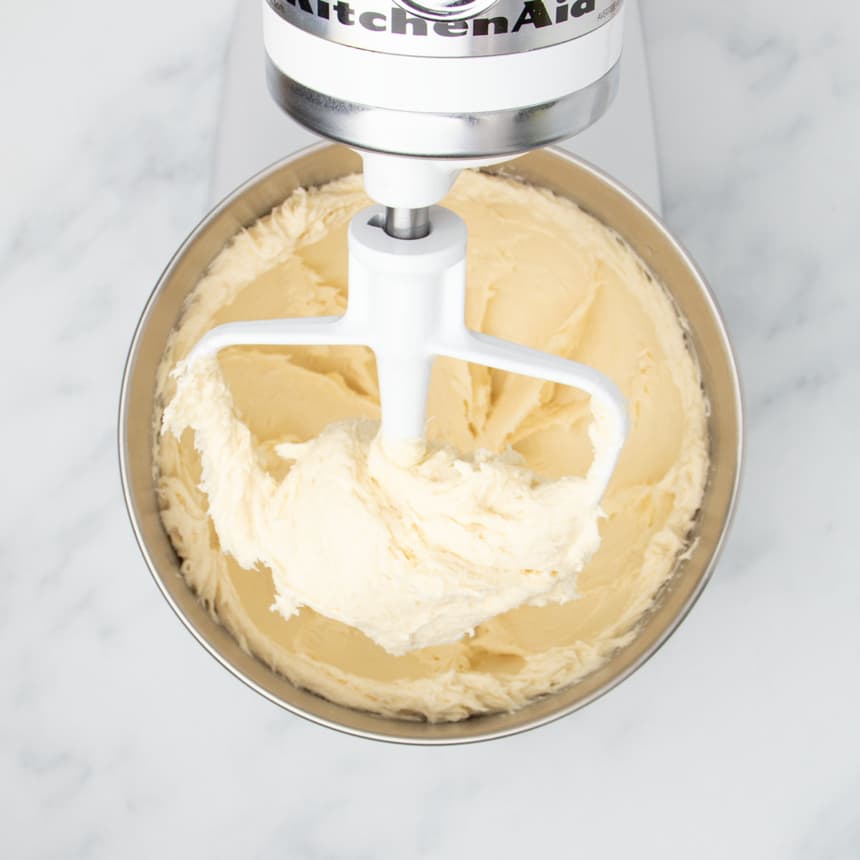
Add melted butter, an egg, egg white, and warm water. Mix on low speed at first, then on medium speed for about 3 minutes until the dough is well combined. It will look shaggy and be quite wet.
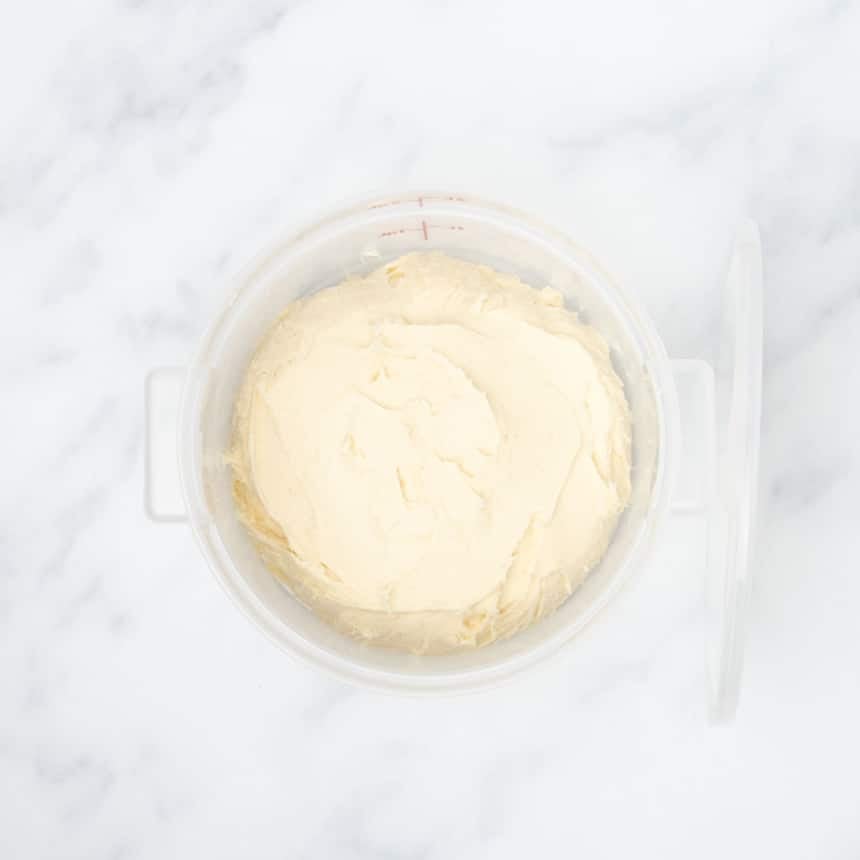
Place the dough in a tightly sealed container, and refrigerate overnight or up to 5 days. The dough will rise slowly in the refrigerator, in the container. Or you can let it rise for about 45 minutes or until nearly doubled, then chill and shape.
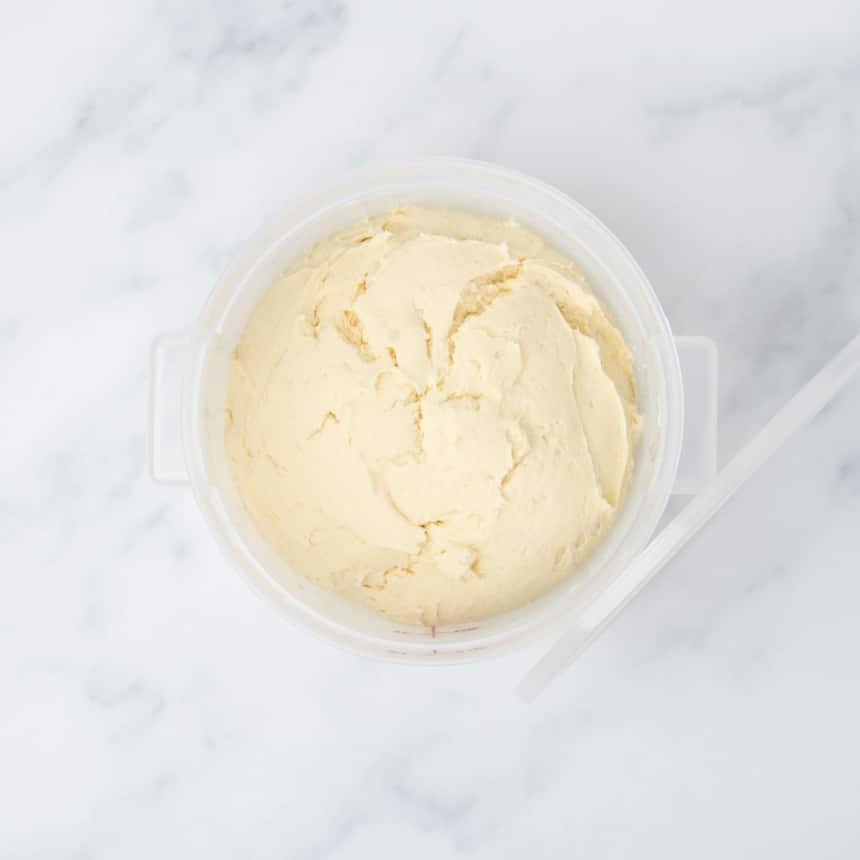
Divide the dough into 8 equal pieces, or just separate out a few pieces of about 100 grams each. The dough will seem pretty shaggy and wet. Sprinkle each piece generously with more flour and shape it into a round by moving it around with your palm in circles.
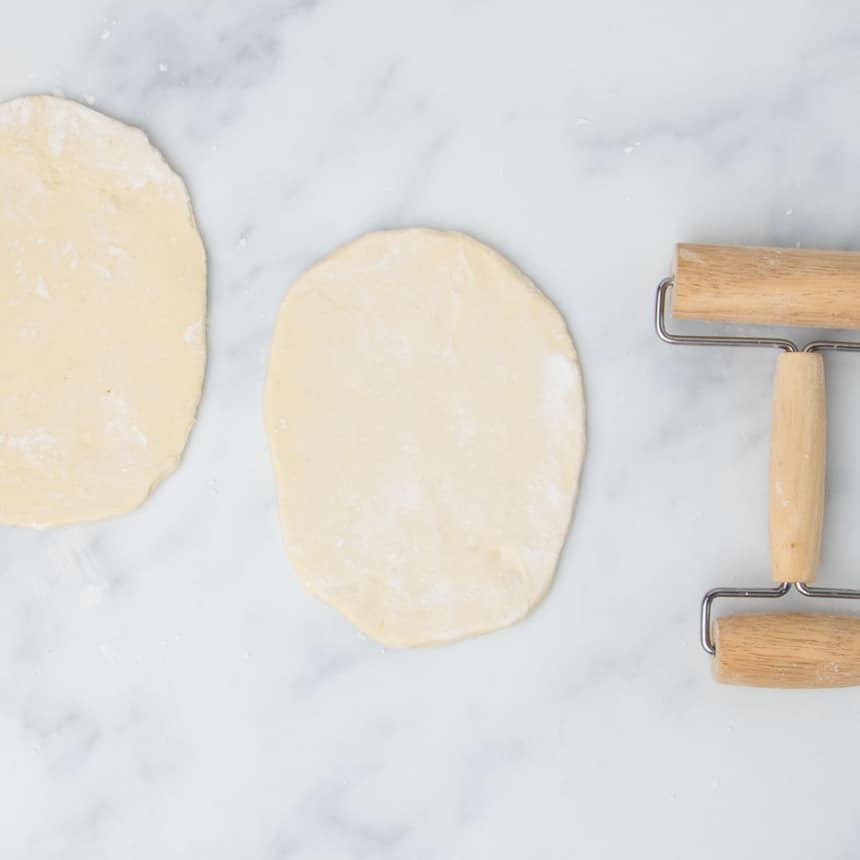
Begin to roll it into a long oval about 3 inches wide and 5 inches long. If the dough seems fragile and too sticky, gather it back together, and work in some more flour.
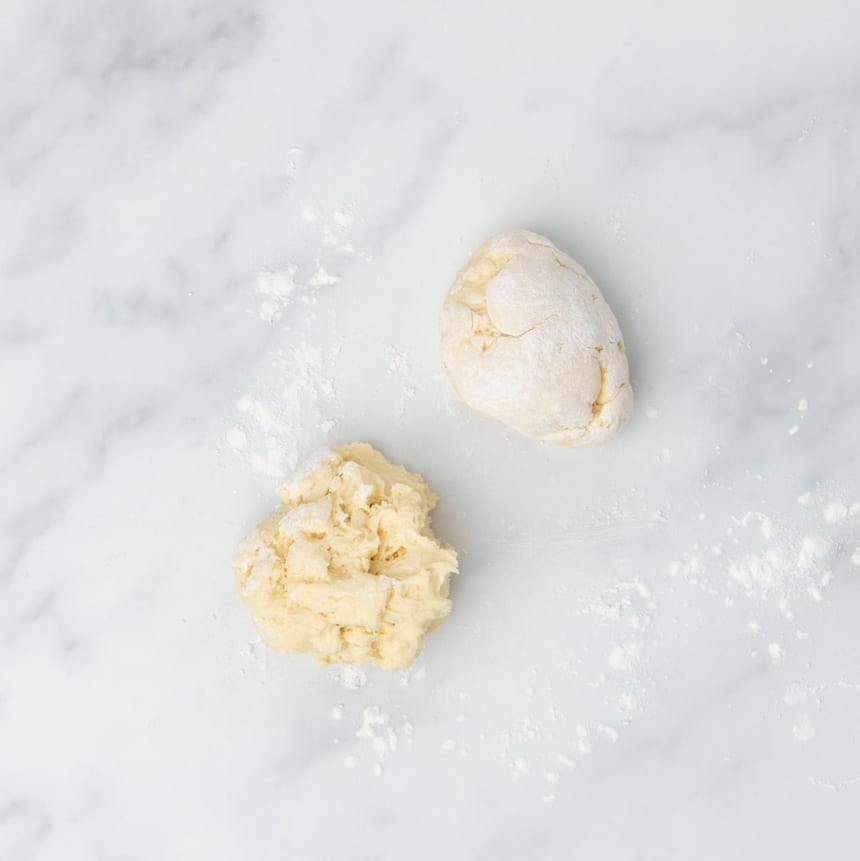
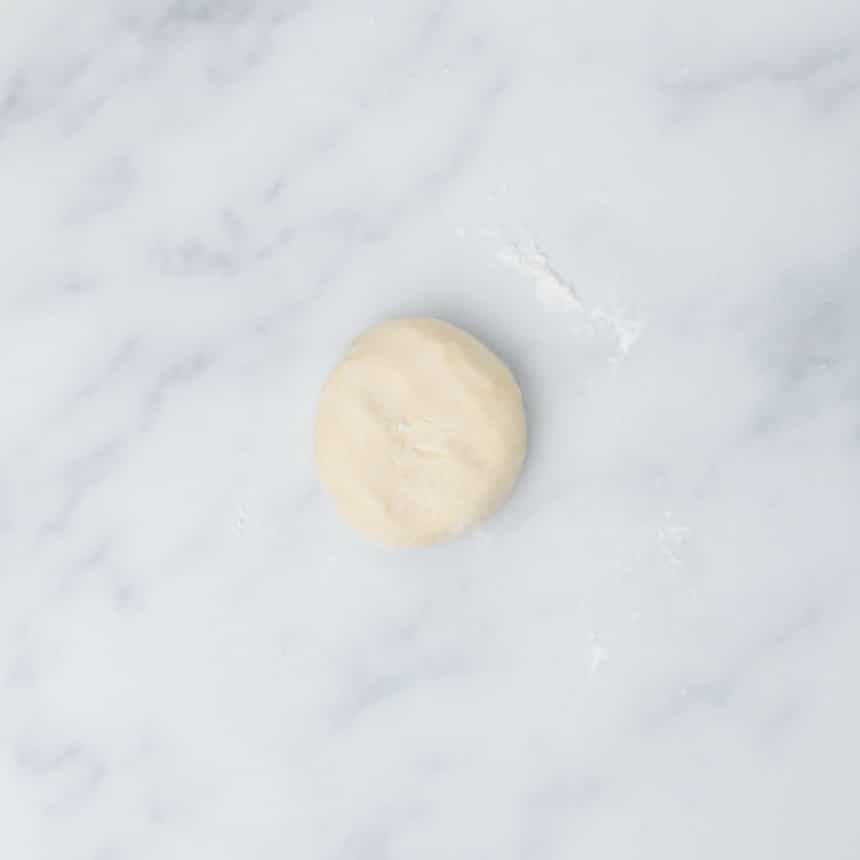
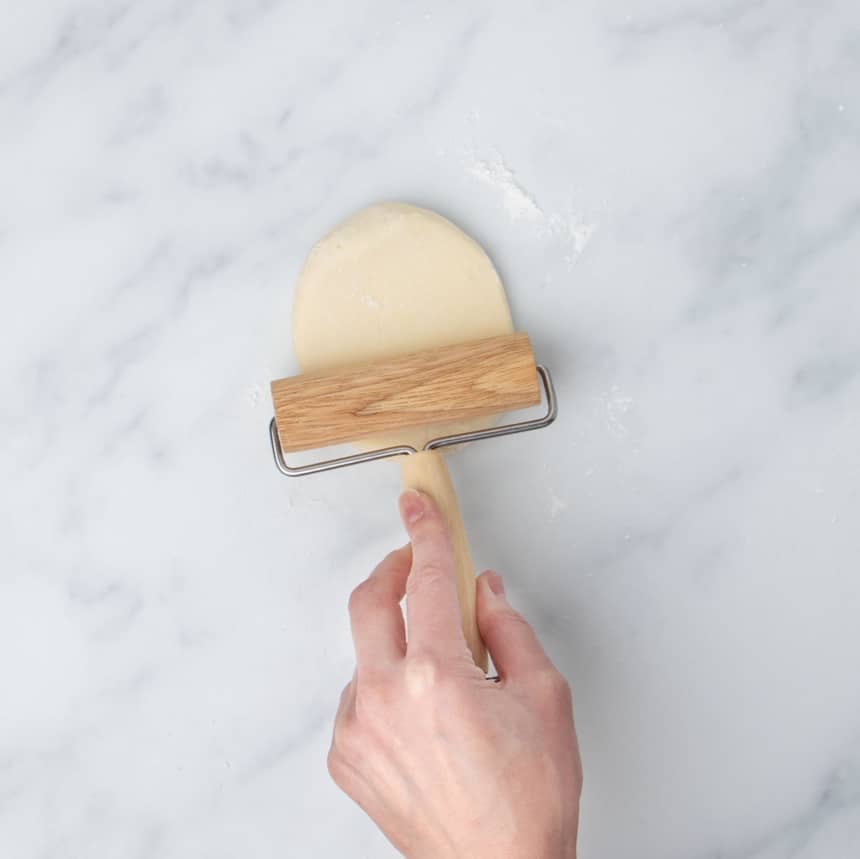
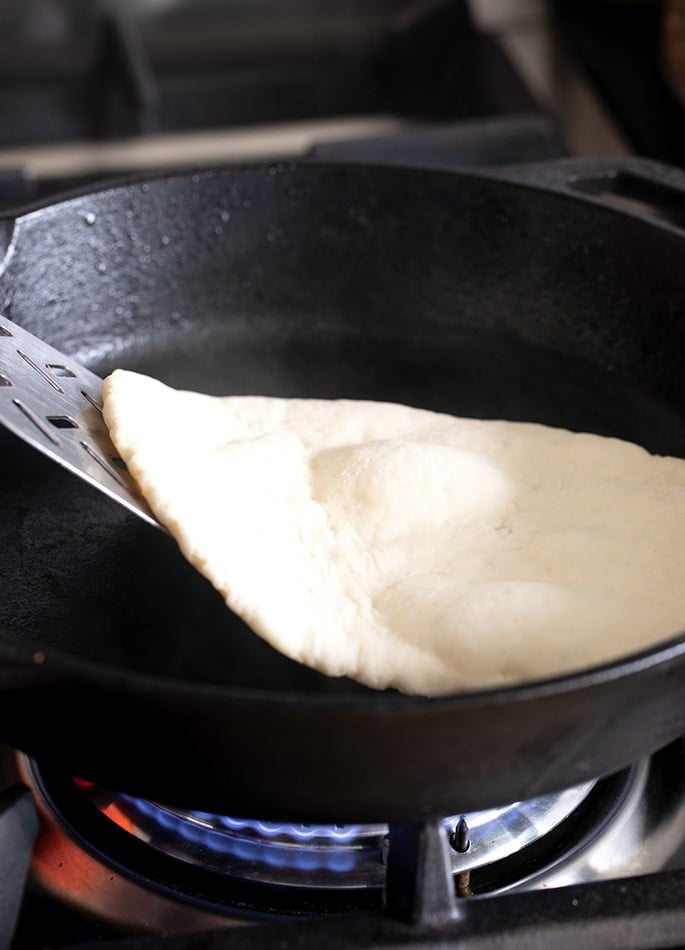
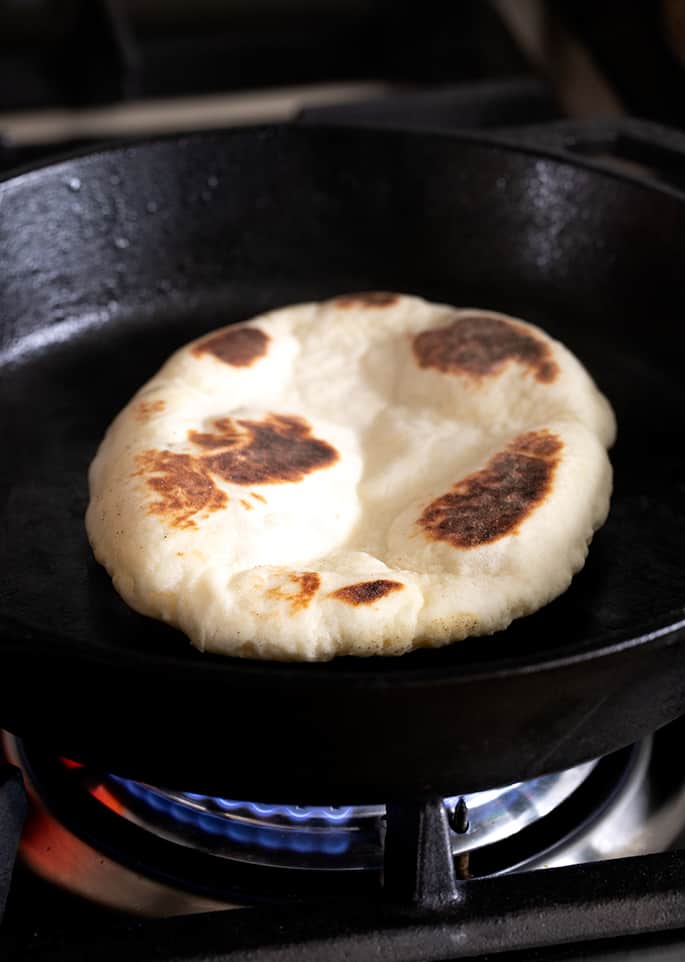
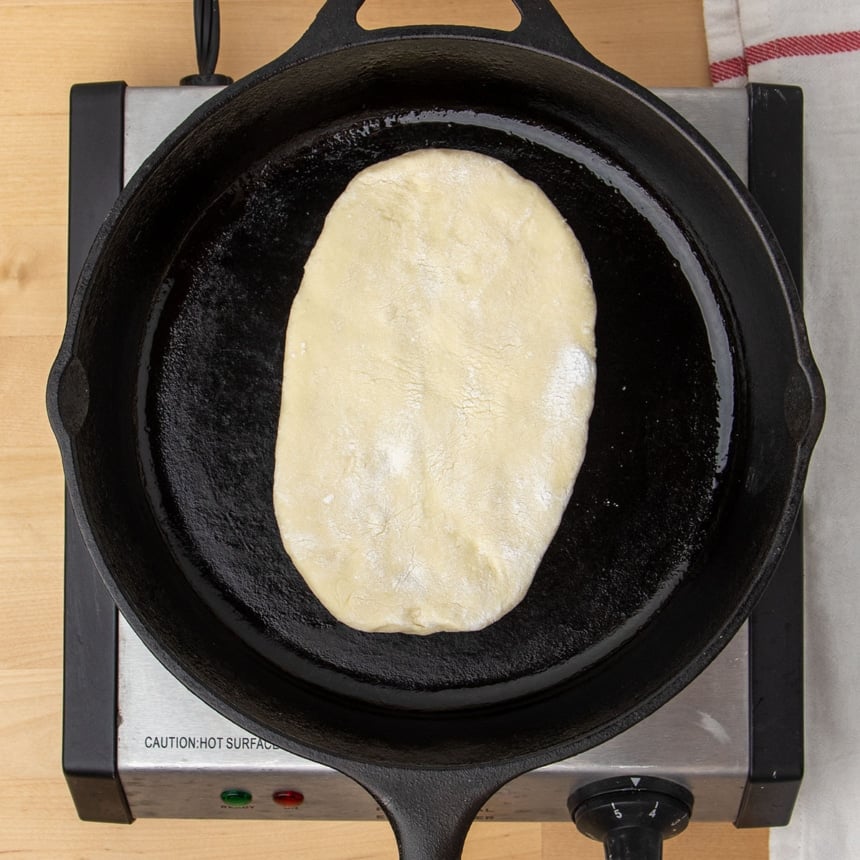
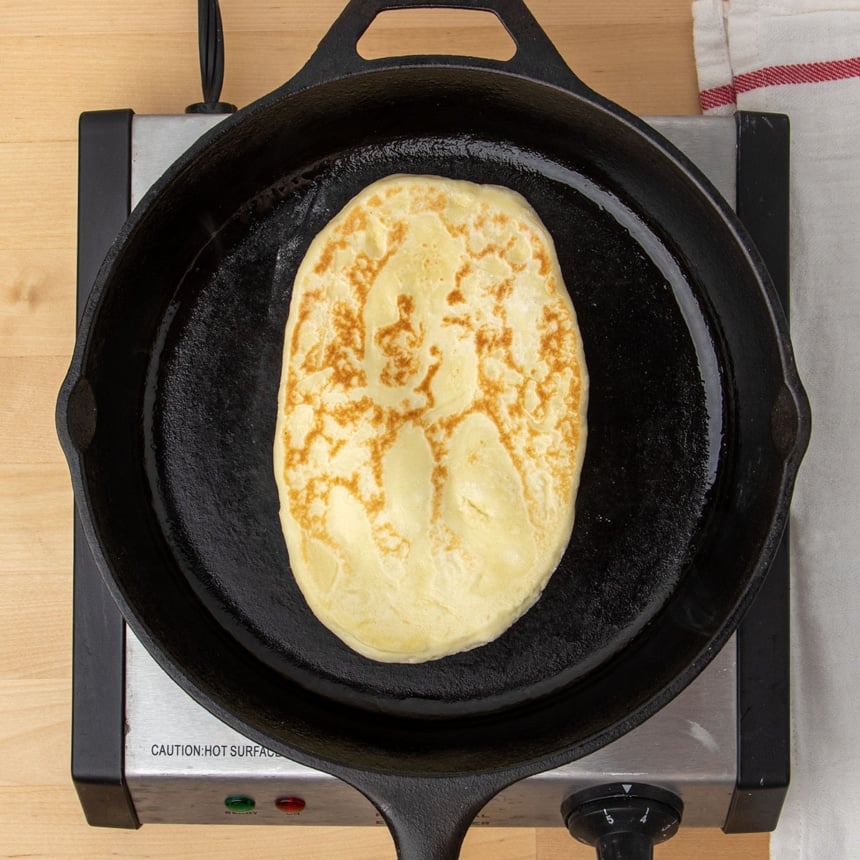
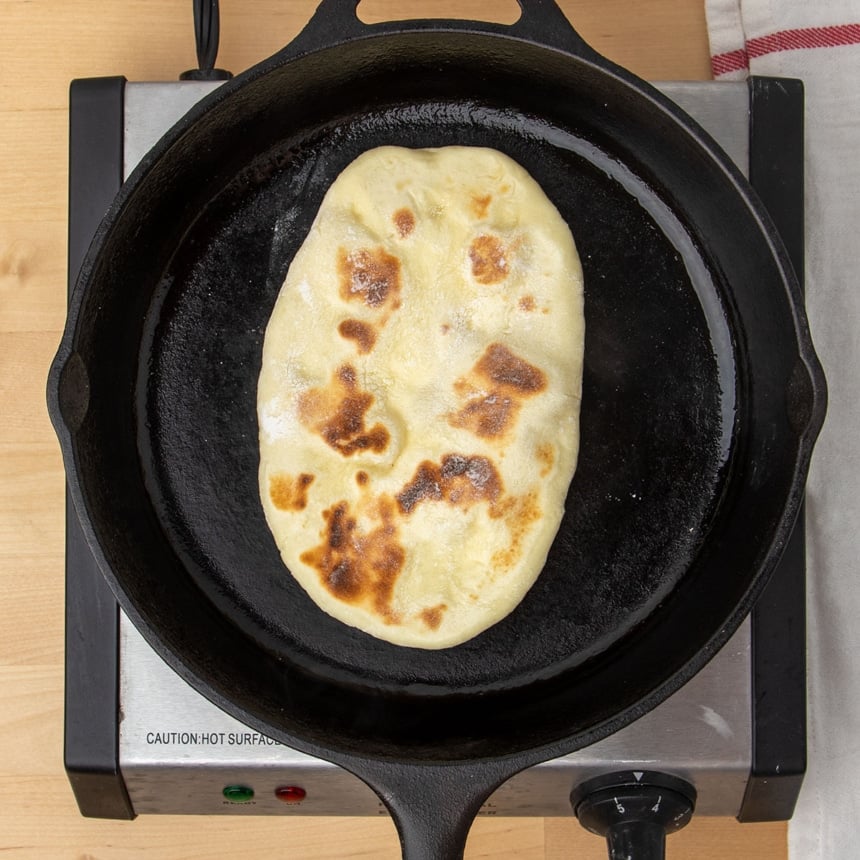
Heat a cast iron or other heavy-bottom skillet, heat over medium heat, and grease it generously. Place the shaped dough in the center, fry on one side for 30 seconds, flip and fry until very lightly golden brown, then flip back and finish frying.
My Pro Tip
Expert tips
Work with cold dough
You can make the bread the same day, or let it rise in the refrigerator for up to 5 days. If you’d like to make it the same day, let it rise, covered tightly, for about 45 minutes or until nearly doubled in volume. This step is designed to let the yeast develop some flavor, and to allow the flour to absorb moisture, making the dough easier to handle.
Flour the wet dough generously
This is a relatively wet dough (unless you've used a very starchy flour blend). The flour will absorb some of the moisture if you chill it for a few days, but it should still be tacky to the touch. If it is, don't be afraid to sprinkle more flour and add it to the dough until you can roll it without its sticking to the surface. You need to be able to lift it into the pan.
Heat the pan properly
If the pan isn't hot enough, or the dough is rolled too thick, it won't bubble. If you're concerned, cover the skillet. But don't make the skillet screaming hot, or it'll just burn the bread. Once it bubbles, flip it to the other side. Place a cast iron skillet or medium heat, a nonstick skillet over medium-low heat.
Use a spatula for even frying
To make sure that all the dough comes into contact with the hot skillet, I'll occasionally press down on the dough with my spatula. It should puff right back up. Flip and cook a few times until the dough seems puffy at least in spots and cooked through when you view it from the side.
Ingredient substitutions
Dairy free
To replace the butter or ghee in this recipe, try vegan butter or extra virgin olive oil. If you choose olive oil, the dough is a bit softer and harder to shape, though.
Instead of regular plain yogurt, try your favorite nondairy plain yogurt. Just be sure you like the taste of whatever brand you choose, since you'll taste it in the bread. My favorite brand is Forager, and So Delicious is also really good.
Egg free
Try replacing the whole egg with a “chia egg” (1 tablespoon ground white chia seeds + 1 tablespoon lukewarm water, mixed and allowed to gel), Bob's Red Mill egg replacer, or “Just Egg” brand refrigerated plant egg replacer. For the egg white, try 1/4 cup aquafaba (the brine from a can of chickpeas/garbanzo beans).
Yeast
There is no replacement for yeast in a yeast bread recipe. Instead, try our yeast-free gluten free pita bread, or gluten free yeast free pizza, and shape it into a naan-style dough.
You can use active dry yeast instead of instant yeast. You need 25% more yeast by weight (here, a total of 10 grams active dry yeast). Just be sure to let the active dry yeast dissolve in 1/4 of the warm water from the recipe first, and then add it in when you add the rest of the water to the dough.
Gluten Free Naan Recipe
Equipment
- Stand mixer with paddle attachment
- Rolling Pin traditional, or small pastry roller
Ingredients
- 2 ½ cups (350 g) all purpose gluten free flour blend, (See Recipe Notes), plus more for sprinkling
- 2 ½ teaspoons xanthan gum, omit if your blend already contains it
- ½ teaspoon kosher salt
- ¼ teaspoon cream of tartar
- 4 ½ teaspoons (18 g) granulated sugar
- 2 ¼ teaspoons (8 g) instant yeast
- ⅓ cup (76 g) plain yogurt, at room temperature
- 3 tablespoons (42 g) butter or ghee, melted and cooled
- 1 (50 g (weighed out of shell)) egg, at room temperature, beaten
- 1 (25 g) egg white, at room temperature
- ¾ cup (6 fluid ounces) warm water, about (95°F)
- Ghee or virgin coconut oil, for frying
Instructions
- In the bowl of your stand mixer fitted with the paddle attachment, place the flour, xanthan gum, salt, cream of tartar, and sugar, and whisk to combine well. Add the yeast and whisk again to combine.
- Add the yogurt, butter or ghee, egg with egg white, and the water, and mix on low speed with the paddle attachment until just combined. Once the water has been absorbed, turn the mixer up to medium speed and mix for about 3 minutes.
- The dough will most likely be quite fluffy but will come together and thicken, but it will not turn into a fully integrated ball of dough on its own.
- Turn off the mixer, scrape the dough off the sides of the bowl with a spatula, and gently press it into a ball. Place the dough in a greased bucket with a lid (or a bowl with a lid or one you can cover very tightly), and cover tightly.
- If you plan to make naan the same day, place the dough in a warm, draft-free spot to rise until it is nearly doubled in volume, about 45 minutes. Refrigerate the dough for at least 15 minutes to make the dough easier to handle.
- Alternatively, place the well-sealed container in the refrigerator for up to 5 days, and work with the dough straight from the refrigerator.
- Once the dough has finished rising, turn it out onto a lightly floured surface and sprinkle lightly with more flour.
- Divide the dough into 8 pieces. You can also just scoop out or pull off a few pieces, each a bit less than 100 grams in weight.
- Working with one piece of dough at a time, flour it generously and shape it into a smooth round on a floured surface by moving your palm in a circular motion on a floured surface.
- Use a rolling pin to roll the dough into an elongated oval about 3-inches by 5-inches (and about 3/8-inch thick). If the dough tears easily and seems fragile, gather it together again, work in some more flour, and roll it again.
- While you’re shaping the dough, place about 1 tablespoon of ghee or virgin coconut oil in a cast iron skillet, and melt over medium heat. You can also use a nonstick skillet, but heat to medium-low.
- Lift the first piece of shaped dough up and place in the center of the heated skillet. Fry on one side until large blisters begin to form (about 30 seconds).
- Flip and fry until the underside is golden brown and beginning to blister. Flip the bread again and cook until browned all over, about another 45 seconds.
- Remove to a paper towel or tea towel, and cover the dough to retain the heat and moisture.
- Repeat with the remaining pieces of dough, adding more fat to the skillet as necessary. Stack the pieces of naan one on top of another, keeping them covered with a tea towel to maintain freshness. Serve warm.
Video
Tell Google you trust GFOAS!
Notes
You may also be able to make this bread using Caputo Fioreglut flour or King Arthur Flour gluten free bread flour, but both will absorb a lot more moisture and will make bread that is less tender. The dough should be quite easy to handle.
Nutrition
Nutrition information is automatically calculated, so should only be used as an approximation.
make ahead/leftovers
Storage instructions
All bread is fresh right after baking, so it's best to shape and cook this bread right before serving. It will, however, stay fresh for at least a day wrapped in wet paper towels in a sealed container at room temperature.
For longer storage, let the bread cool completely, wrap each piece tightly in freezer-safe wrap, and freeze for up to 3 months. Defrost at room temperature or in a microwave oven at 50% power for 45 seconds to 1 minute.
To refresh bread whether it's been frozen or not, sprinkle it with lukewarm water and place it in a 300°F oven to refresh. You can also use a dry cast iron skillet over medium heat, or nonstick skillet over medium-low heat.
FAQs
Yes! A cast iron skillet holds heat really well at a consistent temperature so your bread cooks fast and doesn't burn easily. If you don't have one, you can use a nonstick skillet and just keep your pan on medium-low heat. Grease it anyway, though, since that will add color to the bread.
Plain yogurt has more moisture than Greek yogurt, so if you want to use Greek yogurt, you'd need to thin it out with some milk until it's the same consistency as plain yogurt. It won't be exactly the same, but if you add the right amount, it should work.
You can try baking them on a pizza stone if you keep the shaped dough on parchment paper. I would try baking them like you do gluten free pita bread, at 400°F for 3 to 4 minutes total.
No, you don't need to give the dough extra time to rise after shaping. The long, first rise here is for flavor development, and most of the rise in the shaped naan is when it fries in the pan.

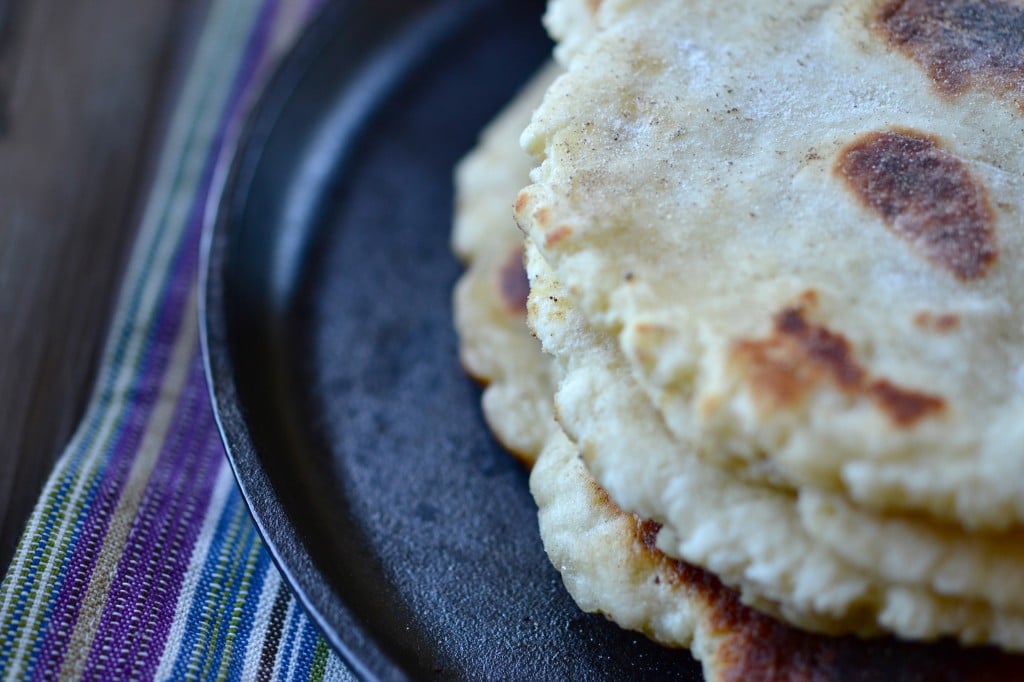

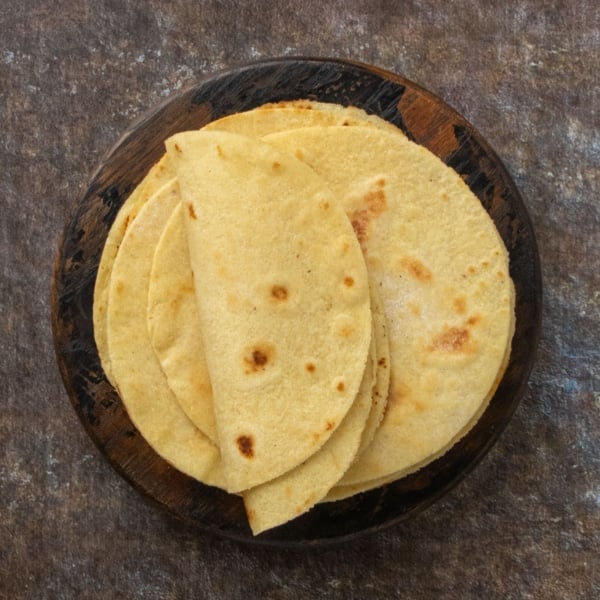
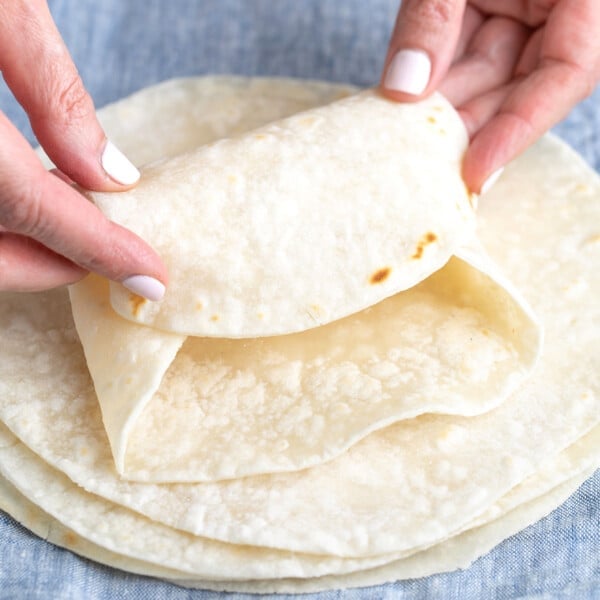
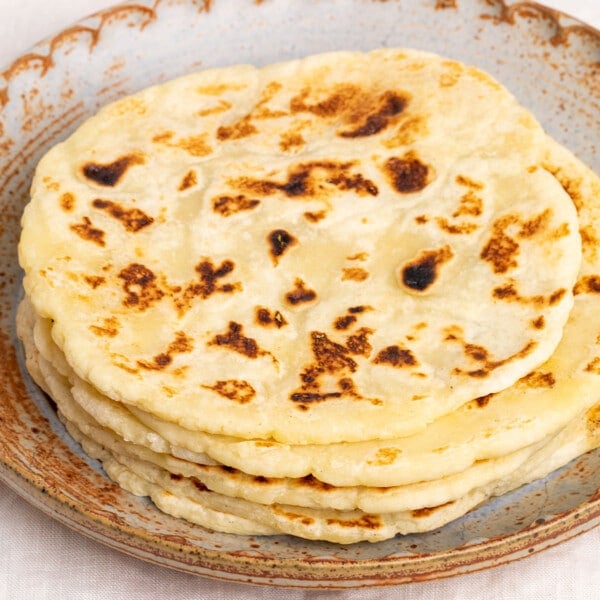










I made this for the first time and used Caputo GF flour. I omitted the xanthum gum as Caputo GF flour has its own binders. I used greek yogurt as that is what I had and didn’t thin it out because I forgot. I have and used a tortilla press to make evenly round shapes. The final product was excellent as a base for making garlic naan and others. It was a bit wet and sticky presenting some challenges in getting from the mat into the pan. As Nicole says, add more flour which I will do next time. I used a pancake flipper to slip underneath the naan dough and transfer to the cast iron pan. They cooked about a minute on each side. Next time I make one of my tikka masalas, I’ll be sure to fry up some of this naan.
Hi Nicole,
Just wondering if dairy free yogurt would work.
Hi, Dawna, yes, it should! Please take a look at the text of the post under the heading “ingredient substitutions” for my suggestions!
Not to be a pilll, but I am not able to find any dairy free yogurt in my tiny town to make these with. Is there ANYTHING I can use to substitute?
Hi, Randy, I’m afraid I don’t know what to suggest. You will need something with a similar texture, chemical composition, and moisture content to yogurt, and if you can’t find dairy free yogurt, I’m really not sure what else to recommend that I feel confident about. So sorry!
I almost gave up on this recipe and was on the verge of throwing out the batter, but am glad I persisted. I placed it back in the chiller overnight and proceeded to work with just a small ball of batter and lots of add on flour. The result was a beautifully soft naan, even more tender than the normal version of naan. Thank you for this recipe, Nicole. I shall experiment with add ons like chopped coriander and garlic.
I’m glad you’re happy with the end result, Patricia. It sounds like you didn’t use one of my recommended flour blends, though, and when making yeast bread it’s particularly important to follow the recipe to the letter including the right gluten free flour blend.
Hi,you mention adding xantham gum to the ingredients but I don’t see it listed in the ingredients. Can you tell me how much I need to use?
Chris, it’s the second ingredient.
Hi Nicole –
If my mixer does not have a paddle attachment can I use the regular beaters?
Thank you. And love your recipes — have made many of them for years now.
Janis
Hi, Janis, no I’m afraid I recommend against that. Beaters will never create a smooth dough like a paddle attachment will. You can try using a food processor with the plastic bread blade.
Thank you for a perfect recipe for making GF Naan. Refrigerating the dough and using lots of flour was the perfect solution to making these “easy”.
What do you think of adding sautéed onions and/or garlic to the dough mix prior to mixing? I can see that may make rolling out the pieces trickier and wondered if you have experimented with something like that. Of course, I could always use powdered onion or garlic, but I’m trying to emulate the naan served in a local restaurant that we enjoy. BTW, every recipe of yours I’ve tried has been a winner! Much thanks for all the obvious effort and love you put into this blog.
I’m afraid that would alter the moisture content and I don’t recommend it, Martin. Powdered spices should be fine, though!
loved this recipe for ease of construction and flavor, though a little disappointed they seemed very dry after 1 day ( stored in ziploc bag!). I see dough can be refrigerated and I can bake as needed. windering if dough can be frozen after rising, thwn thawed and cooked? it made 8 large naan; I don’t want yo have to eat daily just to avoid wasting dough! thx in advance for your opinion on this!
Please see the text of the post under the heading “Storage Instructions” for advice on how to keep it fresh for a day, and how to make it ahead. No, I don’t ever recommend freezing unbaked yeast dough since you can kill the yeast if it gets too cold and you won’t know until it’s too late.
I used Steve’s bread flour with dough conditioner and a little extra yeast and they came out so incredibly soft and delicious!The all purpose left me with a drier bread that fell apart when rolling out and did not store or reheat well. The Steve’s stored very well, and reheated well.
Rachel, I’m glad you enjoyed the recipe made with your chosen flour blend. It does sound like the all purpose gluten free flour blend you used is not one I recommend, which would account for your less than ideal results.